
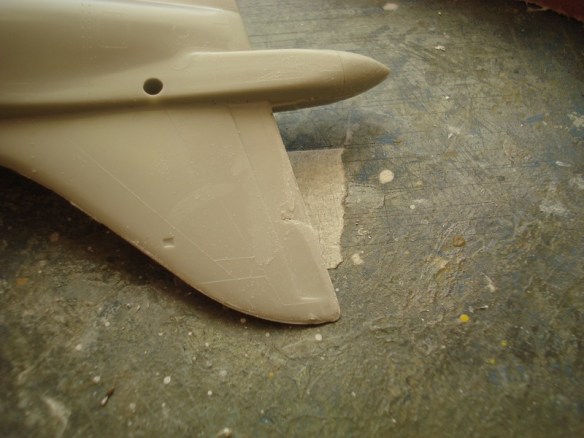
I had to break up the tail a bit as it didn’t align right. managed to damage the rudder some. Easy to fix with some putty though.
Putty was also needed along the fuselage seam.


Putty was also used to cover some ejection pin marks.

After some sanding, the seam looked pretty okey. Usually have to put on a cote of primer to check if more work is needed.

The hardest area to clean up was in the wheel bays and air brake. Sorted that with a tool made from a piece of sprue, sanded slightly in an angle and with a small piece of sanding paper on top.

The cleaned up parts.
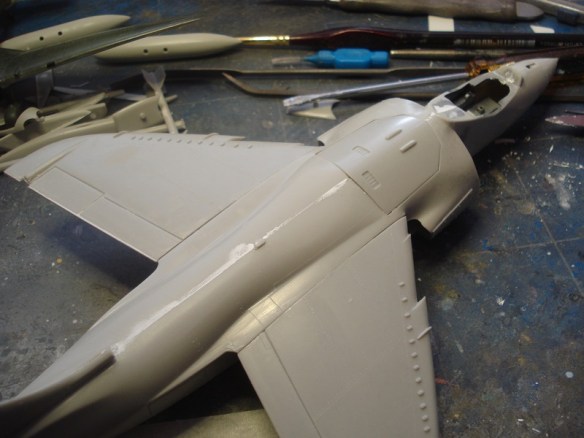
The wings built and test fitted against the fuselage.


A fit that wasn’t very good, and had to be adjusted some by taking of a bit from the tabs. After some work, the fit was acceptable.
Some putty and cleaning up on the wing joints.
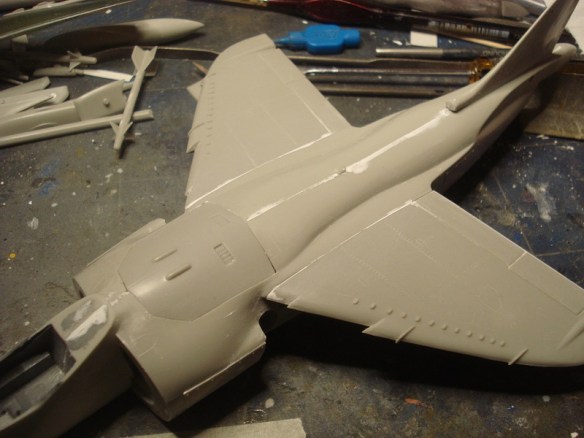
Next, more putty and sanding.
Håkan
