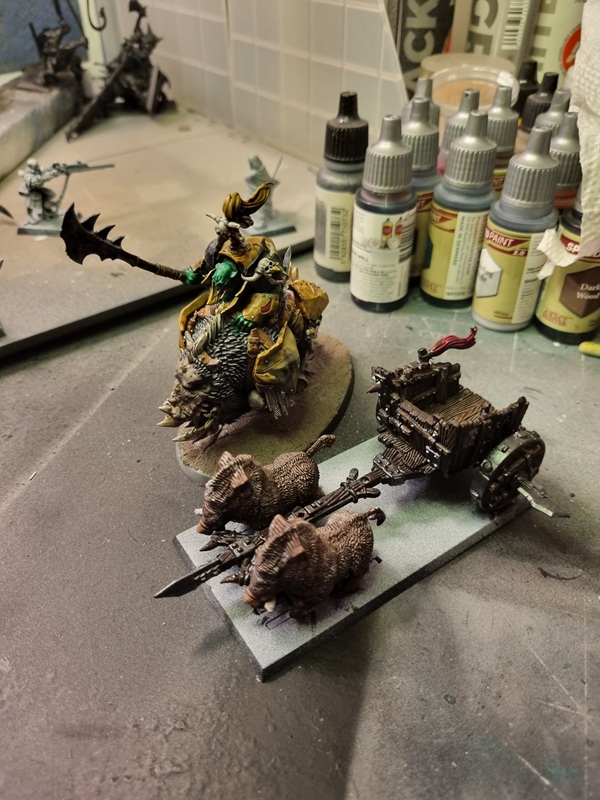
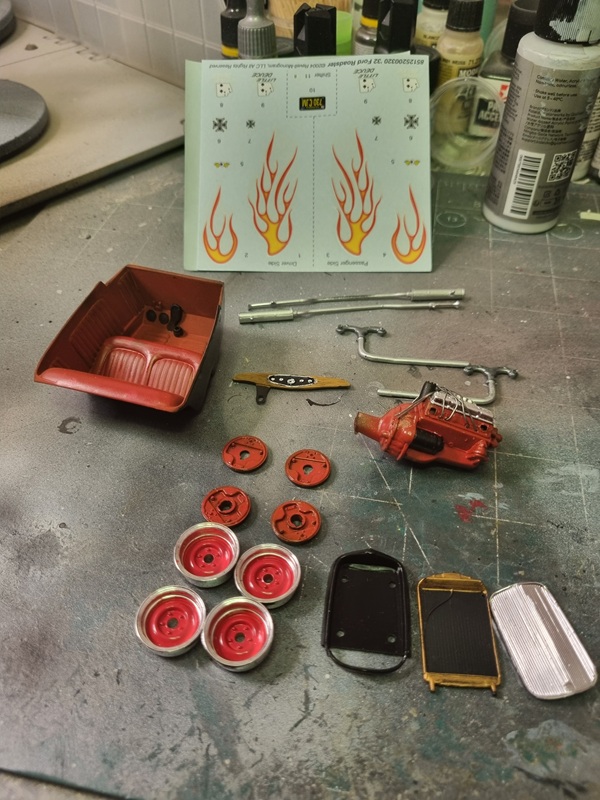
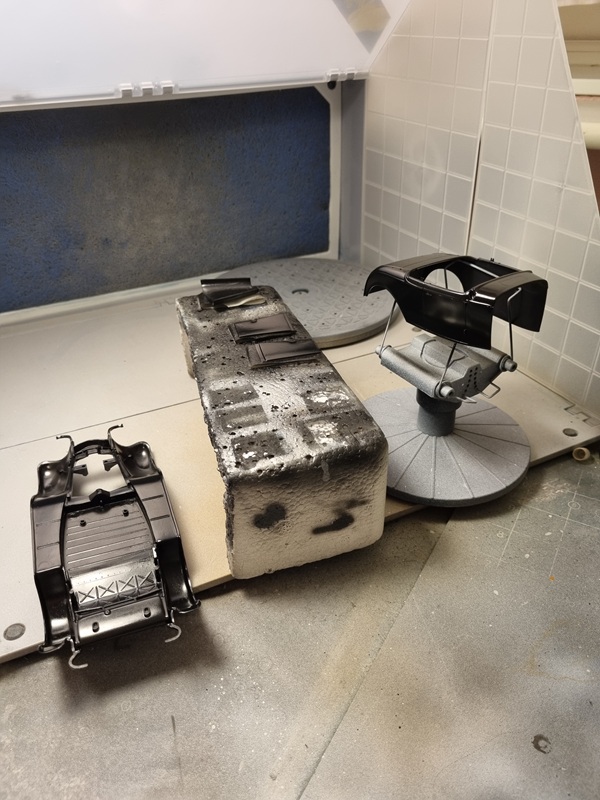
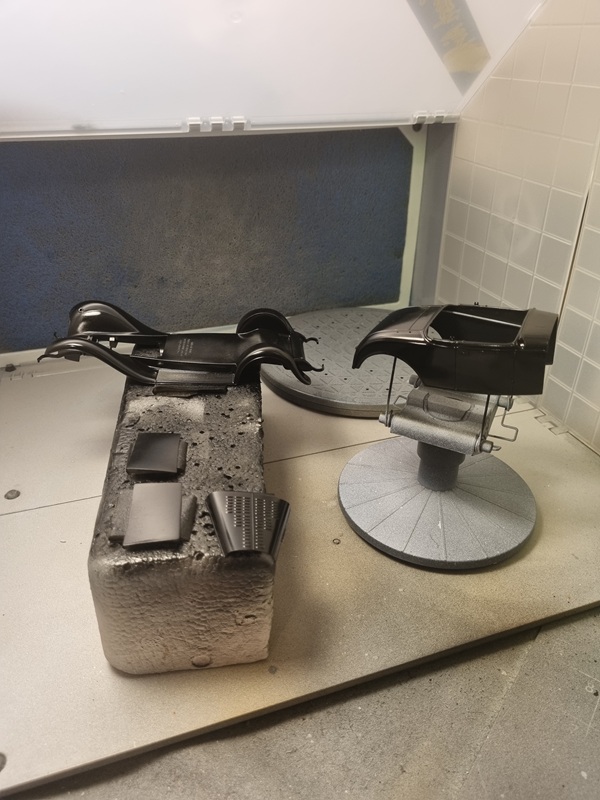
2026 yearly build meeting in Partille aka plastkollot (plastic camp)

Last weekend, starting on thursday and ended on sunday, I was away on a nearly 2 hour trip to Partille, outside of Gothenburg. Getting together with some of my model building friends, spending time building, chatting, eating and sleeping. Drinking a few beers also was part of the fun!

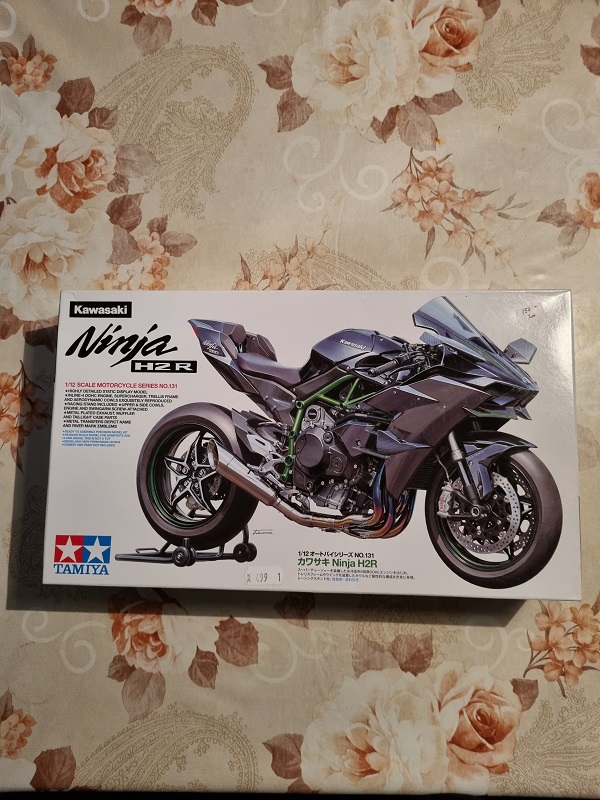
I brought some models, colours and tools, and after unpacking I could start building. I brought both kits and Warhammer soldiers to paint. I decided to start with my Kawasaki Ninja in 1/12 from Tamiya. As most Tamiya kits it’s fairly easy to build.

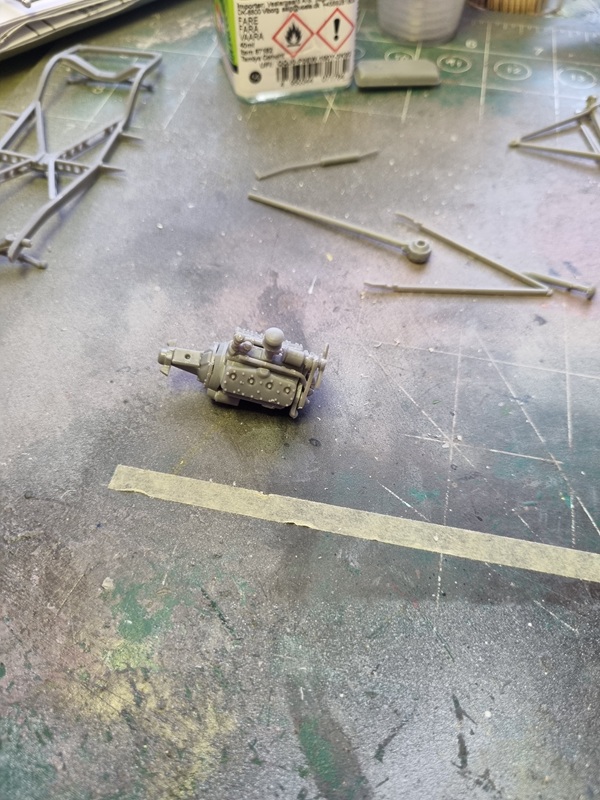
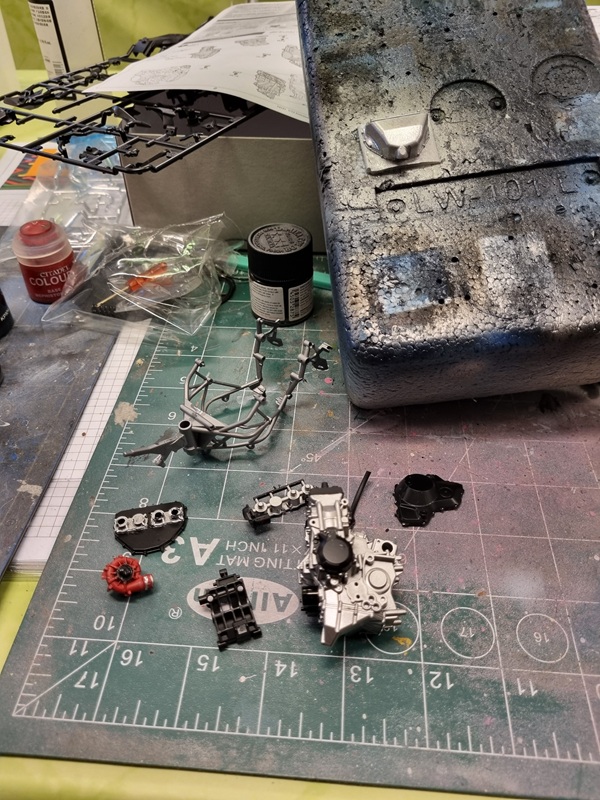
The engine requires some prepping and painting before assembly and that goes for the rest of the bike as well. Here’s the only pic I managed to take on the build while there.

After painting the frame and building the parts for the suspension, I was supposed to screw it together with a tiny screw. I managed to drop that screw never to find it again.
I have to solve that somehow, but I decided to put it back in the box until later.

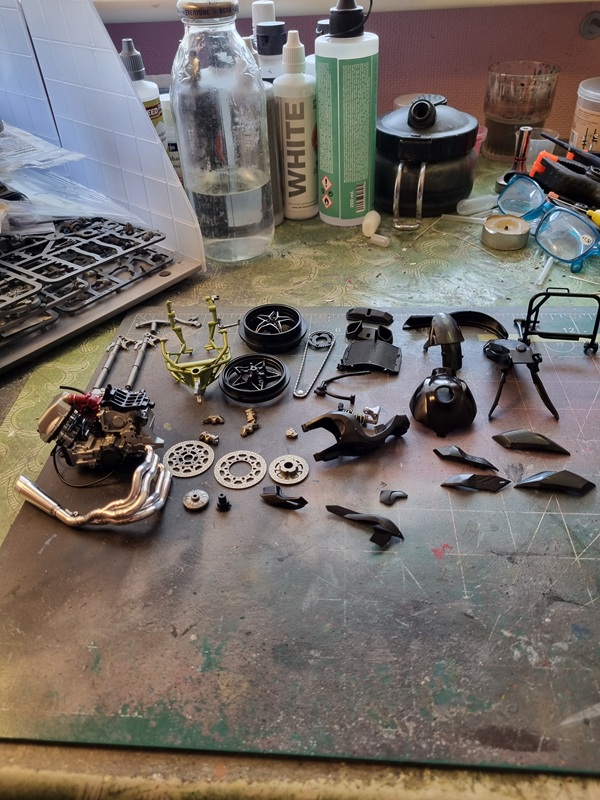
I took a picture when I got home to show how much I had done.

I had brought a few colours (alclad mainly) to a friend and he had a model kit for me.
It was a Citroën 19DS in 1/16 from Heller. The kit was started, but I thought I’d have a look.
The work that was done looked fairly okey, so I decided to give the kit a go.

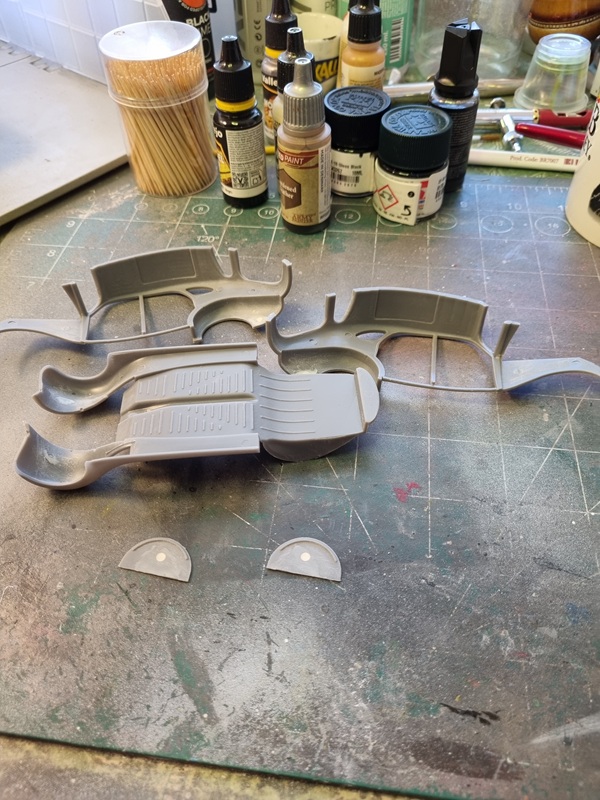
As I needed to clean up the mold lines in preparation for primer, I decided to cut the excess plastic in the window and in the space for the open doors. What I didn’t think of was that there was no frame between the front and the rest of the body. So it became very woobly and I managed to break the window frame.
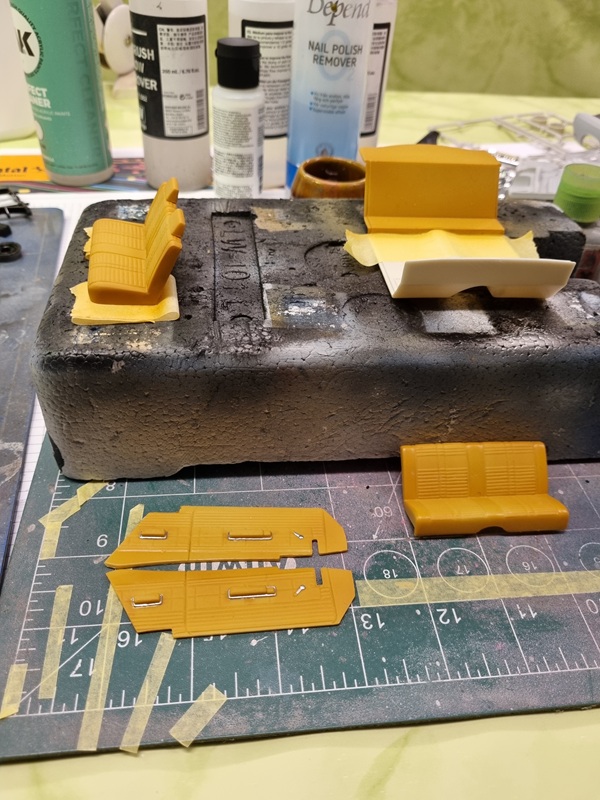
I decided to deal with that later, so I picked up a third kit, a Plymoth Roadrunner 68 in 1/24 from AMT.
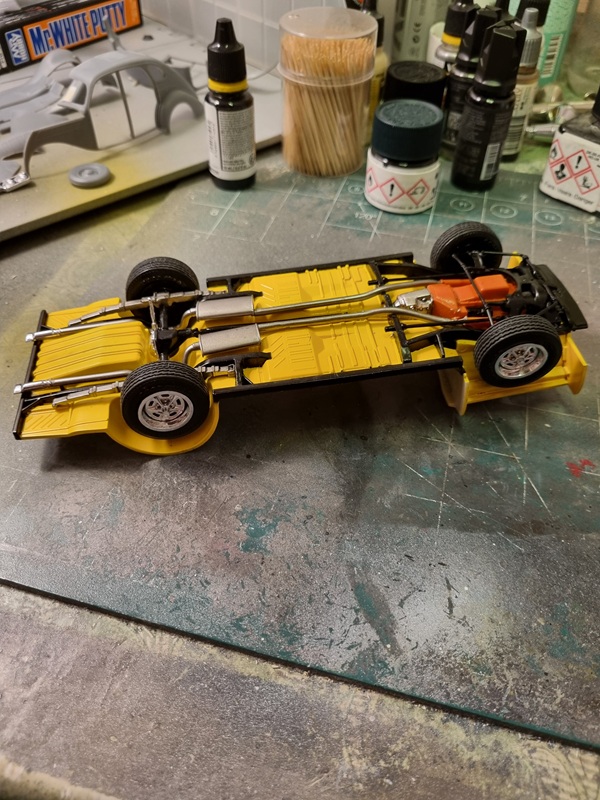
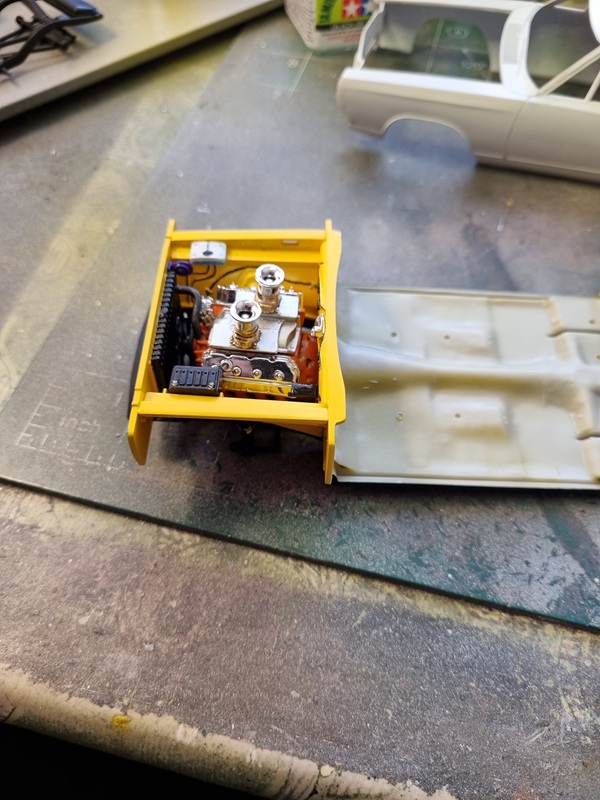
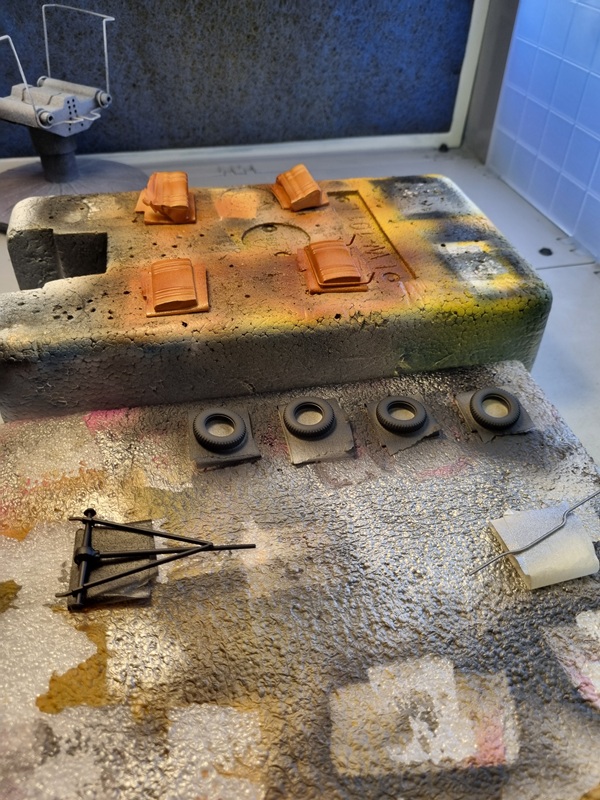
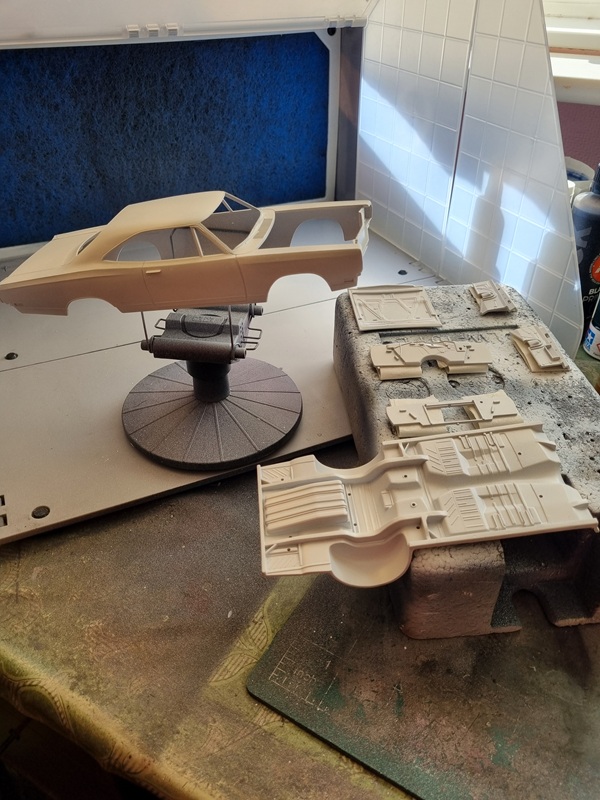
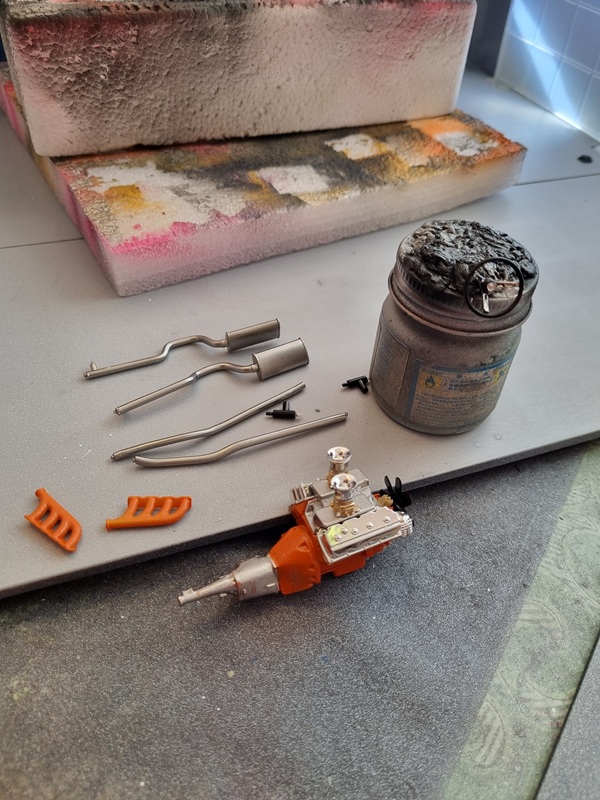
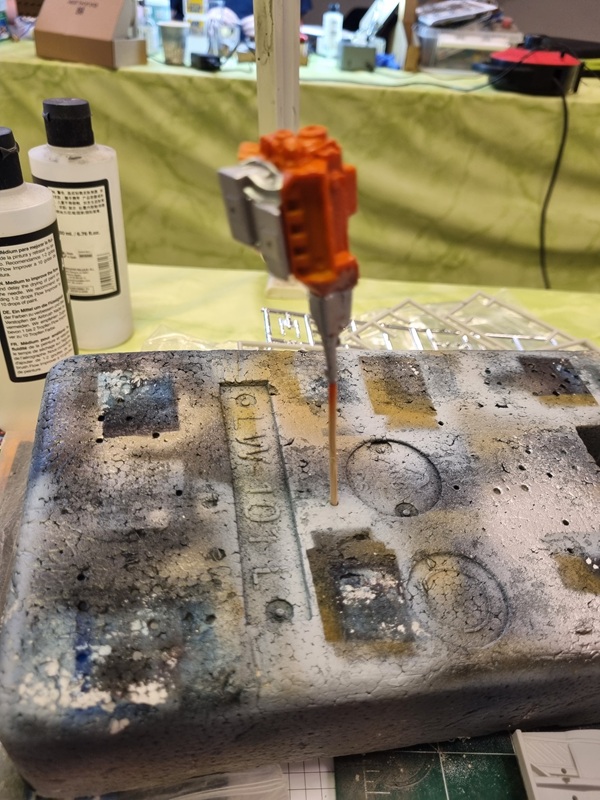
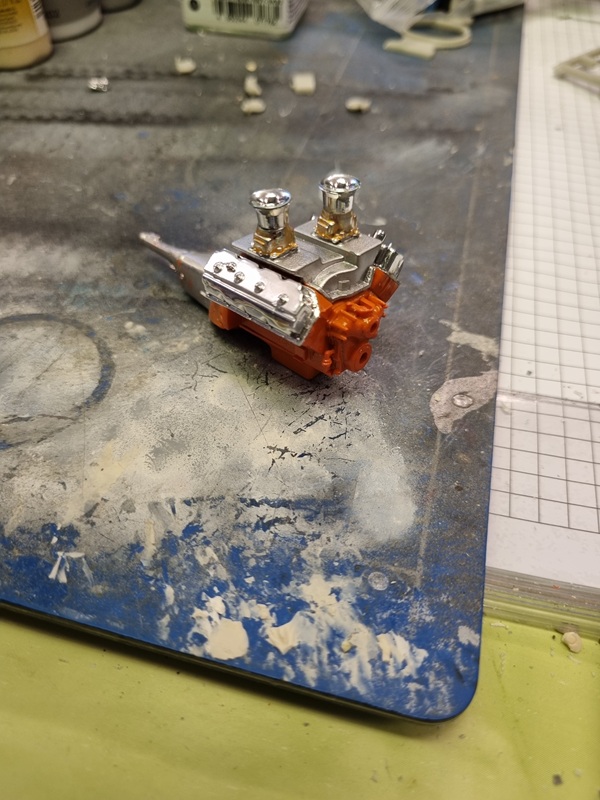
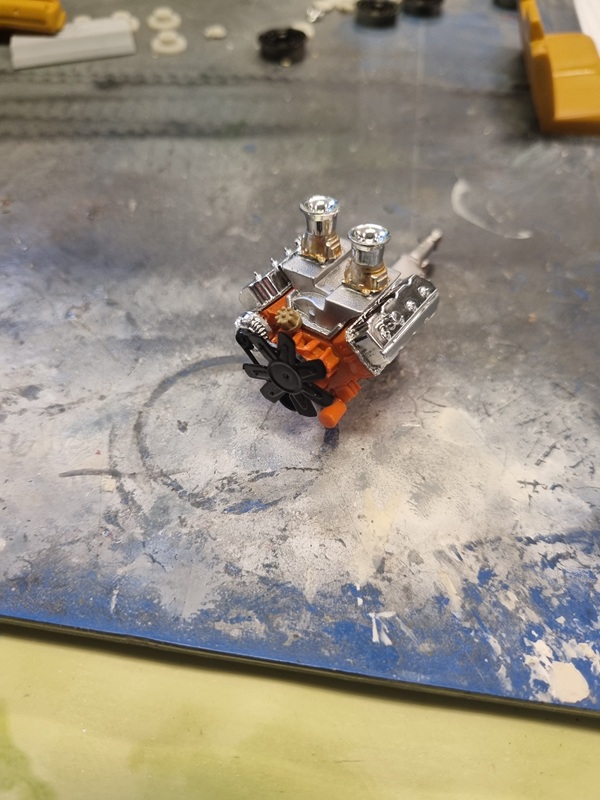
Also a bit of work to do before assembly and then painting all the parts.First the engine got some orange paint.

Engine progress.
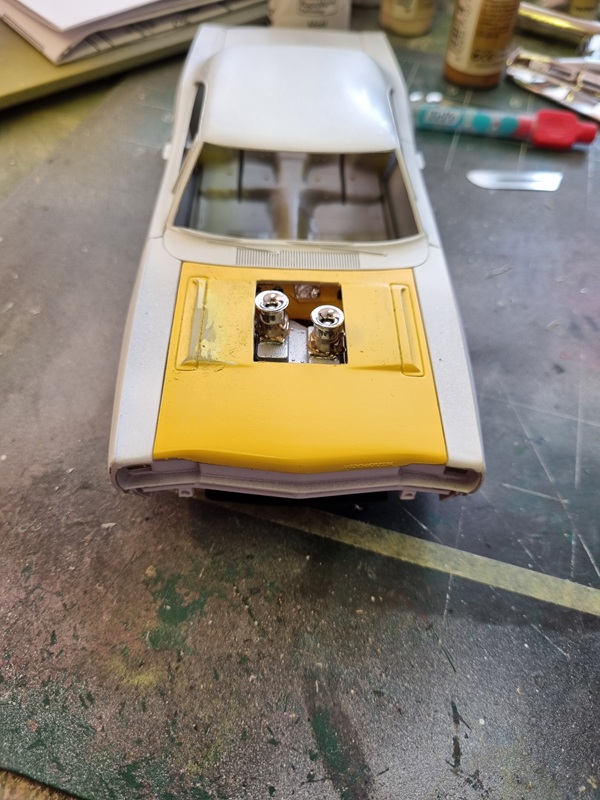
Finished engine.

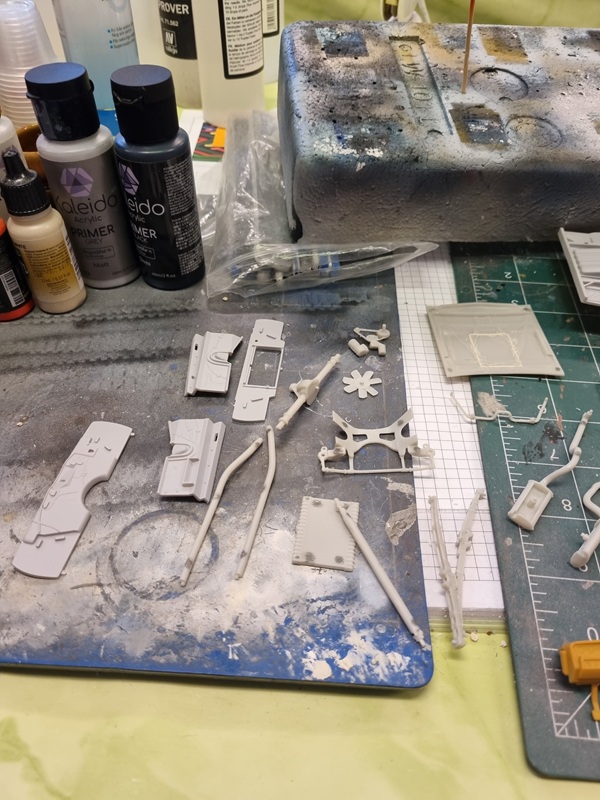
Some parts in progress.

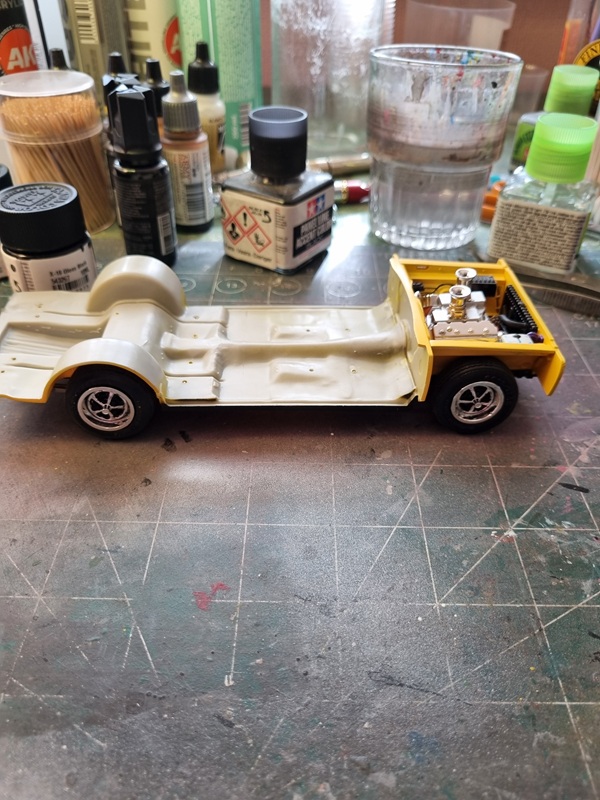
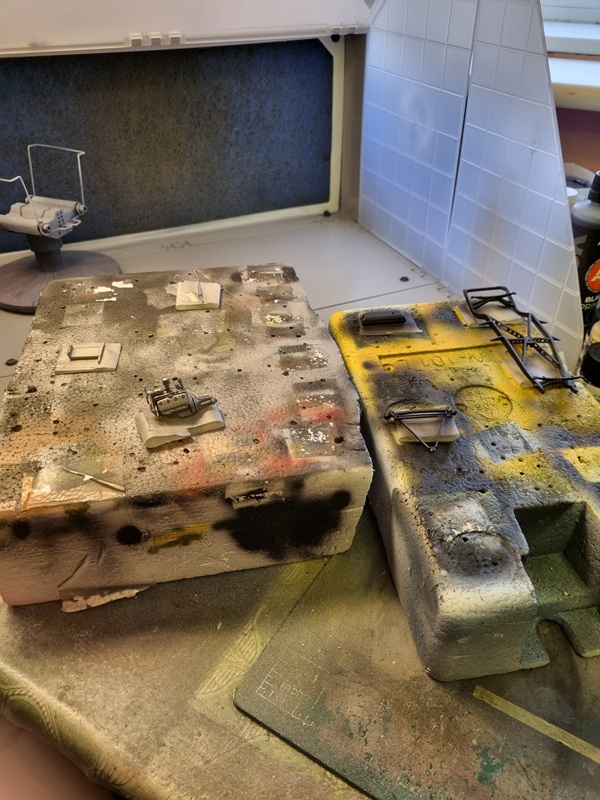
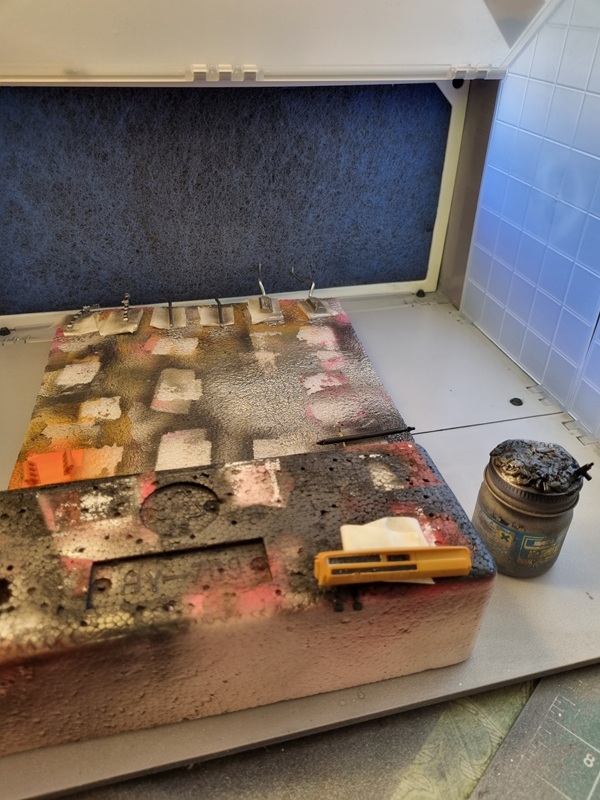
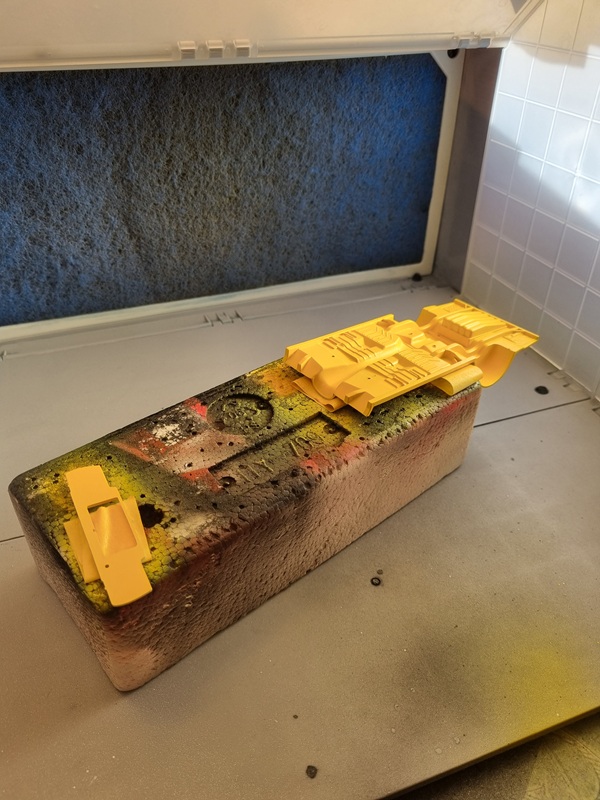
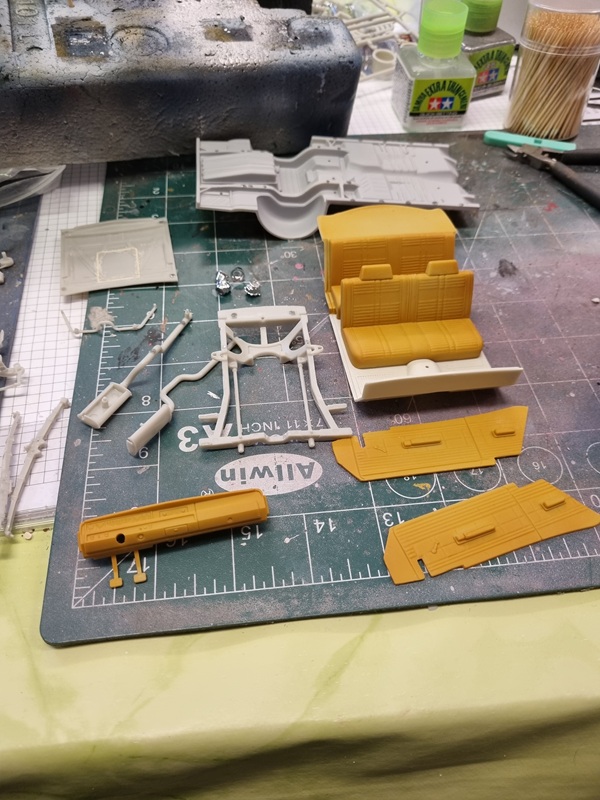
I got primer on some parts and the interior got some paint.

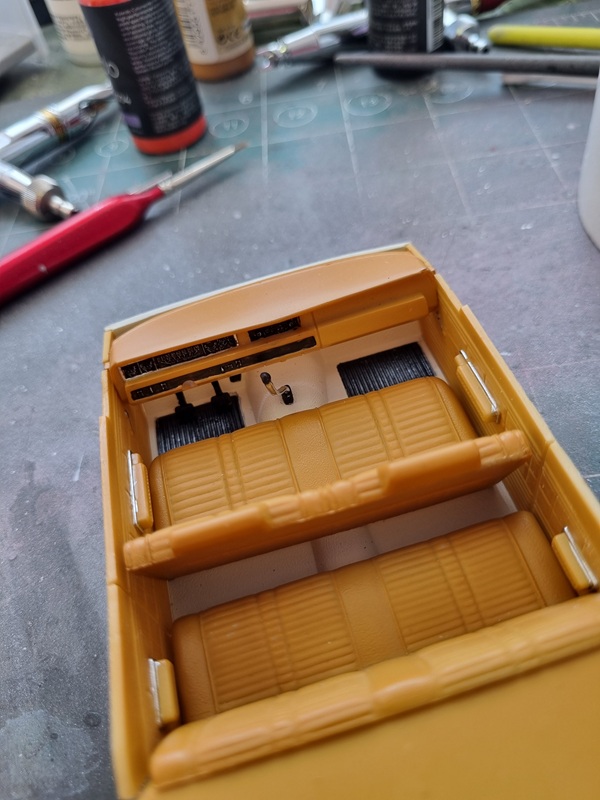
Some details painted and the seats got semi gloss on some parts to simulate different materials.

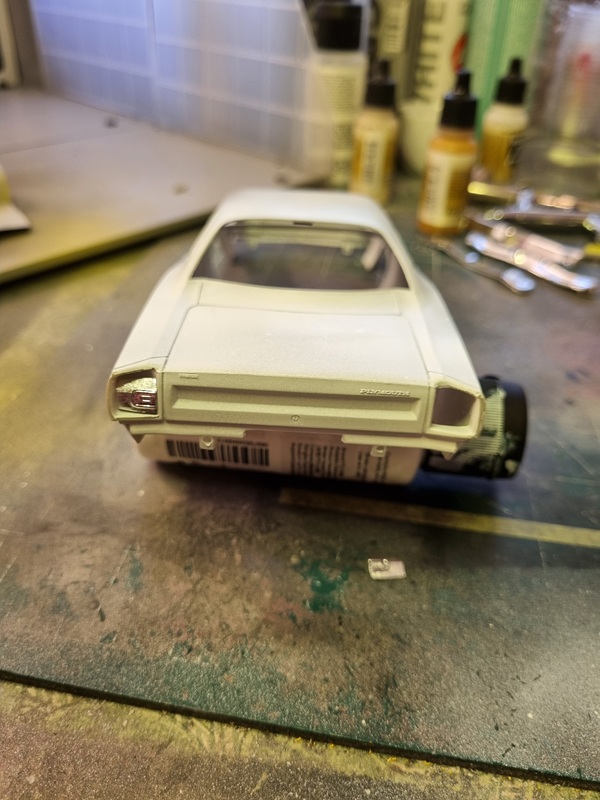
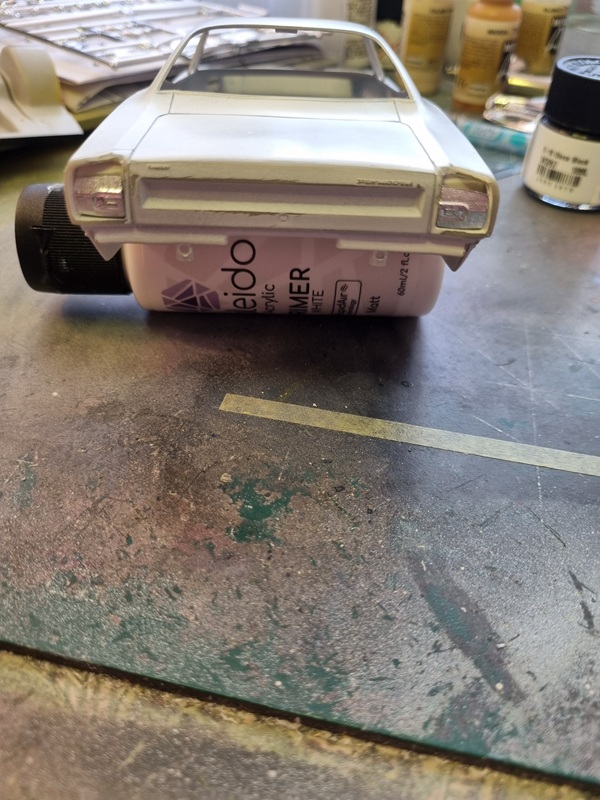
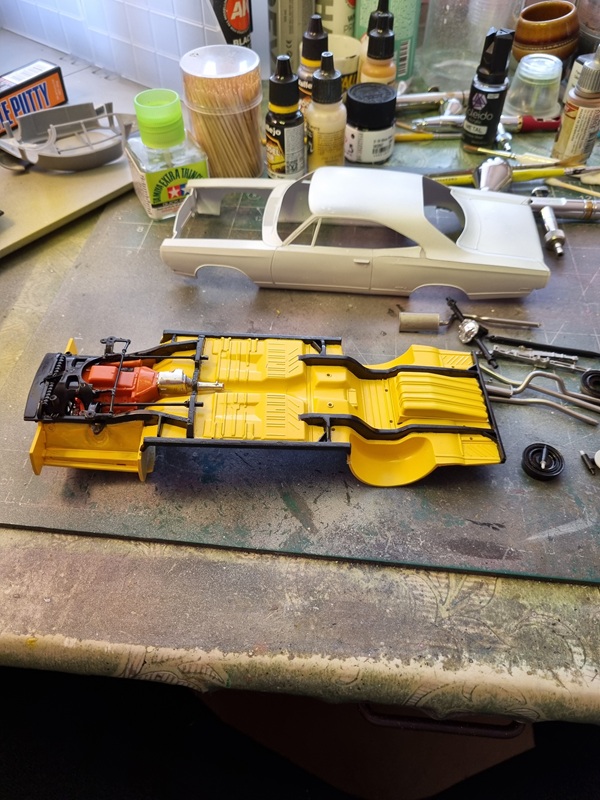
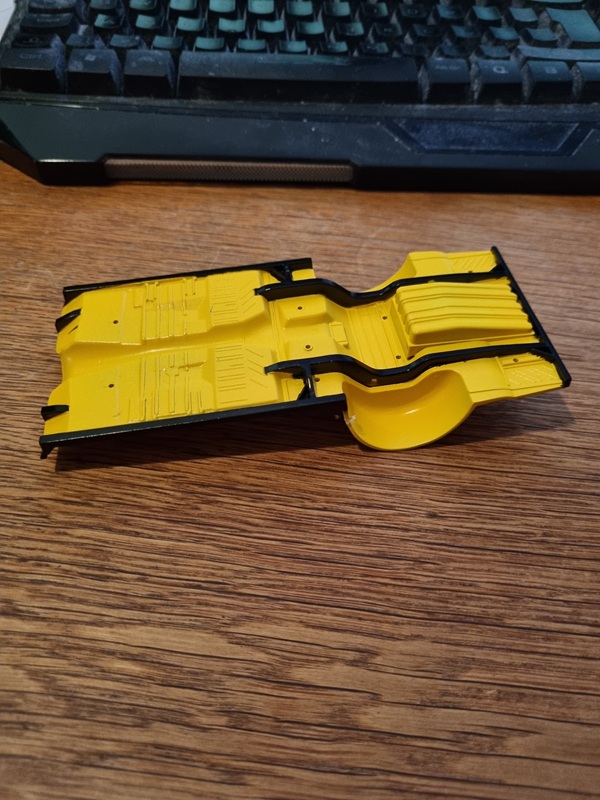
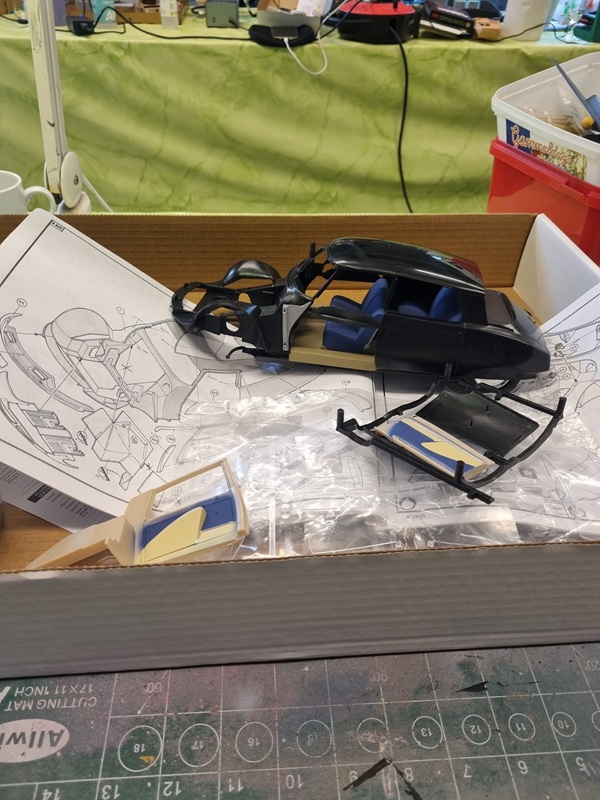
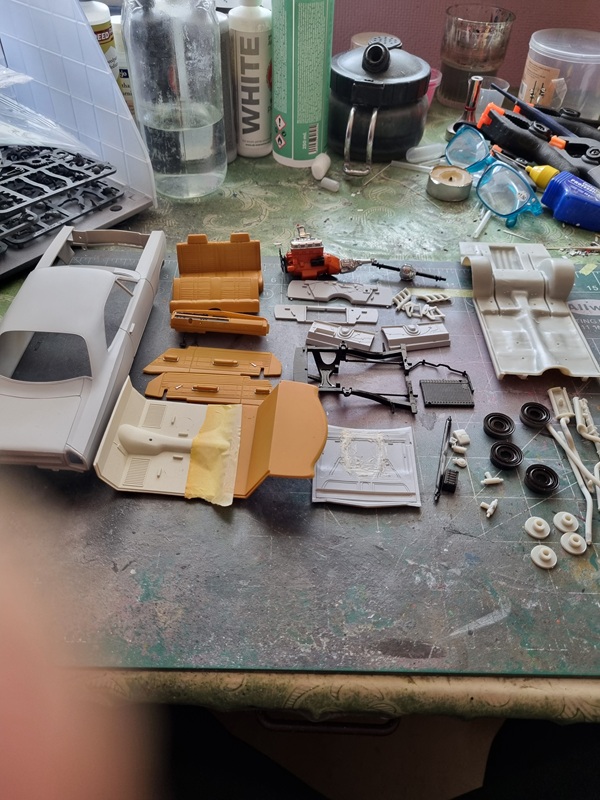
As with the Kawasaki I had to take a pic at home to show my progress.

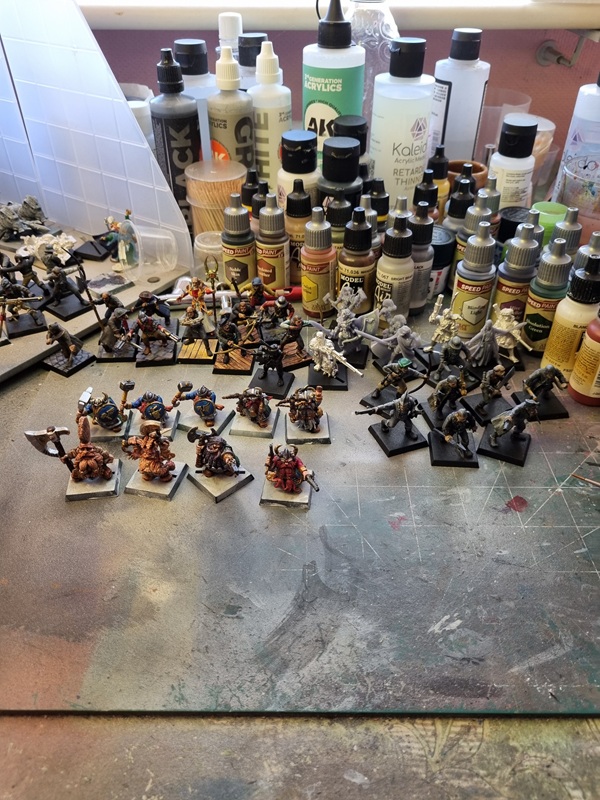
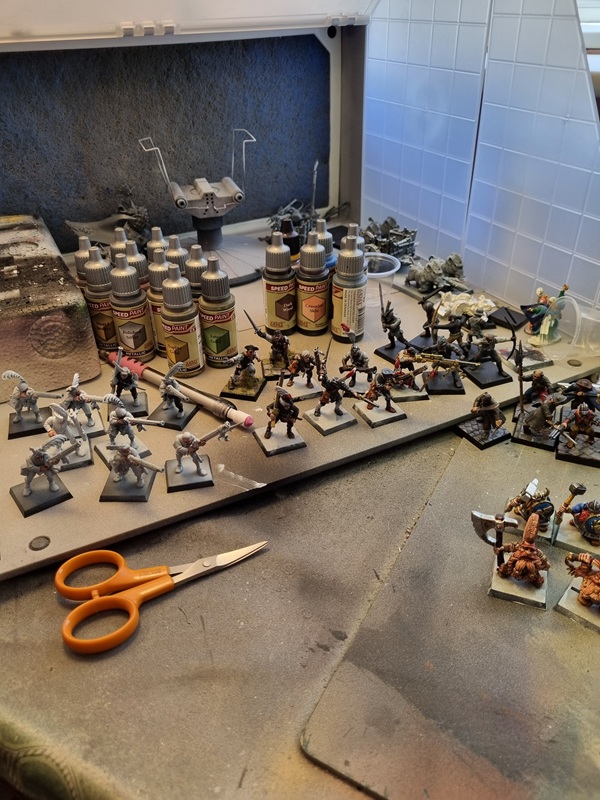
So quite a lot done on those two kits. I didn’t paint any figures at all even though I had planned to do that.

My plan is to continue with the Plymoth and then try to remedy the missing screw somehow. I also plan to get some carbon fiber decal film for the front cowling.

Empire of man – Free Company militia – part 3

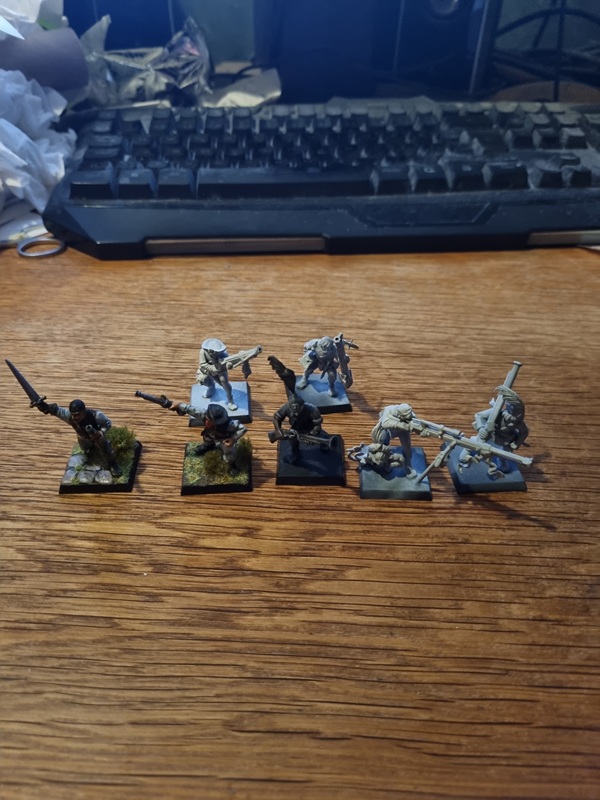
I started making bases for my Warband. I decided that my marksmen should have some kind of wooden floors. So I cut plastic stripes and glued on.

For the first one I tried to fit the stripes around his shoes, but that was quite complicated, so for the other three I carefully removed the figures before glueing the stripes.
Here the three first ones got paint on the boards.

The floor for the fourth one took a while longer. Quite happy with how they turned out.
I also started making some kind of stones or bricks with 2k putty.

I also made bricks from cut pieces of cardboard. The rest of the figures got grey paint.

I added some dirt, tufts and grass on a few.

For those with grey bases, I used a fine brush to paint black, forming bricks. Then I used light grey to make some highlights.

After a while I considered my warband that I called Reichwalds Fiffiga Filurer (Clever tricksters).

Now I just need to finish the rest of my militia figures.

Empire of man – Free company militia – part 2

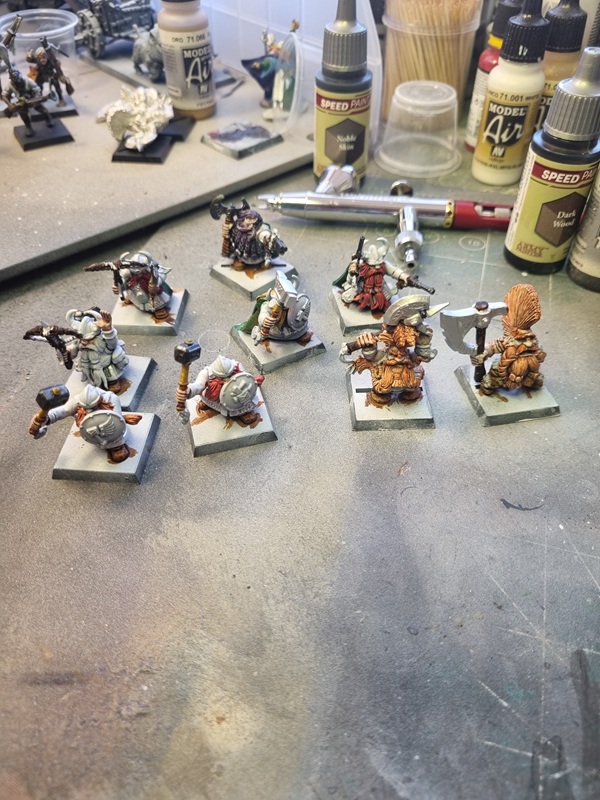
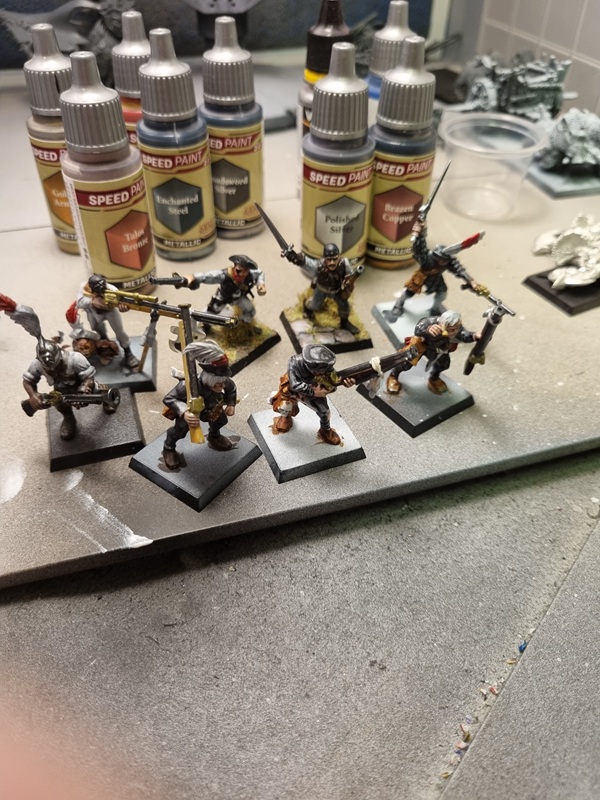
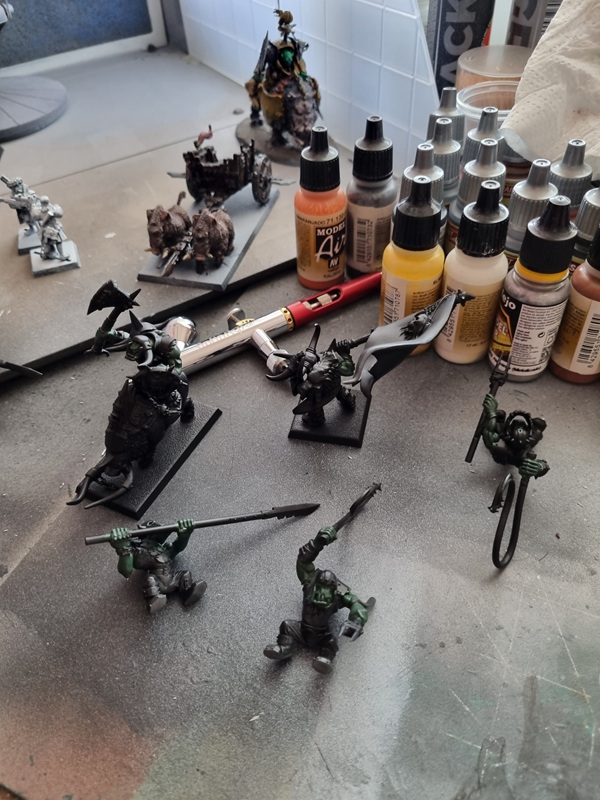
Time for some paint! I used Speed Paint for all the basic colours. Mainly focusing on the warband.

Adding colours for bows and other weapons.

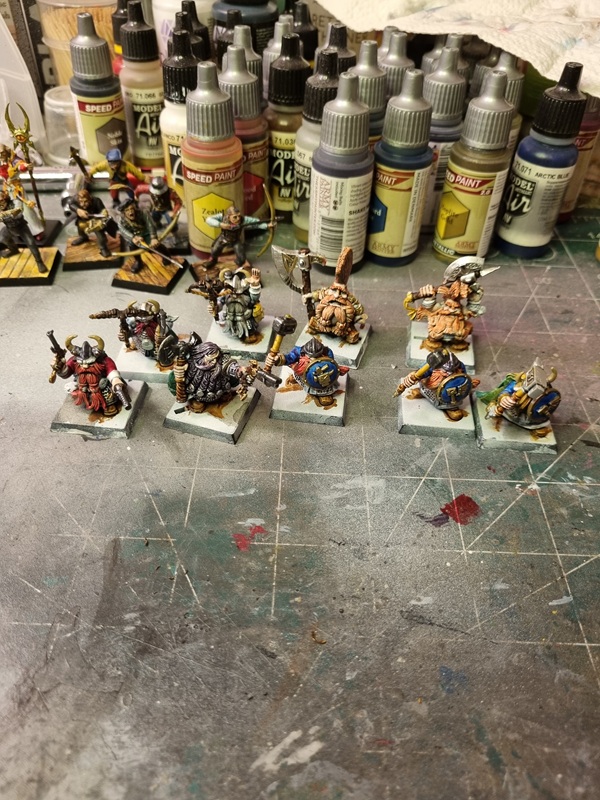
Building up layers with Citadel colours.

The archers also got a little more colours.

Not much left to do and I feel it’s hard to see any differences between the pictures.

Soon time to add bricks to their bases.

Empire of man – Free company militia and Warband – TOW and Mordheim

One of the things I’ve been working with is my Empire army. And part of that are the militia.
As I plan to participate in the game Mordheim as well, I decided to use some of them as a Warband. I also wanted to have a group of bowmen skirmishers.

In the box there’s quite a few options both for weapons and figures. Something I think is very nice. Here’s a pic of the box.

I started with the figures that are supposed to be bowmen.

I haven’t planned to have any command for this group, but still I made one of the figures so he can act as a champion if needed.

I did a few loading a new arrow and a few that are shooting.

With the heads in place they looked like this.

I’m quite happy with that little band of skirmishers.

Next up was my warband for Mordheim. A friend helped me make a list and then I wrote a note on what weapons they should have.

Trying to sort out which weapons I needed. The blunderbus is for later use, once I can improve their equipment.

The Captain and two figures done.

Four more figures on the way.

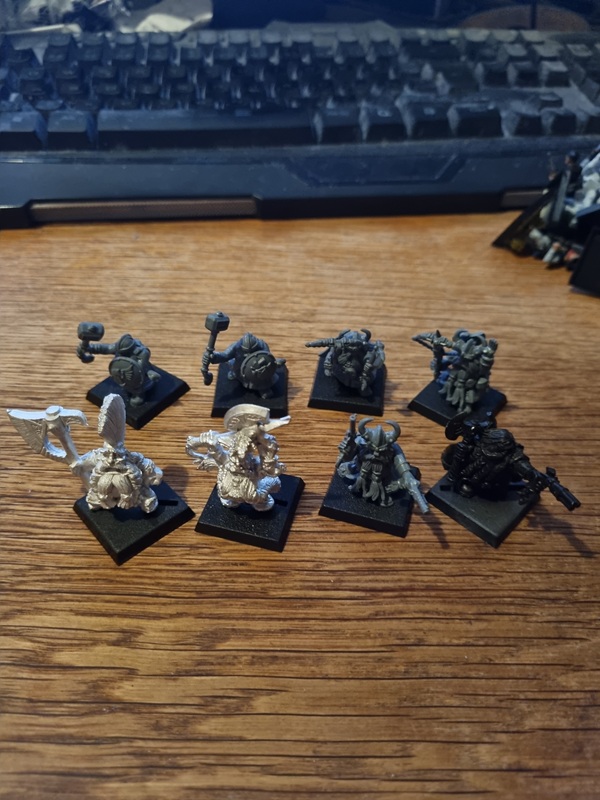
Some time later I had assembled 14 figures!

My archers!

The rest of the militia group, almost done!

Here’s all of them done!

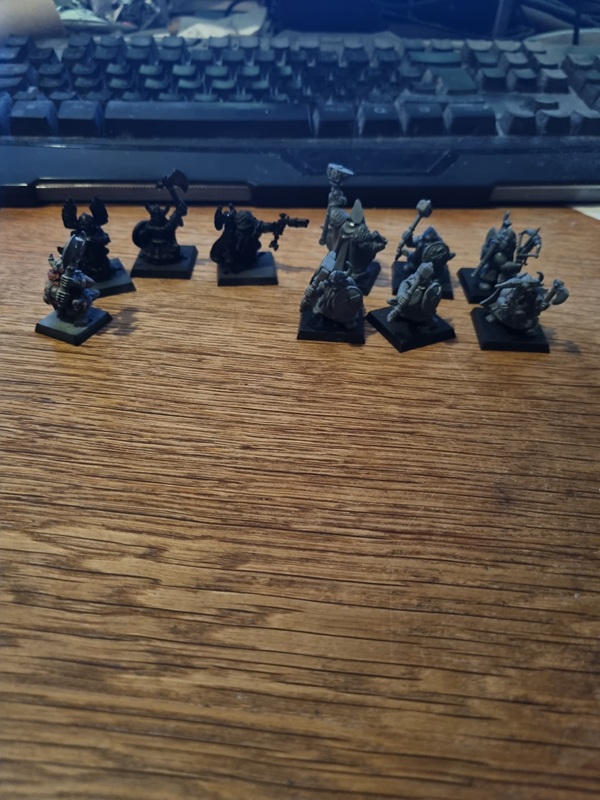
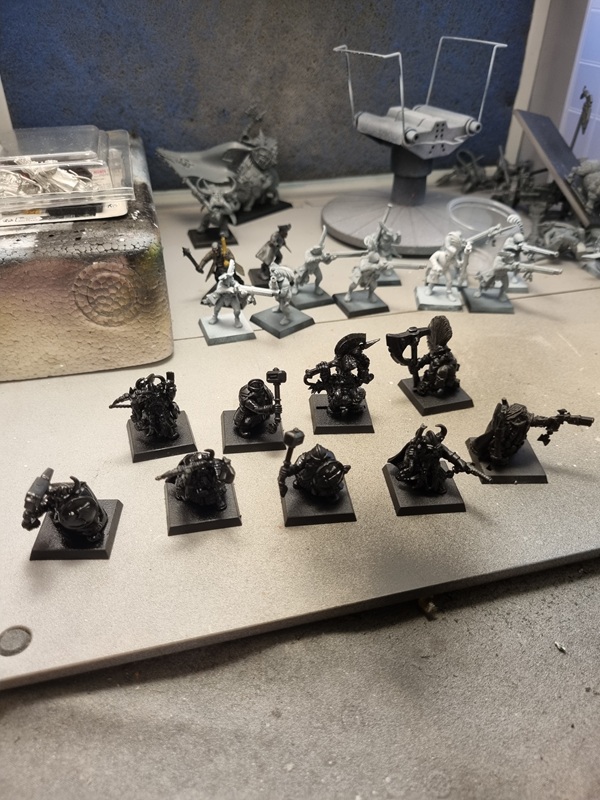
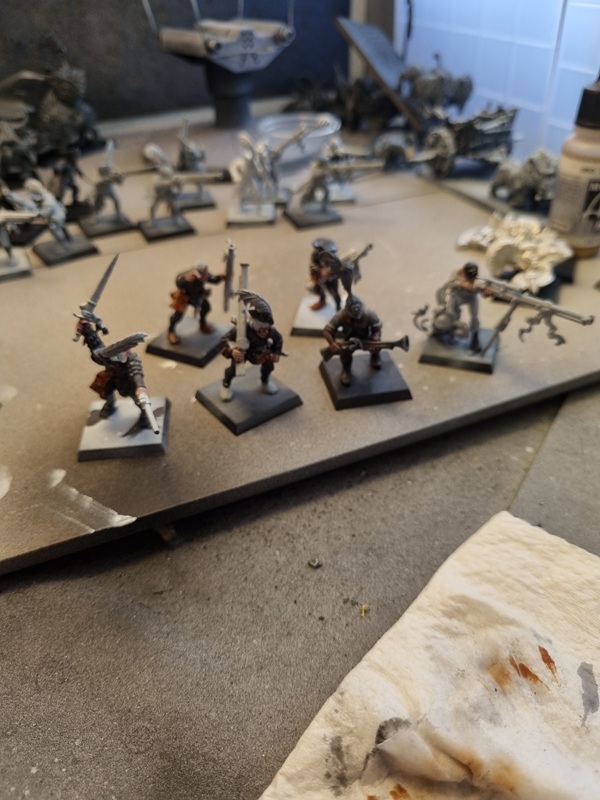
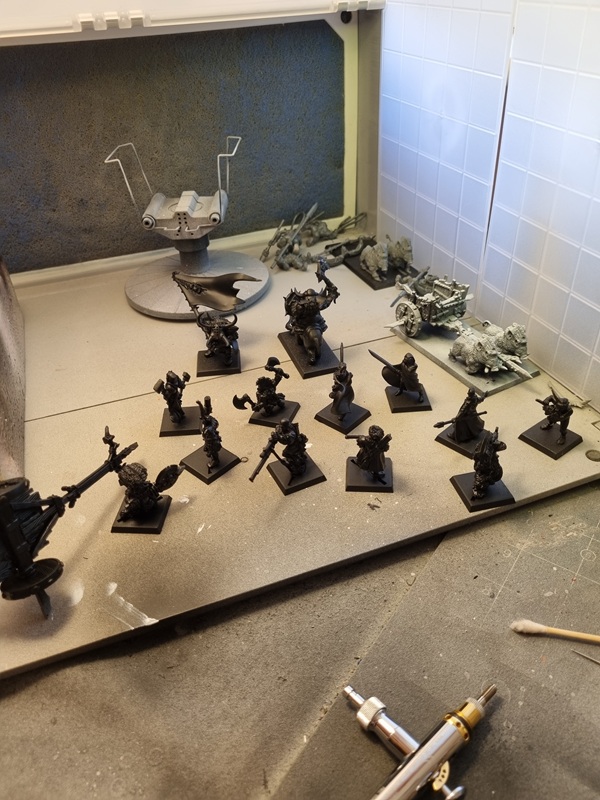
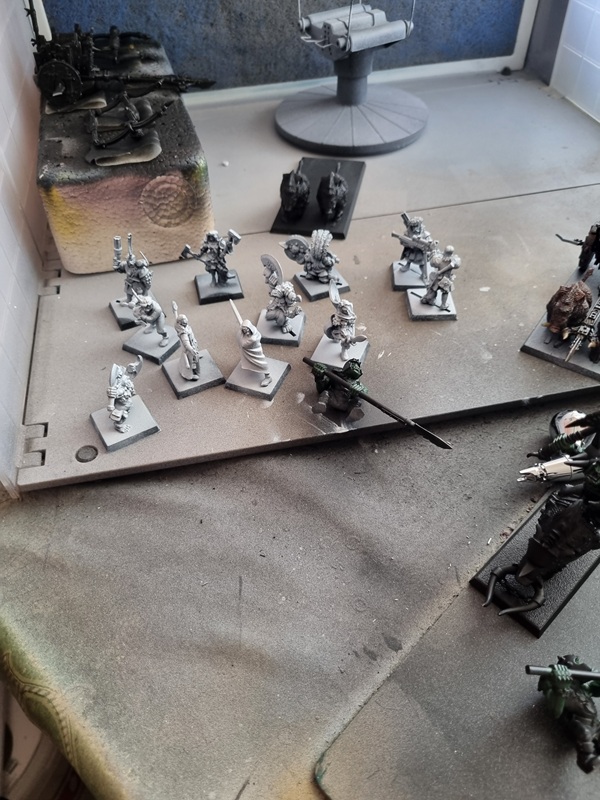
Then all of them got black primer.

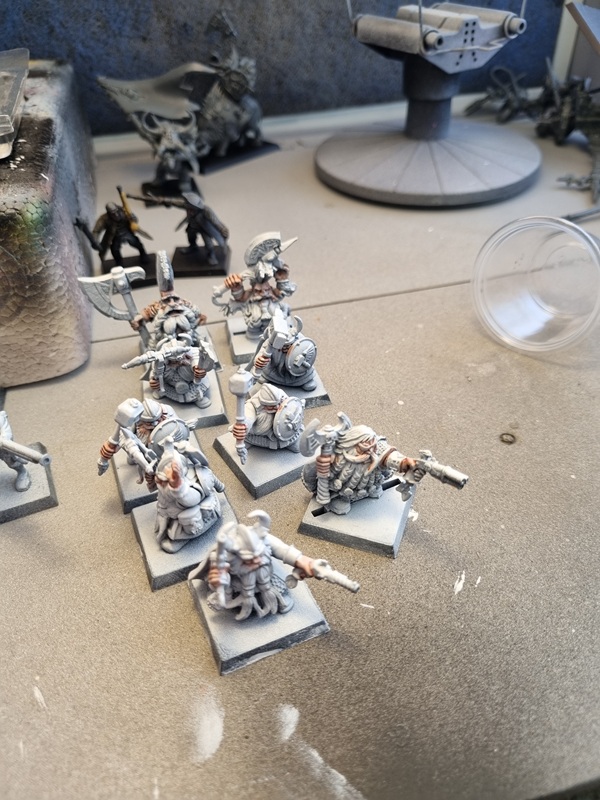
And then some dry brushed zenithal.

Next, painting them!

Empire of man – War wagon – part 2

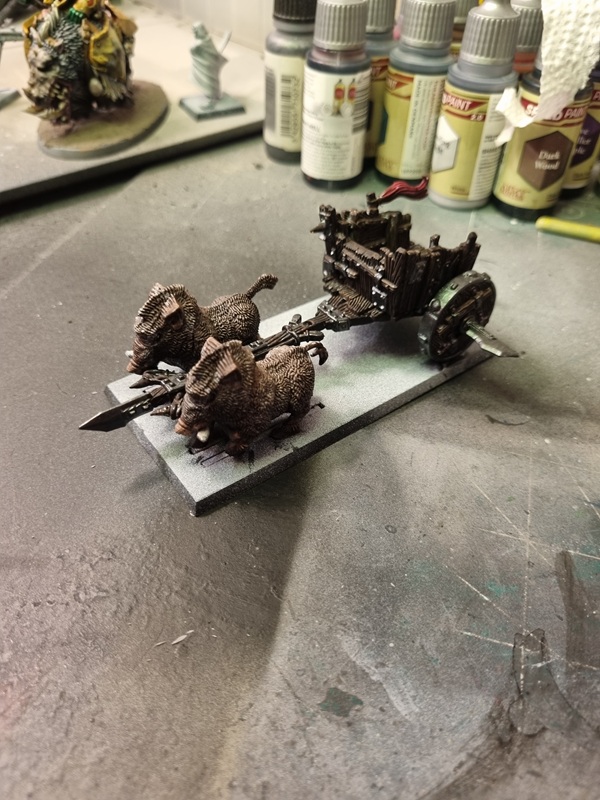
I tried 4 different colours for the side panels.

I went for the colour on the mid panel. I also painted the armour on the horses. The other panels was painted blue and the frame red.

I used Averland Sunset to paint a lighter shade on the panels and used Aloic blue and Mephiston red on the other parts.

I painted one horse white and the other one black with white on the lower parts of the legs and hofs.

I used gold/bronze for the heads and black metal on the wheels and other metal trim.

To spice it up a bit, I painted the tongue and eyes red and the teeth white. I also painted some details with bronze on the rifles.

I still got more to paint but I think it’s taking shape and the heads look kinda scary! 🙂

Empire of man – War wagon – Warhammer the old world – Games Workshop

This is a resin kit from Forge World. I bought it directly from GW so there was no fancy boxart.

I started with removing the casting block and cleaning up the parts to the wagon. I also glued the wheels.

Some of the parts was slightly bent, so after checking how to correct that, I managed to straighten the parts. Then I could start glueing the parts together.

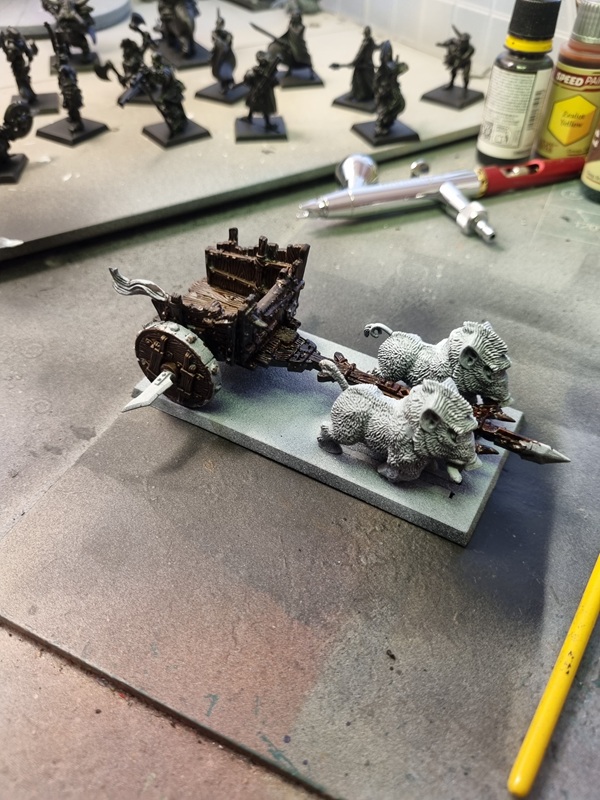
A while later I had glued both the wagon and the horses.

Then it was time for the figures. It took a while to clean them up.

There was a few spots to address on the wagon.

The engineer got assembled.

Quite nice figure, but his sniper rifle was slightly bent. Even som parts on the other figures was bent.

Luckily it only takes a few seconds in hot water to make the resin soft enough to bend in the desired direction.

Since my compressor is out of function at the moment, I decided to use an ordinary brush to paint black primer.

Drybrushed grey primer.

And lastly white primer.

I find it a lot easier to paint the primer with an airbrush, but I think this will work. Next I’ll start adding colours for Marienburg, which mainly in red, blue and yellow.

MB 300 SL – part 4

I painted the trunks in the same red as the interior and then painted the rims with antracite. All the locks and fittings was painted with chrome. I gave edges around trim and fittings a wash with Agrax earthshade and the chrome got a a few drops of Tamiya black panel liner.

I then used masking tape to make the straps that holds the trunks in place.

I had an idea of how I wanted it to look but still managed to do it wrong.

I also played around with the figure a bit.

I do stuff like that when things are drying. The parts to the buckle was made with thin parts of plastic rod.

I changed the direction of the belt ends and painted the buckles with chrome.

Just recently I added the chromed metal decal and the MB star on the steering wheel.

Maybe a little hard to see in that pic, but it’s there. It was a bit tricky to get both in place.
I’ll give it a touch of clear cote later and then, once dry, I’ll glue it in place.