Ford V8 G81A – part 2

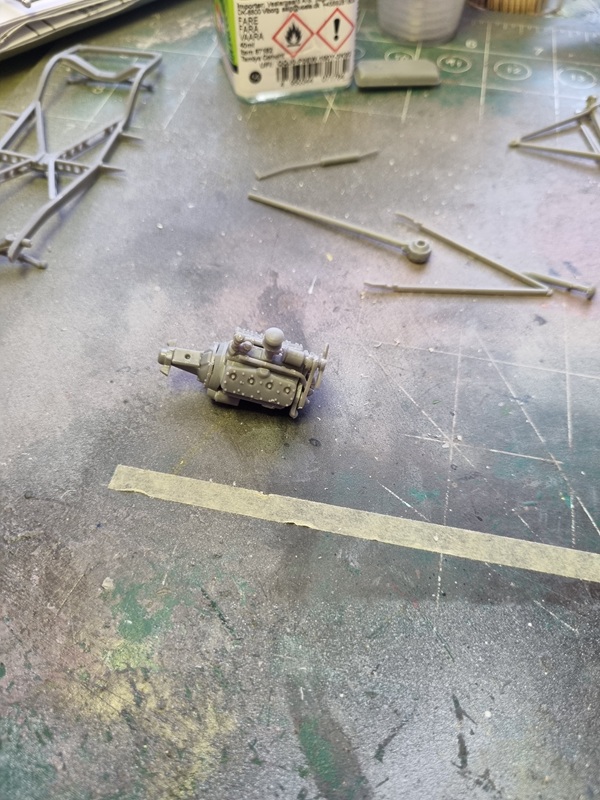
The engine was built.

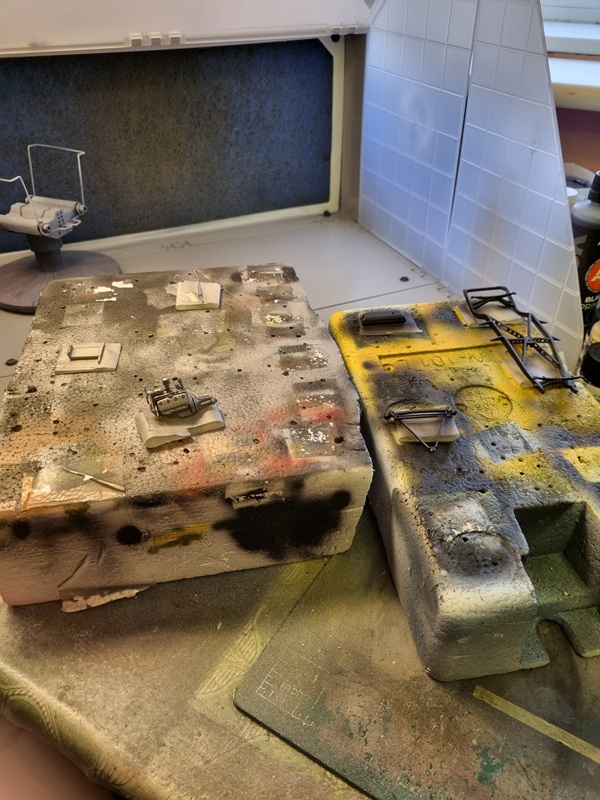
The engine, muffler and radiator was painted with stainless steel, and the frame and a few others parts was painted black.
This is just a short update. I’ve taken care of some ejector pin marks that might not be seen in the end, but anyway! 🙂
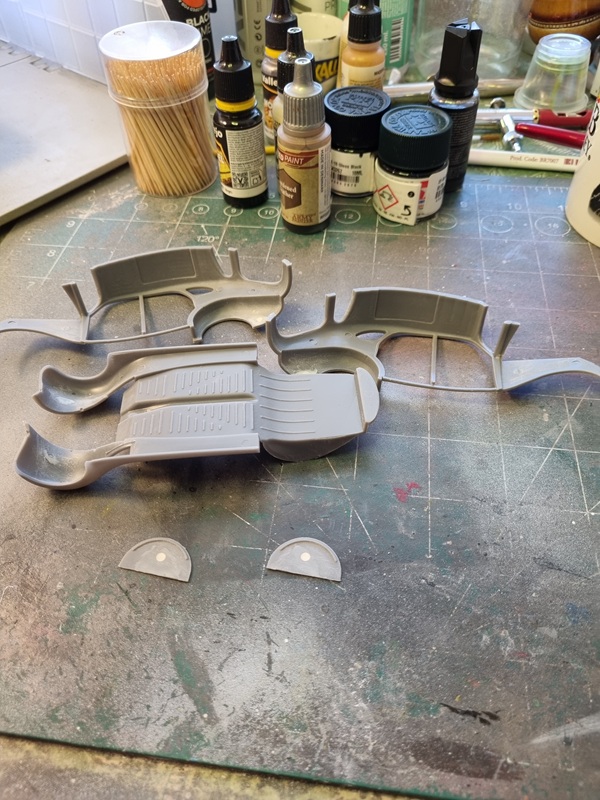
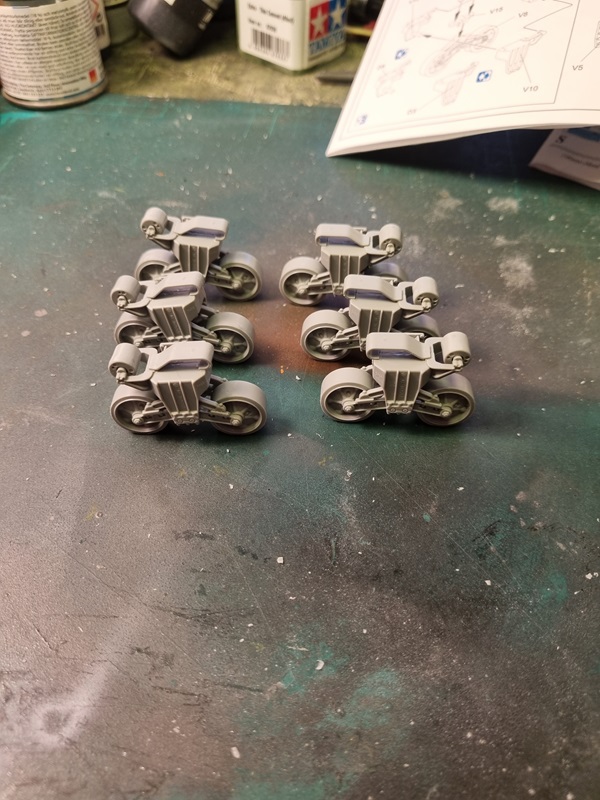
I also painted a few parts like the seats, tires and rear transmission.
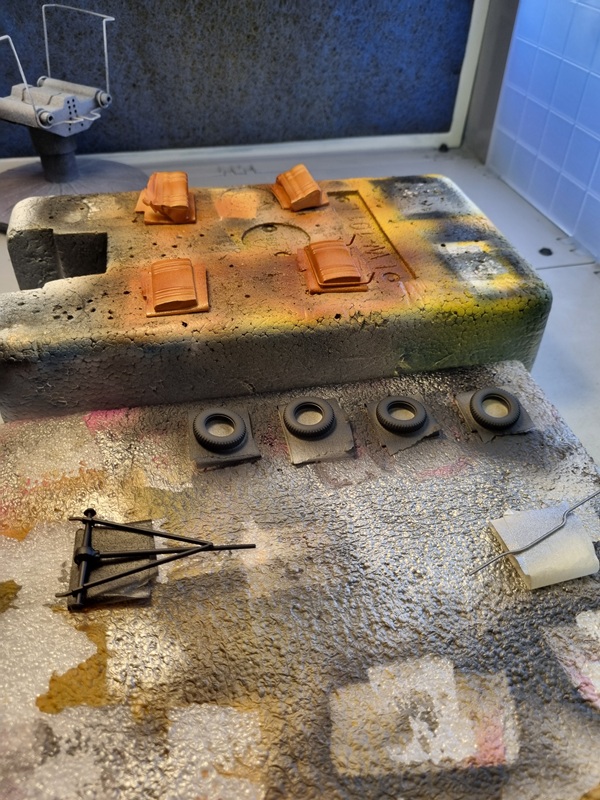
Time to finish the assembly of the chassie.
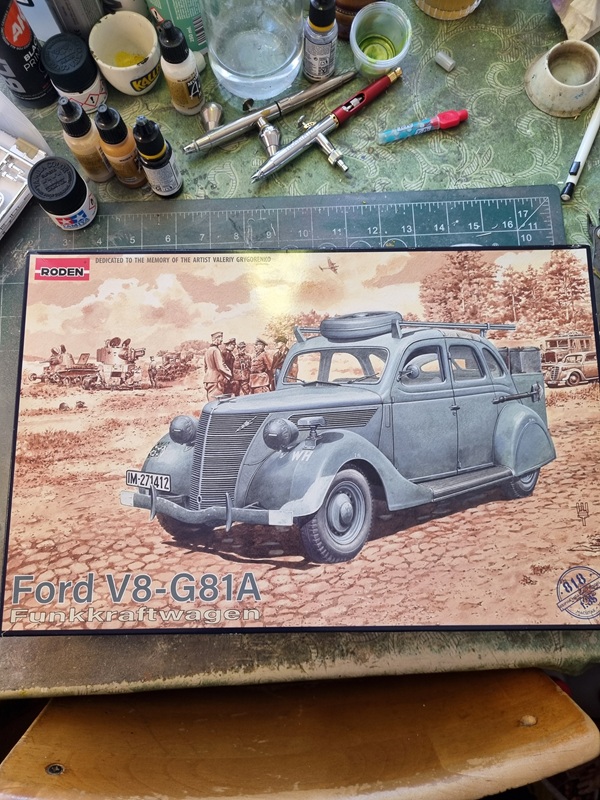
Ford V8-G81A Funkkraftwagen – Roden 1/35 – part 1

I got this kit from a friend at an build weekend some time ago.

Then last sunday I was at a build meeting with a few other friends. Just a few hours of building and no means to airbrush. So I had to build what I could without painting.

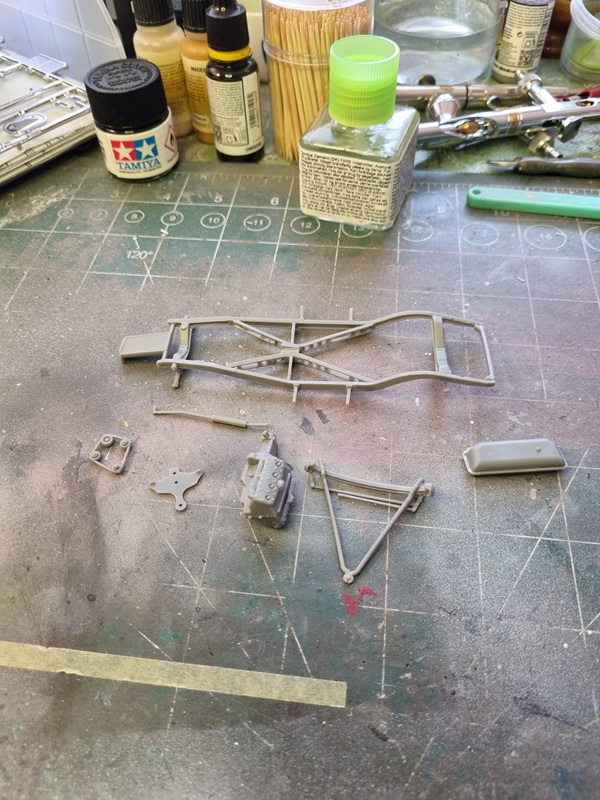
This is the first time I’m building a Roden kit. The first thing that I built was the frame and then the engine and a few other parts. I think it was a bit of unneccessary breakdown of the frame which made it very wobbly and a bit warped.

I finished assembling the engine. Soon time to paint before further assembly.

Sherman Firefly – part 3

This is just a quick update to show my solution to some of my PE problems.
I cut two plastic strips in the same length as the PE part and glued them in place.
I also figured a solution for the other part and folded it as good as possible.

I glued the hatches and will paint the periscopes and add them later.
Some more etch was added, but there’s more to do.

Next I’ll try and fold and glue the lamp guards.

B-25J Mitchell “The Strafer” – part 8

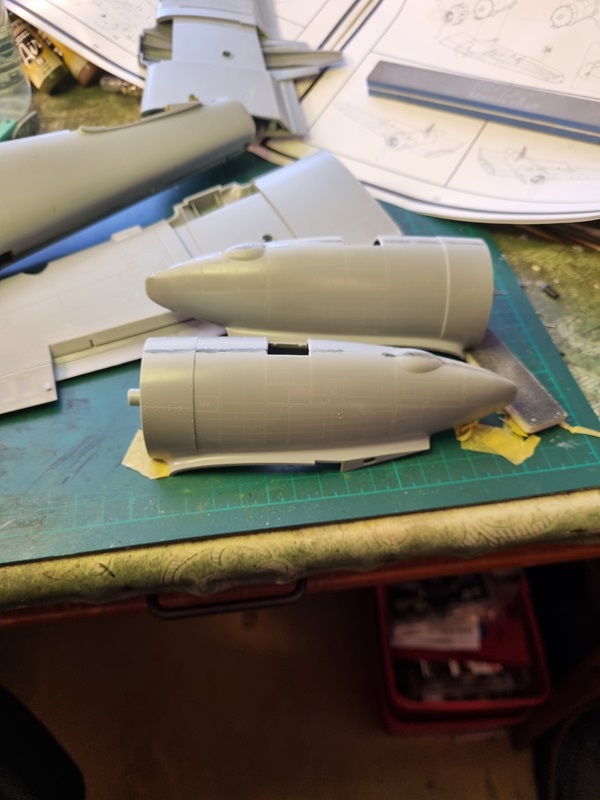
With nice seams sprue glue is good enough even if you have to go over some parts more than one time. Sprue glue dries gloss and after sanding it’s easy to see if any of still is gloss.
The nacelles got a little more sprue glue.

Then after sanding the body I had to sort a few more spots.

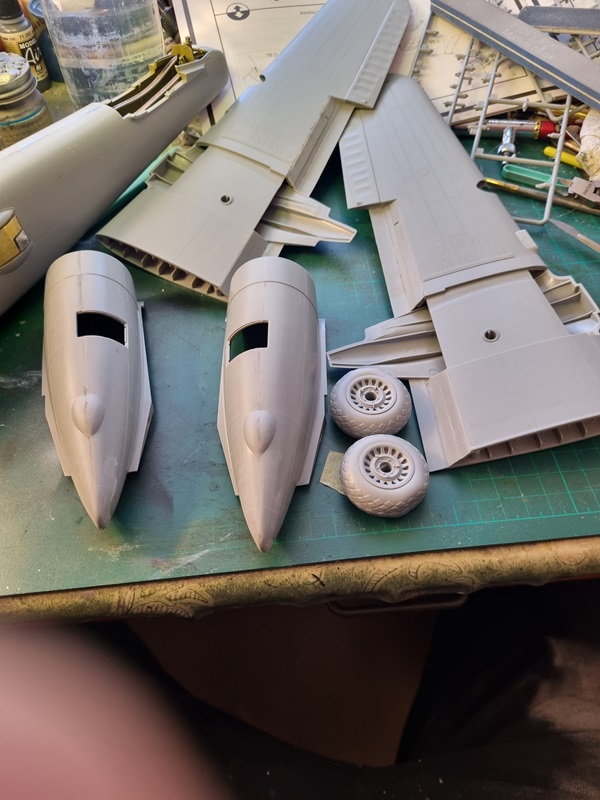
The tires was assembled and wings and nacelles are ready for some paint.

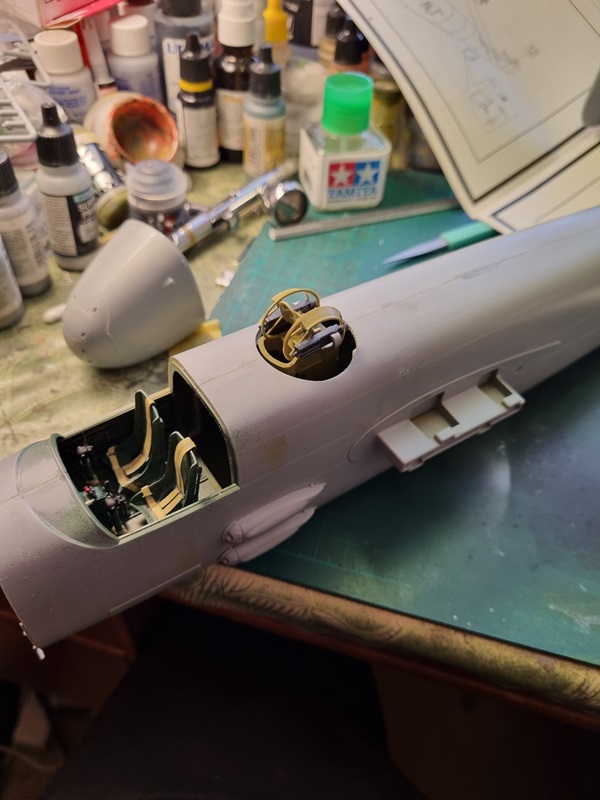
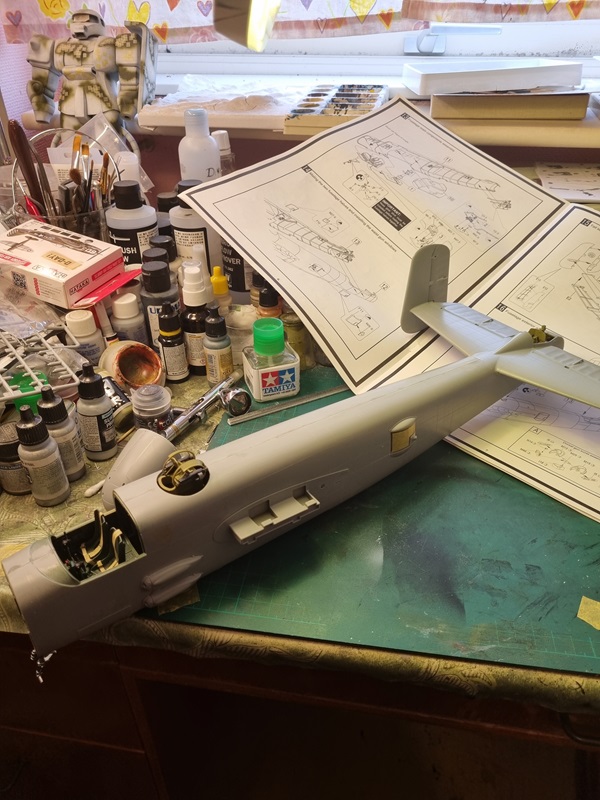
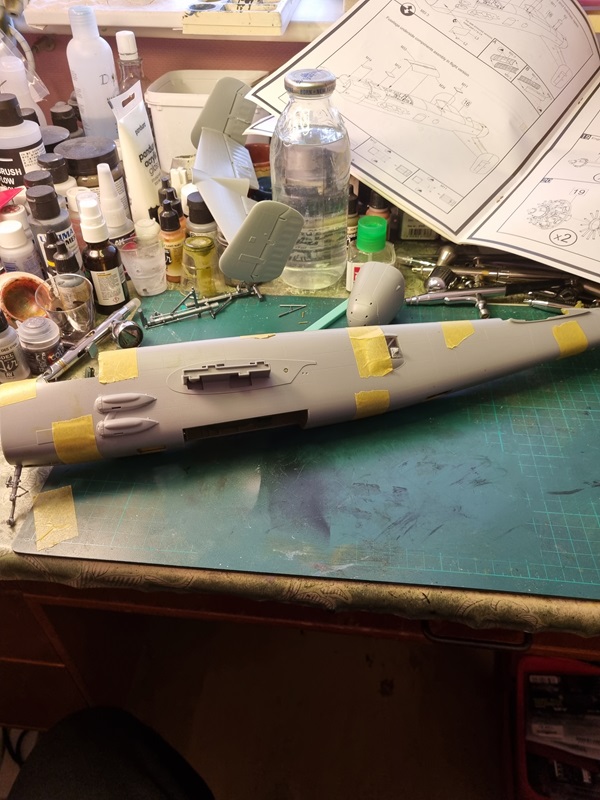
Done sanding the body.

The canopies and turret was masked.

Next will be painting the area above the IP before glueing the clear parts.

B-25J Mitchell “The Strafer” – part 7

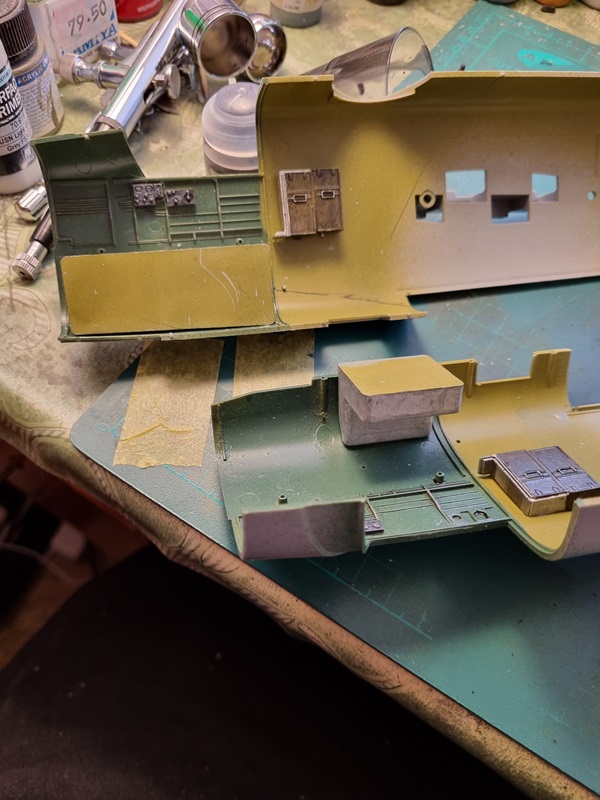
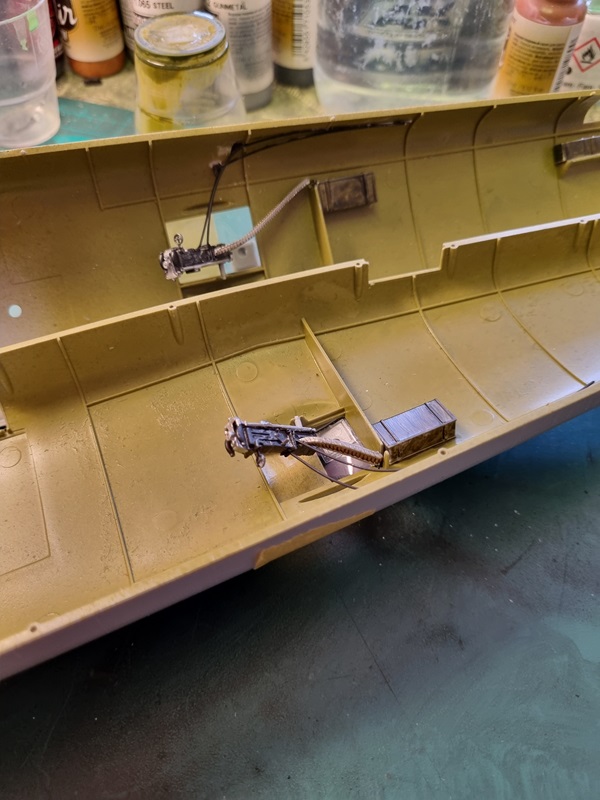
I did a bit of dry brushing and the glued the weights in place.

The mid section guns.

The landing gears got painted.

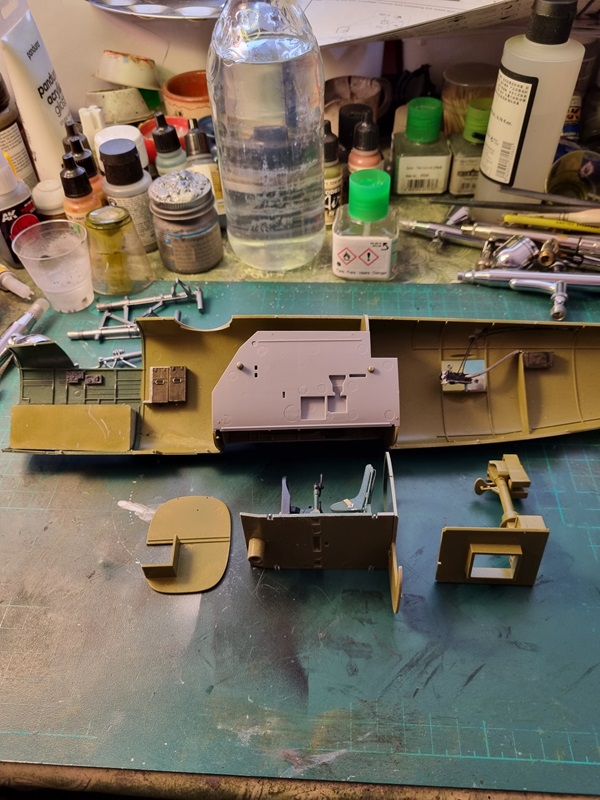
Once that was done I started glueing interior parts in place.

The front landing gear was glued in place and then the cockpit floor and turret was glued before joining the fuselage halves.

While handling the plane I accidently broke part of the front gear. Hopefully I can get it in place later.

I also did a bit of dry fitting of the wings a tail assembly.

It’s quite a large beast! Luckily I don’t have to glue the wings until when it’s time for final assembly.

B-25J Mitchell “The Strafer” – part 6

I struggled a bit with the metal parts to the landing gears, especially the smaller ones. So I took a break and built a few (quite a few rather) dwarfs for my Warhammer army.

I decided to have a go at it again and after checking both instructions I realised that the small parts I needed also was provided with the kit.

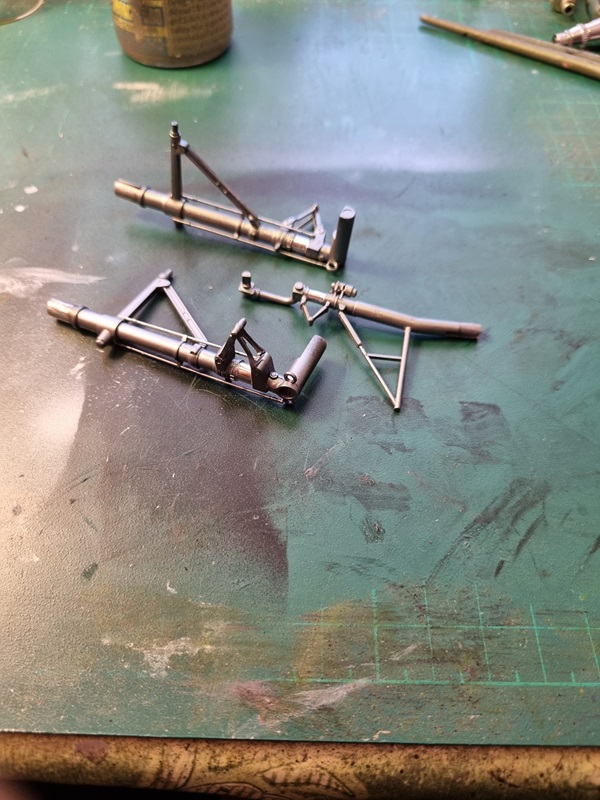
That made things a lot easier for me, and after some work they looked like this.

And sometime later they got black primer.

It was first after taking the pic that I noticed that one cable had moved a bit. I’ll correct that asap.

B-25J Mitchell “the Strafer” – part 5

After sorting the instrument dekal, the IP was glued in place.

A little weathering and it’s done!

Some push rods was cut off!

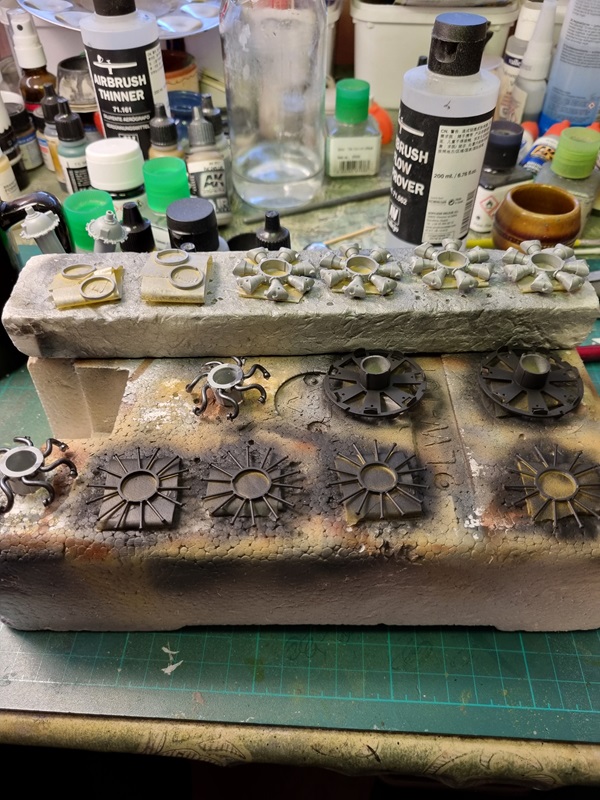
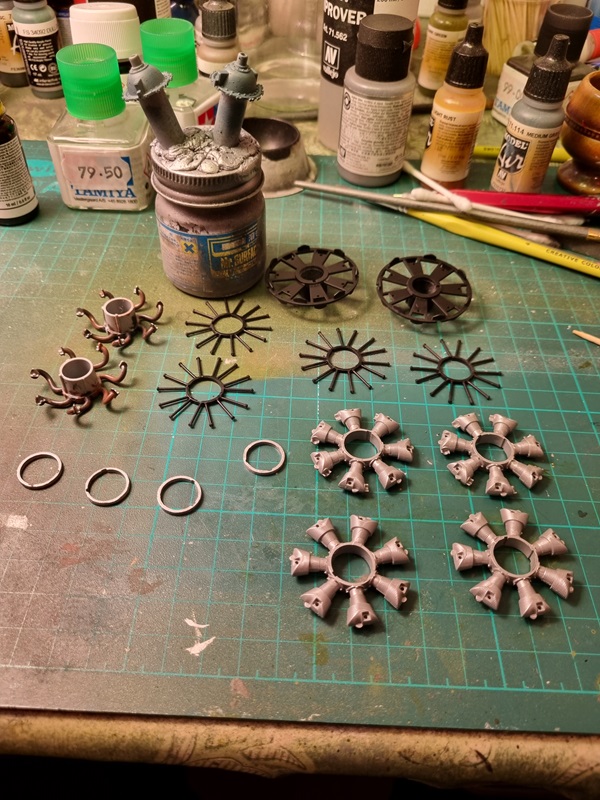
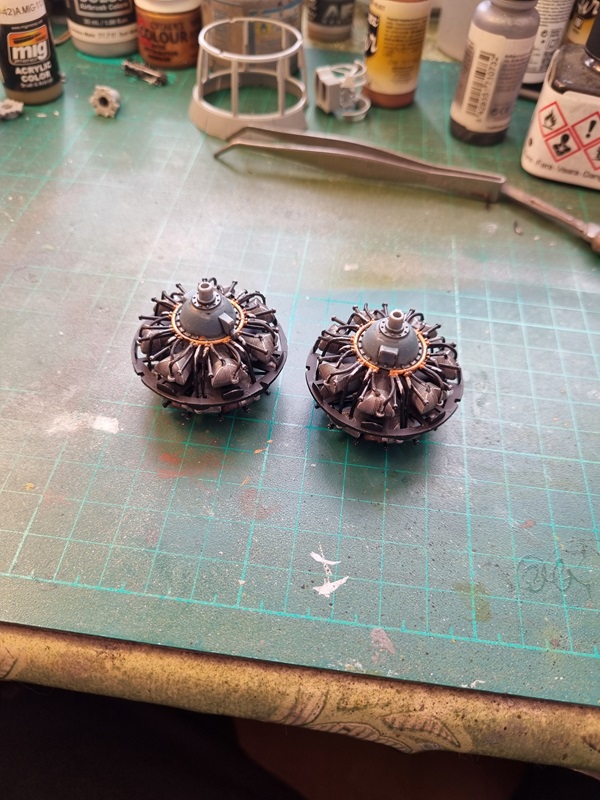
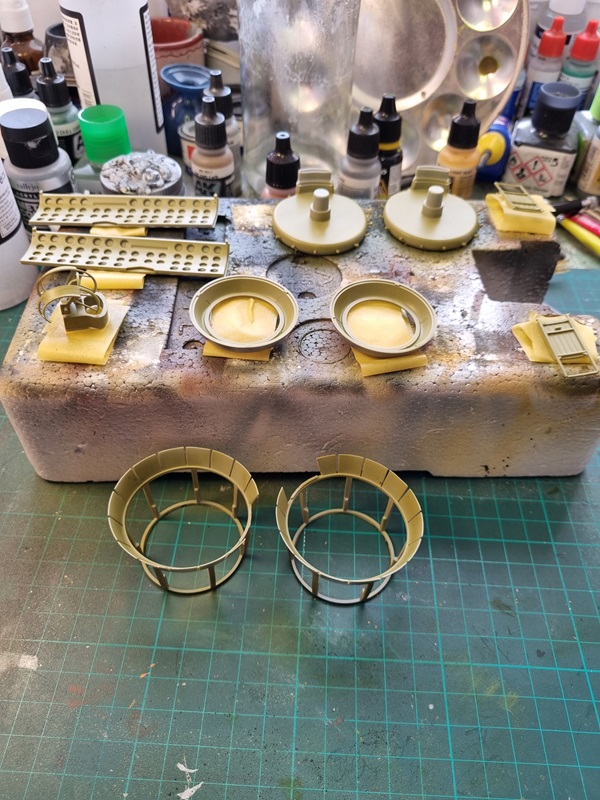
The engine parts was painted.

Then I started assembling the engines.

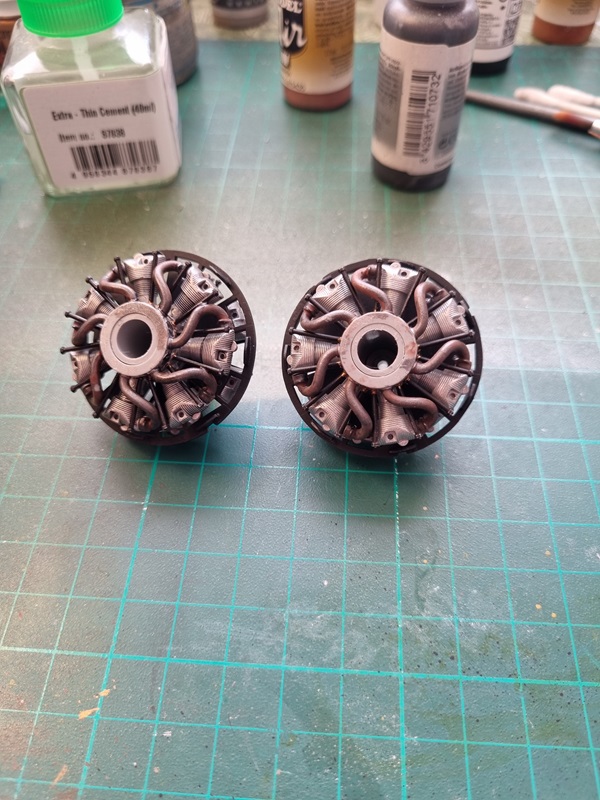
I used Tamiyas panel wash on the back row cylinders.

I then decided to use the wash on the whole engine and the fuel lines was glued in place.

It wasn’t easy to get all the fuel lines right, and even worse was the exhaust pipes that had to go inbetween push rods and the other pipes.

Some more parts was painted interior green.

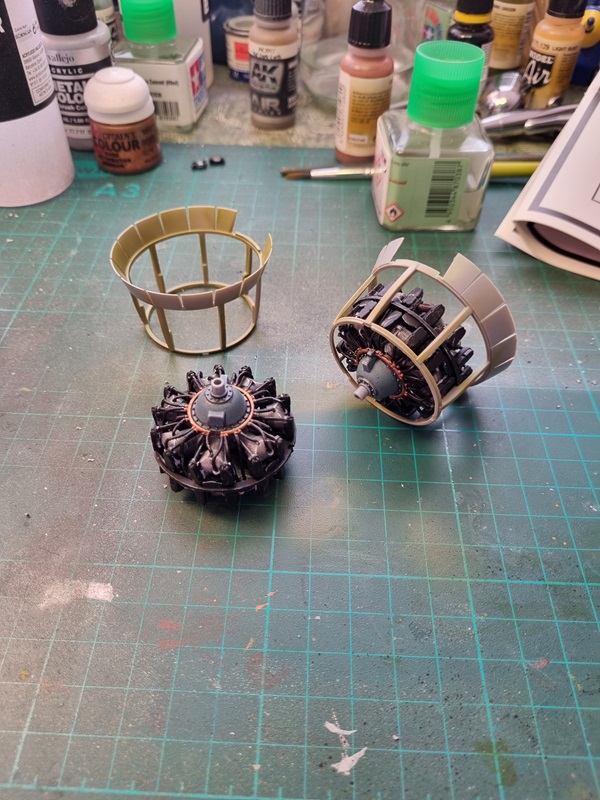
With the engines done, I did a little test fitting.

A little touching up to do, then I can glue them in place and start adding the exhaust pipes.

B-25J Mitchell “the Strafer” – part 2

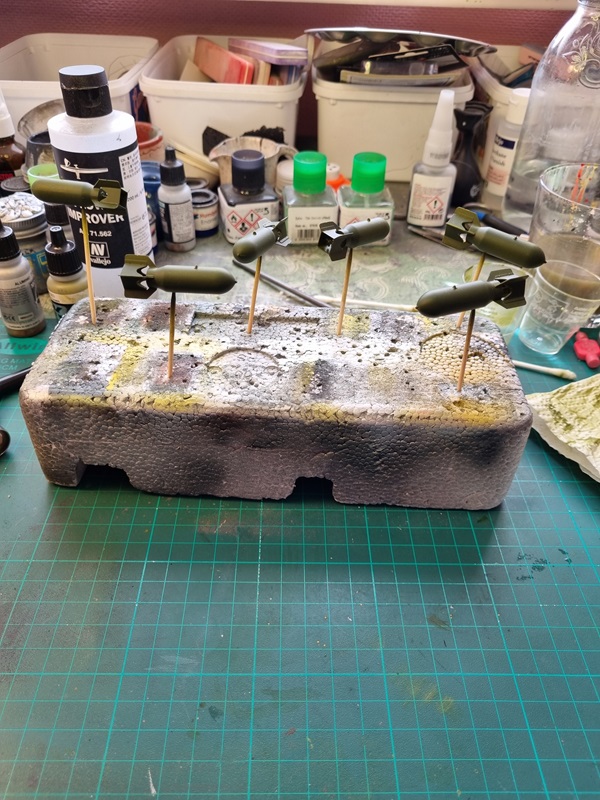
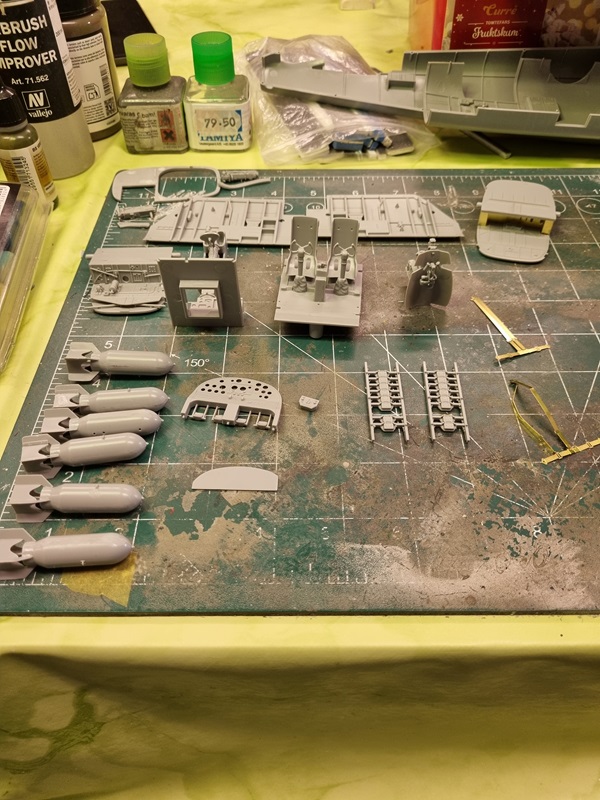
The bombs was painted dark green.

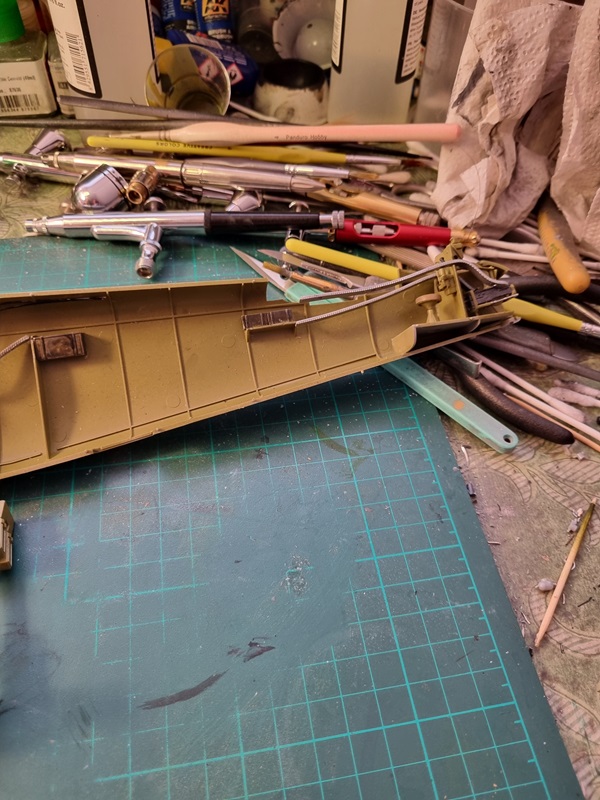
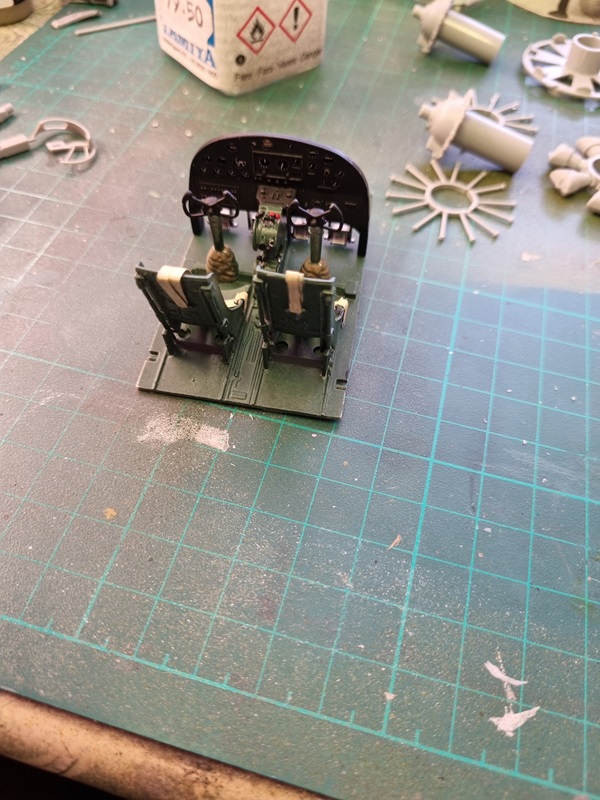
The interior was painted interior green, and I’ve also started painting a few details.

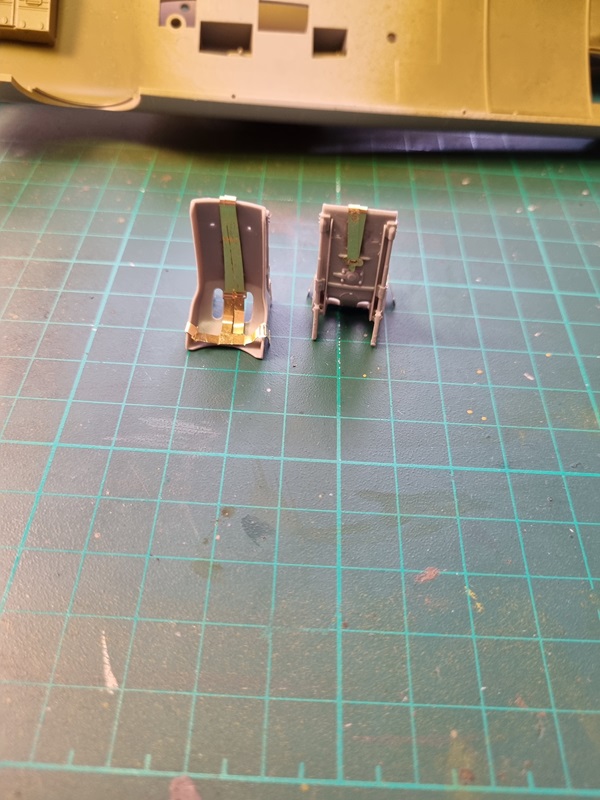
I’m not happy with the seat belts as they don’t sit as I would like them to do.

I’m thinking of moving them backwards into the seat, and just let the rear end where it ends when that is done. Otherwise perhaps a Quintas set would be the best solution, but that would take some time, and I don’t like delays.
It’s possible to work with the wings, engines and other stuff meanwhile. I’ll think about it.

B-25J Mitchell “the Strafer” – HK Models 1/32

Yet another build for the LSP Silver jubilee group build. As I’ve already built a P-47D in “silver” I thought I had to find something “25” as well. So I got myself this kit.

I brought the kit with me to the build weekend I was attending last weekend.
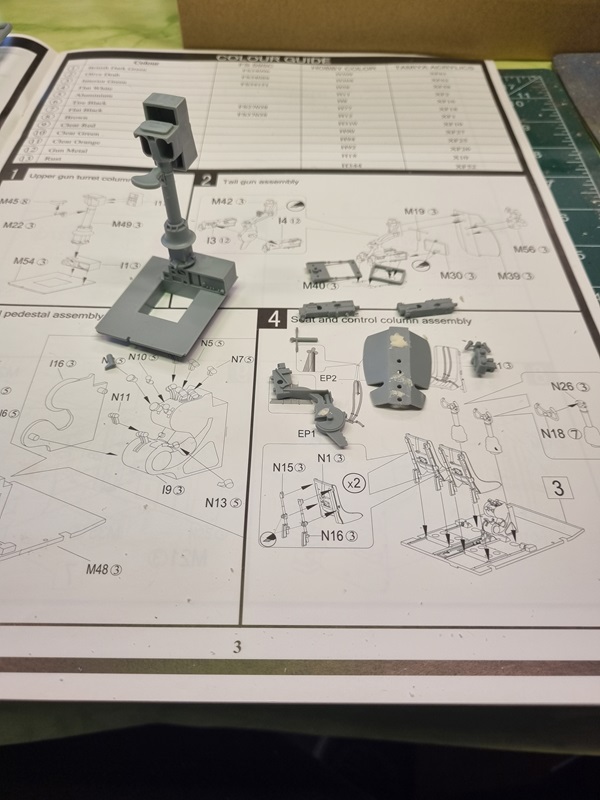
I started building the interior as usual.

The instructions are a bit unclear, not telling exactly where the seats should go, and the parts doesn’t help much either. It’s a bit of guess work, but looks alright to me.
I also built the bombs as they’re part of the interior and needs to be in place before closing the fuselage.

More parts was assembled and I even started working with the PE belts.
PE isn’t my forte and the belts are driving me crazy. Besides it wasn’t easy to work with them with the seats in place, so I used some Tamiya glue and removed them.

I also started painting the interior parts, but messed up a bit, so I have to redo parts of it.
At that time it was time to break up the build meeting and travel home.

More pics later when I’ve sorted the paint and hopefully even the belts.