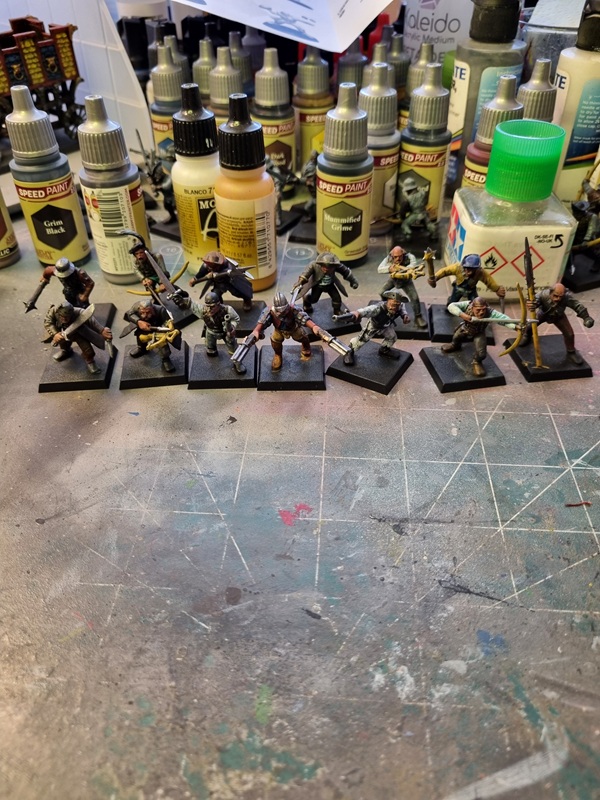
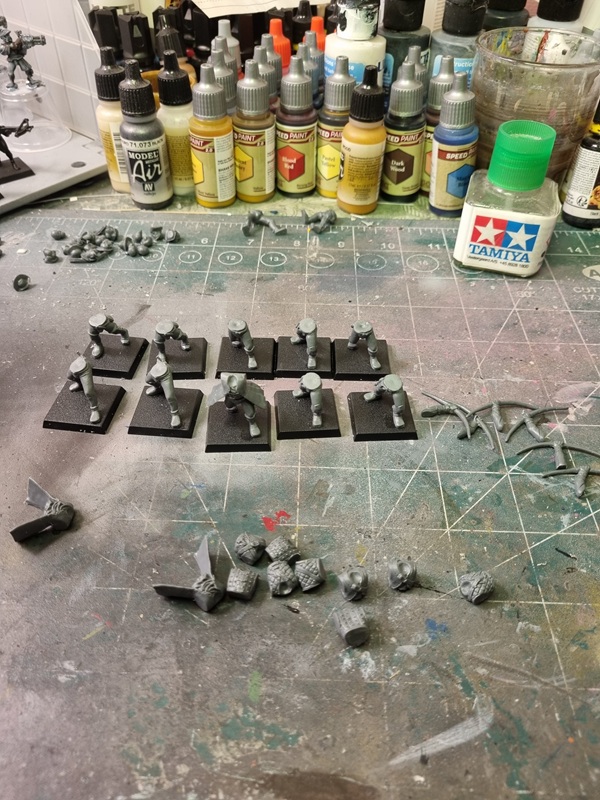
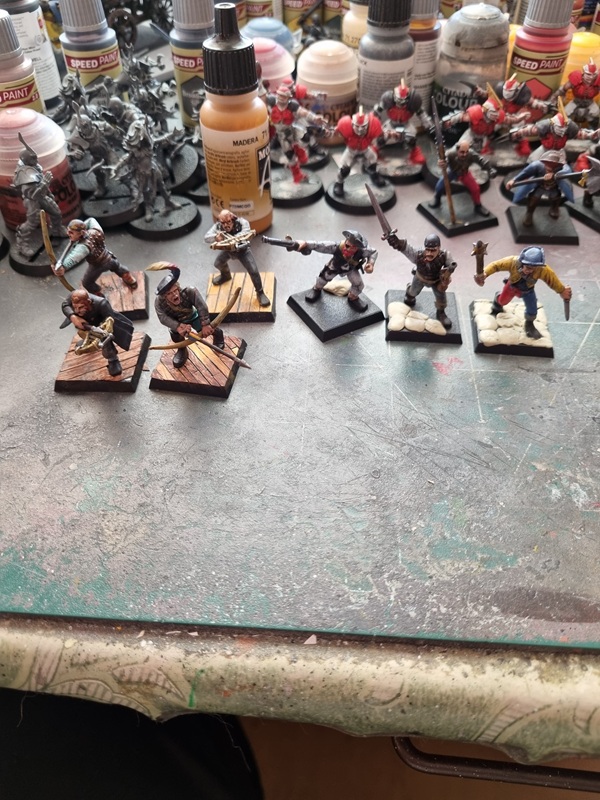
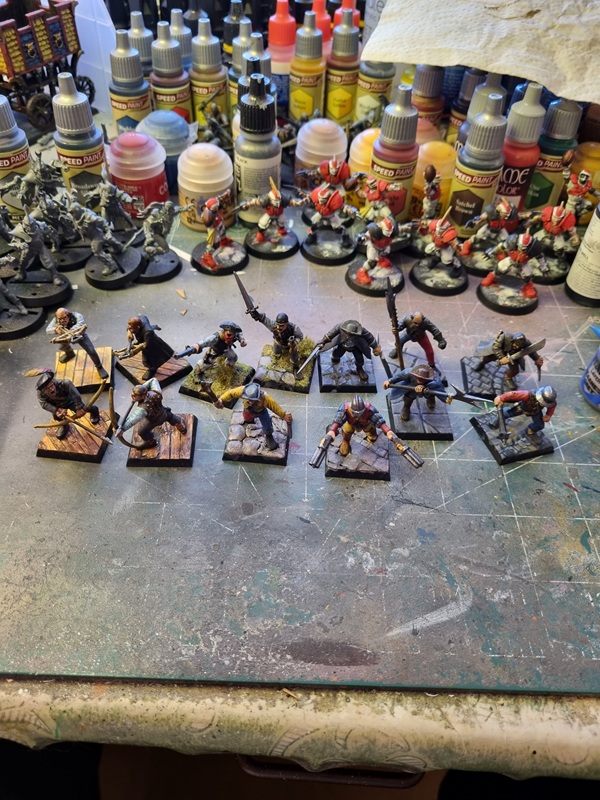
I started making bases for my Warband. I decided that my marksmen should have some kind of wooden floors. So I cut plastic stripes and glued on.
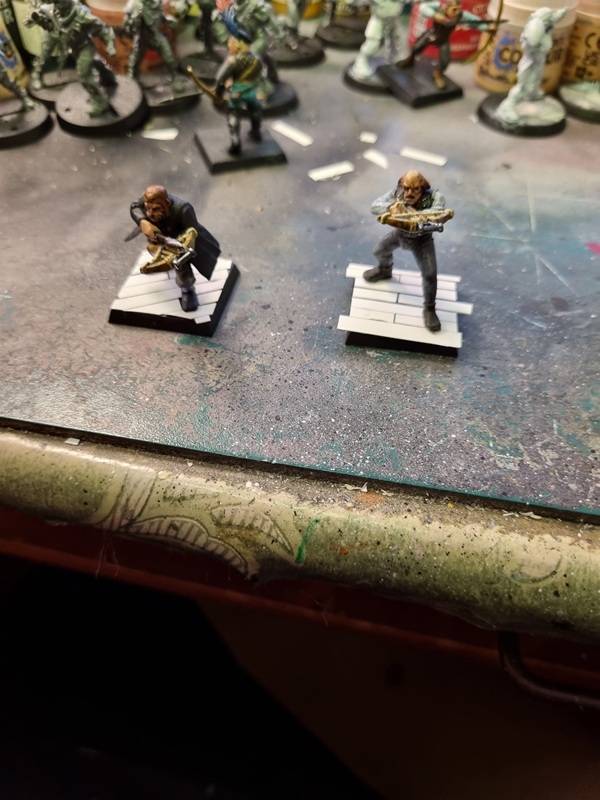
For the first one I tried to fit the stripes around his shoes, but that was quite complicated, so for the other three I carefully removed the figures before glueing the stripes.
Here the three first ones got paint on the boards.
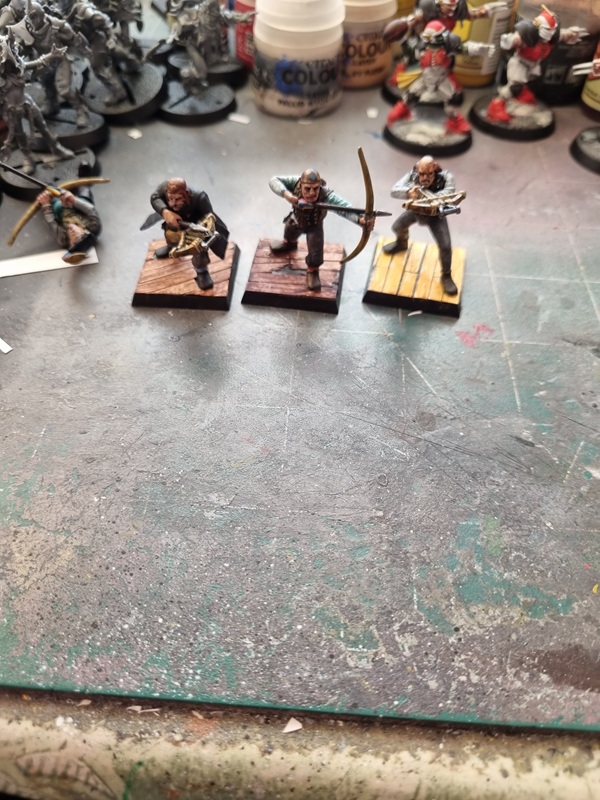
The floor for the fourth one took a while longer. Quite happy with how they turned out.
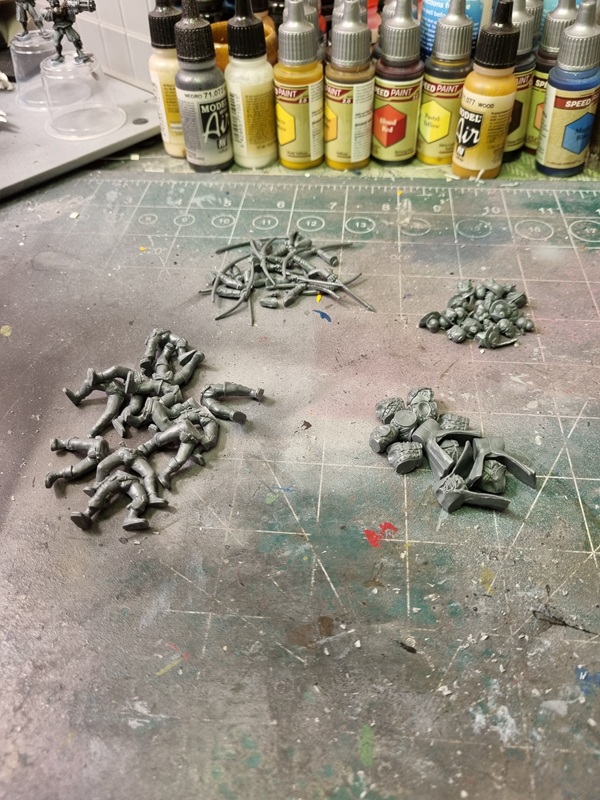
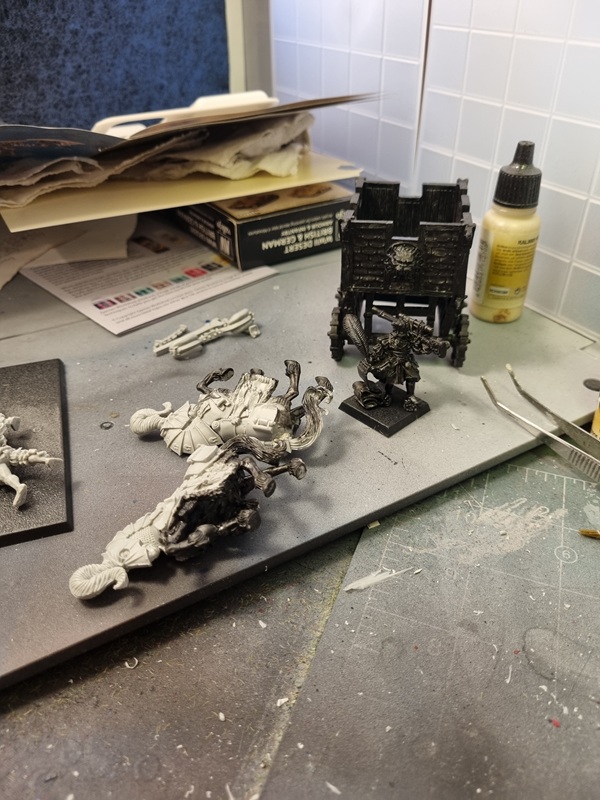
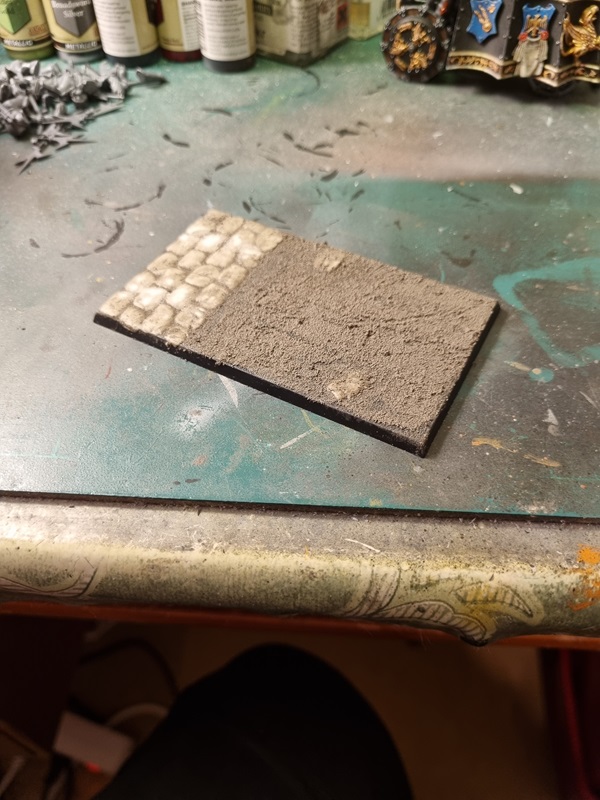
I also started making some kind of stones or bricks with 2k putty.
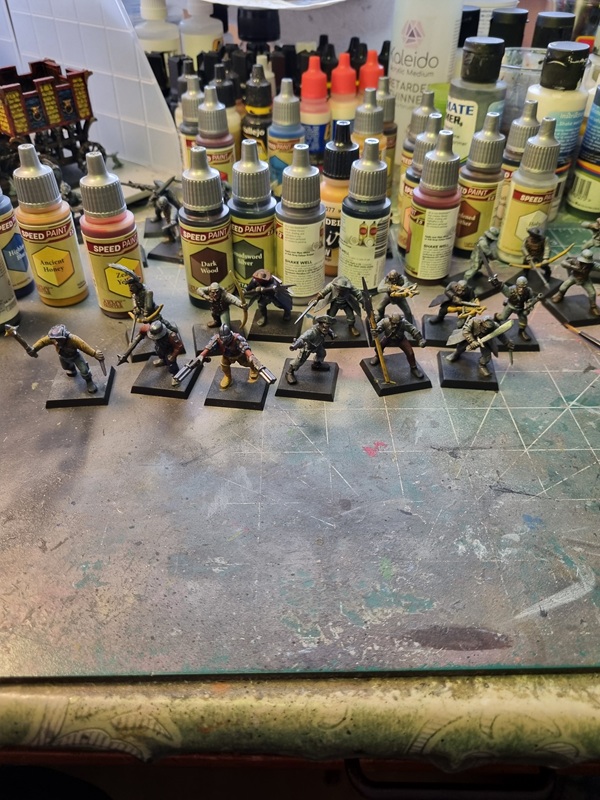
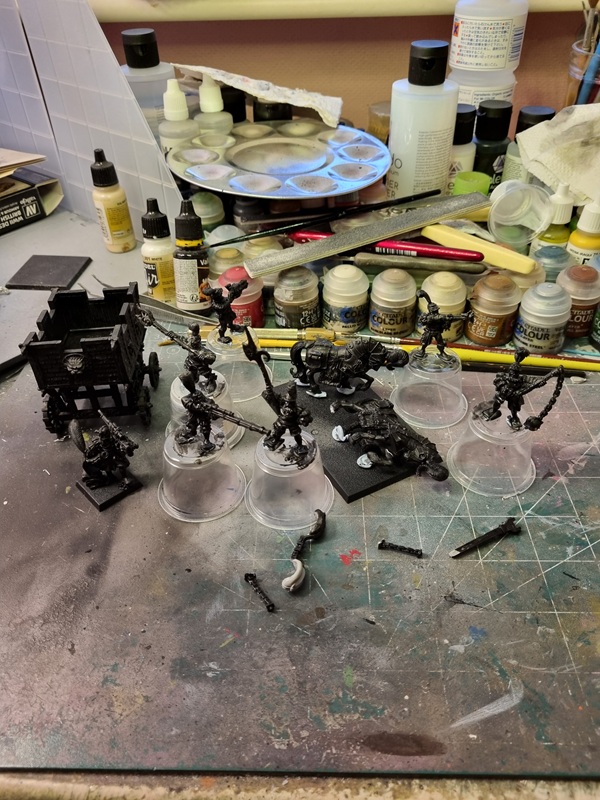
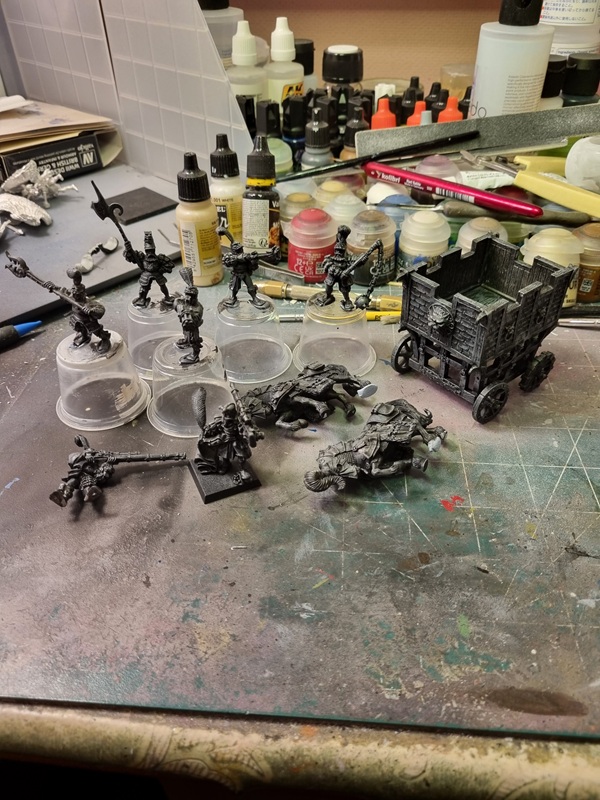
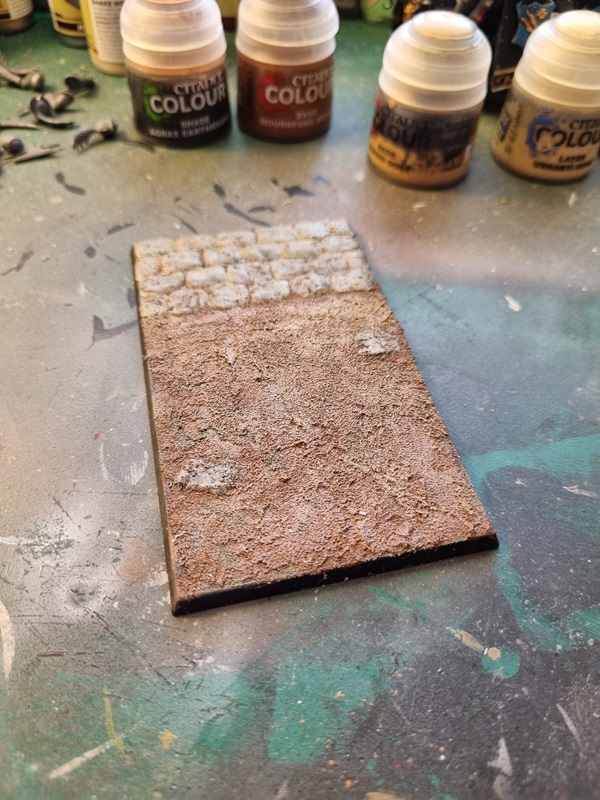
I also made bricks from cut pieces of cardboard. The rest of the figures got grey paint.
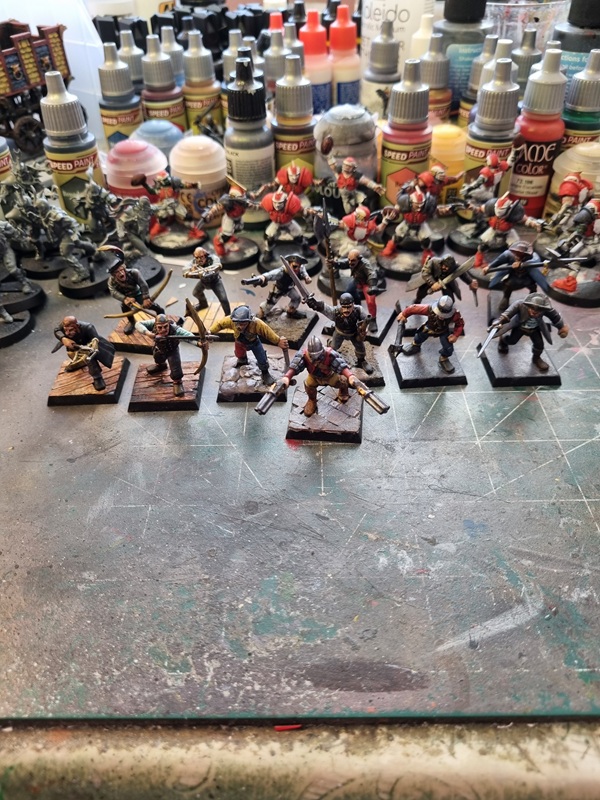
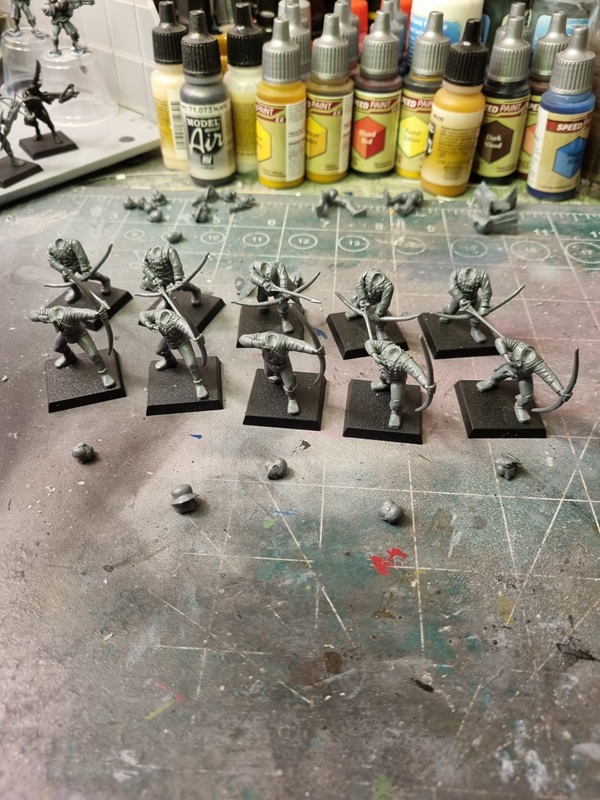
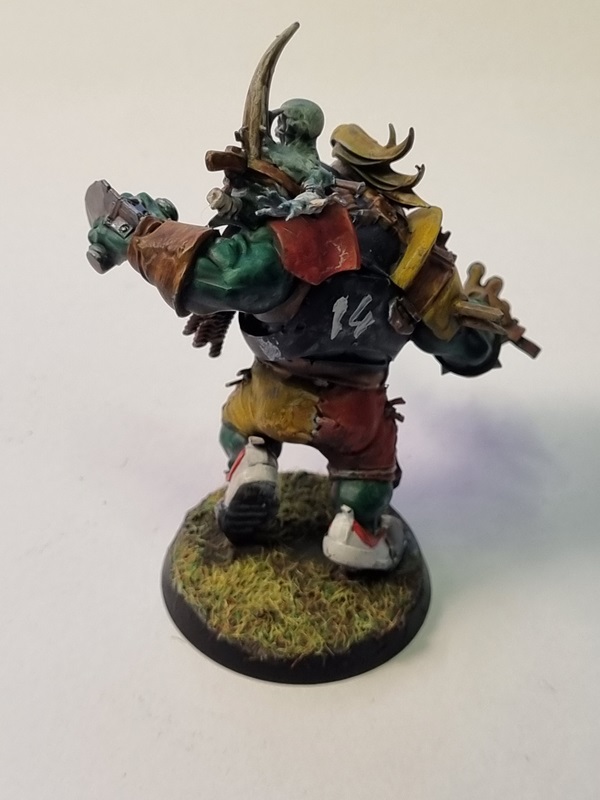
I added some dirt, tufts and grass on a few.
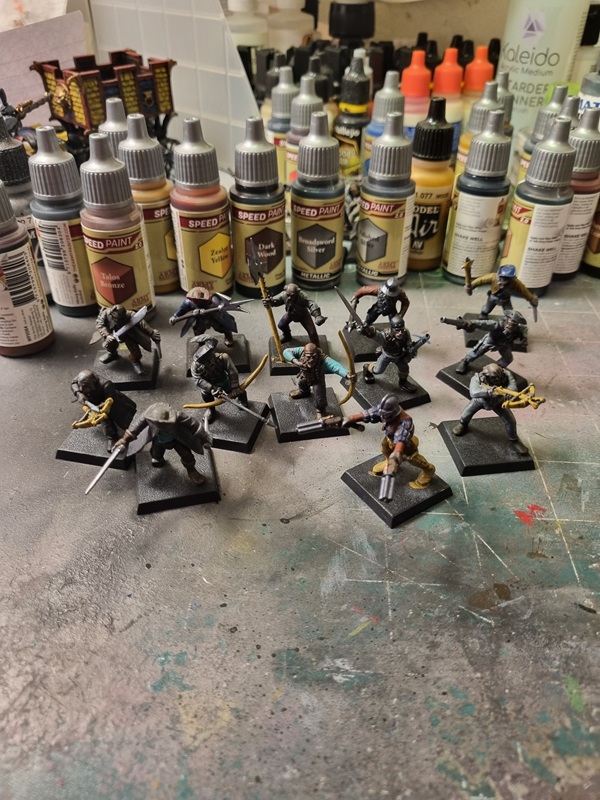
For those with grey bases, I used a fine brush to paint black, forming bricks. Then I used light grey to make some highlights.
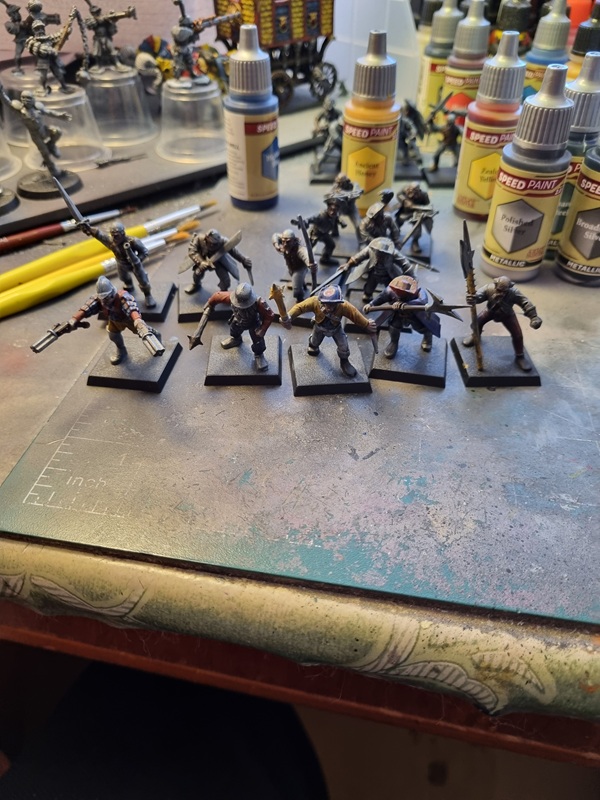
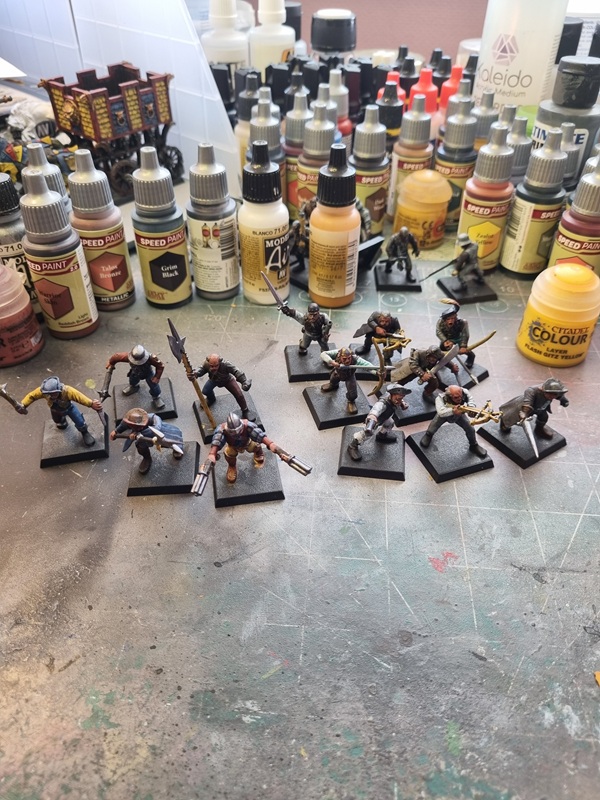
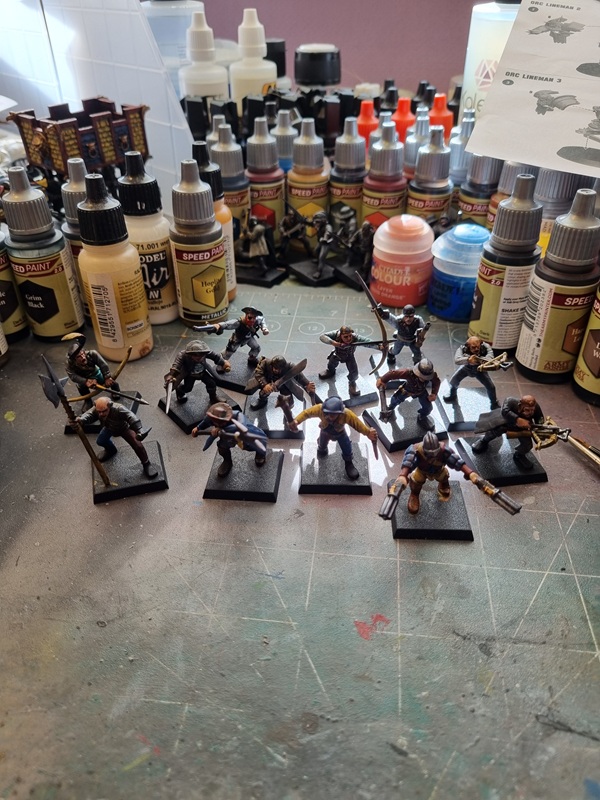
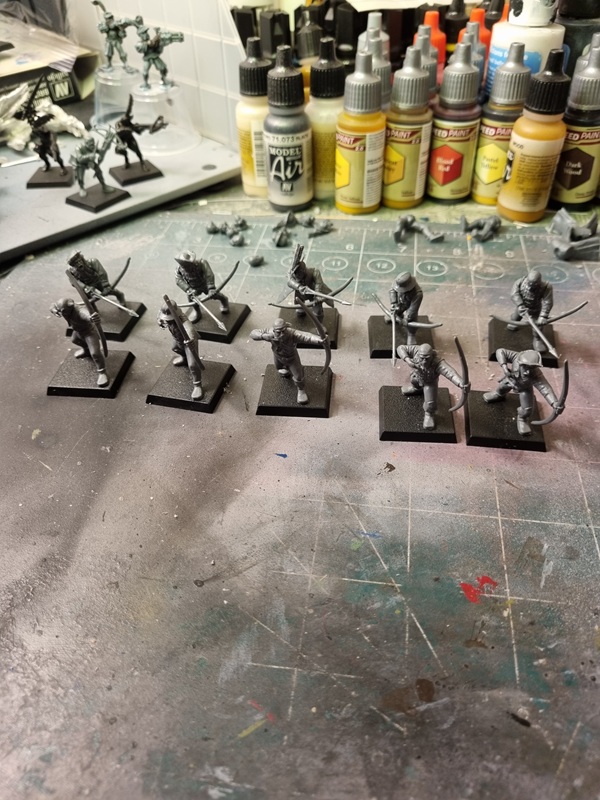
After a while I considered my warband that I called Reichwalds Fiffiga Filurer (Clever tricksters).
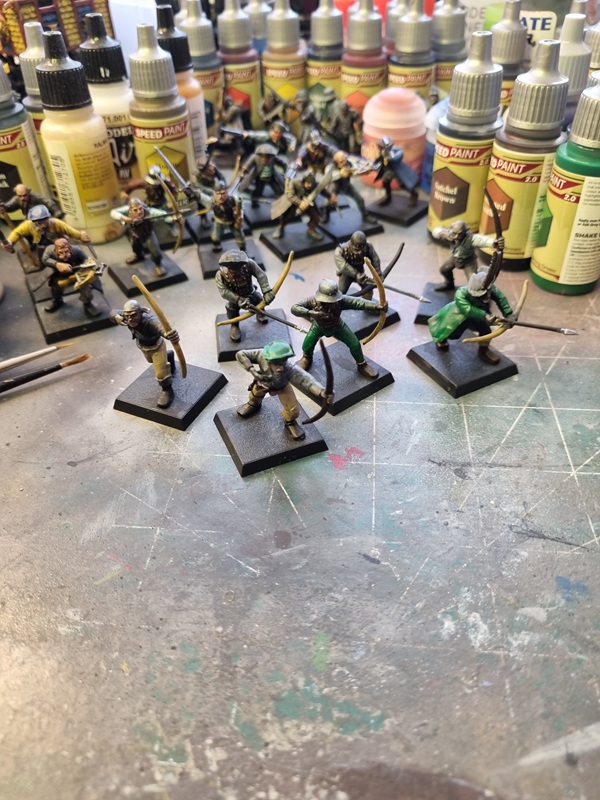
Now I just need to finish the rest of my militia figures.