Last weekend, starting on thursday and ended on sunday, I was away on a nearly 2 hour trip to Partille, outside of Gothenburg. Getting together with some of my model building friends, spending time building, chatting, eating and sleeping. Drinking a few beers also was part of the fun!
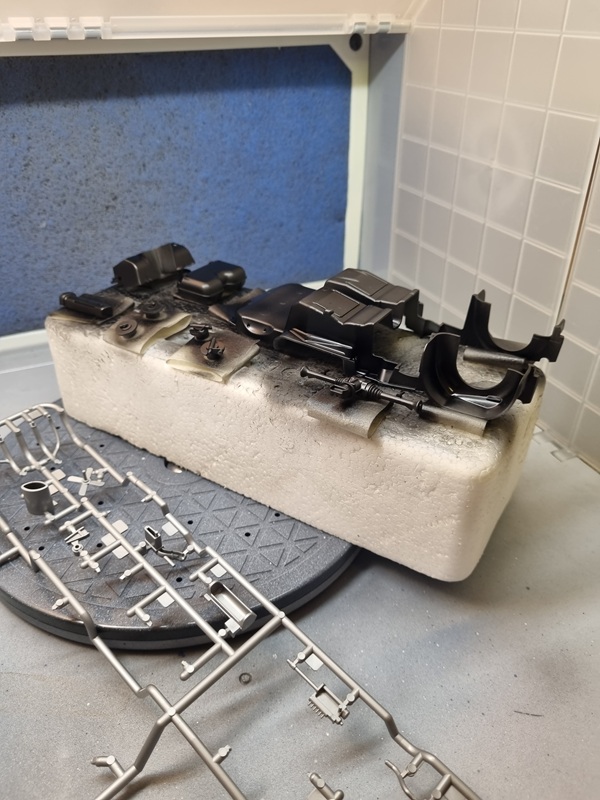
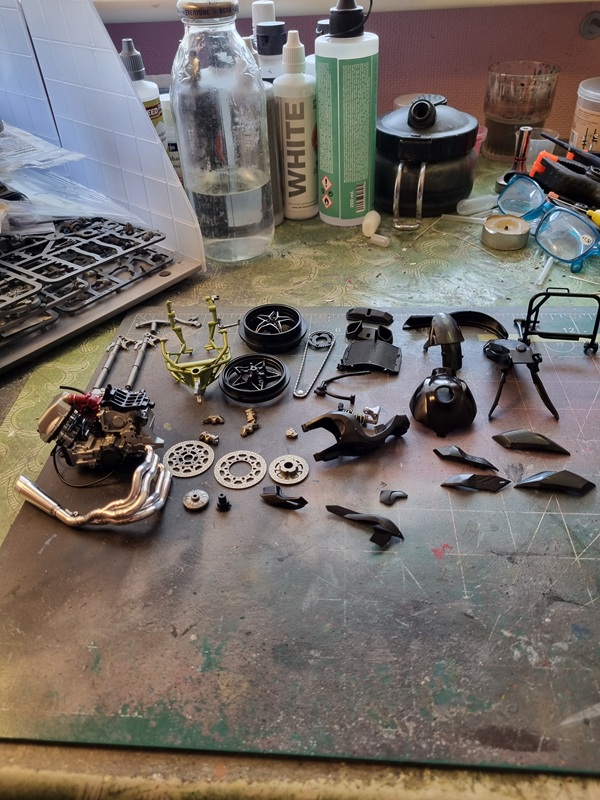
I brought some models, colours and tools, and after unpacking I could start building. I brought both kits and Warhammer soldiers to paint. I decided to start with my Kawasaki Ninja in 1/12 from Tamiya. As most Tamiya kits it’s fairly easy to build.
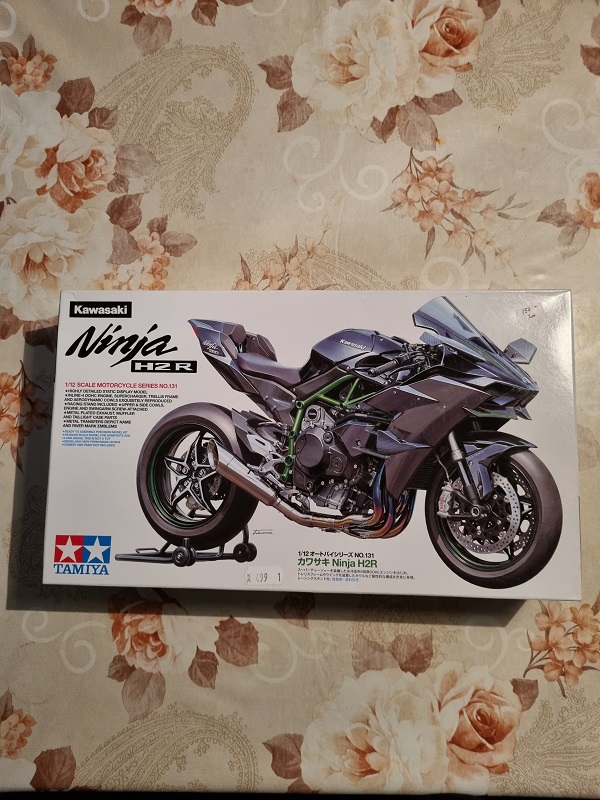
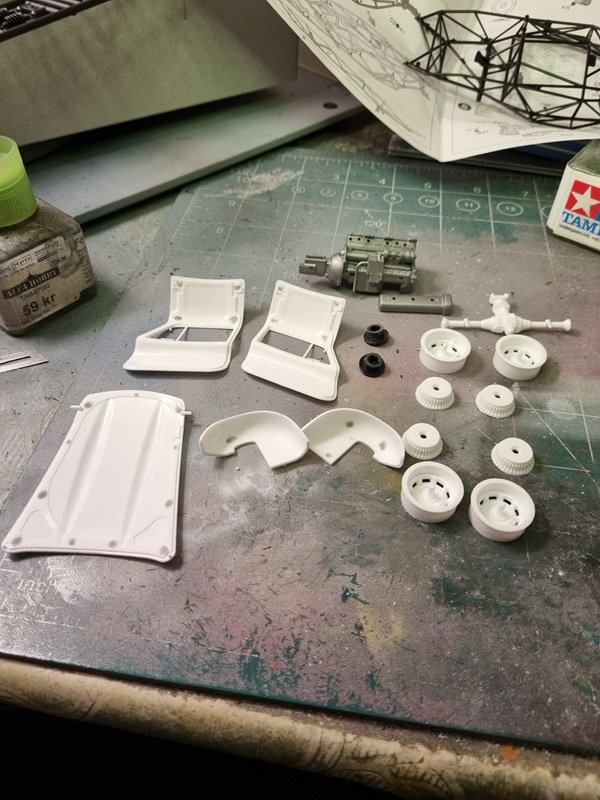
The engine requires some prepping and painting before assembly and that goes for the rest of the bike as well. Here’s the only pic I managed to take on the build while there.
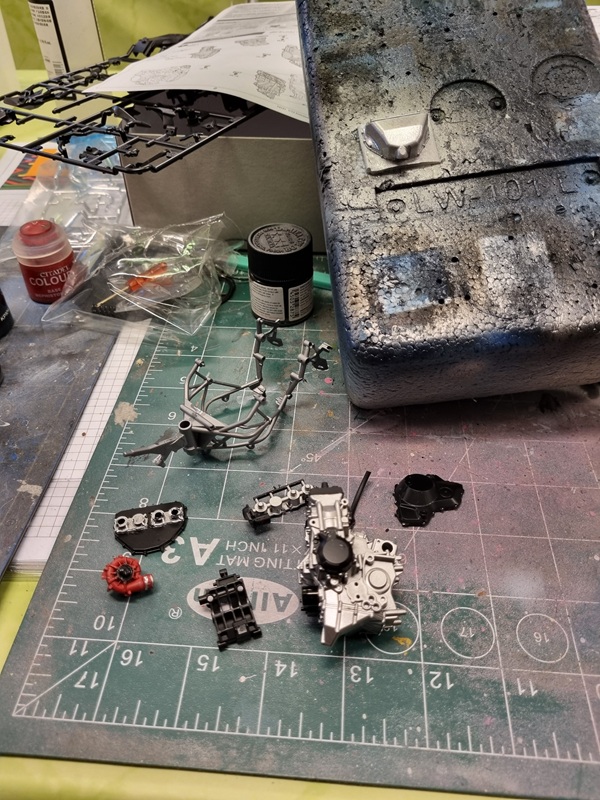
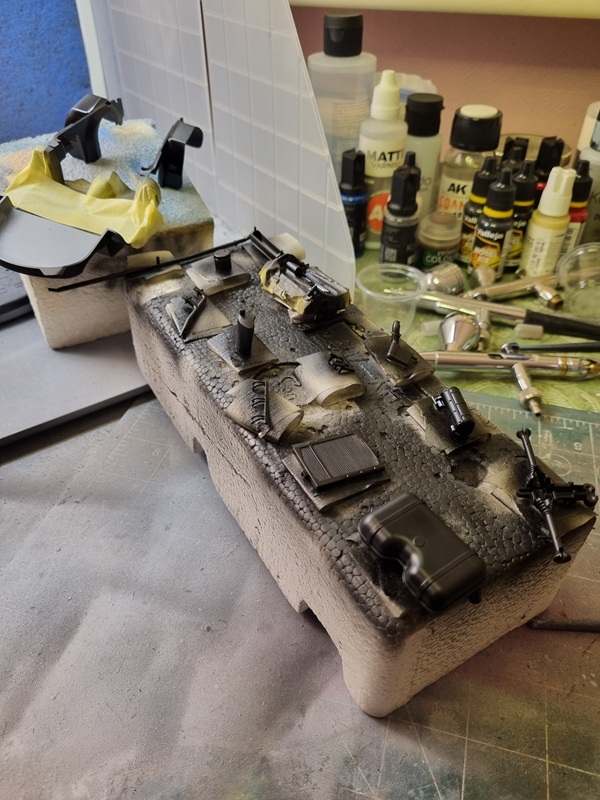
After painting the frame and building the parts for the suspension, I was supposed to screw it together with a tiny screw. I managed to drop that screw never to find it again.
I have to solve that somehow, but I decided to put it back in the box until later.
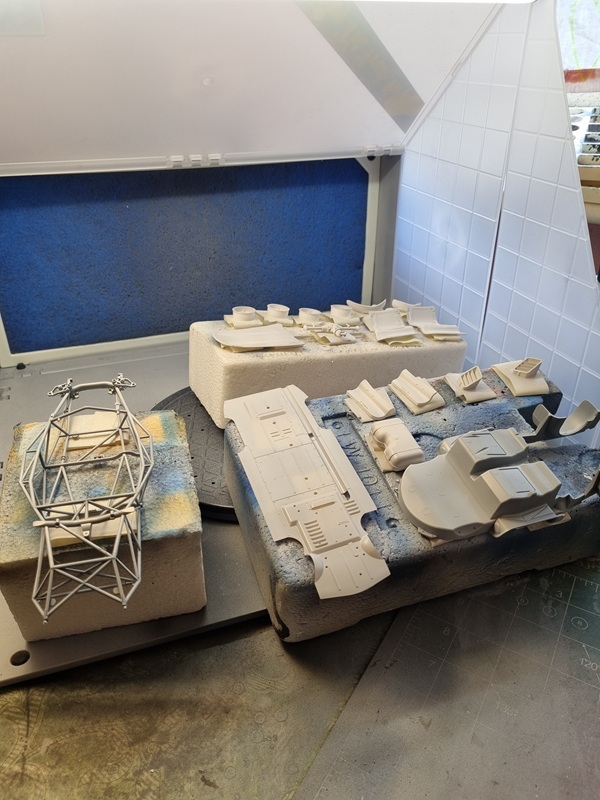
I took a picture when I got home to show how much I had done.
I had brought a few colours (alclad mainly) to a friend and he had a model kit for me.
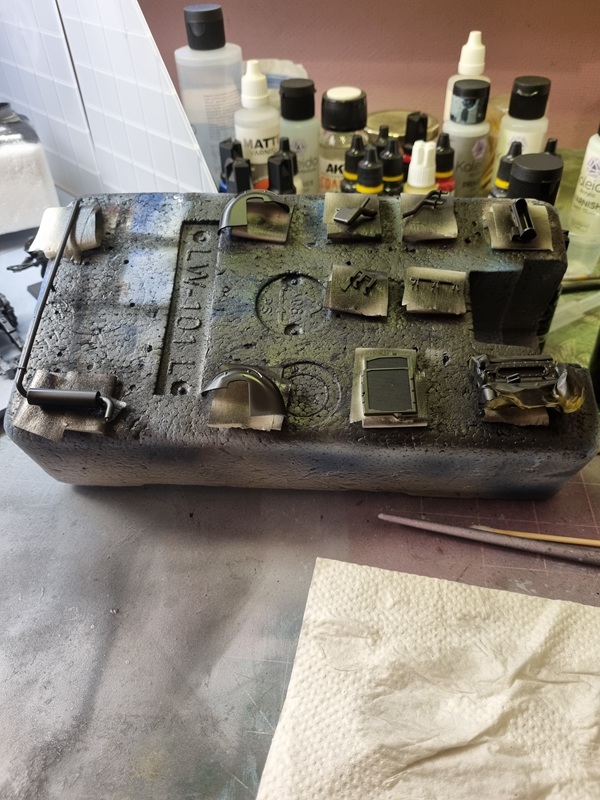
It was a Citroën 19DS in 1/16 from Heller. The kit was started, but I thought I’d have a look.
The work that was done looked fairly okey, so I decided to give the kit a go.
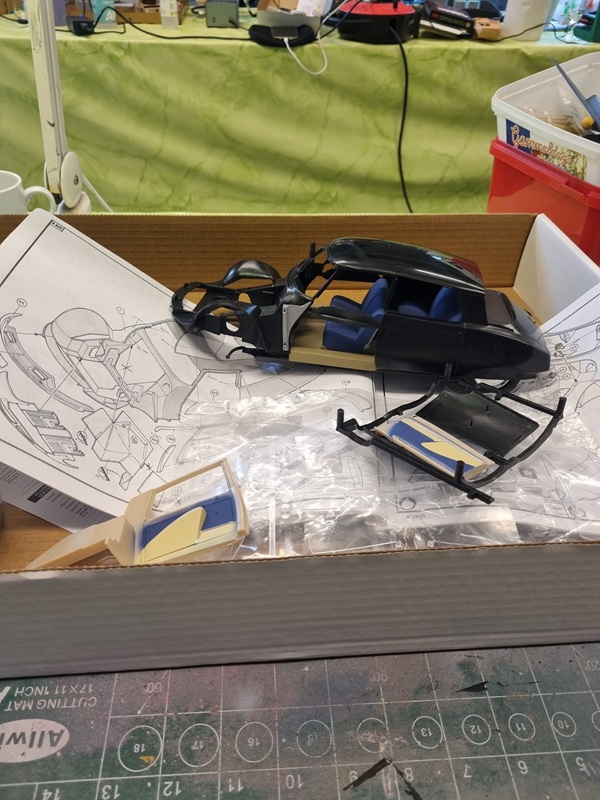
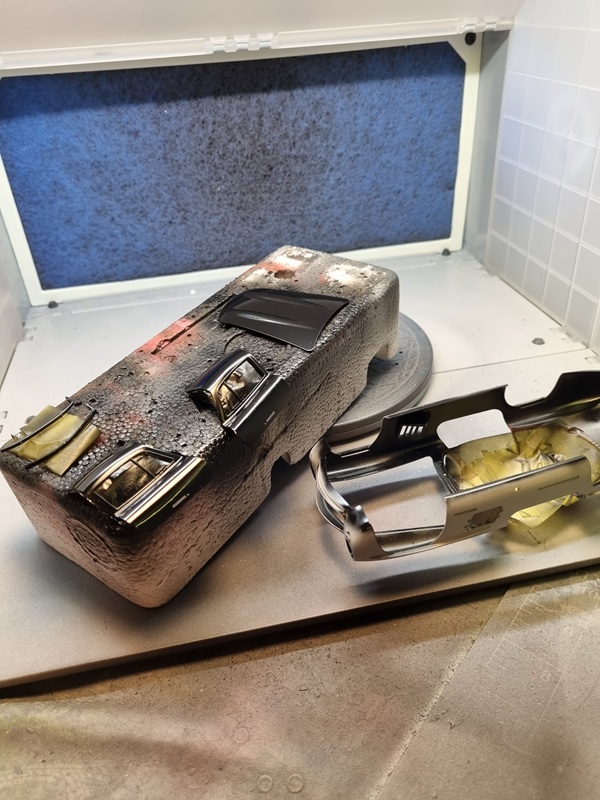
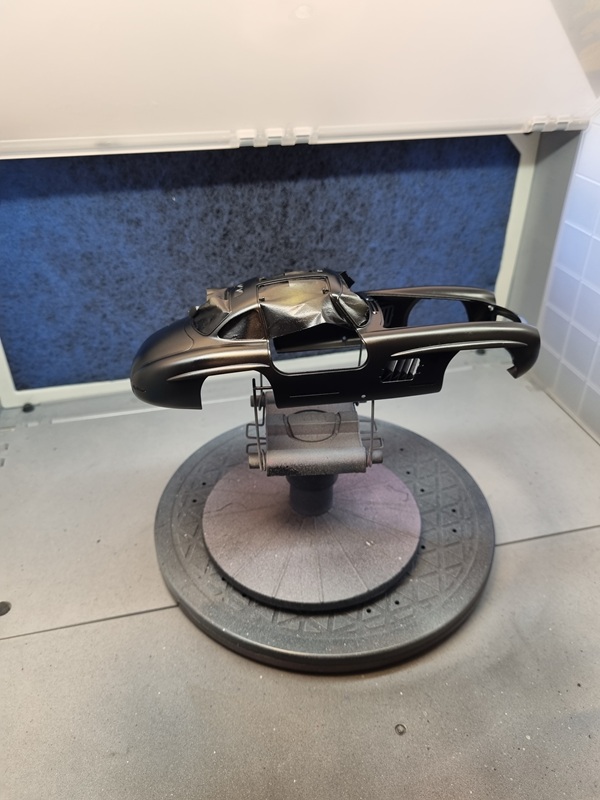
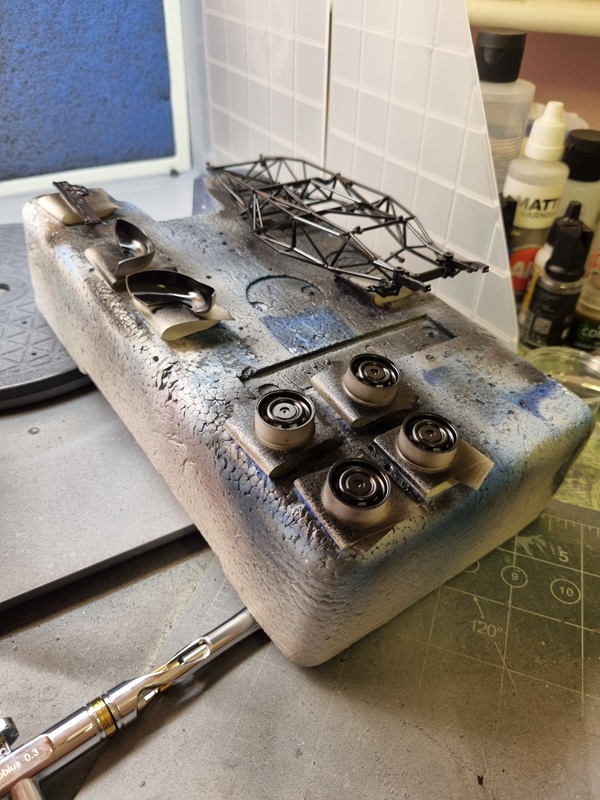
As I needed to clean up the mold lines in preparation for primer, I decided to cut the excess plastic in the window and in the space for the open doors. What I didn’t think of was that there was no frame between the front and the rest of the body. So it became very woobly and I managed to break the window frame.
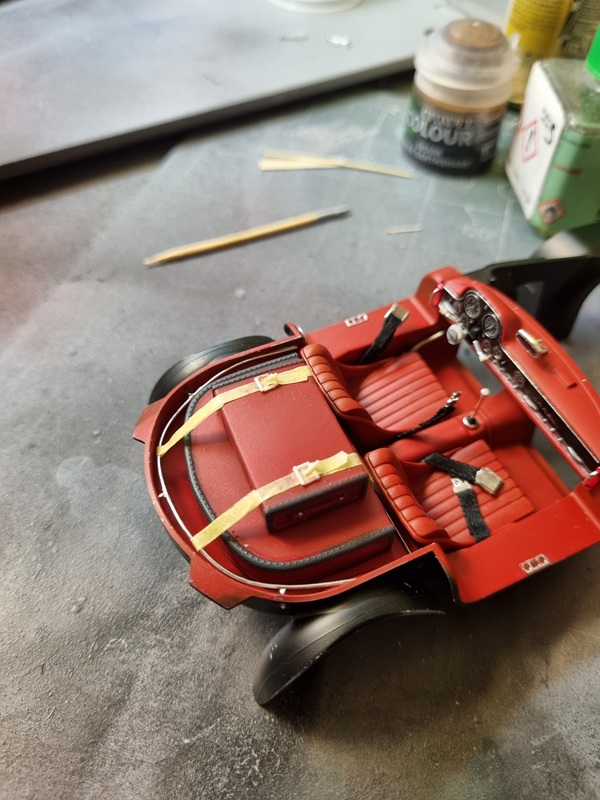
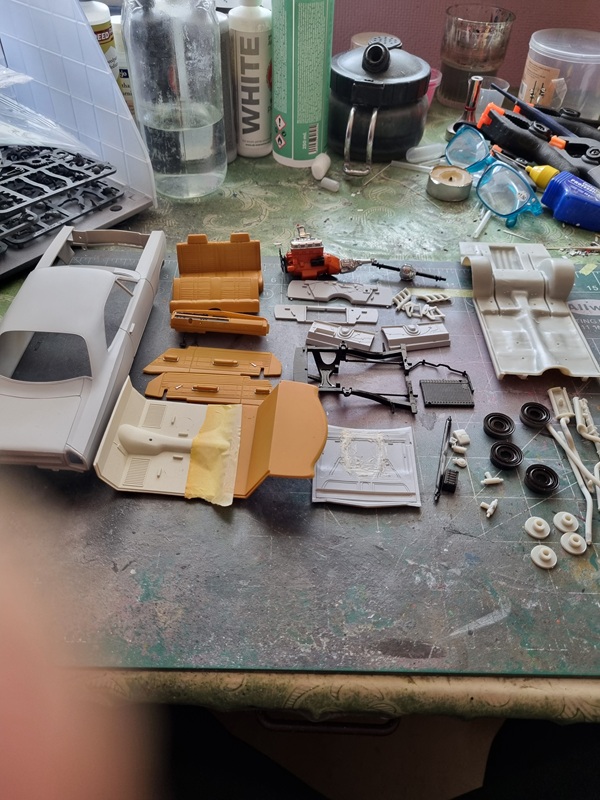
I decided to deal with that later, so I picked up a third kit, a Plymoth Roadrunner 68 in 1/24 from AMT.
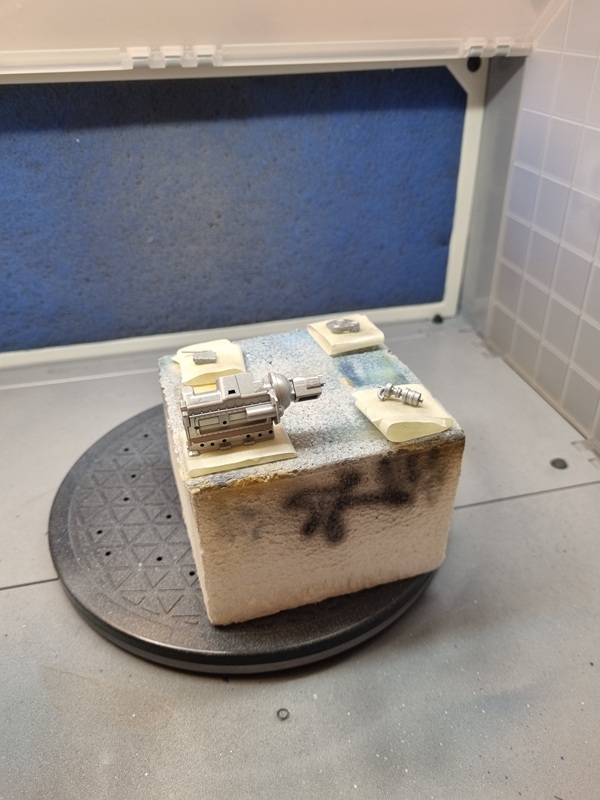
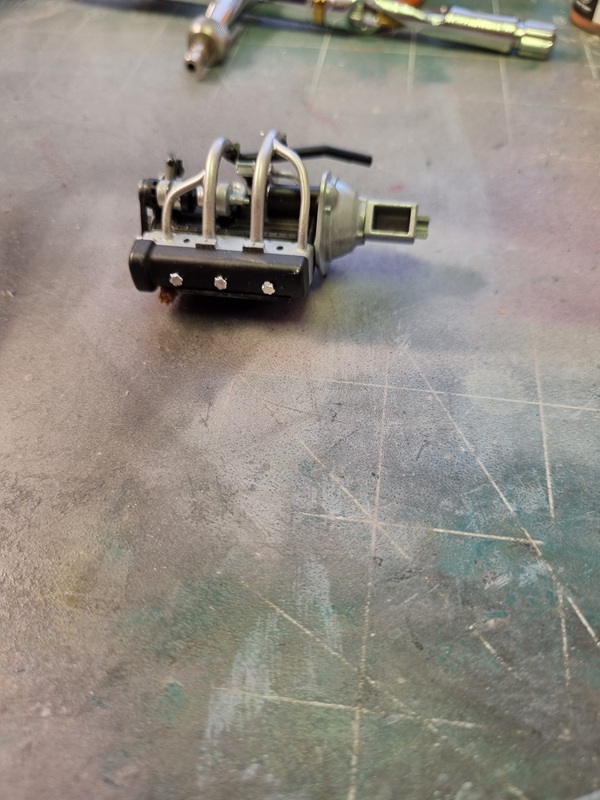
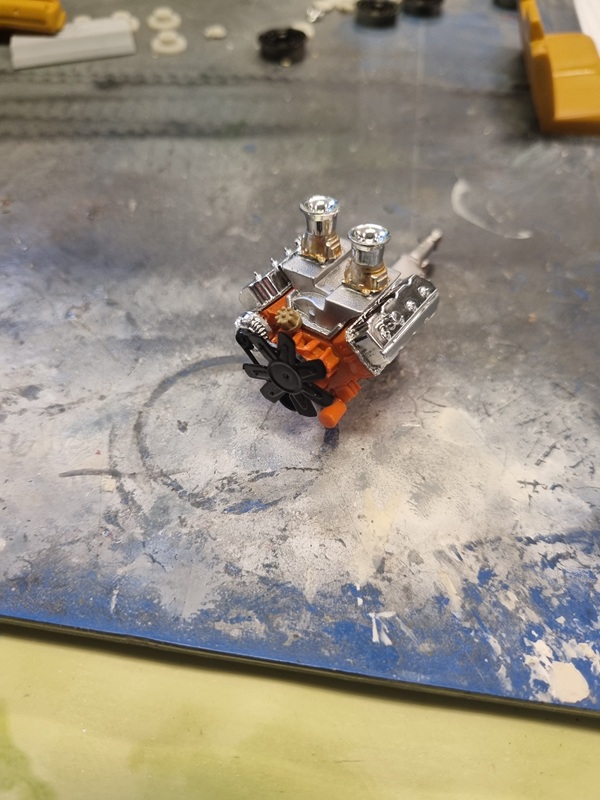
Also a bit of work to do before assembly and then painting all the parts.First the engine got some orange paint.
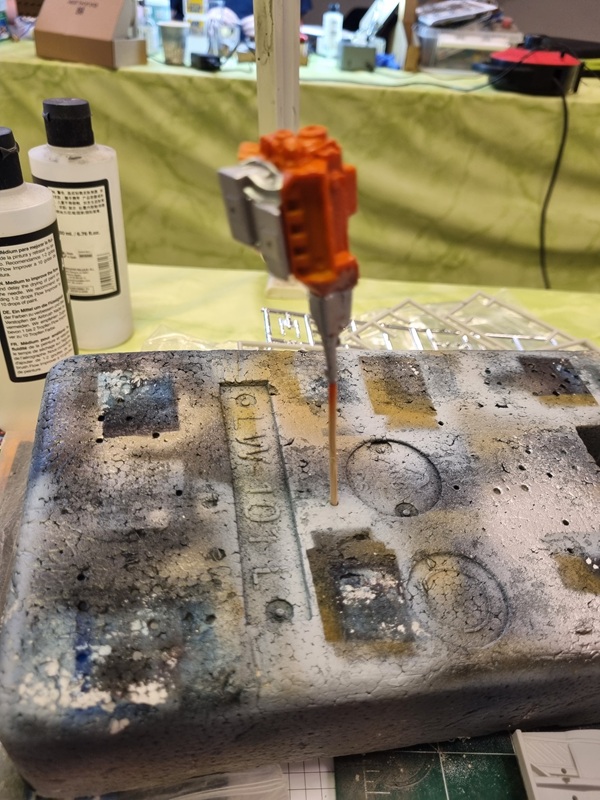
Engine progress.
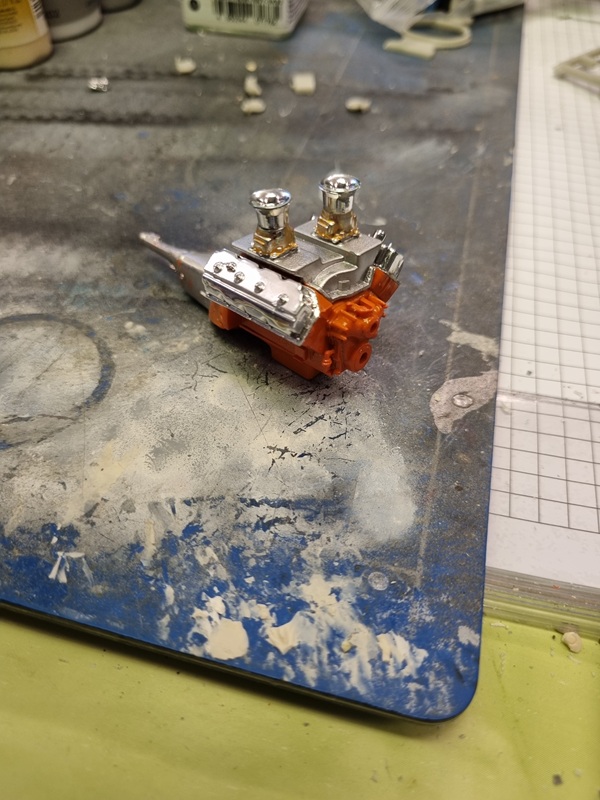
Finished engine.
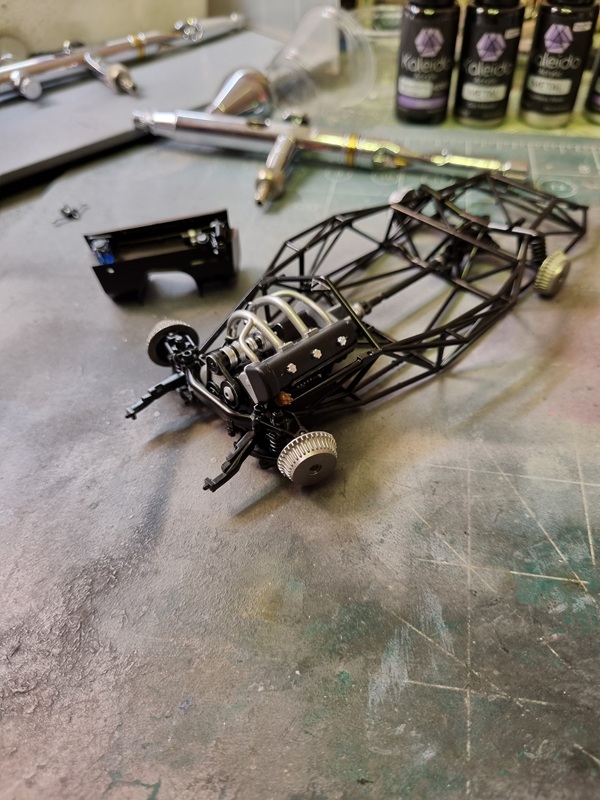
Some parts in progress.
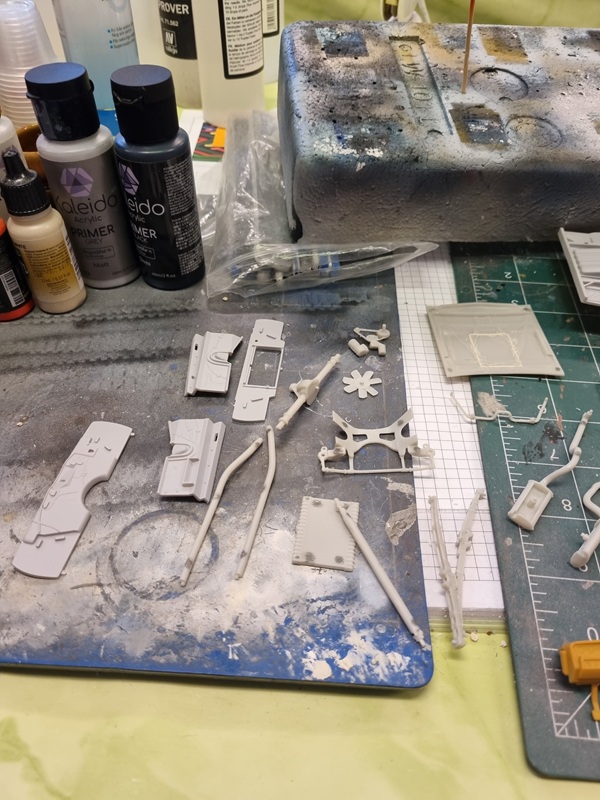
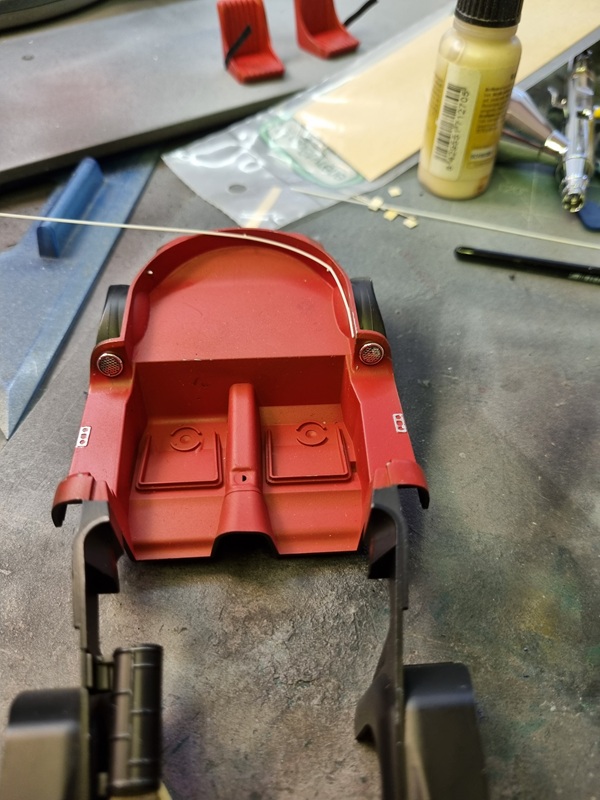
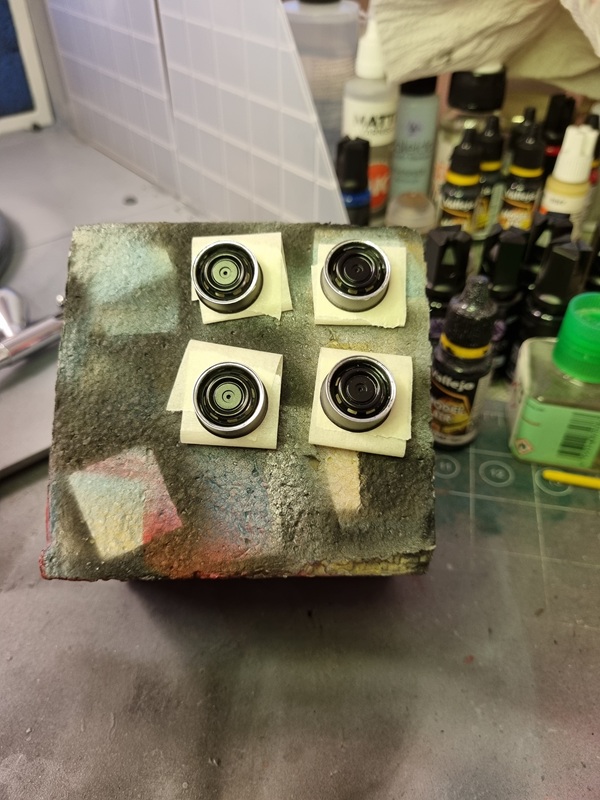
I got primer on some parts and the interior got some paint.
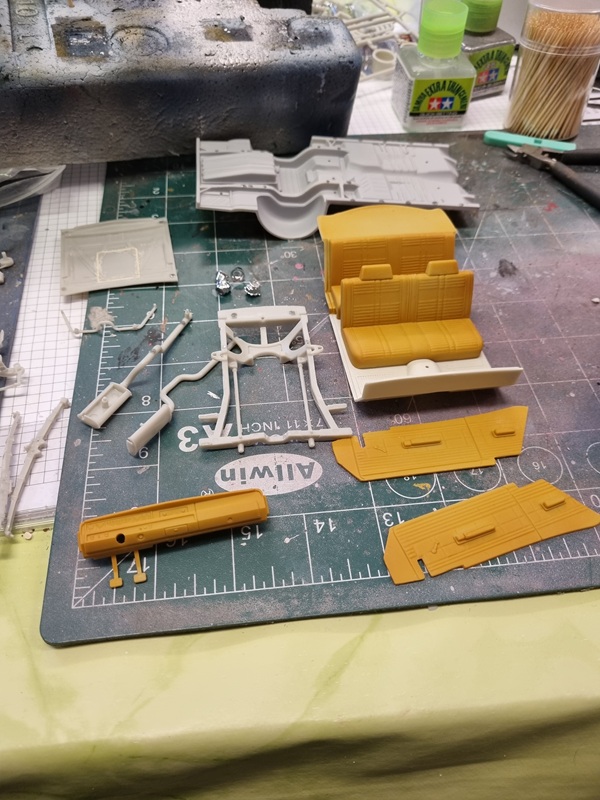
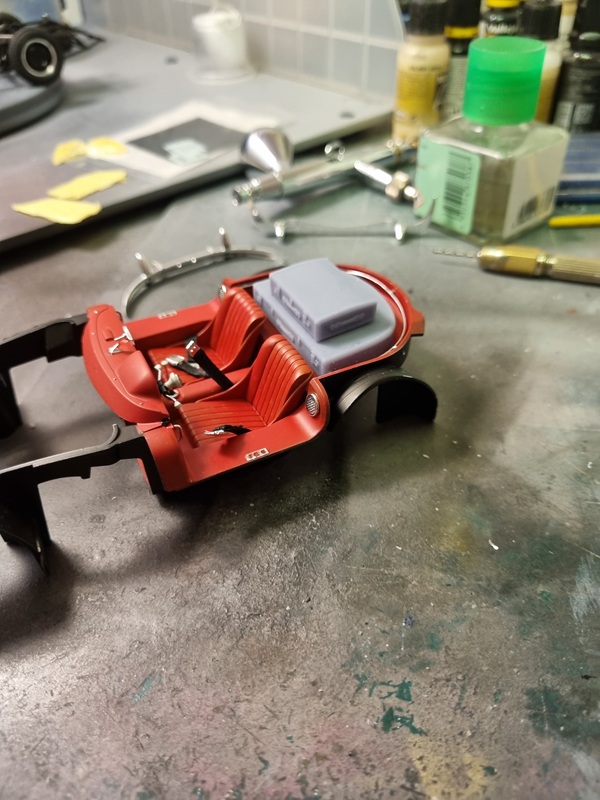
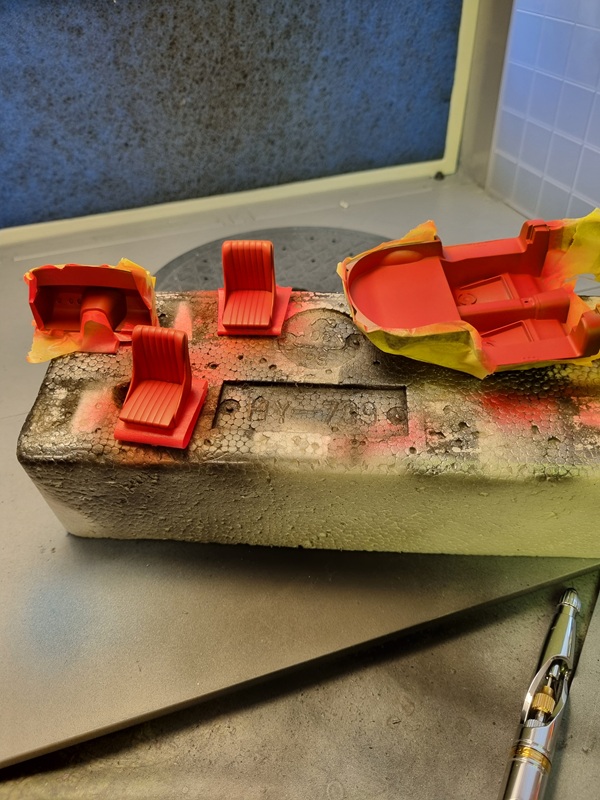
Some details painted and the seats got semi gloss on some parts to simulate different materials.
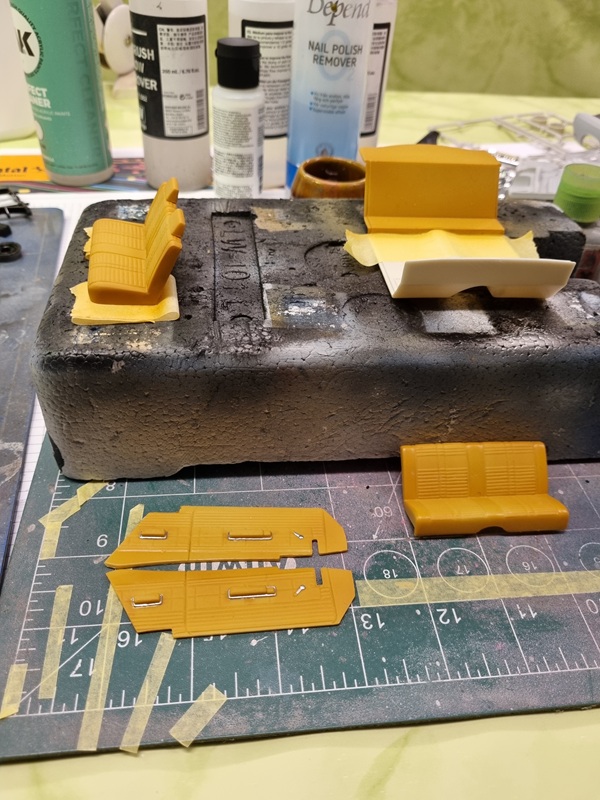
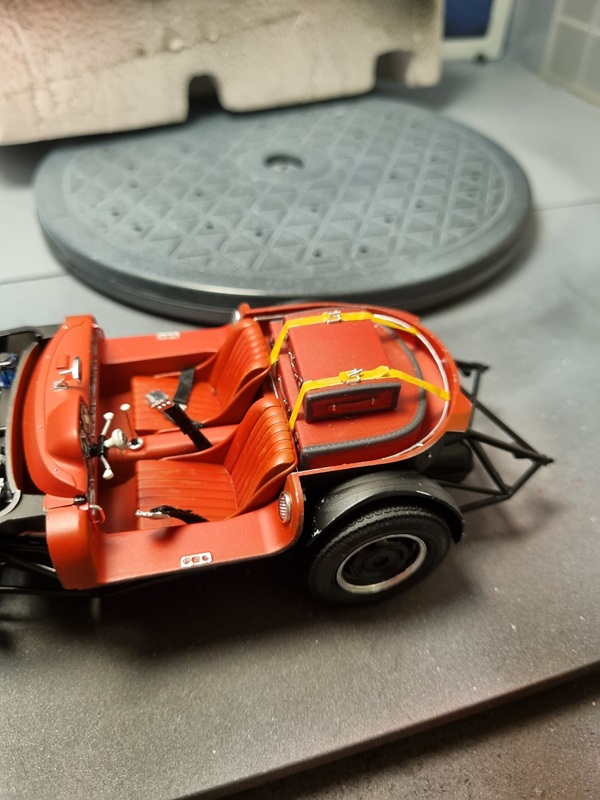
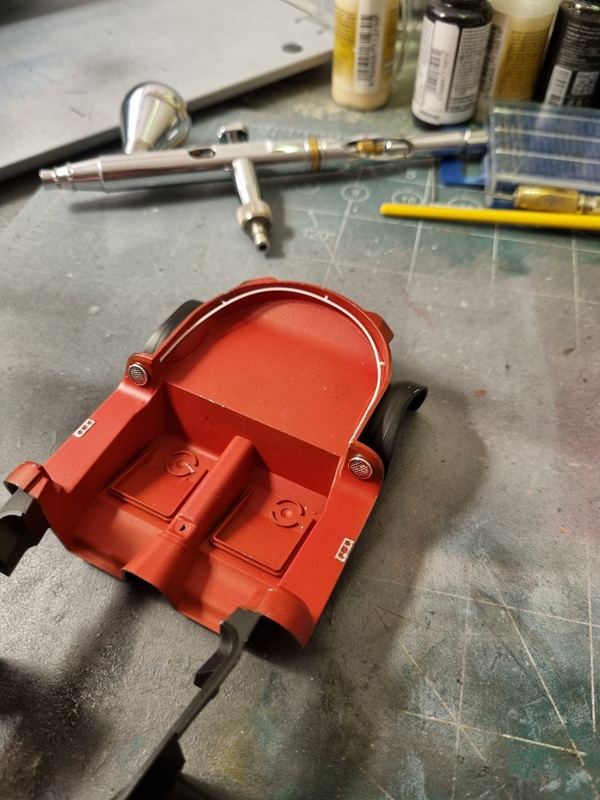
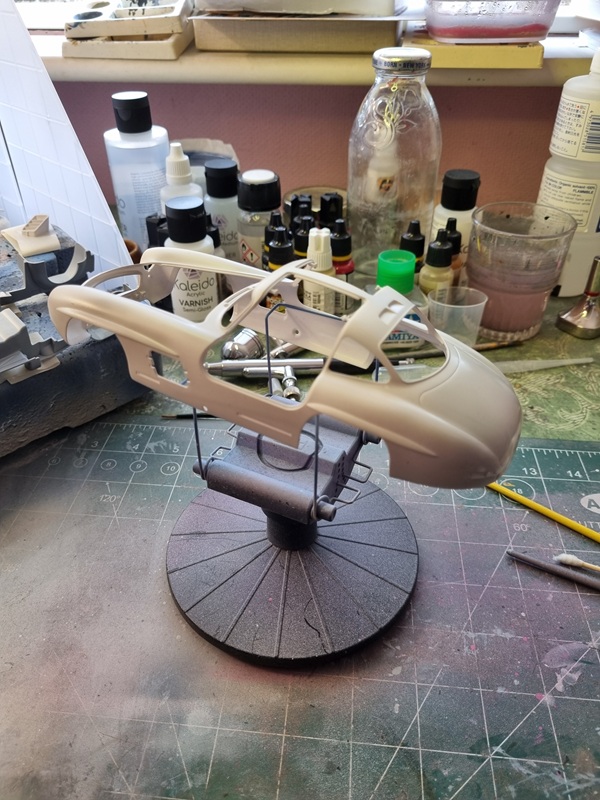
As with the Kawasaki I had to take a pic at home to show my progress.
So quite a lot done on those two kits. I didn’t paint any figures at all even though I had planned to do that.
My plan is to continue with the Plymoth and then try to remedy the missing screw somehow. I also plan to get some carbon fiber decal film for the front cowling.