After checking the net and also after finding this on the body.
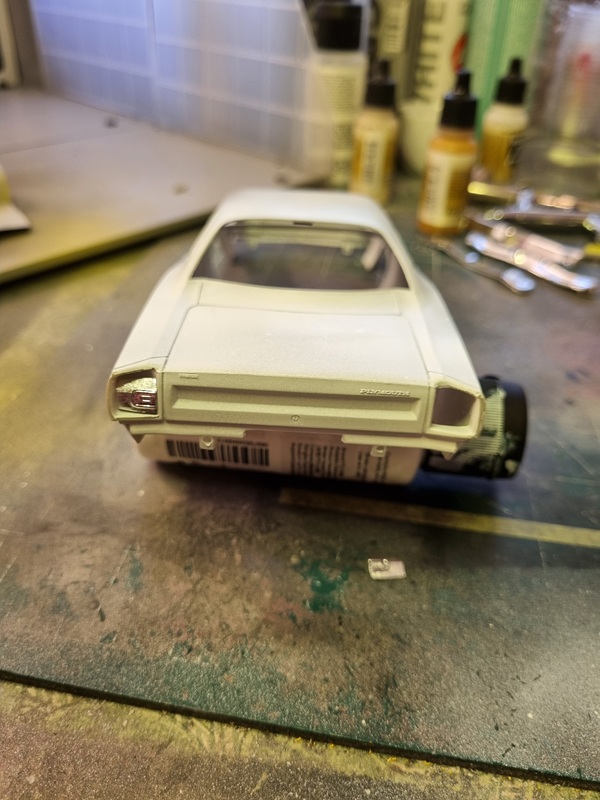
I decided to let it be a GTX 69-ish instead. I also decided to to some different with the tail lights to make them look a bit more like the 69 tail lights.
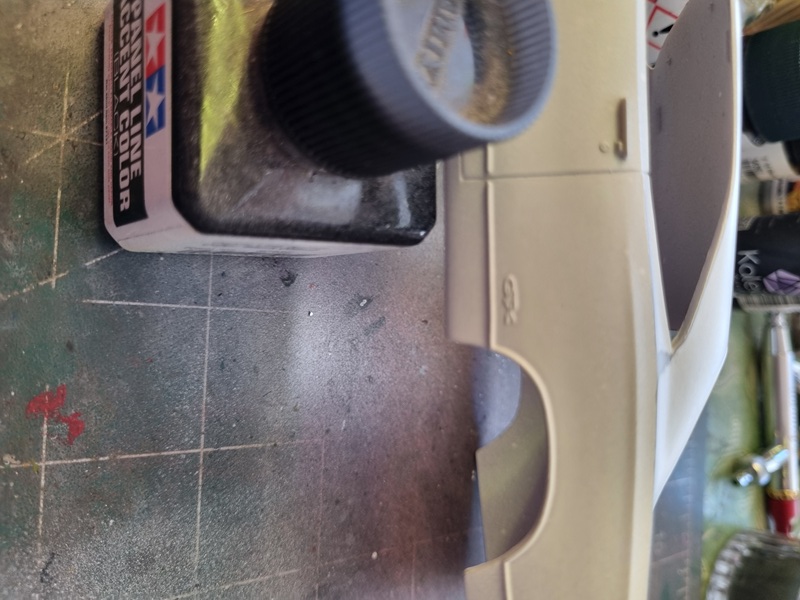
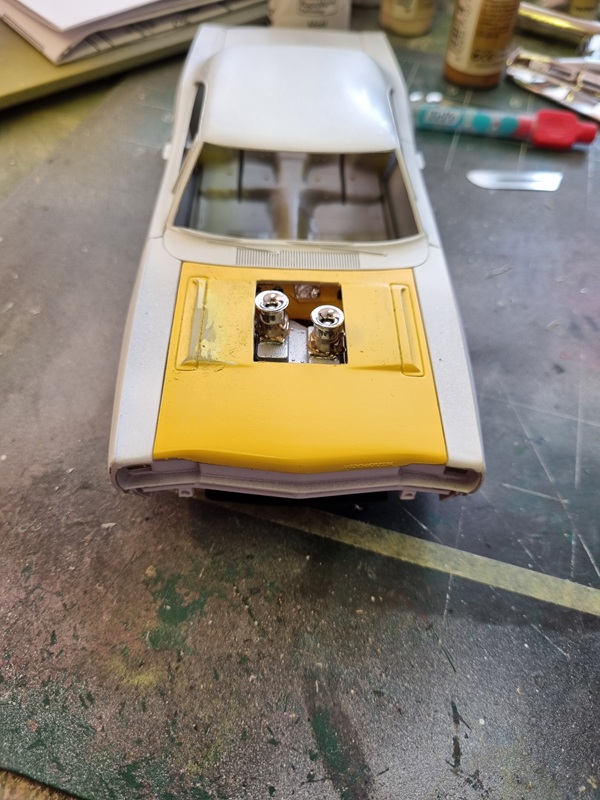
I just need to clean things up a bit. Then my idea is to paint the entire tail light area with chrome, let that dry and then paint with clear read and probably black between the rims.
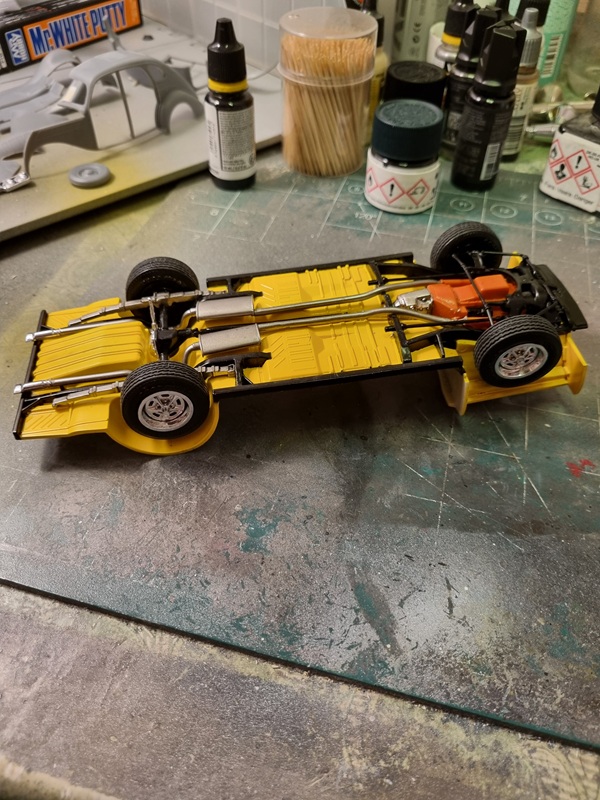
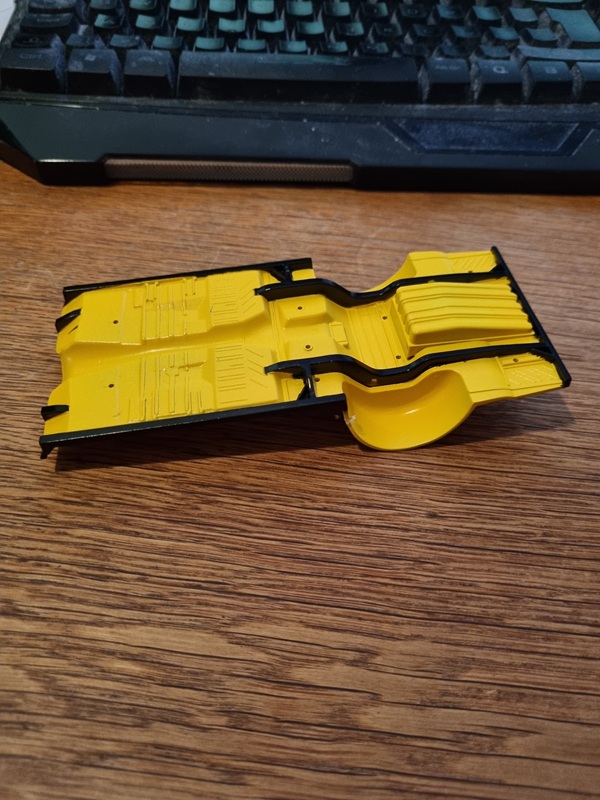
The underside is finished with wheels in place and all. Note to self – glue the rims in the tires first, before trying to put them on the axels.
I also decided to paint paint black on the wheels.
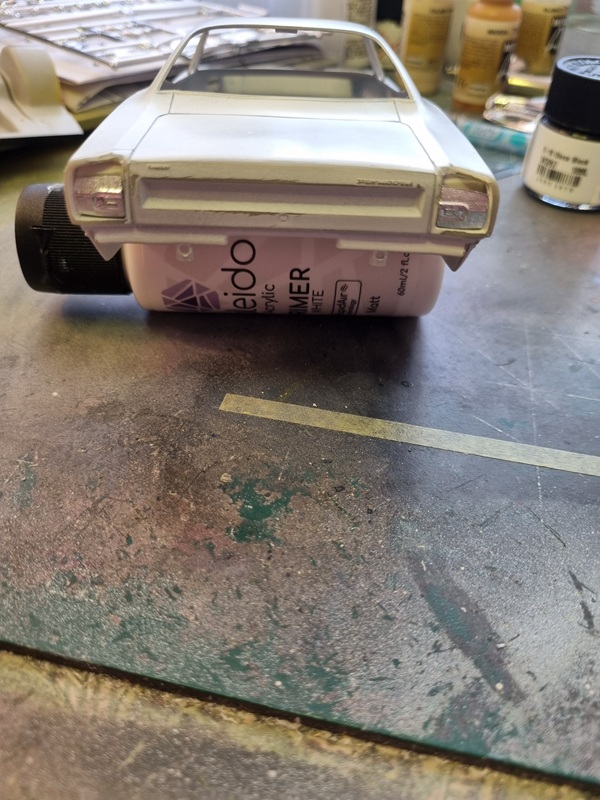
Once the tail lights are sorted, I can put a new cote of primer on.
While checking the body again I noticed something was a bit off. So I cut loose the tail lights and tried to put them in place. They didn’t fit very well.
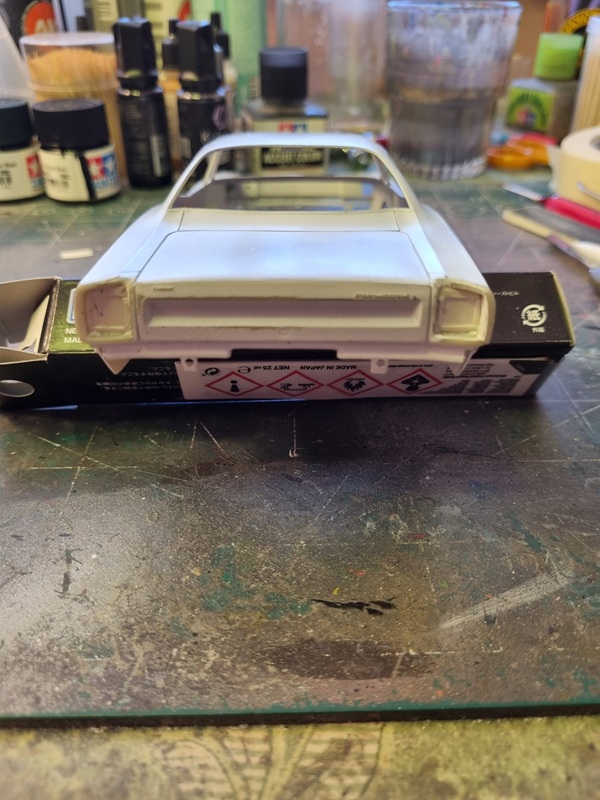
There’s quite a gap in both the top and the bottom. Turns out, after checking the net, that the body I have is for a 1969 Plymoth and the tail lights is for a 1968 one.
I added some plastic sheet to the inside and a few strips on the top and bottom as well. I looks better but maybe not perfect!
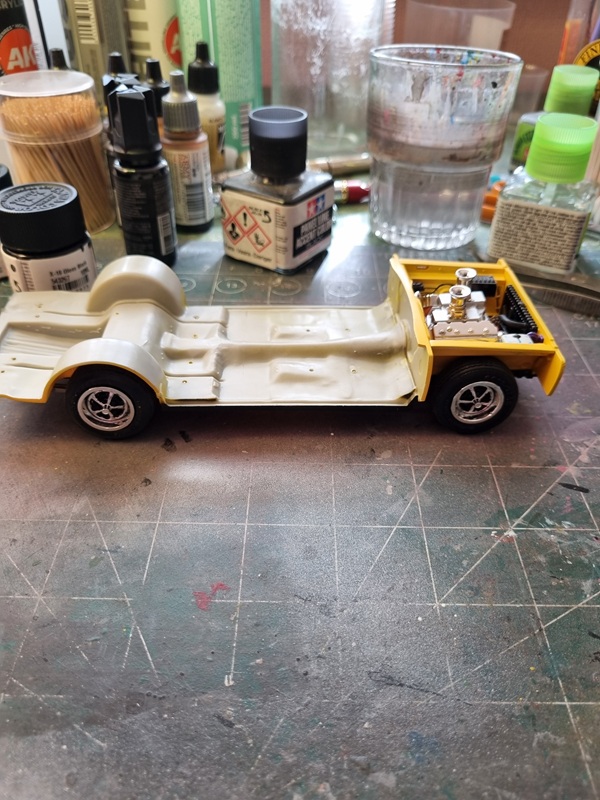
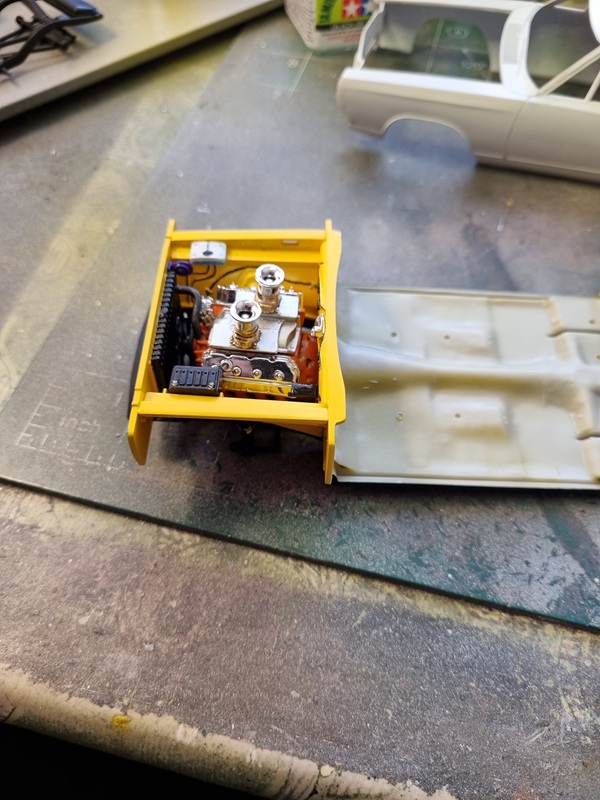
I glued together the engine room, added the engine and radiator.
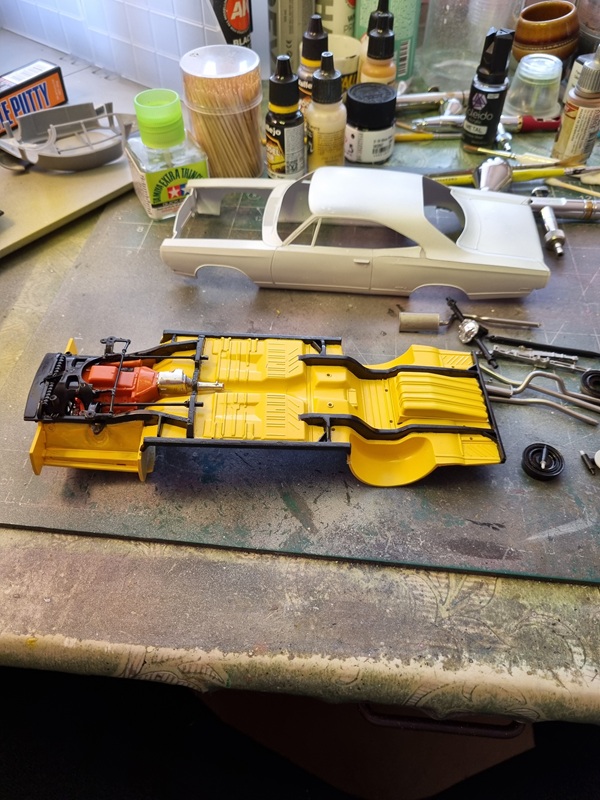
I also continued with the underside of the chassie.
In order to have those intakes I had to cut open the hood, which I so carefully had filled on the underside.
Test fit of the body and hood on the chassie.
Next I’ll go over the body with a new layer of primer and if it checks out okey I’ll start painting the body.
This is a continuation from the build meeting post!
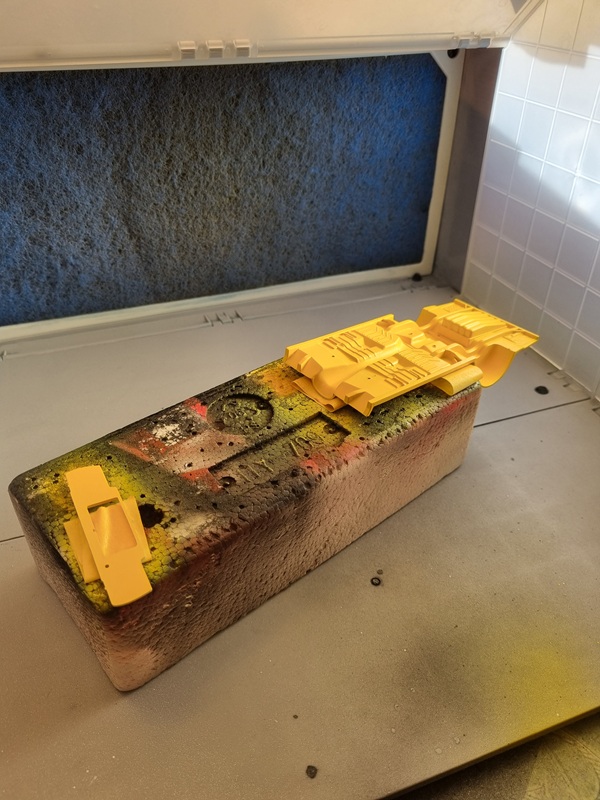
I applied primer on the body, chassie and a few other parts.
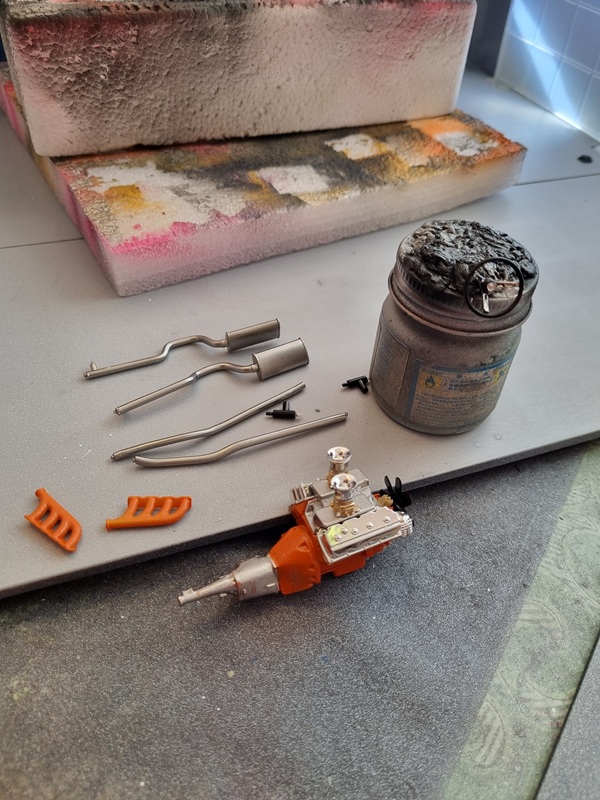
Suspension and exhaust system was painted with Kaleido Stainless steel. The instrument panel was coated with semi gloss varnish and a few other parts was painted as well.
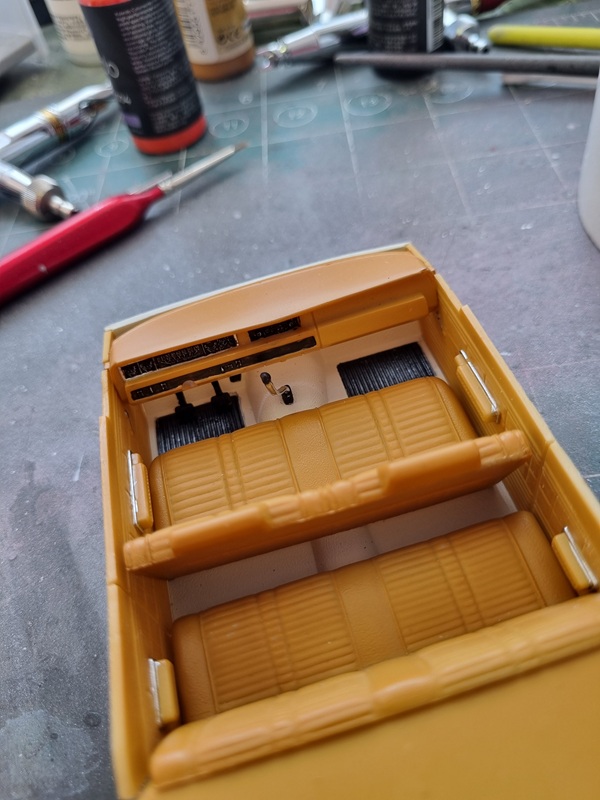
The interior was assembled and the intrument panel put in place.
The exhaust pipes turned out looking real nice! And the steering wheel was painted black and got chrome spokes.
The radiator wall and the bottom side of the chassie was painted yellow.
Then I masked and painted parts of the chassie black.
I had to correct som spots by hand later. Quite happy with the look!
Last weekend, starting on thursday and ended on sunday, I was away on a nearly 2 hour trip to Partille, outside of Gothenburg. Getting together with some of my model building friends, spending time building, chatting, eating and sleeping. Drinking a few beers also was part of the fun!
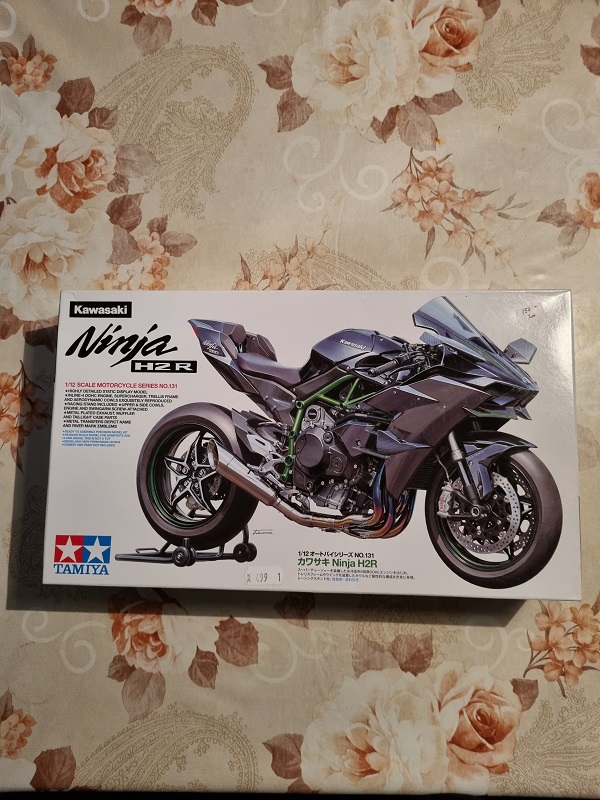
I brought some models, colours and tools, and after unpacking I could start building. I brought both kits and Warhammer soldiers to paint. I decided to start with my Kawasaki Ninja in 1/12 from Tamiya. As most Tamiya kits it’s fairly easy to build.
The engine requires some prepping and painting before assembly and that goes for the rest of the bike as well. Here’s the only pic I managed to take on the build while there.
After painting the frame and building the parts for the suspension, I was supposed to screw it together with a tiny screw. I managed to drop that screw never to find it again. I have to solve that somehow, but I decided to put it back in the box until later.
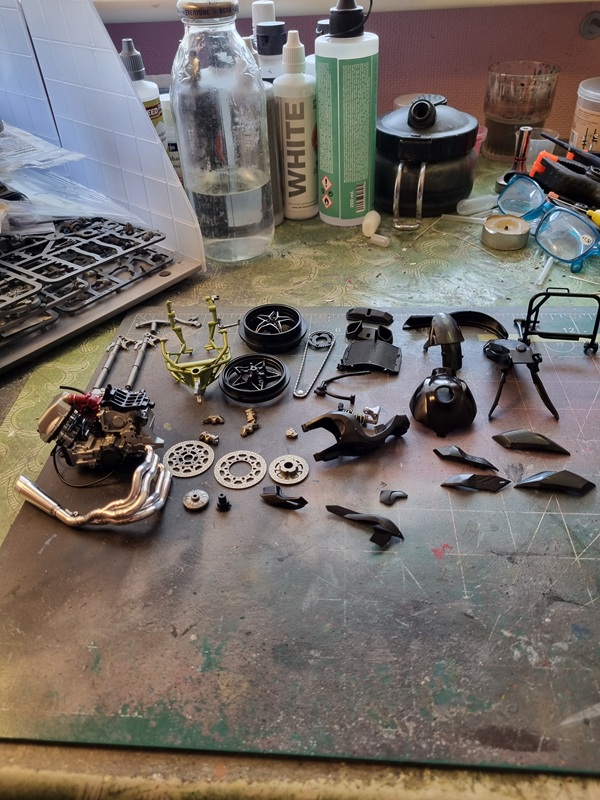
I took a picture when I got home to show how much I had done.
I had brought a few colours (alclad mainly) to a friend and he had a model kit for me. It was a Citroën 19DS in 1/16 from Heller. The kit was started, but I thought I’d have a look. The work that was done looked fairly okey, so I decided to give the kit a go.
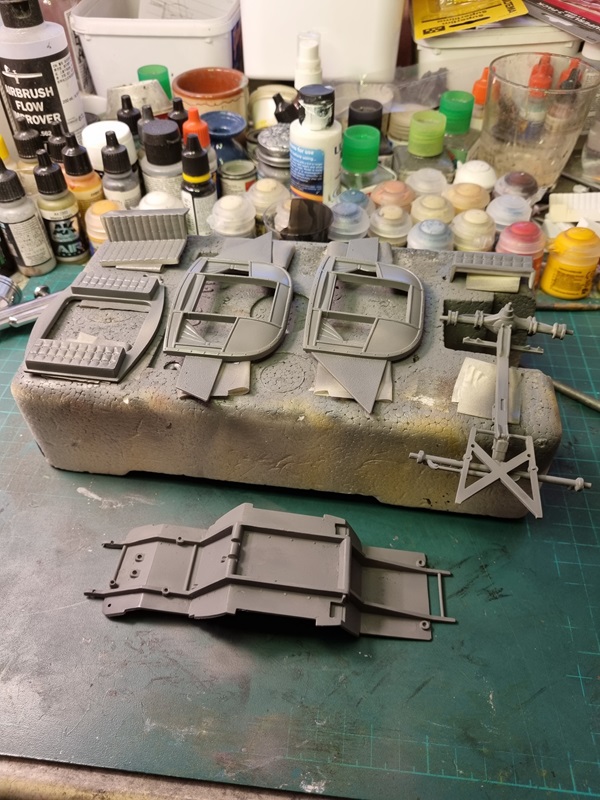
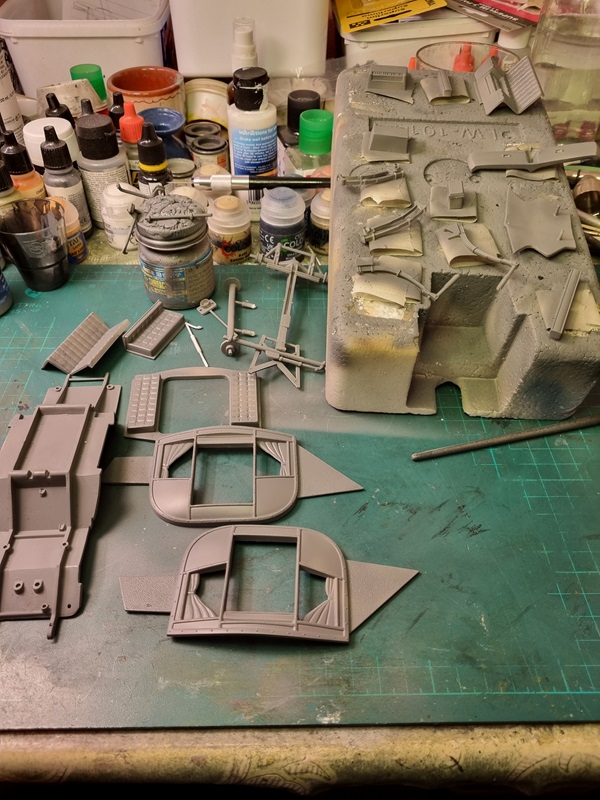
As I needed to clean up the mold lines in preparation for primer, I decided to cut the excess plastic in the window and in the space for the open doors. What I didn’t think of was that there was no frame between the front and the rest of the body. So it became very woobly and I managed to break the window frame.
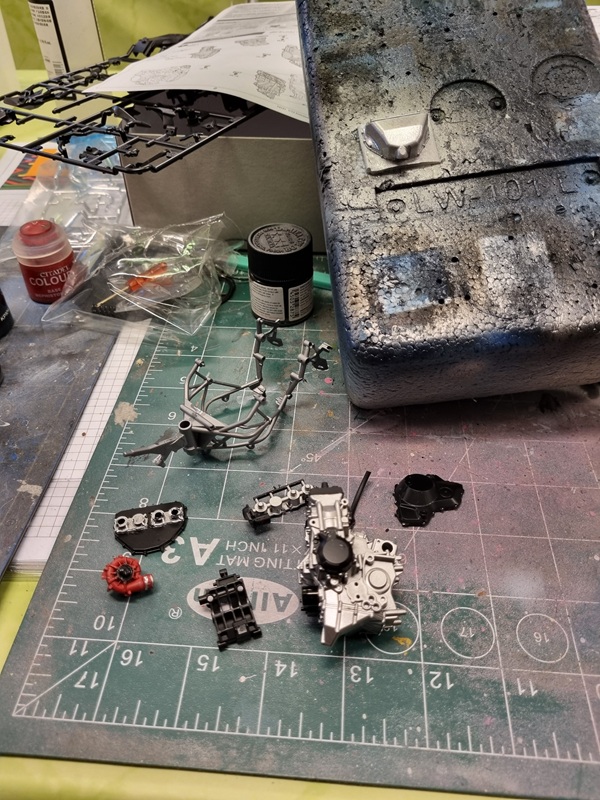
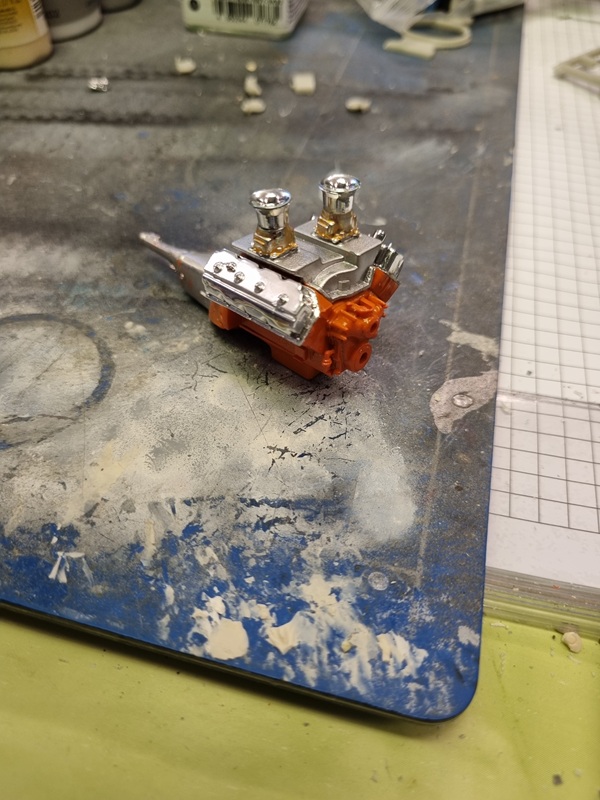
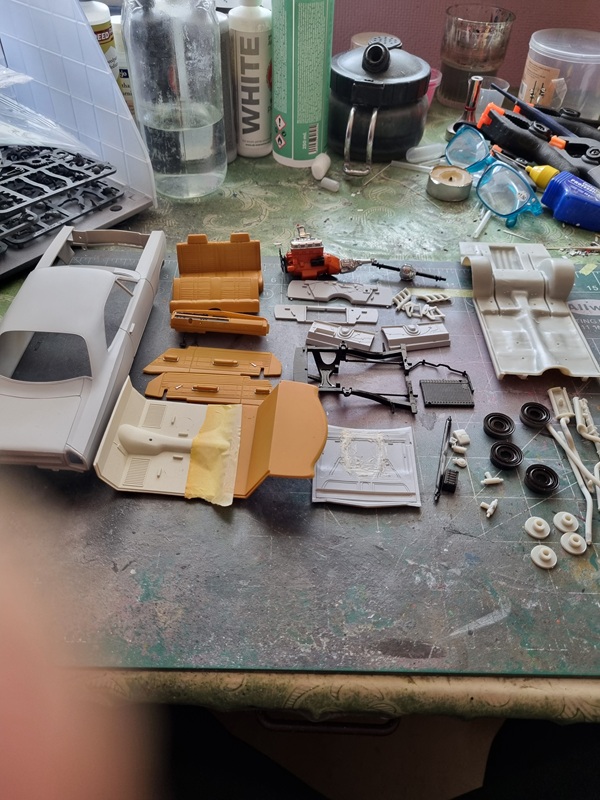
I decided to deal with that later, so I picked up a third kit, a Plymoth Roadrunner 68 in 1/24 from AMT. Also a bit of work to do before assembly and then painting all the parts.First the engine got some orange paint.
Engine progress.
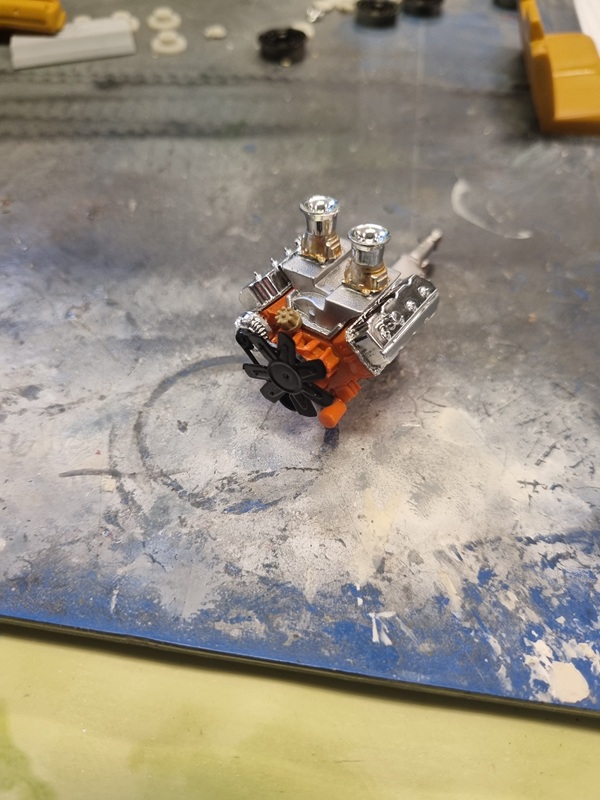
Finished engine.
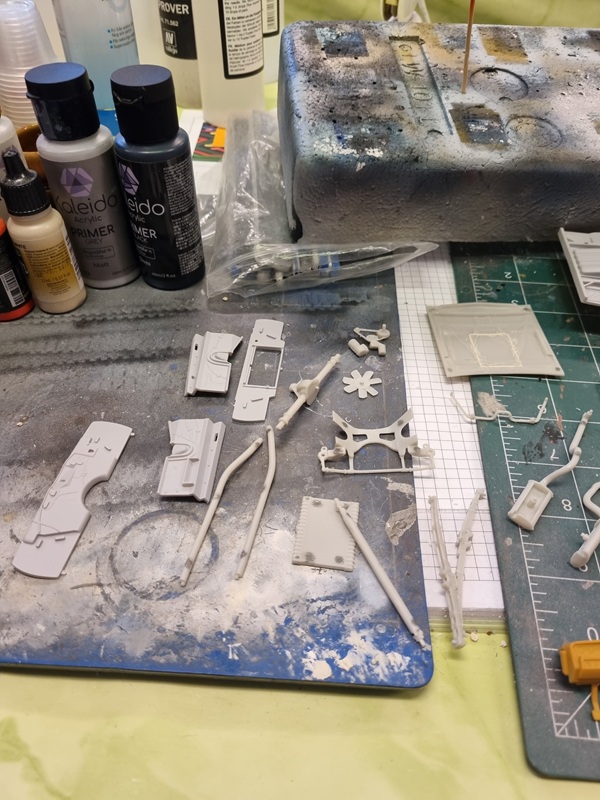
Some parts in progress.
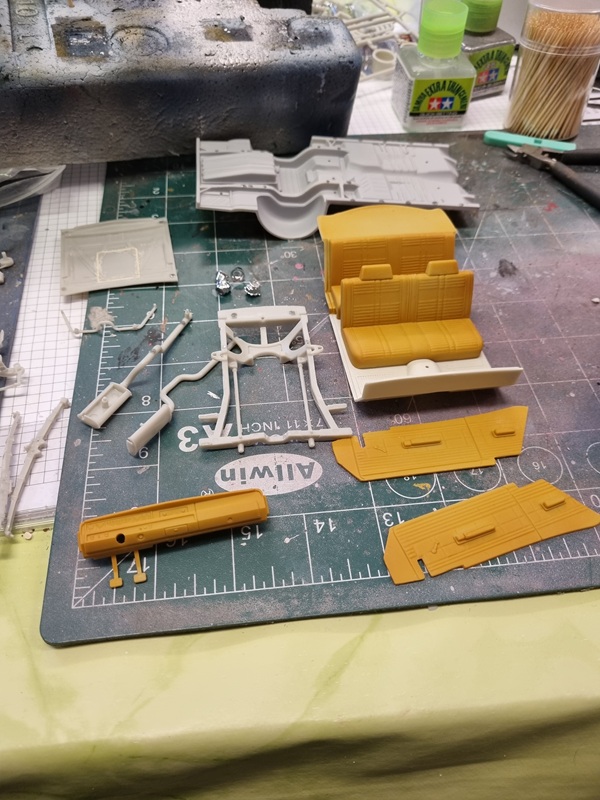
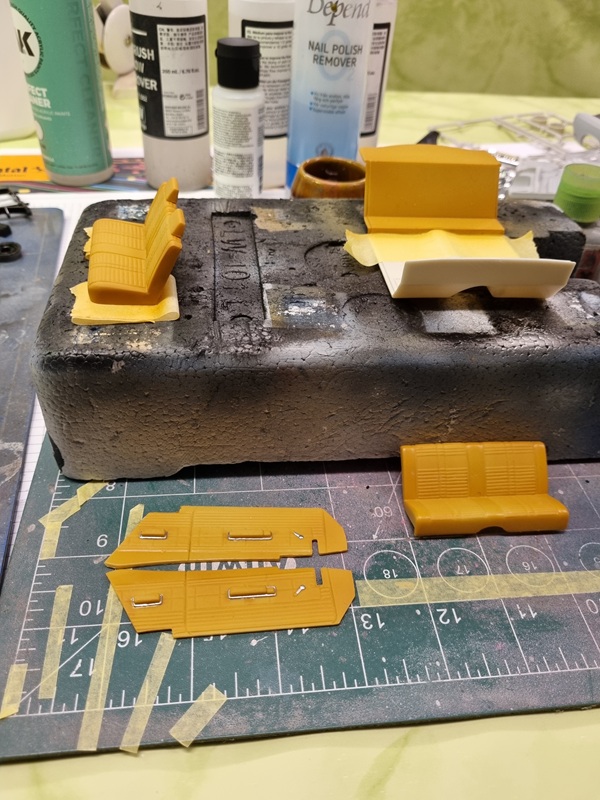
I got primer on some parts and the interior got some paint.
Some details painted and the seats got semi gloss on some parts to simulate different materials.
As with the Kawasaki I had to take a pic at home to show my progress.
So quite a lot done on those two kits. I didn’t paint any figures at all even though I had planned to do that.
My plan is to continue with the Plymoth and then try to remedy the missing screw somehow. I also plan to get some carbon fiber decal film for the front cowling.
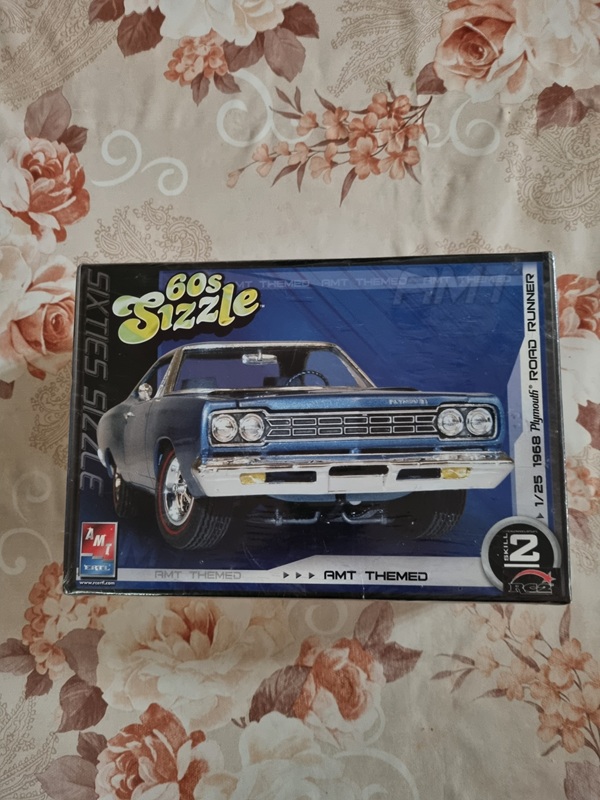
Today I picked up two parcels at different locations and different content.
First I picked up this kit.
A Road Runner felt like a fun car to build!
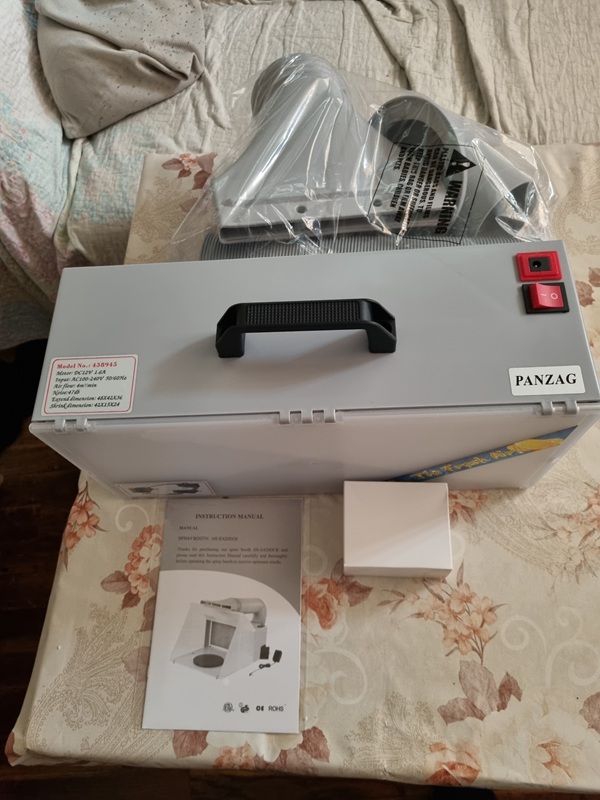
Next thing I picked up was a long awaited paint booth.
All I need to to now is installing it in my hobby room. I also need to buy a led strip and a bucket with lid so I can tuck the hose there later. And hopefully it will do what is required of it, meaning drawing out paint particles and fumes so I can avoid setting off the fire alarm, and also give me opportunity to paint with other colours than acrylics.
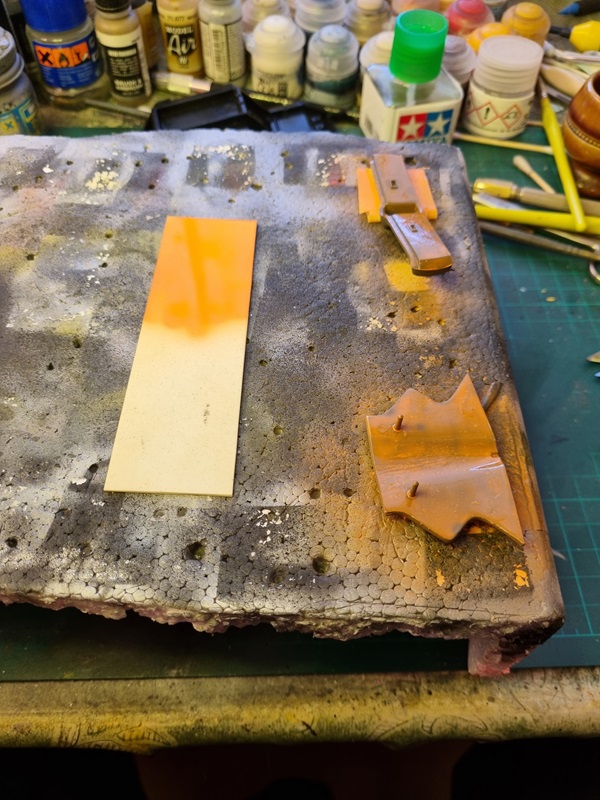
I did a test with orange rust to see if I could use it instead, but I thought it was a bit to dark.
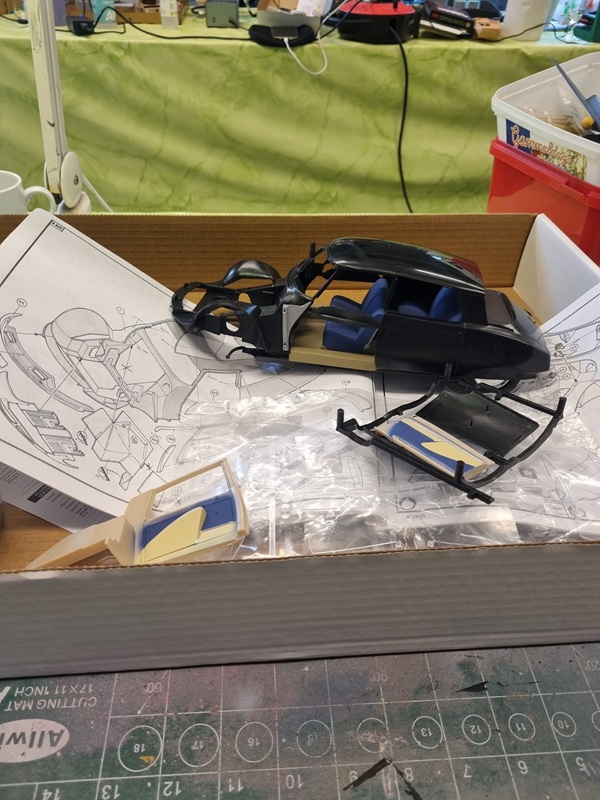
Details on the underside was glued in place.
I had to do a simular thing with the backsides of the front seat and keyboard as I did with the interior seats, closing up the empty space with plastic sheets.
There’s a few spots that need some touching up.
The front frame with engines is alsmost done.
I still need to add a few parts to the engine and sort the hood and front.
I did a test fit of the coach and front.
Not much left to do. I gave the hood and front a cote of white, and hopefully I can paint orange on top without anymore mishaps. I also have a few chrome parts to sort. Perhaps the best way would be to remove the chrome and paint them, but I’m unsure what to use to remove the chrome. I’ll probably just use chrome colour to touch up the parts where I’ve removed chrome when cleaning up.
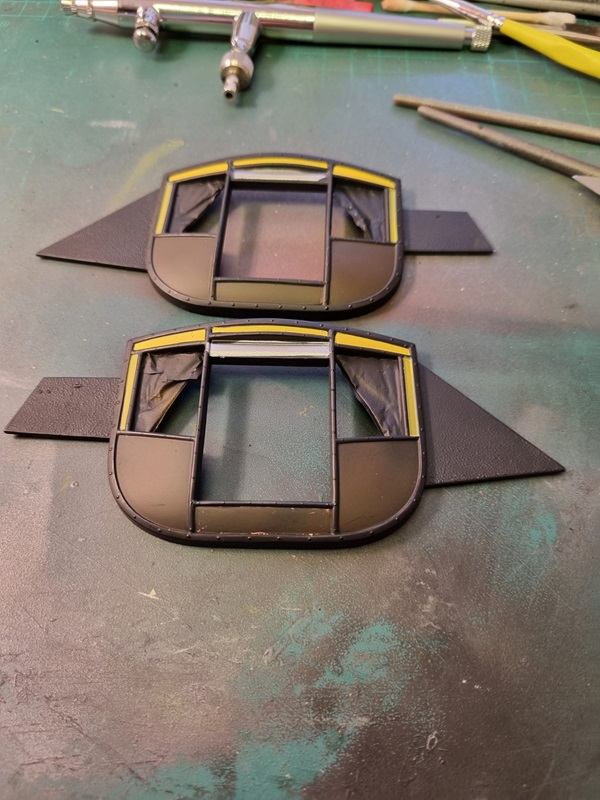
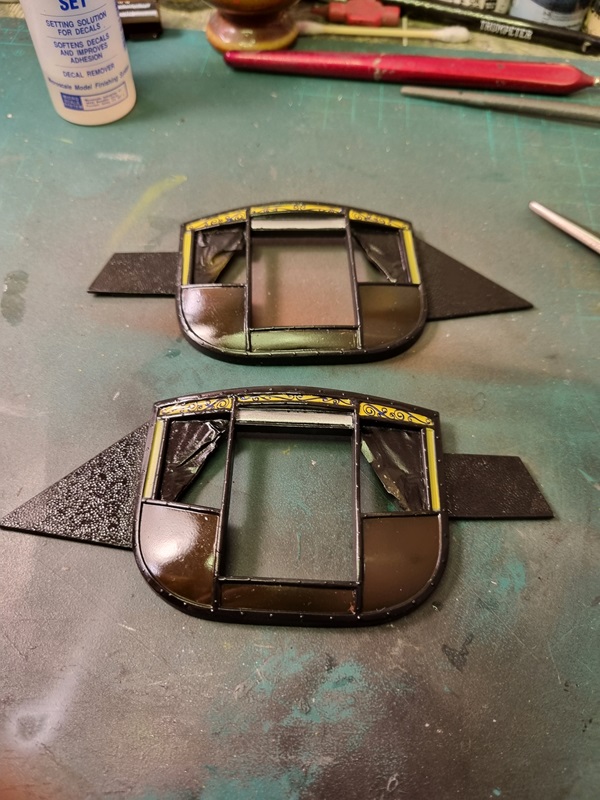
The coach sides was masked and then they and some other parts was painted with mahogany.
Mask removed from amps and keyboard.
The unmasked coach sides.
Some details painted.
Time for some clear coat.
Once that was dry, I put on some decals.
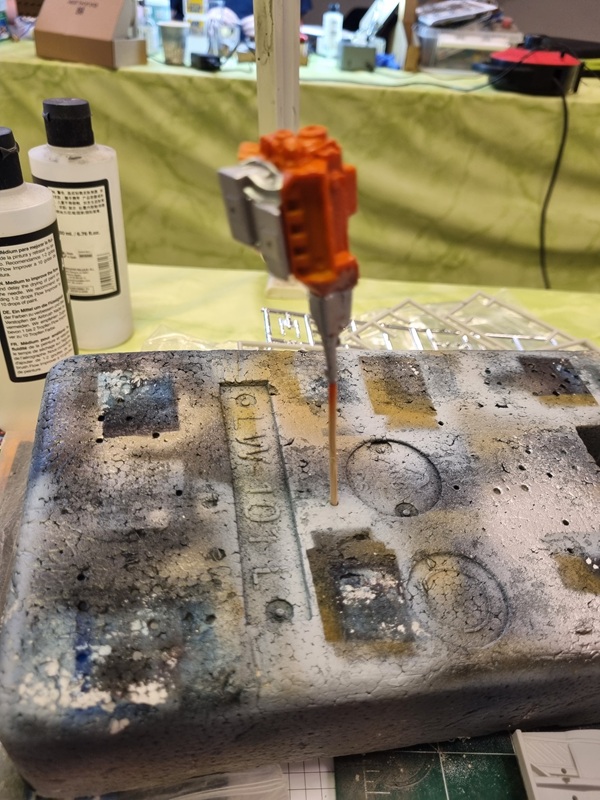
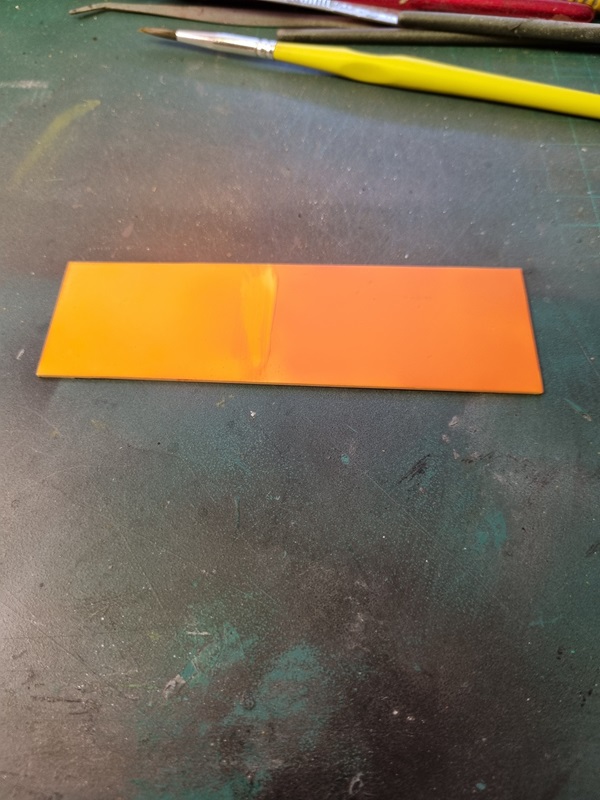
I first tried panting Humbrol gloss orange on a piece of plastic, which went well. So I painted the underside of the hood and back of the front. At first it looked ok but after a while it started to look awful. Perhaps the orange colour or thinner reacted with the acrylic primer.
I just need to redo that. Otherwise I think the orange colour will look alright.
It took some work to assemble both engines together and I had to re-glue some parts. I also cut plastic and glued to the rear of the seats.
I gave the coach sides and some other parts a new coat of clear colour.
A few details to paint on some parts before I can start assembling, and I also need to sort the hood and the front.
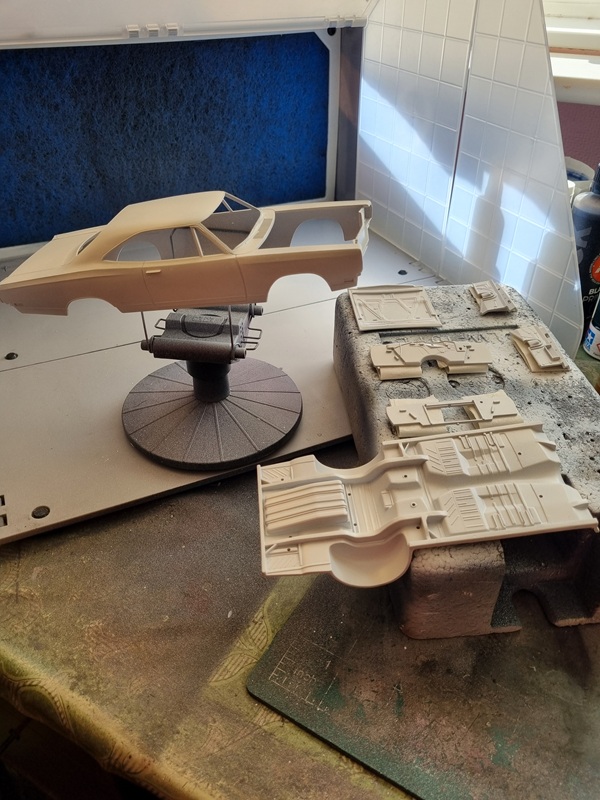
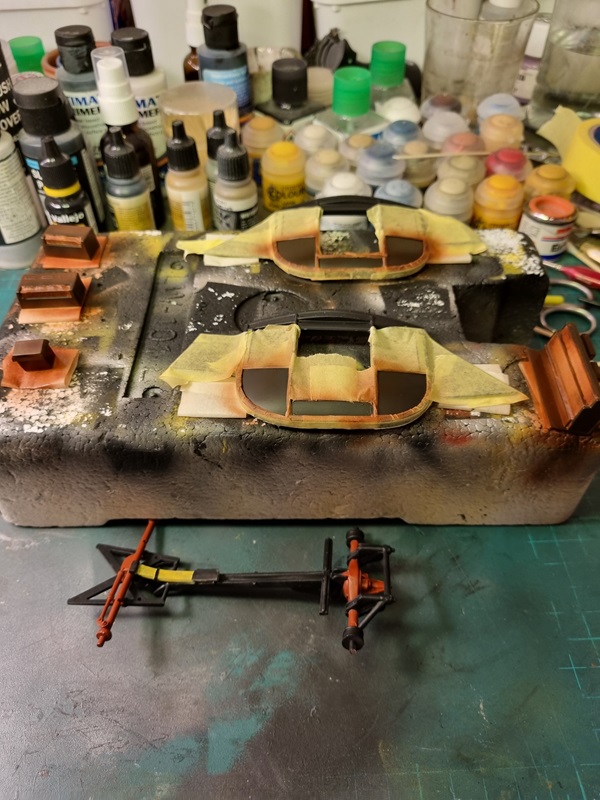
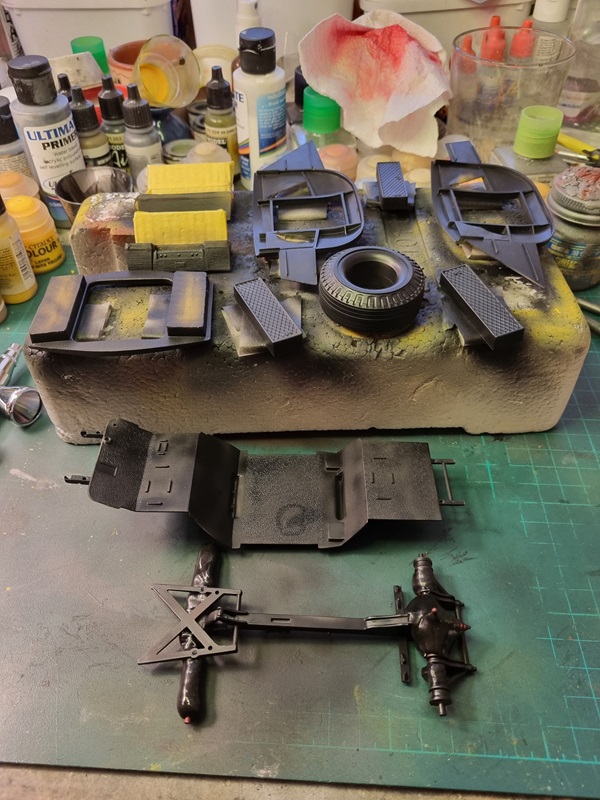
After some additional sanding and filling and sanding again, most parts actually got primer.
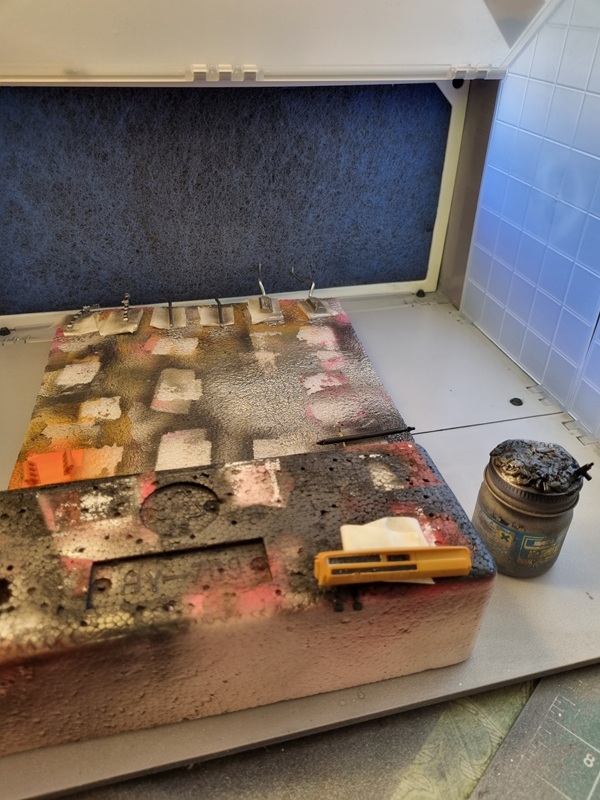
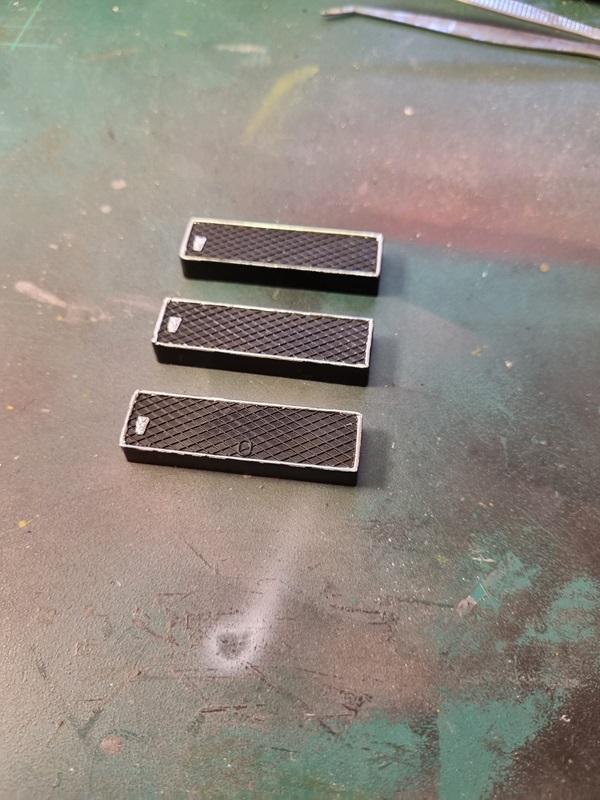
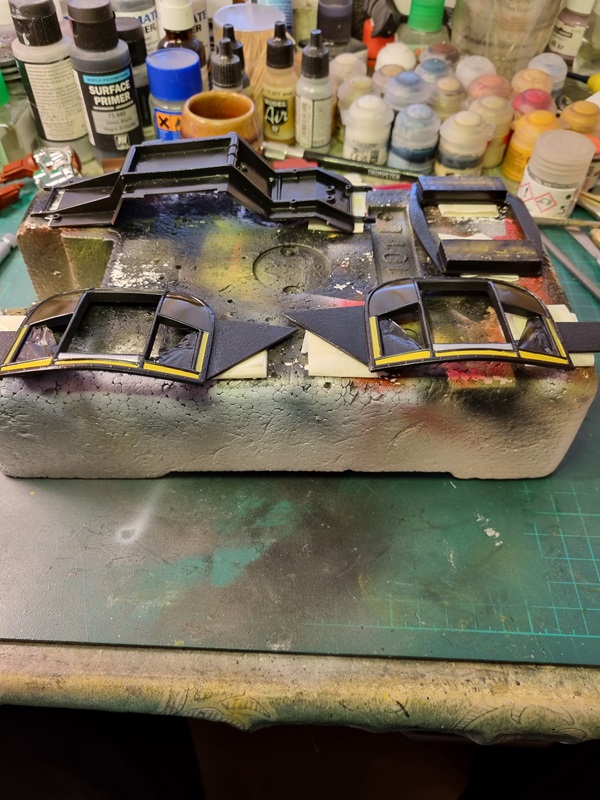
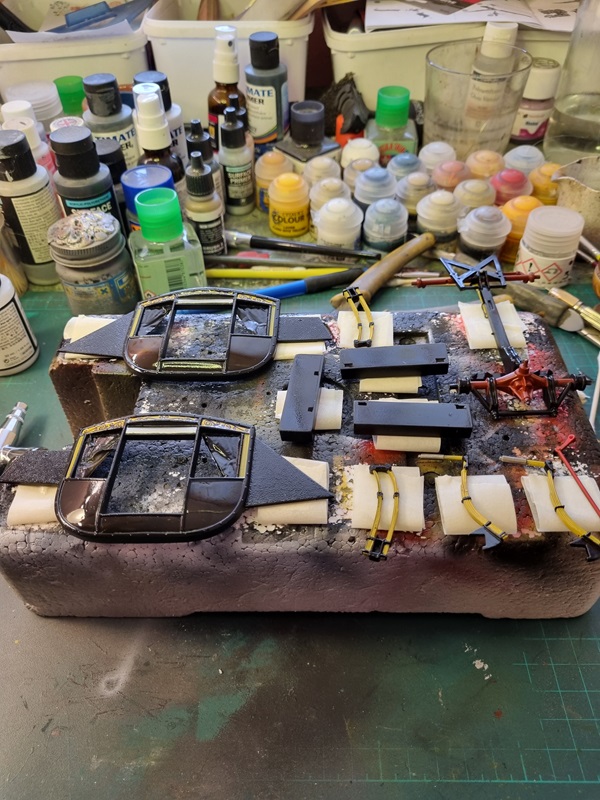
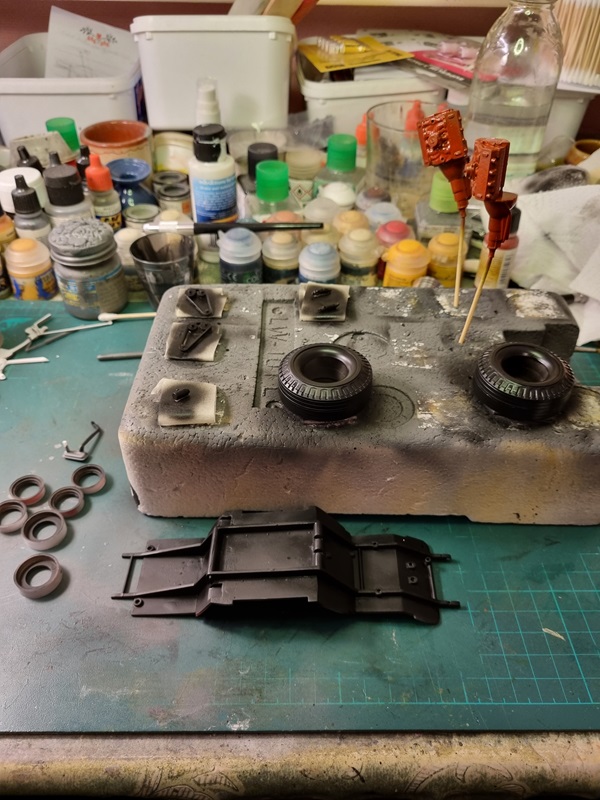
The seats and areas on the coach sides got some yellow paint. Then the yellow was masked off and the parts was painted black. The engines and transmission was painted fire red.
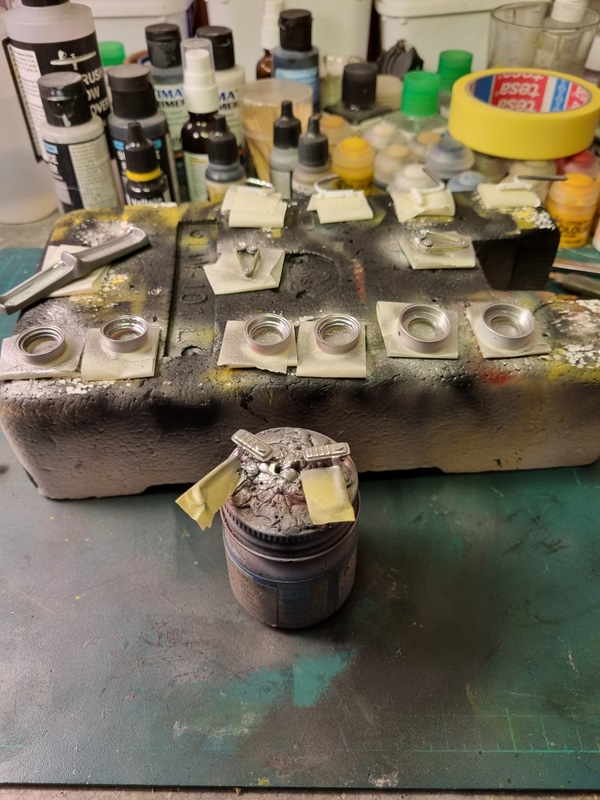
Then rims and some other parts got some Molotov chrome.
At the moment I’m working on the keyboard and amplifiers that sit in the compartment. Quite a lot of masking and painting to do on them.
Sometimes the kit is a bit confusing as it doesn’t match the real thing. Just details, but still. The exhaust pipes seems to meet up on the outside of each engine, but not on the kit. I just wonder how hard can it be? Also they have added decals that doesn’t show on the real car. I’ll try to get it look as good as I can and then add some artistic license.