
I did some detail painting and then assembled most of the interior. I painted 2 stripes of tape black and put them on the back seat as belts. I also cut 2 pieces of plastic that was added to the belts and painted.

Almost done with the interior. For some reason I’ve lost a small part that goes between the steering wheel and the column. I might need to try and scratch build that part.
The decals are also missing. The kit have been opened and then been laying around for at least 15 years. Possibly I could find another kit and copy the decals.
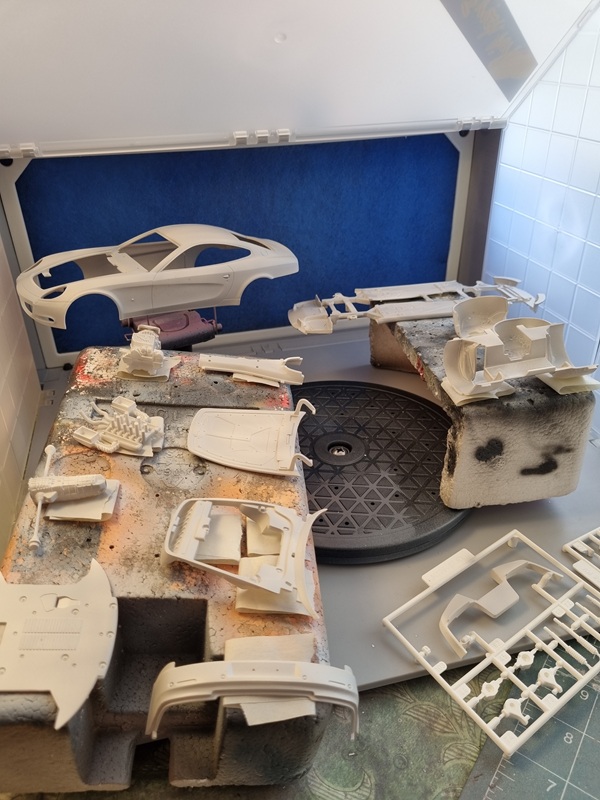
Some time ago I ordered the new Kaleido colours from Gaahleri. A whole set for automotive painting. The first colour I tested was the grey primer. I had a few problems at first as the primer probably is a little thick for a 0.3 mm nozzle, and I had to thin it down a bit.
First layer looked like this.
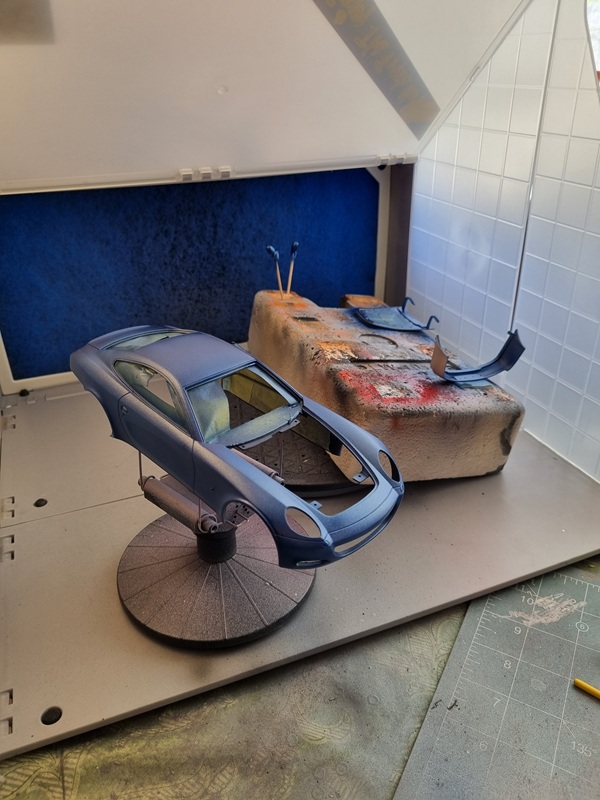
I sanded down a few splotches and other mistakes and applied new primer.
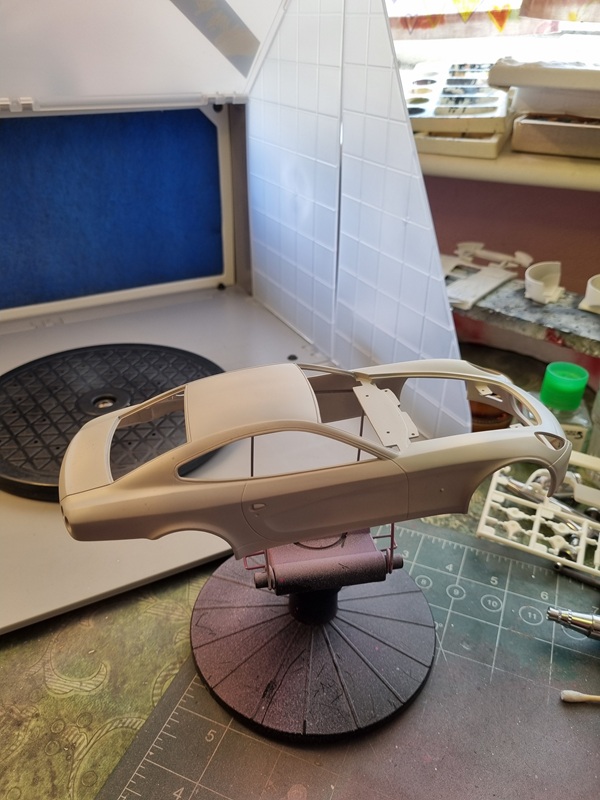
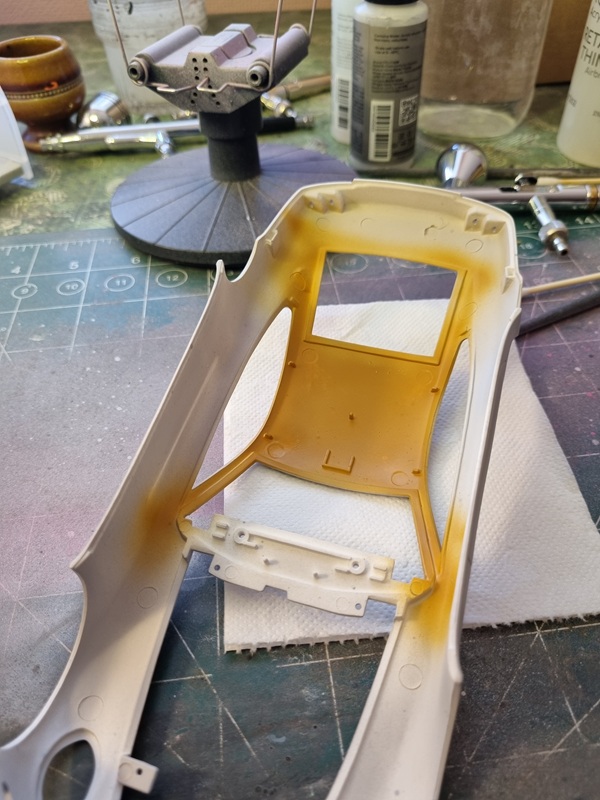
The next colour I tried was the aluminium paint.
Maybe hard to see but it actually looks very nice!
Then the inner roof got leather colour.
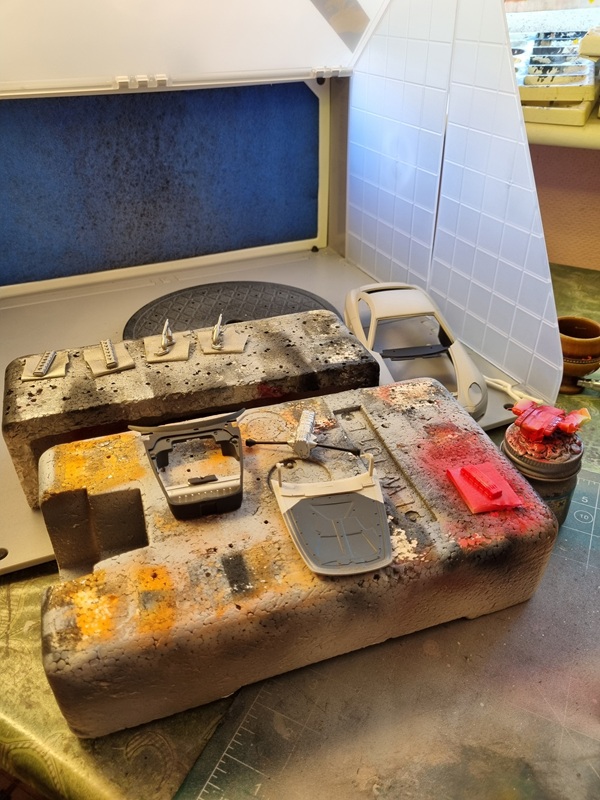
Once that was dry I masked it off and painted the mix of black and dark grey.
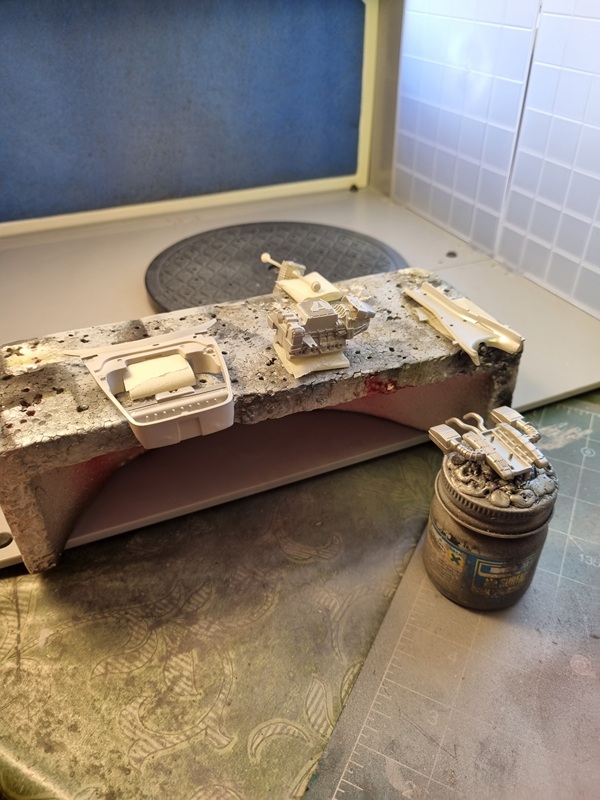
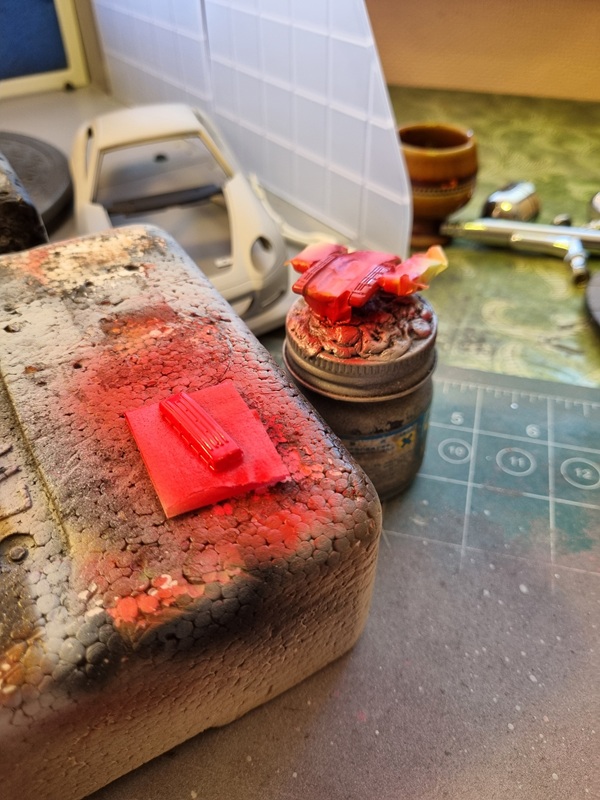
Some of the engine parts was painted with stainless steel from the new set, and the valve covers was painted with Italian racing red. To me it sure looked very nice. Some more parts was painted with different tones of grey and black.
Close up on the valve covers.
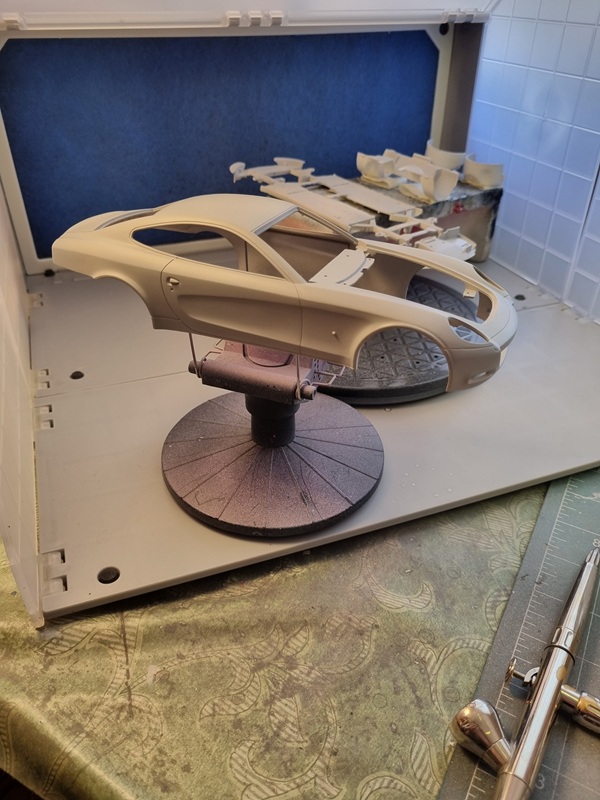
Lastly I masked the interior and painted all parts that I know should have body colour.
Turns out the colour that I bought at the store wasn’t acrylic as I thought, but instead some kind of emeral or laquer that needed stronger thinner. Gunzes Mr Thinner worked well for this.
On the pic it looks quite nice, but at a closer inspection some sections was a bit lighter and will need another layer to get even cover. That is something I need to practice. I’ll probably need an airbrush with a larger needle and nozzle to get a wider spread when I paint.
The hood and rear bumper also needs to be painted on the other side. Once that is done, I’ll let it dry for a few days before I try to lay down the 2k clear cote. That’s something I’ve never done before. I just hope that I can get a nice even and hopefully glossy looking cote.
Perhaps I shoul find something to practice on first!
