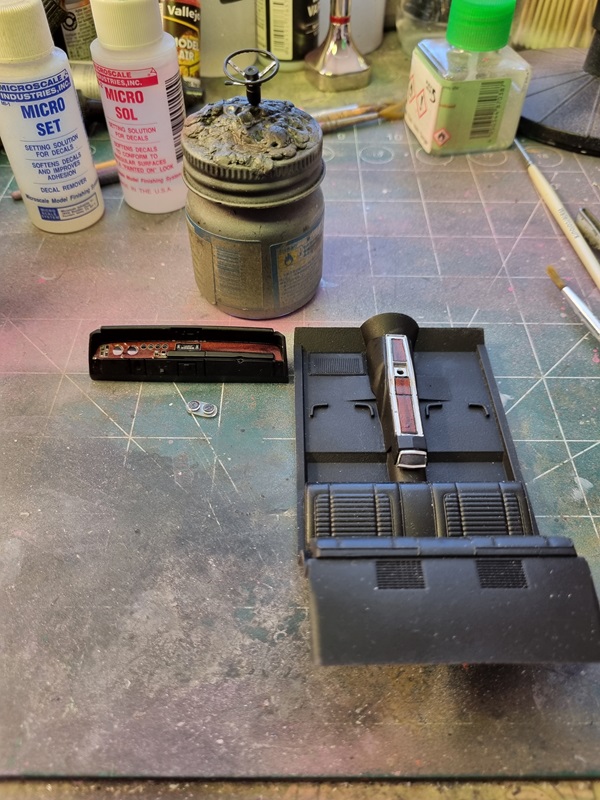
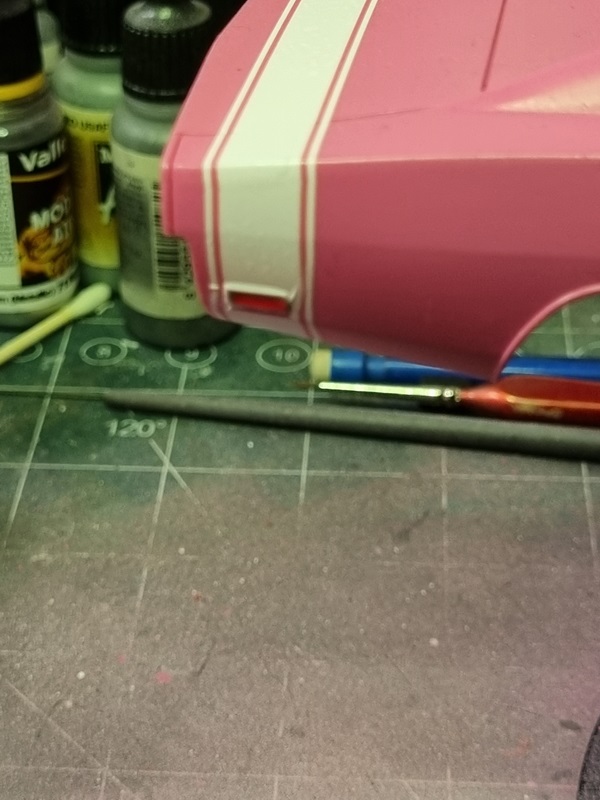
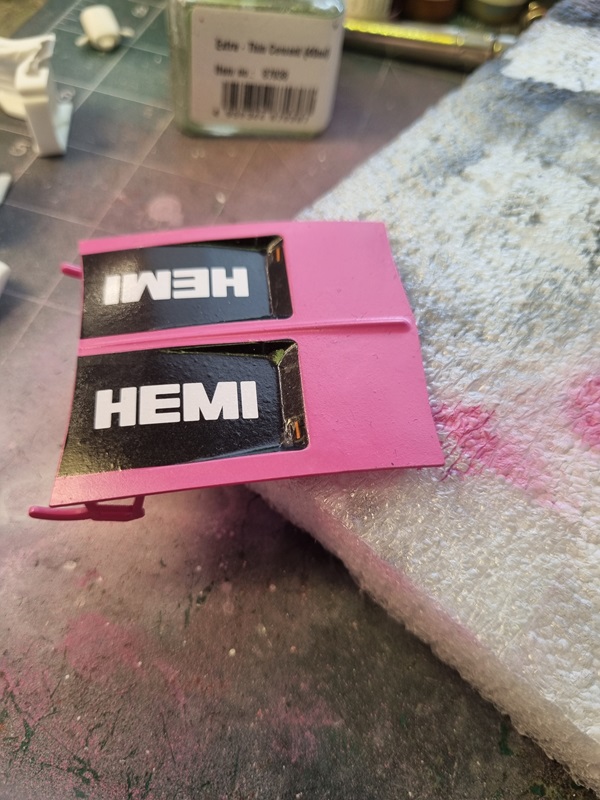
Here’s a pic of the damaged decal.
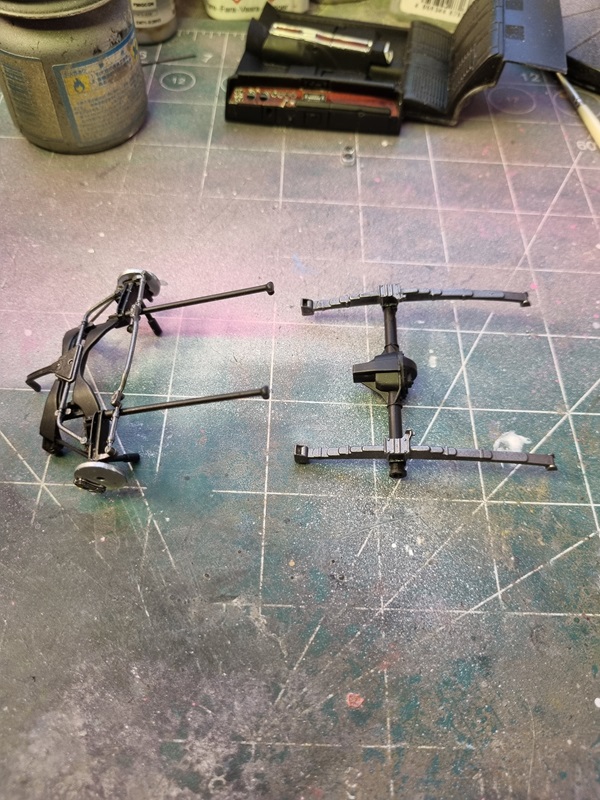
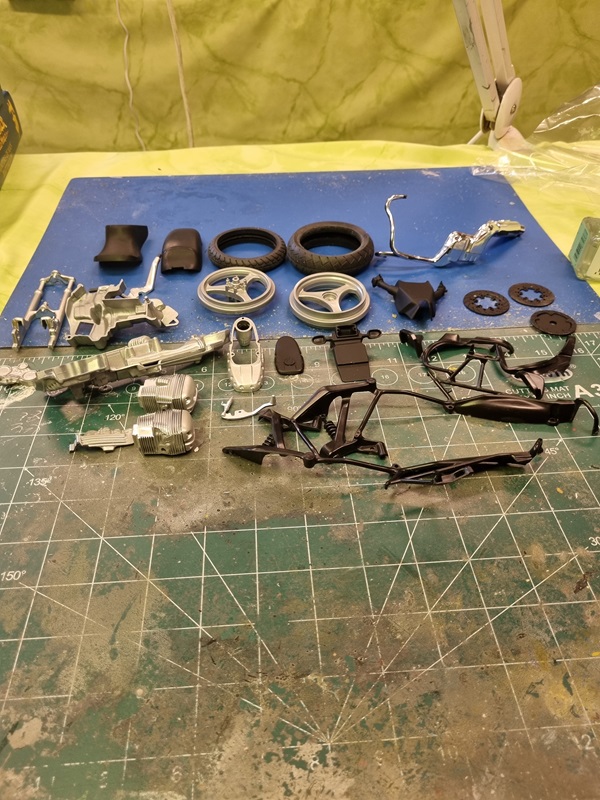
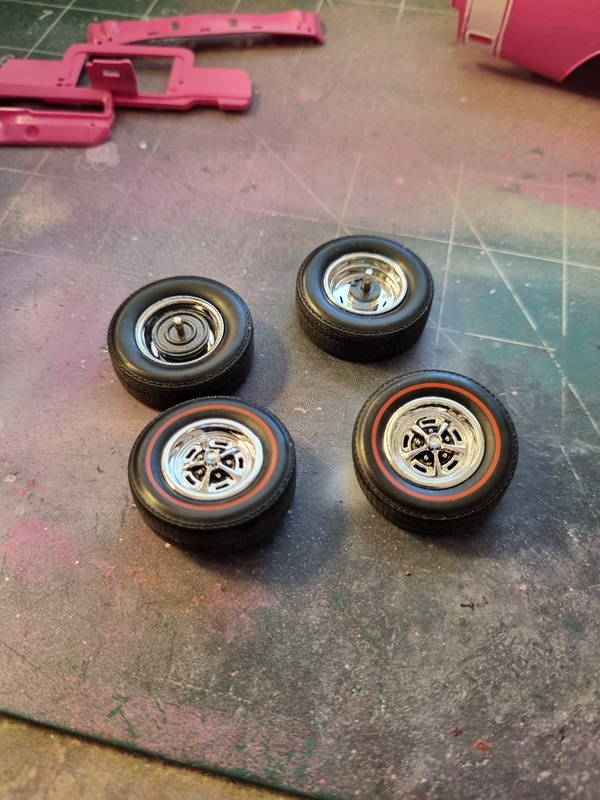
I assembled the tires and used some Tamiya black panel liner around the lug nuts.
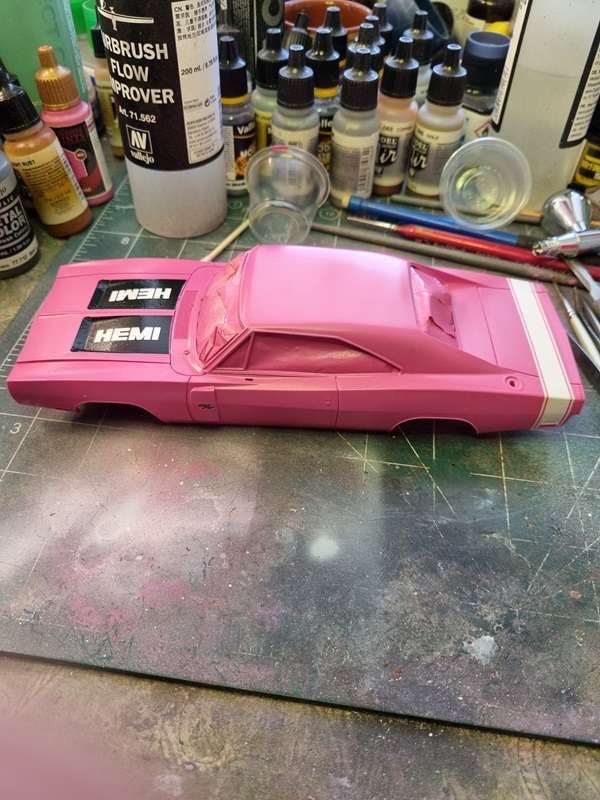
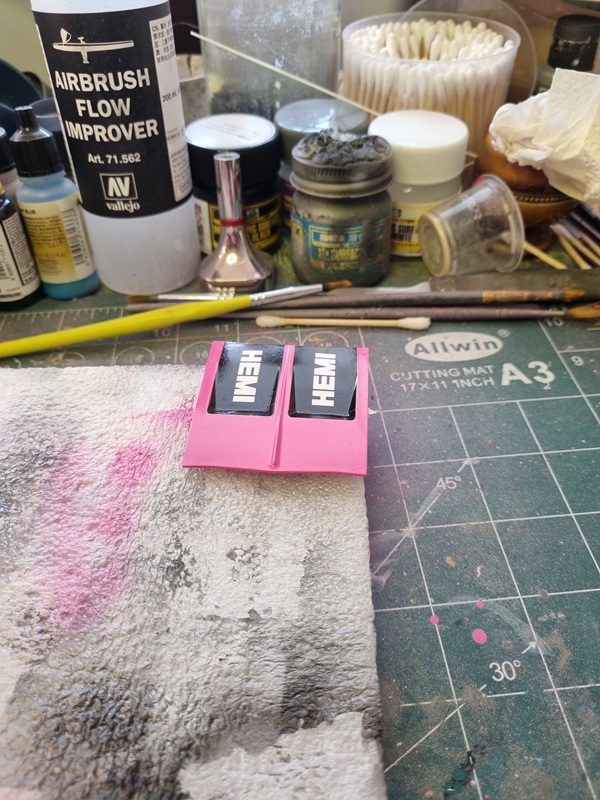
After trying to adjust the stripes, it looks like this.
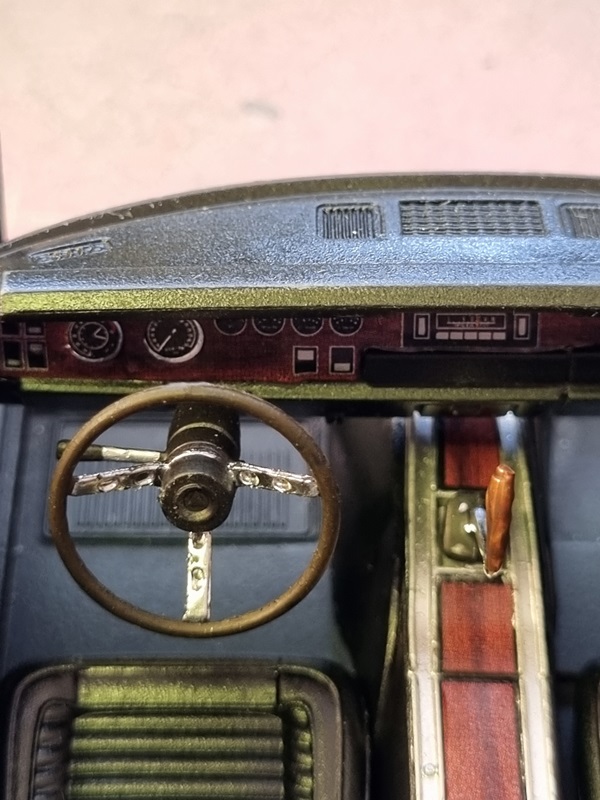
I used panel liner again to black out the grille a bit.
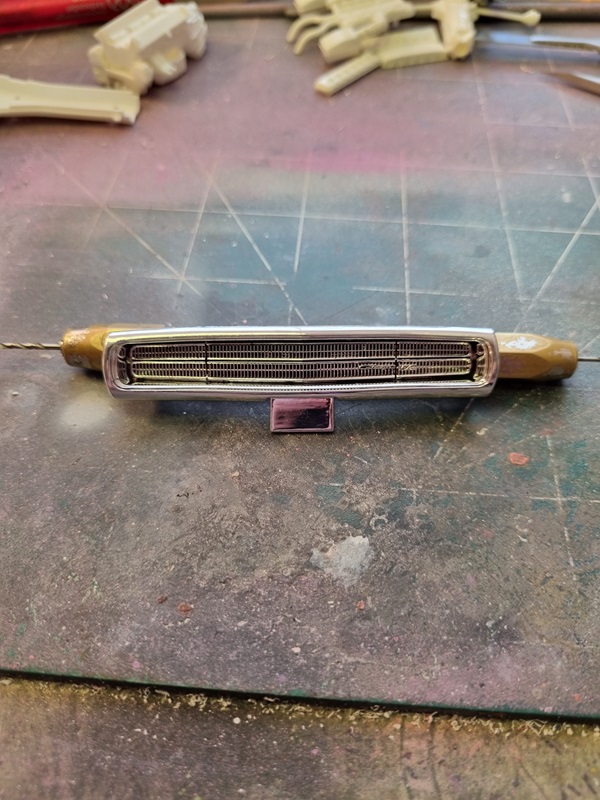
I wasn’t entirely happy with that so I added more black later.
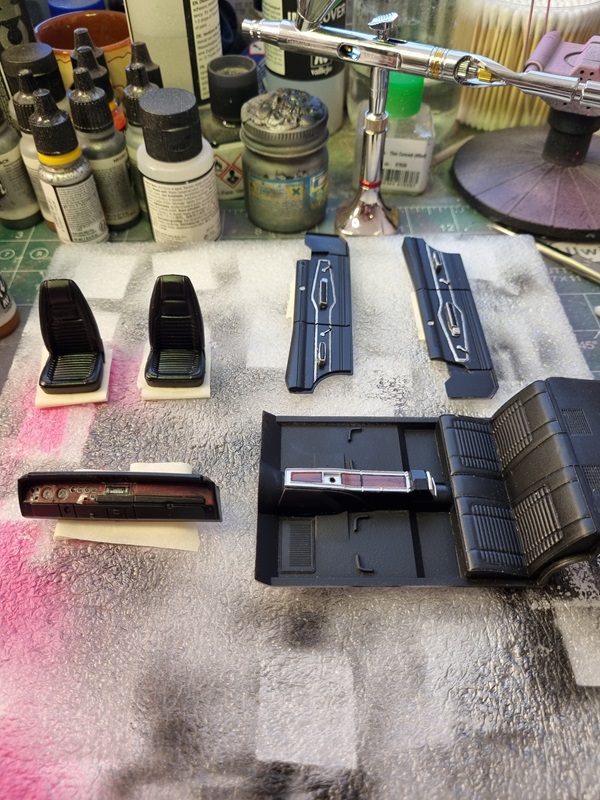
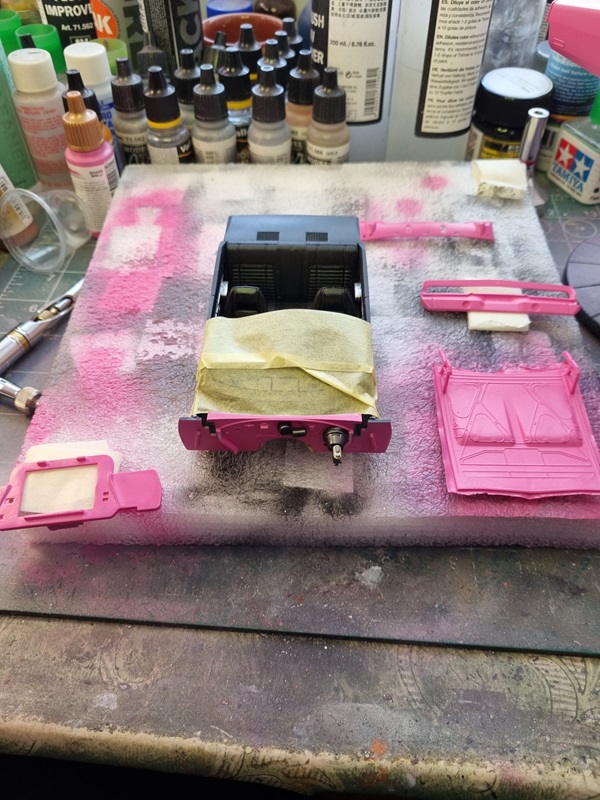
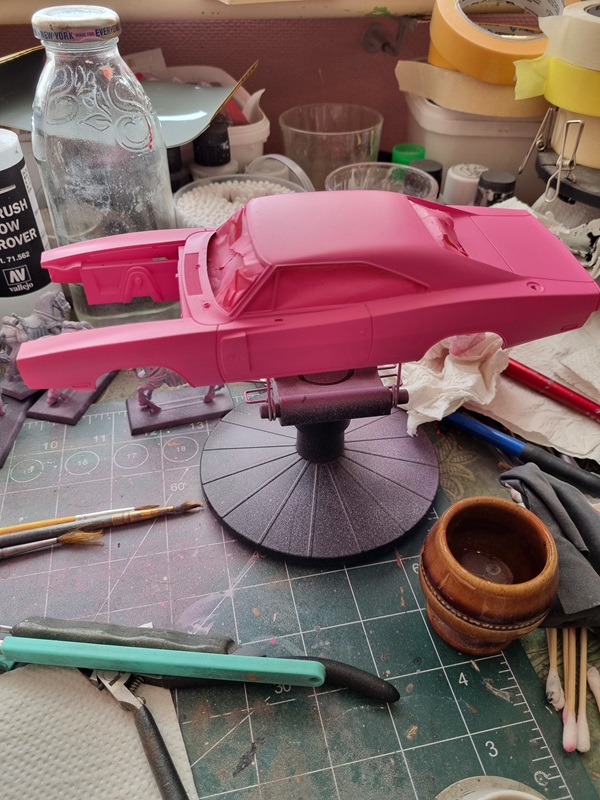
I thought I use polyurethane gloss varnish to get a nicer and hopefully harder surface so I painted a few parts with it.

I thought that looked alright so I decided to paint the hood and body as well.
That didn’t go as well.
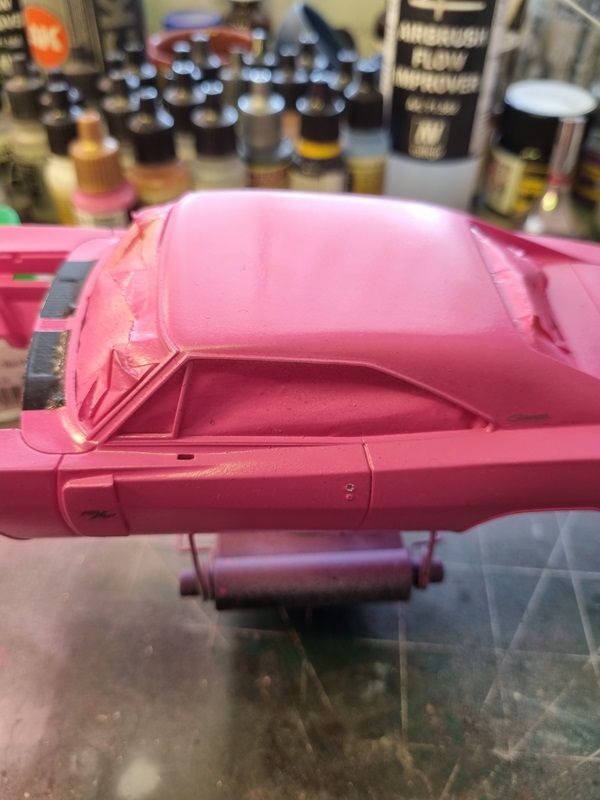
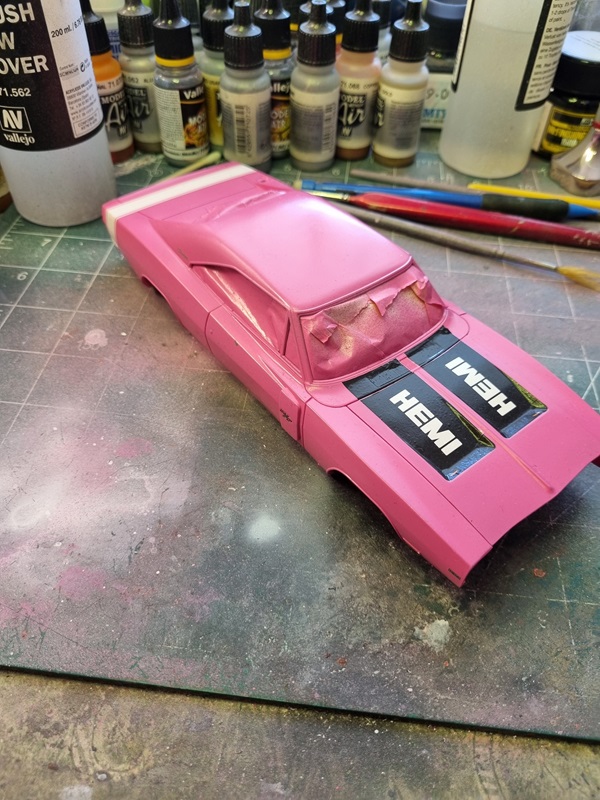
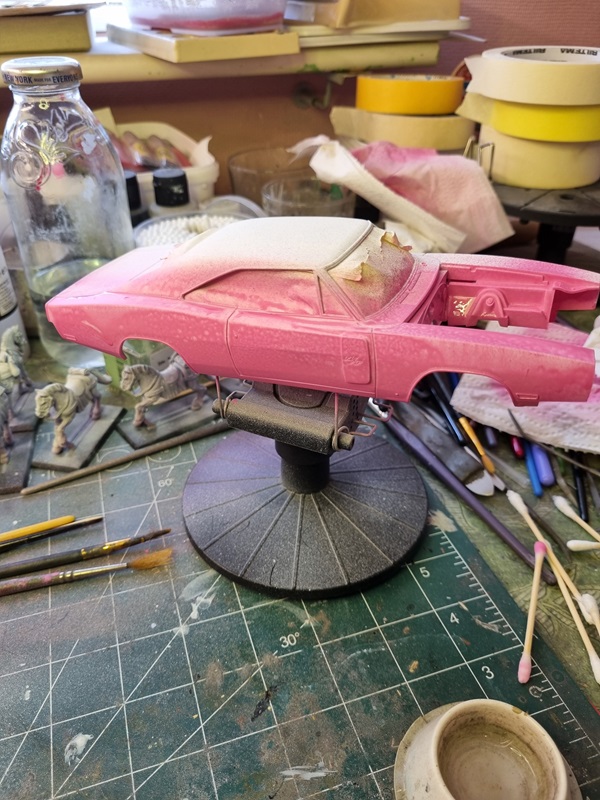
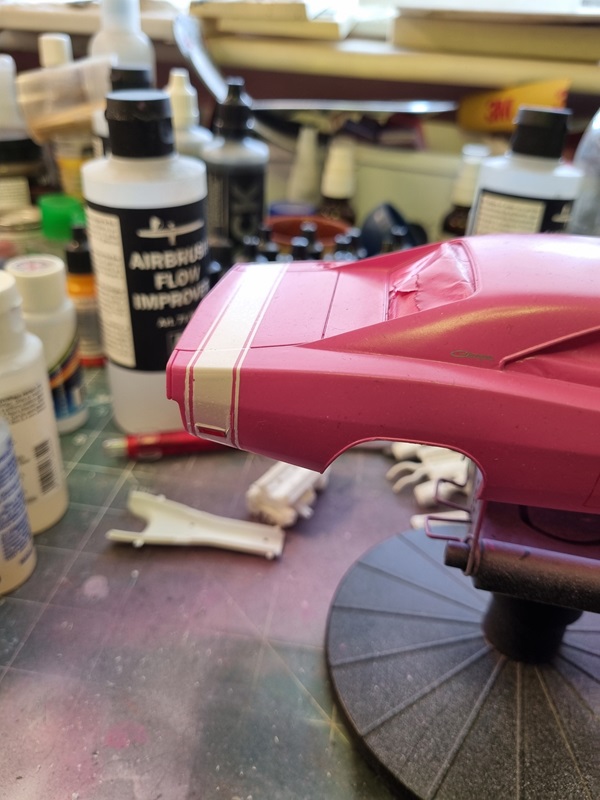
Not sure if I flooded the colour too much as it started to puddle. As it dried it got a bit more even, and I decided to try and wet sand it and do another cote on top.The varnish looked hard and nice on the front and rear parts and after a day I thought it would be hard enough to sand a little, but then this happened.

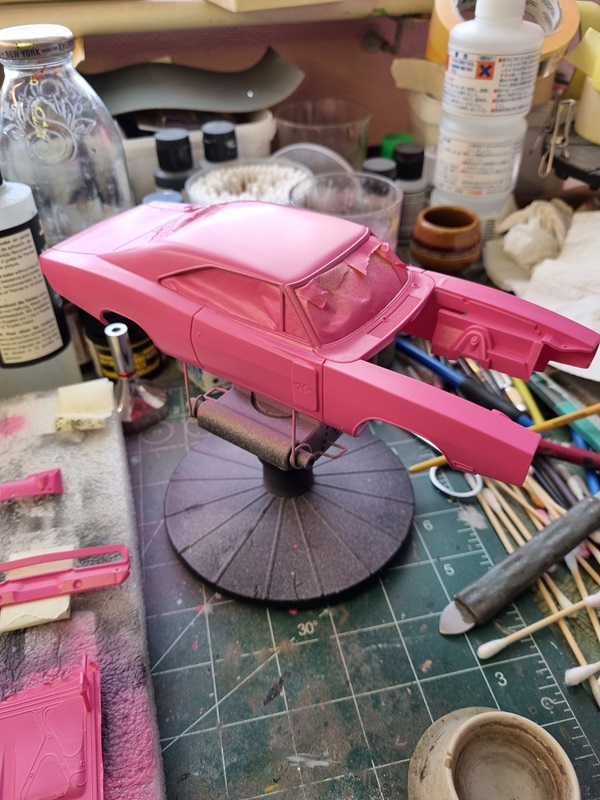
The varnish started rolling off and had a rubbery consistence. I guess I’m not patient enough. Anyway I removed the varnish to the best of my capability, and then had a go with Vallejos gloss varnish for metal colours. I did a try on the hood.
Maybe not perfect, but a lot better than I had hoped.I’ll lay a cote or two on the body as well and hopefully that will work out okey as well.
My idea is to try and polish it later, but this time I’ll wait at least a week.