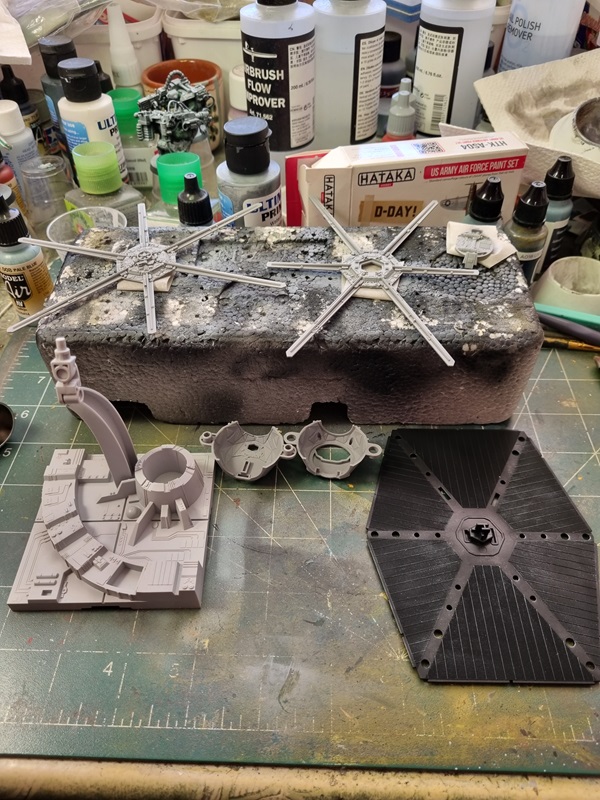
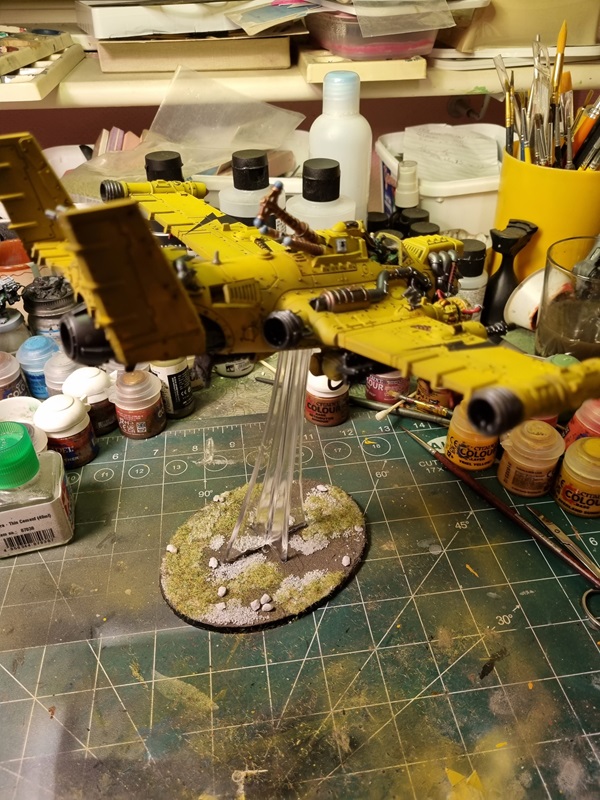
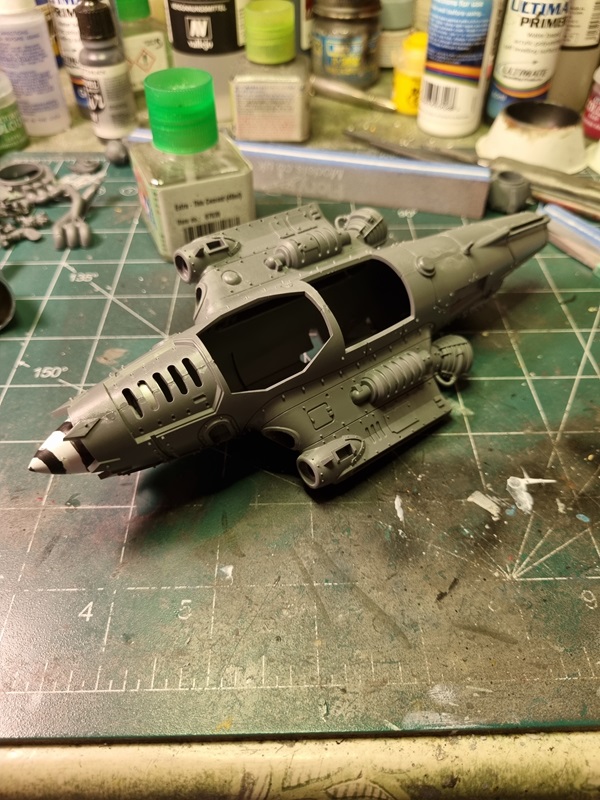
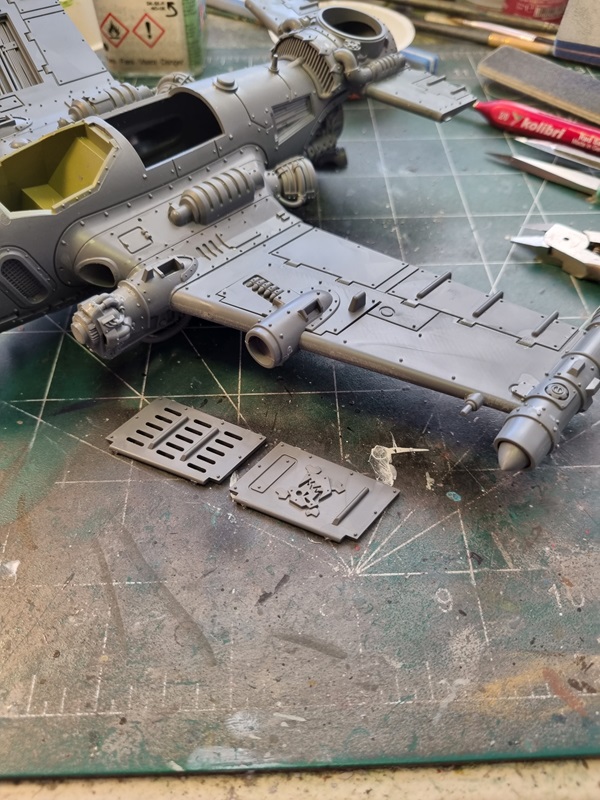
As I intend to have it sitting on the stand, I glued the lid in place.
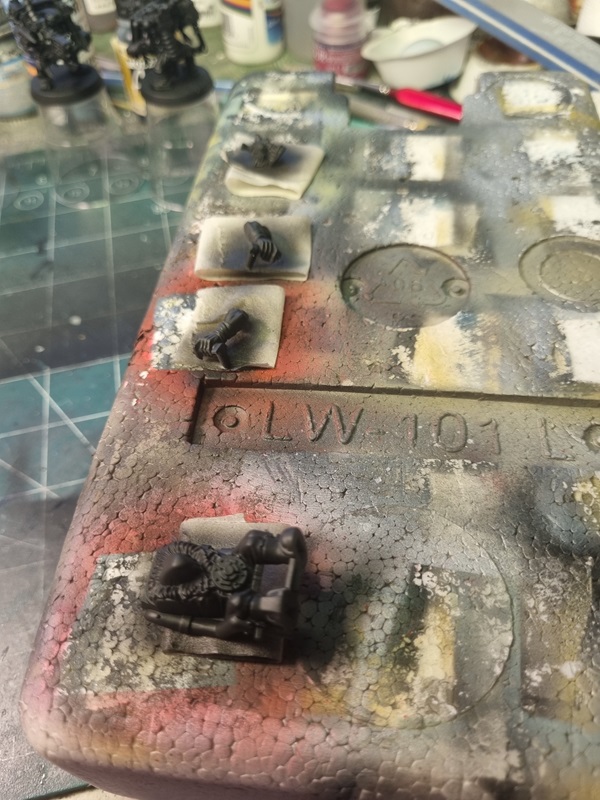
The solar panels got a pin wash.

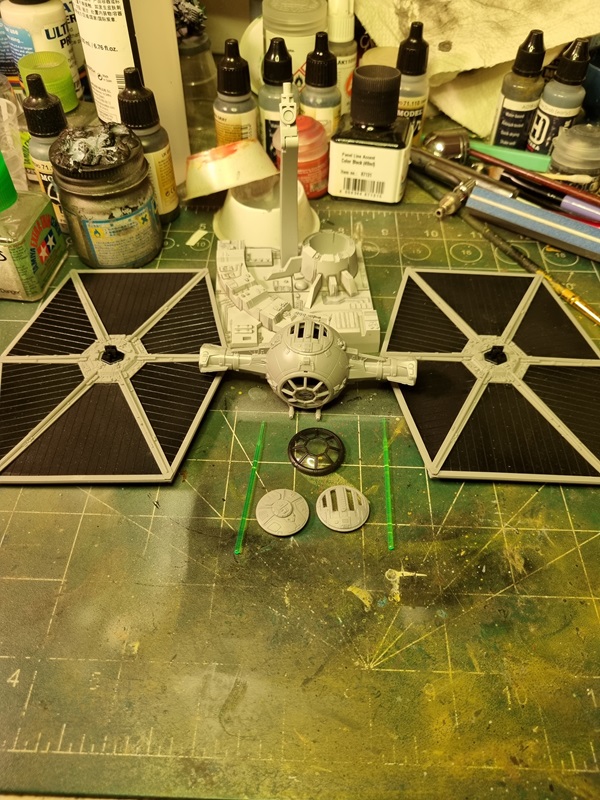
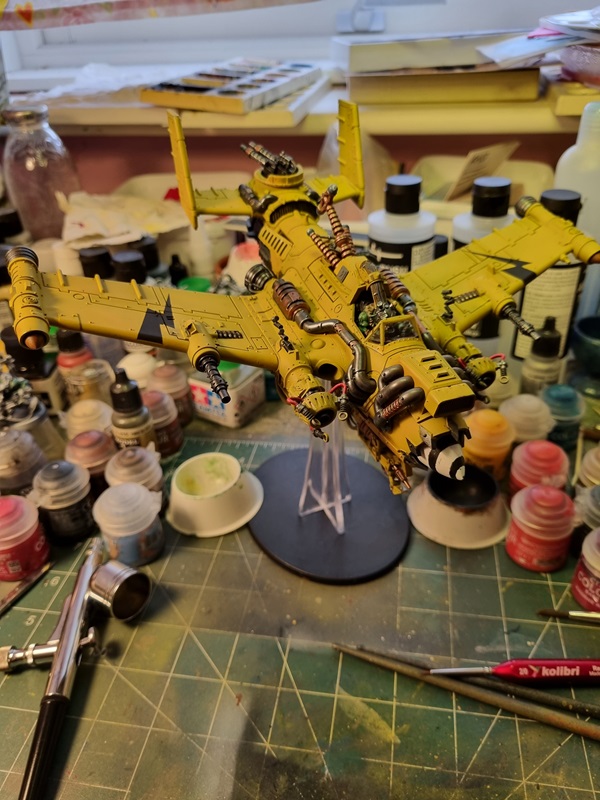
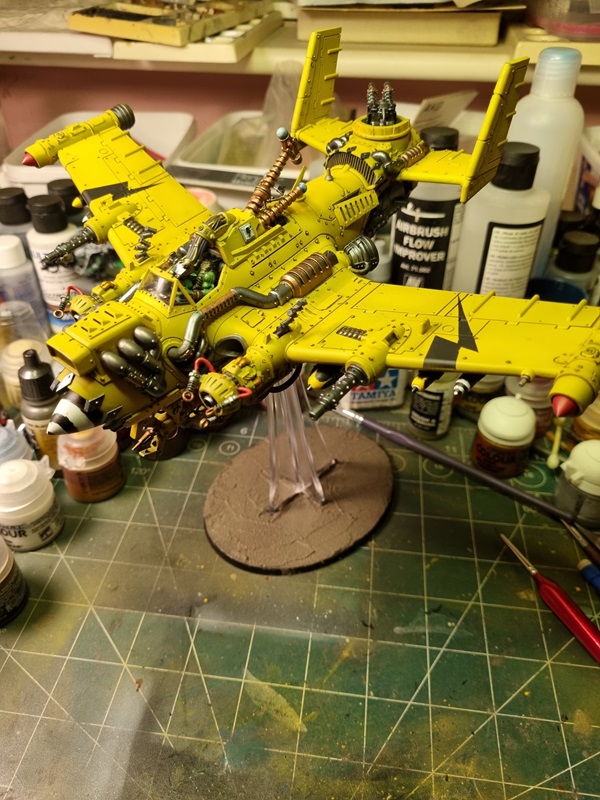
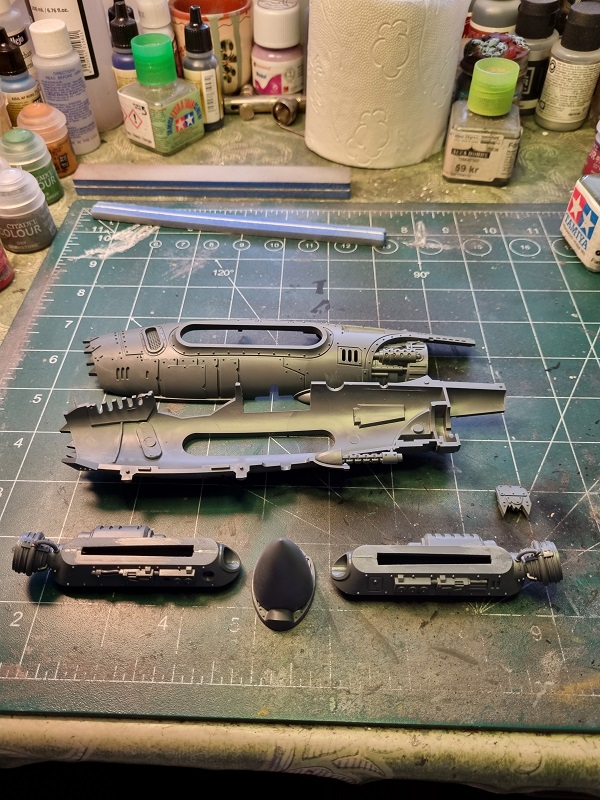
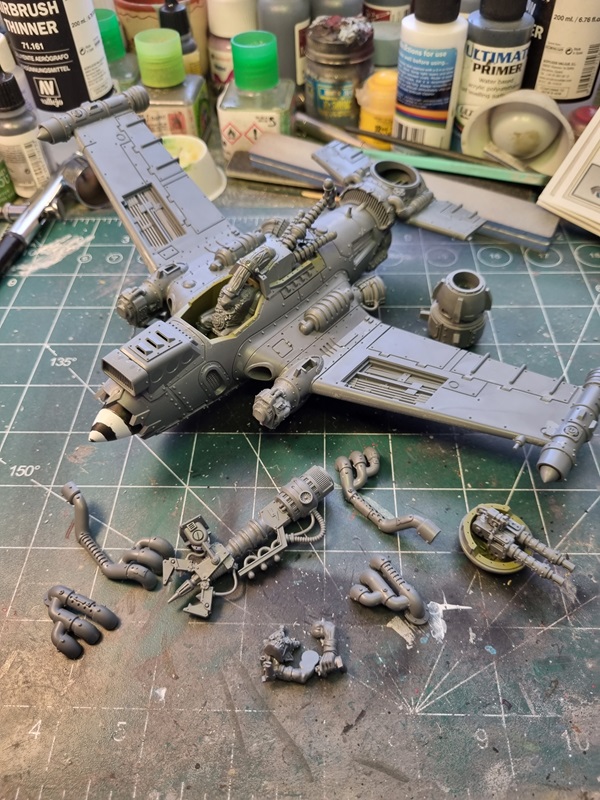
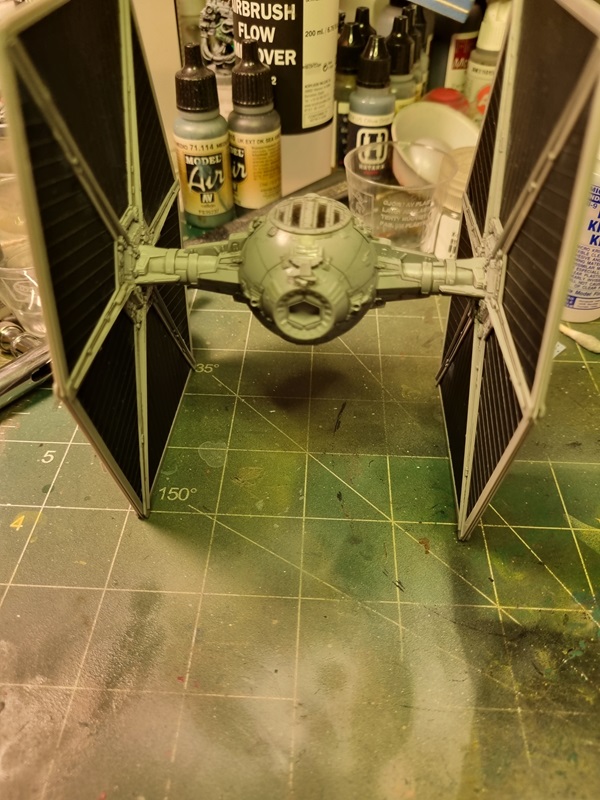
Everything put in place.
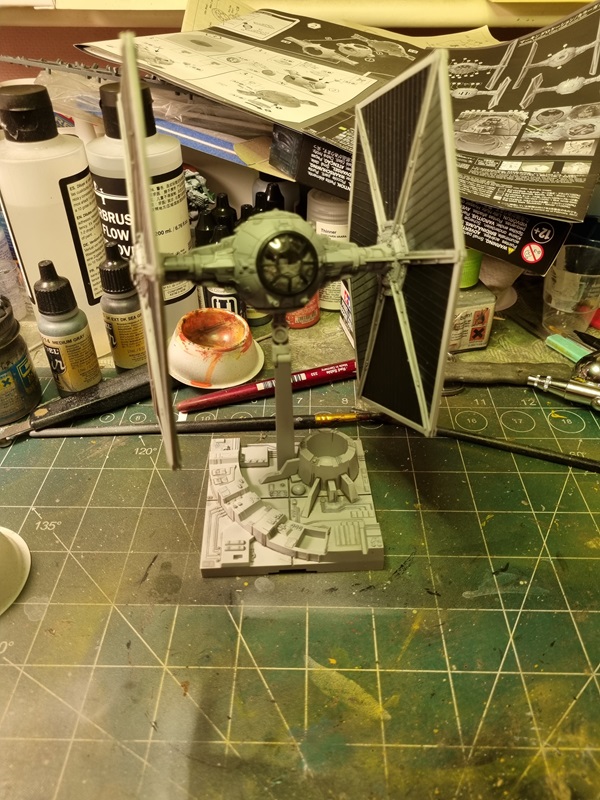
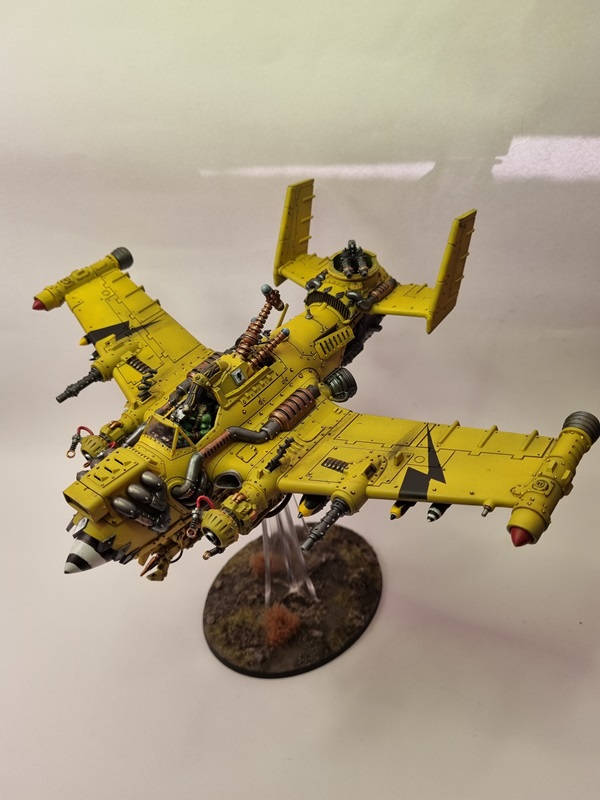
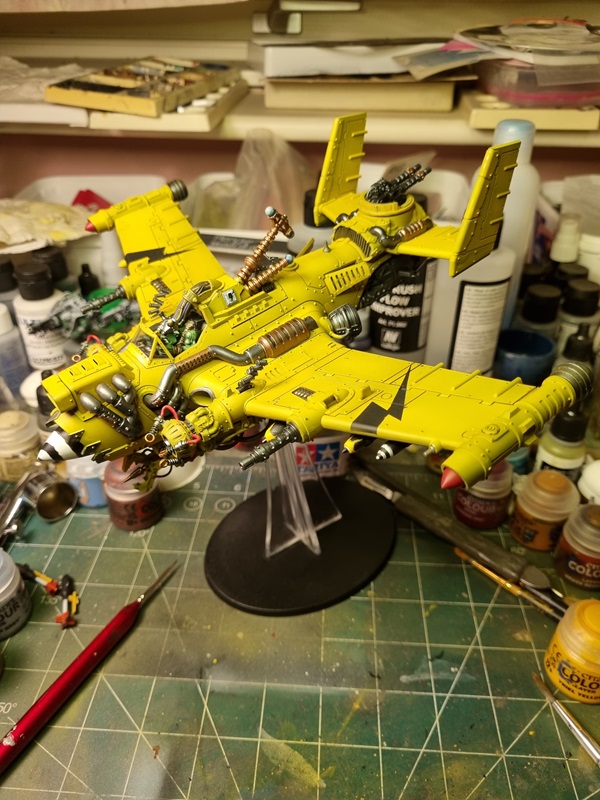
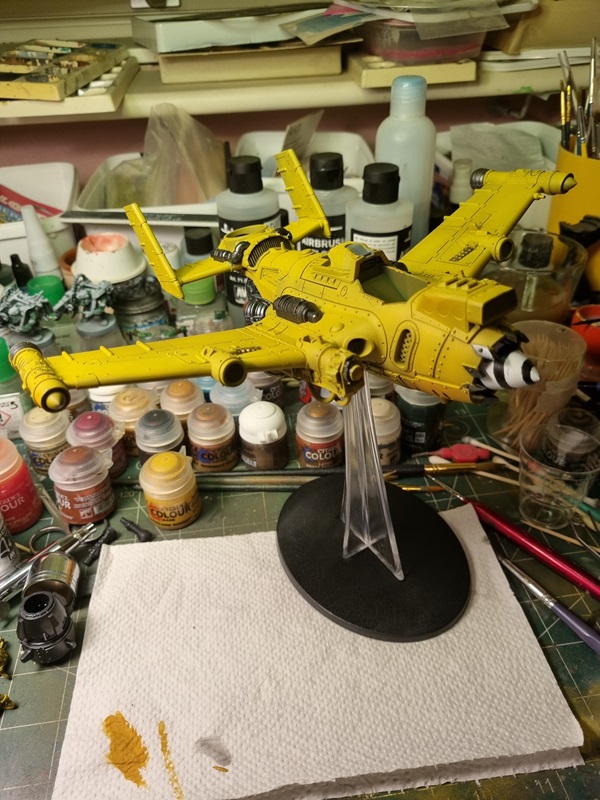
After a clear cote, the decals went on. I tried to use the decals for the window and top lid, but messed them up as they wouldn’t conform properly.
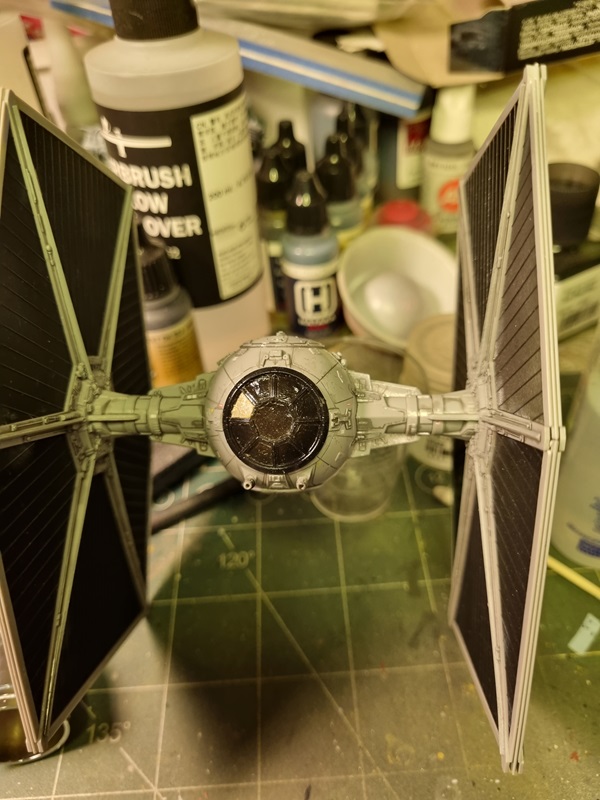
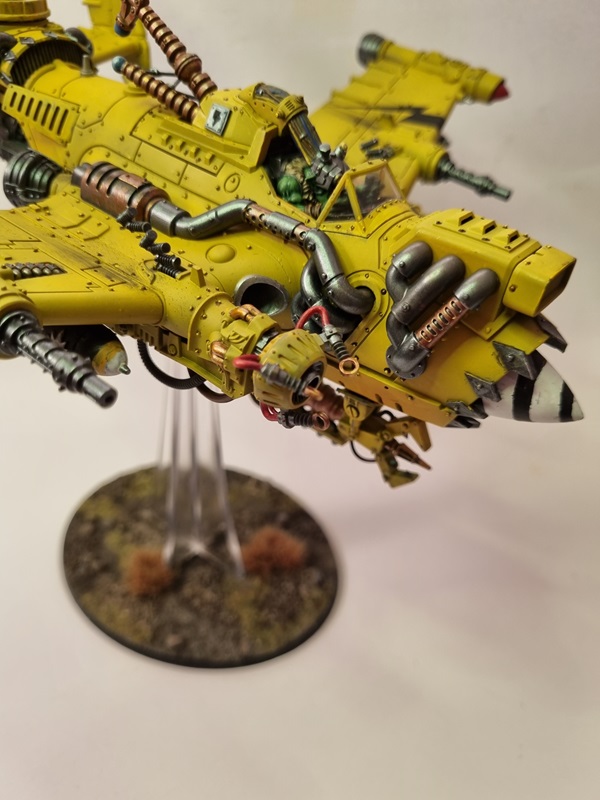
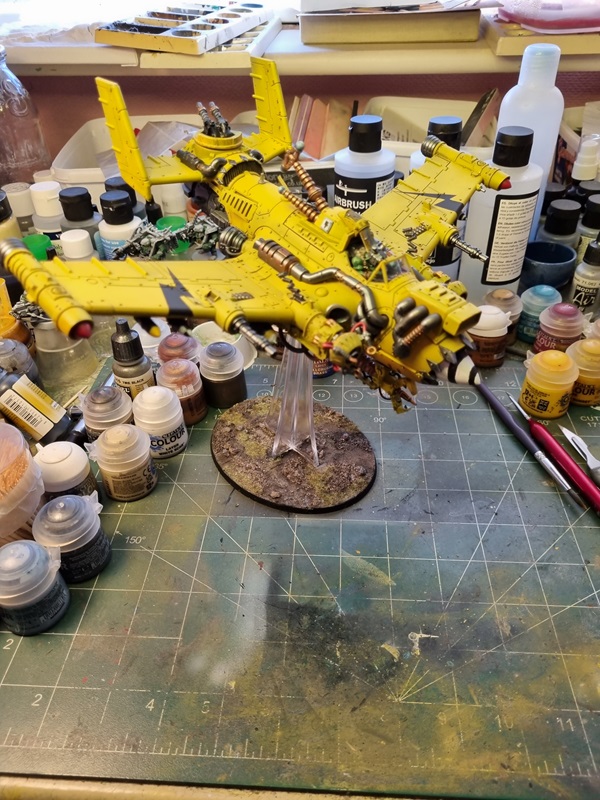
After removing the masking tape from the window and doing some additional wash and painting, I considered it done.
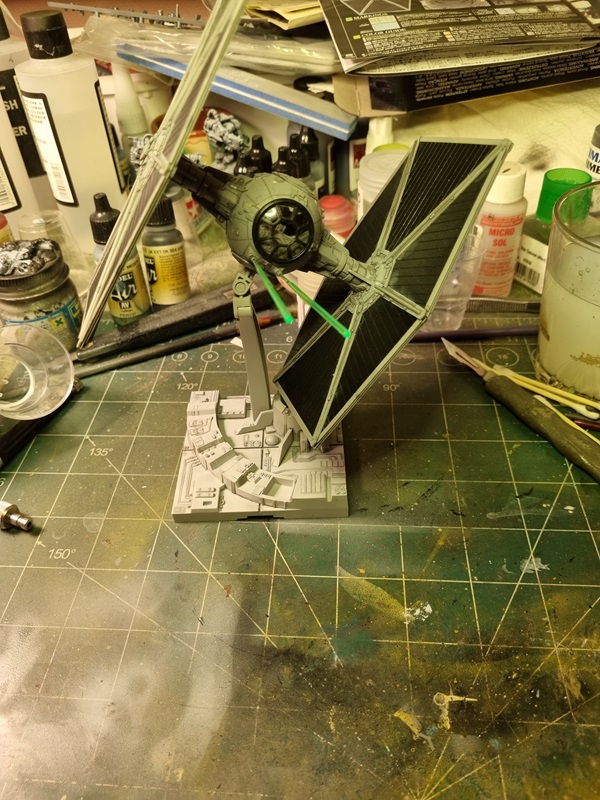
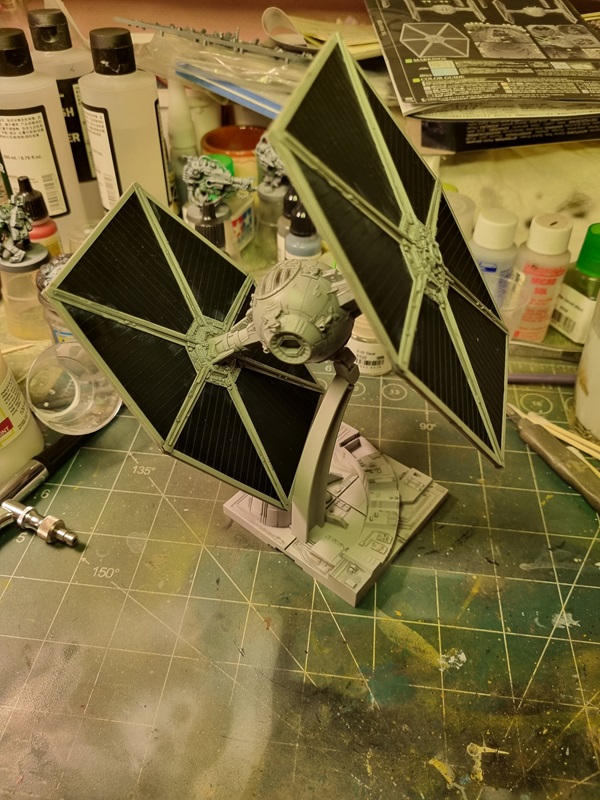
Pics for the final reveal will be posted soon.