Boss Snikrot – WH40k ork boss

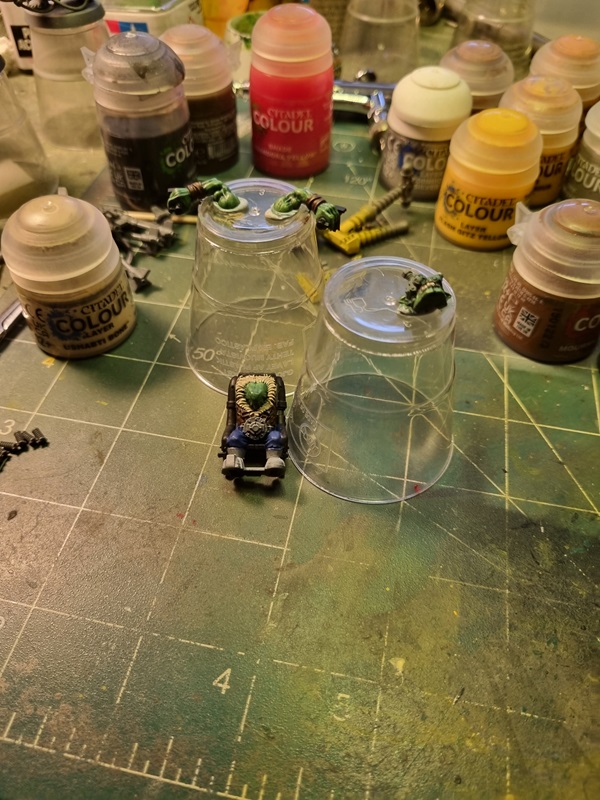
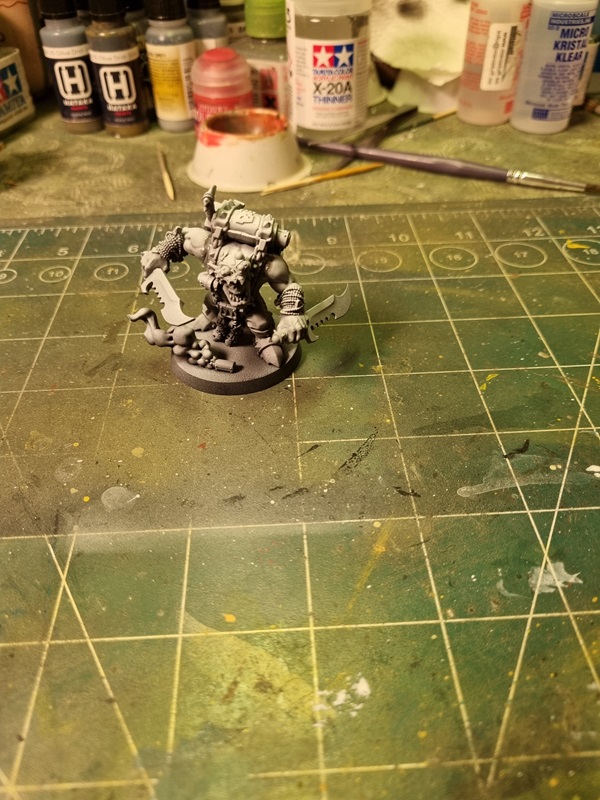
I started this build for a sci-fi group build on Facebook. Probably the last one I build for that gb. I choose a figure just to get a fairly easy build.

I thought he looked pretty cool so the choice was pretty easy.
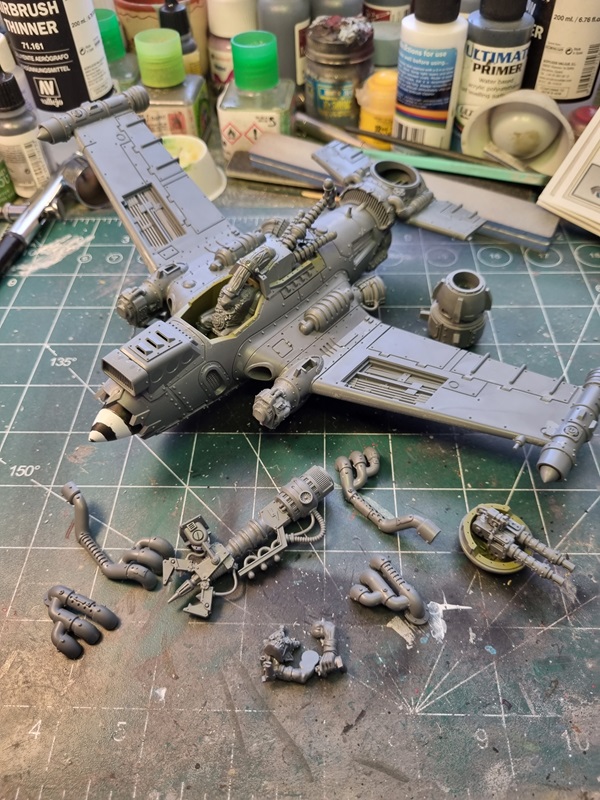
Starting with assembly which was pretty straightforward.

I choose to have his mask on his forehead, so bot the mask and face would be visible.

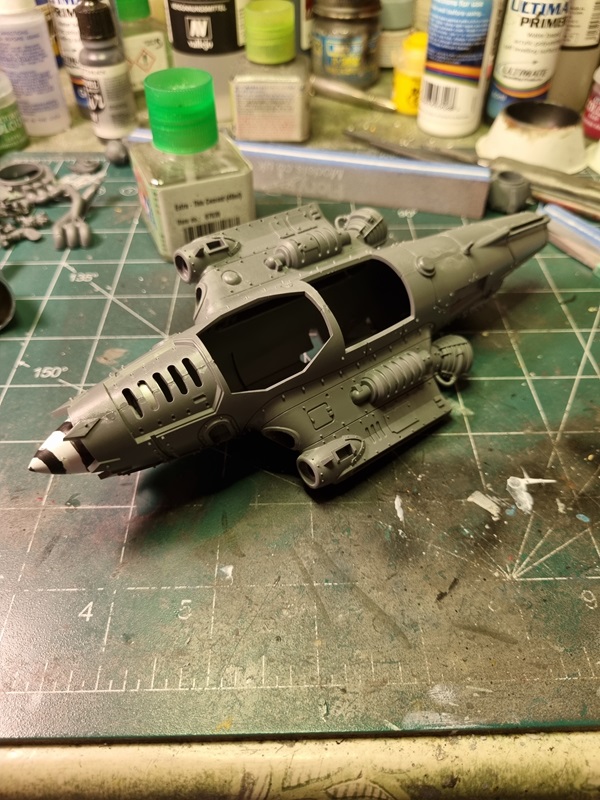
I gave him a zenithal primer, which means I first painted him black, then grey in about 60 degree motion all around, and finally I painted white more or less from the top almost straight down.
Lastly I dry brushed white with a soft make up brush, picking up a little more of the details.

I decided to mainly use Army Painters Speed Paint.

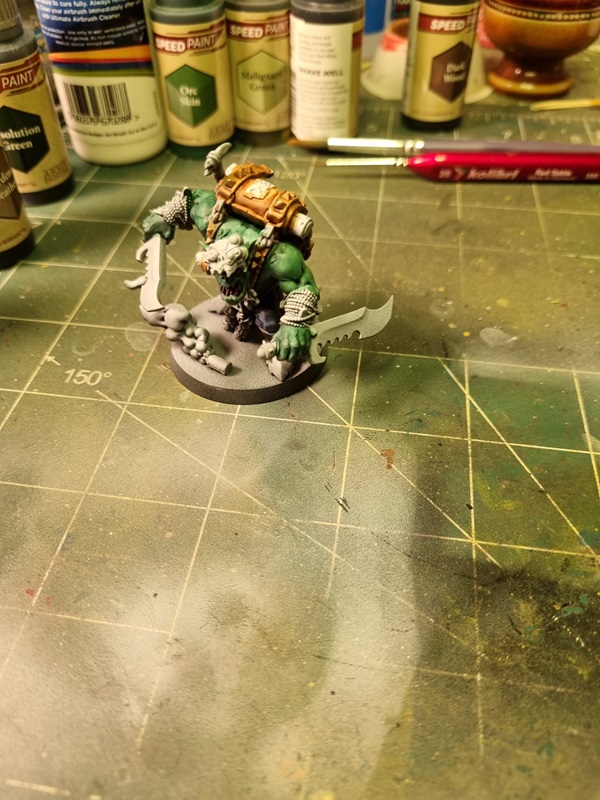
I then painted all the metal with Vallejo’s black metal, and also added a few other details. Trying to use speed paint as much as possible.

The metal parts was highlighted with a brighter metal colour, and then I used rust and orange rust to add some rust on weapons and other spots.
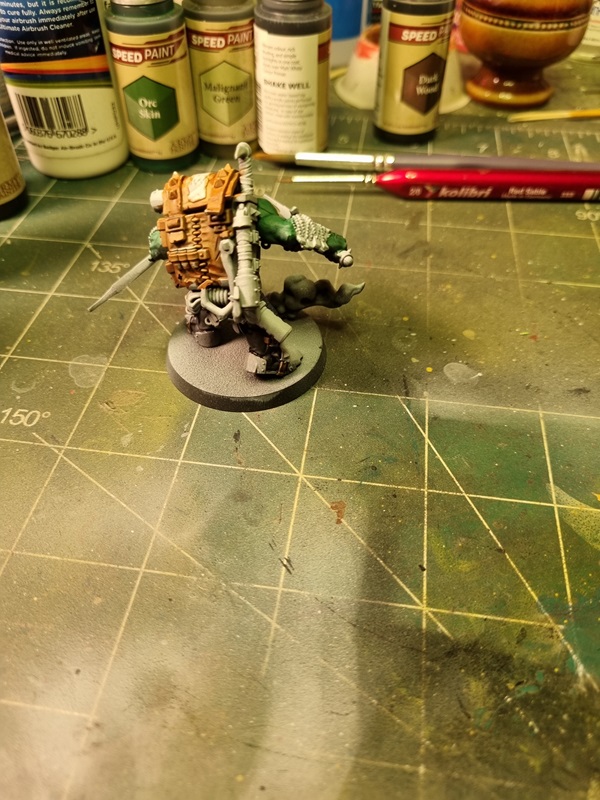
After that I used AK’s mud on the base.

I’ll add some grass and a few stones to the base, and do some additional painting before it’s done.

Tie Fighter – part 3

As I intend to have it sitting on the stand, I glued the lid in place.
The solar panels got a pin wash.

Everything put in place.

After a clear cote, the decals went on. I tried to use the decals for the window and top lid, but messed them up as they wouldn’t conform properly.

After removing the masking tape from the window and doing some additional wash and painting, I considered it done.

Pics for the final reveal will be posted soon.

Tie Fighter – part 2

The pilot and windows got some paint.

The solar panels was assembled.

The base got a pin wash and then I did some dry brushing with a slightly brighter colour than the base colour.

The pilot and cockpit got some decals.

Then the cockpit was closed and placed in the rear fuselage.

After some additional painting and pin wash, I could close the fuselage and start glueing small parts.
I’ll use the optional windows as cover when I paint the fuselage.
Here are all the parts that will be assembled later.

For some reason the bottom of the fuselage broke a bit while putting the bottom cover in place.

I’ll sort that as good as possible, and I guess the cover just have to be glued in place.

Other than that it’s mostly painting and decals left before assembly and finishing touches.

Tie Fighter – Star Wars – Bandai 1/72

As I’m participating in a sci-fi group build where I recently have finished the Ork Dakkajet, I decided to try to finish one more kit before the end of the group build.
So in order to make it somewhat easy I decided to build a Bandai Tie Fighter,

Starting with the cockpit and mid section.

The instructions for what colours to use a pretty brief. I asked around a bit and got some advice.
The solar panels was painted flat black.

Hard to tell perhaps, but the black plastic is a bit more shiny.

I painted the interior in neutral grey and then mixed a lighter colour for the exterior parts.
That colour was also used on the panels inside the cockpit.

There are some details to paint in the cockpit and on the pilot. Then I can start assemble it.

Ork Dakkajet – part 2

Building up the yellow with brighter yellow colours.

The pilot got some paint.

Working a bit with the loadout and giving the rockets and bombs some colour.

Gradually adding even brighter yellow.

Unmasked with the pilot dry fitted.

I painted some details in metal and put the plane on the stand.

A little progress with the rockets and other small parts.

More details painted and some dry fitting.

The pilot got seated! 🙂

Next will be additional painting and touching up and adding the missing parts.

Orks Dakkajet – Warhammer 40k

I started this build a while ago and haven’t been able to make any post about it.

It all started with preparing and assembling parts.

I painted a spiral pattern on the nose cone.

The interior parts got some interior green.

With the nose cone painted, I could assemble the fuselage.

The wings went on and some parts was dry fitted.

There was three different hatches for the wing. I choose the one which gave the plane one extra gun on each side.

Then some parts got some metal paint.

The parts for the pilot was primed.

The nose and metal painted parts was masked.

Grey zenithal primer on the pilot.

Then finally some paint on the plane.

Next more paint!