Empire army – Warhammer the old world – part 1

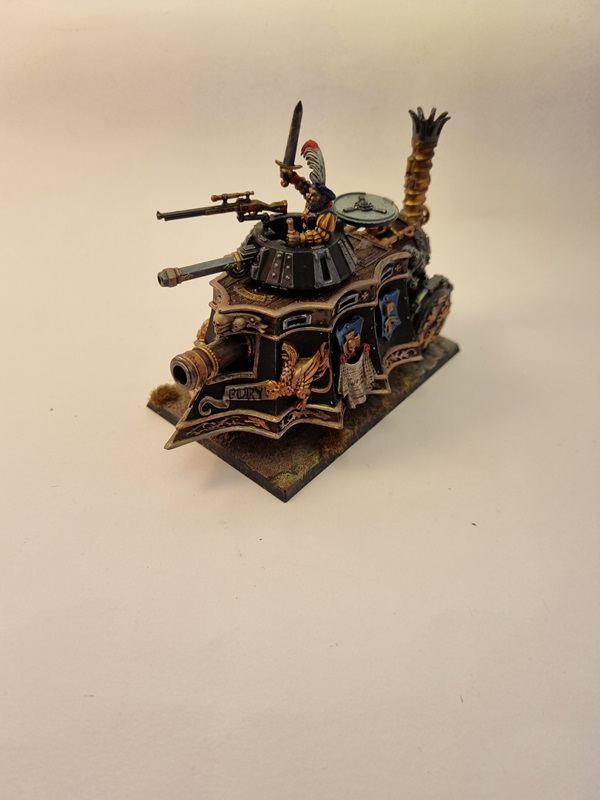
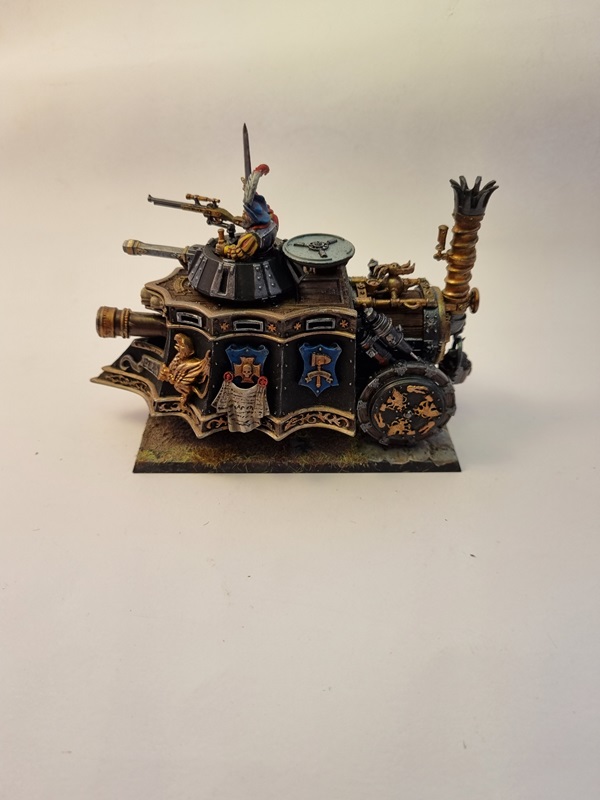
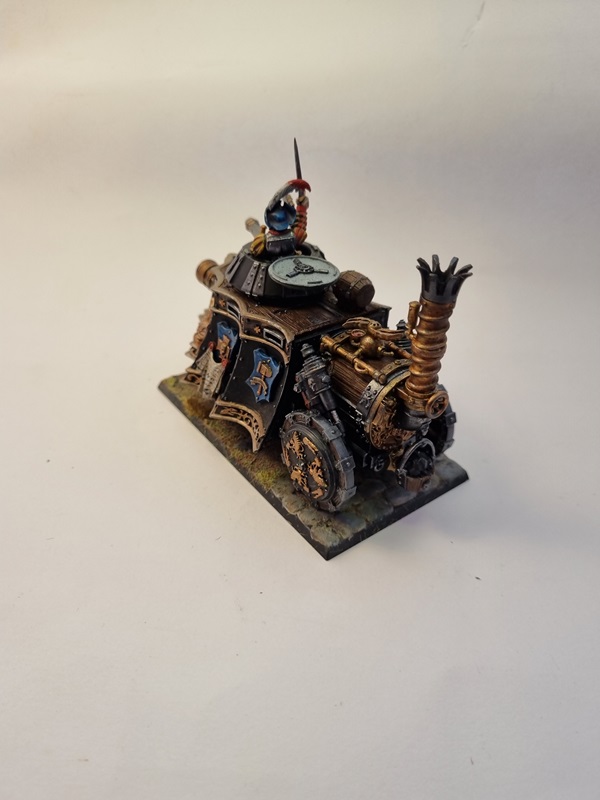
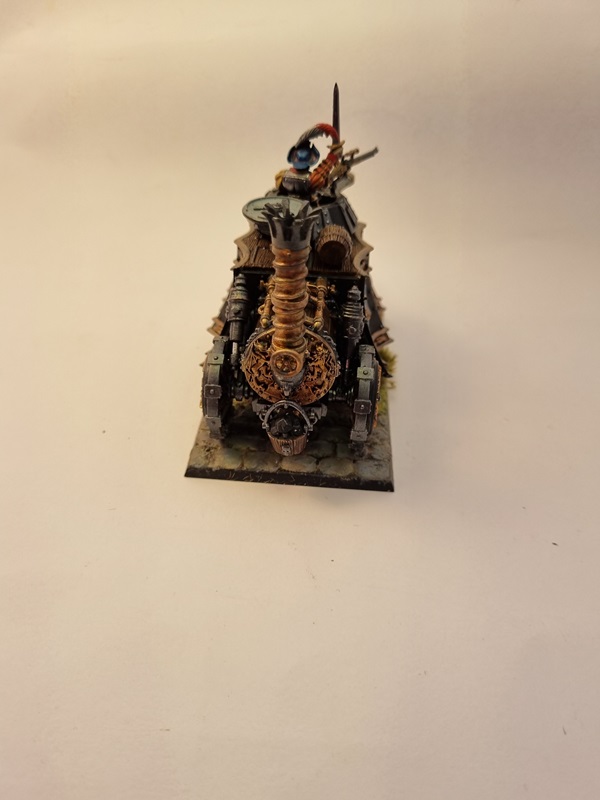
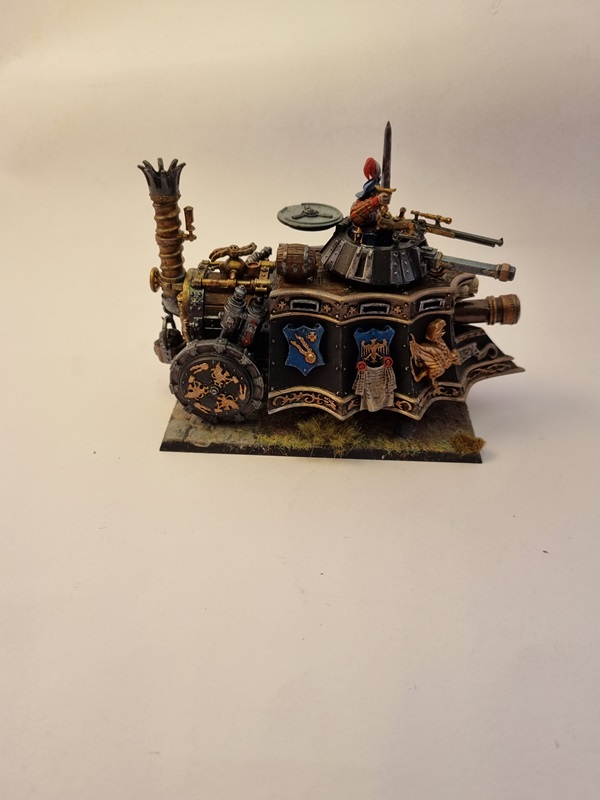
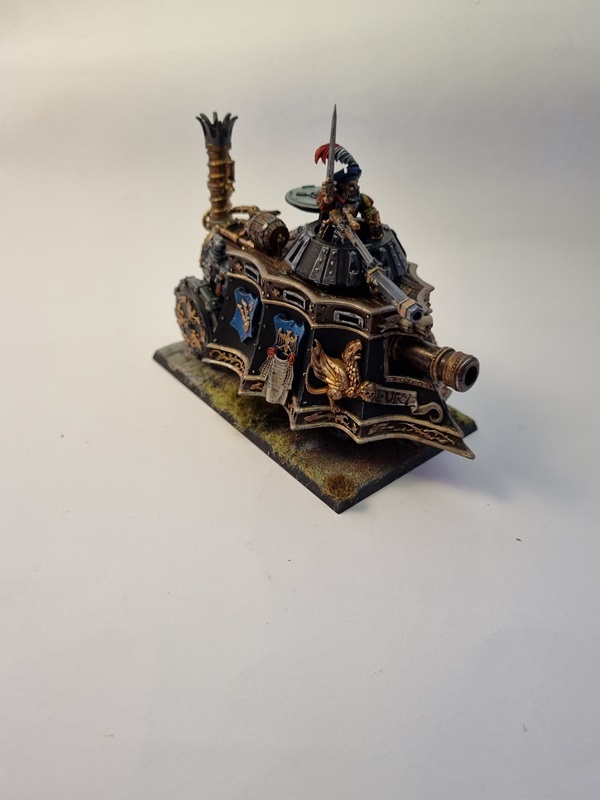
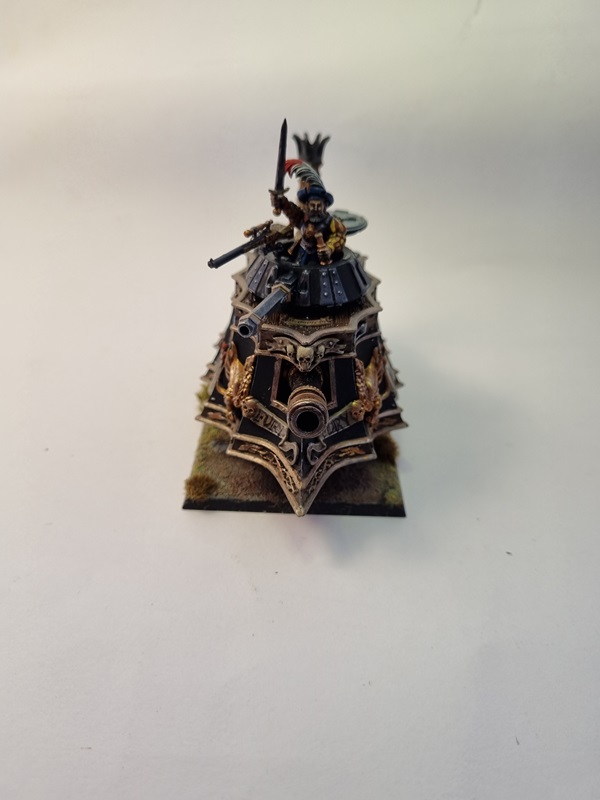
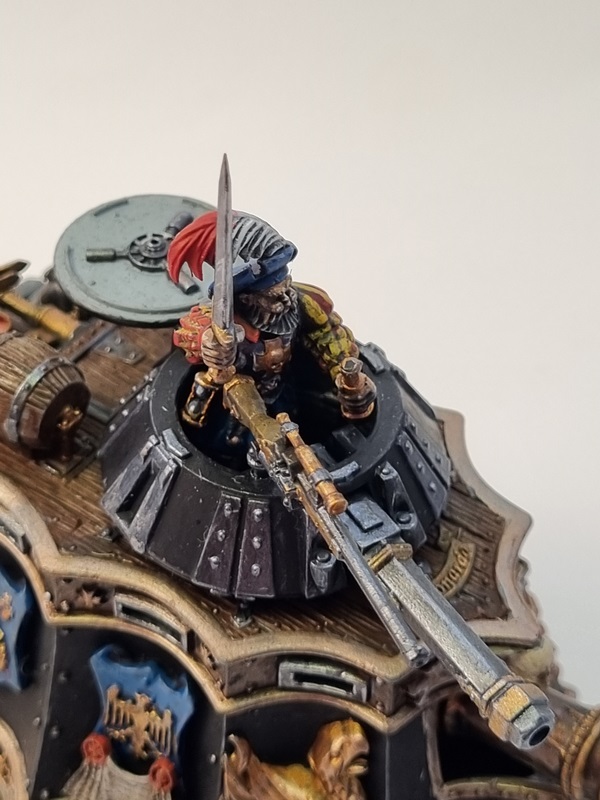
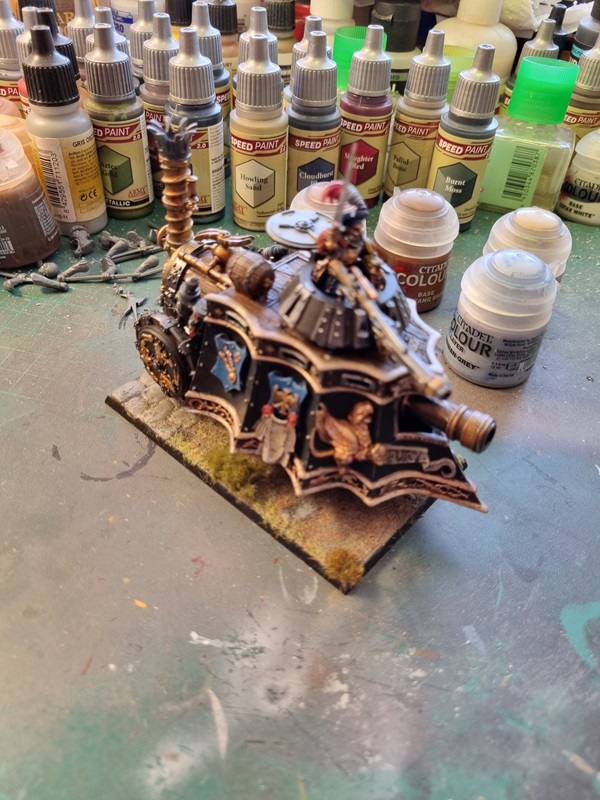
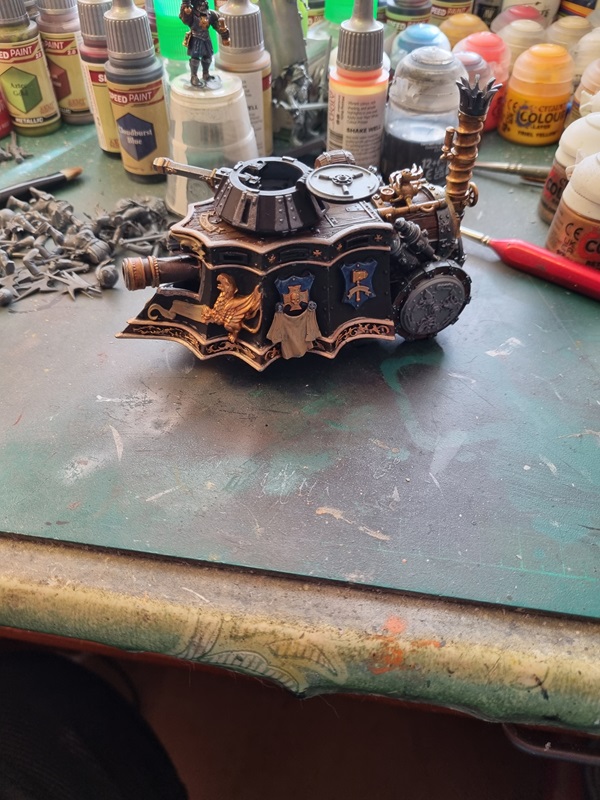
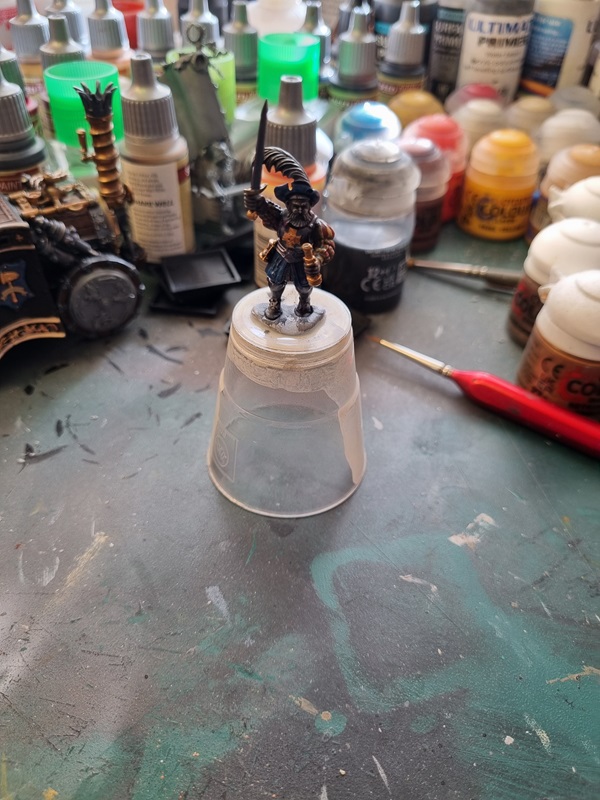
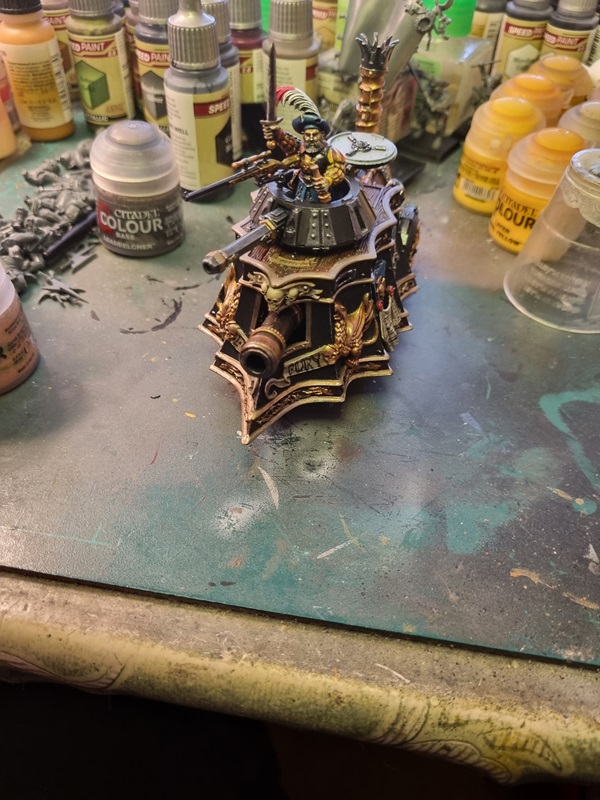
The steam tank was the first part of my Empire army. In the same box there’s also different infantry troops. Here’s the command group.

And the, at the time, headless hillebardiers.

For some reason I didn’t take a pic of the finished soldiers, instead I contindued with the spear soldiers.

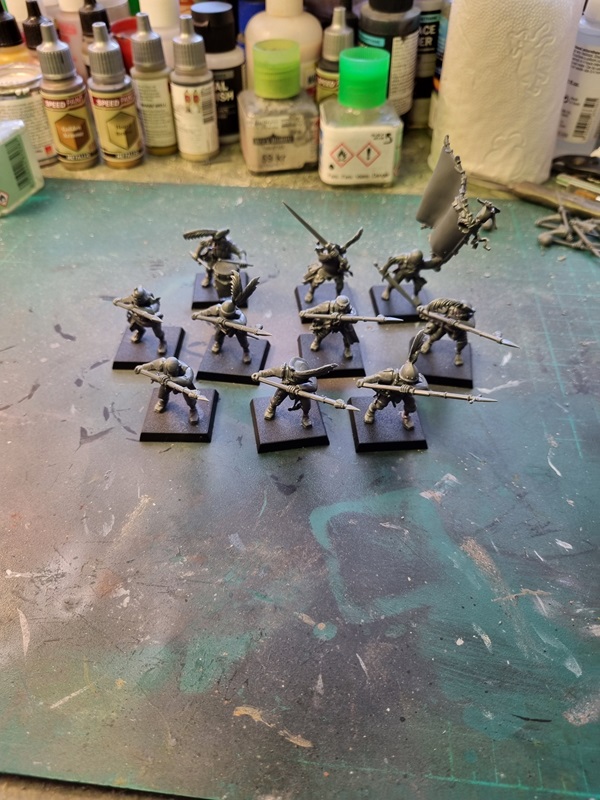
I brought the box to build the rest of the troops including the state missile troops but I forgot the bag with bases for the other figures. Anyway I finished the soldiers with sword and shield. The pic is from the weekend build meeting we had last weekend.

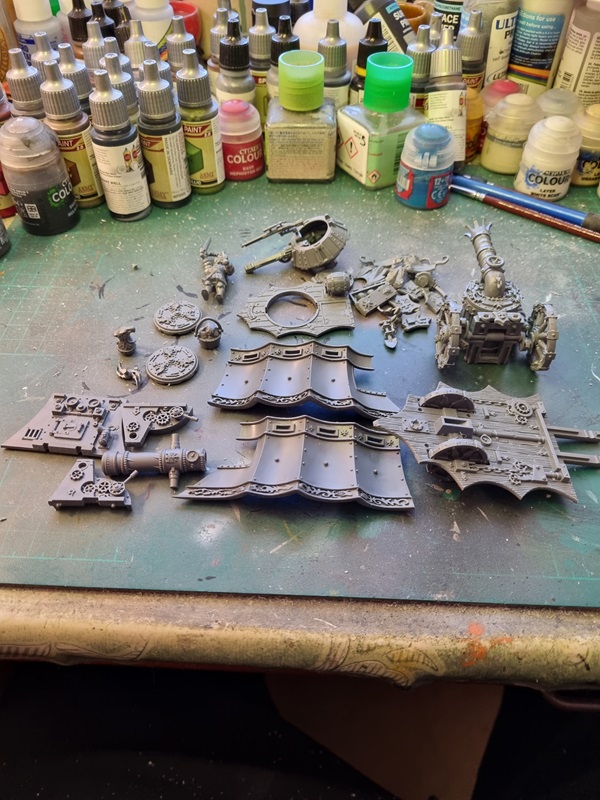
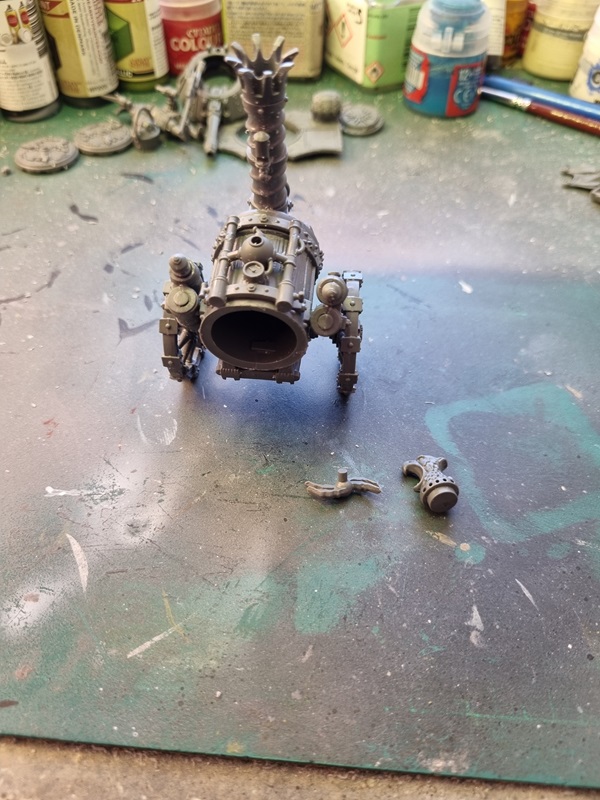
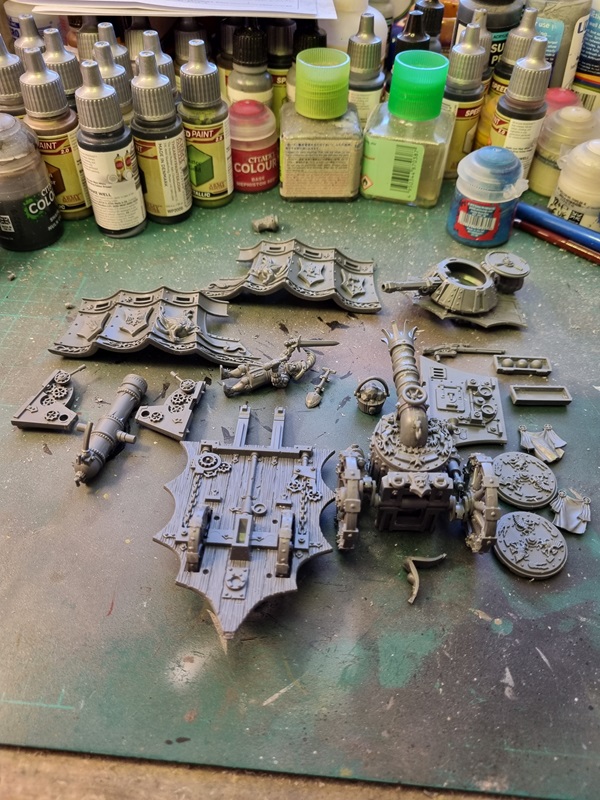
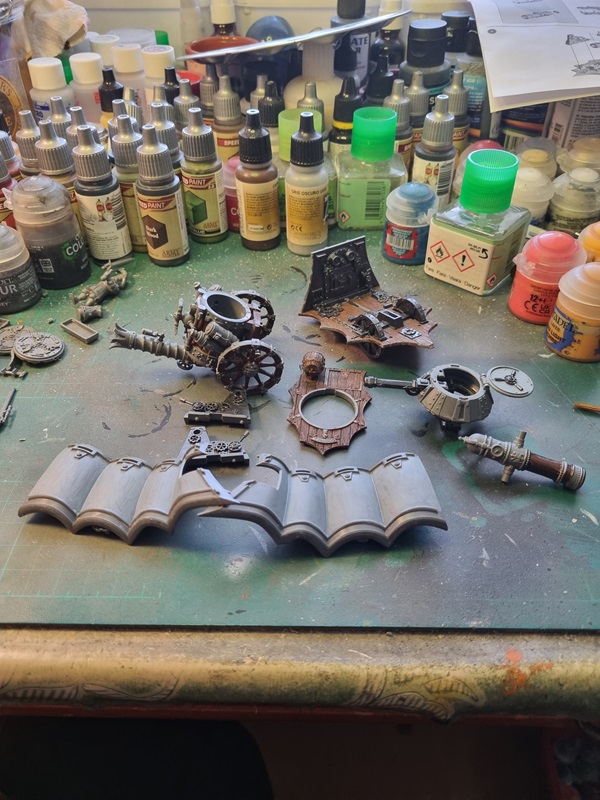
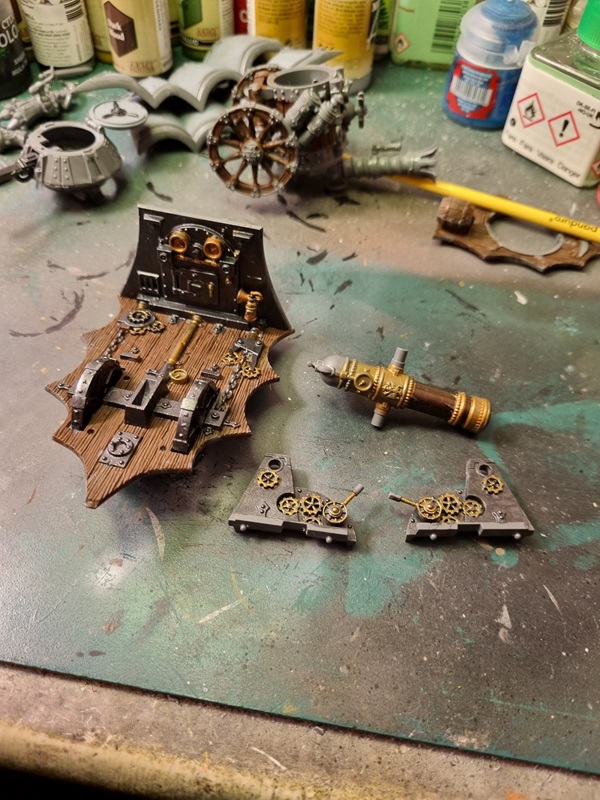
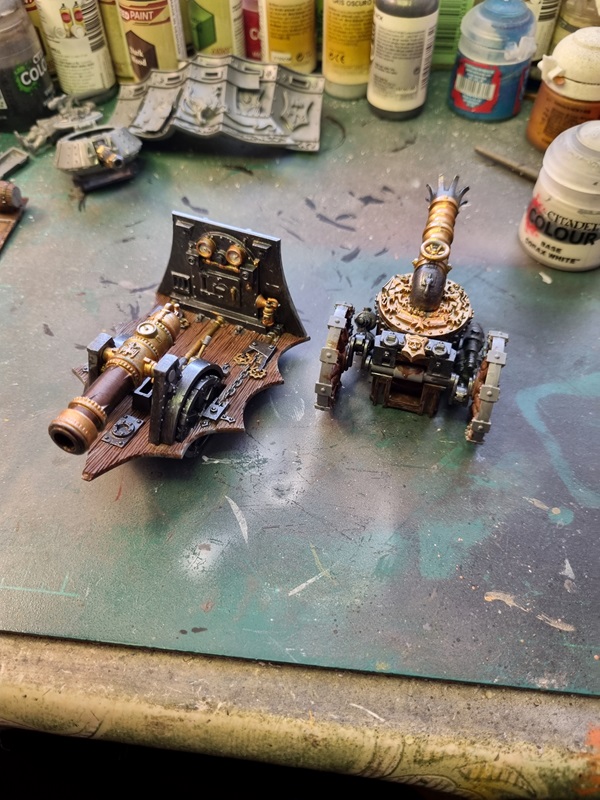
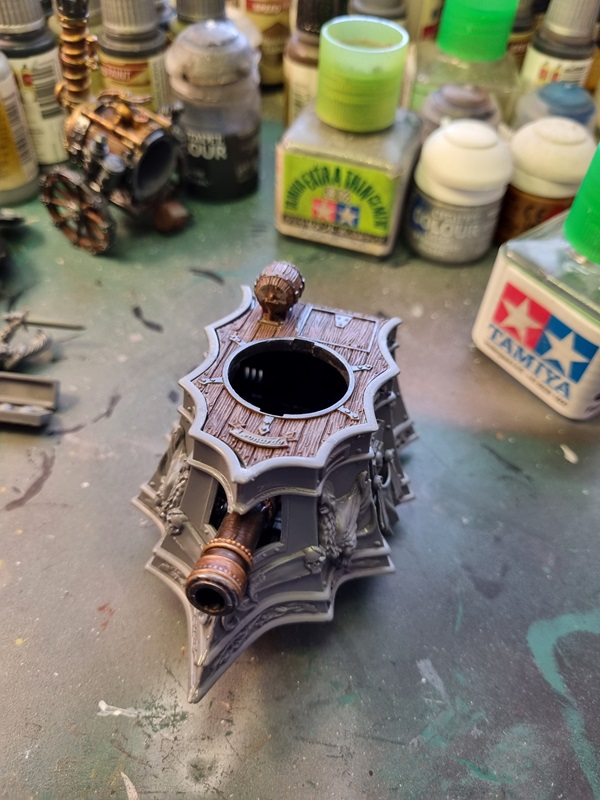
I then opened up the box with gun and mortar.

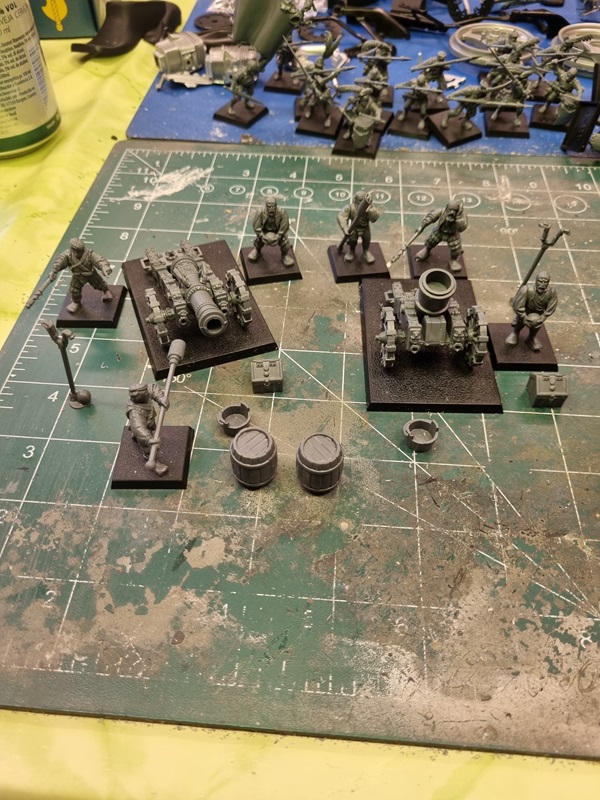
Quite fun kit to build! I’m looking forward to painting them later.

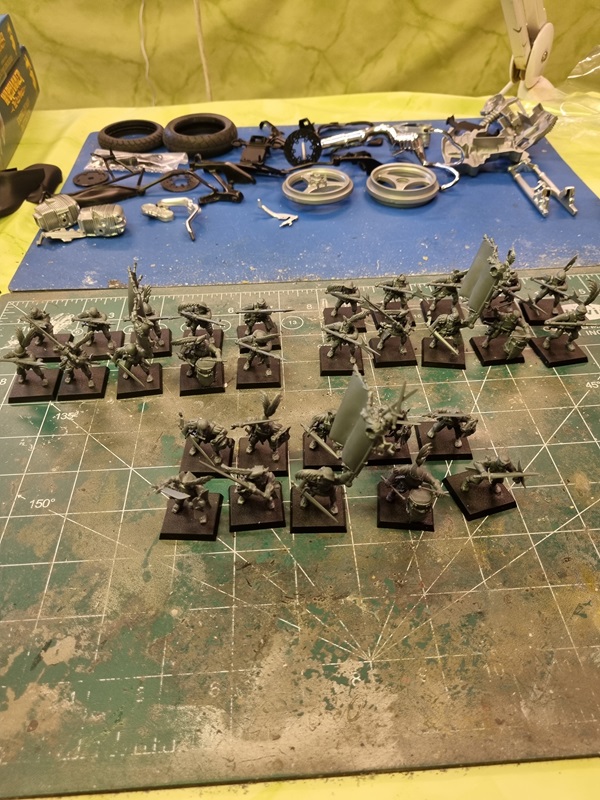
Then I started building the box with pistoliers.

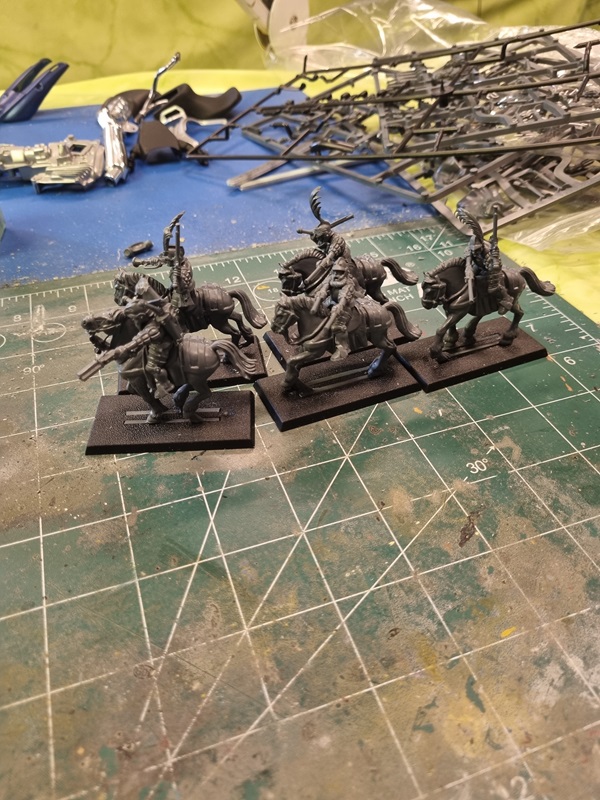
They was also fun to build even if the horses required some work with the seams.

There are a few details that needs to be added to the horses and figures. Something I’ll do once I get sorted with my workbench at home.

Empire Steam Tank – finished!

After adding some dust and soot I glued the tank to the base with superglue, and with that I’ll consider it finished. I was a fun build and I really like the steampunk style on things.
Here’s some pics of the finished build!

I’m ´quite happy with how it turned out and also happy with the base as it was the first time I did something like that.

Empire Steam Tank – part 3

Making the base.

I used Magic Sculpt to make the stones. I flattened the clay with a brush handle and then cut pieces that I then pushed onto the surface. Trying to shape them to look like stones.

After that had dried properly, I used Vallejo’s dark earth goo and smeared it out over the rest of the base and some inbetween the stones.

I then painted the earth with Mournfang brown.

The stones got a wash with Agrax earthshade och then was drybrushed with grey. The dirt was drybrushed with Zandri dust and Ashabti stone.

Grass and more paint was added and then some tufts.

I put the tank on to check how it looked.

Considering I don’t usually do bases like this, I think it turned out quite nice.
I think I’ll add a few yellow splashes to represent flowers of some kind and do some dirt weathering on the tank.

Empire Steam Tank – part 2

After pushing in the sides and glueing them a bit at a time, I managed to sort the gaps. I used glue goo to sort the rest.

The engineer commander was drybrushed with grey and then white.

Then I started painting him with red, blue and yellow.

I painted the steam tank sides in black and the upper and lower parts in dark bronze. The shields was painted blue and then most of the ornaments was painted in gold.

More colour was added to the figure.

Painting details took quite a while and here it’s almost done.

Adding skin colours and some details to the tank I’ll consider it done.

The only thing left to do is to sort the base!

Empire Steam Tank – part 1

This tank is part of the Empire batallion box for TOW (the old world).

Here I’ve already assembled the turret, boiler and a few other parts.

According to the intructions there’s an option between these two parts.

It wasn’t until after I watched a video where someone built the Age of Sigmar version that I realised the head was an option for the top of the chimney.

After some tim I had assembled enough to start painting.

The wood, some of the metal parts and the inside of the side panels got paint.

Next I painted some Retributor Armor on the gun and other parts mainly on the interior.

The boiler and chimney also got metal colours, and the gun was glued in place.

The dials was painted white and also later got red to mark maximum pressure or whatever.
The inside of the walls was given a wash of Nuln oil and then some dry brushing with grey.
Here’s a test fit.

All the bronze parts got a wash with Agrax Earthshade and then I drybrushed with brons and silver. Here everything is ready for assembly.

Next I assembled the sides.

My idea was to have the top part removable but after dry fitting it looked like this.

As can be seen there’s small gaps in some places.
In order to sort that it looks like I have to glue the sides to the top and hold in pressure until it dries. I think minimizing the gaps is to prefere.