This will be the last update before the final reveal pics.
I think this is as good as it gets.
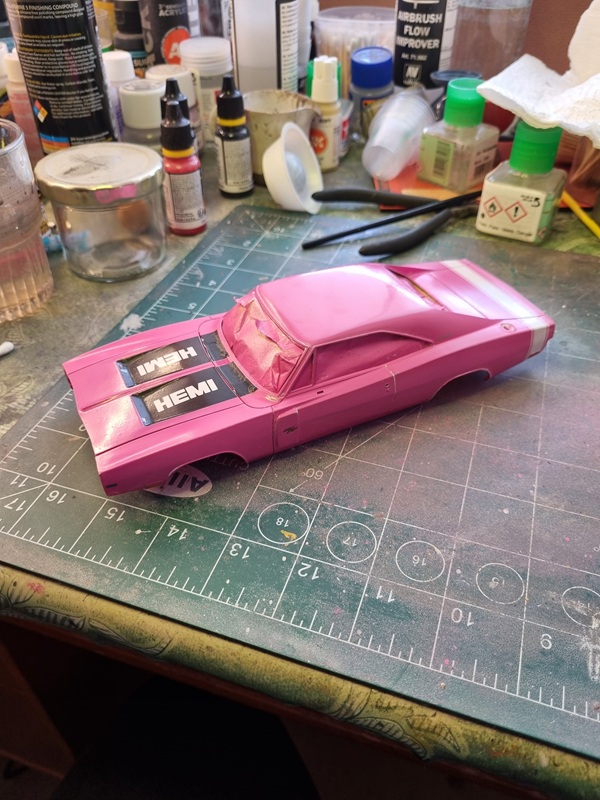
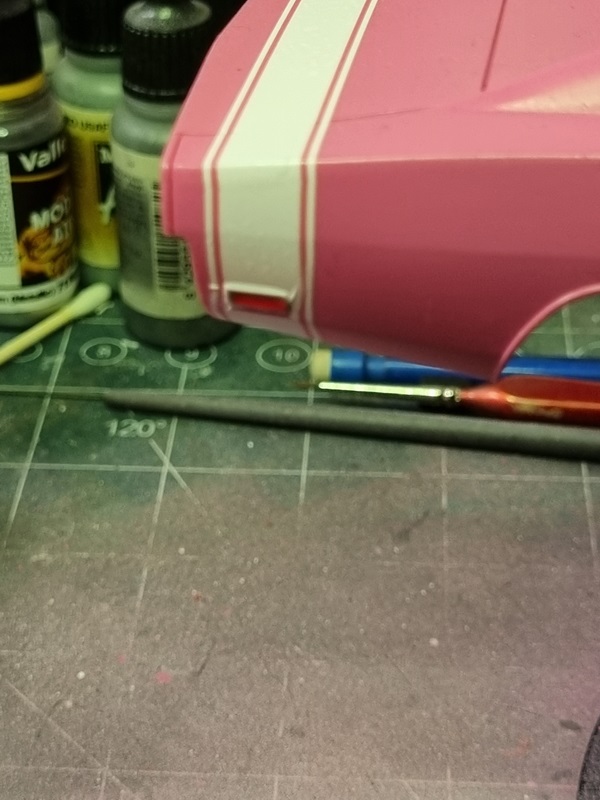
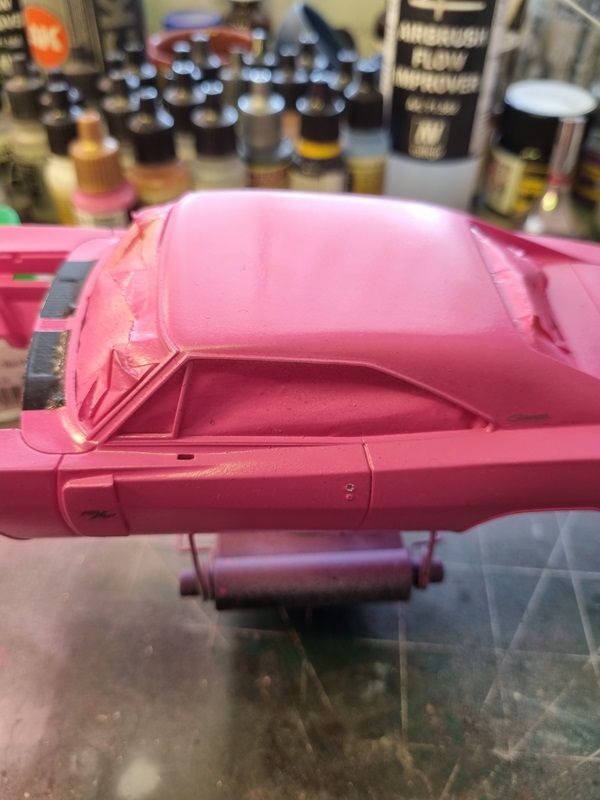
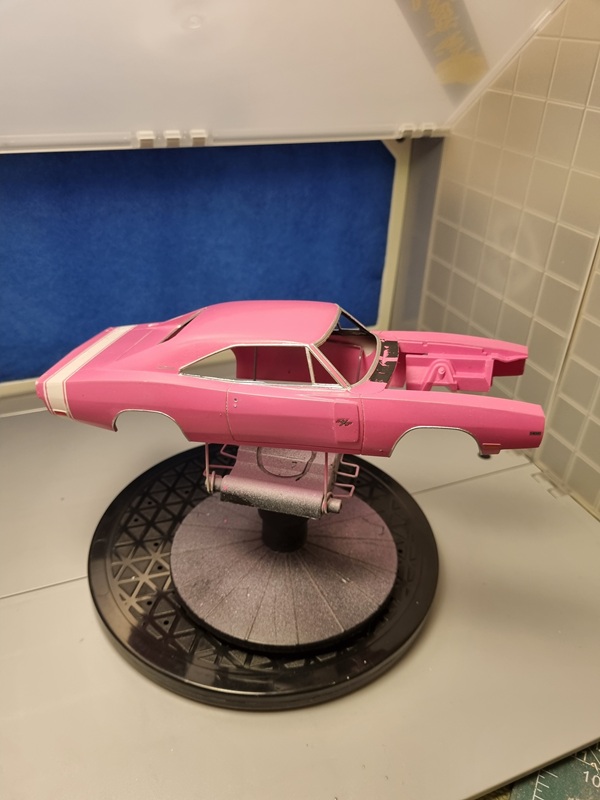
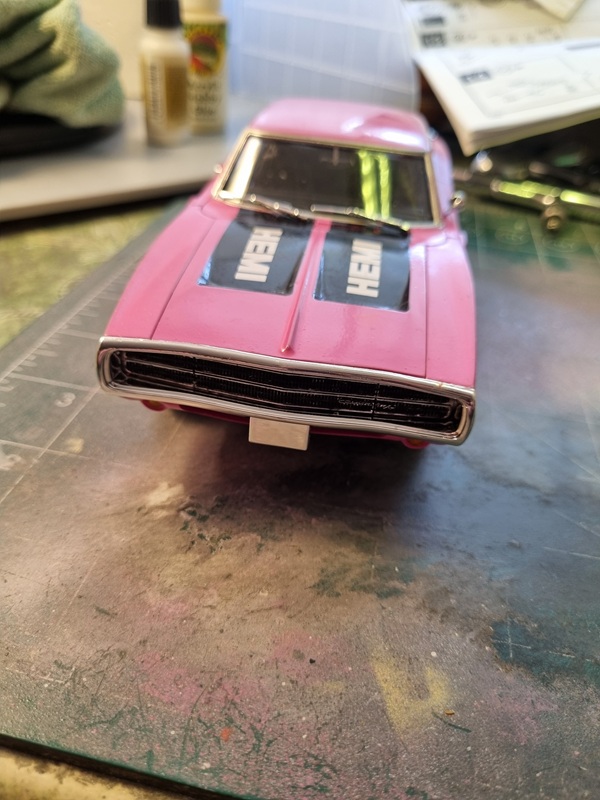
I masked the entire car in preparation for painting the chrome trim. After paint it looked like this!

There’s alway a risk that paint seeps through, but it was successful.
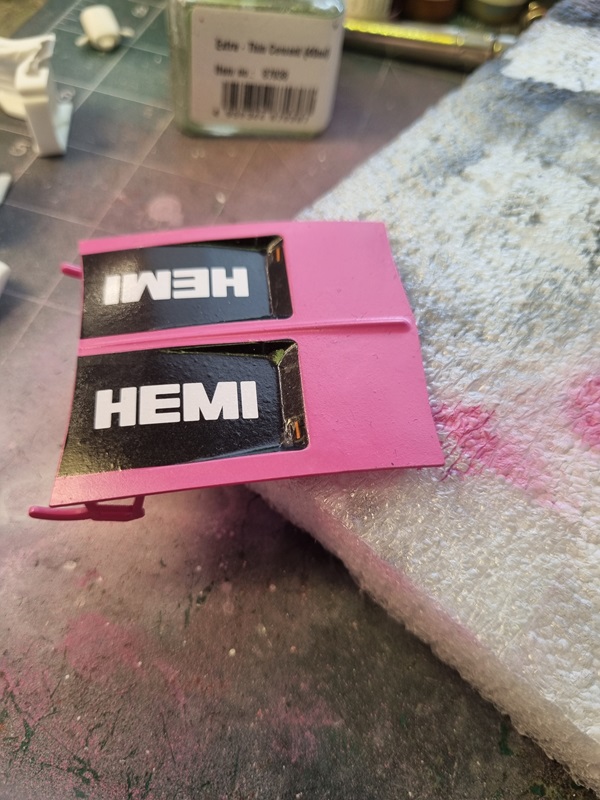
Not quite as successful was that part of the black decals got ripped off and the clear cote on the rear stripe got damaged.

I should have known and I should have protected the decals, but kinda forgot.
I painted black on the front and filled in the damage, and used some clear cote to fill in the damage on the rear end.
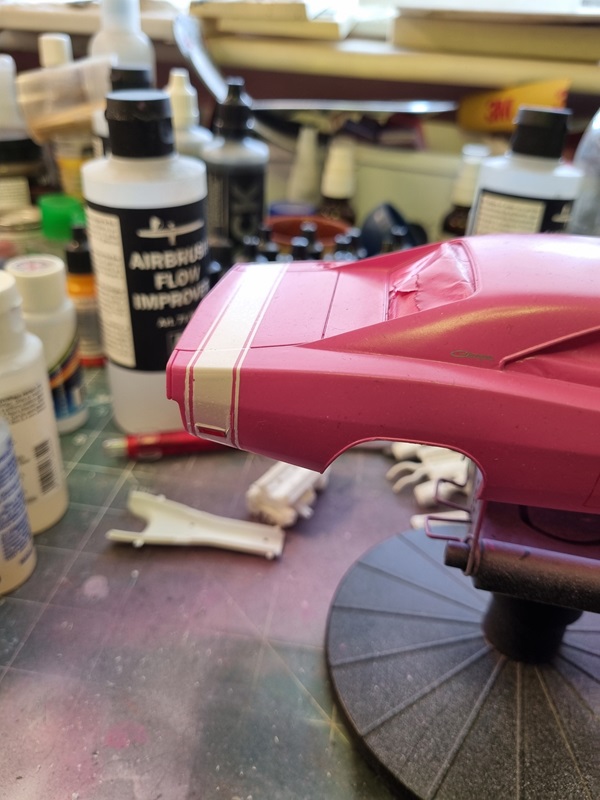
With the tape gone it was time to progress with the build. After sorting a few spots on the inside roof, I painted chrome where the light should sit and added the main rear mirror.
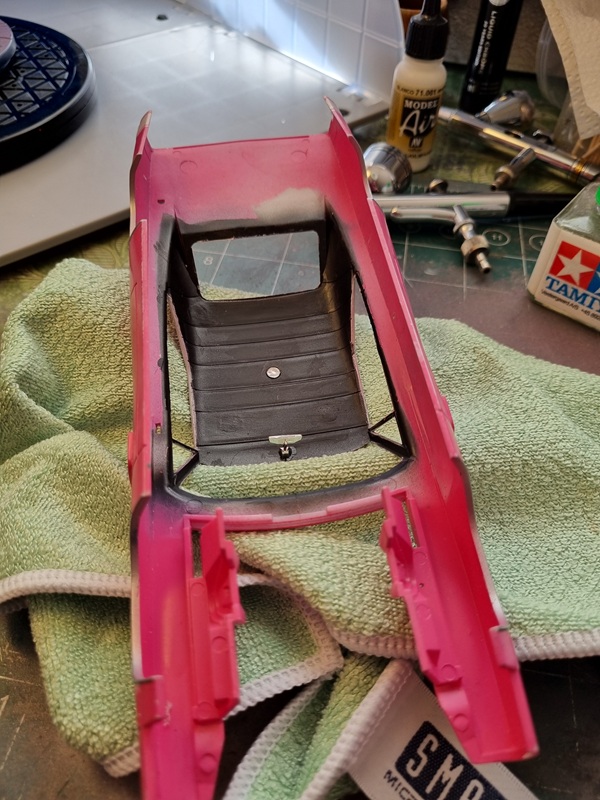
Then I glued all the windows in place.

Once that was dry, I mounted the chassie with the body. Not entirely easy as the firewall needed to fit in its slot at the same time as I tried to spread the body to fit over the chassie.

With that done I could proceed with the underside.
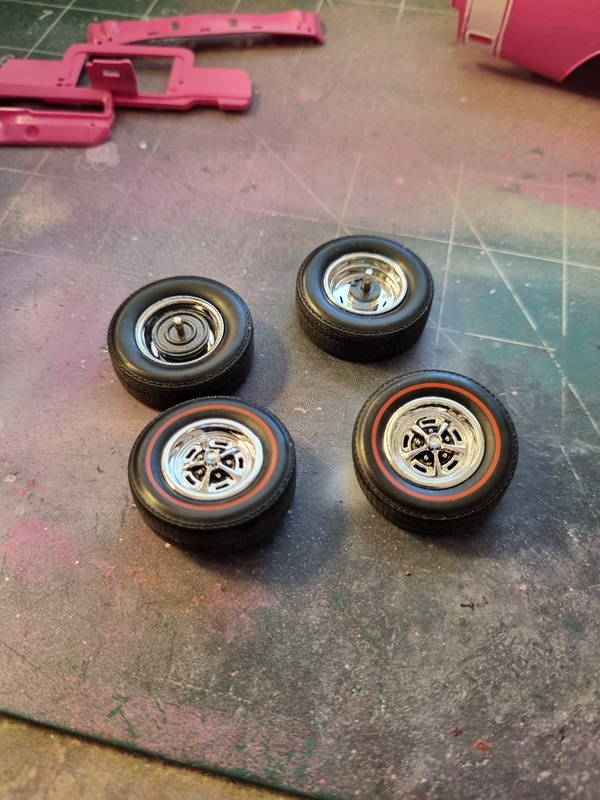
I decided to mount the wheels first, which turned out to be a good idea as the metal rods had a hard time to fit and I had to drill the holes out a bit. That would have been harder to do with the front and rear end in place.
The exhaust system also caused a bit of a problem as it wasn’t entirely straight. So I had to glue one end first, let dry and then push one side down while glueing the rear end.

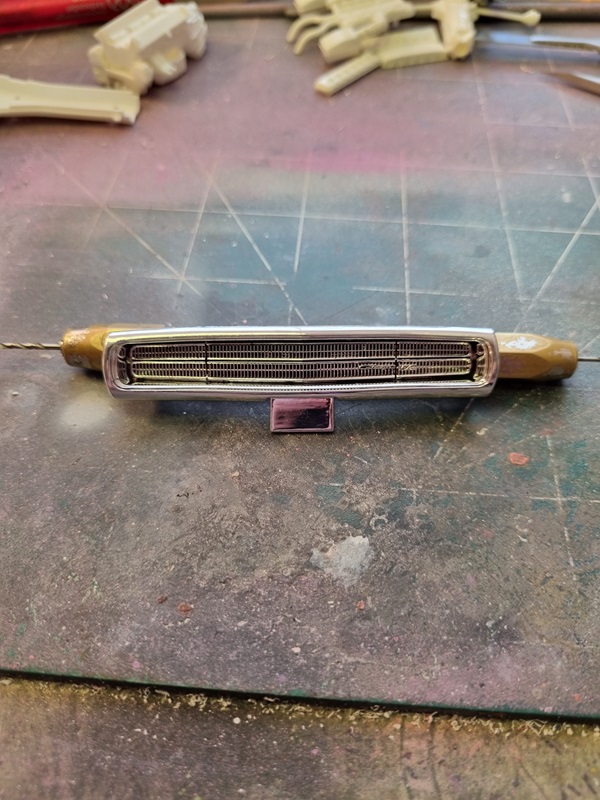
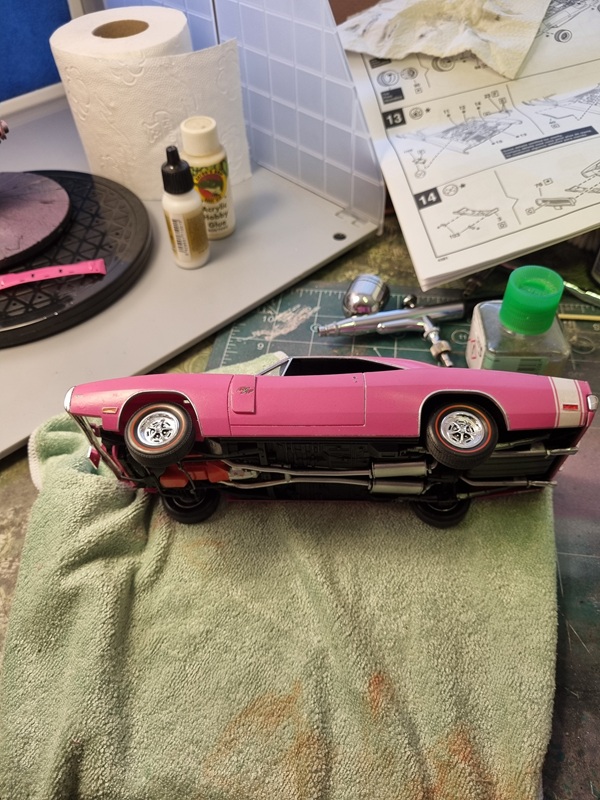
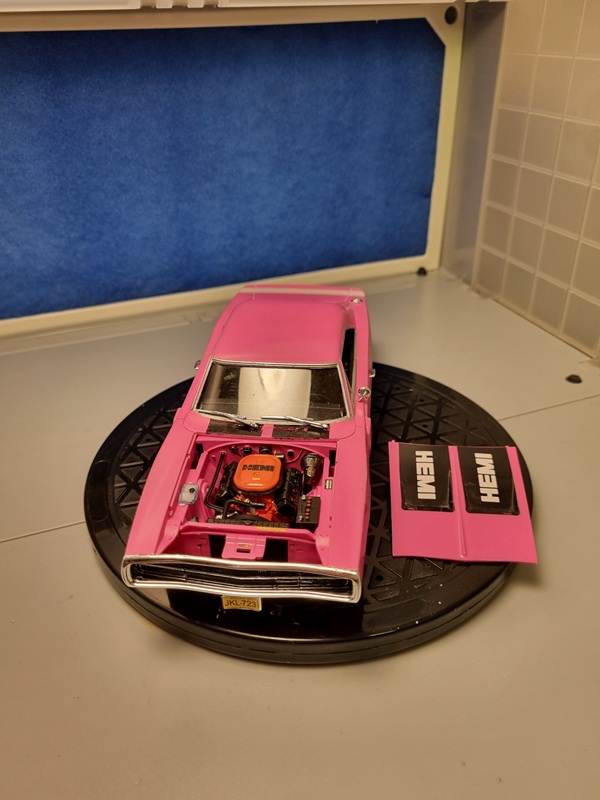
Next thing to mess up was the cooler and the wall it sits on. It needs to be pushed in from the front and then the fan pressed against the cooler. With some tlc and slight violence it finally got in place. Once that was in place I could glue the rear end and the grille in the front. Here it’s laying on the side as I had to paint one of the reflexes red.
Windshield wipers, battery and some other parts was glued in place.

All parts in place! 🙂
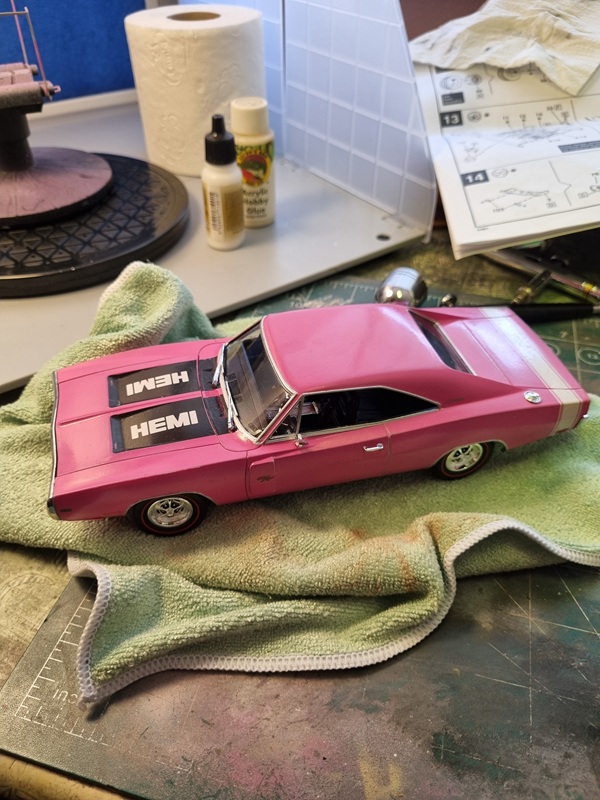
At this point the only thing missing was a few decals and the license plates.Which I sorted a little later in the evening.
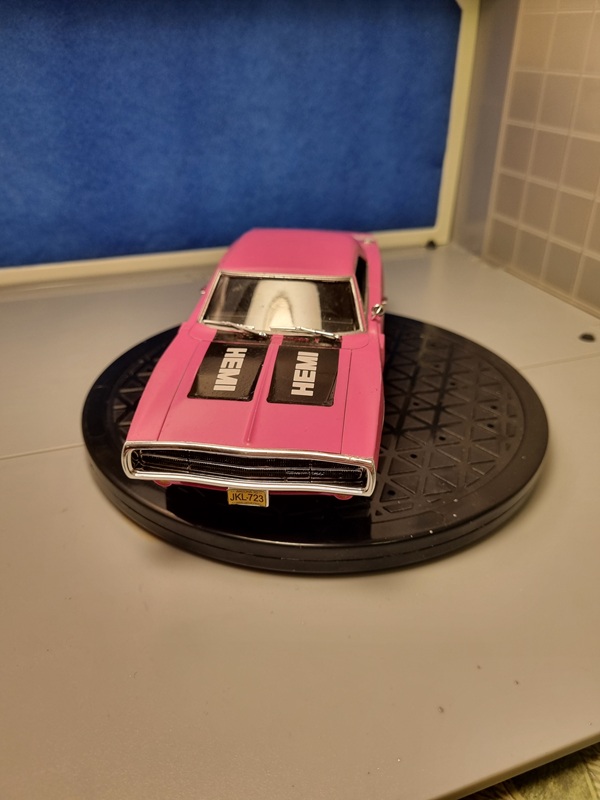
I’ll go over it and try to correct a few spots where the colour have been scuffed off. Then it’s time for the final reveal pics.