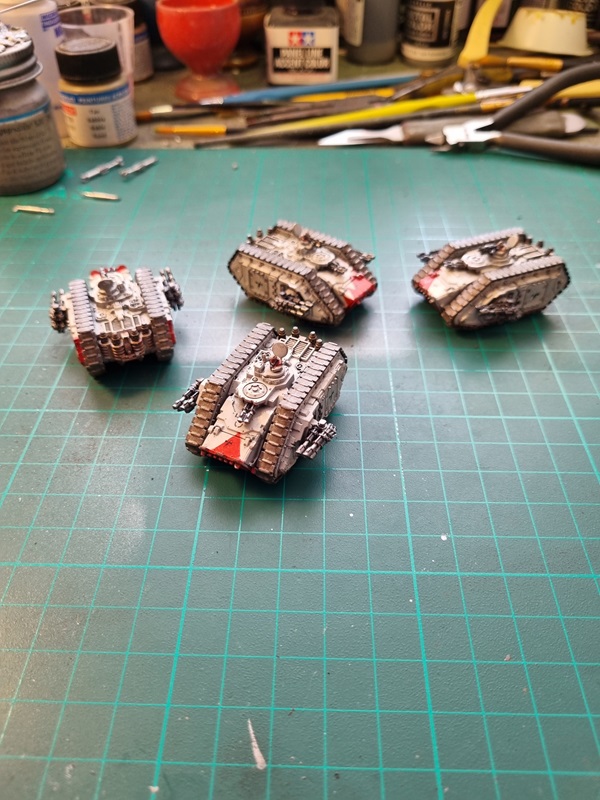
I did some weathering with mud, sooth, black oil and chipping.
I think I’ll consider them done and will take final reveal pics asap.

I did some weathering with mud, sooth, black oil and chipping.
I think I’ll consider them done and will take final reveal pics asap.
I painted the guns with black metal. Then the tracks got a thin layer of rust, some orange rust, and later I dry brushed with steel.
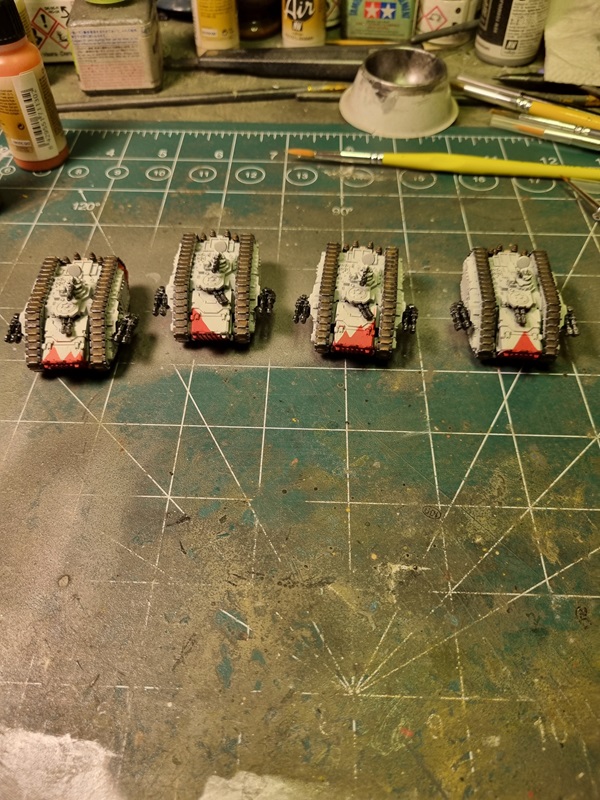
Details in red was painted on the figures, which was a bit of a strain.

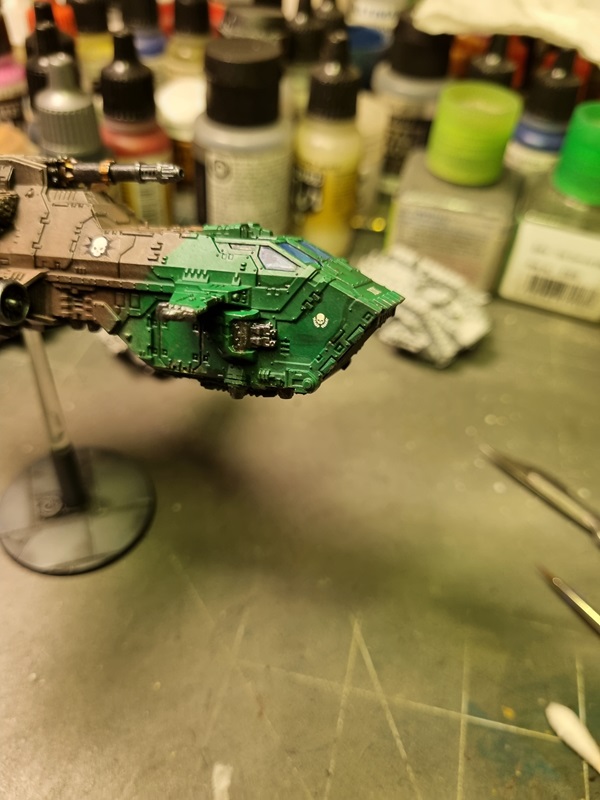
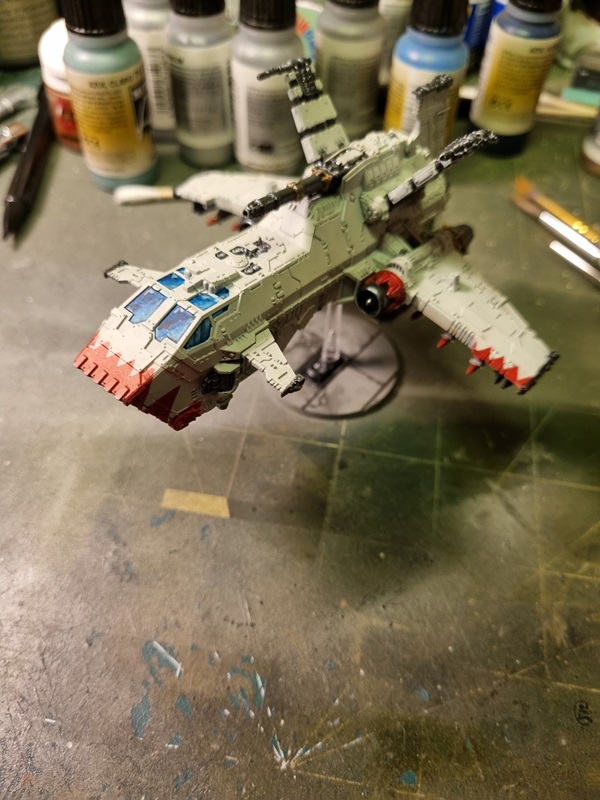
I’ll paint some more small details, then I’ll check if I missed something, before putting on a clear cote. Then decals and weathering is left to do.
Like the first one this was an easy fun build. I’m alos showing pics of the first one with decals.


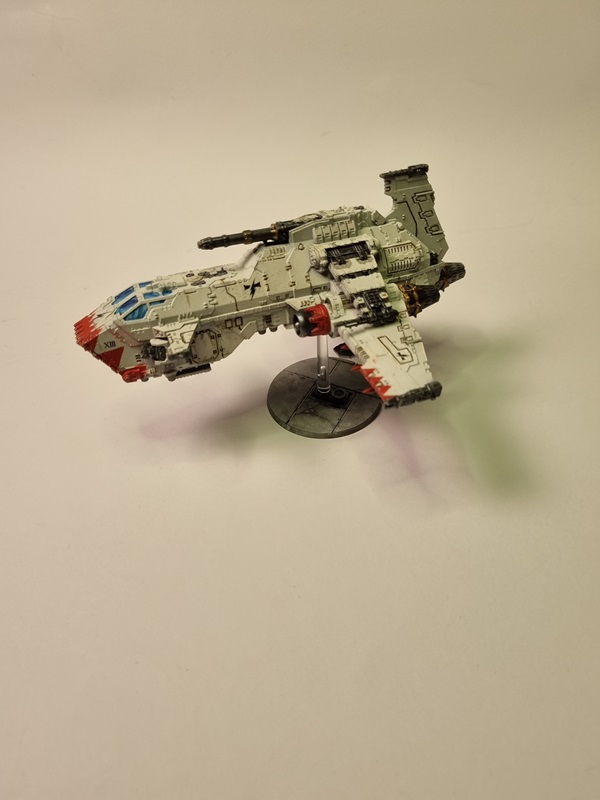
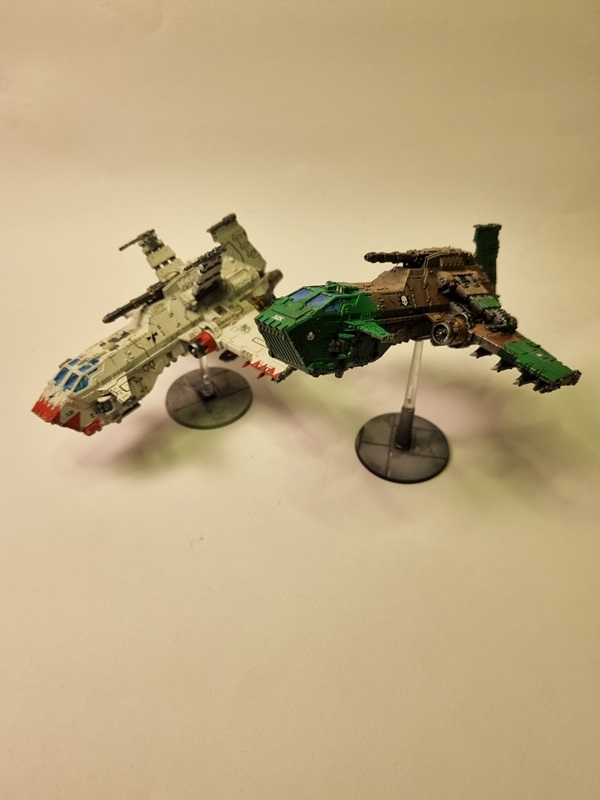

So now I have one for each side of the conflict. I have to check how many there usually are in an army. Perhaps sometime I’ll get 2 more and paint them in other colour schemes.
As I now got decals for the first ship, I showing them here too.
Then a pic of both ships.

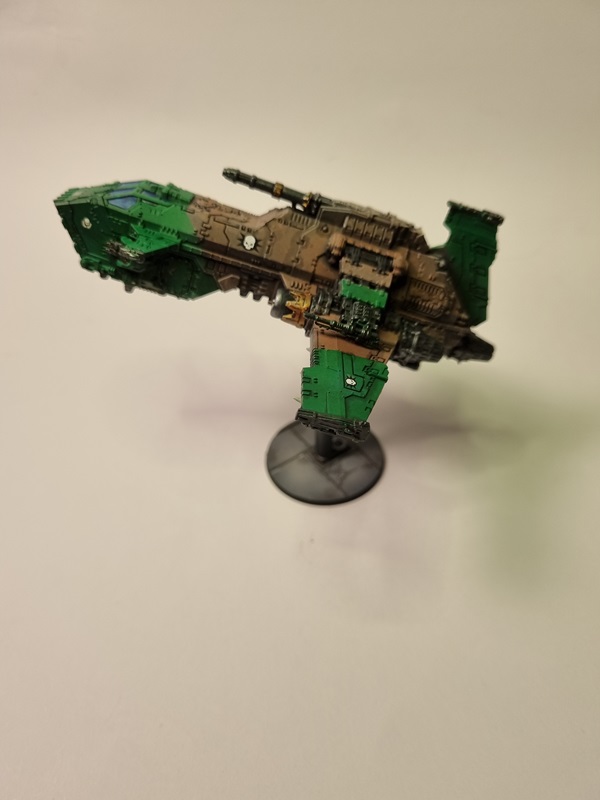
I did some weathering with Tamiyas panel line wash, Agrax earthshade, silver and diluted pale sand.
I’ll consider both builds done and will post final reveal pics as soon as possible.
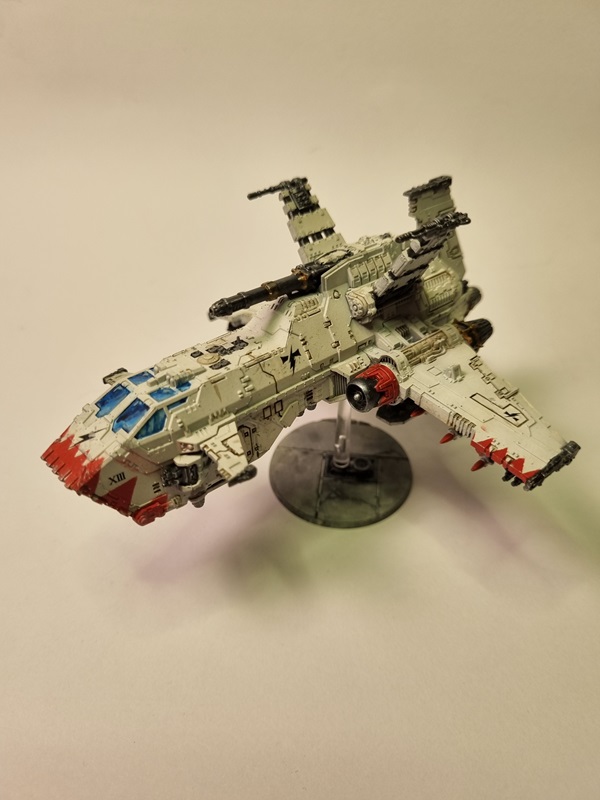
Even this one got decals in my little decal session.

I just need to sort one mor small decal on each side, but thought it was best to let the ones I had done dry properly first. Then this one is done!
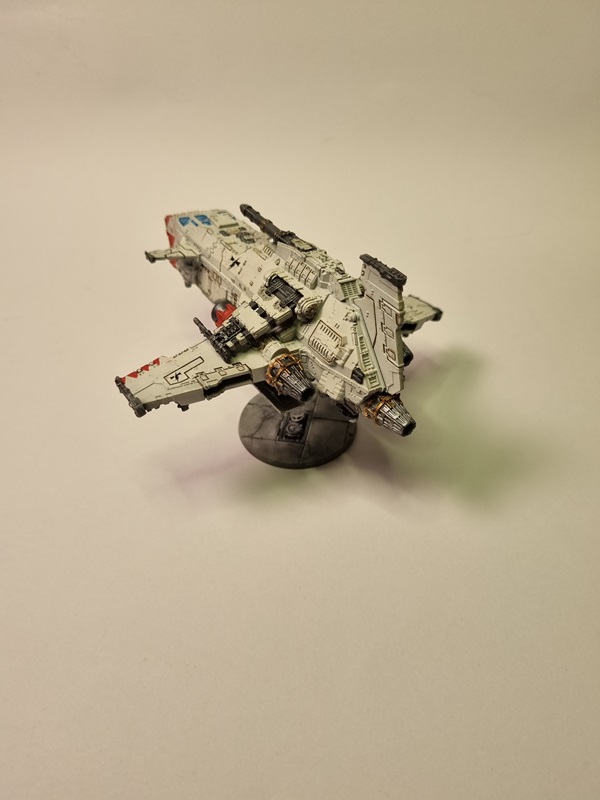
It took a while for me to sit down and put don decals on this one, but now it’s done!
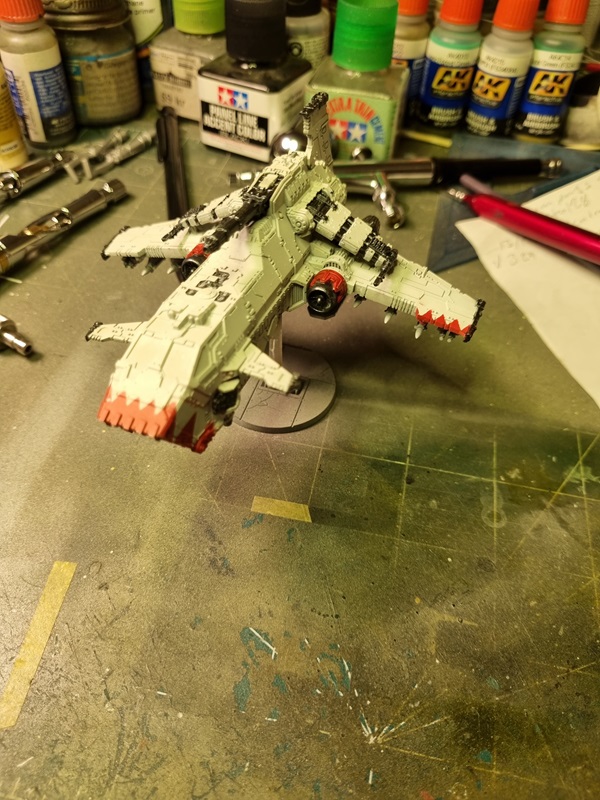
Next I’ll clear cote it and then start weathering. So not much left now!
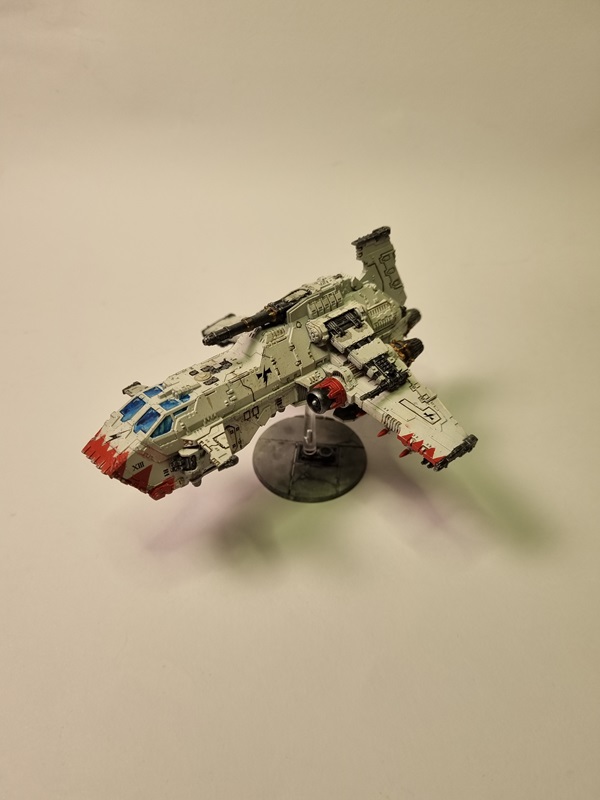
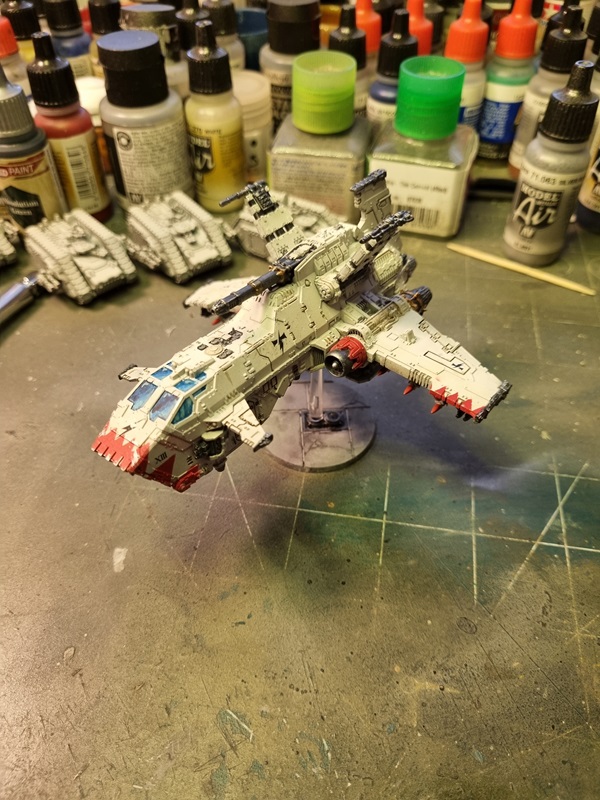
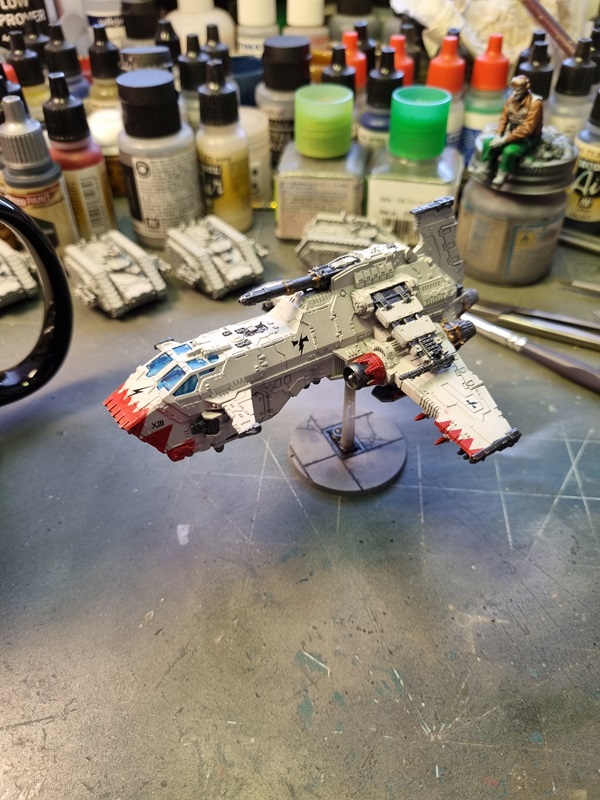
I masked and painted red chevron markings, that is common for White scars.

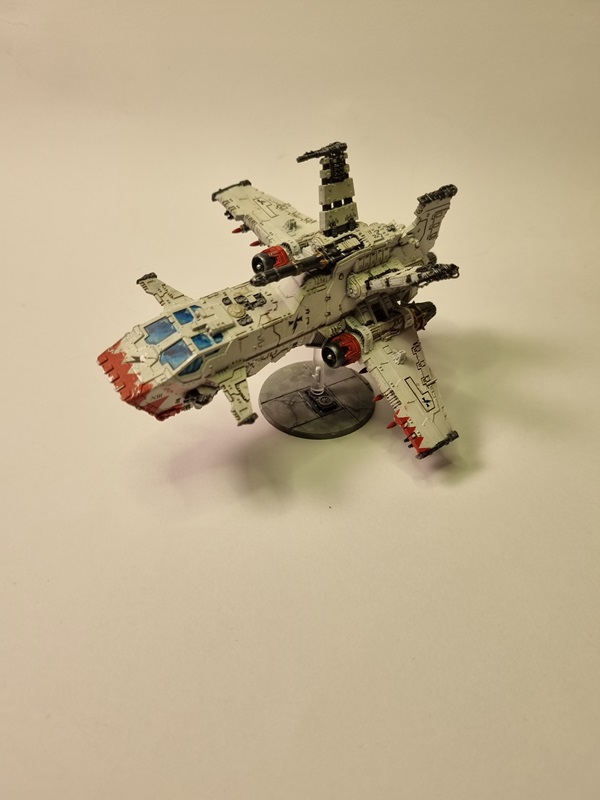
Part of the engine nacelles was painted red and then the engines, guns and some other details was painted with black metal.
Then gold was painted on some details.

The windows was painted.
Next I’ll clear cote it and add markings.
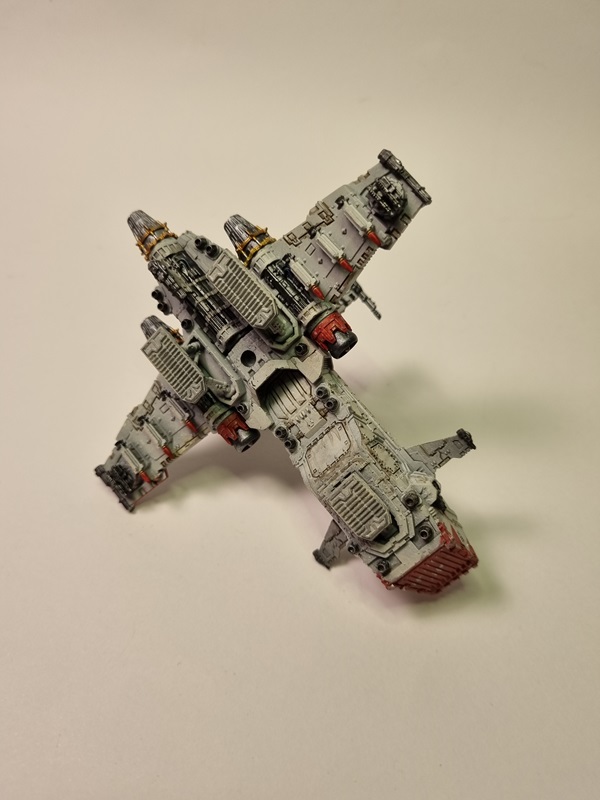
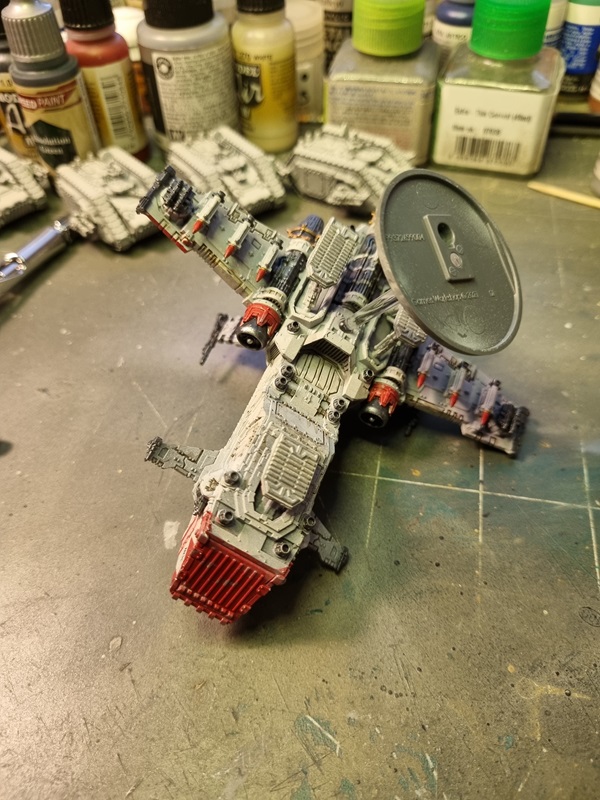
The remaining parts was assembled.

I opted to build it flying with the landing gear up.

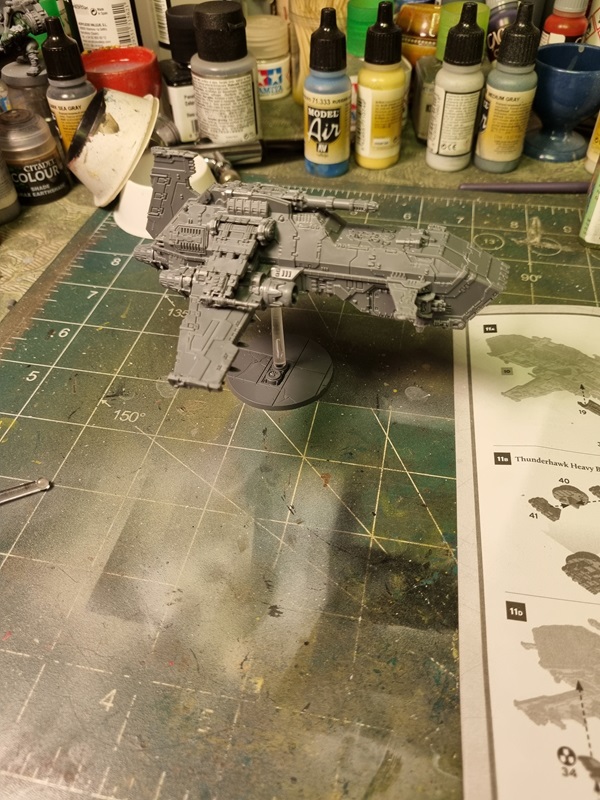
I’m not sure which part of the stand I’ll use yet, but perhaps I’ll use the bottom grey rod and the short clear one.
For some reason the decals are missing and this was a brand new sealed kit.
I’ll see if I can sort it somehow.
This is the gift I got from my Swedish Secret Santa that I started to build for a speed build group build on HLI.

It’s a fairly easy build and everything fits very nice. GW are also specialists on hiding seam lines and ejection pin marks are nowhere to be seen.
The only thing you need to do is remove nubs and mold lines before assembly.

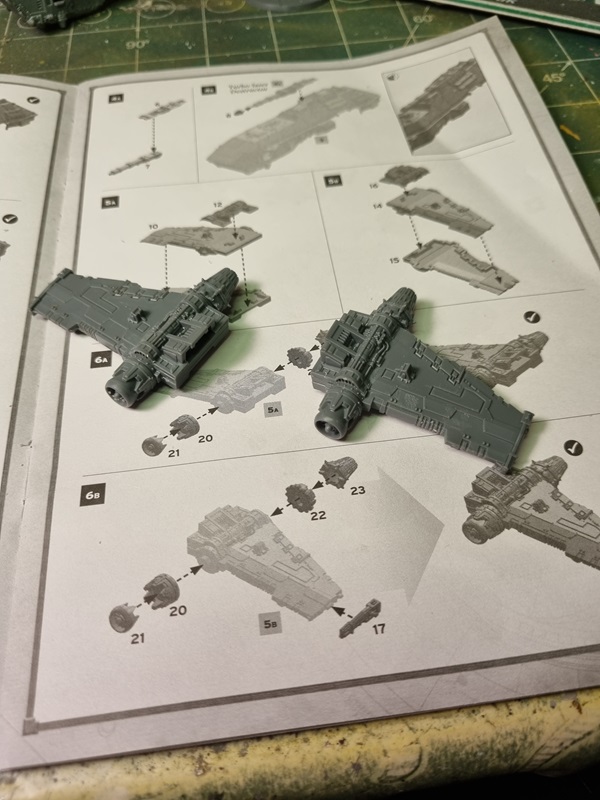
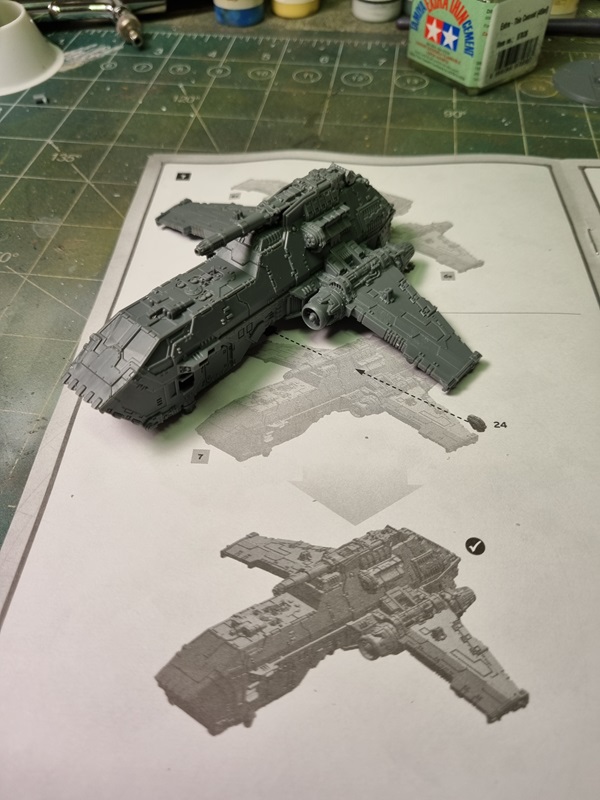
That was how far I got yesterday. There’s a few more parts to sort before it’s ready for primer and paint.
