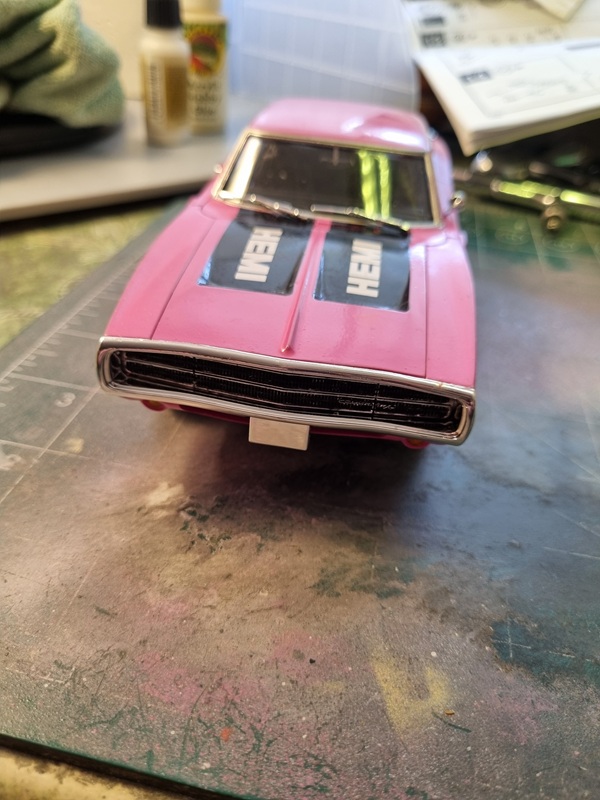
Here’s some pics of the finished Charger!


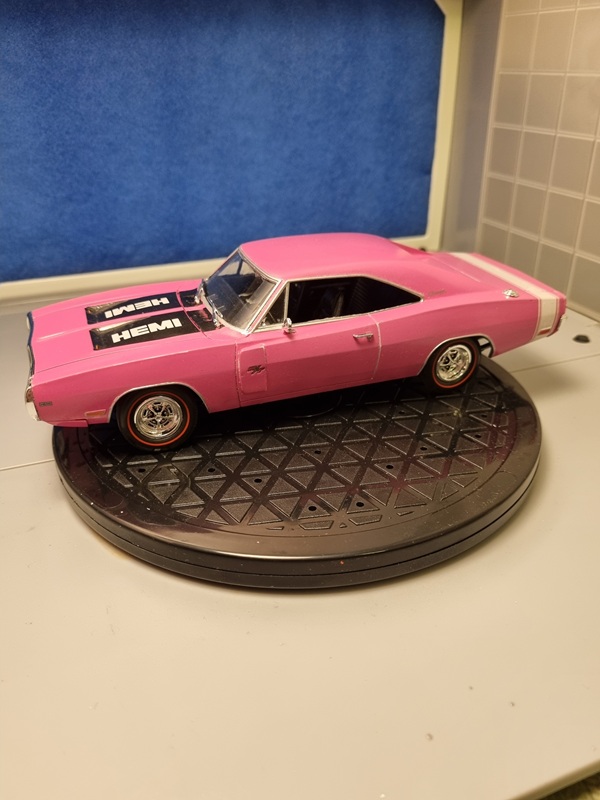

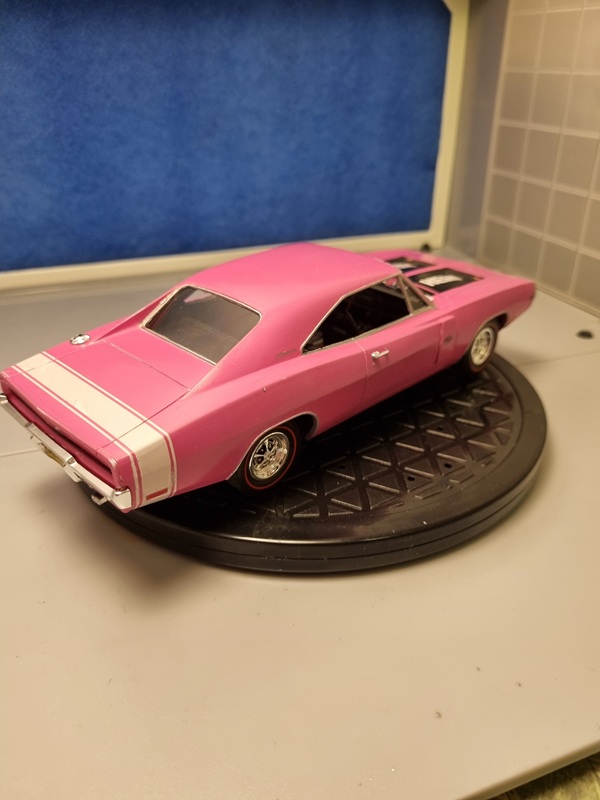

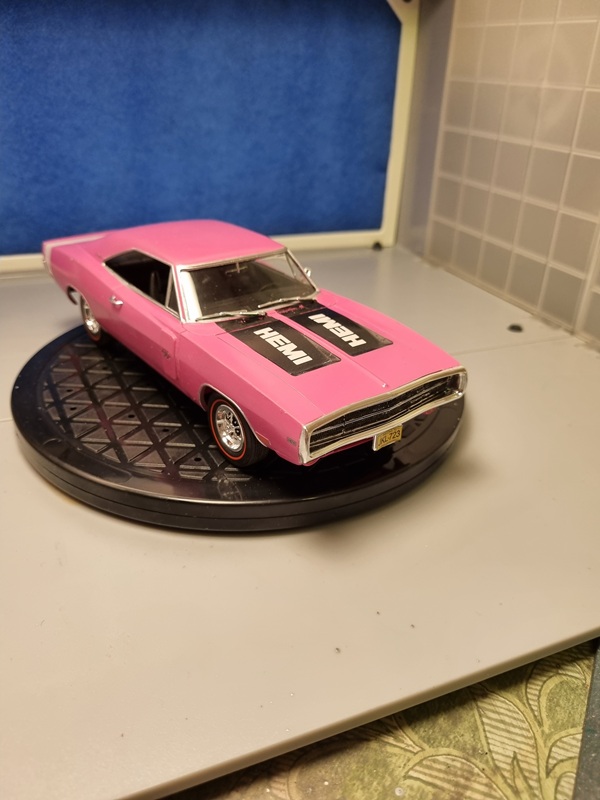
It was both a fun and challenging build! Most of my struggle was with the paint and polishing. In many ways I’ve learned a lot, which I hopefully can remember on coming builds.

Here’s some pics of the finished Charger!
It was both a fun and challenging build! Most of my struggle was with the paint and polishing. In many ways I’ve learned a lot, which I hopefully can remember on coming builds.
This will be the last update before the final reveal pics.
I think this is as good as it gets.
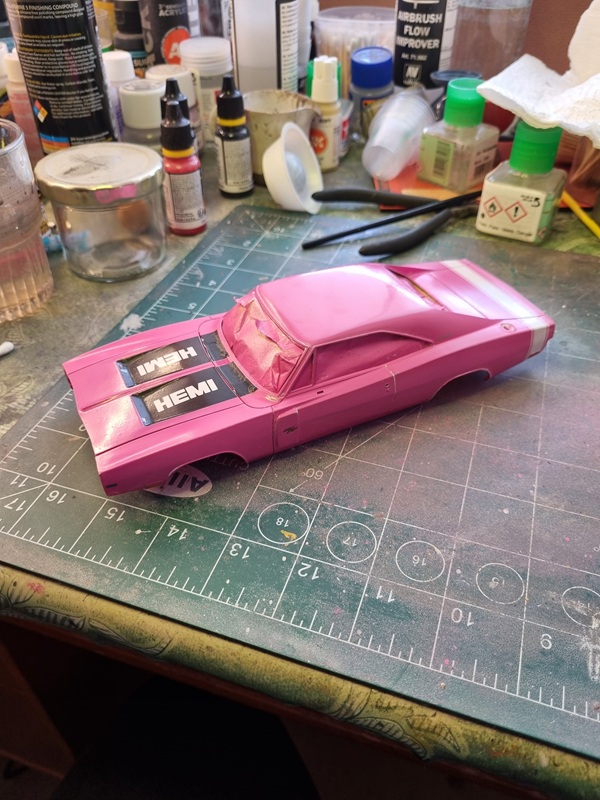
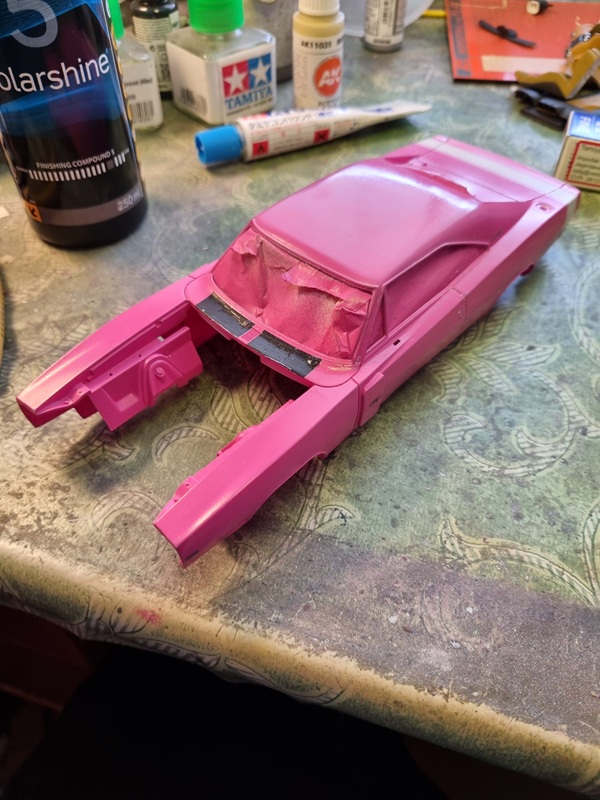
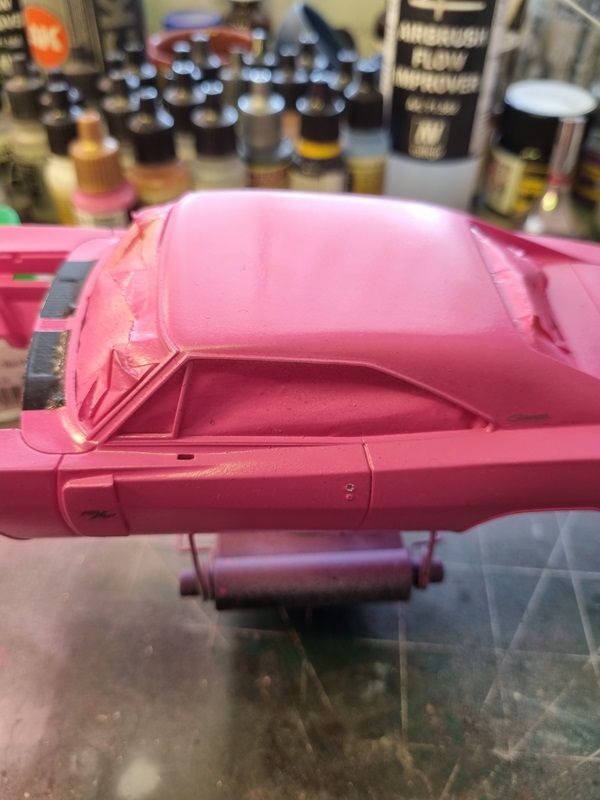
I masked the entire car in preparation for painting the chrome trim. After paint it looked like this!

There’s alway a risk that paint seeps through, but it was successful.
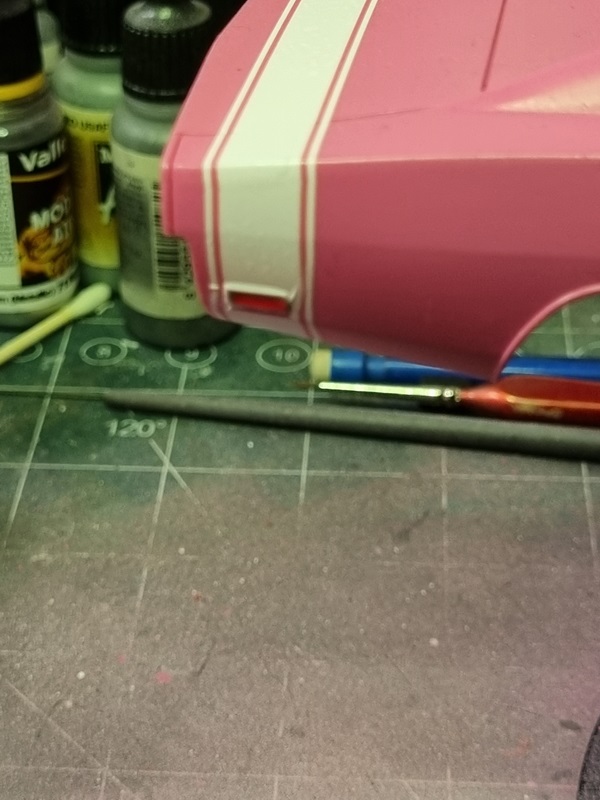
Not quite as successful was that part of the black decals got ripped off and the clear cote on the rear stripe got damaged.

I should have known and I should have protected the decals, but kinda forgot.
I painted black on the front and filled in the damage, and used some clear cote to fill in the damage on the rear end.
With the tape gone it was time to progress with the build. After sorting a few spots on the inside roof, I painted chrome where the light should sit and added the main rear mirror.
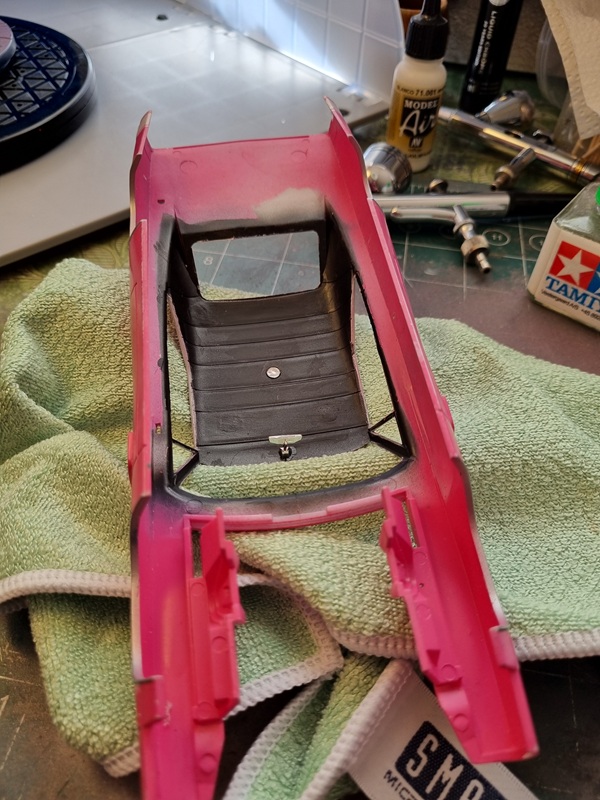
Then I glued all the windows in place.

Once that was dry, I mounted the chassie with the body. Not entirely easy as the firewall needed to fit in its slot at the same time as I tried to spread the body to fit over the chassie.

With that done I could proceed with the underside.
I decided to mount the wheels first, which turned out to be a good idea as the metal rods had a hard time to fit and I had to drill the holes out a bit. That would have been harder to do with the front and rear end in place.
The exhaust system also caused a bit of a problem as it wasn’t entirely straight. So I had to glue one end first, let dry and then push one side down while glueing the rear end.

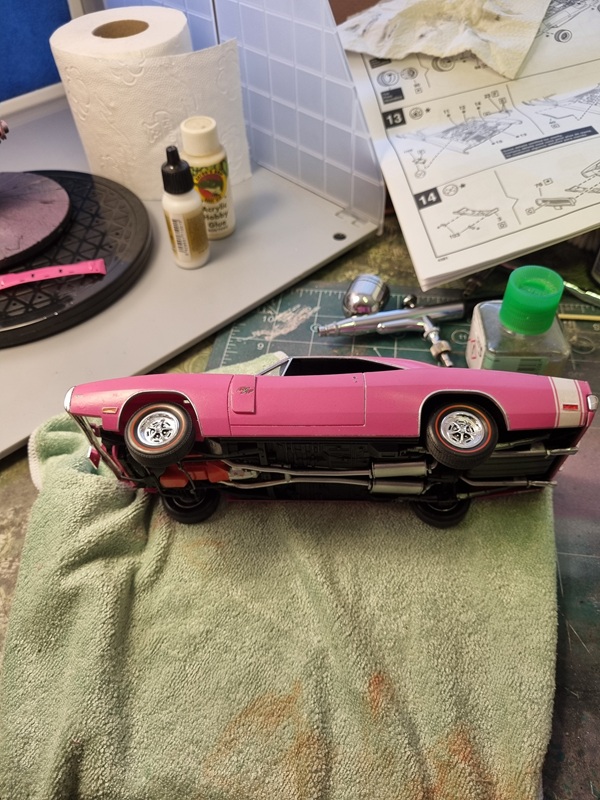
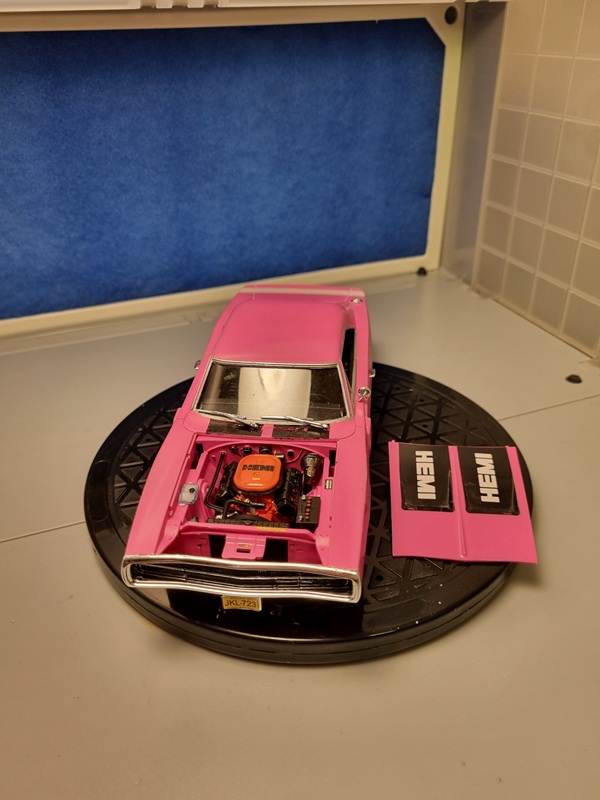
Next thing to mess up was the cooler and the wall it sits on. It needs to be pushed in from the front and then the fan pressed against the cooler. With some tlc and slight violence it finally got in place. Once that was in place I could glue the rear end and the grille in the front. Here it’s laying on the side as I had to paint one of the reflexes red.
Windshield wipers, battery and some other parts was glued in place.

All parts in place! 🙂
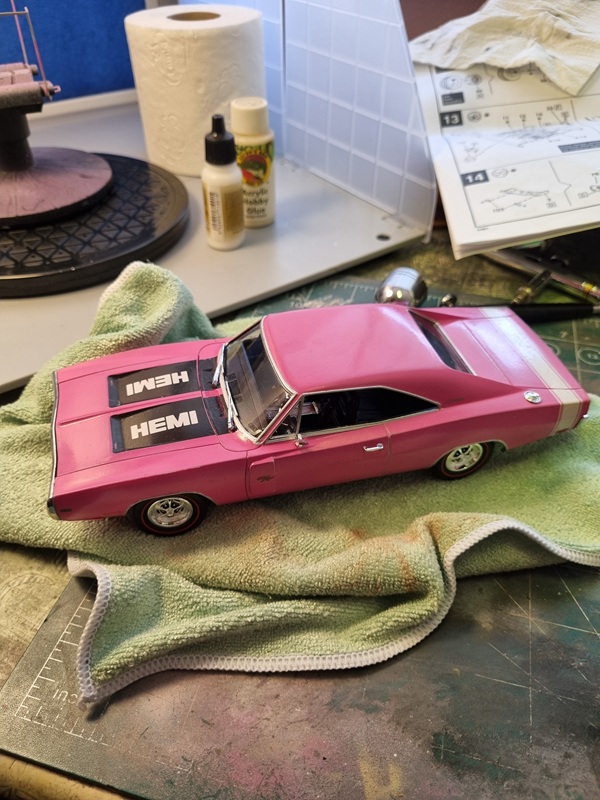
At this point the only thing missing was a few decals and the license plates.Which I sorted a little later in the evening.
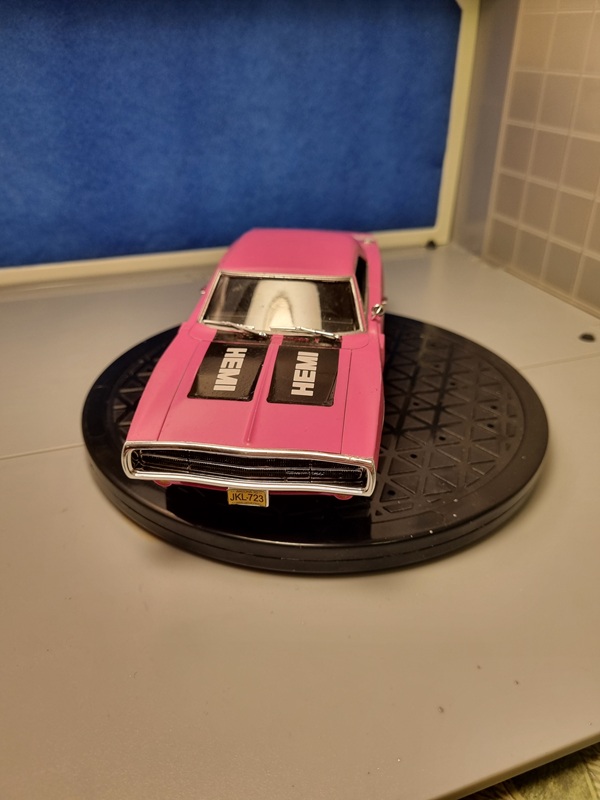
I’ll go over it and try to correct a few spots where the colour have been scuffed off. Then it’s time for the final reveal pics.
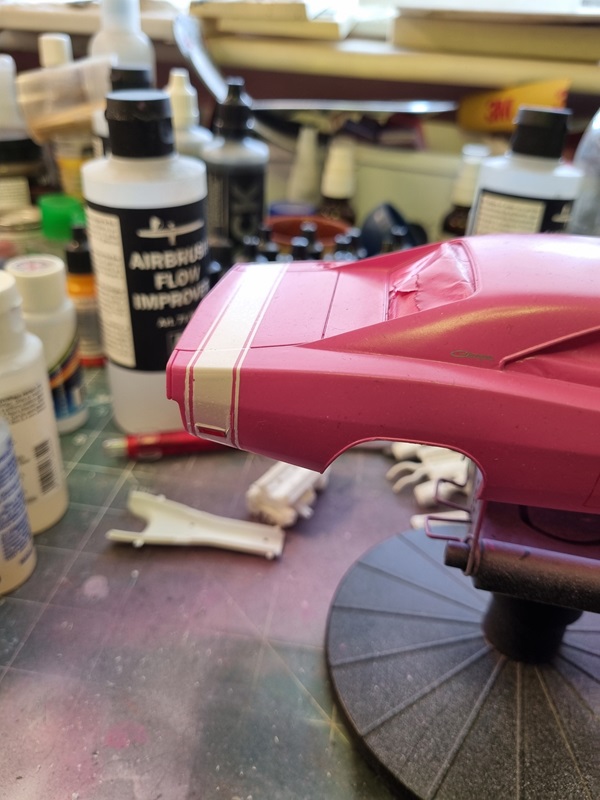
I’ve been struggling with the paint from the start. Partly because I’m not used to paint cars that are supposed to be glossy. Lack of skills and technique is something I need to work on.
After finally having put on clear cote and letting it dry for about 2 weeks, I tried to polish it.
I started with trizact 6000 grit wet sponge/pad and carefully sanded the hood and then the roof. Trying to remove dust and other flaws. Then I used medium course polishing compound. It felt like a skin peeler. I was very careful with that and used a fine compound after that. The car looked like this afterwards.
It’s starting to get shiny but still needs some work. I used 3000 grit wet pad and worked some of the worst spots. Still very afraid that I’ll sand through.
On it again with 6000 after that and then I used Tamiyas fine compound before I used the very fine polish.

It’s better but it’s possible to see where I need to do more work. Feels like quite a lot of orange peel in some places. I’ll try to be as careful as I can and polish some more.
I also feel like I could use some really fine polish to finish it off with when I get that far.
This kit is set as a test kit for me to learn the skills so it’s okey if I fail, but I still want to try and make it as good as possible.
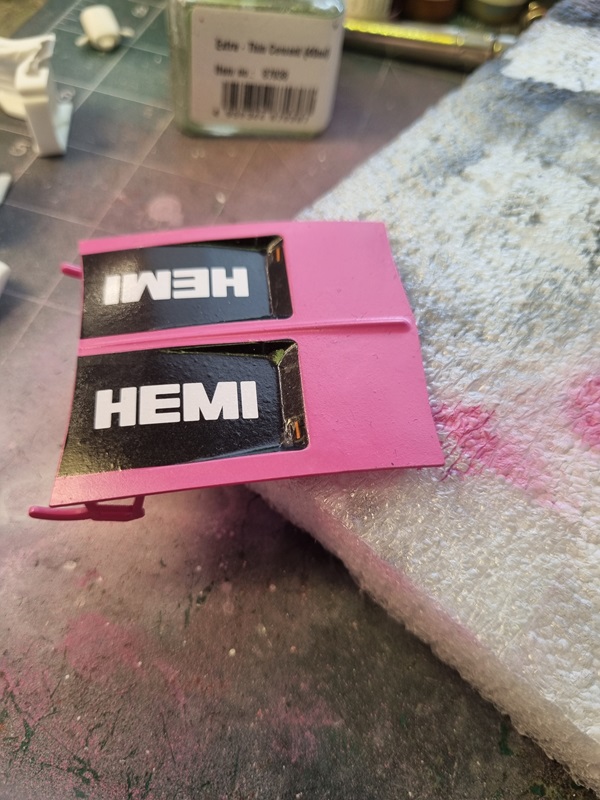
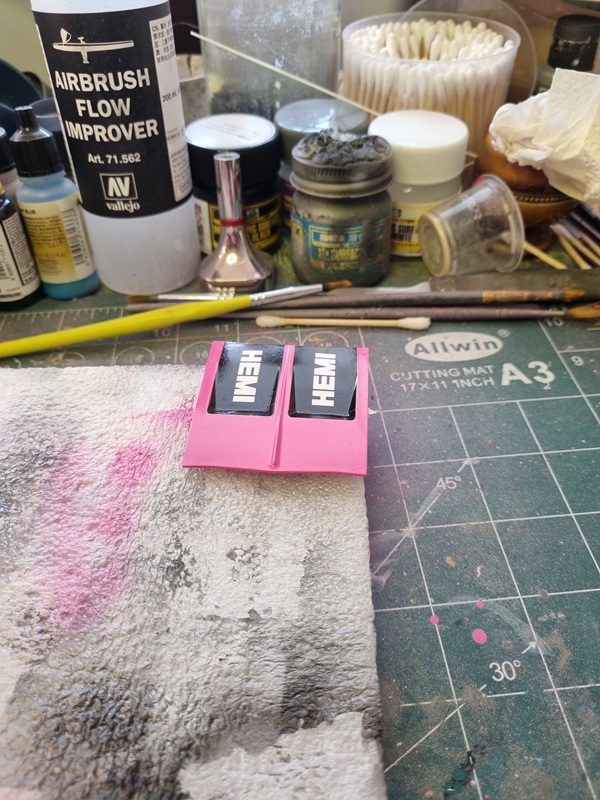
Here’s a pic of the damaged decal.
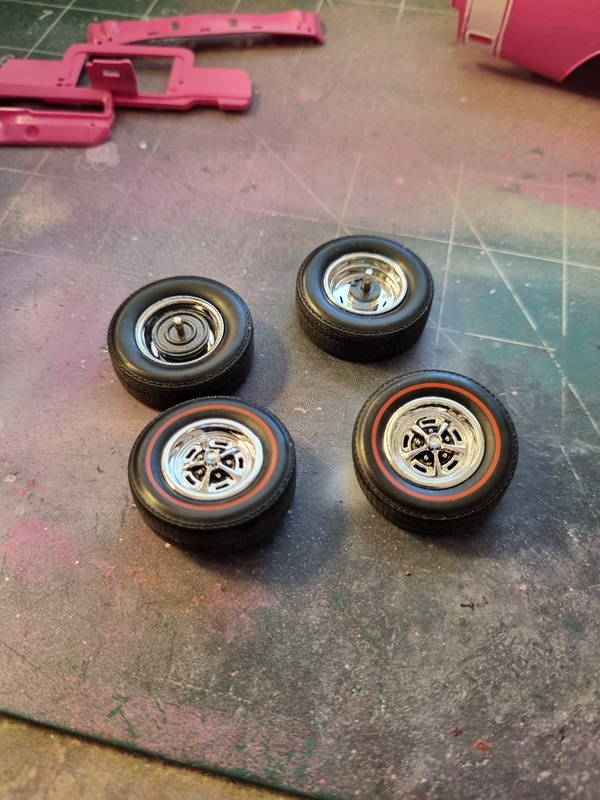
I assembled the tires and used some Tamiya black panel liner around the lug nuts.
After trying to adjust the stripes, it looks like this.
I used panel liner again to black out the grille a bit.
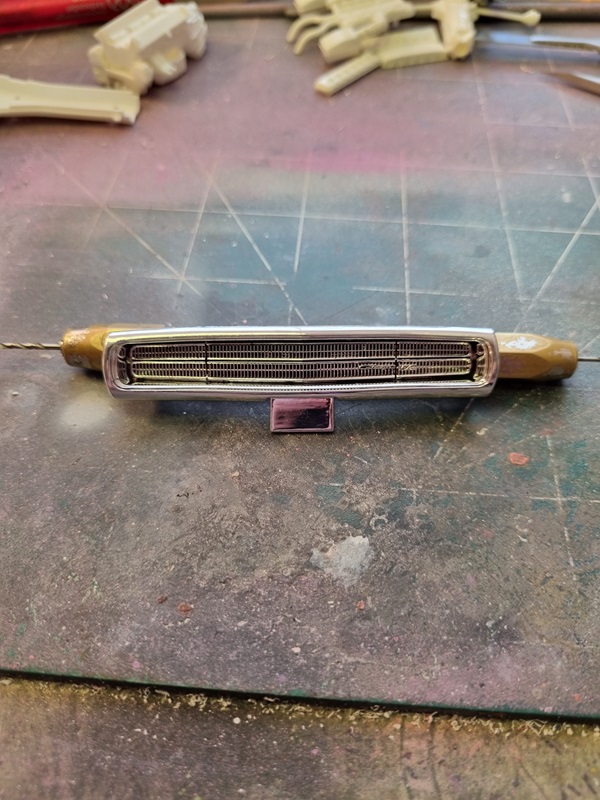
I wasn’t entirely happy with that so I added more black later.
I thought I use polyurethane gloss varnish to get a nicer and hopefully harder surface so I painted a few parts with it.

I thought that looked alright so I decided to paint the hood and body as well.
That didn’t go as well.
Not sure if I flooded the colour too much as it started to puddle. As it dried it got a bit more even, and I decided to try and wet sand it and do another cote on top.The varnish looked hard and nice on the front and rear parts and after a day I thought it would be hard enough to sand a little, but then this happened.

The varnish started rolling off and had a rubbery consistence. I guess I’m not patient enough. Anyway I removed the varnish to the best of my capability, and then had a go with Vallejos gloss varnish for metal colours. I did a try on the hood.
Maybe not perfect, but a lot better than I had hoped.I’ll lay a cote or two on the body as well and hopefully that will work out okey as well.
My idea is to try and polish it later, but this time I’ll wait at least a week.
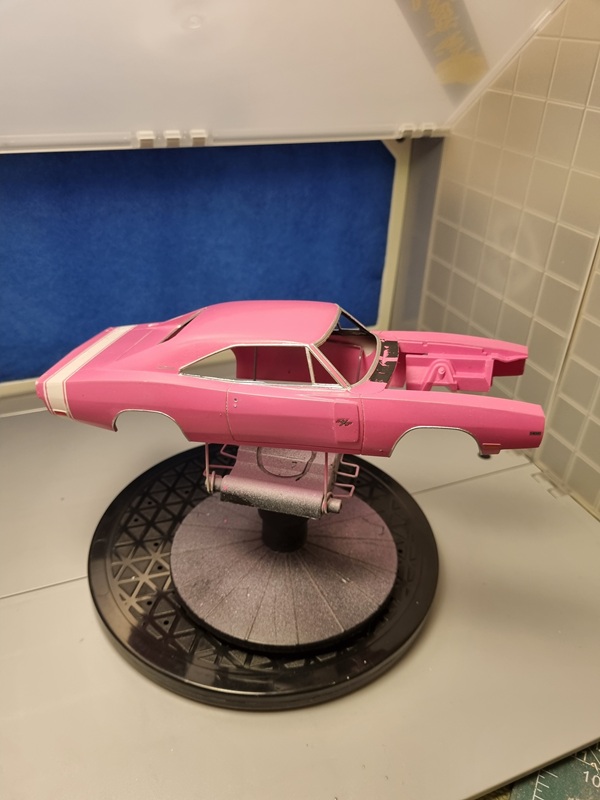
On the weekend build meeting we had last weekend that we call plastkollo (plastic camp), I bought a kit from one of the members. I thought it could be a fun build.
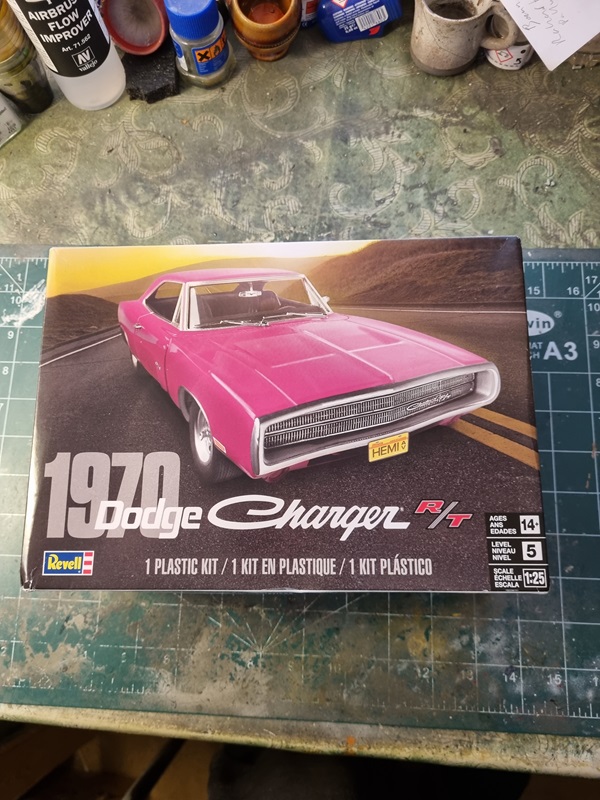
The kit seems to be quite nice with good fit on the parts. As usual starting with the engine that should be mostly orange. I didn’t have any orange colour and my pink colour was messy with a big lump in the bottle. It ended up in the bin.
I borrowed orange colour from a friend and managed to paint it a little to wet. Then I decided to paint most of the interior and chassie parts black. Turns out there was very little black left in the bottle. I have to order new colours and a few other things that I need.
Anyway, this is how much I got done before it was time to wrap up the meeting and go home.
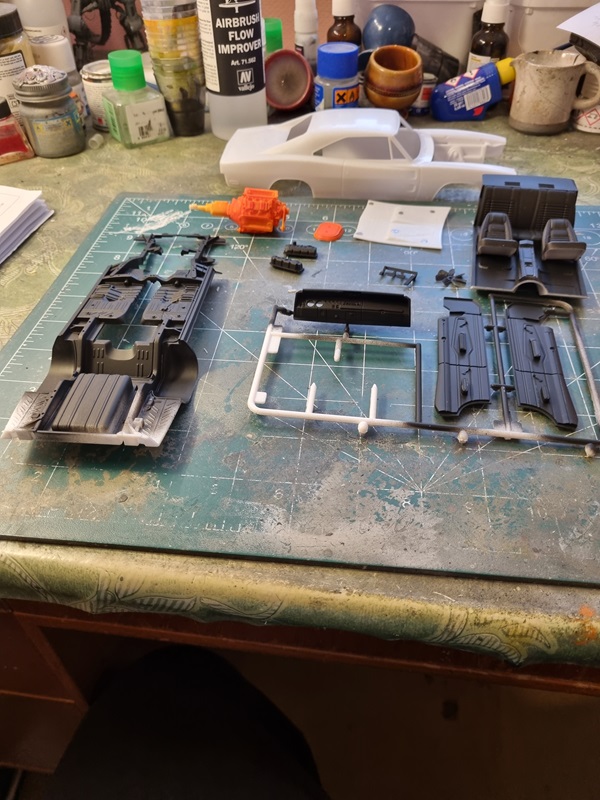
Pic taken at home though as I forgot to take a pic at the meeting!
