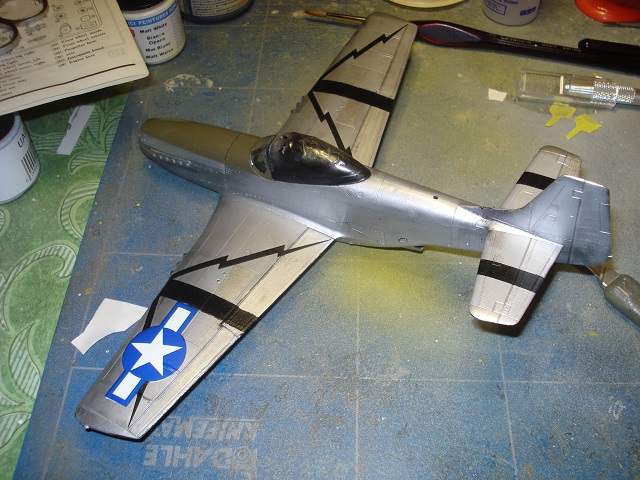
This is an old build that I picked up, mainly to test metal paint for another build.
The plane is a P-51D Mustang and originally intended to be Big Beatiful Doll, but I changed my mind, and will use the BBD decals for another build.
The plane was already painted with Humbrol 11 Silver, which gives a nice look, but the color has a tedency not to harden as it should, and becomes soft, leaving fingerprints after holding it a while. The remedy for this is to paint a clear cote over the silver color, which in this case also makes an excellent base for the special metal colors I’m about to use.
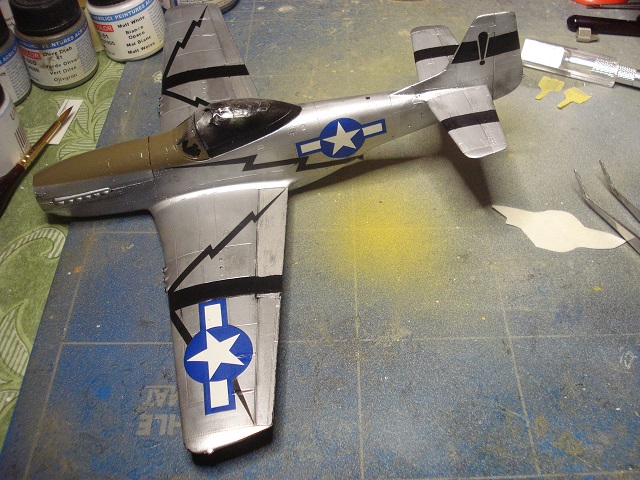
The colors I’ll use are AK interactives True Metal, which comes in tubes like those for oil or acrylic artist colors. As I understand it it’s kind of vax with metal pigments, and the colors can be polished once they’re applied.
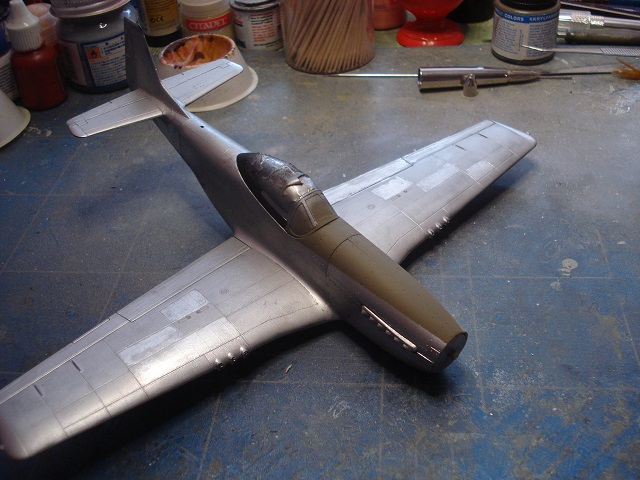
I started out by masking areas of my choice.

Masked and ready for paint
True Metal can be applied with whatever means you like, brush, fingers, q-tip, or be diluted with white spirit and air-brushed. In this case I’ve chosen the latter option.
Actually I’ve already tried appling with brush ie hairy stick on some panels.

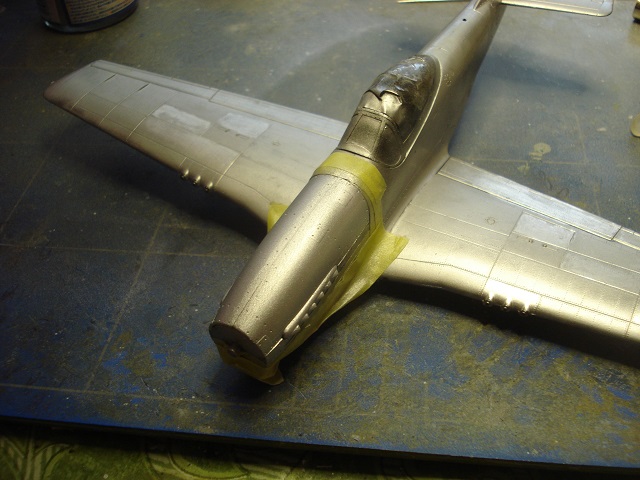
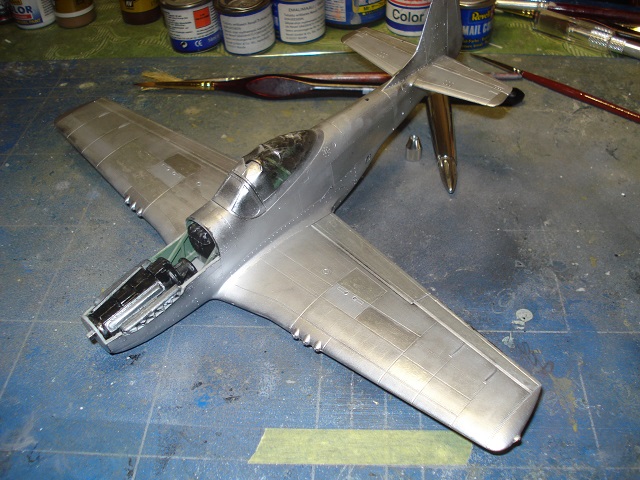
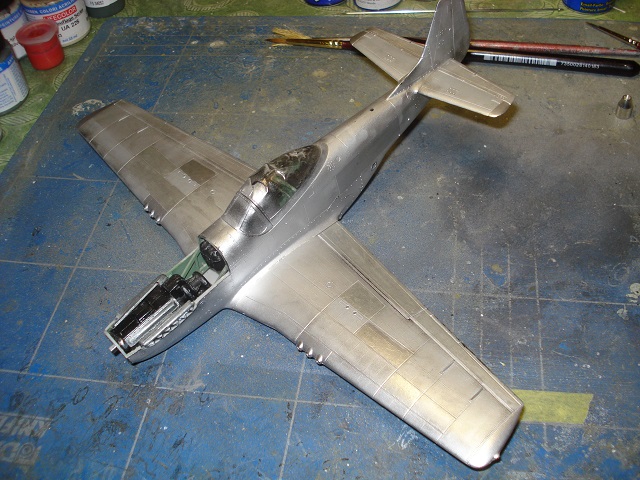
Panels painted with different nuances of metal color
Colors polished.

Polished panels
In the pic above I’ve already unmasked and polished both the hand brushed and the air brushed panels. In my opinion, the air brushed panels are smoother, but both works and I think I managed to get a used look.
Next step will be adding engine hood and some more painting. I will also seal the metal with a clear cote.
Håkan