Here’s som pics of my finished build!


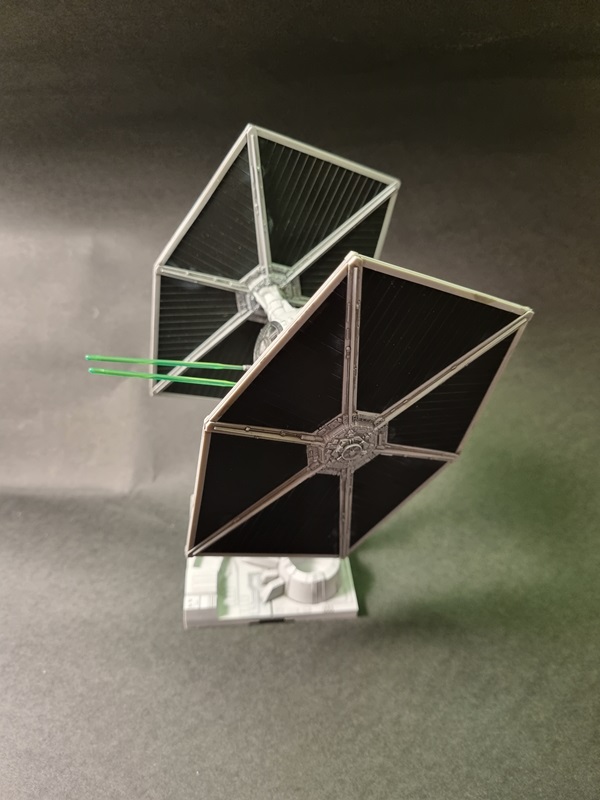

Here’s som pics of my finished build!
As I intend to have it sitting on the stand, I glued the lid in place.
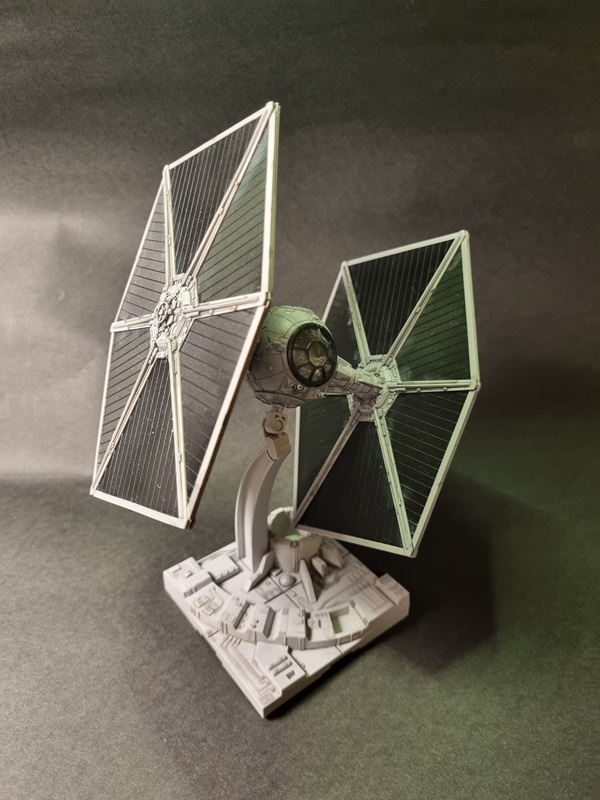
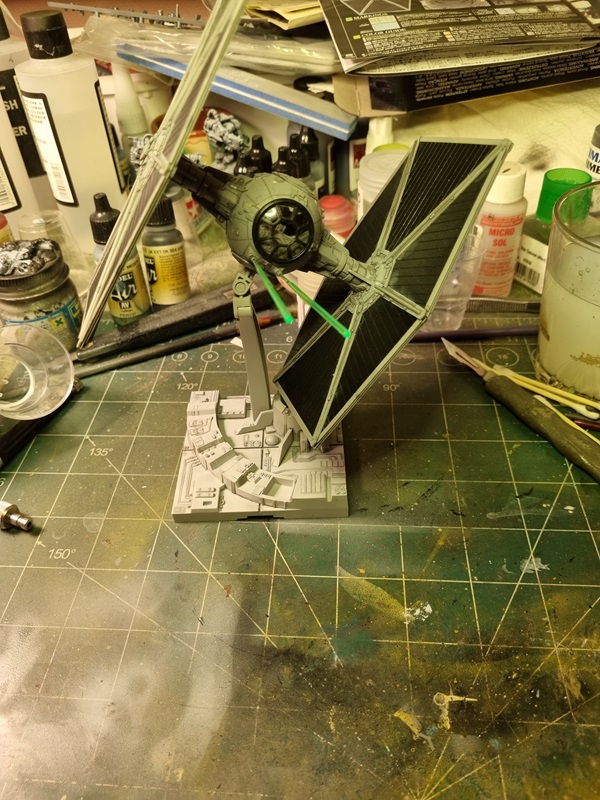
The solar panels got a pin wash.

Everything put in place.
After a clear cote, the decals went on. I tried to use the decals for the window and top lid, but messed them up as they wouldn’t conform properly.
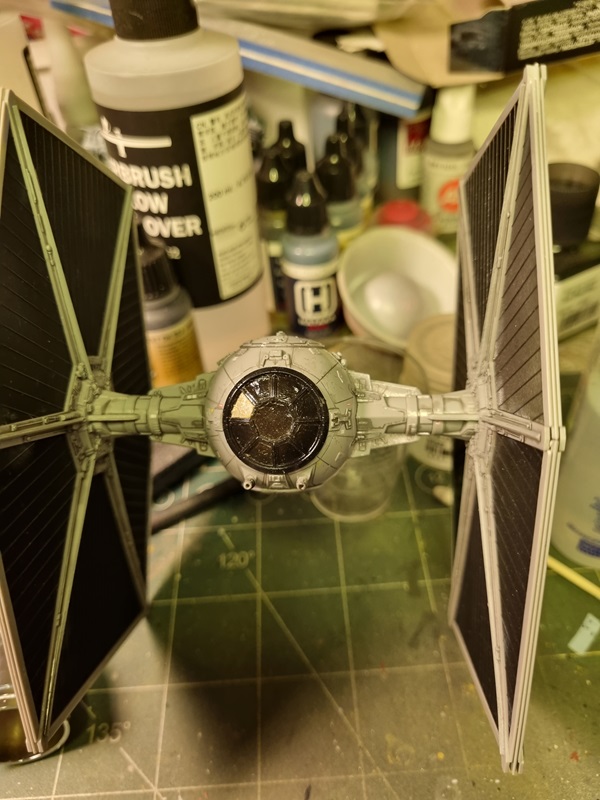
After removing the masking tape from the window and doing some additional wash and painting, I considered it done.
Pics for the final reveal will be posted soon.
The pilot and windows got some paint.

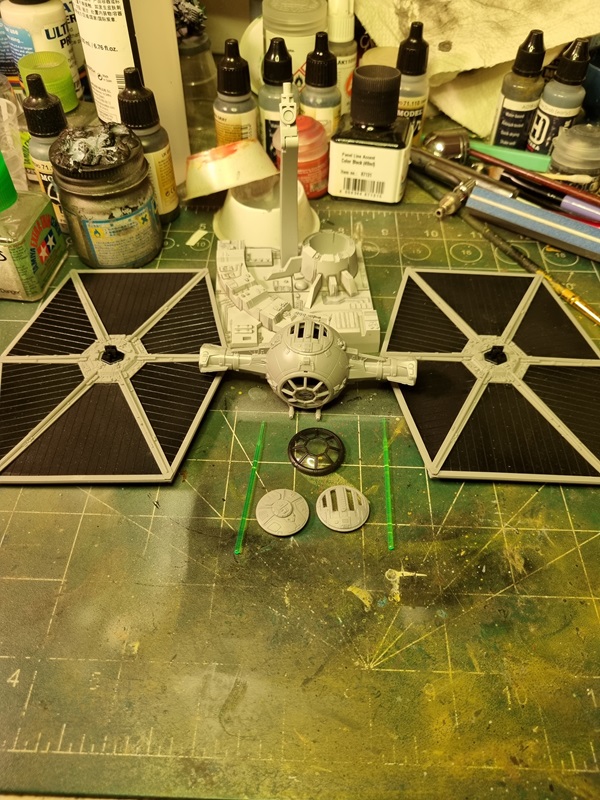
The solar panels was assembled.

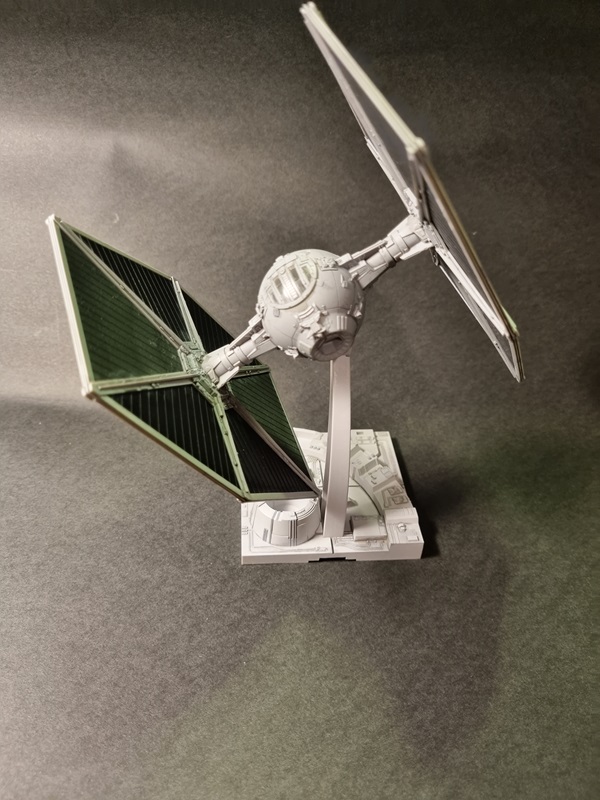
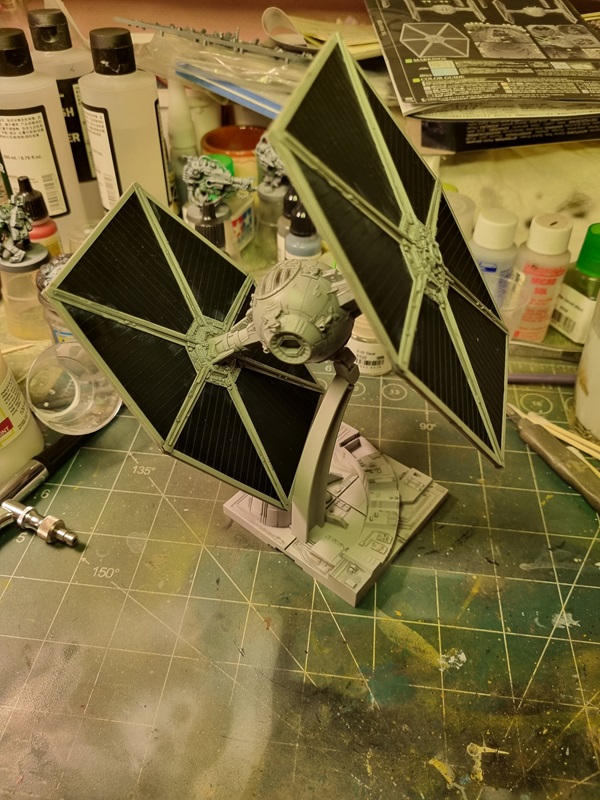
The base got a pin wash and then I did some dry brushing with a slightly brighter colour than the base colour.

The pilot and cockpit got some decals.

Then the cockpit was closed and placed in the rear fuselage.
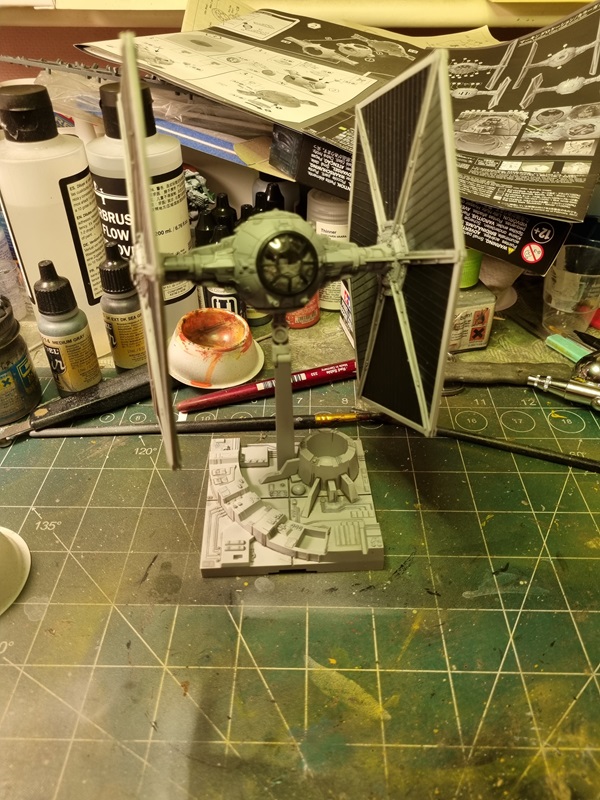
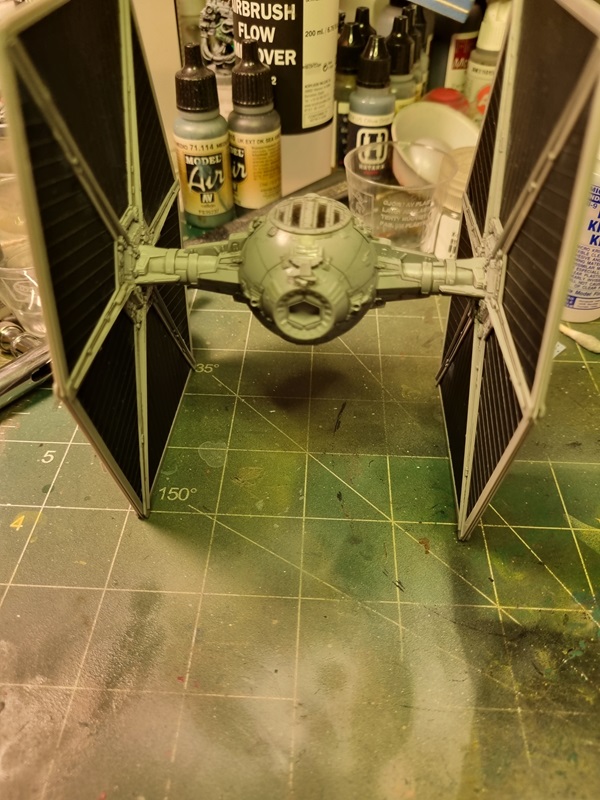
After some additional painting and pin wash, I could close the fuselage and start glueing small parts.
I’ll use the optional windows as cover when I paint the fuselage.
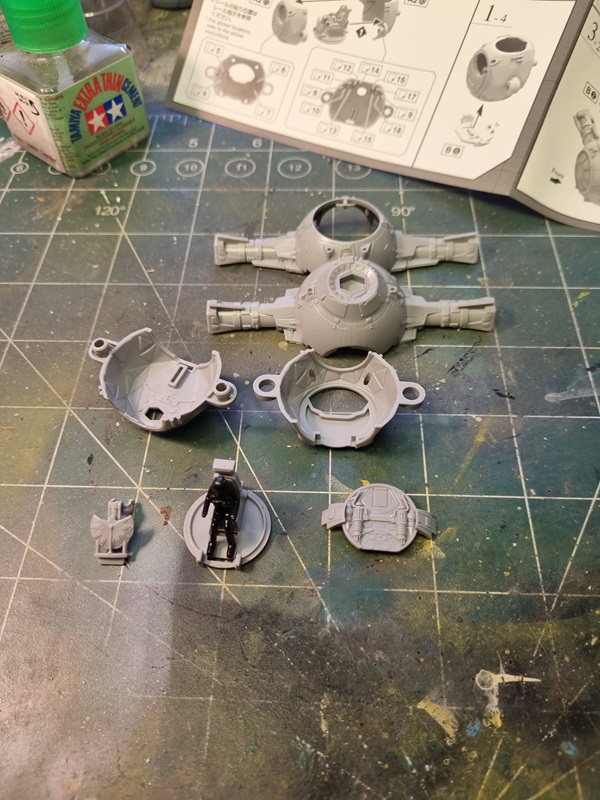
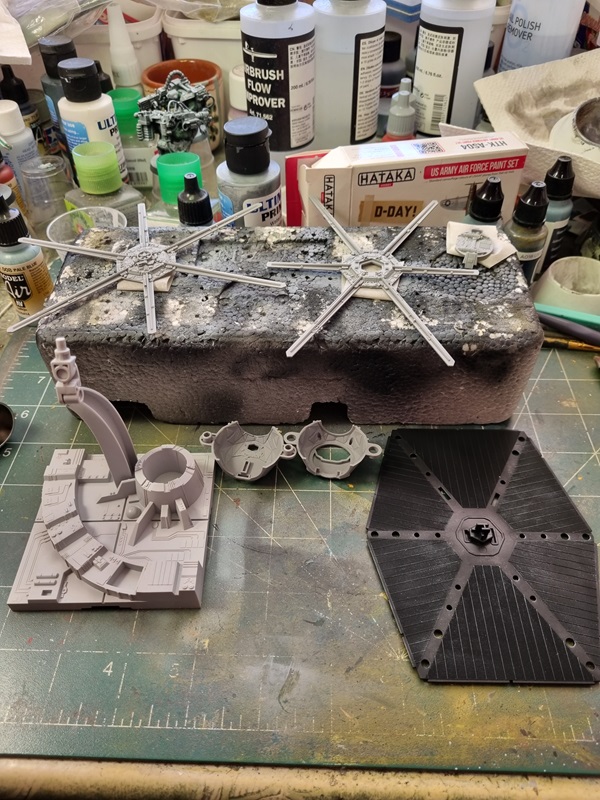
Here are all the parts that will be assembled later.
For some reason the bottom of the fuselage broke a bit while putting the bottom cover in place.
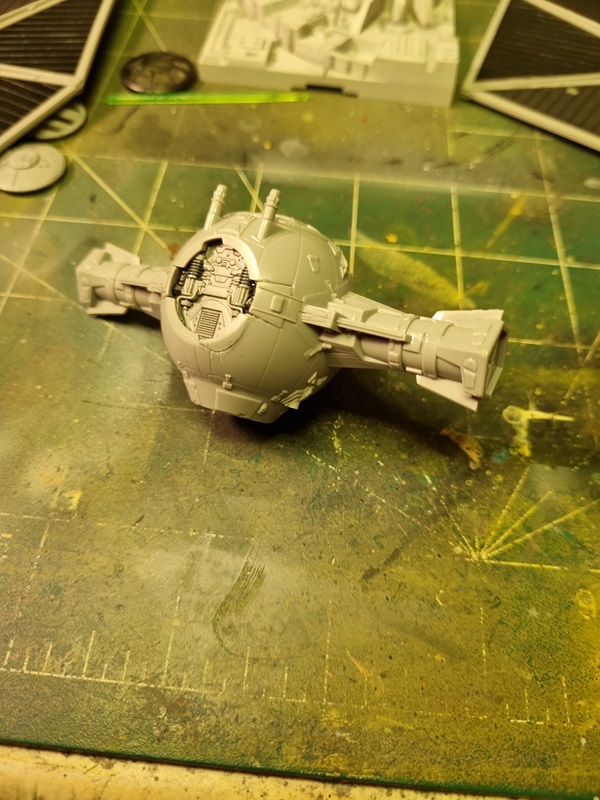
I’ll sort that as good as possible, and I guess the cover just have to be glued in place.
Other than that it’s mostly painting and decals left before assembly and finishing touches.
As I’m participating in a sci-fi group build where I recently have finished the Ork Dakkajet, I decided to try to finish one more kit before the end of the group build.
So in order to make it somewhat easy I decided to build a Bandai Tie Fighter,


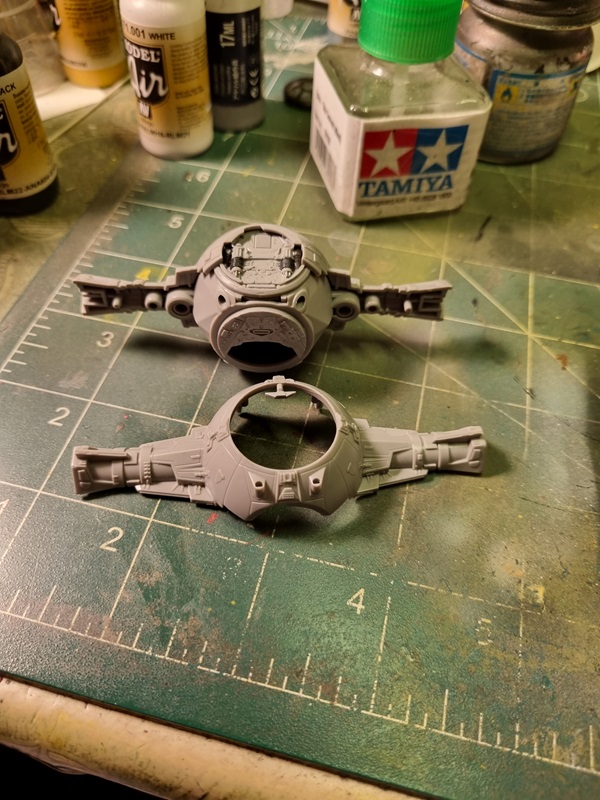
Starting with the cockpit and mid section.
The instructions for what colours to use a pretty brief. I asked around a bit and got some advice.
The solar panels was painted flat black.

Hard to tell perhaps, but the black plastic is a bit more shiny.
I painted the interior in neutral grey and then mixed a lighter colour for the exterior parts.
That colour was also used on the panels inside the cockpit.
There are some details to paint in the cockpit and on the pilot. Then I can start assemble it.
