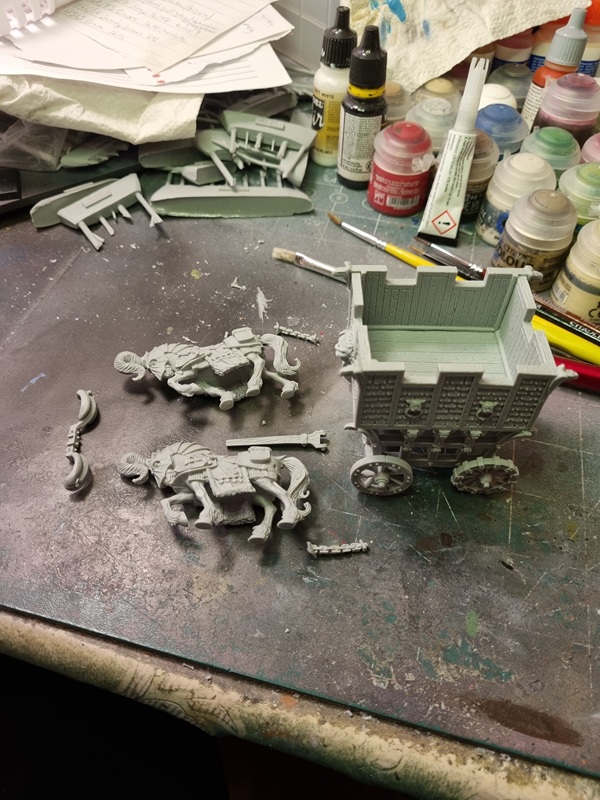
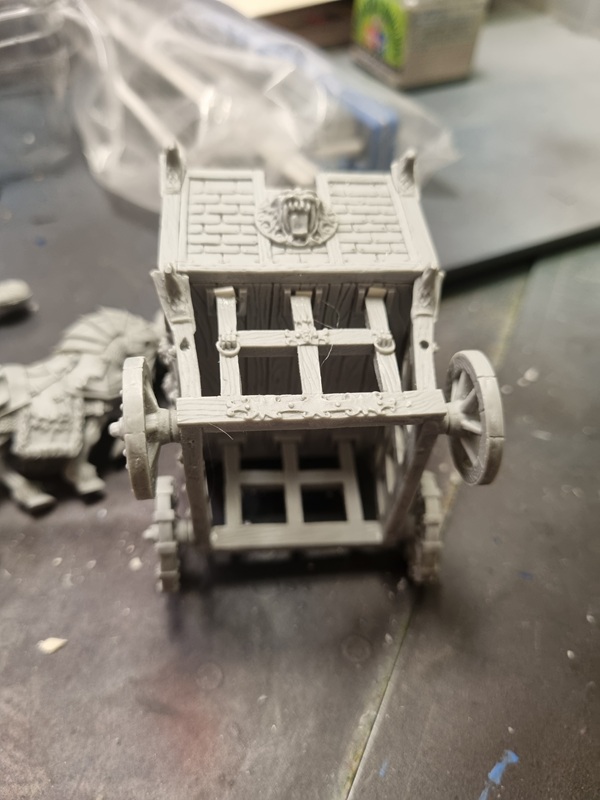
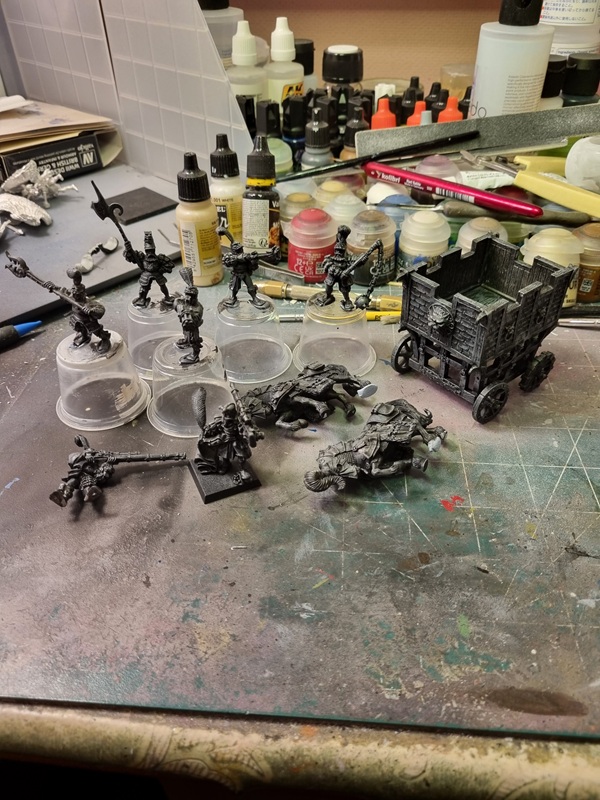
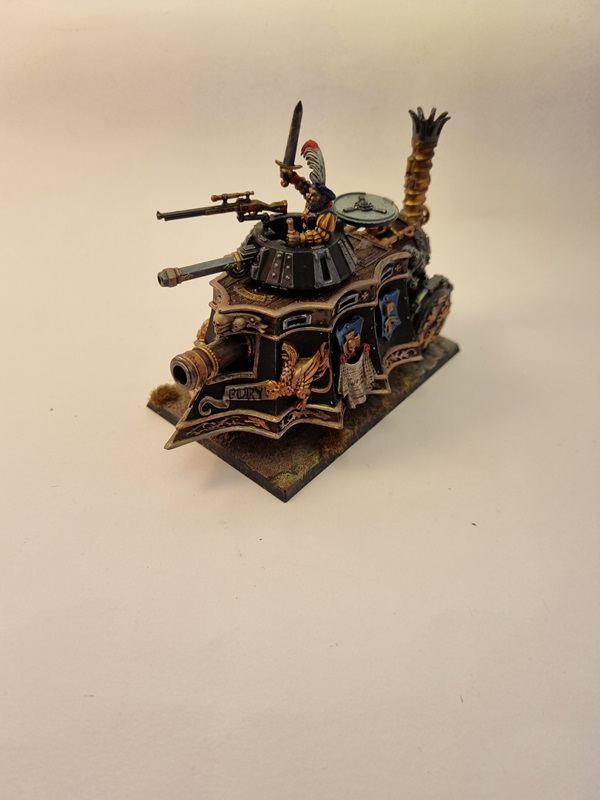
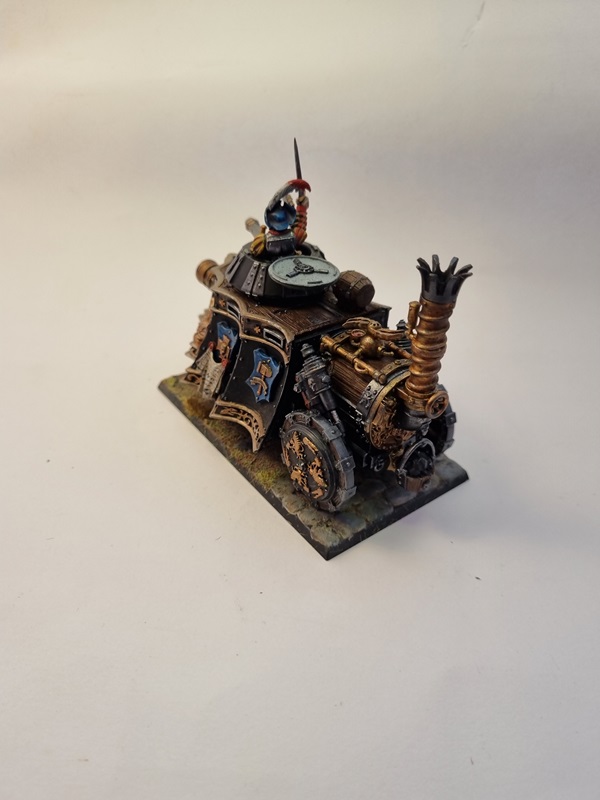
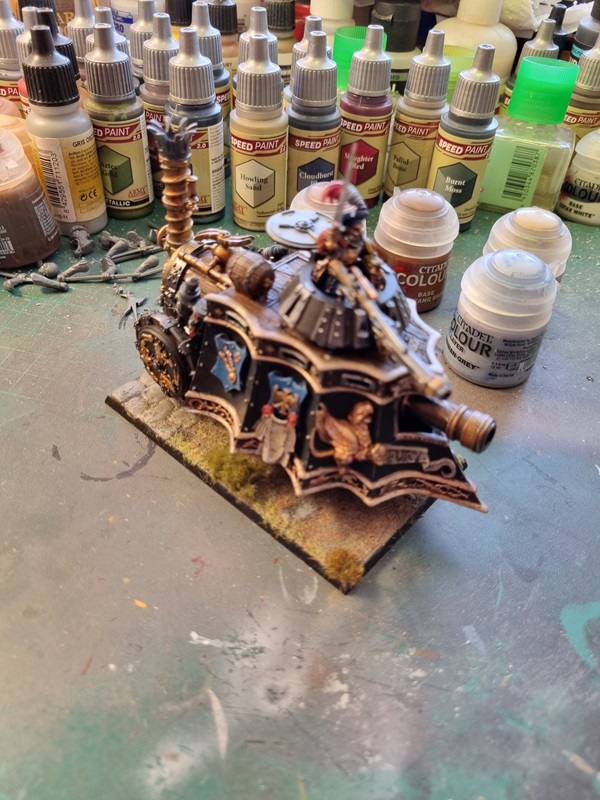
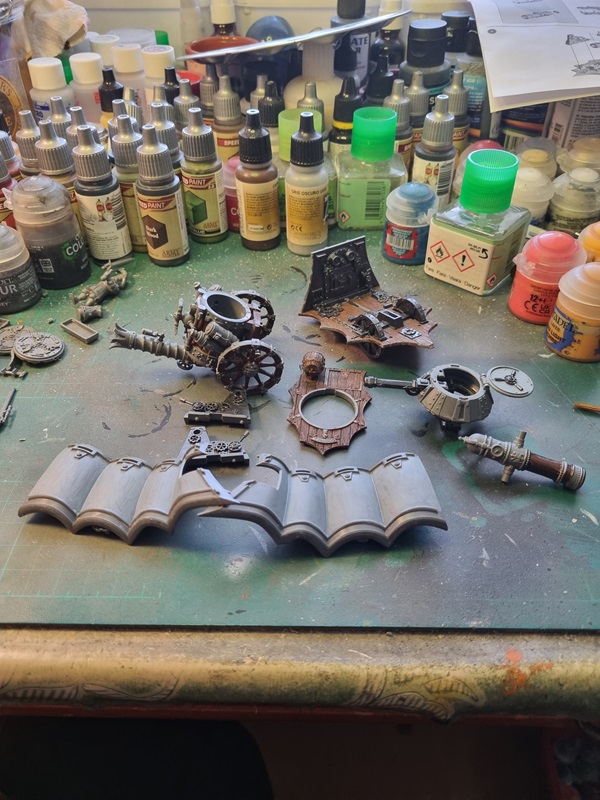
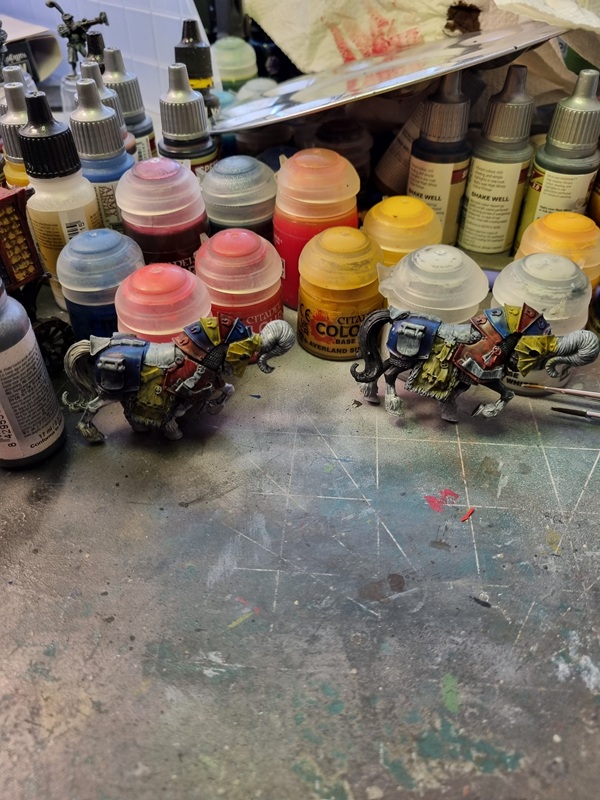
I tried 4 different colours for the side panels.
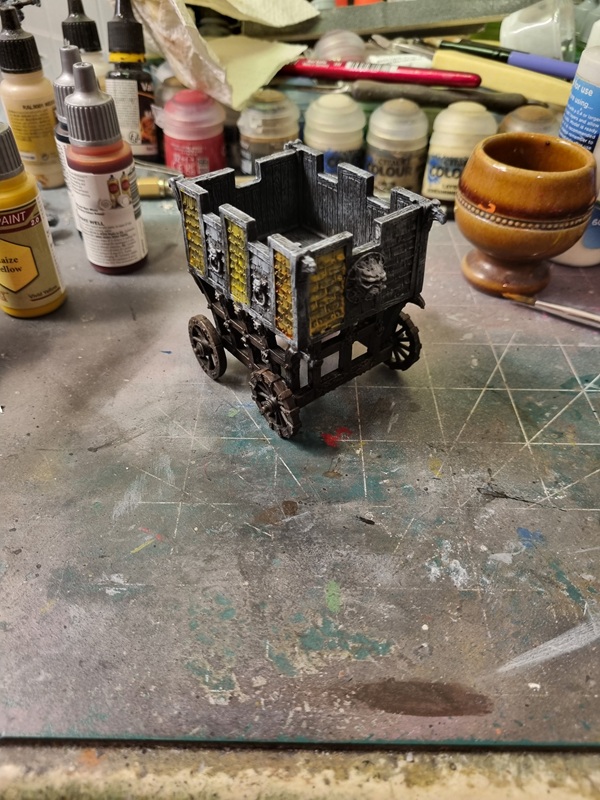
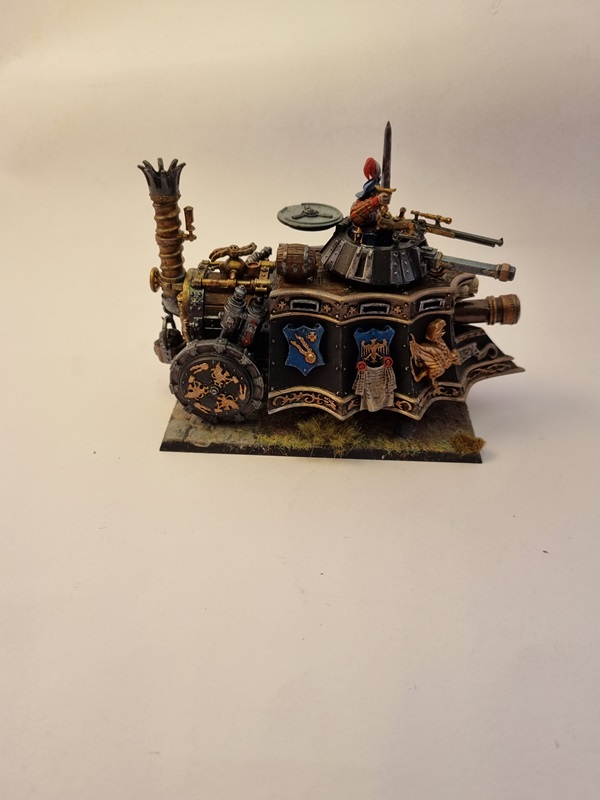
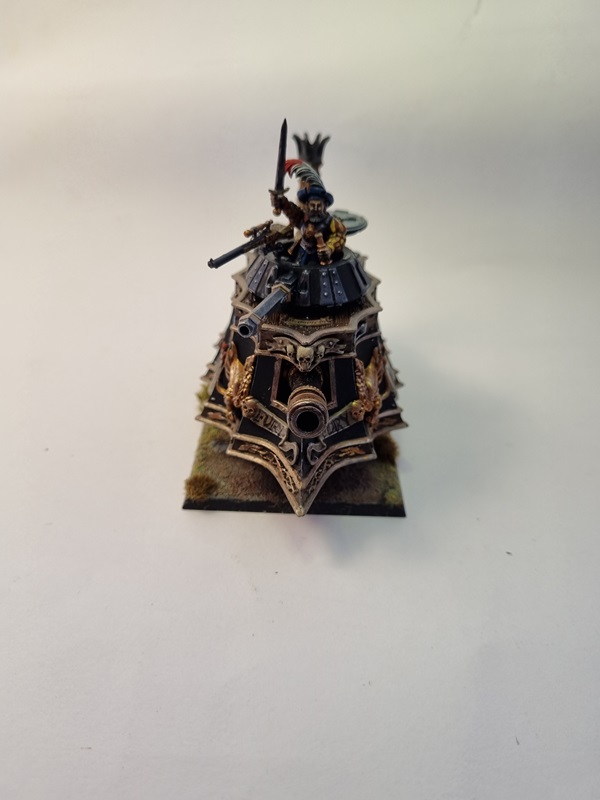
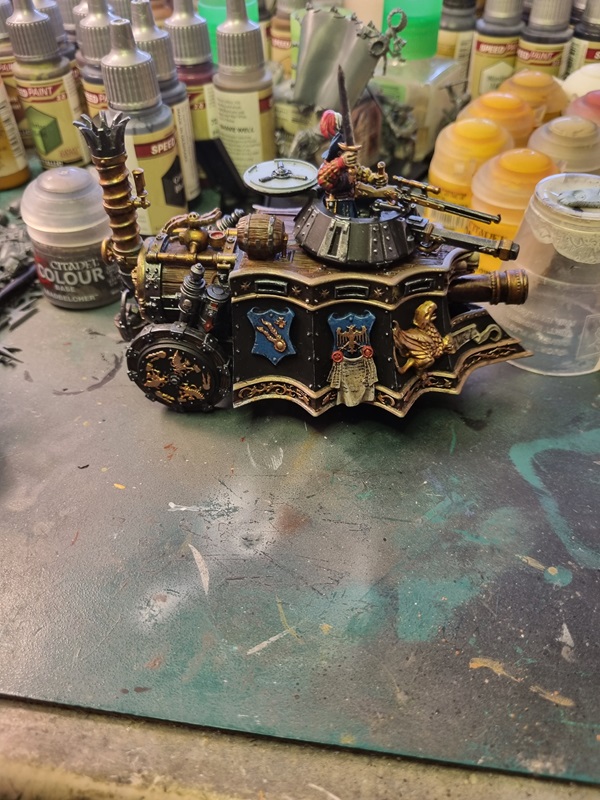
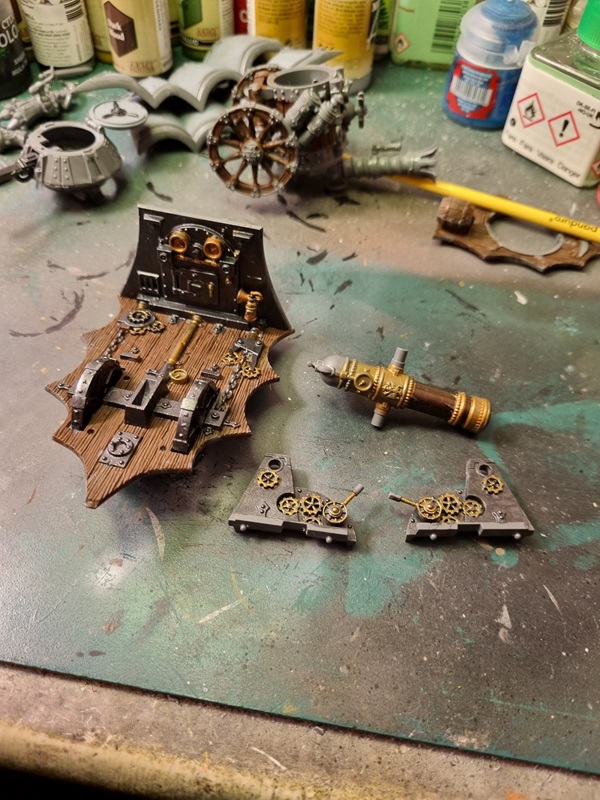
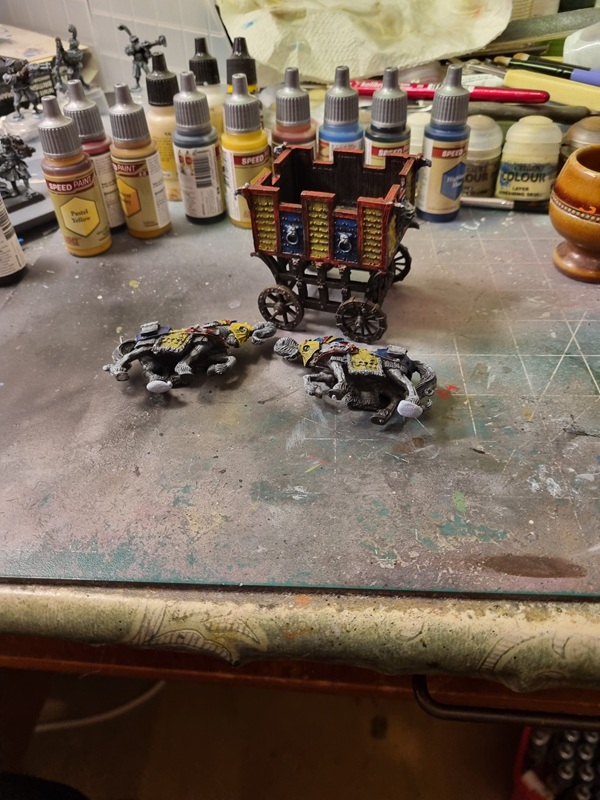
I went for the colour on the mid panel. I also painted the armour on the horses. The other panels was painted blue and the frame red.
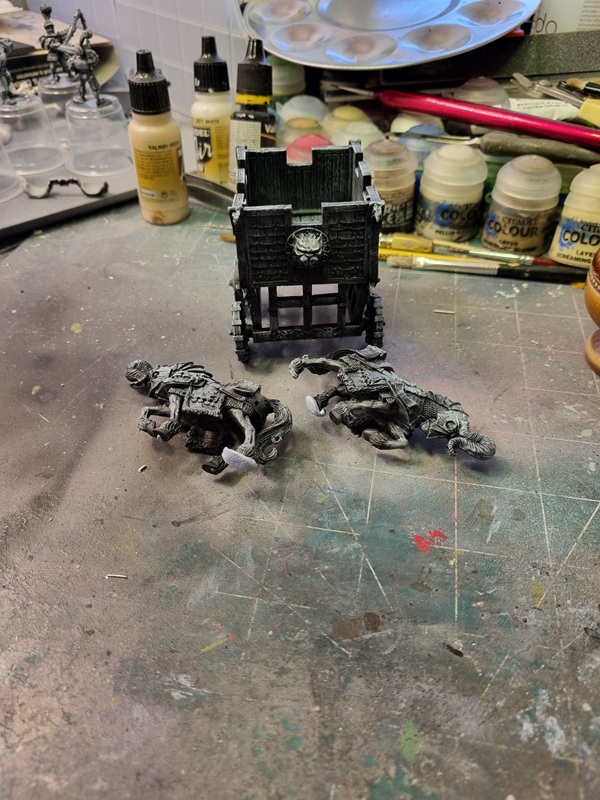
I used Averland Sunset to paint a lighter shade on the panels and used Aloic blue and Mephiston red on the other parts.

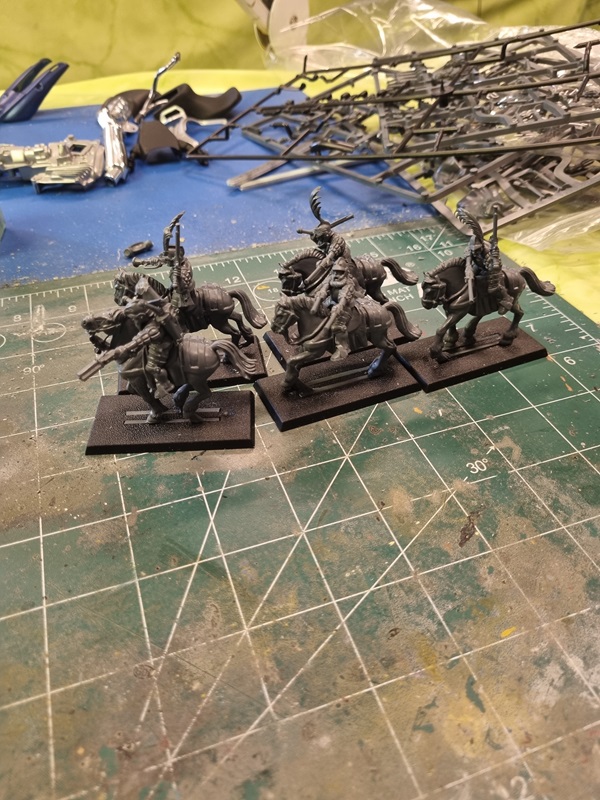
I painted one horse white and the other one black with white on the lower parts of the legs and hofs.
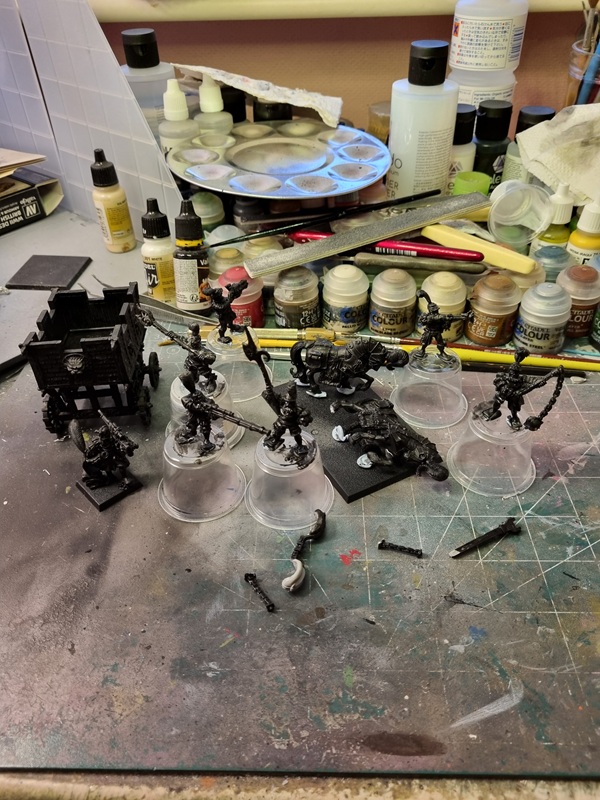
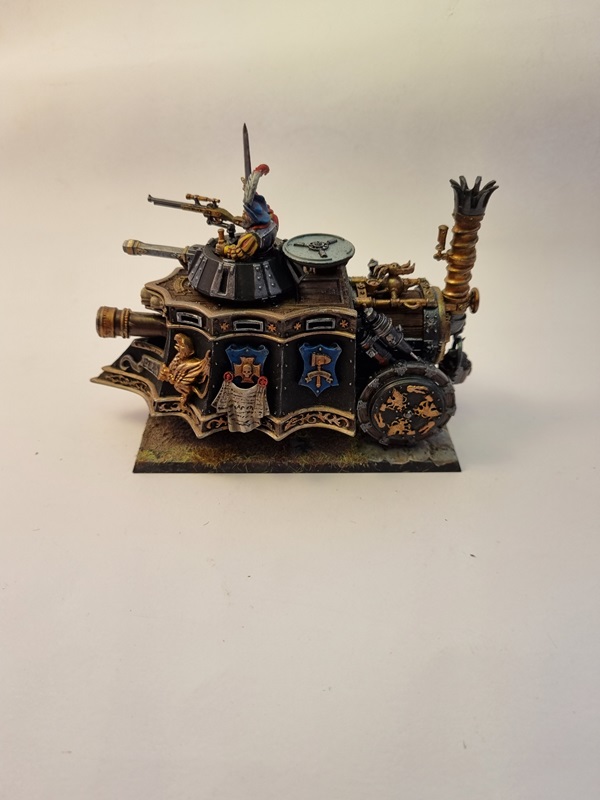
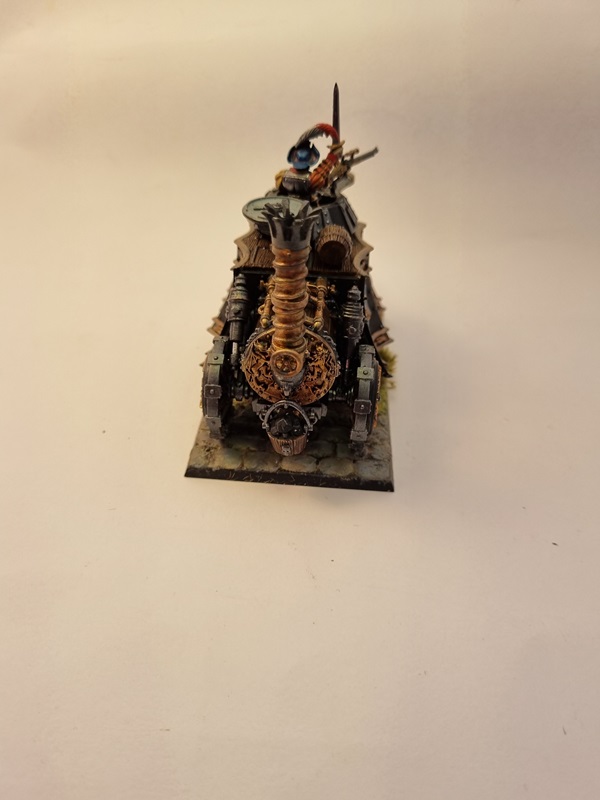
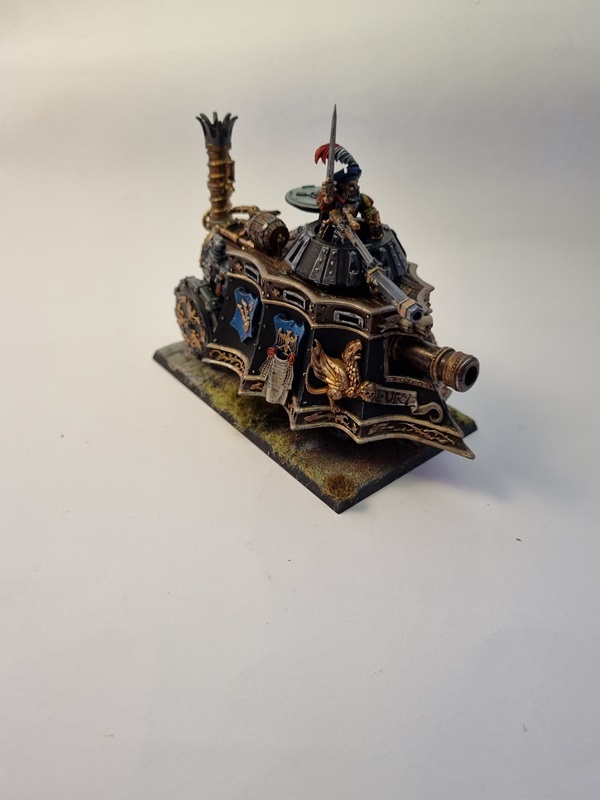
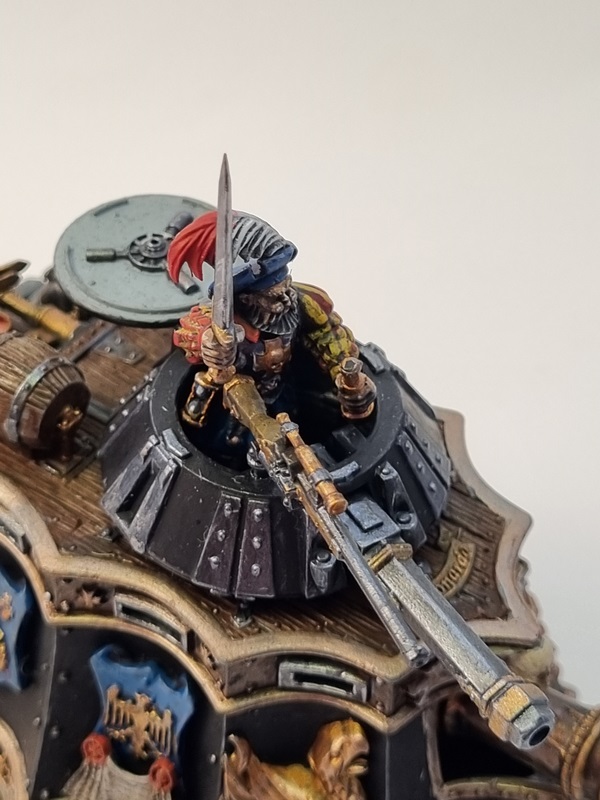
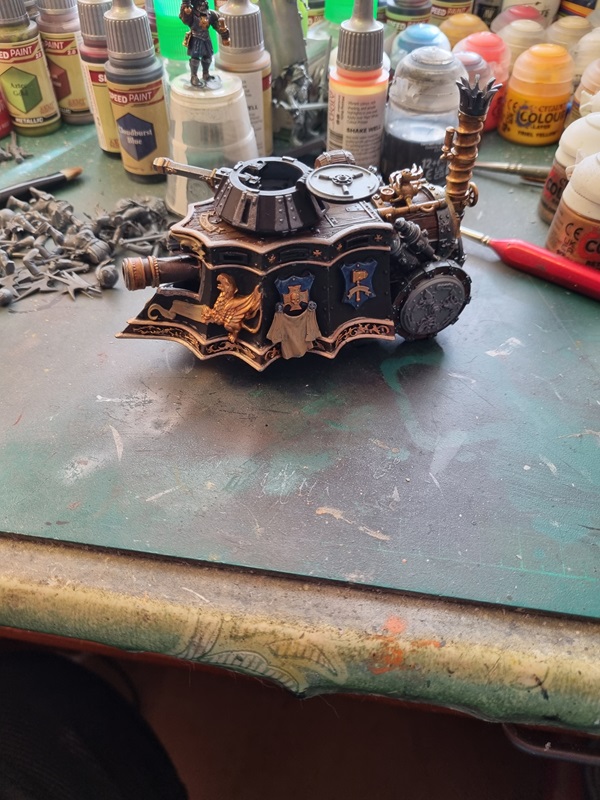
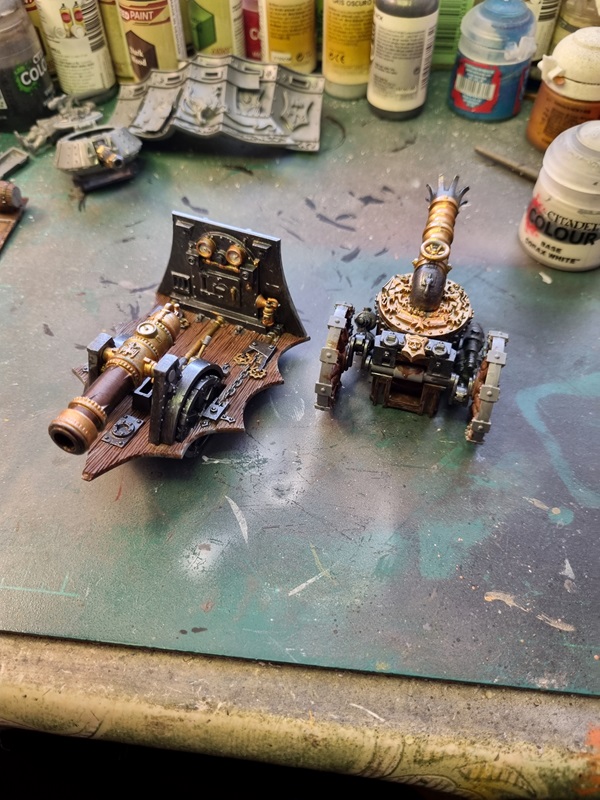
I used gold/bronze for the heads and black metal on the wheels and other metal trim.
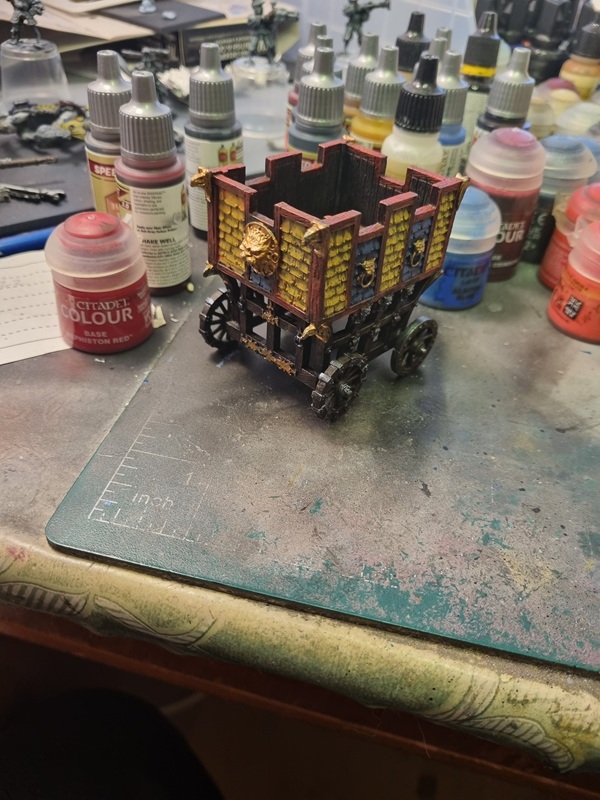
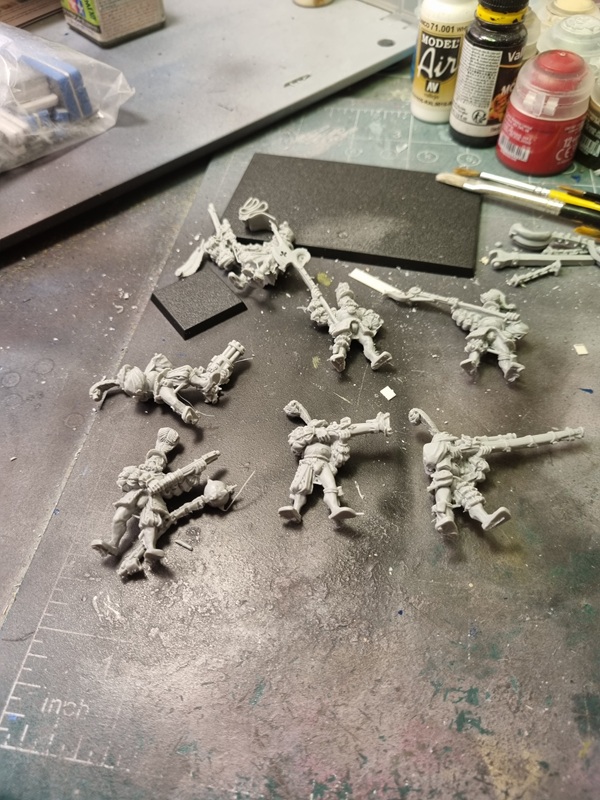
To spice it up a bit, I painted the tongue and eyes red and the teeth white. I also painted some details with bronze on the rifles.

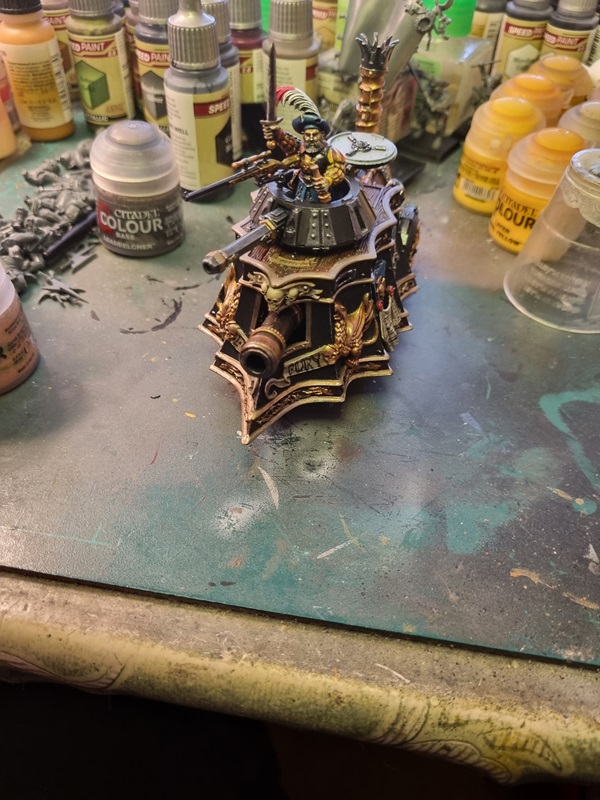
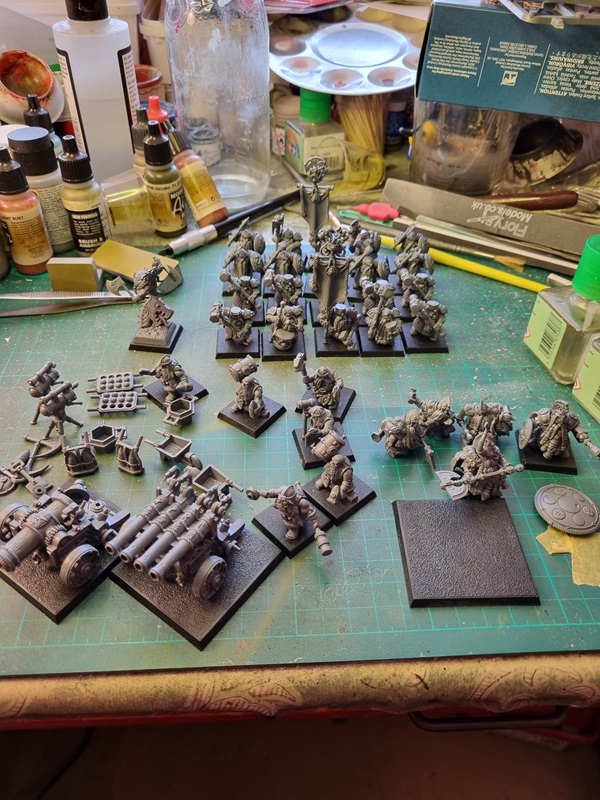
I still got more to paint but I think it’s taking shape and the heads look kinda scary! 🙂