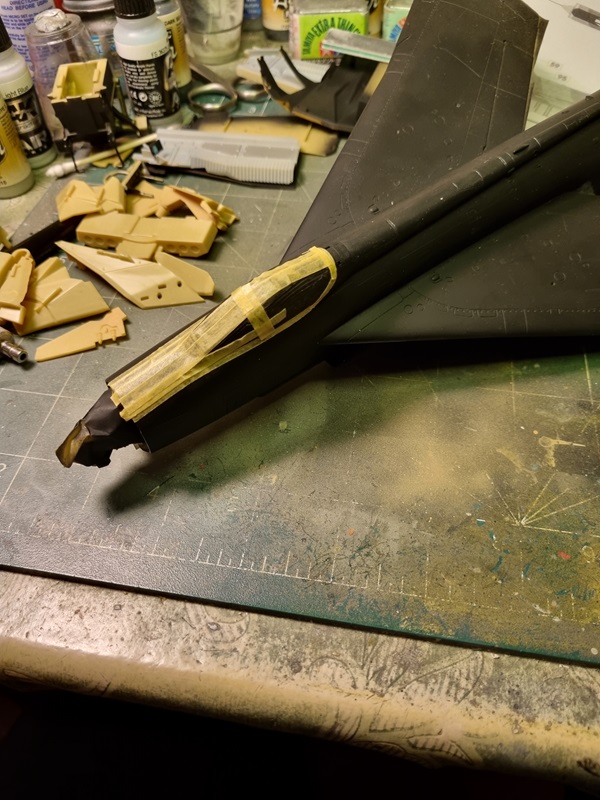
I got a hunch to pick up this build that I started a few years ago. I had already started painting it and had masked in preparation for the topside camo. So the tape have been sitting there for quite some time. I just have to hope for the best.
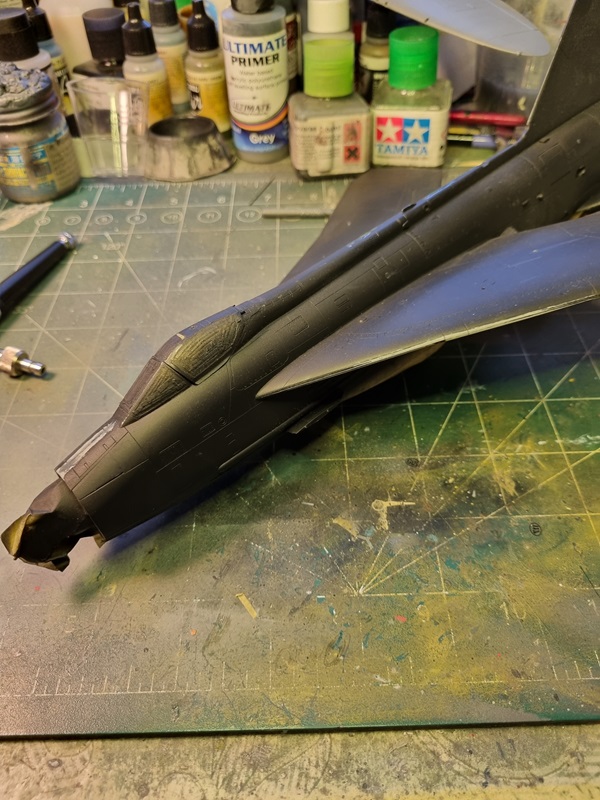
First I had to address a few spots with ghost seams.
After that was done, I repainted with black and masked the canopy and front area which should be black.
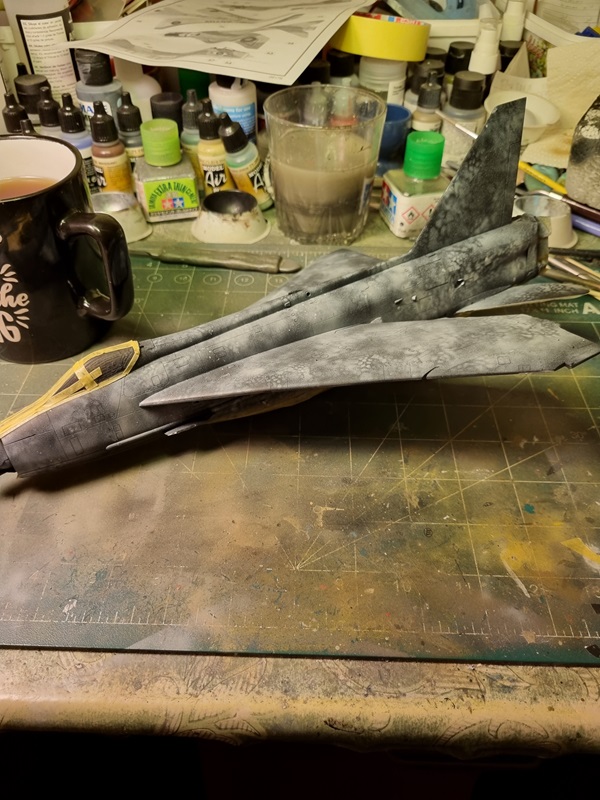
Then I used a mask for irregular patterns to paint with light ghost grey over the black. This was the first time I used this kind of template, so it didn’t go very well, but I think it’ll do for the purpose of the paint.
Next I’ll start painting the camo, starting with dk sea grey.
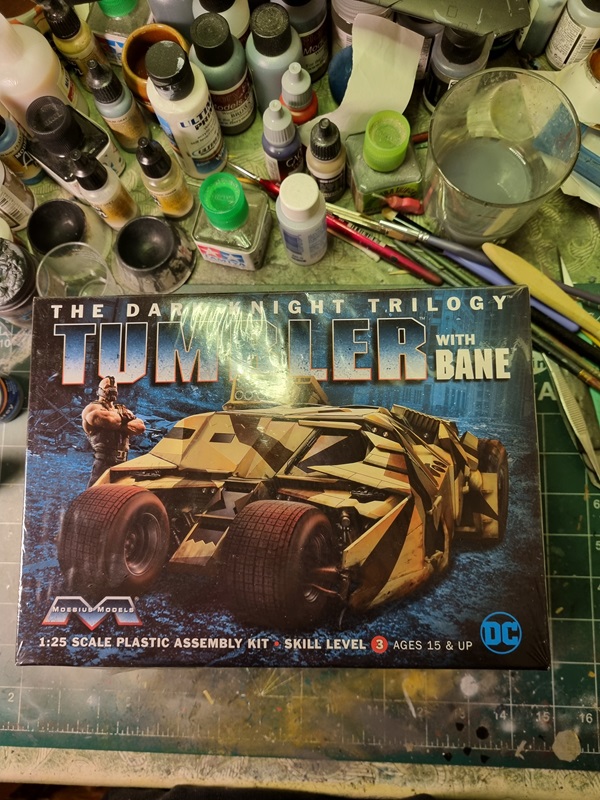
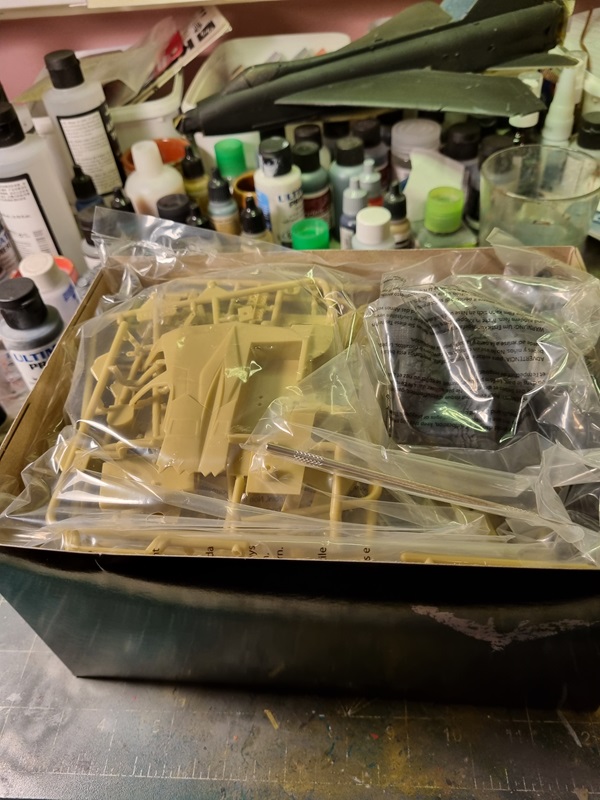
I got this kit as a gift from Secret Santa on an international forum.
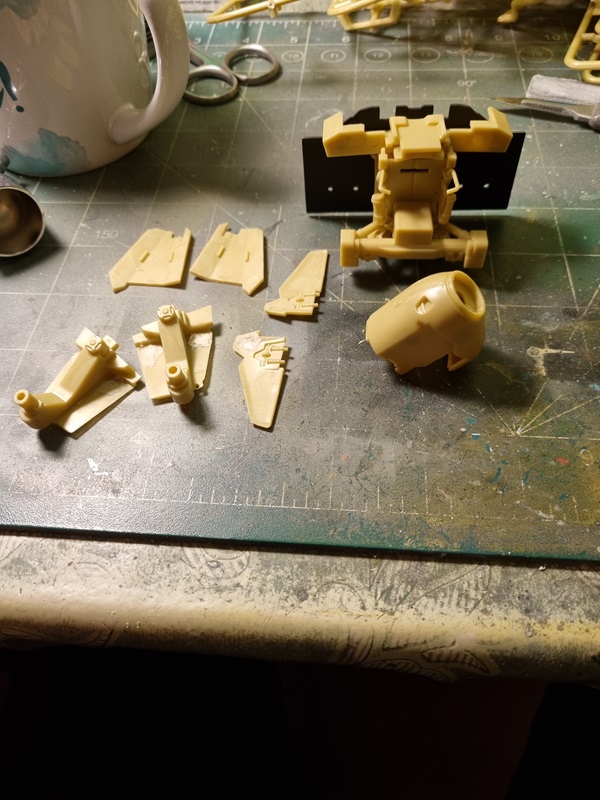
It’s filled to the brim with parts, and I’m not sure if I could get them all back after removing them. No matter as I’m starting to build the kit, using both bottom and lid as trays for the parts/sprues.
The kit can be build either as the one Bane is using or Batman’s black one. But as there’s a Bane figure and extra parts for rockets and stuff, it seems like a waste of parts not building it like Bane’s Tumbler. Besides if I’m not wrong there should be a separate kit for Batman.
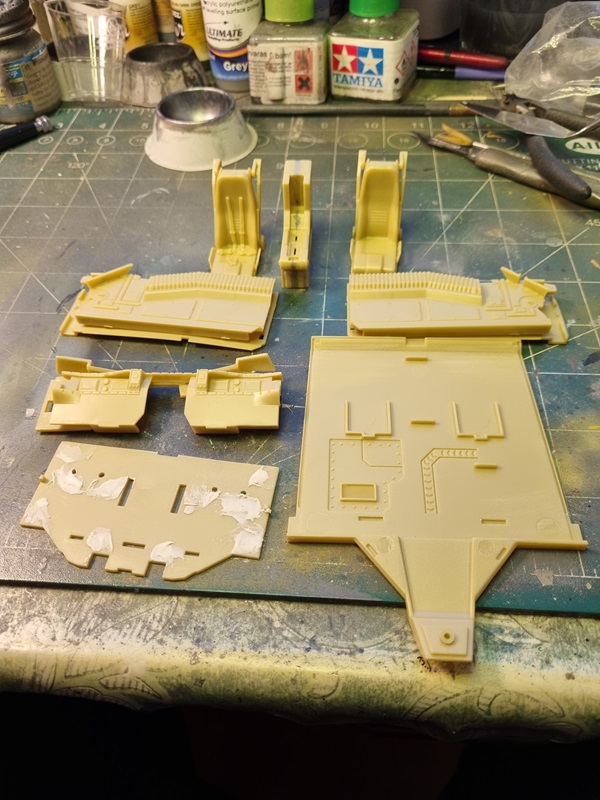
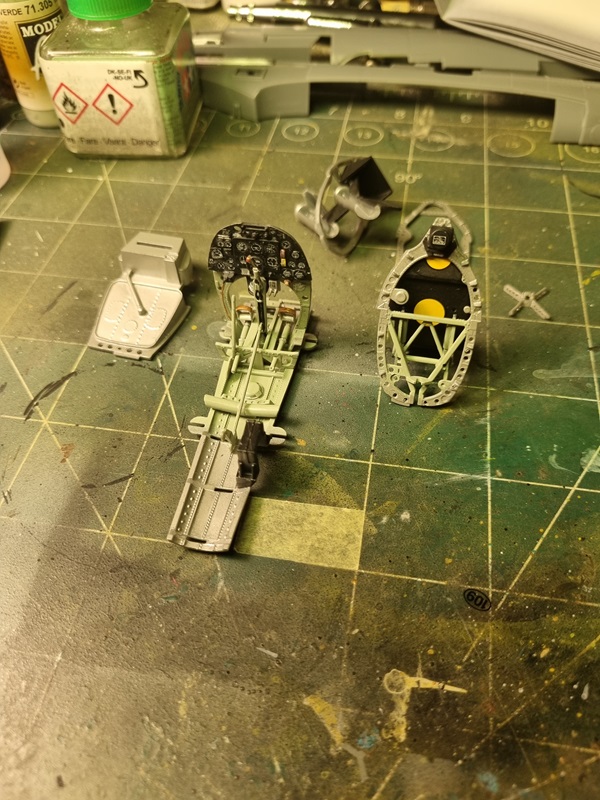
The build starts with the cockpit.
There’s some ejection pin marks that needs to be taken care of. Some had to be filled and some could just be sanded down.
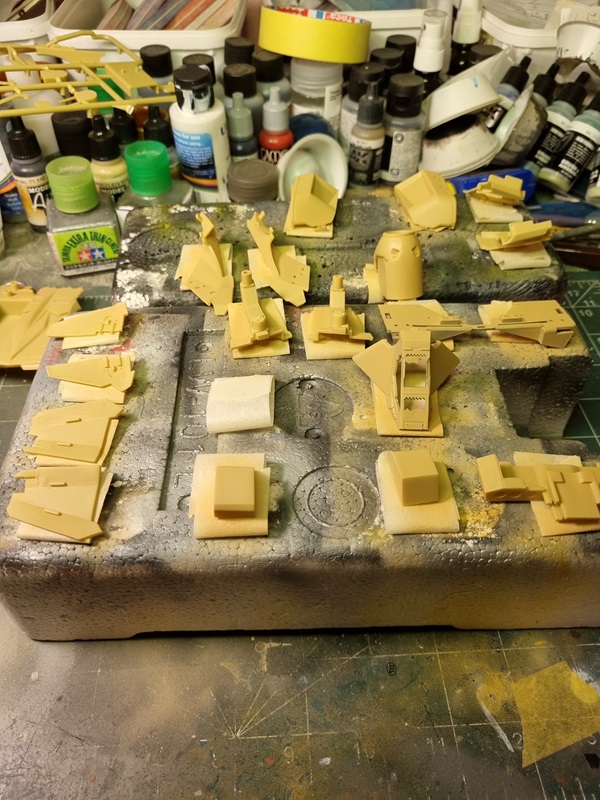
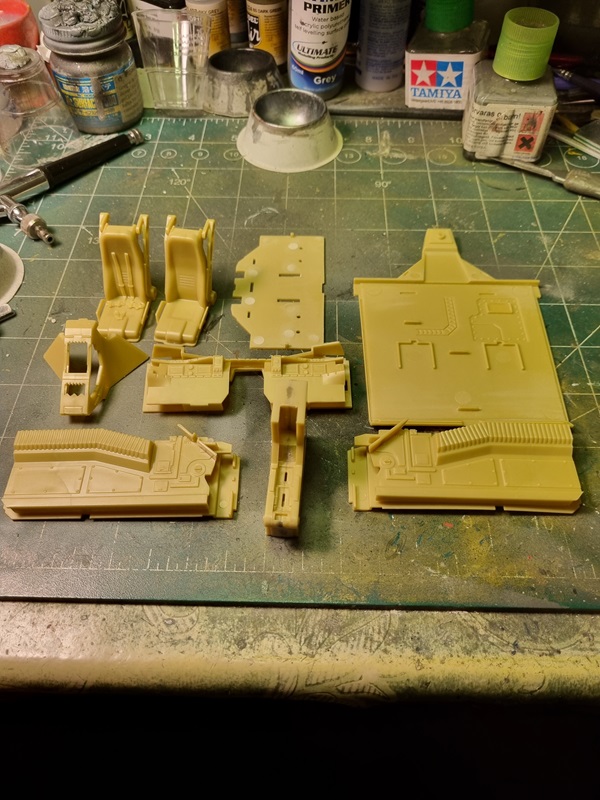
Some of the panels was painted light grey.
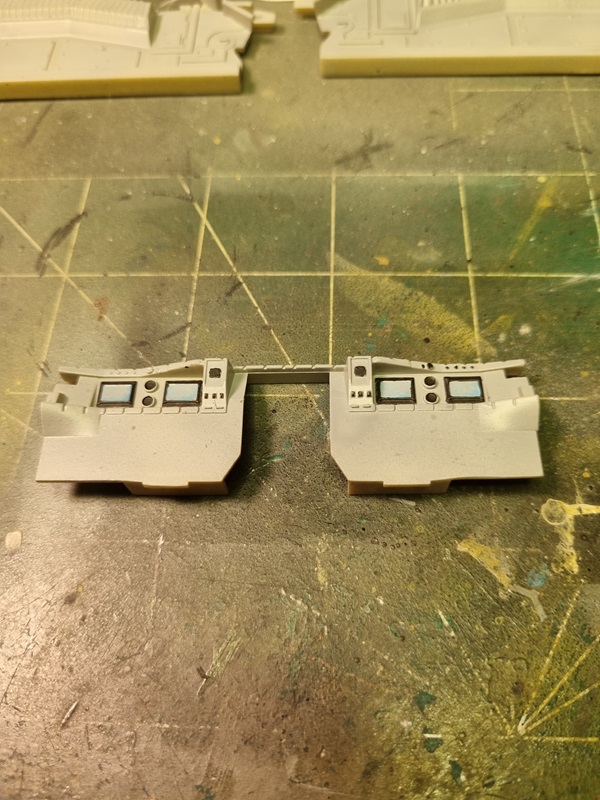
I painted the screens and some details on main panel.
The walls was painted black and I did a bit of dry fitting.
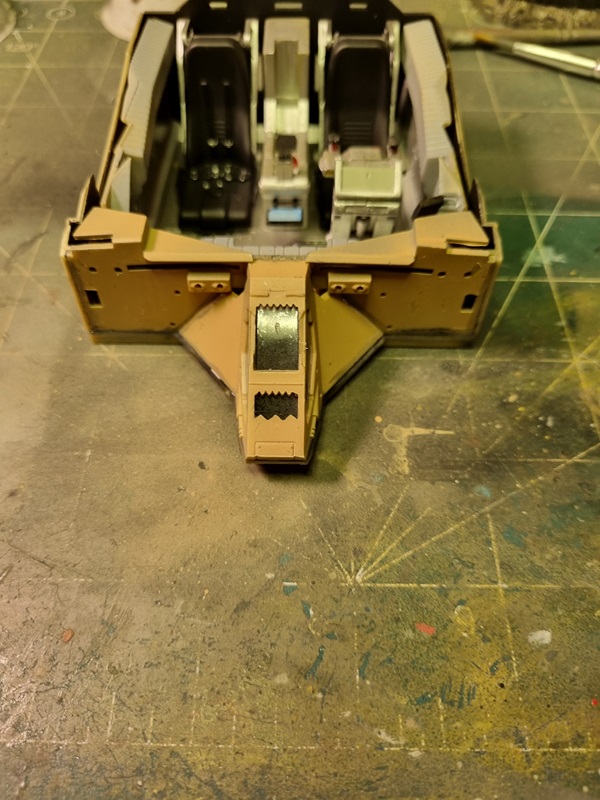
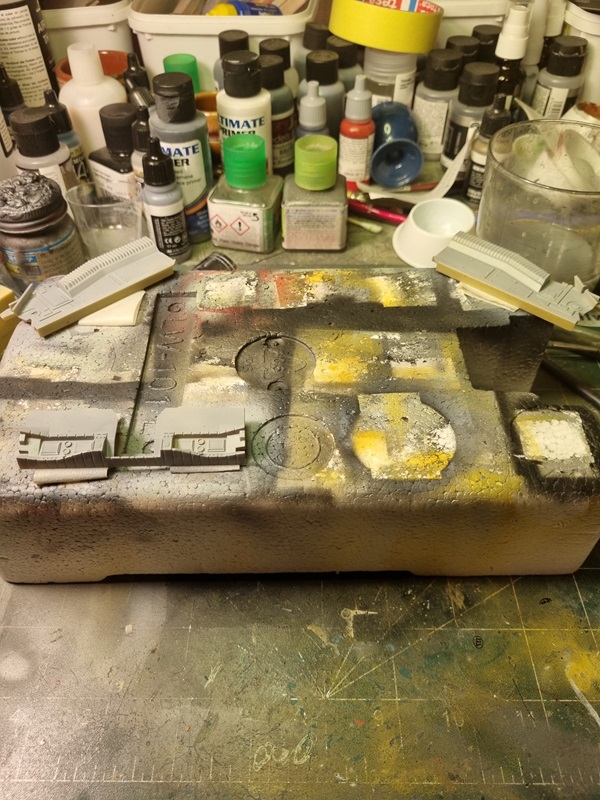
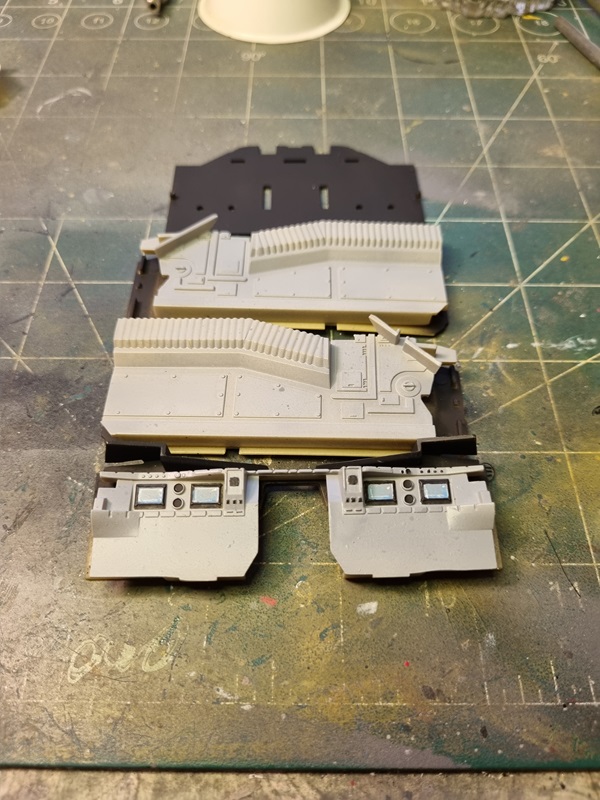
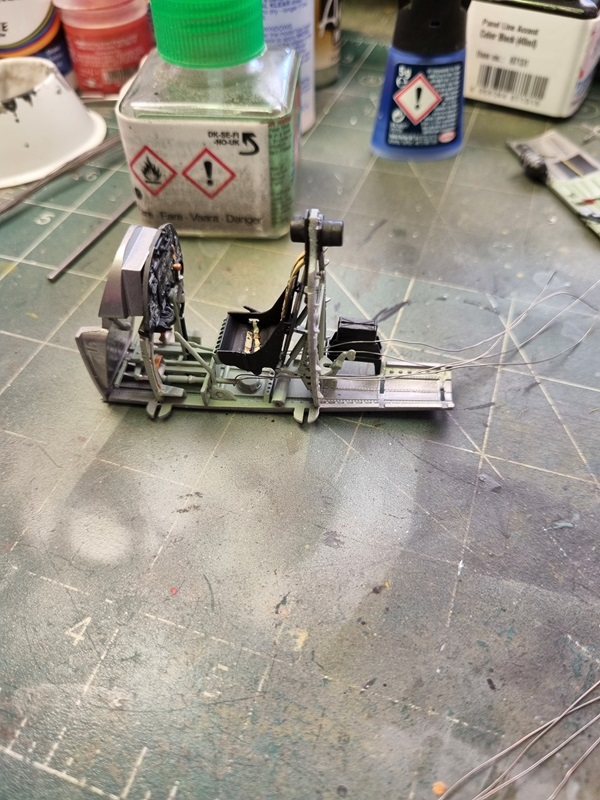
Removing some of the seams wasn’t easy as some are hard to reach. After getting rid of most of them I painted the floor and consoles in aluminium.
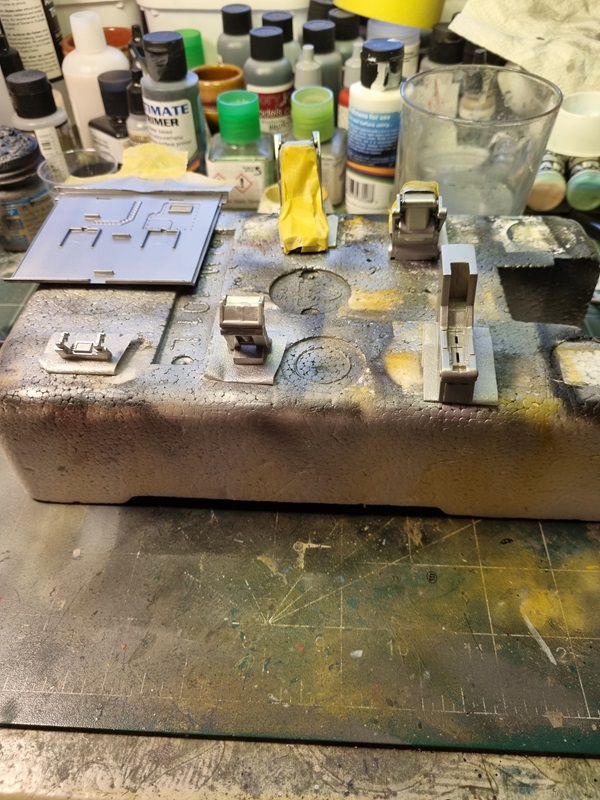
After removing the tape, it looked like this.
Some of the smaller panels and screens needed to be taken care of as well.
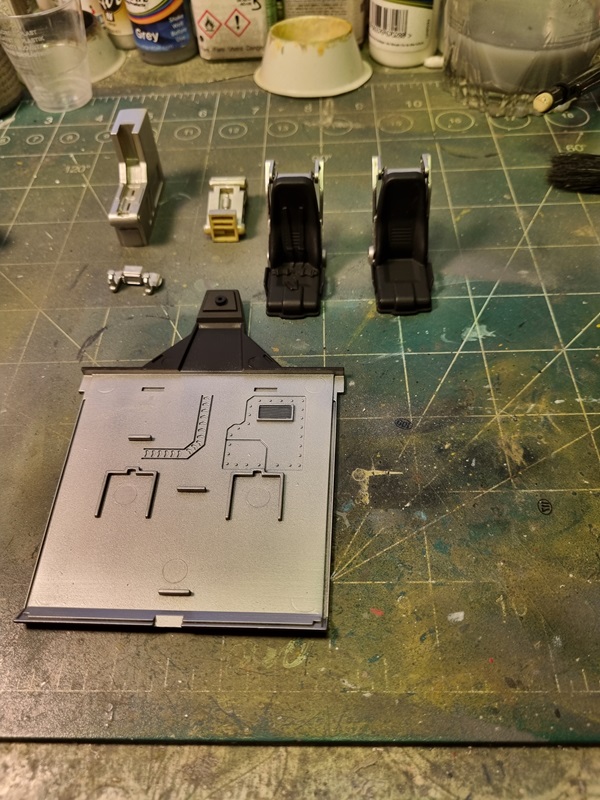
After some additional painting of seat belts and other details, I could do some assembly.
Next I’ll assemble some exterior parts prior to painting them.
One thing I’ve noticed with this kit, is that you need to check a lot in advance to get things to fit right.
The tires was painted with a mix of tire black and black. The exhaust stacks was given a dry brush with gun metal and a slight layer of rust. Also in the pic is the canopy parts with mirror and handle in place, as it should.
Then the plane got some primer.
As the primer says it needs a 0.4 needle I used my Evo. Super speed painting that sadly sputtered a bit. I shifted to my cheap 0.3 airbrush and diluted the primer a bit before painting the topside. I think that went a lot better even if it took a minute to cover instead of 10 seconds with the Evo. Now I’ll let it dry for 24 hours before I can sand it and take care of a few problem areas that I spotted.
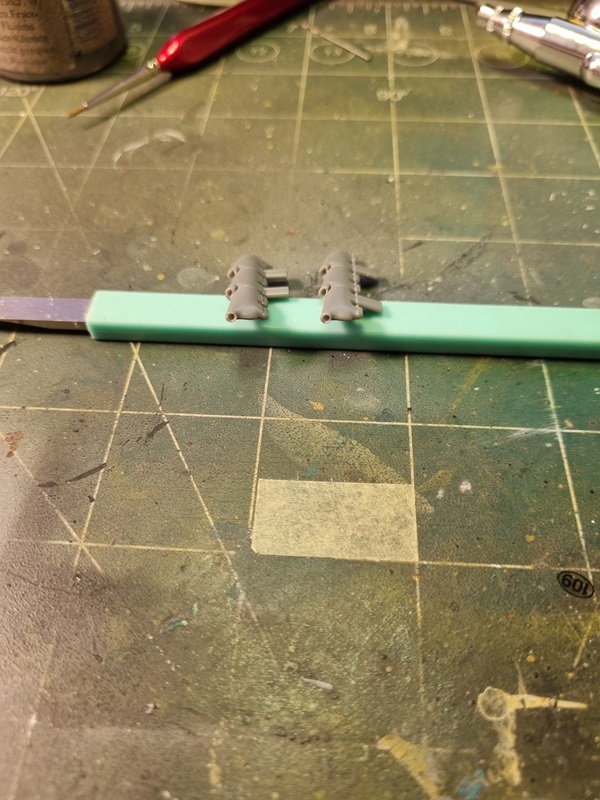
I assembled the exhaust stacks and drilled the holes a bit.
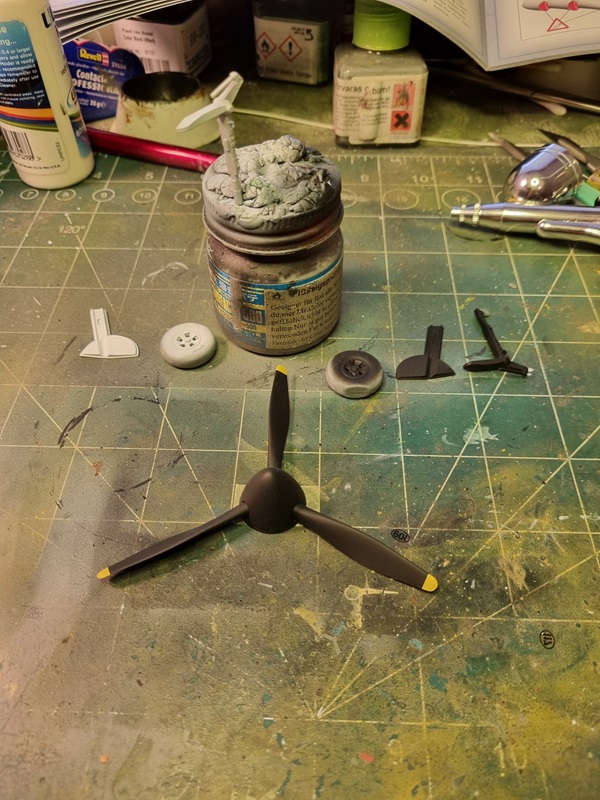
Landing gear parts and propeller was painted.
I used the closed canopy and closed door to close up the cockpit.
Lastly the exhaust pipes, tail gear and door was painted.
The tires will be painted with a mix of black and tire black, and the exhausts will be dry brushed with gun metal and maybe also some rust will be added.
Not much left to build, but still quite a bit more to do. Masking the open canopy parts, painting the plane with primer to check for flaws, and hopefully I actually have the colours needed.
The side panels was glued in place. It’s a very tight fit.
The wing filets was glued in place.
The cockpit was glued to the fuselage and then the fuselage was glued together. The stabilizer was glued in place and the sight was assembled and painted. The front cover with the sight was then glued to the fuselage as well as engine covers on both sides.
The wings was glued in place, and I must say that the fit is very tight. Checking that all sprue nubs are sanded flush and removing paint from areas where glue is supposed to go is a good idea.
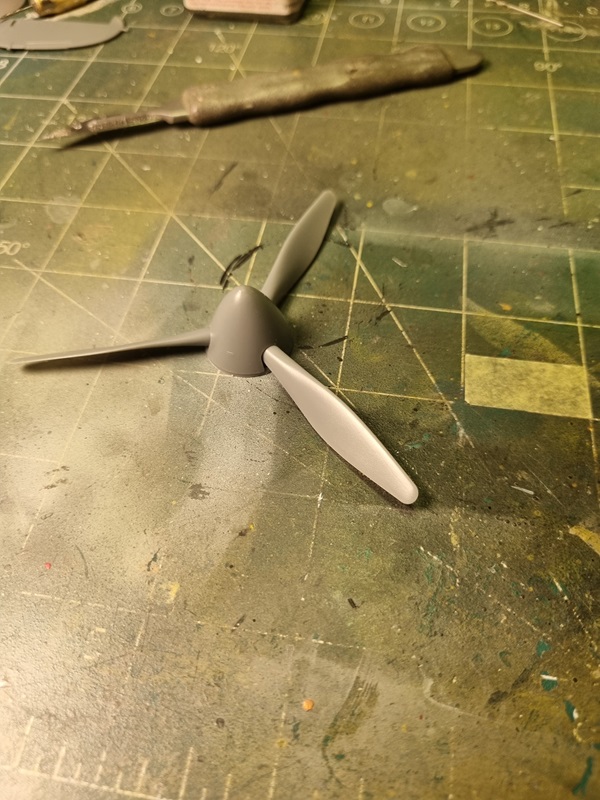
Lastly I’ve glued the propeller and spinner.
Next will be sorting the landing gear and exhaust pipes and a few more parts that needs to be done. I also need to check a few spots that might need a bit of sprue glue and sanding to look good.
I later added the glass to the spine and painted the bulb, but forgot to take a pic.
The instrument got a bit of kristal klear, but it hardly shows.
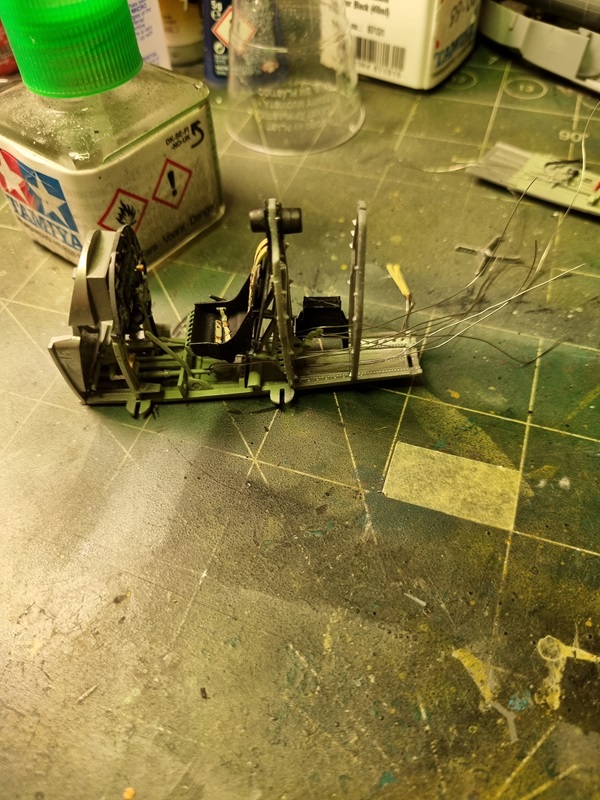
Then I started to assemble the cockpit.
I started with the rigging. Using wire from a broken cable.
Adding bulkheads as I worked my way backwards. So far it looked alright.
While drying, I glued the upper wing halves.
I sorted the radiator and glued it in place.
The rigging was quite messy, as it was hard to keep the wires straight. I gave a few spots a little black wash, and if I’m not re-doing the rigging or something, I’ll start to put things together.
Not sure what else to use, unless I get some stretchable tread, but I guess it have something I’ll try on the next kit with internal rigging.
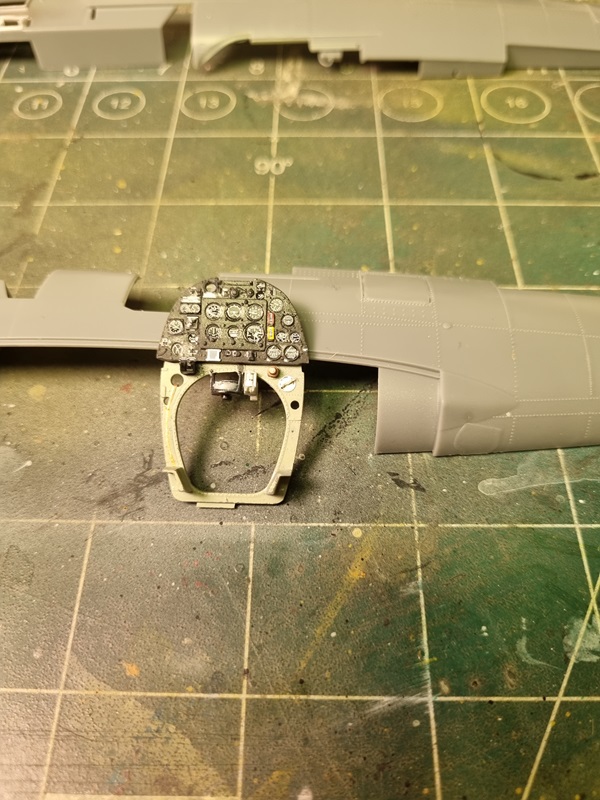
The instrument panel got decals (most of them anyway).
Then the side panels.
It’s very nice decals with hardly no surrounding film at all. The problem is that some are very small, and some of them failed. The main most visible decals are there anyway.
Now I need to let them dry properly and the lay a protective cote of varnish over them. I’ll probably use kristal klear on the instruments to make it look like glass.