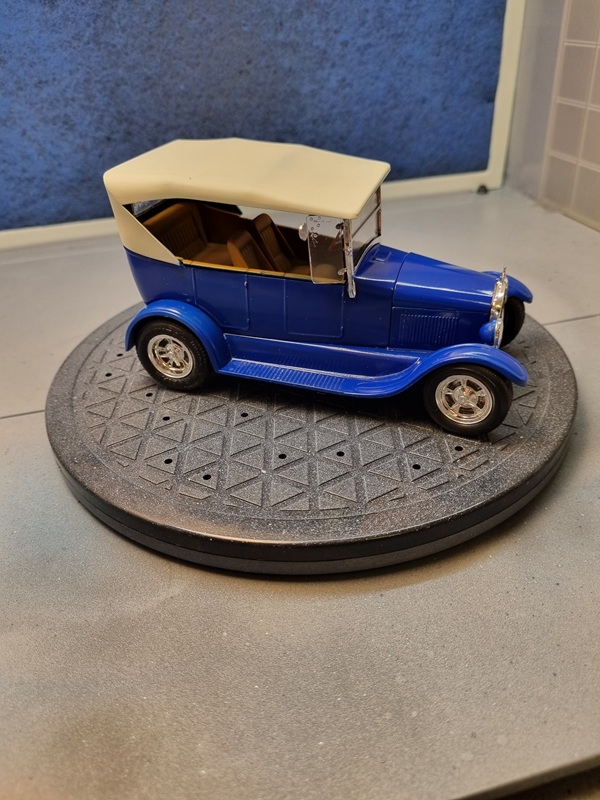
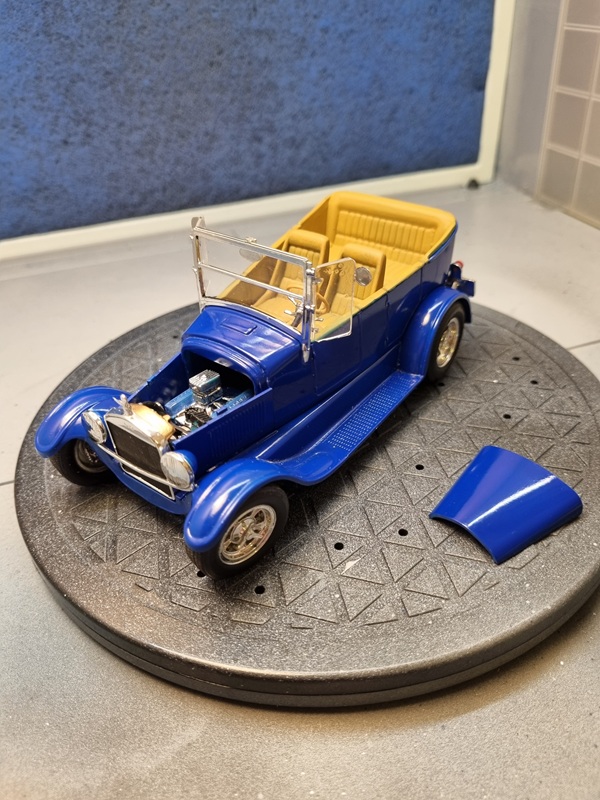
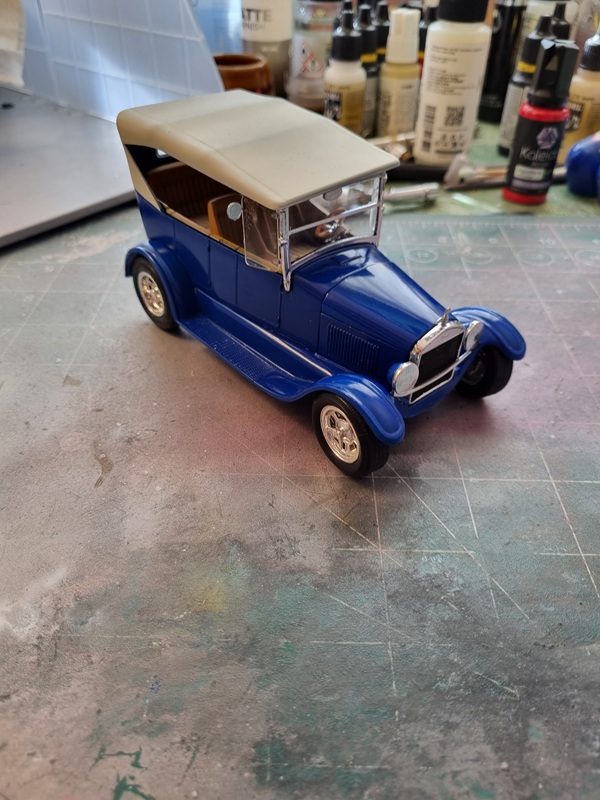
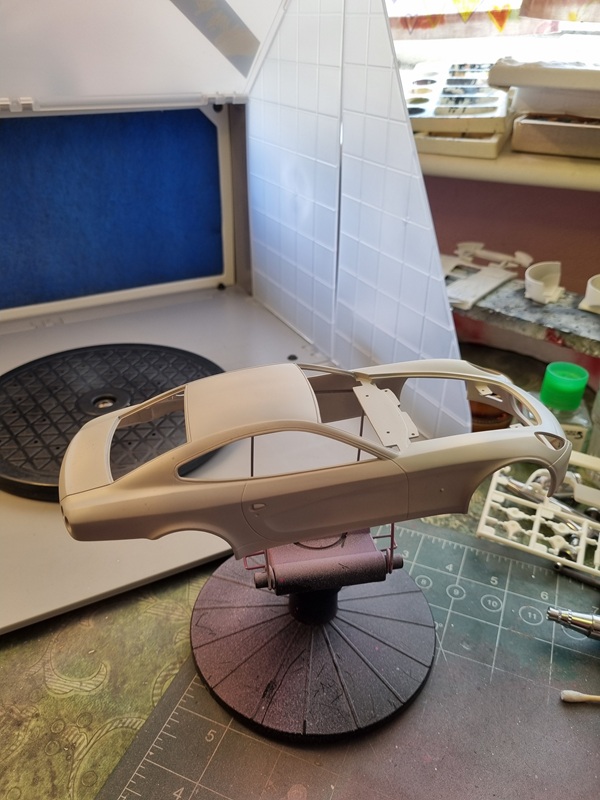
Yesterday I added the steering column and the top radiator hose. Then I checked so I could fit the body before sliding in the interior tub. Most of the things in the final assembly is glued with super glue.
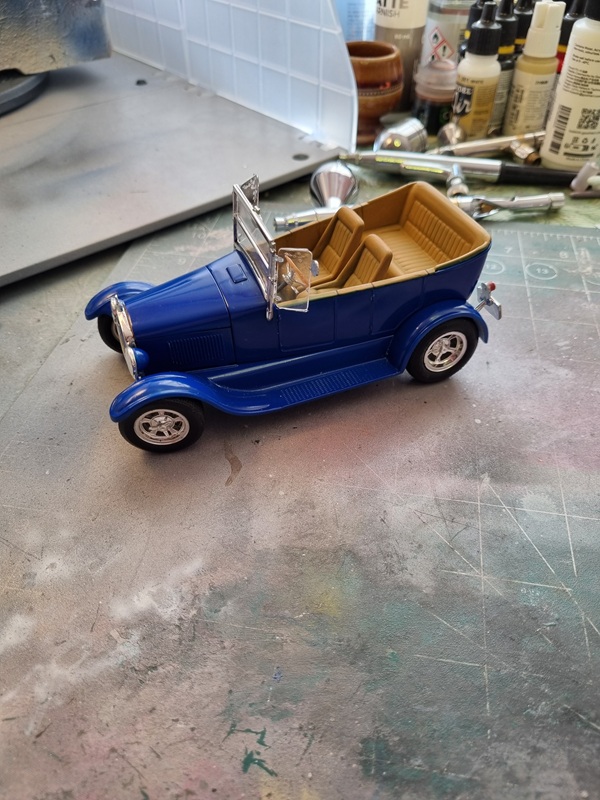
The hood and sides are just put in place.Looks like they fit good enough to just sit there. Next I glued the seats and steering wheel. Front and rear lamps was glued in place and also the front window.
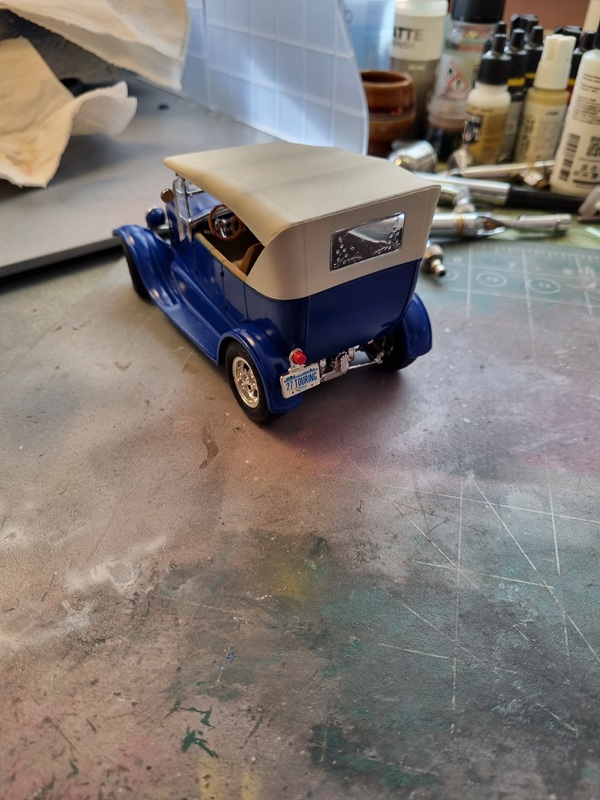
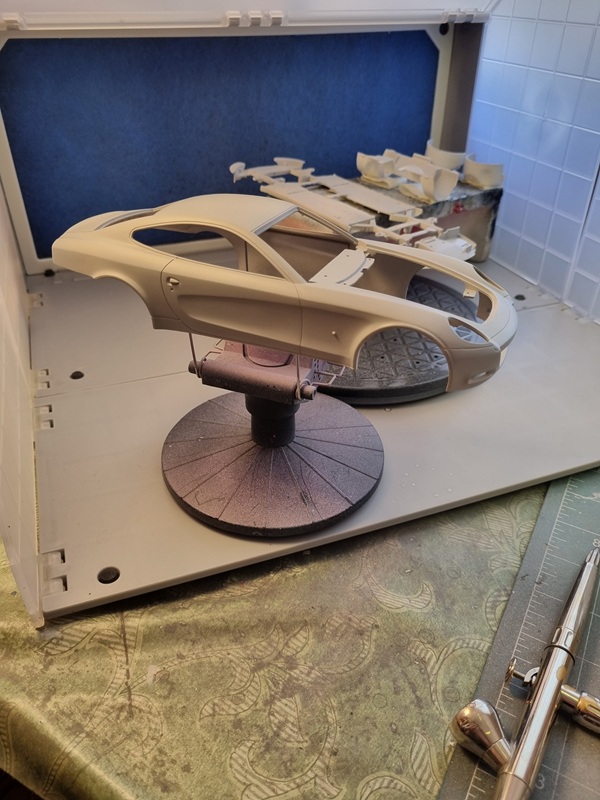
The rear window was glued in place in the cabriolet roof, and put in place.
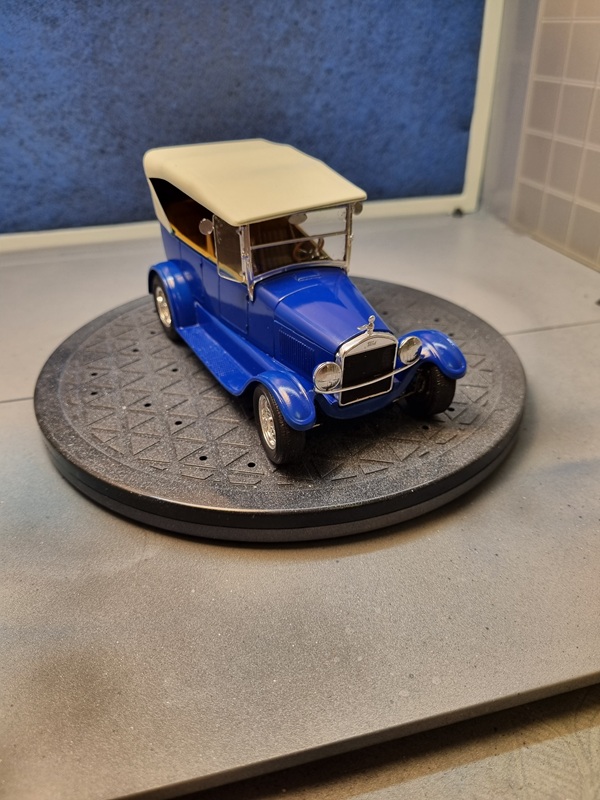
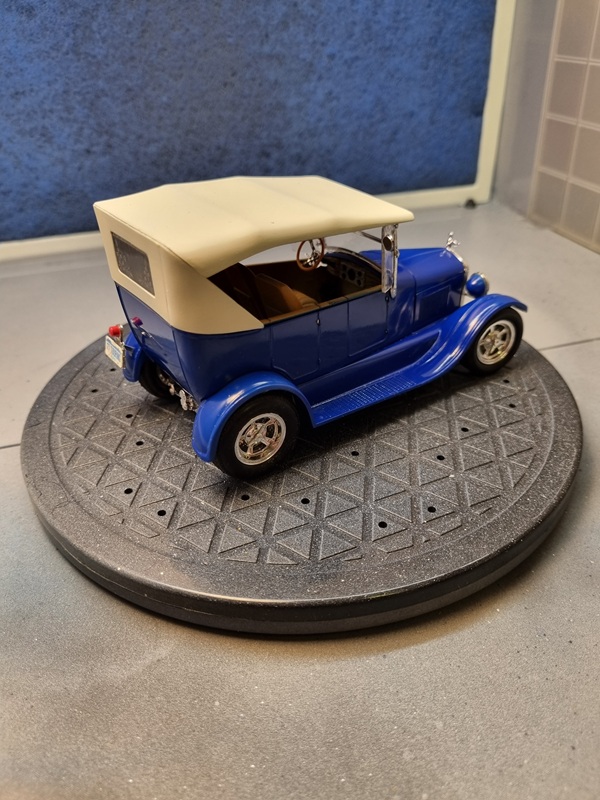
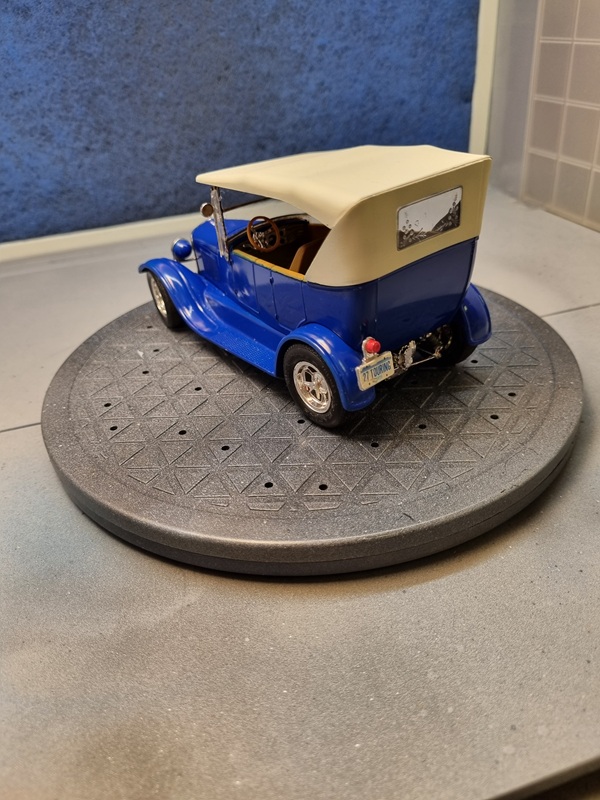
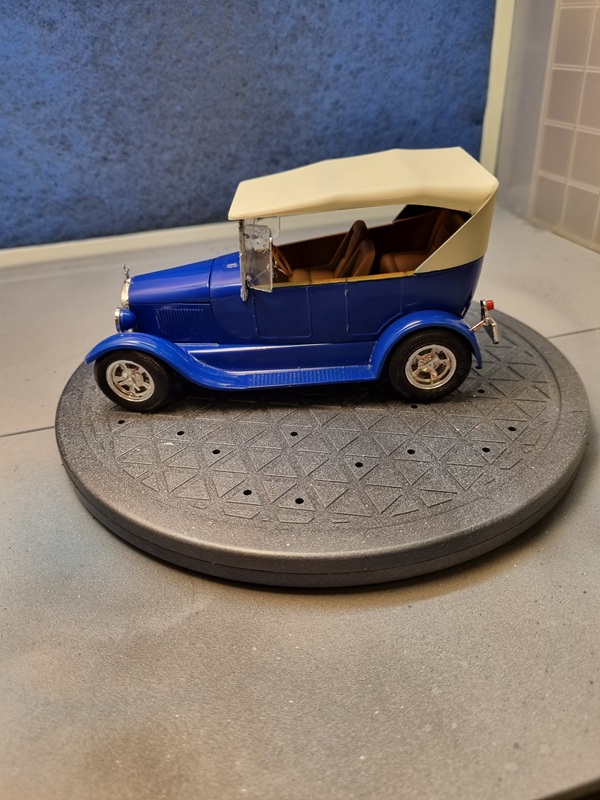
And with that the car is more or less finished.
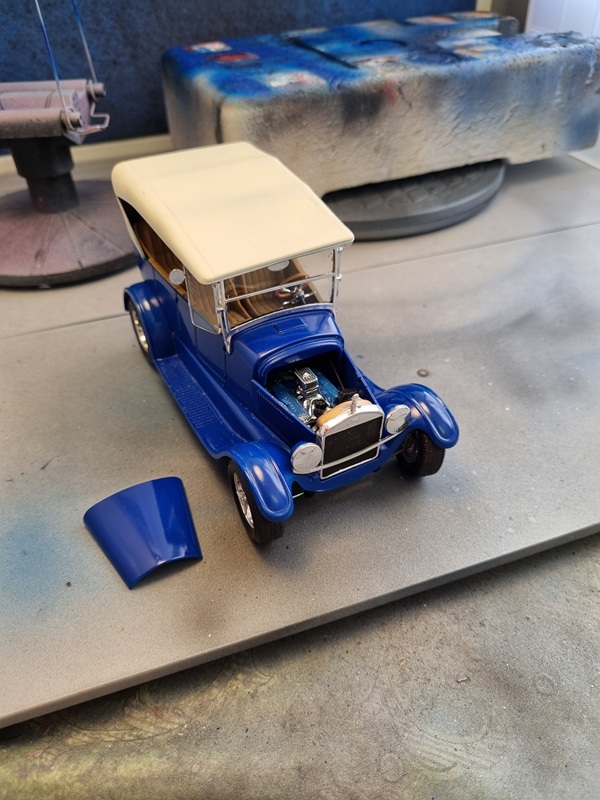
The only thing left is to touch up some chrome spots and do a wash or something over the head lights to distinguish them from the chrome.
I’m quite happy with how it turned out and how well and easy my new colours worked.
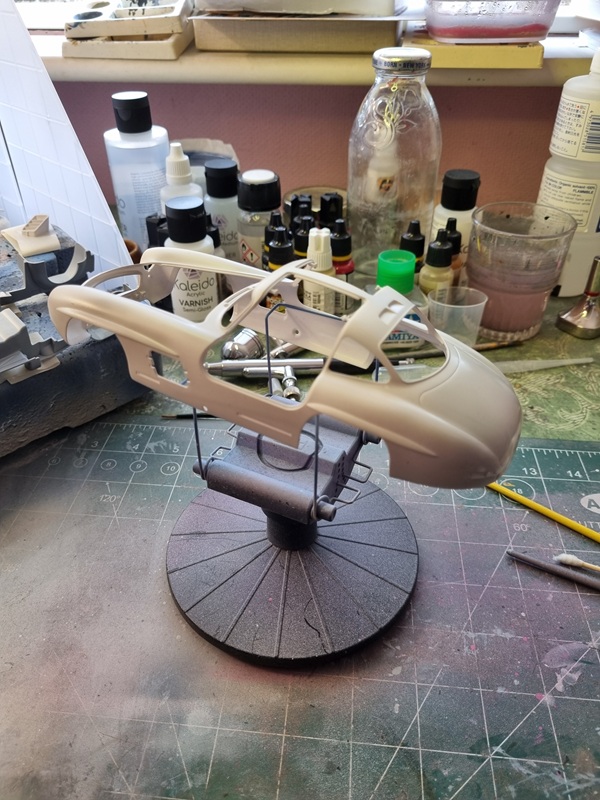
I gave the body parts a clear cote but forgot that the decals should have been added.
I think the clear cote looks very nice! Sadly the decals didn’t even come off the sheet, so I had to skip them.
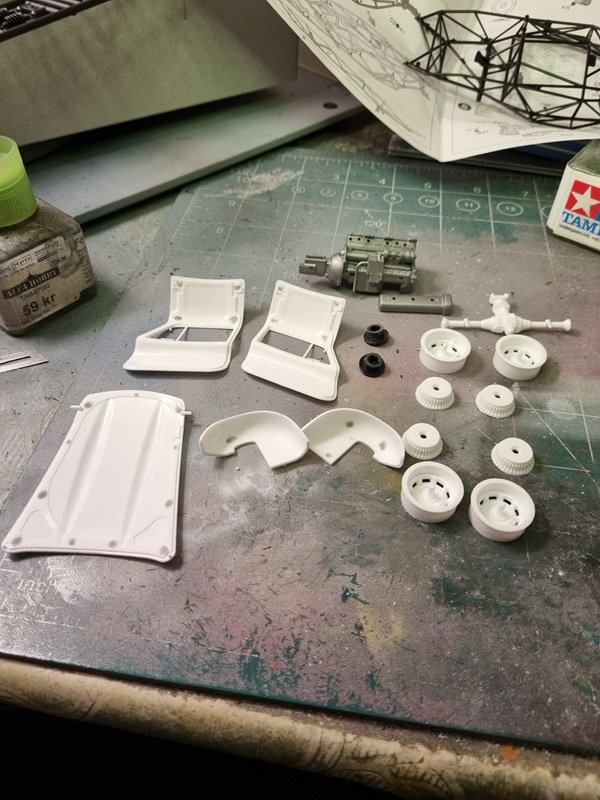
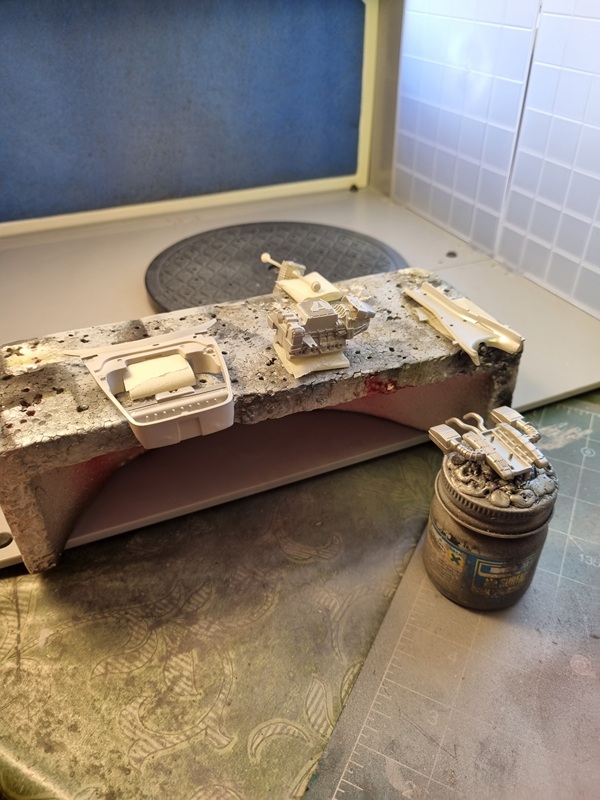
I started with the interior, painted the gas tanks with chrome and a few parts on the other side.
I polished some flaws and gave it one more clear cote.
Nice and shiny! Still some dust and other small flaws which I sorted later.
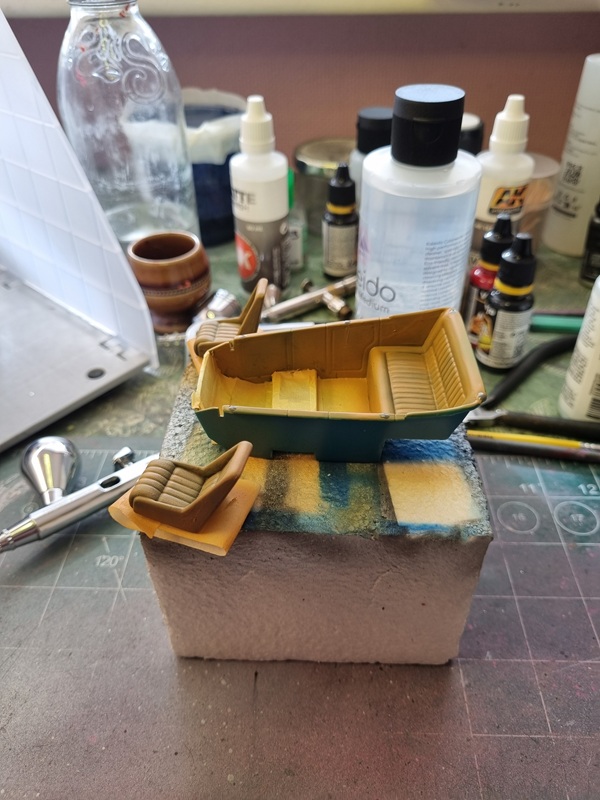
The interior got the second colour. I opted to go for the same colour I’d used on the Ferrari. After painting I noticed a few small ejection marks that I filled with sprue glue.
The cabriolet roof was painted in a kind of beige colour.
Some details was painted black and then some in aluminium, and I also painted the bottom of the tub blue to match the rest of the car as parts are visible underneath.
The rear ends of the exhausts and the air filter was painted with chrome.
Just to see how it would look, I polished the hood.
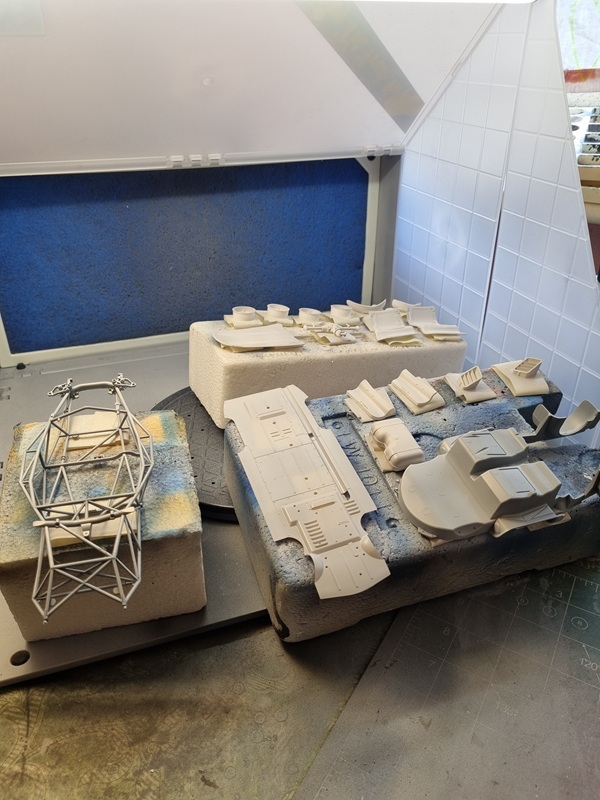
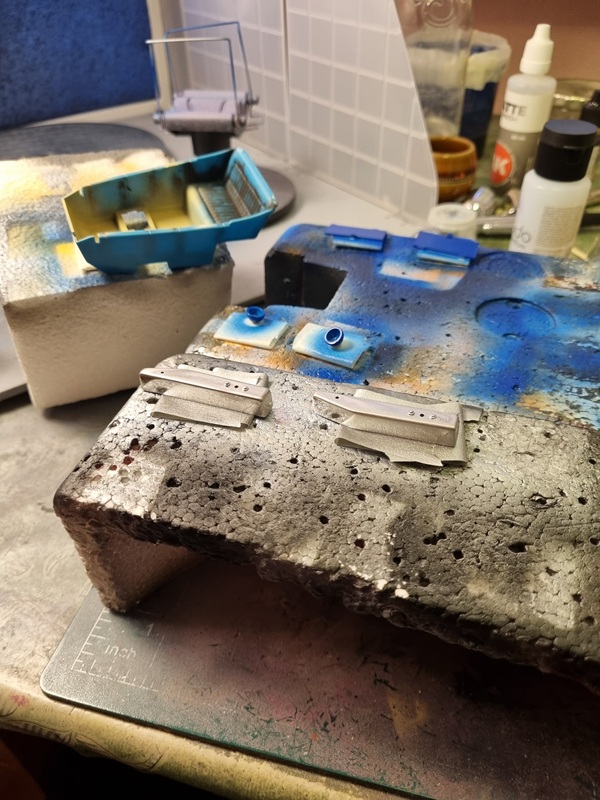
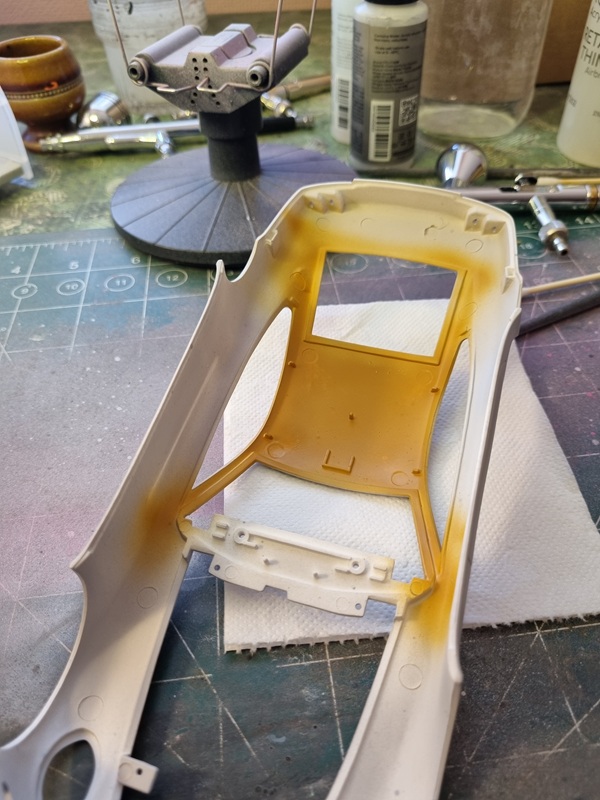
I had already started the frame, and now I finished it. I had to change the order a bit to make it work.
I then polished the rest of the car.
I’m quite happy with how nice it turned out!
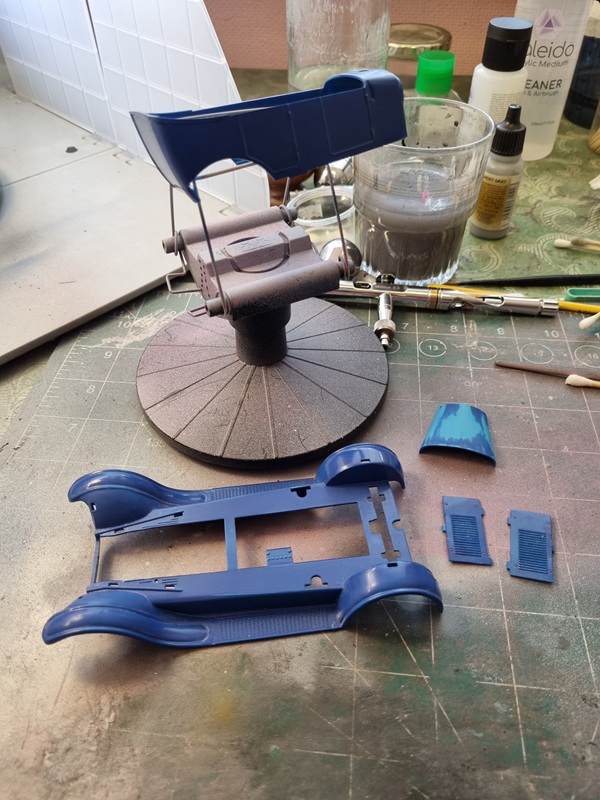
Time to start the rest of the assembly. Wheels went on and then the frame and lower body was mated. I also assembled the rest of the engine and then the radiator.
Just a few details missing, then it’s time to put interior and the rest of the body in place.
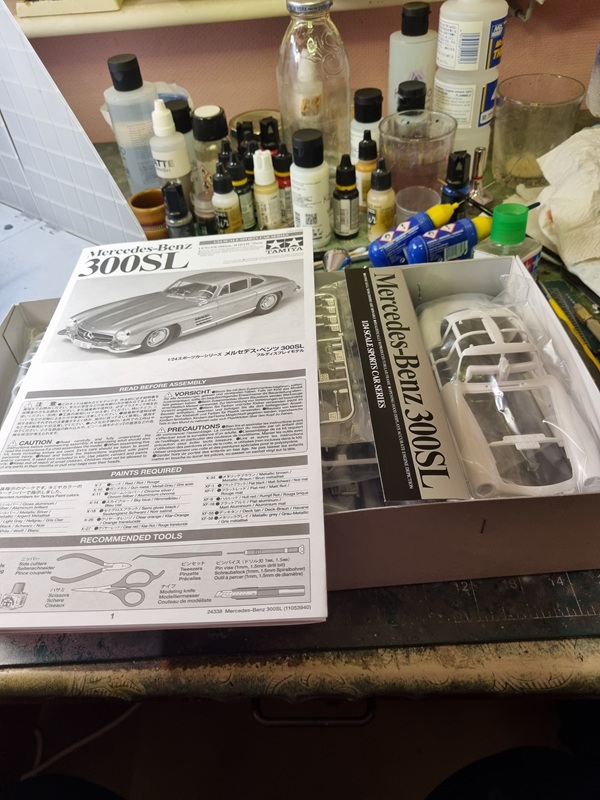
I started this build many years ago. I used Humbrol to paint the body, but wasn’t entirely happy with the result, so I put it aside.
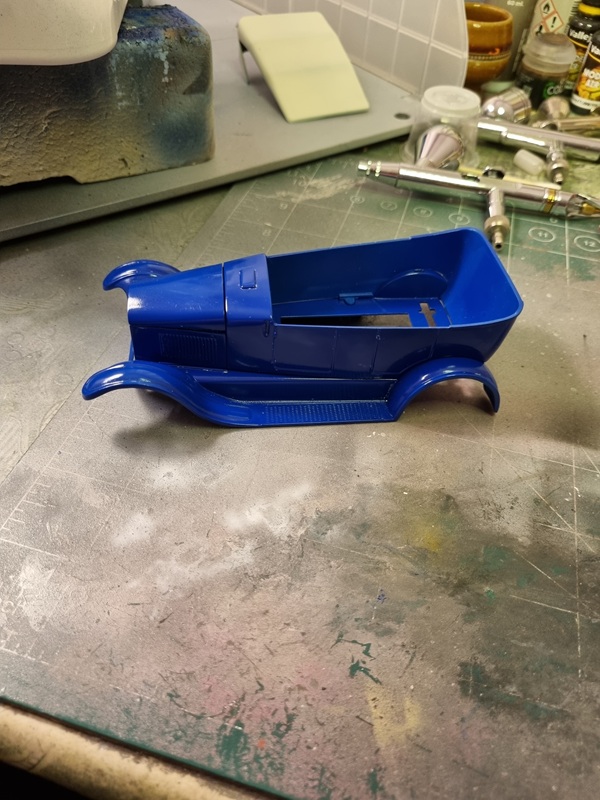
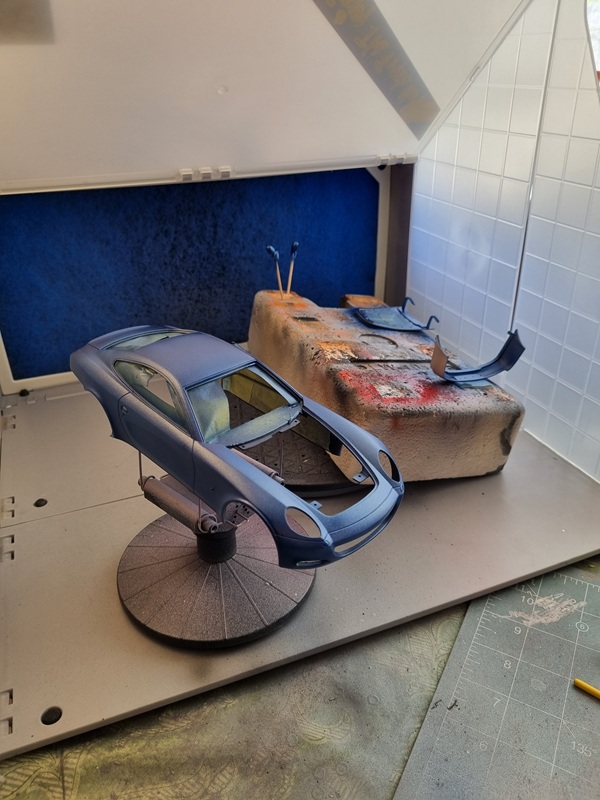
Since i got my new Kaleido colours, I wanted to try painting one of them on a whole car instead of just some small parts. I decided to go with the mid blue colour.
Here’s hoe it looked before I painted it.
Then I used the new paint.
I think it turned out looking quite nice, considering that I’m a newbie when it comes to painting cars. I wasn’t happy with the side covers, so I’ll sand them smooth and re-paint them.
Hopefully I can try the gloss varnish in a few days.
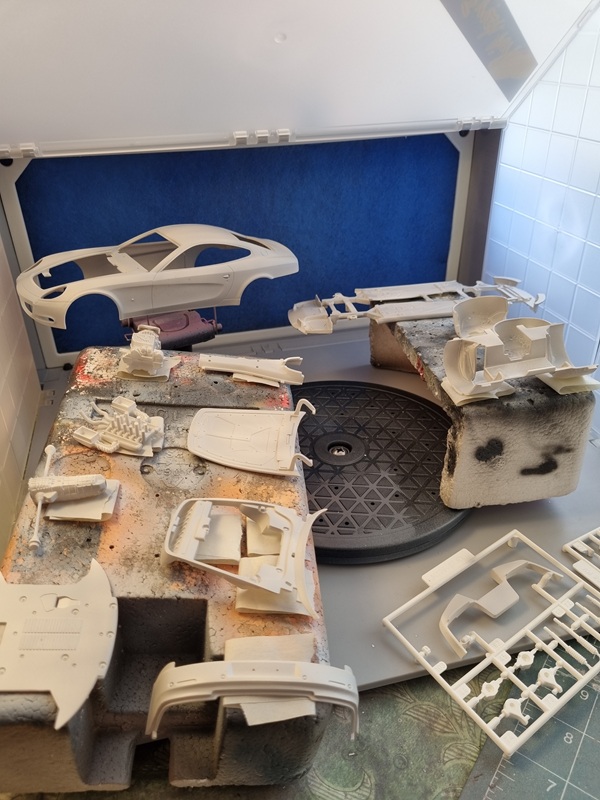
Also I hope I can find the box with the rest of the parts so I can finish it later.
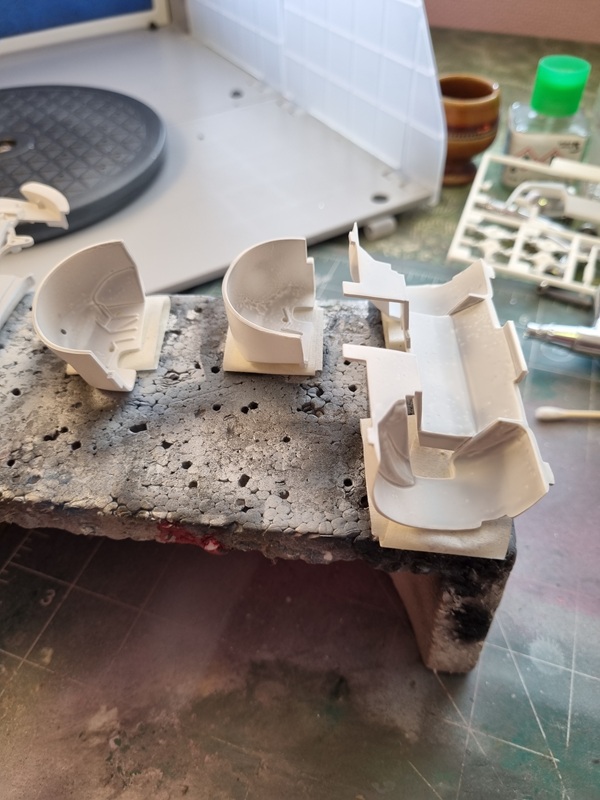
I did some detail painting and then assembled most of the interior. I painted 2 stripes of tape black and put them on the back seat as belts. I also cut 2 pieces of plastic that was added to the belts and painted.
Almost done with the interior. For some reason I’ve lost a small part that goes between the steering wheel and the column. I might need to try and scratch build that part. The decals are also missing. The kit have been opened and then been laying around for at least 15 years. Possibly I could find another kit and copy the decals.
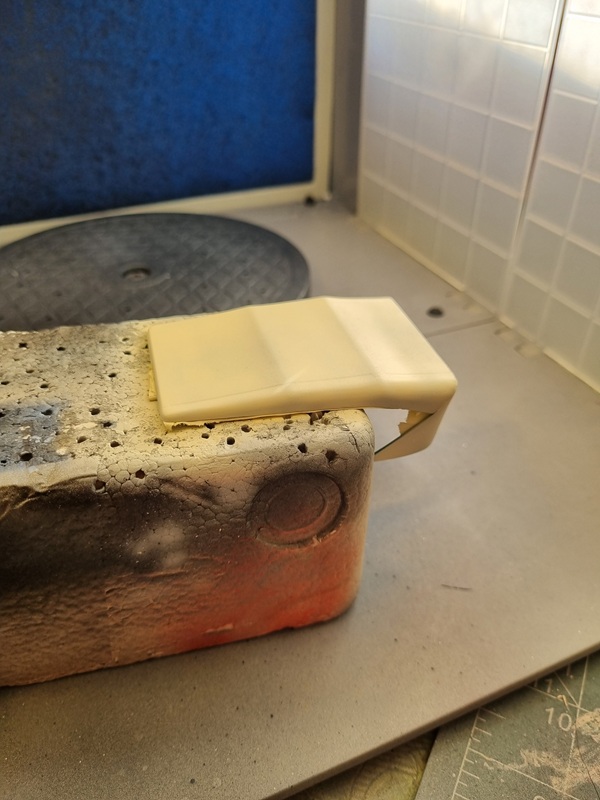
Some time ago I ordered the new Kaleido colours from Gaahleri. A whole set for automotive painting. The first colour I tested was the grey primer. I had a few problems at first as the primer probably is a little thick for a 0.3 mm nozzle, and I had to thin it down a bit. First layer looked like this.
I sanded down a few splotches and other mistakes and applied new primer.
The next colour I tried was the aluminium paint.
Maybe hard to see but it actually looks very nice! Then the inner roof got leather colour.
Once that was dry I masked it off and painted the mix of black and dark grey.
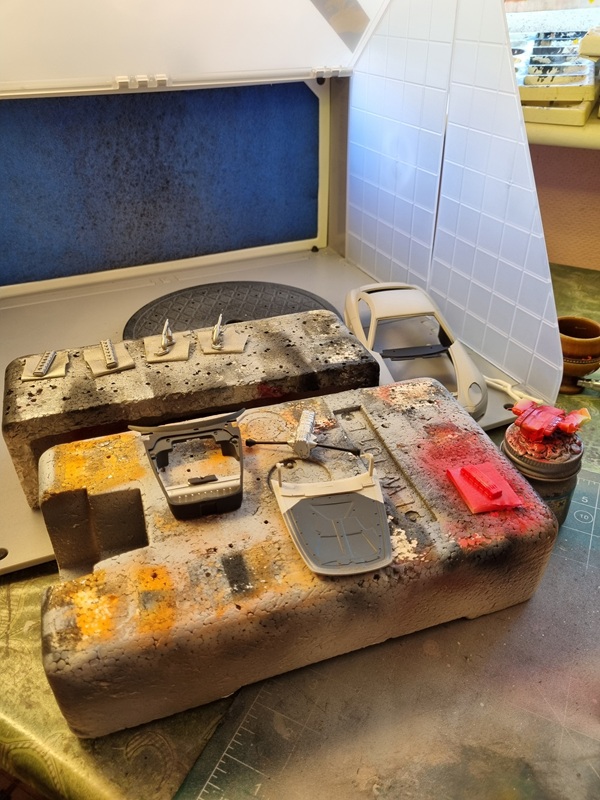
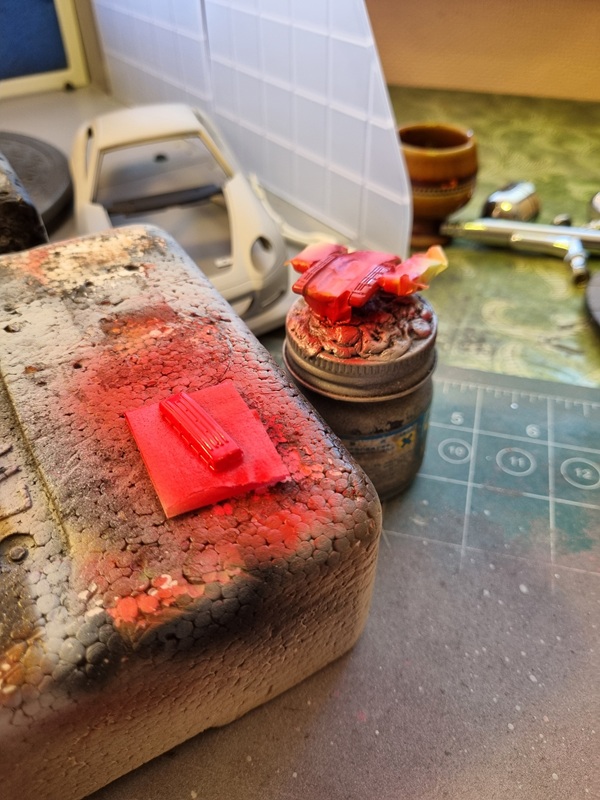
Some of the engine parts was painted with stainless steel from the new set, and the valve covers was painted with Italian racing red. To me it sure looked very nice. Some more parts was painted with different tones of grey and black.
Close up on the valve covers.
Lastly I masked the interior and painted all parts that I know should have body colour. Turns out the colour that I bought at the store wasn’t acrylic as I thought, but instead some kind of emeral or laquer that needed stronger thinner. Gunzes Mr Thinner worked well for this.
On the pic it looks quite nice, but at a closer inspection some sections was a bit lighter and will need another layer to get even cover. That is something I need to practice. I’ll probably need an airbrush with a larger needle and nozzle to get a wider spread when I paint.
The hood and rear bumper also needs to be painted on the other side. Once that is done, I’ll let it dry for a few days before I try to lay down the 2k clear cote. That’s something I’ve never done before. I just hope that I can get a nice even and hopefully glossy looking cote.
Perhaps I shoul find something to practice on first!