
I painted chrome on some details and painted the hub caps black.

The inside of the doors was painted black and then masked of for the off white interior colour. Here I’ve added the lower door sides to see how it would look.

The gloss black was rubbed off around the edges and on the MB star on the hub caps.

Not entirely easy and I accidently rubbed of too much on some places.
In the rear of the interior there’s a bar going round the sides, that is used to secure trunks and whatnot you might load there.
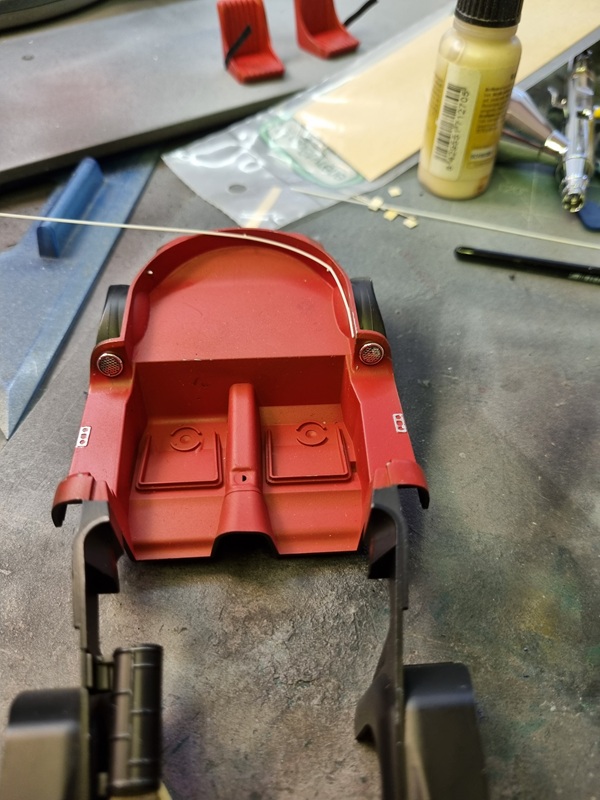
I had to glue that a bit at the time. Meanwhile I put on the instrument decals.

It was a bit tricky to get them centered but it turned out looking okey after some work.
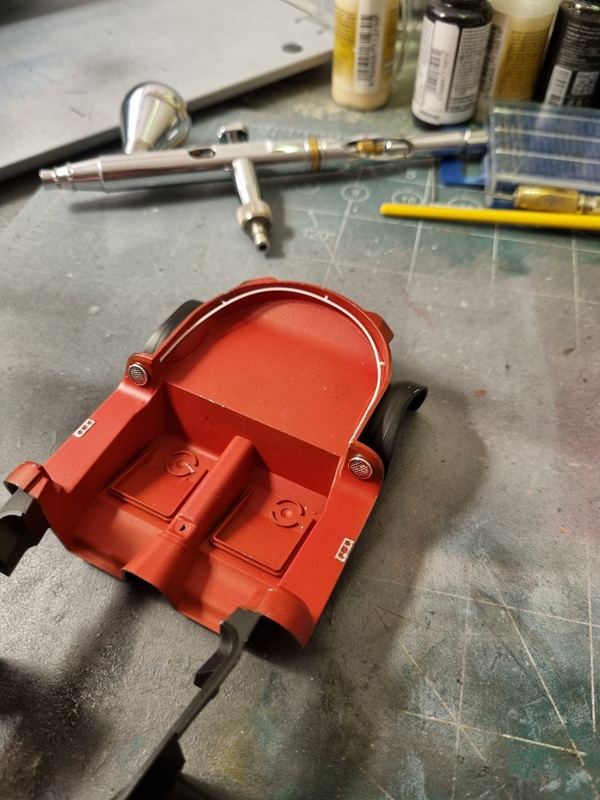
What I haden’t considered was the fact that the glue might deform plastic, at least if thin enough.

I wasn’t happy with that so I remade it with a fresh piece of plastic and superglue.
I added seat belts and used plastic sheet to cut belt fasteners.

For some reason I had turned one seat upside down when taking the pic! 🙂
Time for a little work with Claire.

I glued the upper body parts and the head. Then I used blue tac to hold her legs together.
Time for some testing!

Having her sit in the seat didn’t look alright so I tried putting her on the door threshold instead.

Maybe a little better, but with the frame and wheels in place it gets up a bit higher. I feel unsure about using her at all for this build.
I started glueing interior parts in place and then painted chrome where needed.

More details and chrome painted.

I bought Stl files for the trunks in the back and a friend printed them for me.
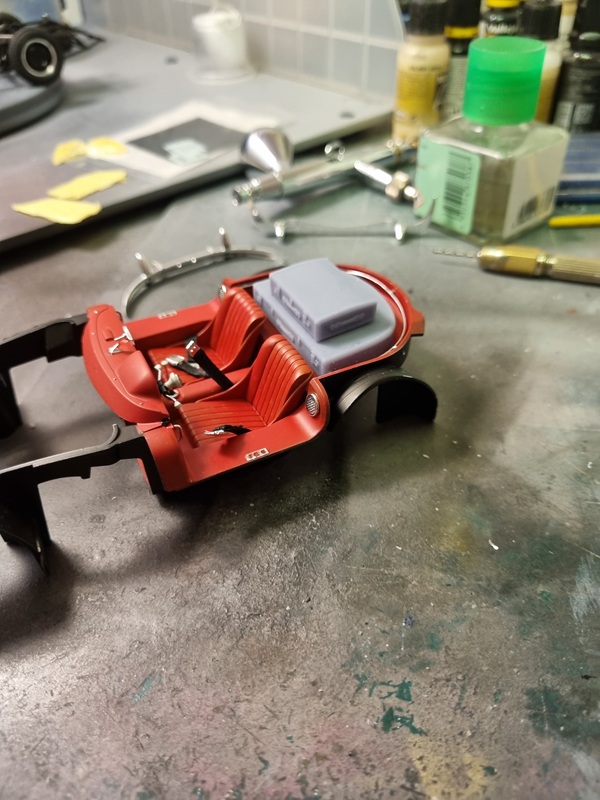
Looks like they fit nicely!
The trunks are held by straps and in order to make that work I had to add another bar in the front.

I’ll sort the chrome and straps later as well as painting the trunks probably red with details in black and chrome.
