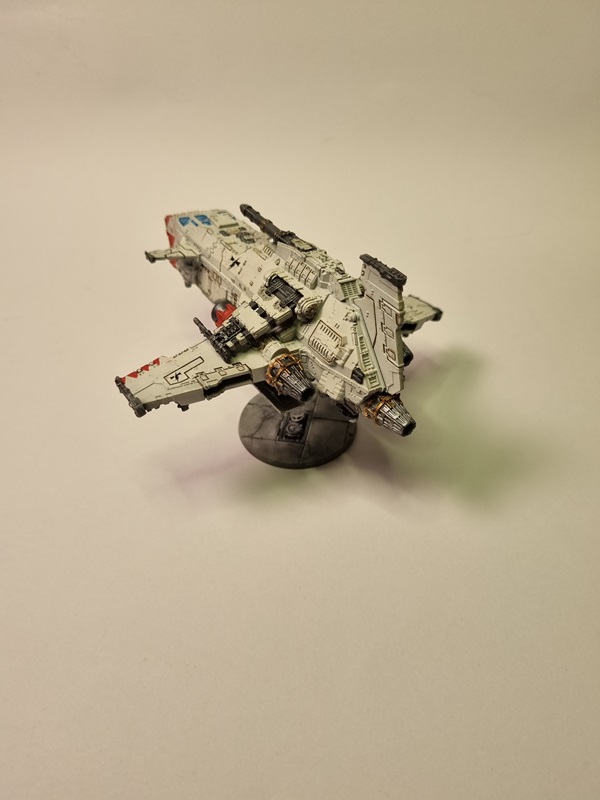
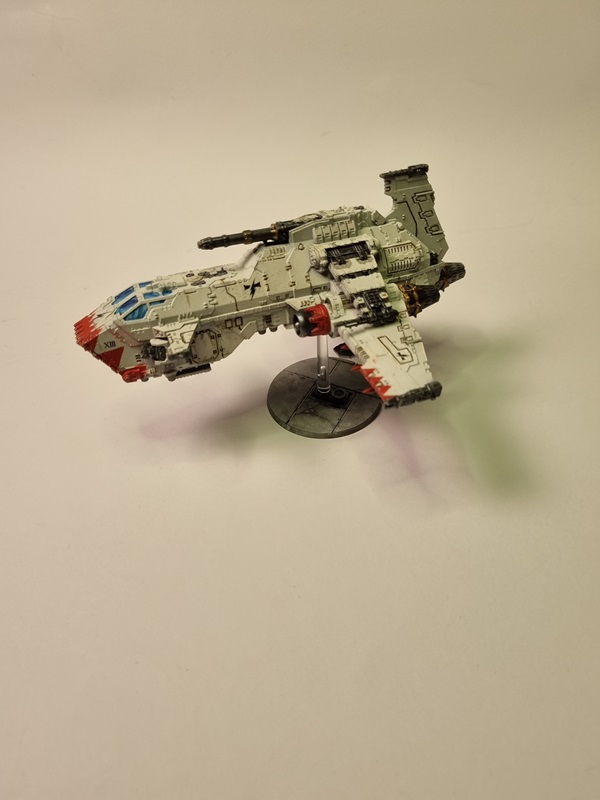
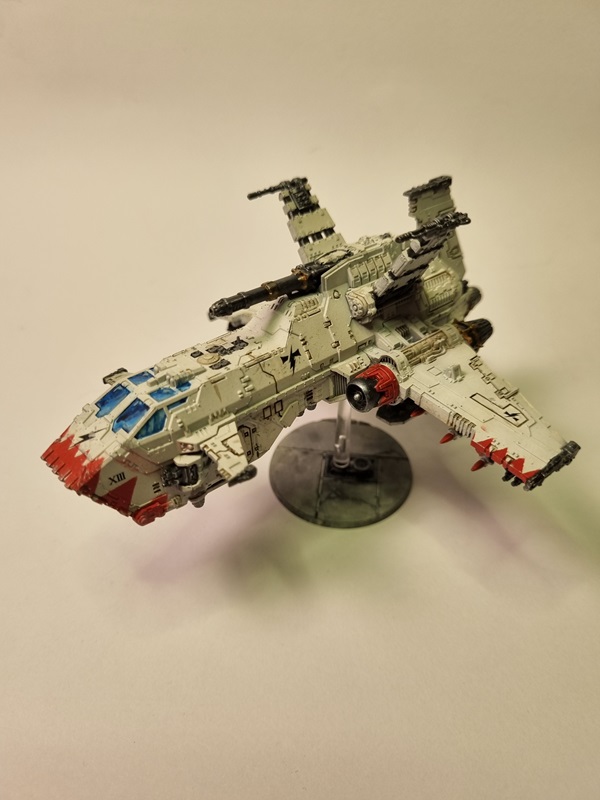
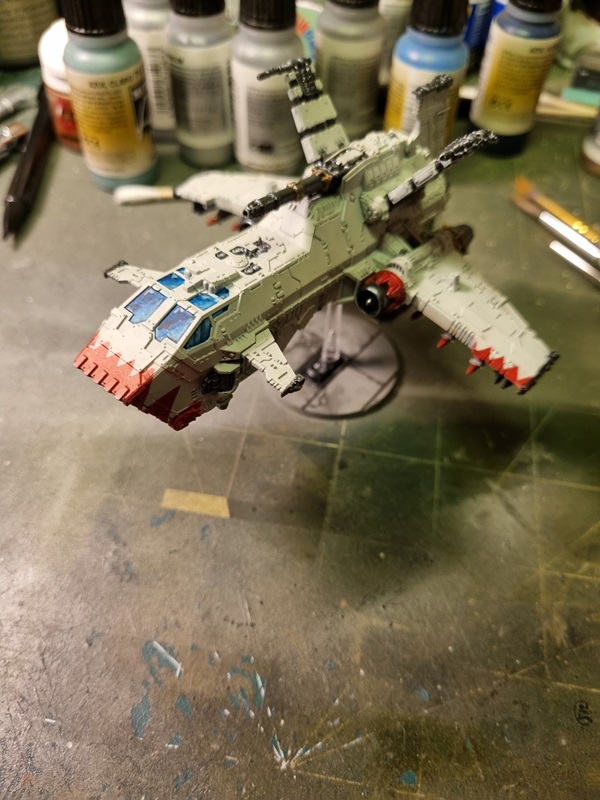
Like the first one this was an easy fun build. I’m alos showing pics of the first one with decals.
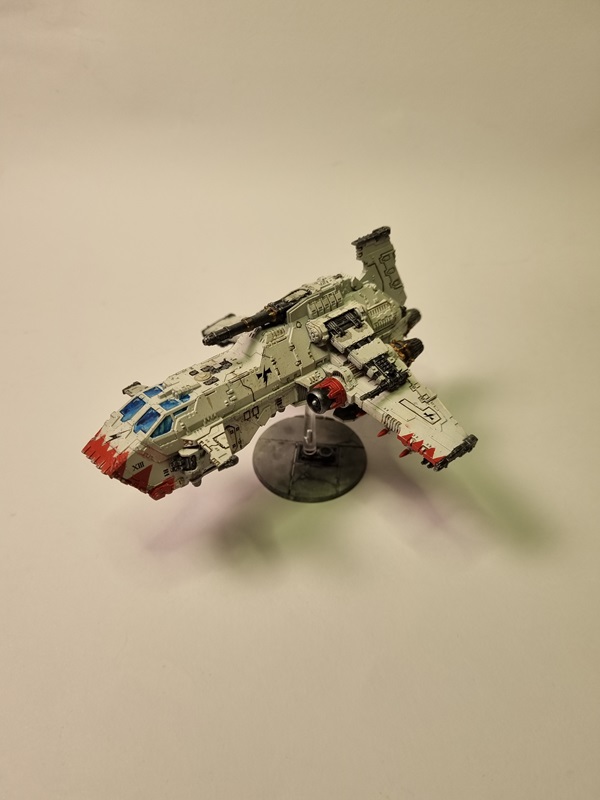
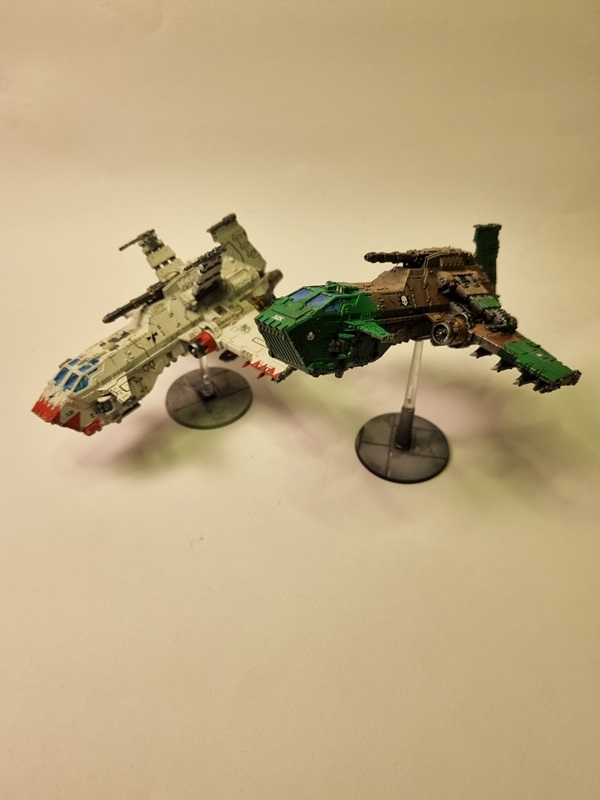
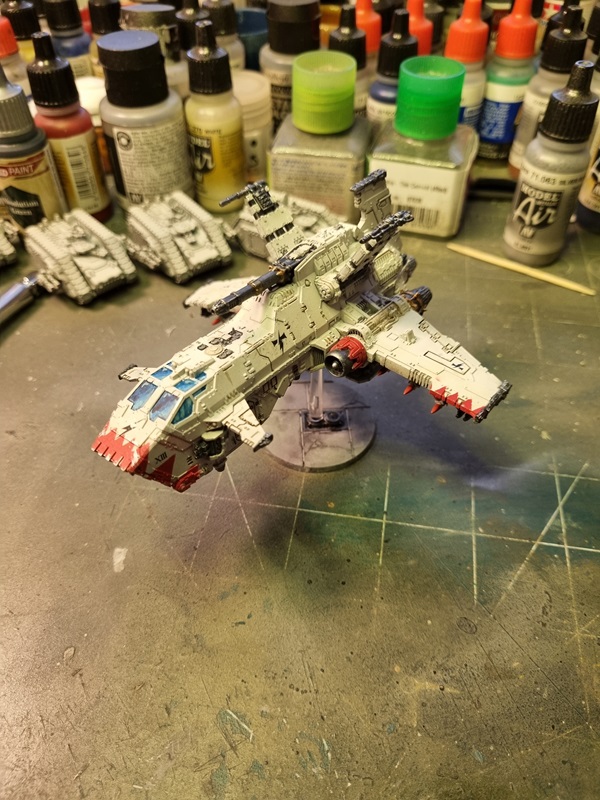
So now I have one for each side of the conflict. I have to check how many there usually are in an army. Perhaps sometime I’ll get 2 more and paint them in other colour schemes.
And then the other canopy was “glued” with kristal klear.
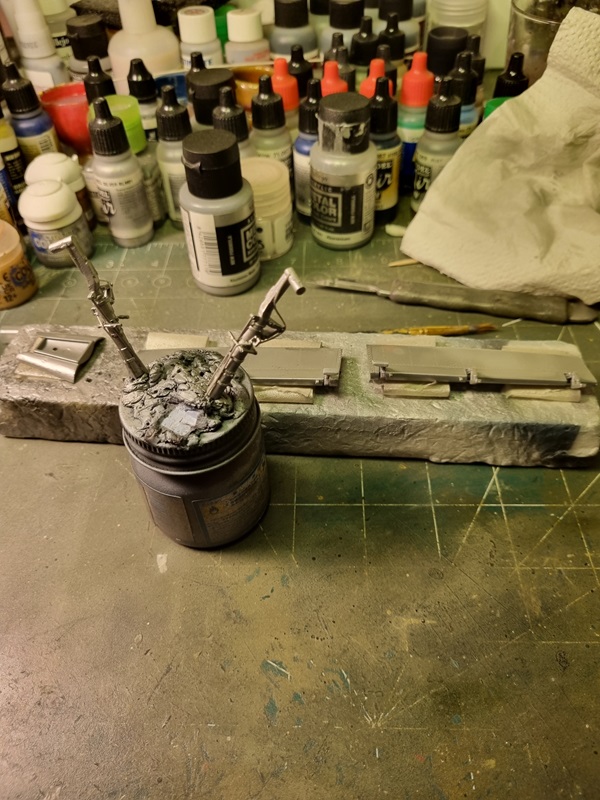
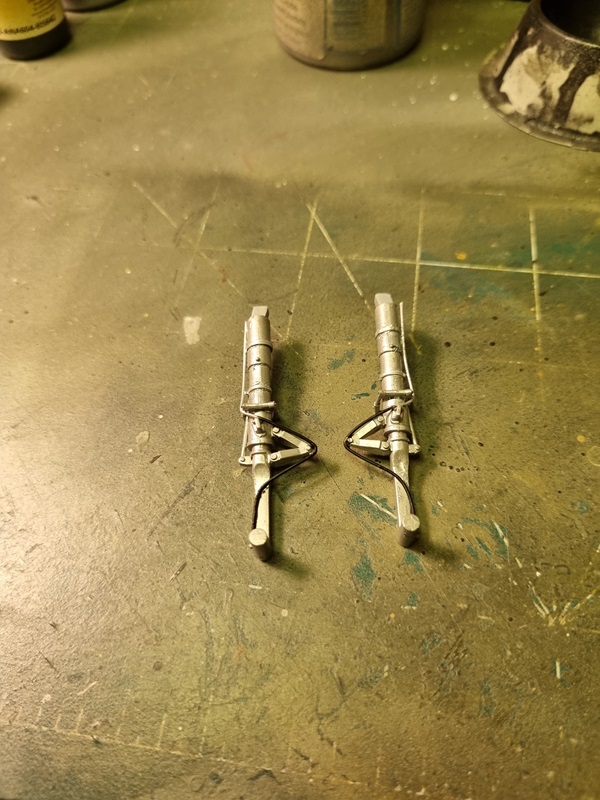
Sorting the wiring on the landing gears took a while longer than I had anticipated, and adding cable after alrady having painted the legs, made it a bit messier.
The landing gears got some fresh paint as did the flaps and rear landing gear cover.
I did some detail painting on the cables.
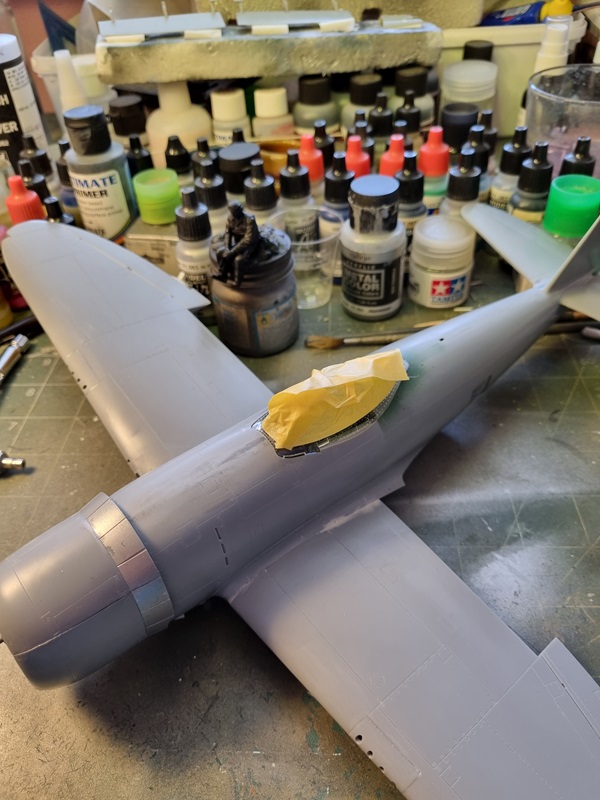
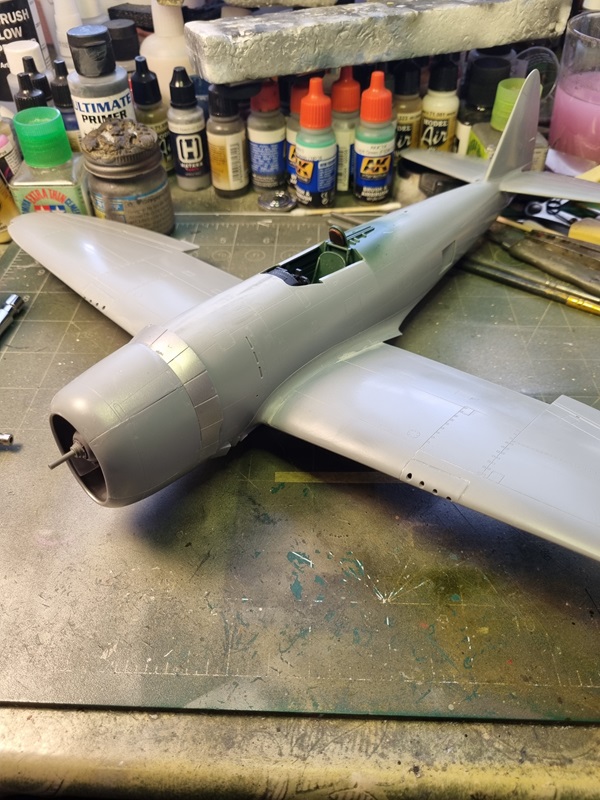
I’ll mask to protect the engine, and then start giving the plane a primer before painting it with aluminium.
This is my first Wingnut Wings kit ever. I usually don’t build biplanes due to the rigging, but these kits are supposed to be very nice, so I’ll give it a try.
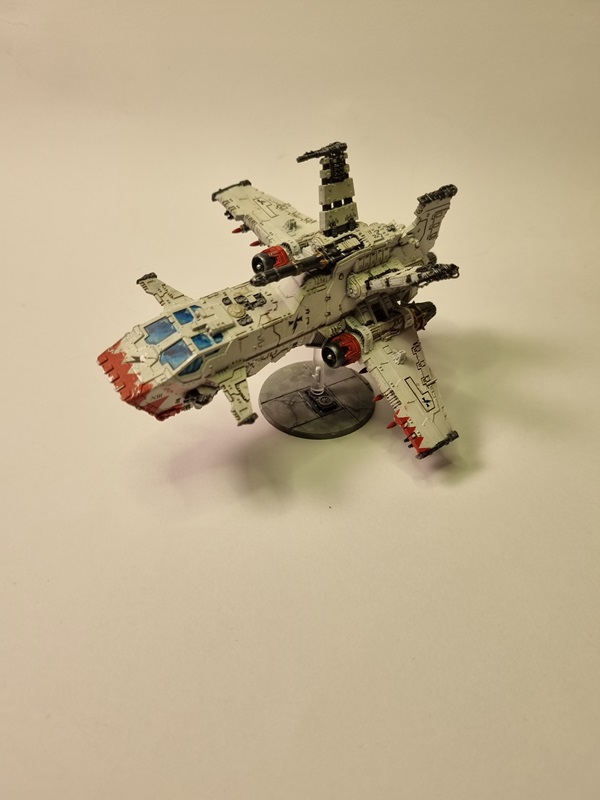
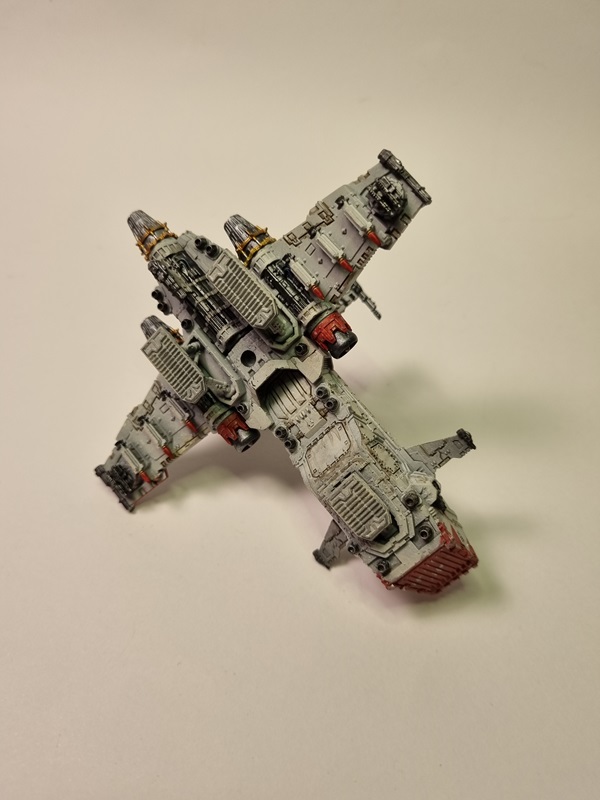
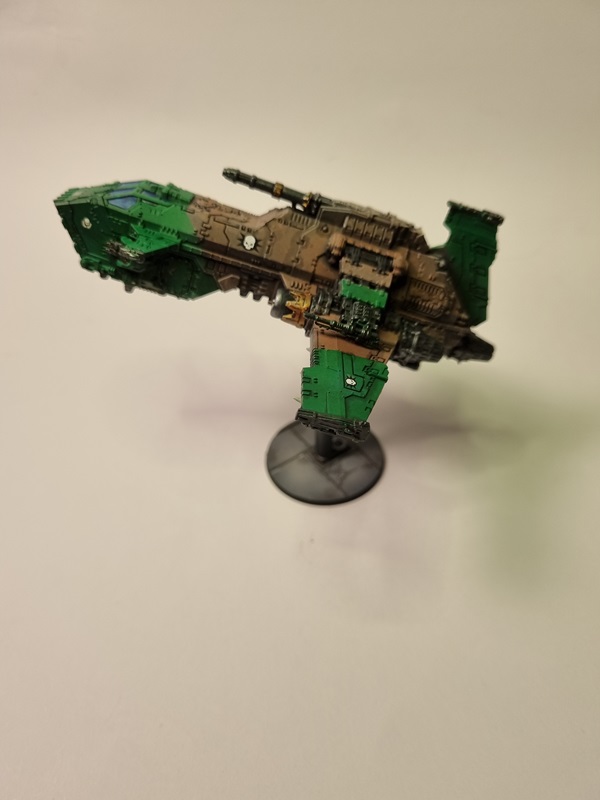
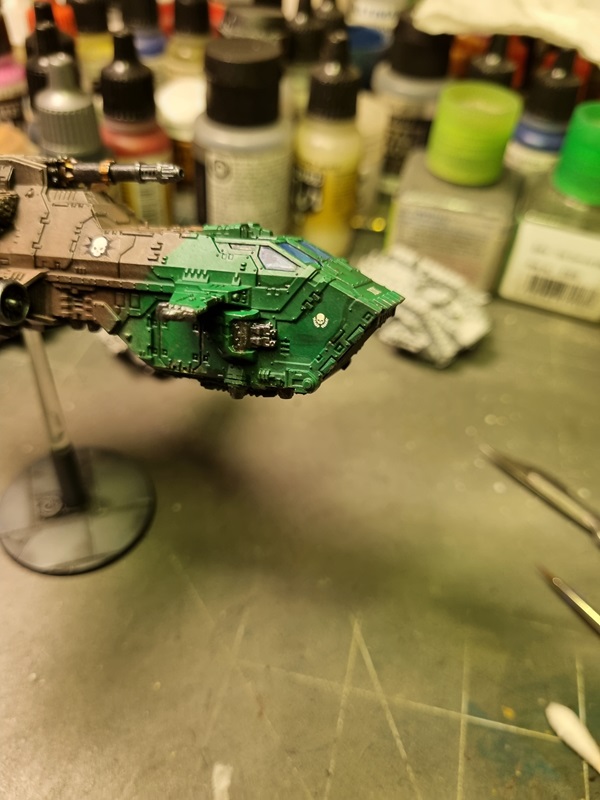
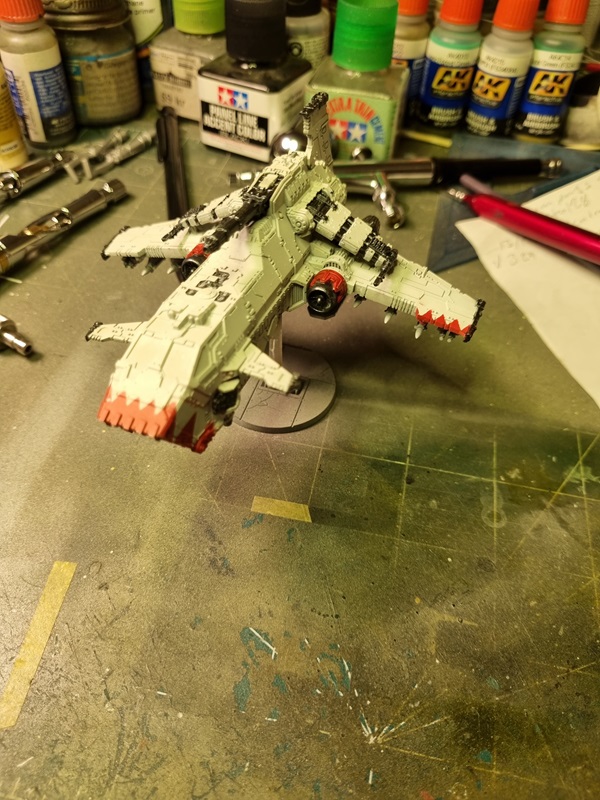
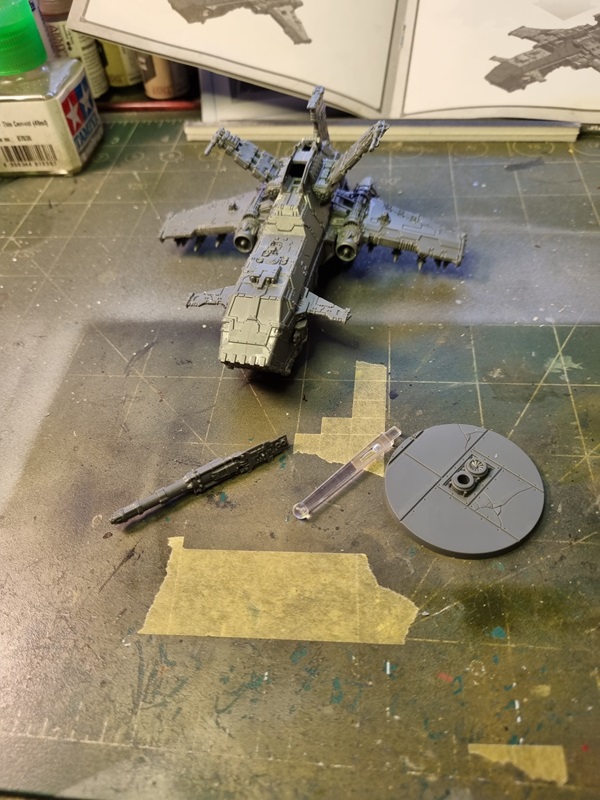
As the decals for the first Gunship was missing, I got a new one and decided to build that one too. At least there is decals enough for several ships on the sheet. The first one I built was for the traitors as it turned out, so now I’m building one in a loyal scheme.
Building it is quite easy and everything fits very well.
Right before I started painting, I decided to glue the canon as well. Instead of starting with black primer as usual, I went for grey instead.
I then used beige and ivory as zenithal colours.
On top of that I painted a off white/ivory colour.
Next I’ll ask for the chevron pattern on the nose and probably on the wings.
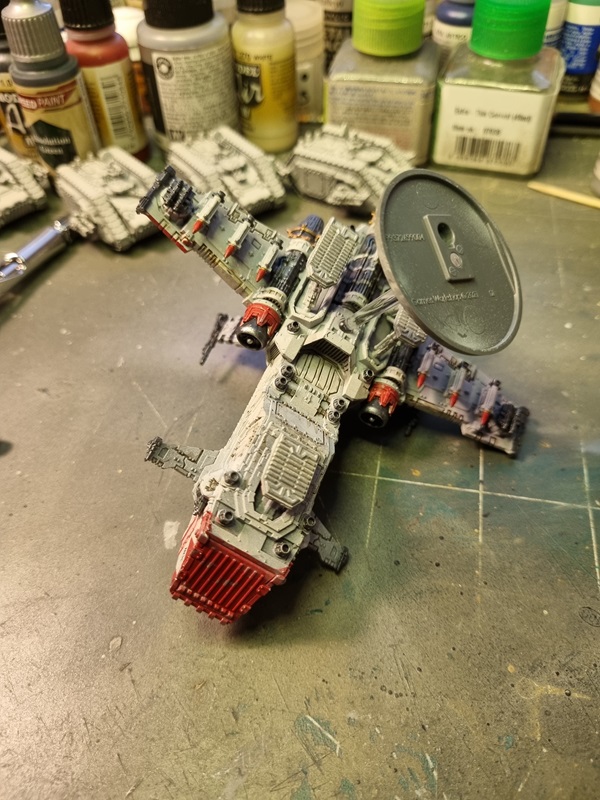
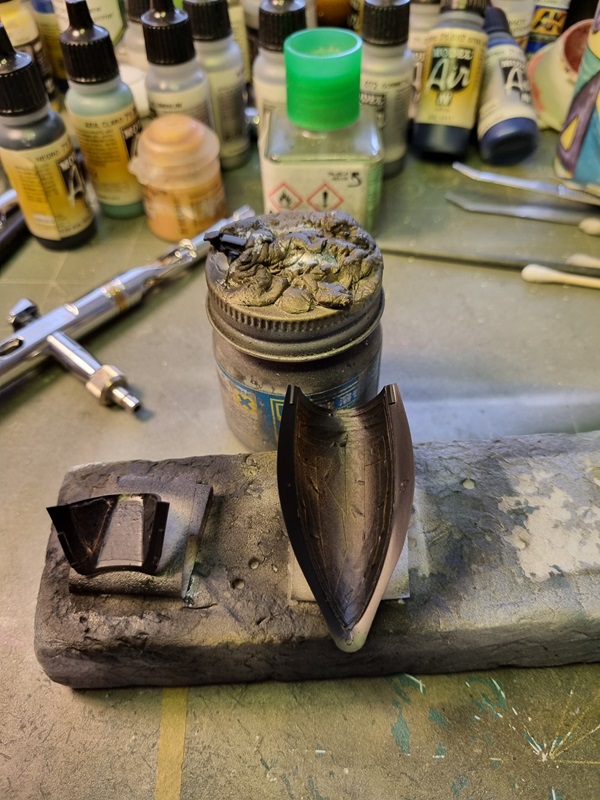
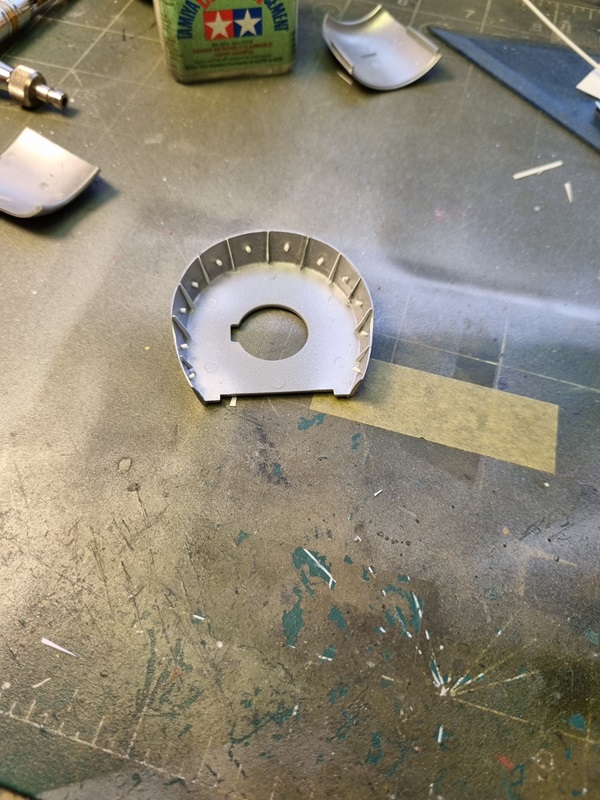
First covers, rims and the tank was painted with aluminium.
Then the covers was turned over and painted with zinc chromate yellow.
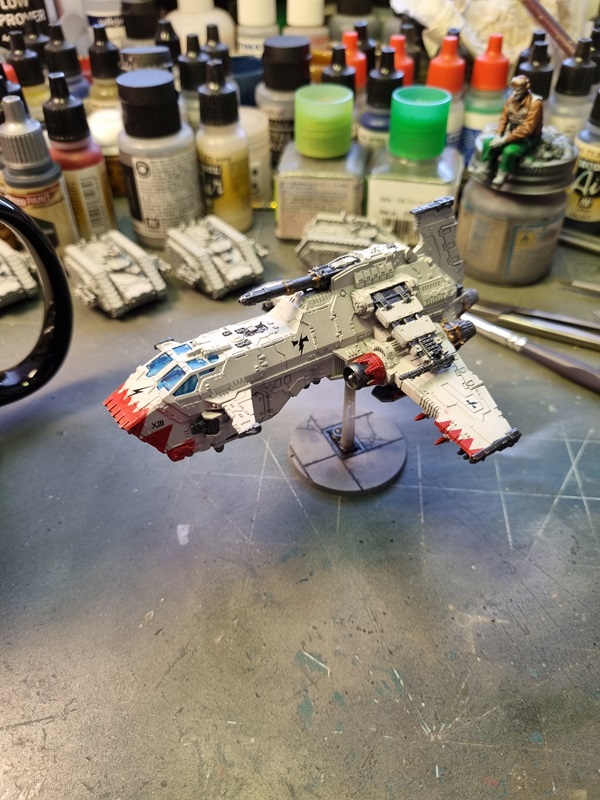
I almost forgot to put a decal on the engine, before it was to late. Now it’s done! 🙂
The tires was painted in a mix of tire black and black.
I added a bit of plastic to the inside of the open cowlings. Just to create a bit of interest. Inspired by a guy on LSP.
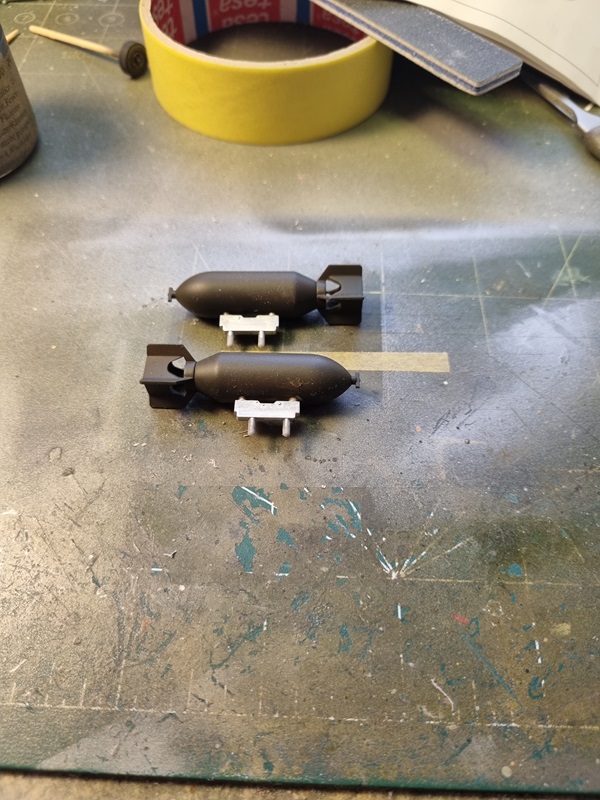
After trying a few OD colours on the bombs, I settled for this one, which I think look dark enough.
I need to touch up a bit and then put on the decals. Unless I paint it, of course!
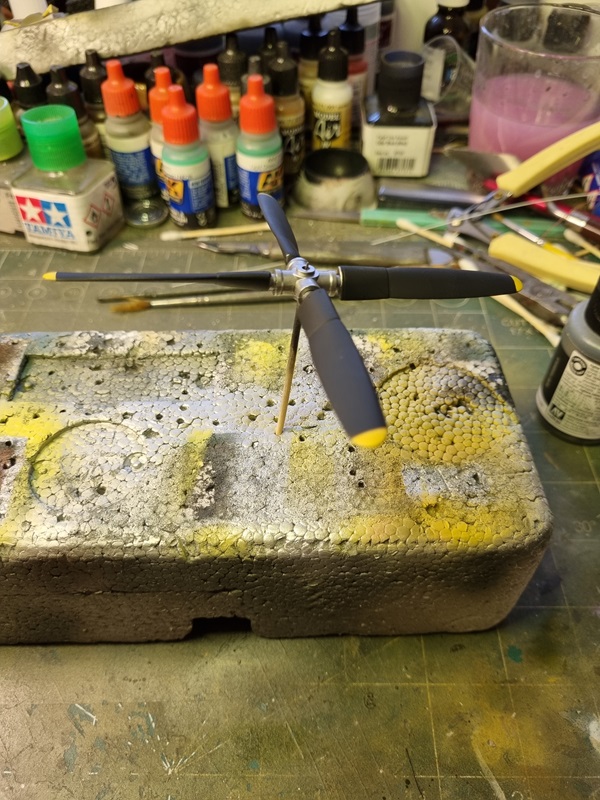
The propeller tips and spinner got yellow paint.
I first glued the cowlings in place and then the bottom with the engine, and lastly I fitted the other covers one by one. I must say that the fit is very nice and all flaws are probably my own fault.
The sight needs to be sorted and the canopy masked. There are a whole canopy for closed position that I can use, if I like to cover the cockpit while painting the rest of the plane.
The gear legs needs some additional wiring, and the prop some more paint. Soon it’s time for primer and paint.
I got this set of colours a while back but forgot to tell about it.
I like using Speed Paint and now with improved and added colours, I couldn’t resist.
This little gem arrived today.
Inside the box!
I heard of these airbrushes on Hobbylink International, and thought they was interesting so I got this limited edition set with 2 airbrushes. I’m really looking forward to trying them out.