I got this set of colours a while back but forgot to tell about it.
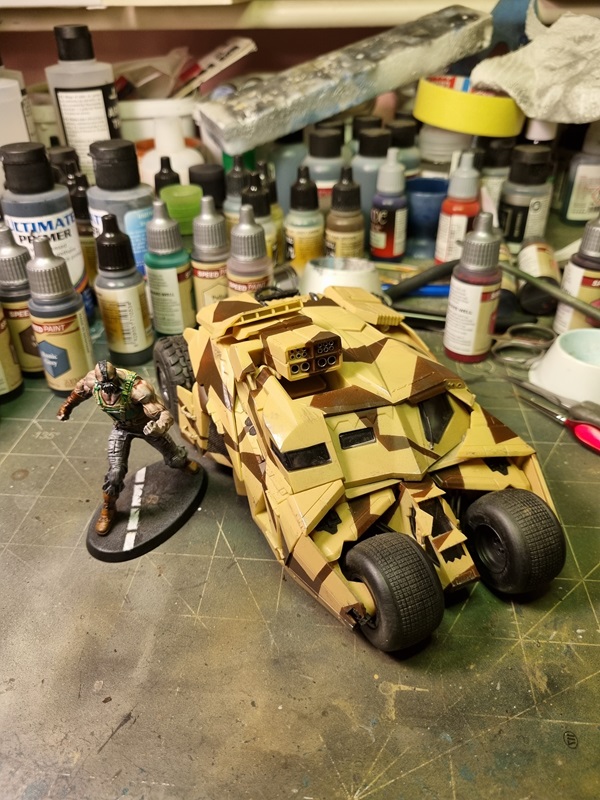
I like using Speed Paint and now with improved and added colours, I couldn’t resist.
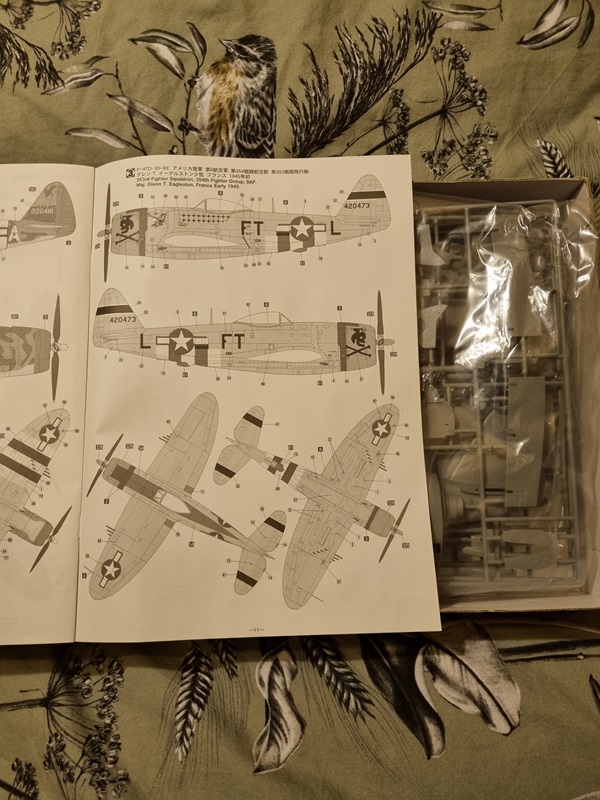
This little gem arrived today.
Inside the box!
I heard of these airbrushes on Hobbylink International, and thought they was interesting so I got this limited edition set with 2 airbrushes. I’m really looking forward to trying them out.
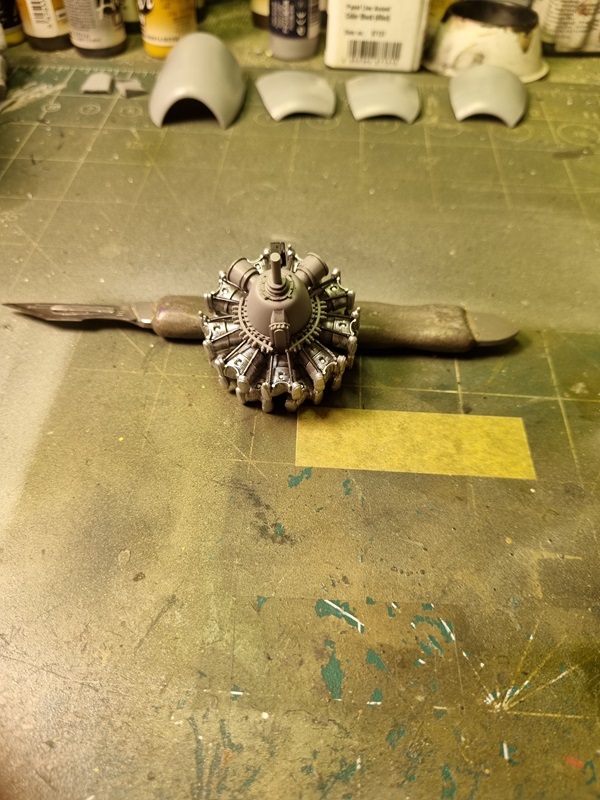
I guess more could have been done to the engine, but not much will be seen and I won’t show it off by opening covers.
On LSP I heard of a few modifications that is “needed”, or at least will improve the looks somewhat. One of them is lowering the engine and covers 1-1.5 mm and i order to do that I cut off the engine mount and glued a piece of plastic to have somewhere to put the mount.
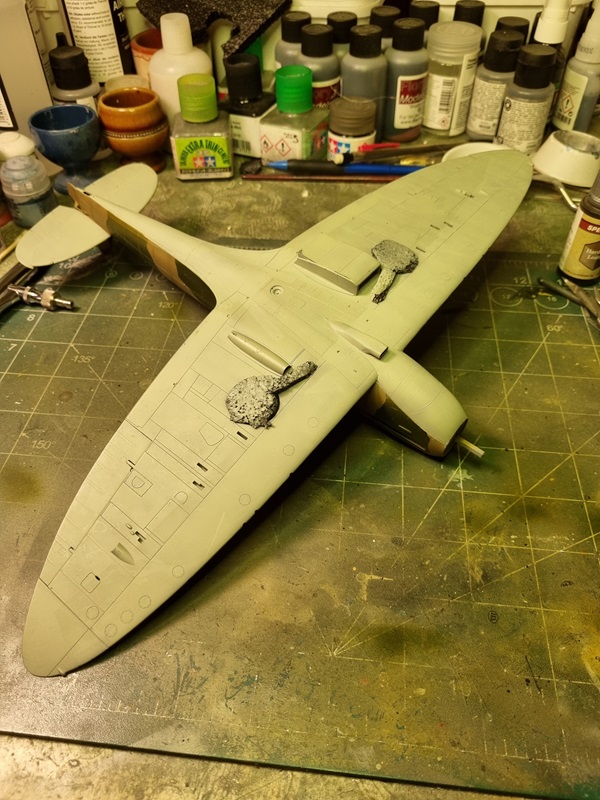
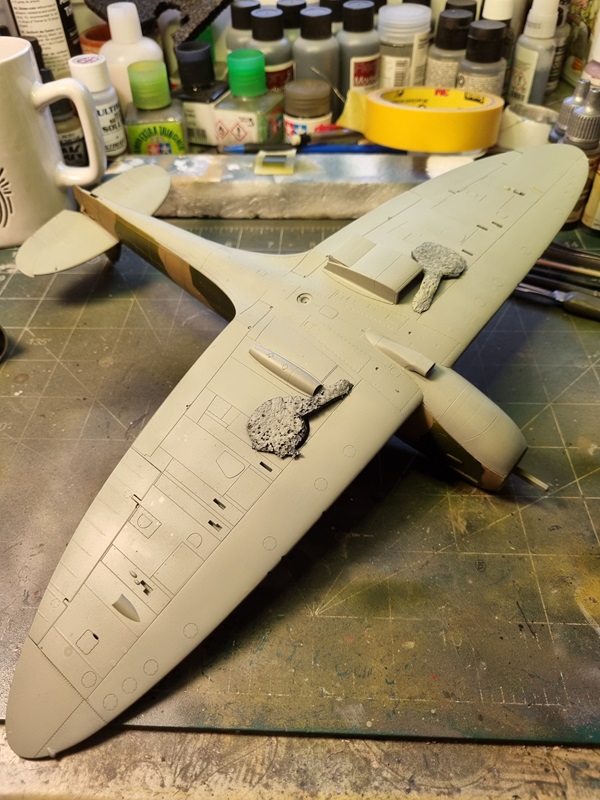
This is an pretty easy and quick fix. The other one is the mount for the drop tank, that also needs some cutting. The reason is that the tank ends up touching the ground, and needs to come up a bit higher. I cut the mount in half and sanded a bit before I glued the parts back together again. Hopefully that will be enough!
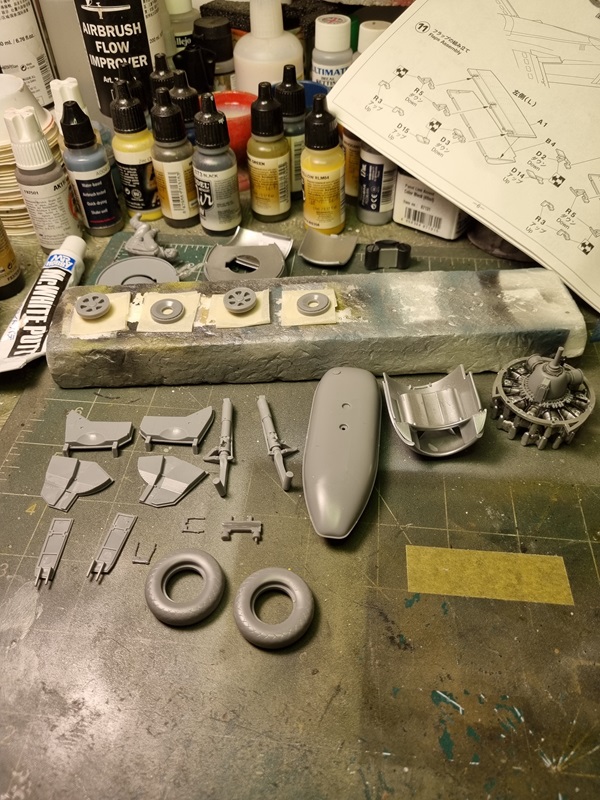
Lastly I’ve built and prepared some parts like landing gears and covers for paint, and also started assembling the front engine mount and the intake.
All the landing gear parts will be painted and assembled and also the engine and the covers.
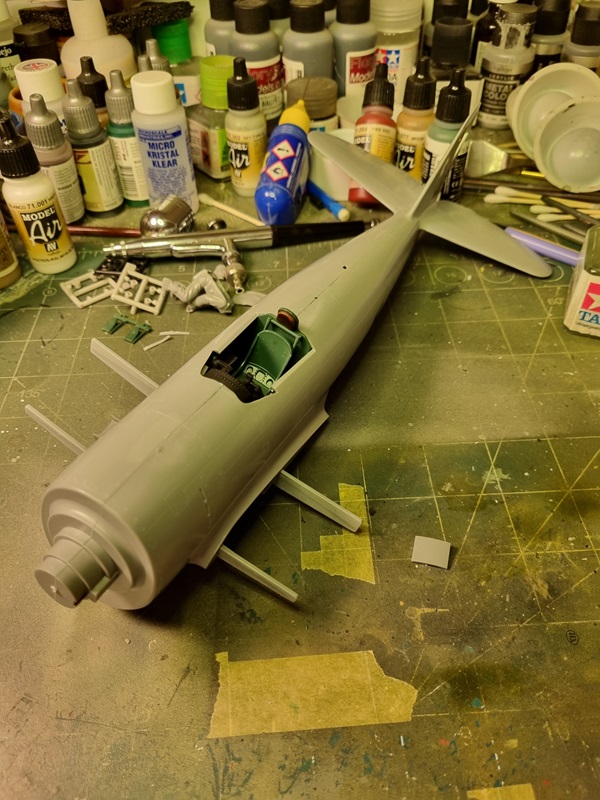
With the cockpit done, assembling the fuselage wasn’t far away. It goes together very well, but there are a few things to beware of. Check that the holes are drilled and cut up for the drop tank holder. It is also easier to glue the cockpit to the bottom piece first and the take care that everything aligns properly when joining the fuselage halves.
Even if the fuselage went together very nice, I still had to sort the seams, which might have been my own doing. No mayor work, just a little sprue glue, and then some scraping and sanding.
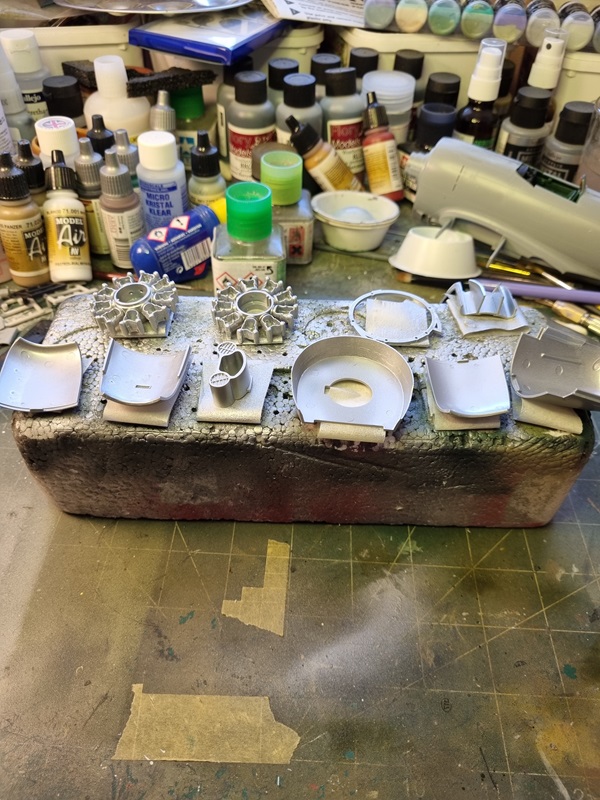
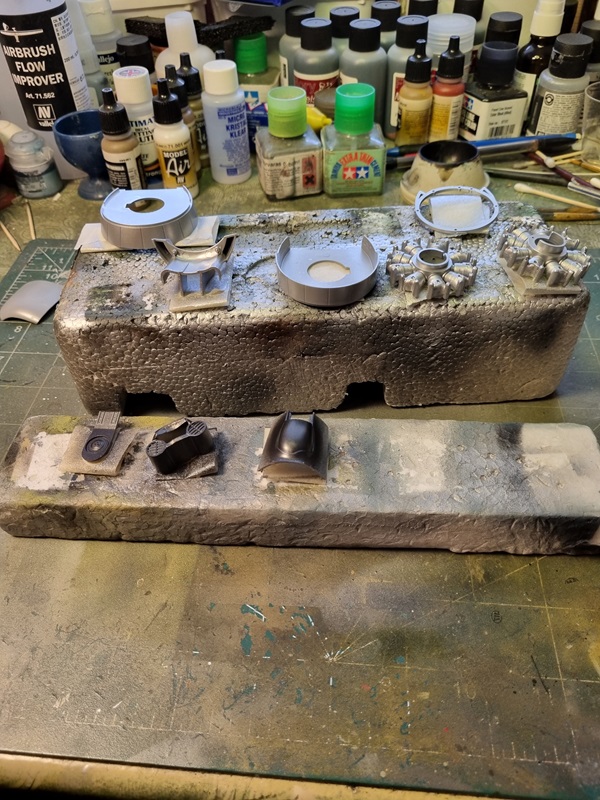
While the glue was drying, I painted covers and engine parts.
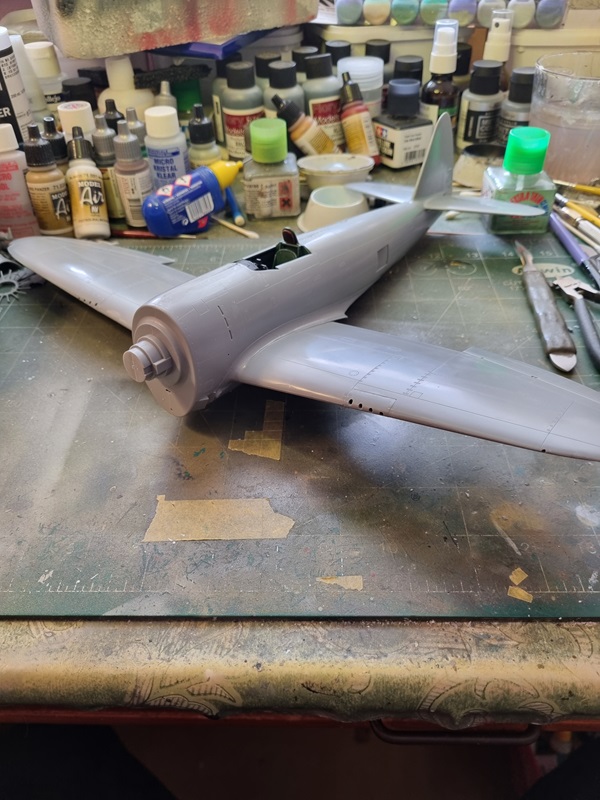
The wings was assembled.
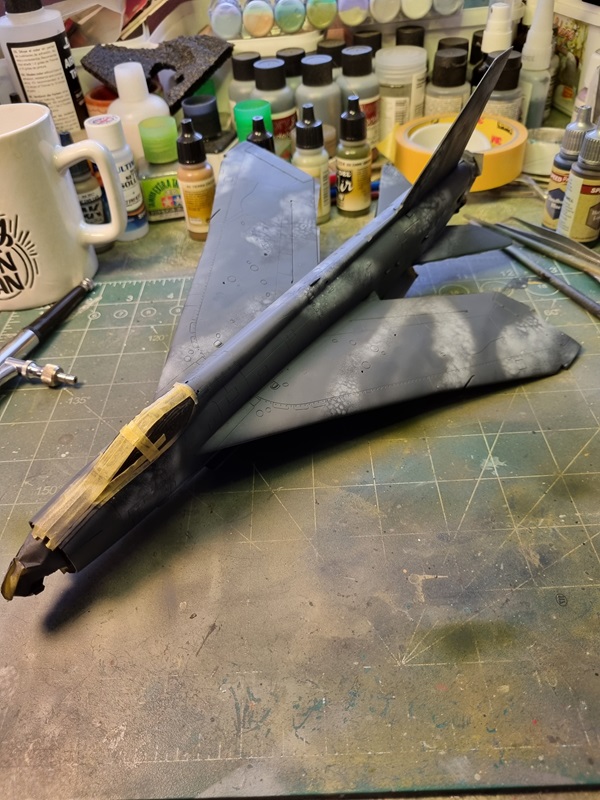
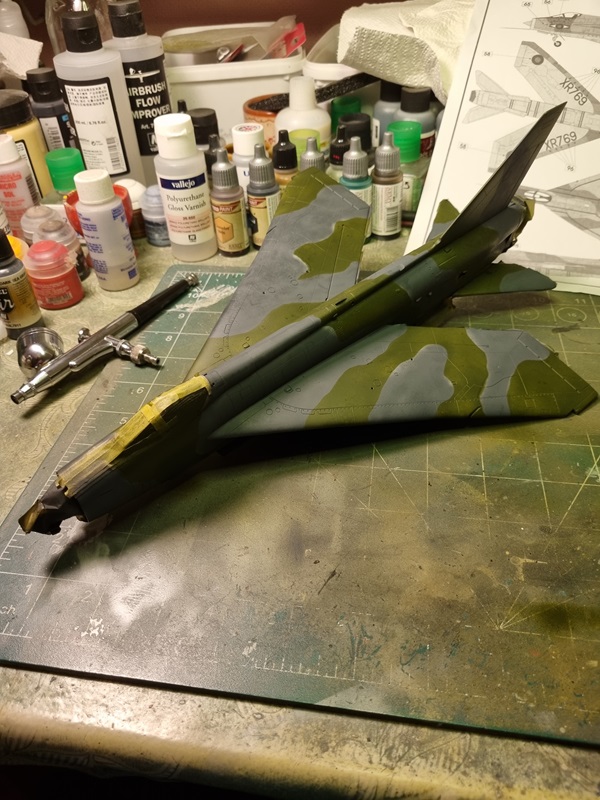
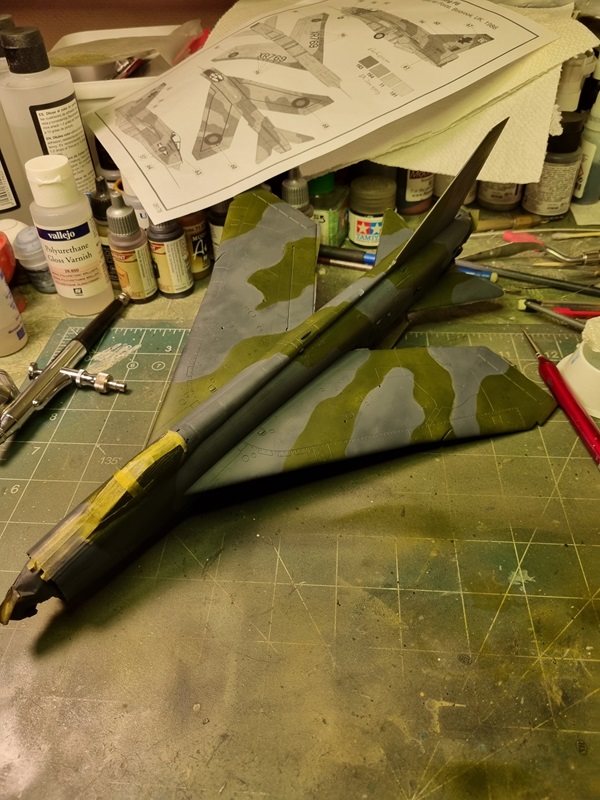
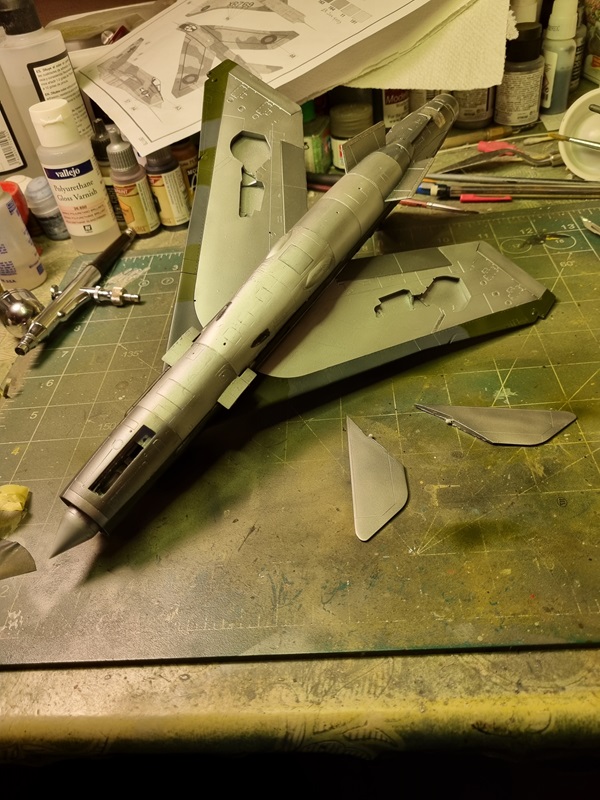
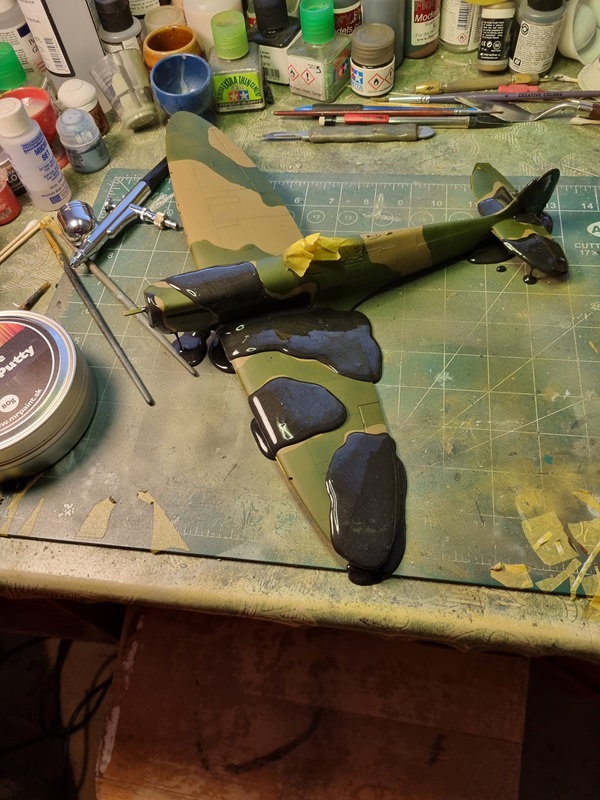
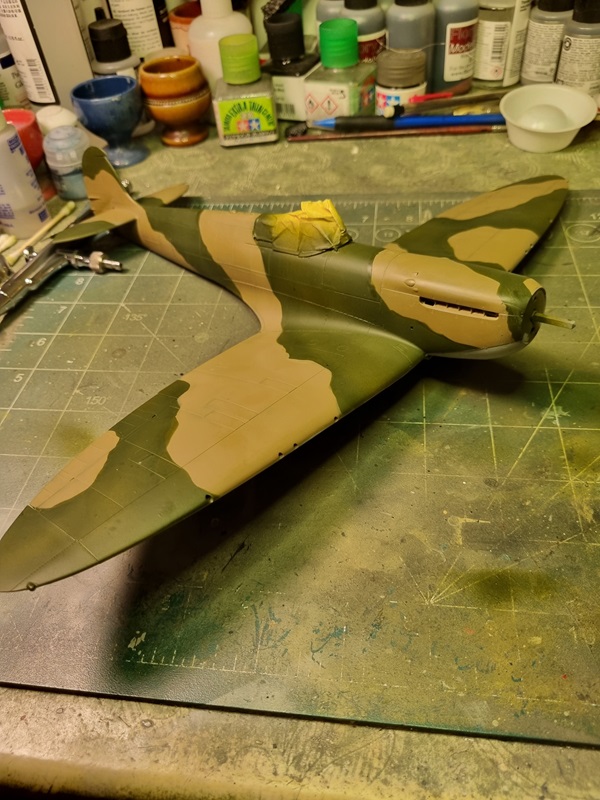
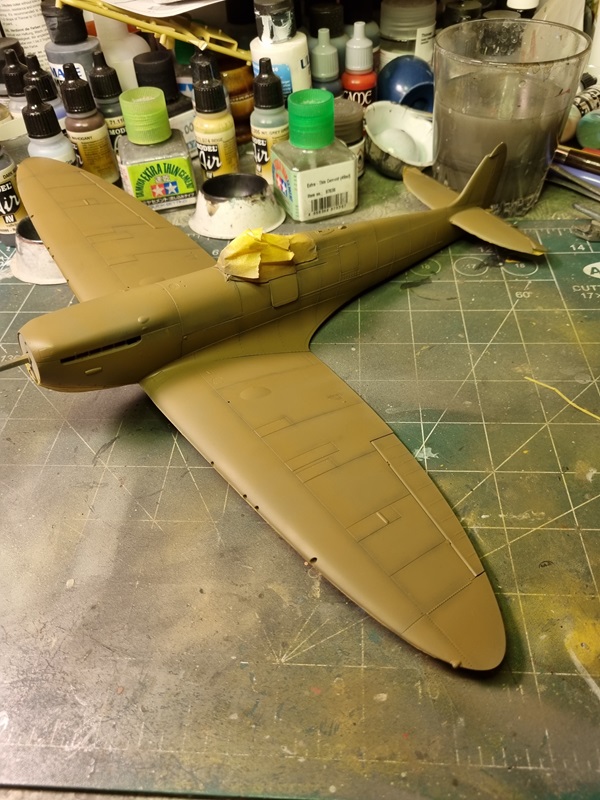
And then the wings was glued to the body.
I painted the other side of some parts like the engine, and then black metal was painted on some parts.
Next I have some masking and painting to do on the engine parts, and hopefully I’ll be able to sort the landing gears and other small stuff.
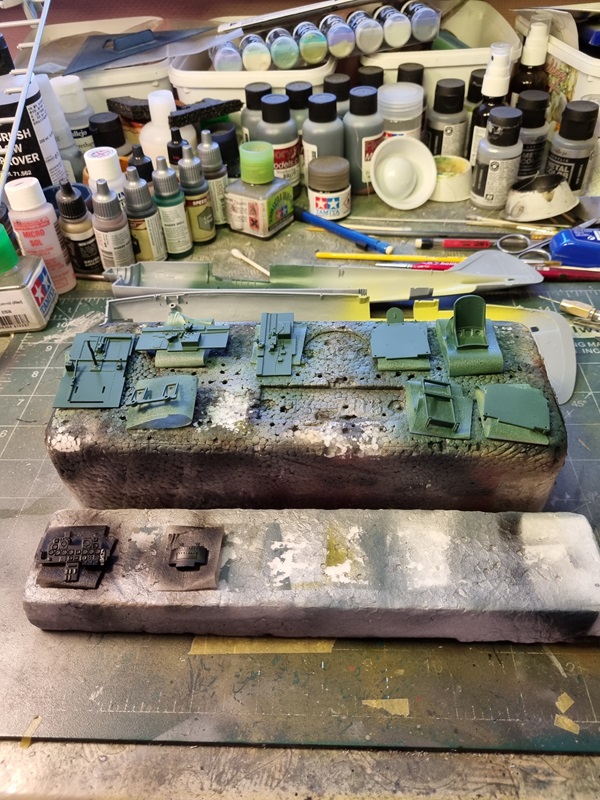
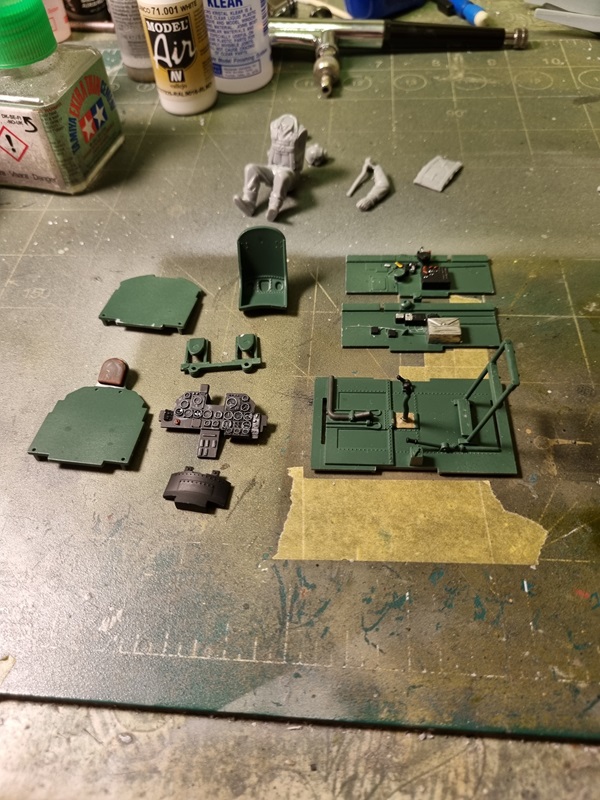
As ususal the build starts with the cockpit. I cleaned up the parts and then painted some of them black and the rest in dull dark green.
After painting the backside of some parts, I started painting details.
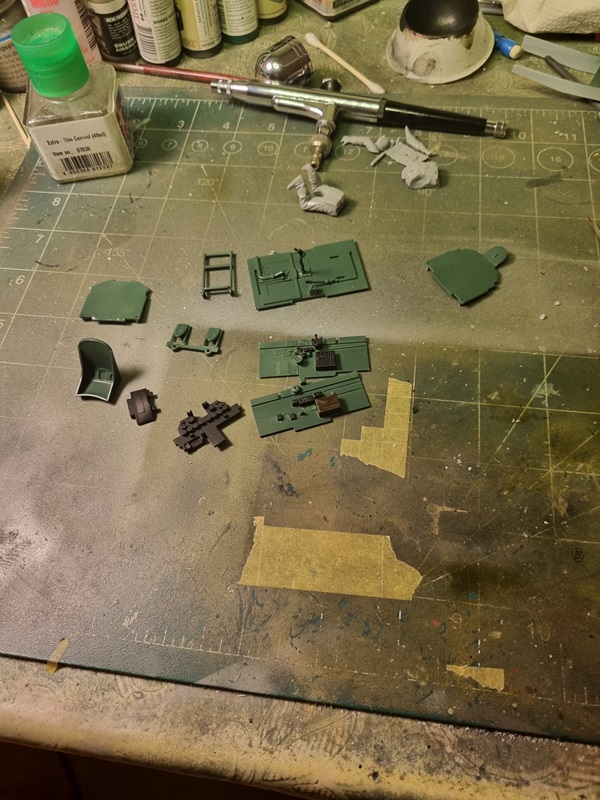
As can be seen I’ve also started assembling the pilot. I decided to have him sitting in the plane and will omitt the pedals as per instructions. A few more details was painted.
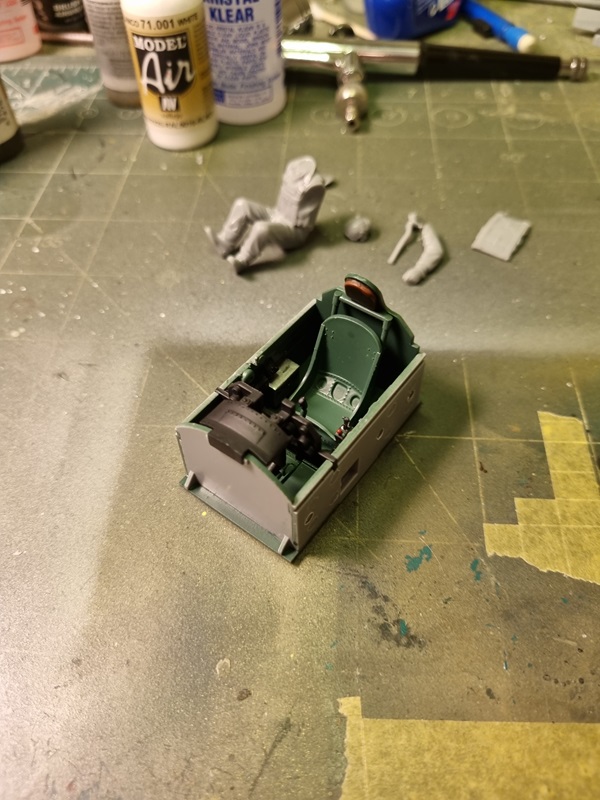
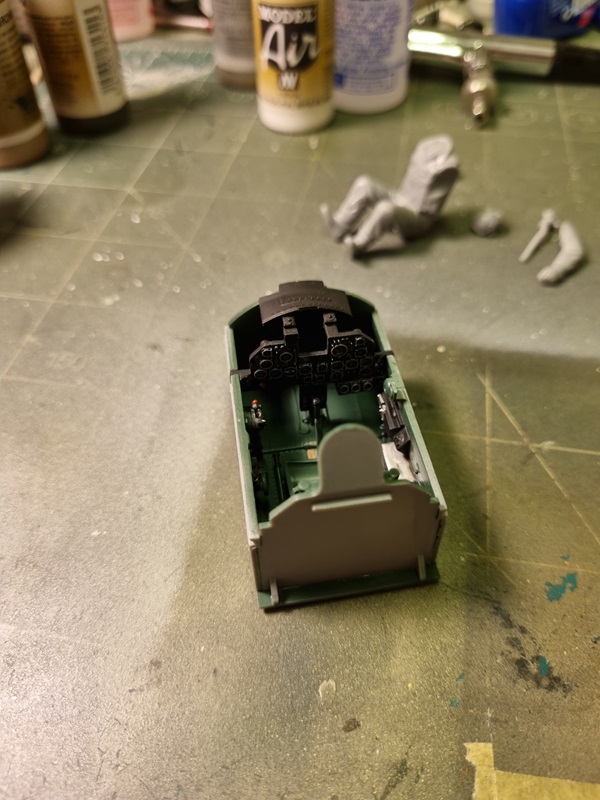
After that I could assembly the cockpit.
Next will be some minor weathering and then I’ll put the cockpit where it belongs and will close the fuselage.