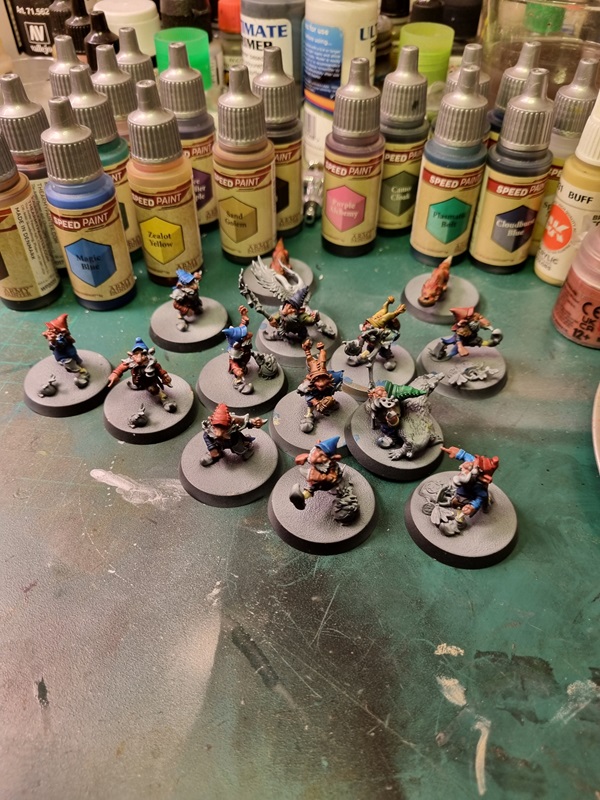
I decided to use more or less the same colours. red, blue and green, on everyone. One some I painted the coat blue and hat red, and on the others I did it the other way around.
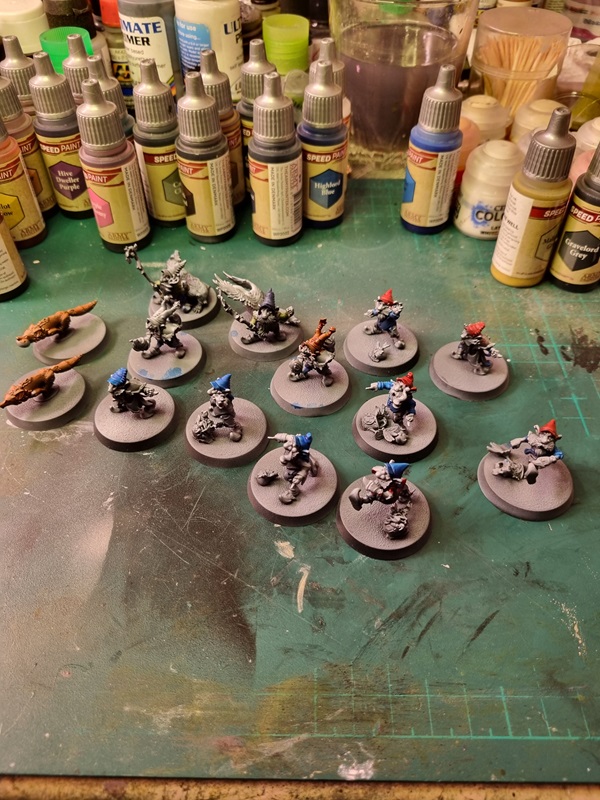
I painted their socks buff and started with a base skin colour.
I did some testing of the skin colours a friend recommended on one of the figures.
I think it turned out pretty good, so I’ll stick with that.
Still some more painting to do, but hopefully I’ll have a fully painted team soon.
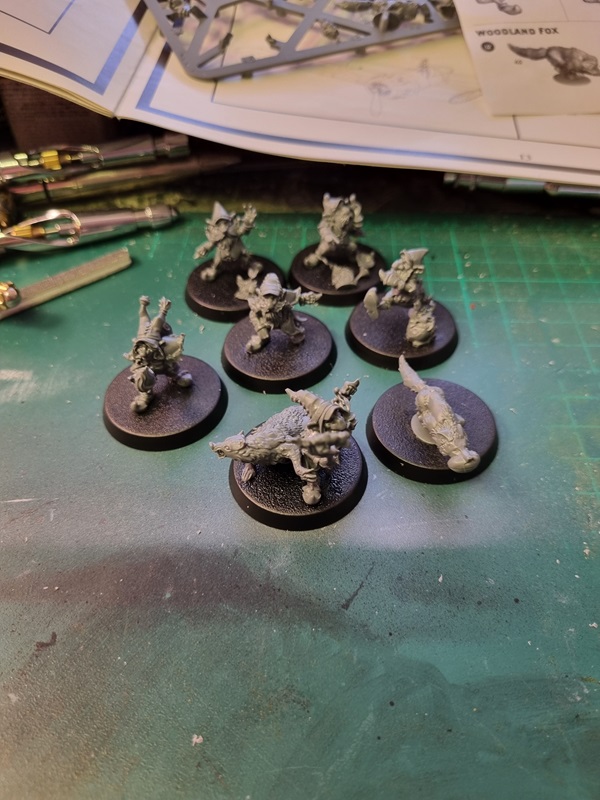
I thought a team with gnomes could be fun to have.
I have no idea how they are to play with, but that could be a fun experience.
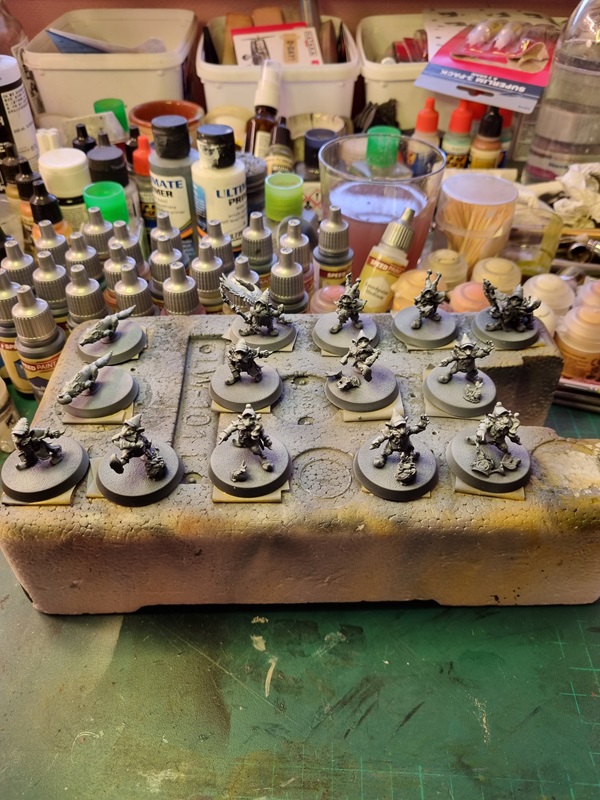
As all new kits they are pretty easy to build, but you have to be careful with some parts as they seem easy to break. It took a few hours to build the first set of gnomes.
Using the optitional parts I build the other half of the team.
The only thing left is to prime and paint them. I plan to use typical garden gnome colours like blue, grey, green and red.
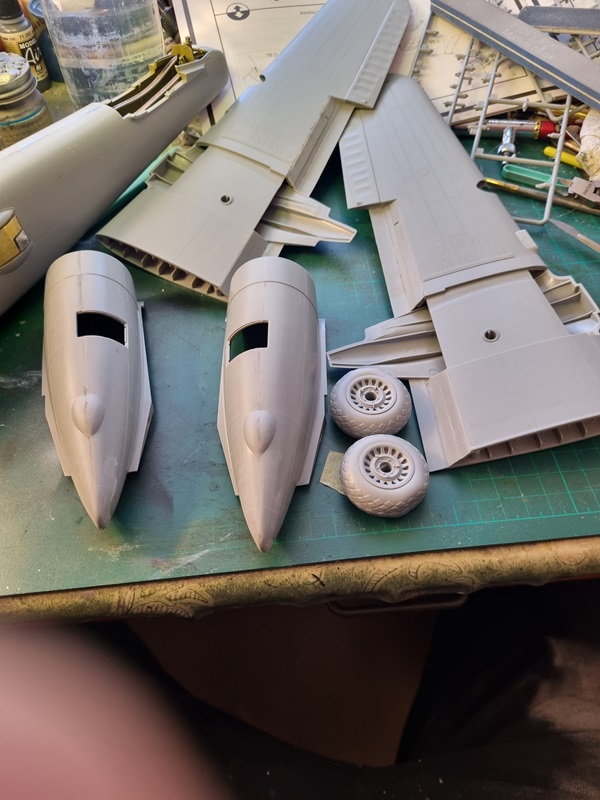
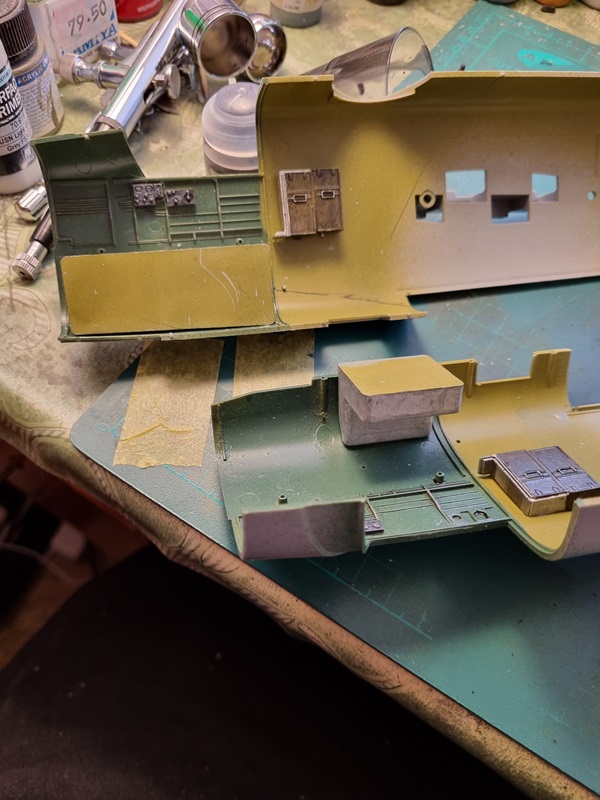
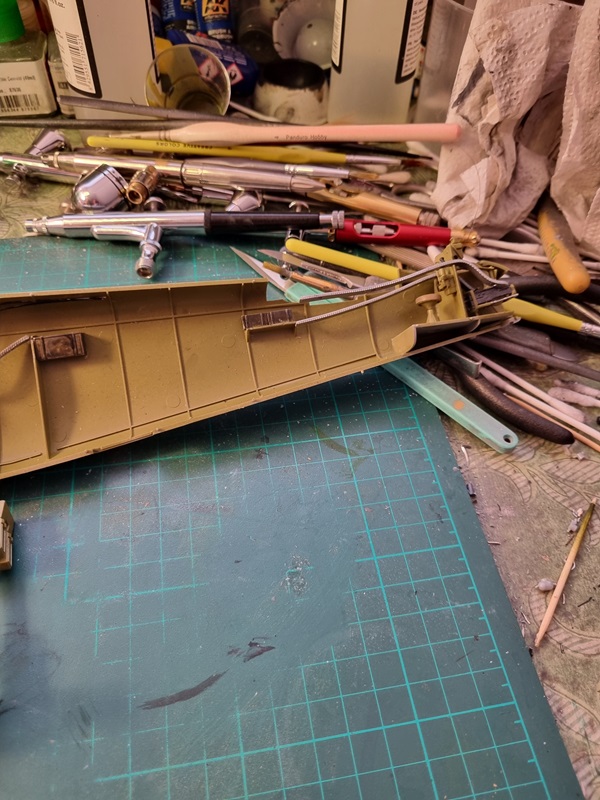
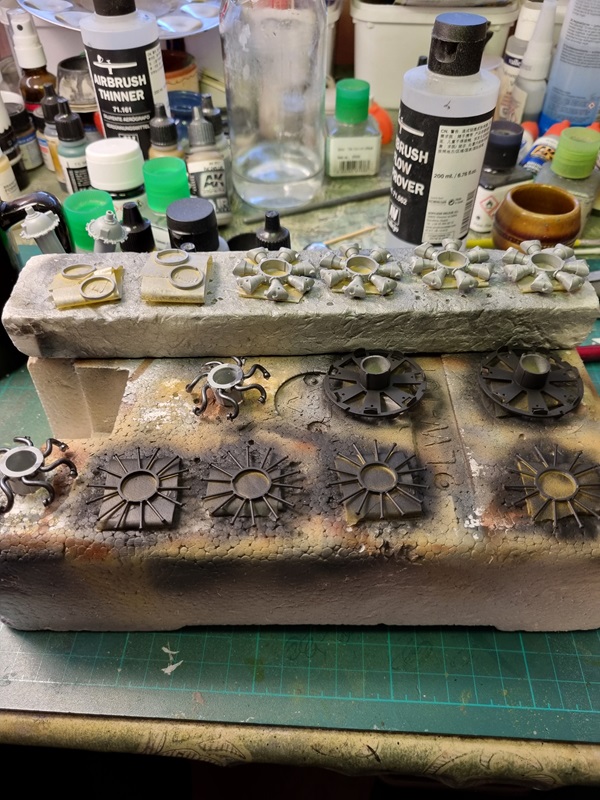
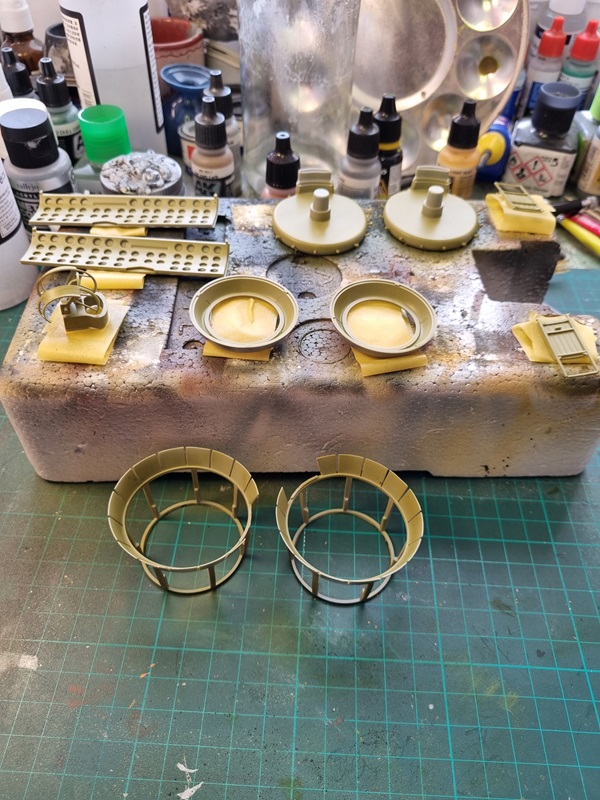
With nice seams sprue glue is good enough even if you have to go over some parts more than one time. Sprue glue dries gloss and after sanding it’s easy to see if any of still is gloss. The nacelles got a little more sprue glue.
Then after sanding the body I had to sort a few more spots.
The tires was assembled and wings and nacelles are ready for some paint.
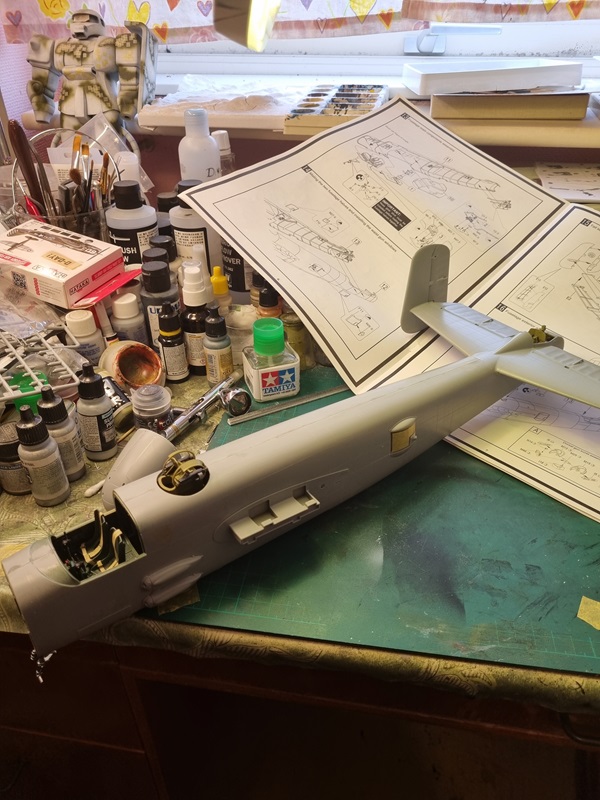
Done sanding the body.
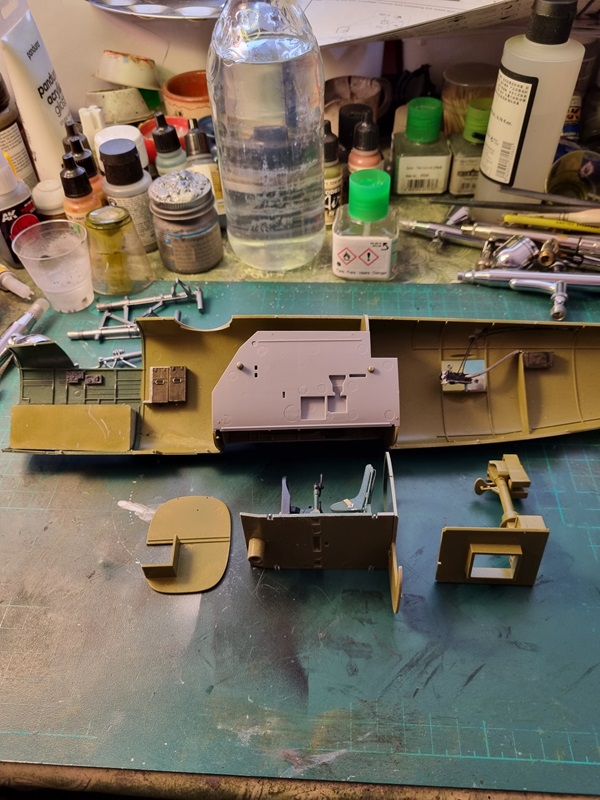
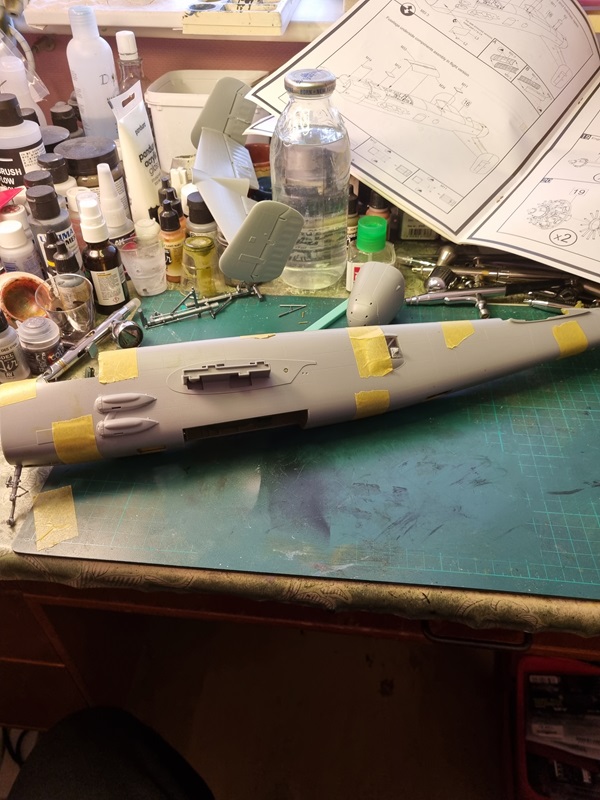
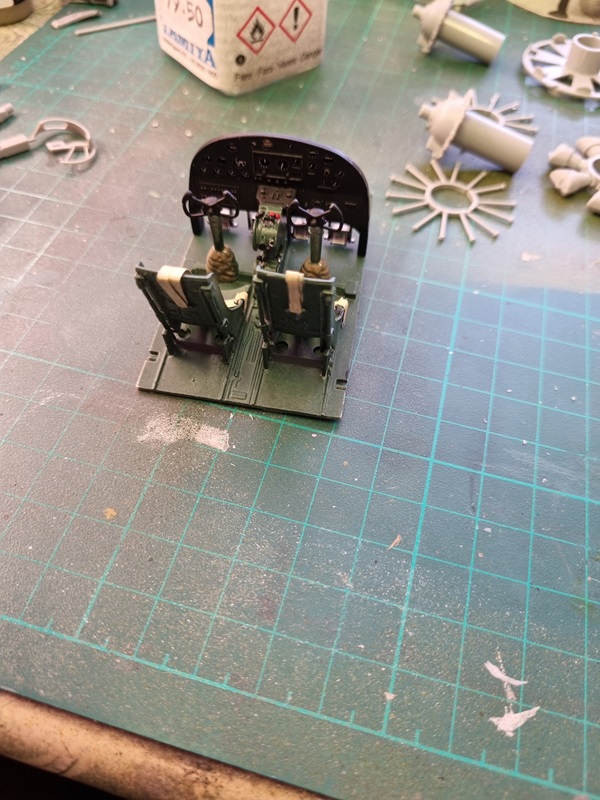
The canopies and turret was masked.
Next will be painting the area above the IP before glueing the clear parts.
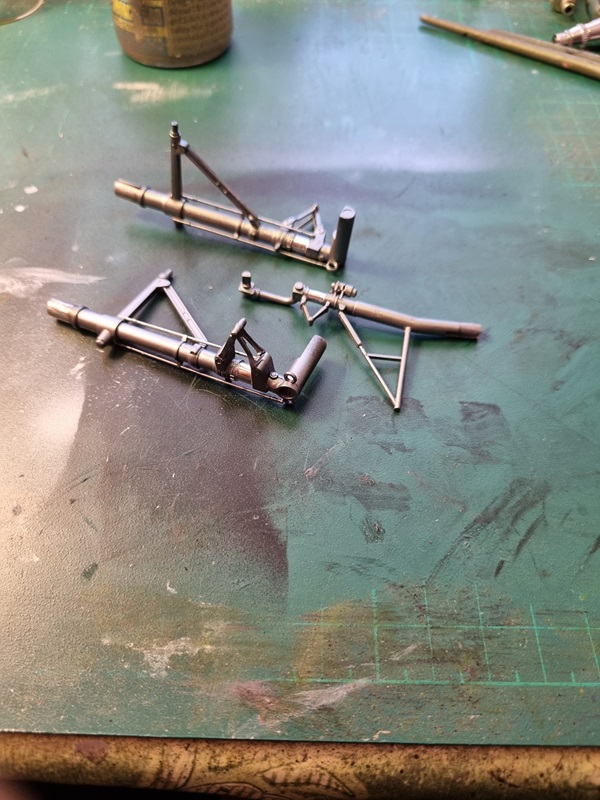
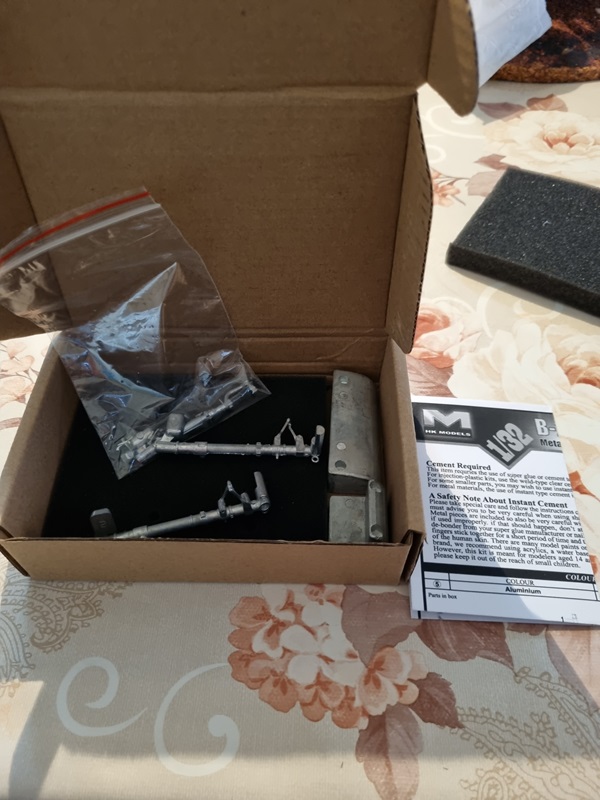
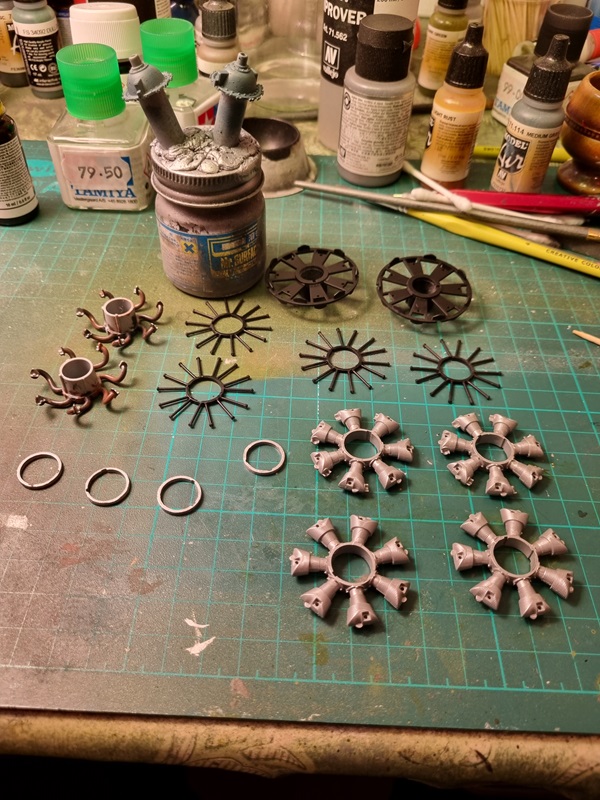
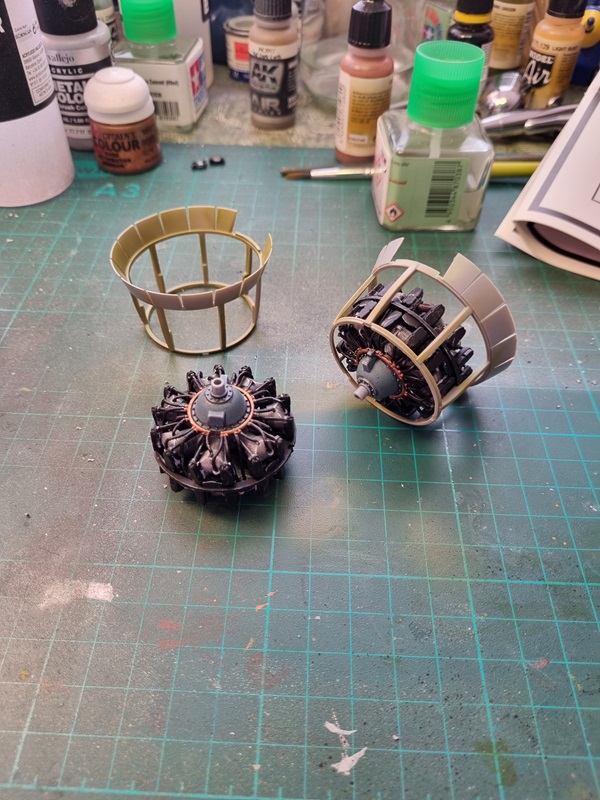
I struggled a bit with the metal parts to the landing gears, especially the smaller ones. So I took a break and built a few (quite a few rather) dwarfs for my Warhammer army.
I decided to have a go at it again and after checking both instructions I realised that the small parts I needed also was provided with the kit.
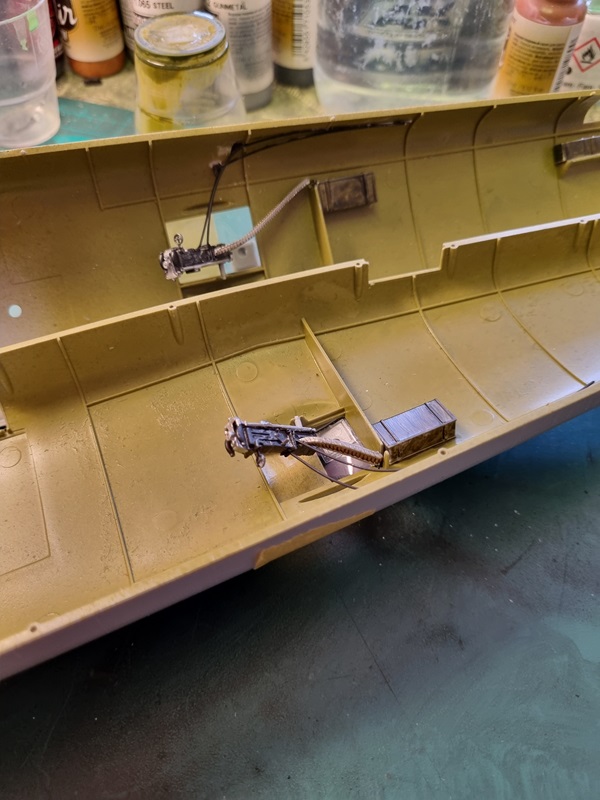
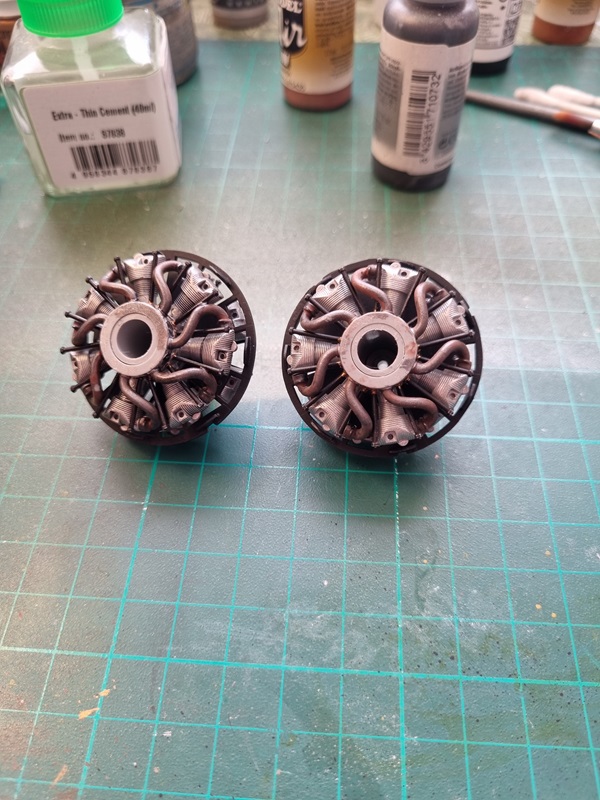
That made things a lot easier for me, and after some work they looked like this.
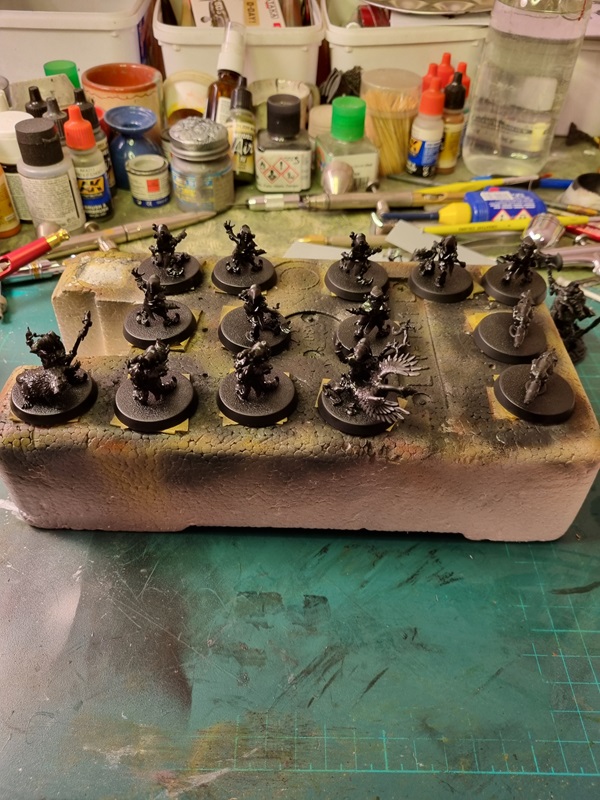
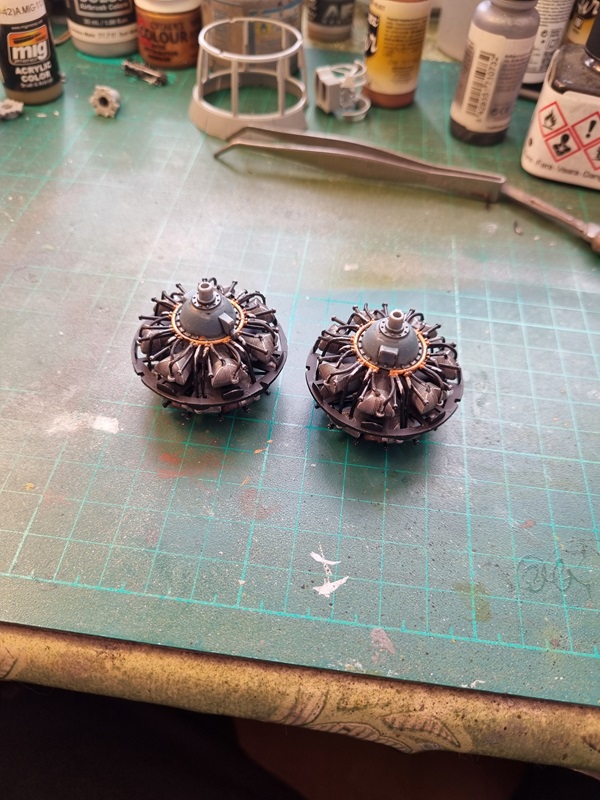
And sometime later they got black primer.
It was first after taking the pic that I noticed that one cable had moved a bit. I’ll correct that asap.
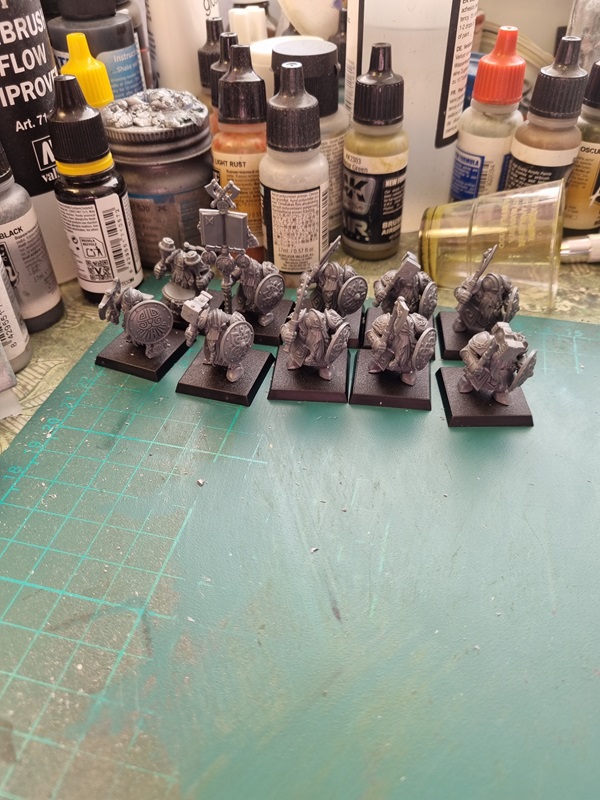
Next up on the table was my Ironbreakers and Irondrakes. I made 2 groups of bodies with 10 in each. There are 4 of each body with a slight difference between them.
The Ironbreakers was assembled first.
The figures are fairly easy to build with very nice fit. The Irondrakes was a bit harder as both arms had to fit together in order to hold the weapon properly.
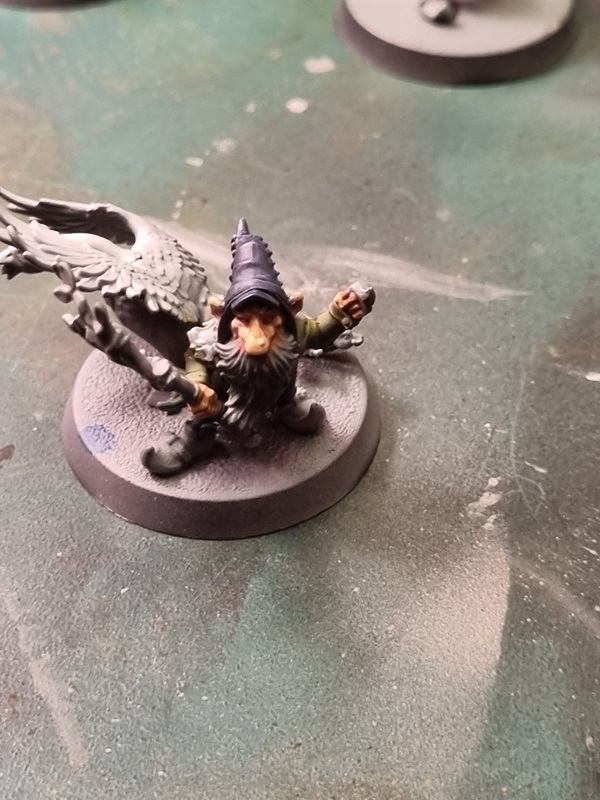
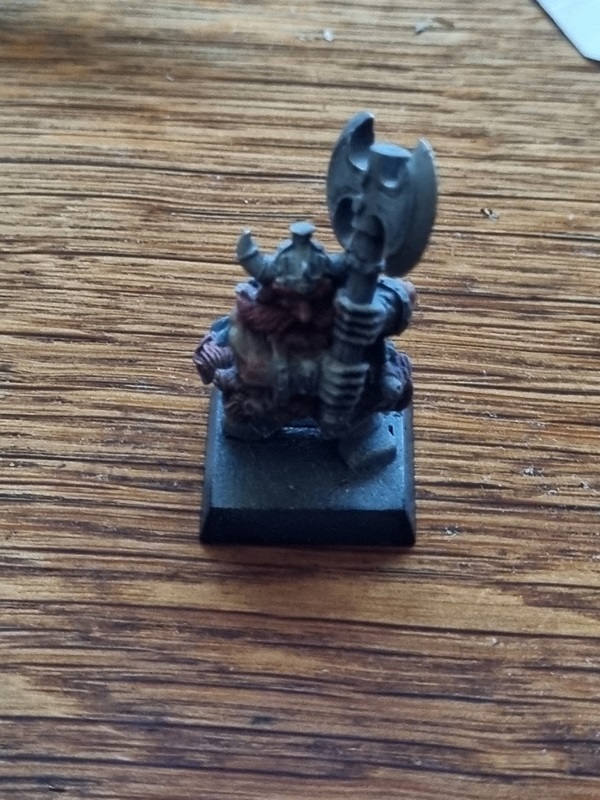
Games Workshop have made quite a few versions of the White Dwarf on their magazine with the same name. The figure is called Grombrindal and it turned out that I have one of the early ones.
I just have to paint him with white beard and all. I also have two of the newer versions, the slayer and the latest 400th ed WD.
Some of the figures I have are made of white metal and even if I bought them recently they’re fairly old. It takes more work to build a metal modell and the fit isn’t as good on newer ones in plastic.
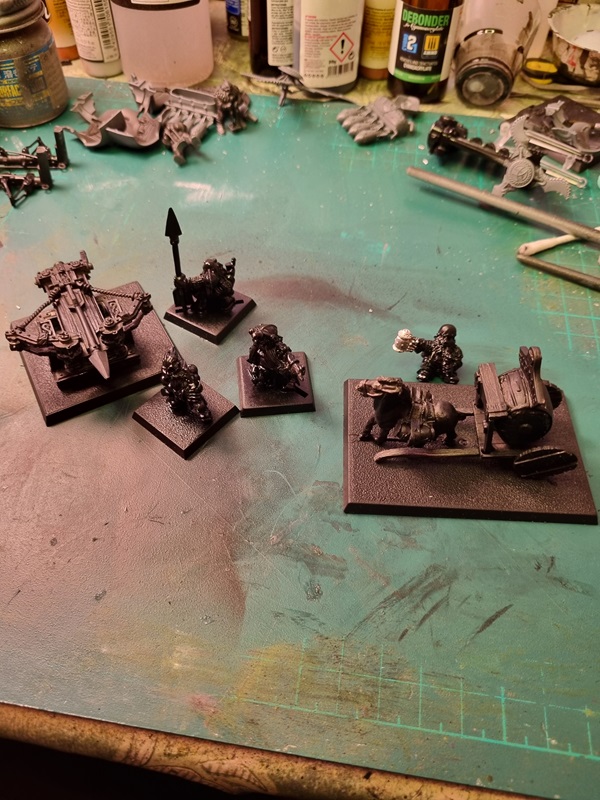
Once I got all the pieces sorted and glued in place my Bolt thrower looks like this.
Next I’ll sort the crew for it. Not as much to do except cleaning them up and glue them to their bases.
I also have Bugman’s cart to build, which also is in metal. That will be the next project on my table.
Some time ago I bought the Mountain holds battalion box, which I haven’t started building yet. I also bought a few other boxes.
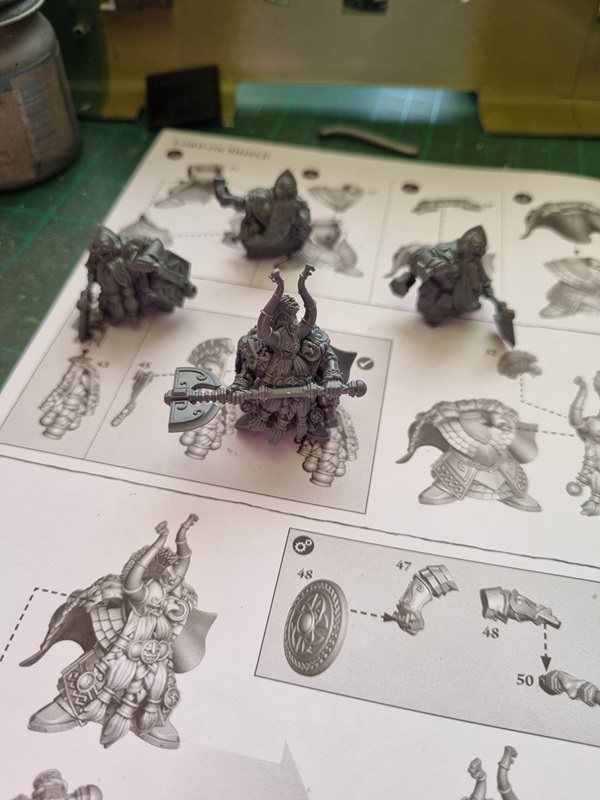
The first one was the King and Thane with shield bearers.
I could say that it’s fairly easy to build and being quite new, it is.
The three shield bearers.
The king built as well! I opted for the Odin helmet and great weapon.
I also thought it would be best to paint the shield bearers first, but after checking the fit, I had to rethink that a bit. More about that later.
There’s also a Thane figure, that I for some reason forgot to take pics of.
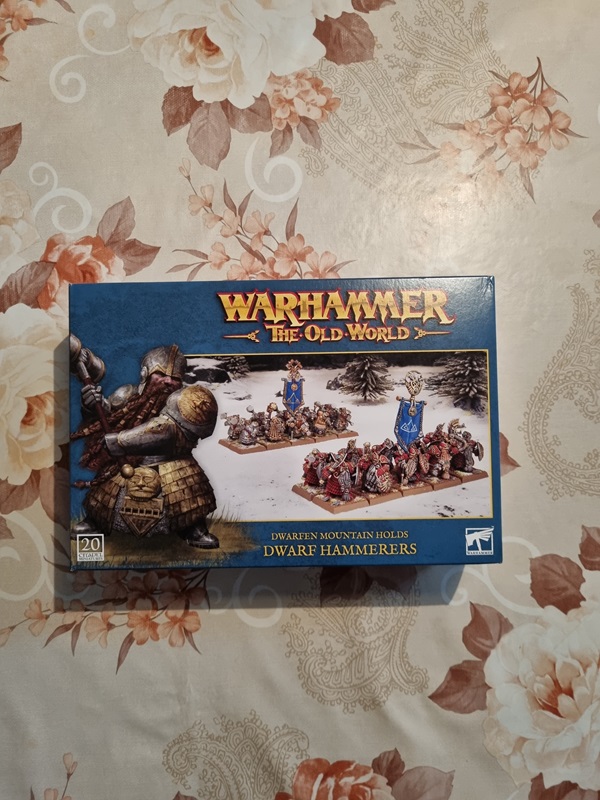
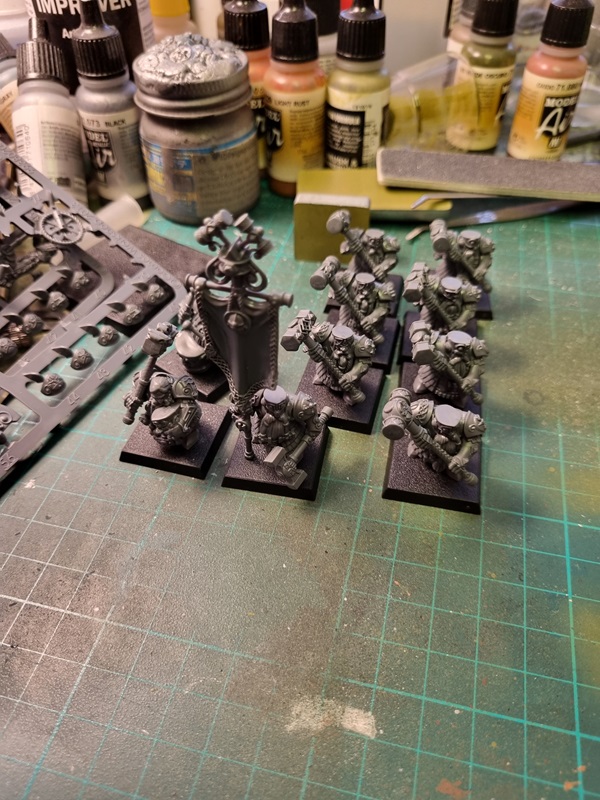
Next up is a set of Hammerers. A box with 20 figures that can either be built as Hammerers or Longbeards, or 10 of each with full command. I choose the latter option.
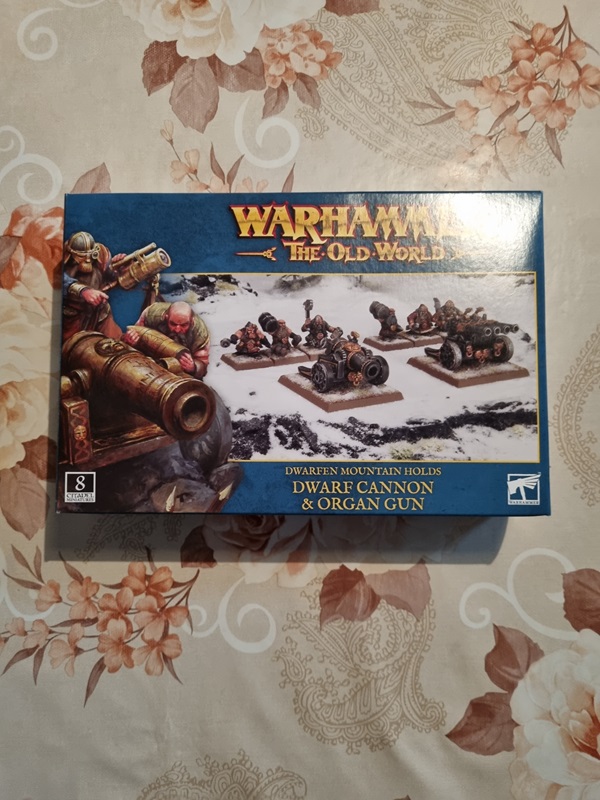
With them done I moved on to building some cannons.
The kit is a bit old, but went together pretty well. It’s possible to either build 2 cannons or 2 organ guns, or one of each.
Each crew member can have different arms which gives them a bit of variation.
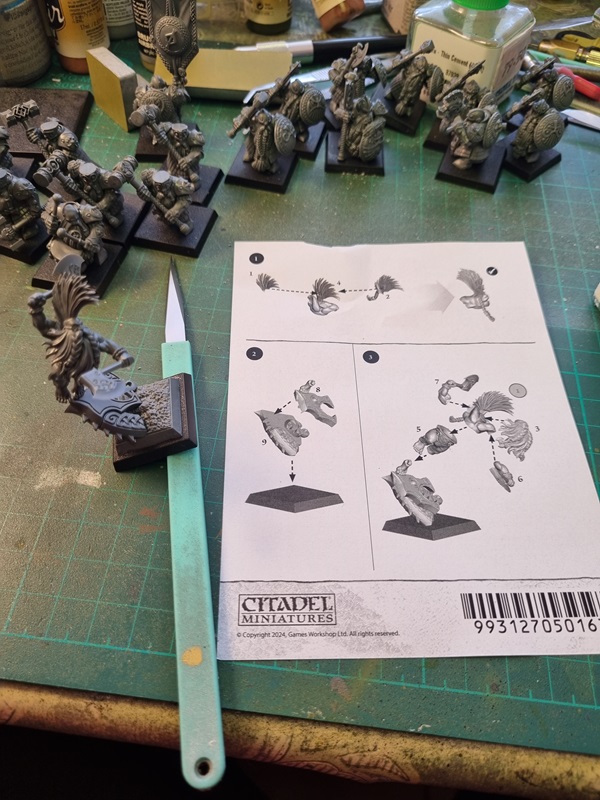
It seems like I’m forgetting to take pics, but here’s the next one I’ve built.
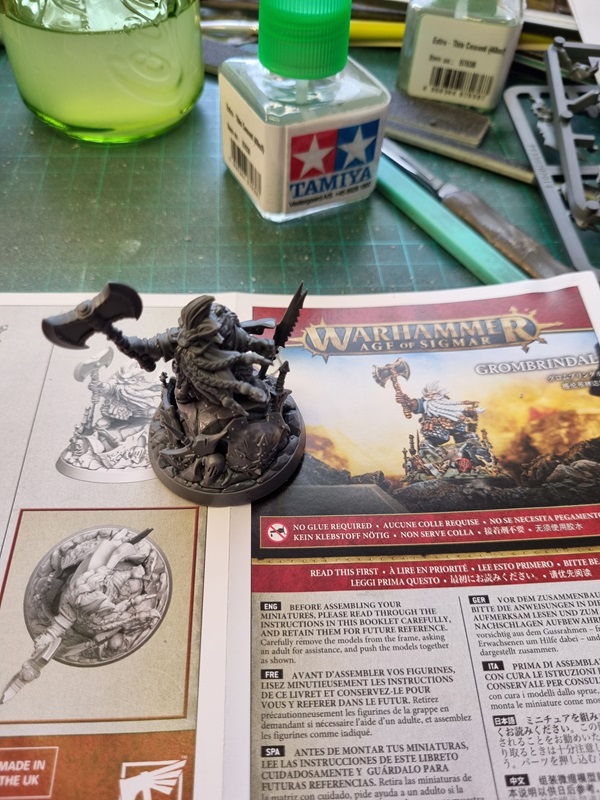
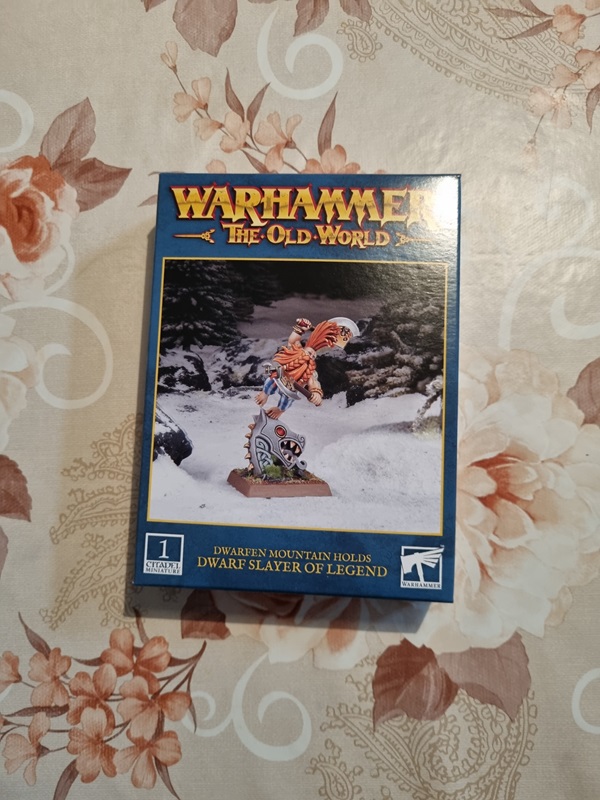
After checking GW’s site about Grombrindal, I found out that the Slayer is one of the versions. I just have to paint his beard and hair white.
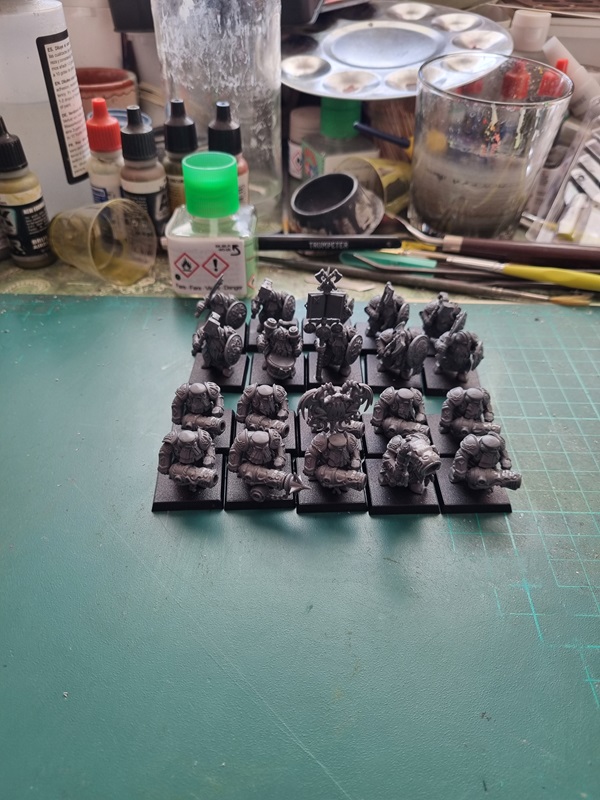
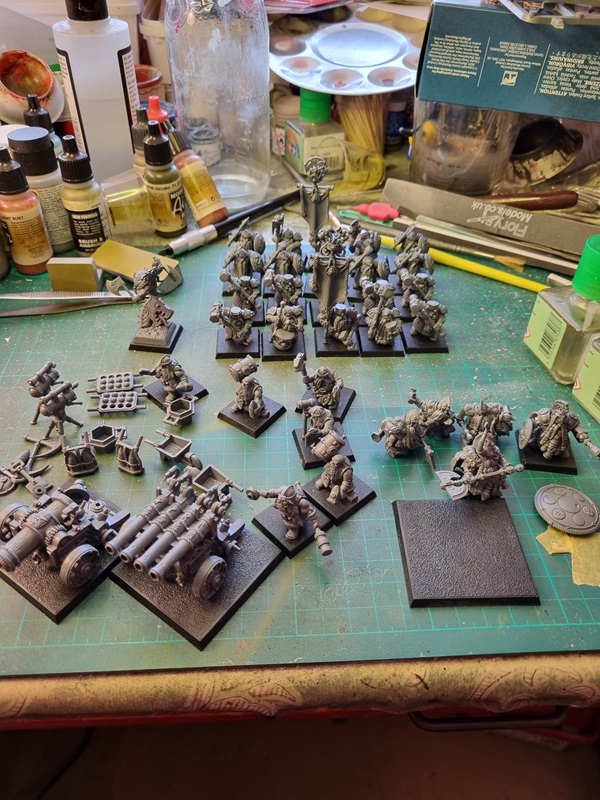
Here’s a pic of how the army looks like right now.
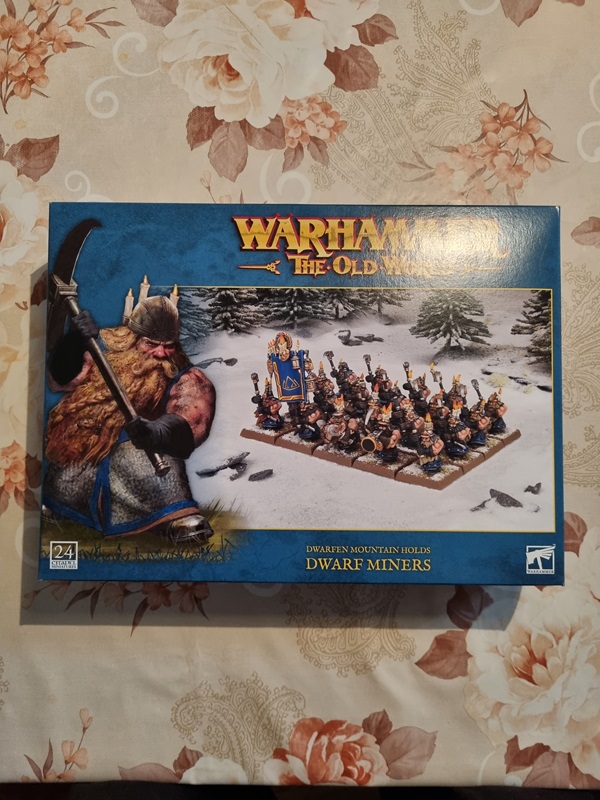
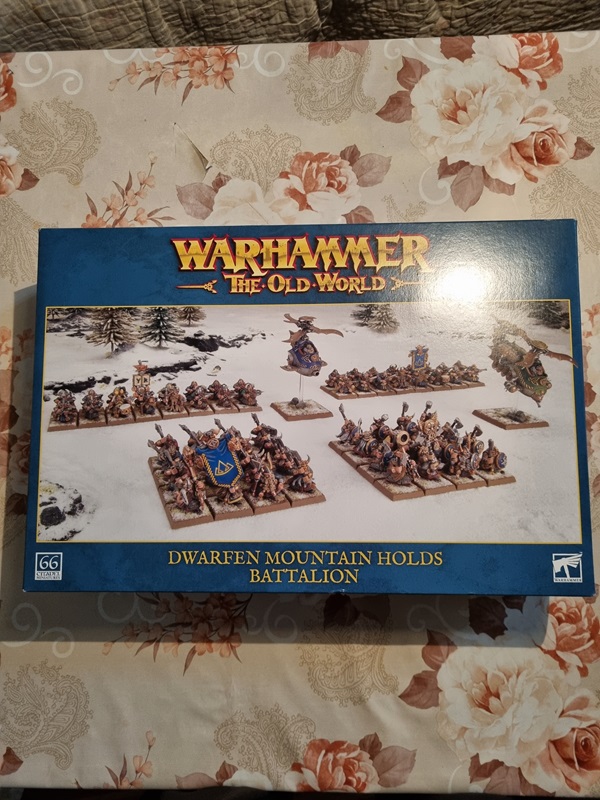
Next up will be these two boxes.
Once they’re built and painted I’ll have well over 2000 points or closer to 2500 even.