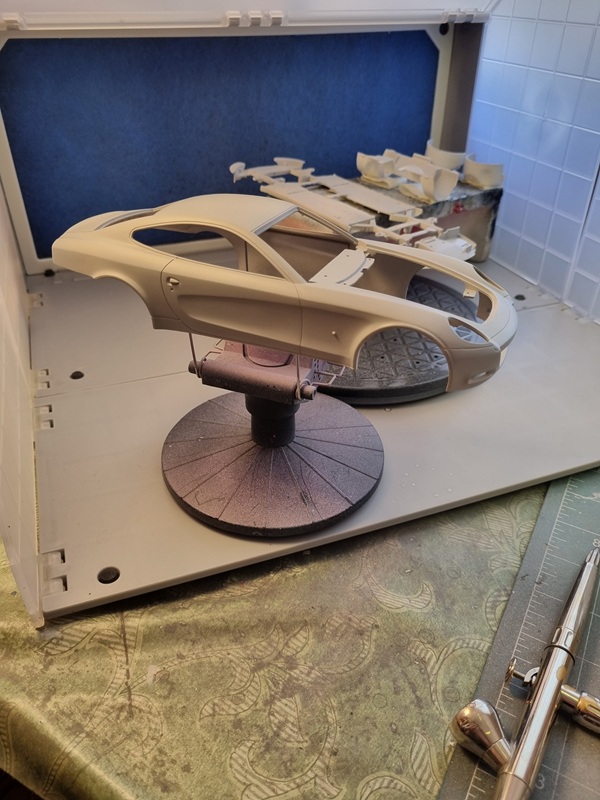
Not much that have happened on this build lately. I did paint the body parts though.
Left to do is painting it with some kind of clear cote. I had planned to do some tests with 2k but before I was done my compressor started behaving strange.

Not much that have happened on this build lately. I did paint the body parts though.
Left to do is painting it with some kind of clear cote. I had planned to do some tests with 2k but before I was done my compressor started behaving strange.
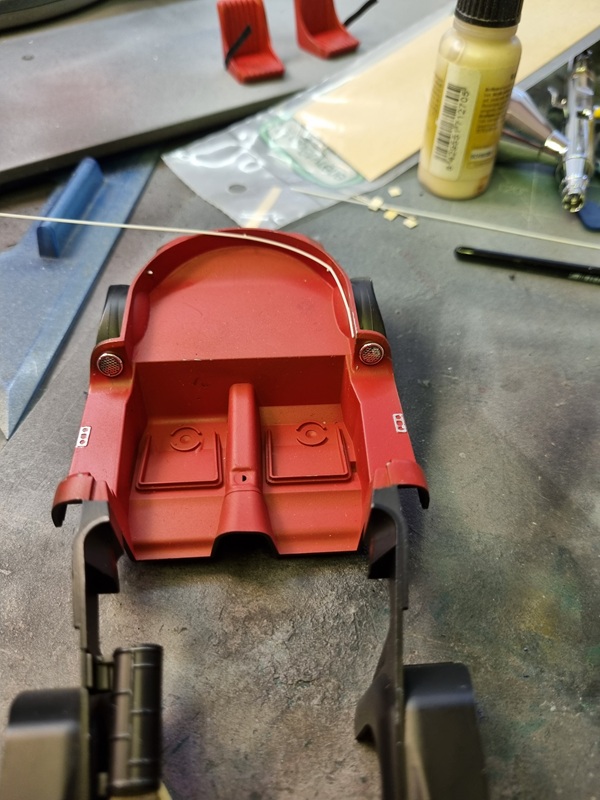
I painted the trunks in the same red as the interior and then painted the rims with antracite. All the locks and fittings was painted with chrome. I gave edges around trim and fittings a wash with Agrax earthshade and the chrome got a a few drops of Tamiya black panel liner.

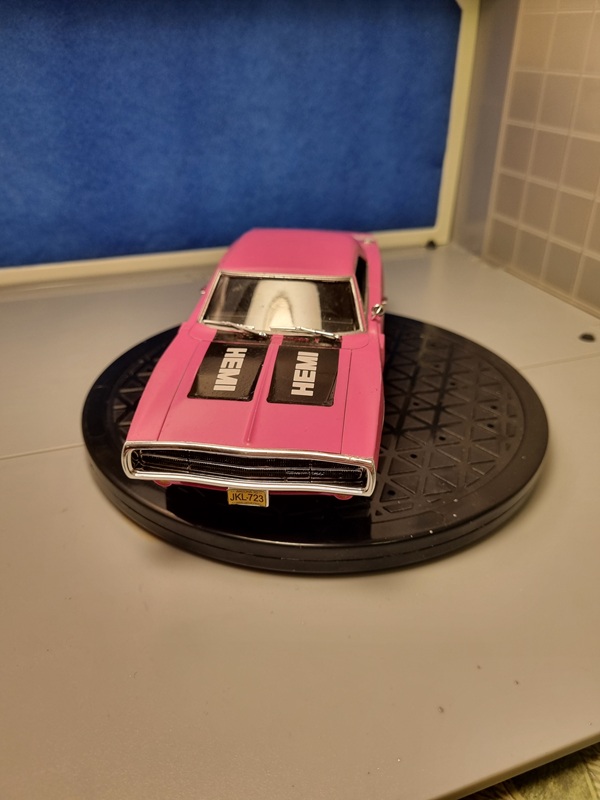
I then used masking tape to make the straps that holds the trunks in place.

I had an idea of how I wanted it to look but still managed to do it wrong.
I also played around with the figure a bit.

I do stuff like that when things are drying. The parts to the buckle was made with thin parts of plastic rod.

I changed the direction of the belt ends and painted the buckles with chrome.
Just recently I added the chromed metal decal and the MB star on the steering wheel.

Maybe a little hard to see in that pic, but it’s there. It was a bit tricky to get both in place.
I’ll give it a touch of clear cote later and then, once dry, I’ll glue it in place.
I painted chrome on some details and painted the hub caps black.

The inside of the doors was painted black and then masked of for the off white interior colour. Here I’ve added the lower door sides to see how it would look.

The gloss black was rubbed off around the edges and on the MB star on the hub caps.

Not entirely easy and I accidently rubbed of too much on some places.
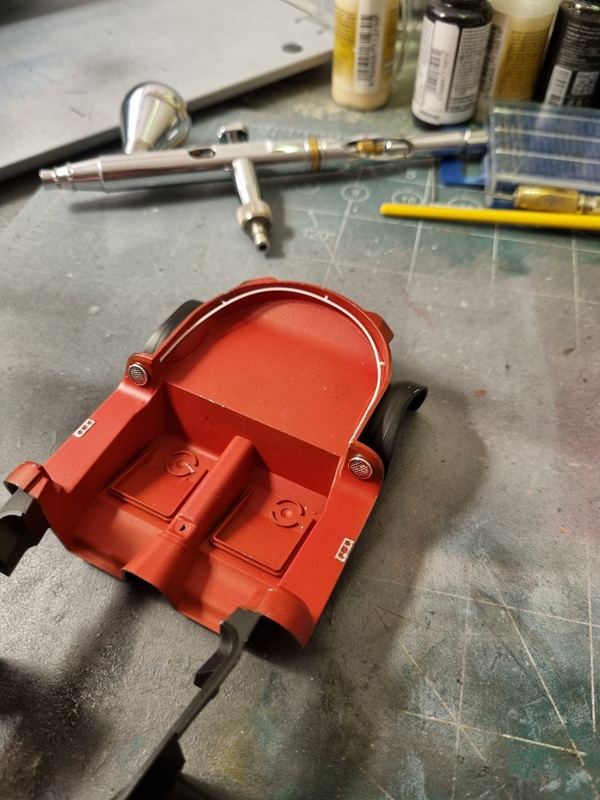
In the rear of the interior there’s a bar going round the sides, that is used to secure trunks and whatnot you might load there.
I had to glue that a bit at the time. Meanwhile I put on the instrument decals.

It was a bit tricky to get them centered but it turned out looking okey after some work.
What I haden’t considered was the fact that the glue might deform plastic, at least if thin enough.

I wasn’t happy with that so I remade it with a fresh piece of plastic and superglue.
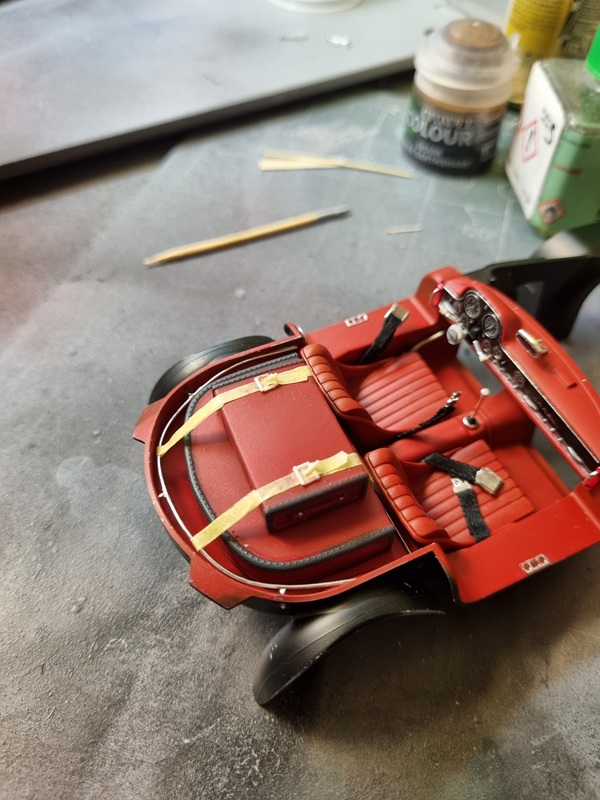
I added seat belts and used plastic sheet to cut belt fasteners.

For some reason I had turned one seat upside down when taking the pic! 🙂
Time for a little work with Claire.

I glued the upper body parts and the head. Then I used blue tac to hold her legs together.
Time for some testing!

Having her sit in the seat didn’t look alright so I tried putting her on the door threshold instead.

Maybe a little better, but with the frame and wheels in place it gets up a bit higher. I feel unsure about using her at all for this build.
I started glueing interior parts in place and then painted chrome where needed.

More details and chrome painted.

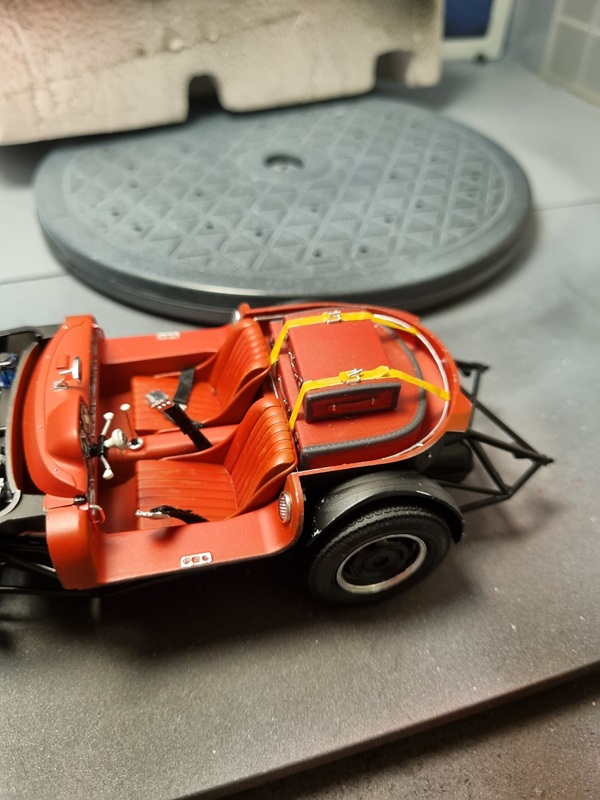
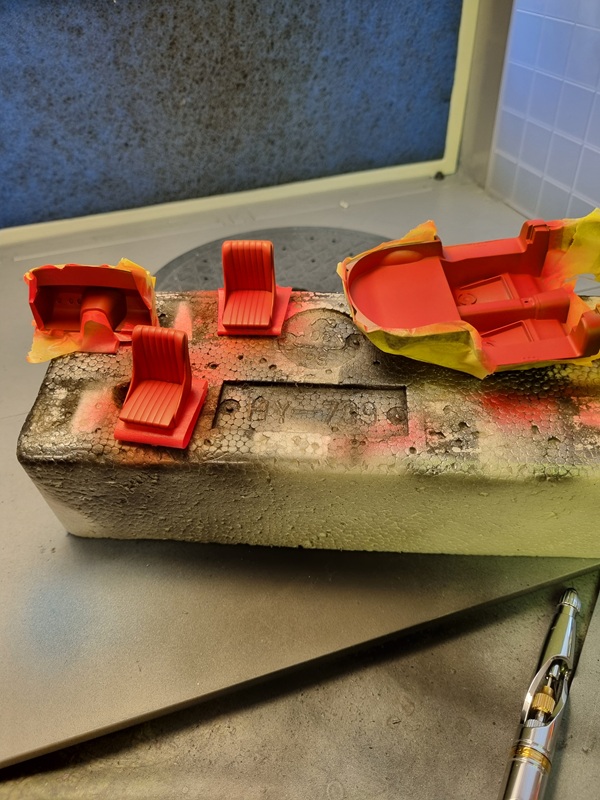
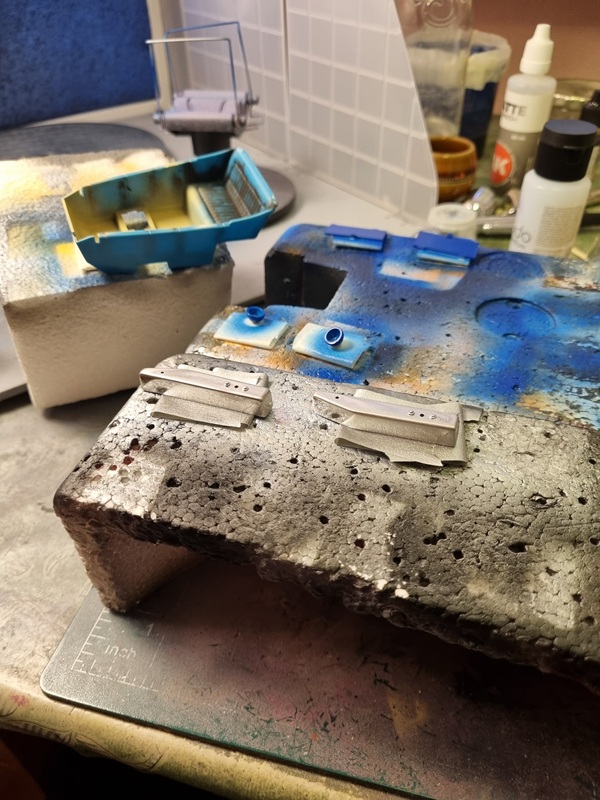
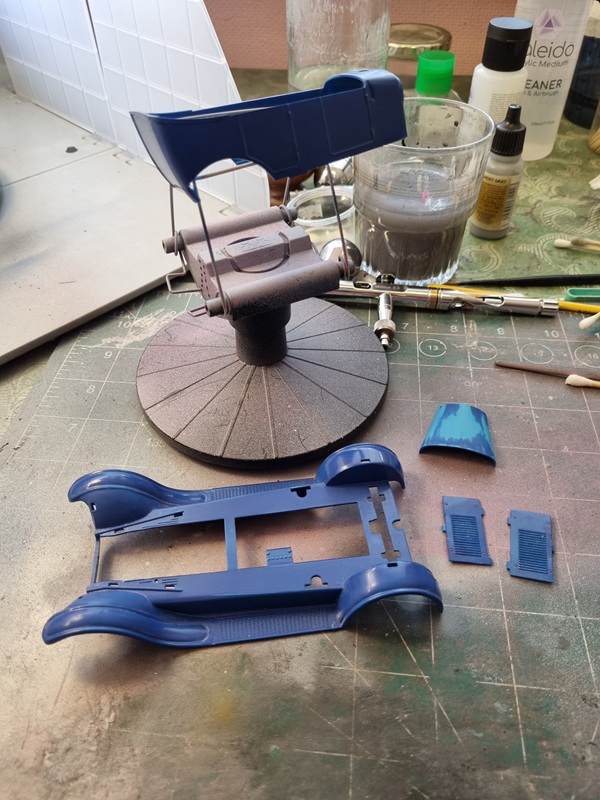
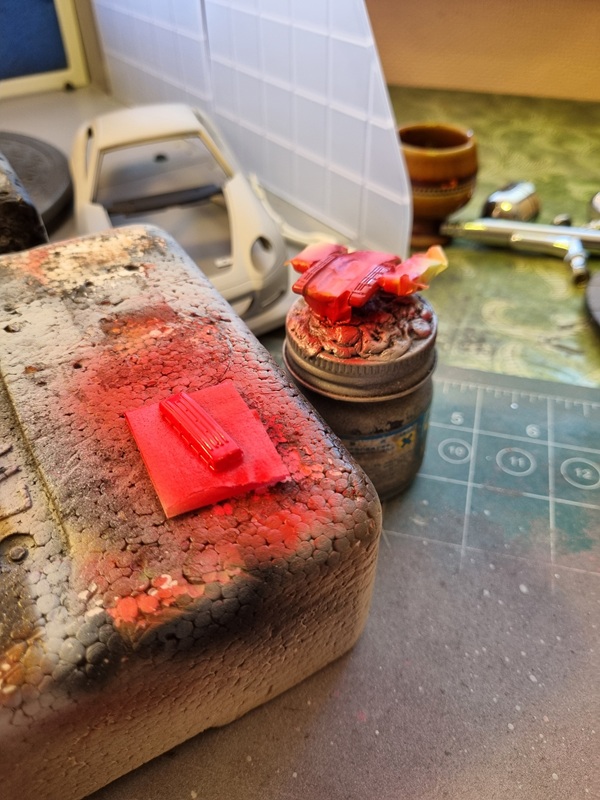
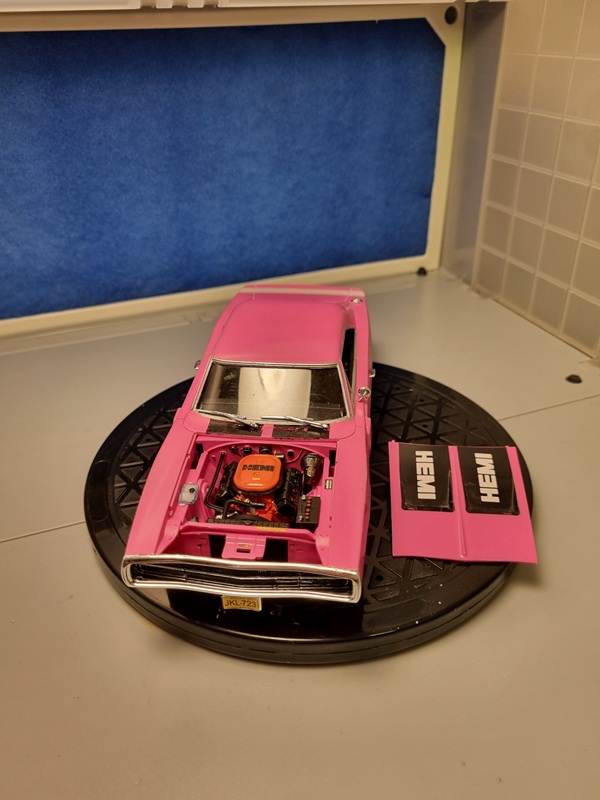
I bought Stl files for the trunks in the back and a friend printed them for me.
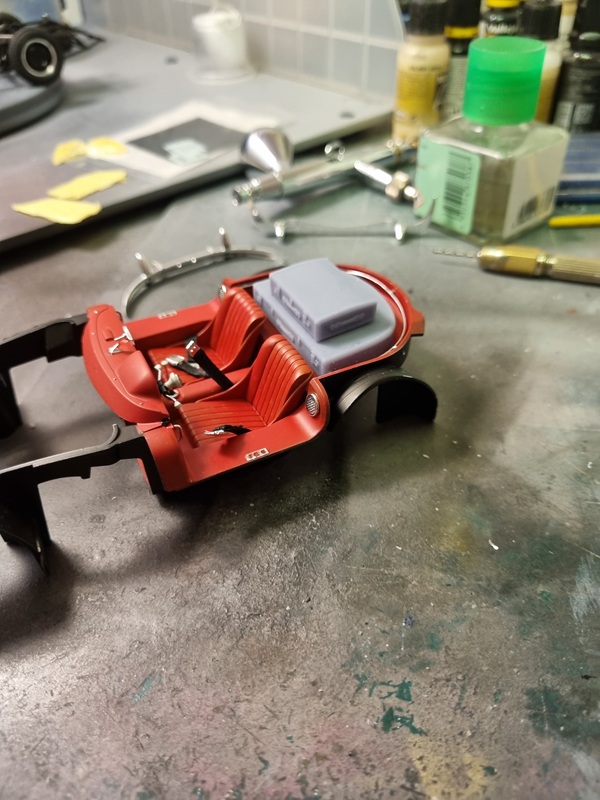
Looks like they fit nicely!
The trunks are held by straps and in order to make that work I had to add another bar in the front.

I’ll sort the chrome and straps later as well as painting the trunks probably red with details in black and chrome.
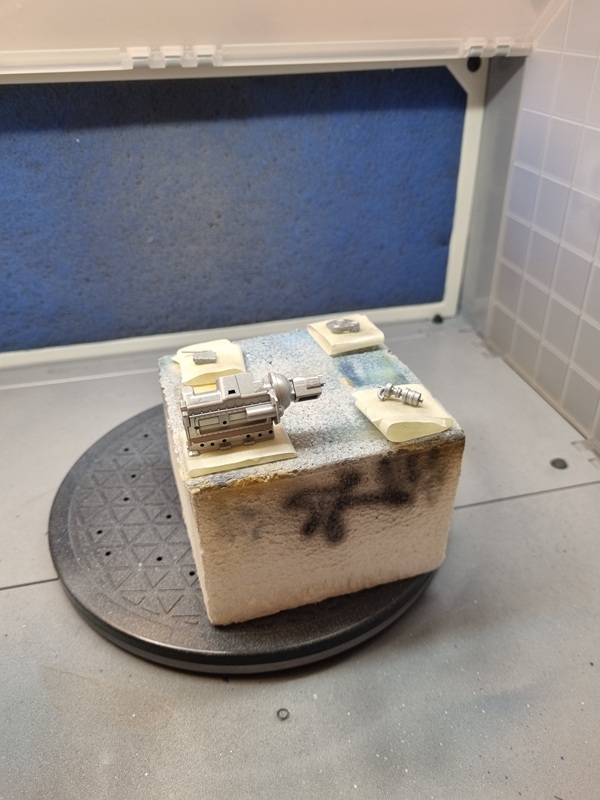
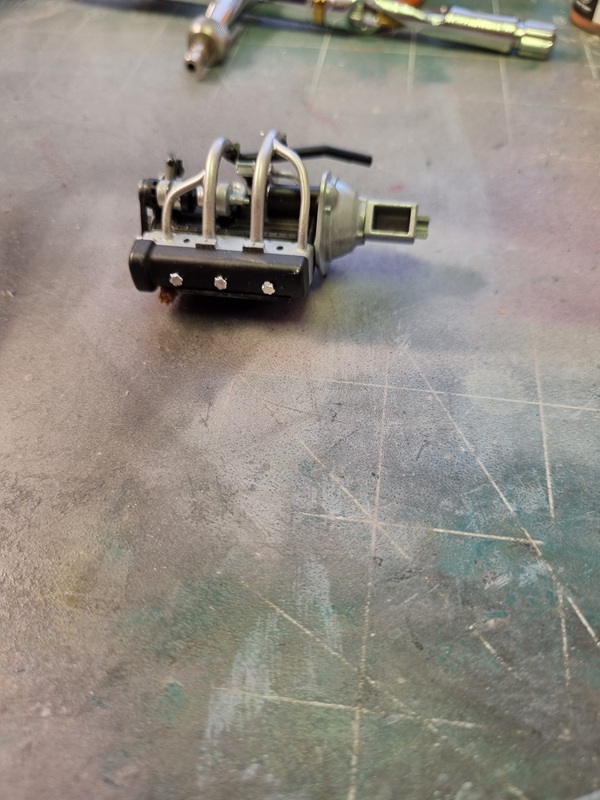
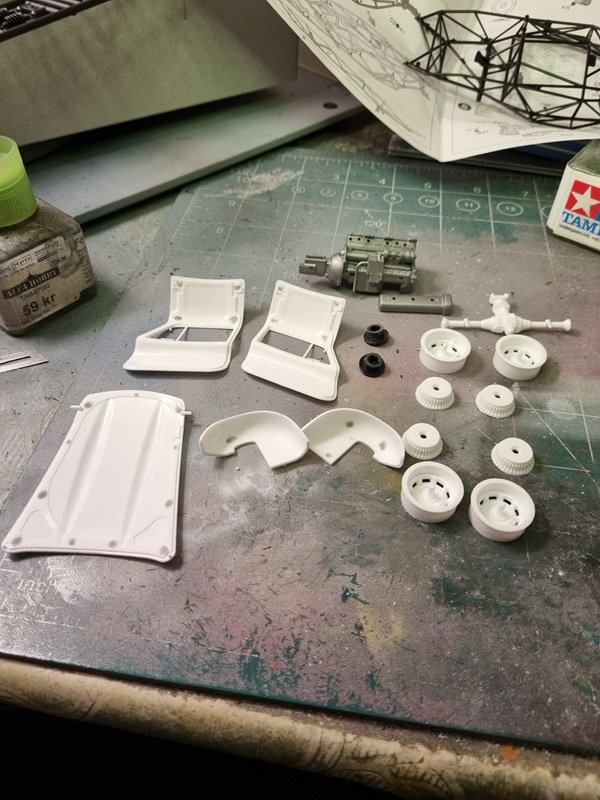
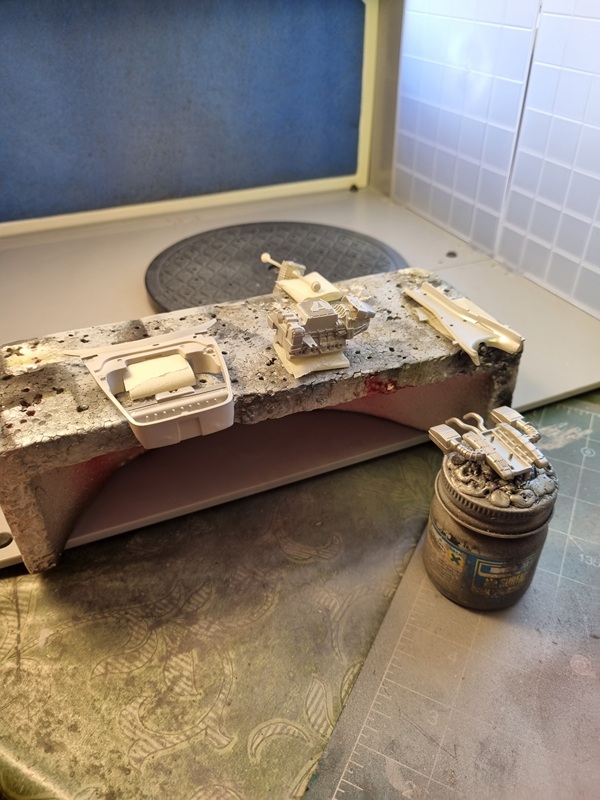
I did quite a lot of painting of small parts on this kit. The engine got painted in aluminium.
Many parts was painted semi gloss black.
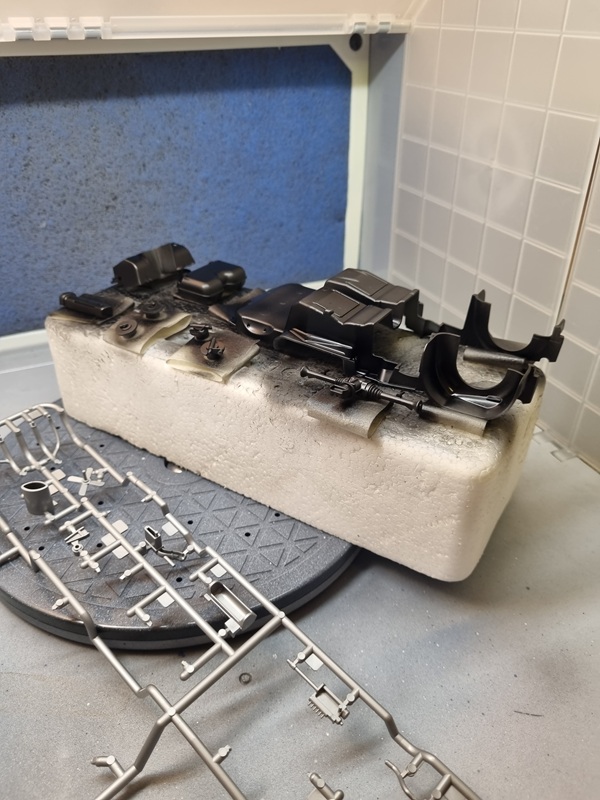
Then the frame and some other parts was painted gloss black.

More semi gloss black.
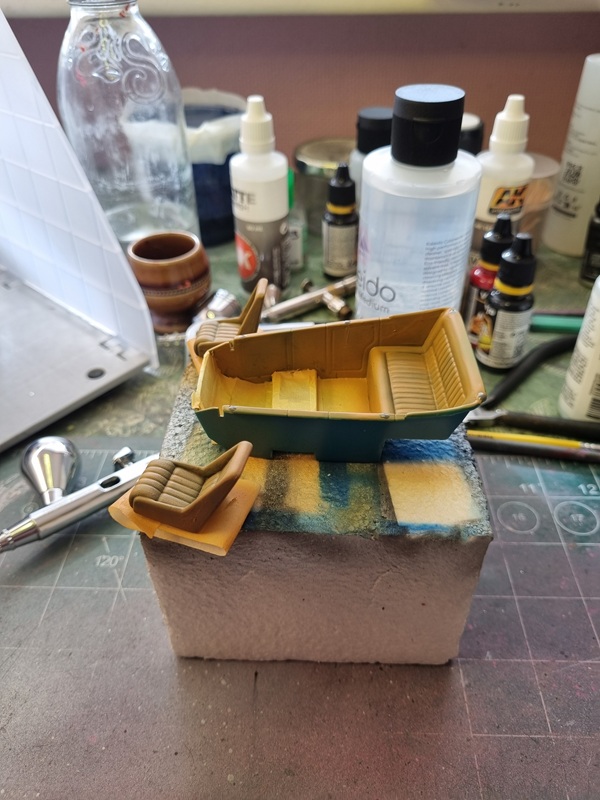
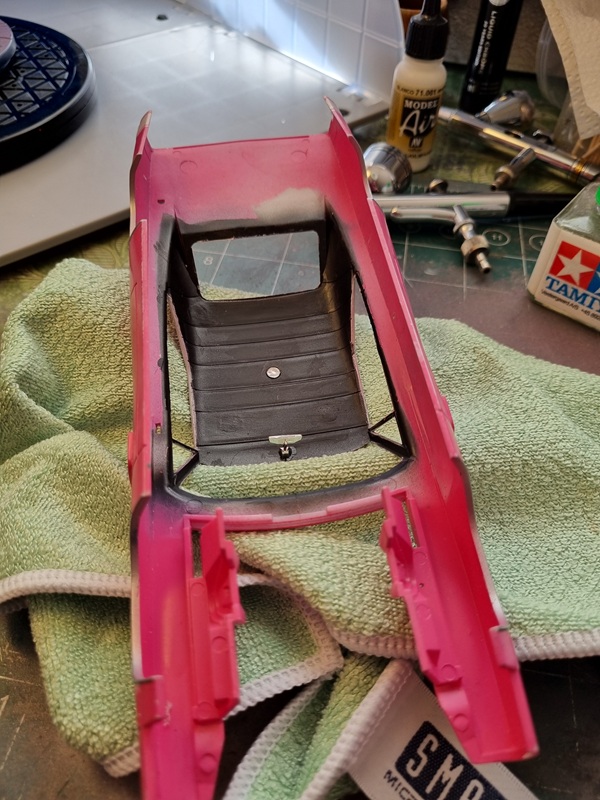
The interior parts was painted red.
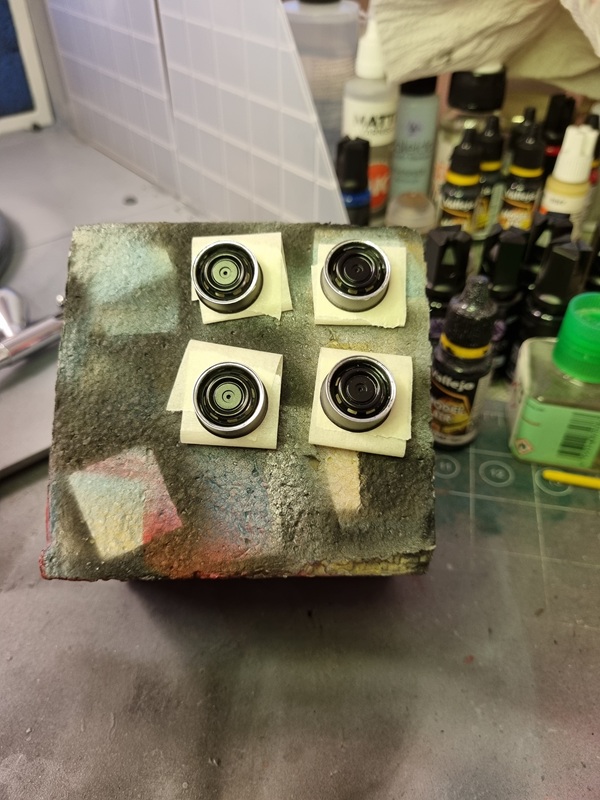
Rim trim was painted with chrome.
The masking tape was removed from the interior tub.

After all painting it was nice to do some assembly. First the engine.

The engine was put in the frame and som details was added to the firewall.
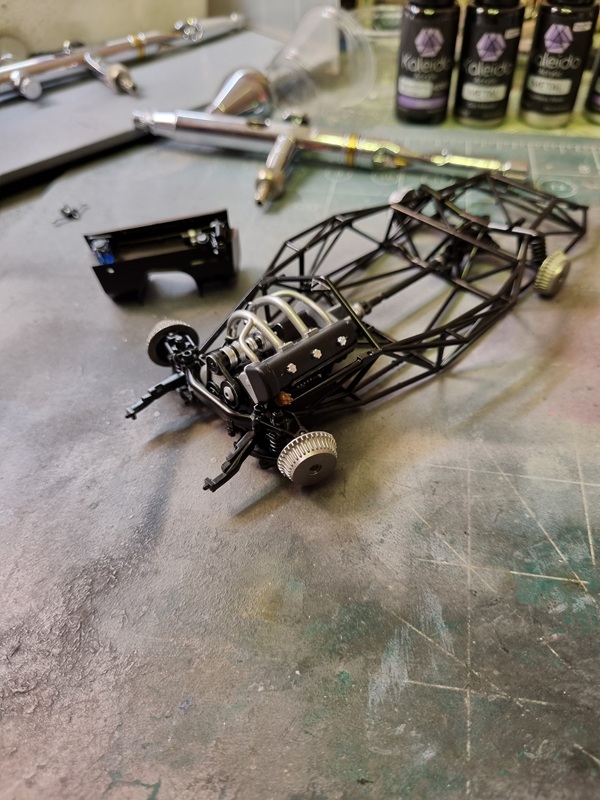
A few more parts like the radiator and hoses was added and that finished that part of the build. The only parts missing are the tires, but I’m not done with them yet.

I started assembling parts of the interior.

I decided to re-paint the steering wheel and the other parts with the same colour.
I’m also working on the instrument panel. I guess the hardest part will be to paint the bezel rims and other small details with chrome.
I got this kit as a birthday gift from my youngest son earlier this year.

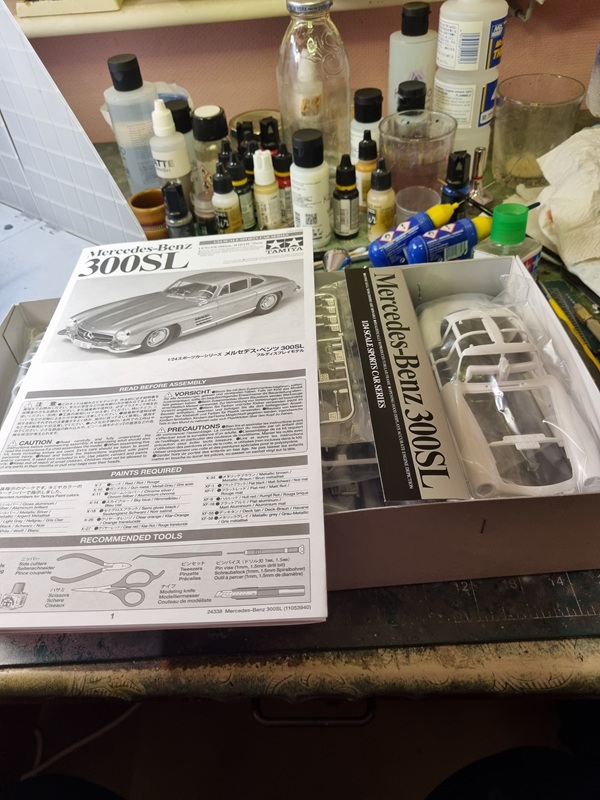
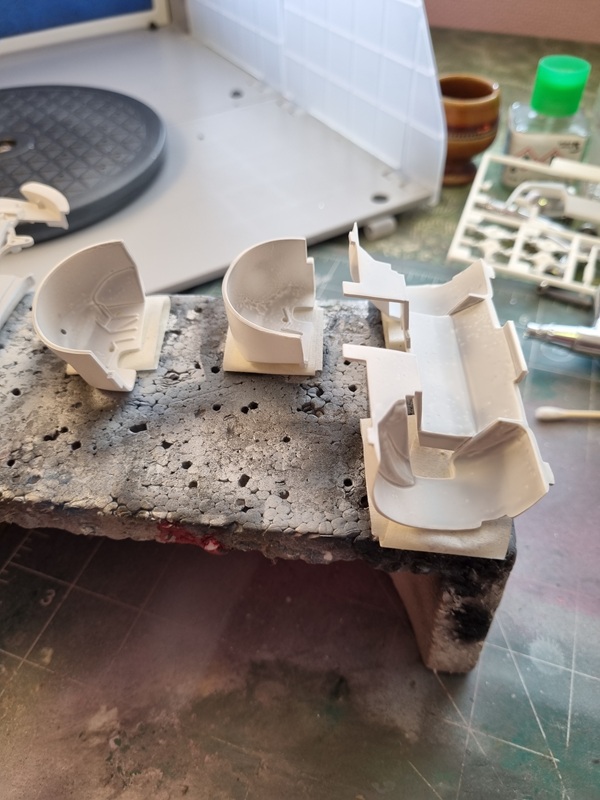
I started by cleaning up the body.

The frame was built!

Some other parts was cleaned up and ejection pin marks was sorted. Part of the engine was built.
I have this Master Box kit that I plan to use if I can make her fit the seat.

Not all kits have doors that can open like that.
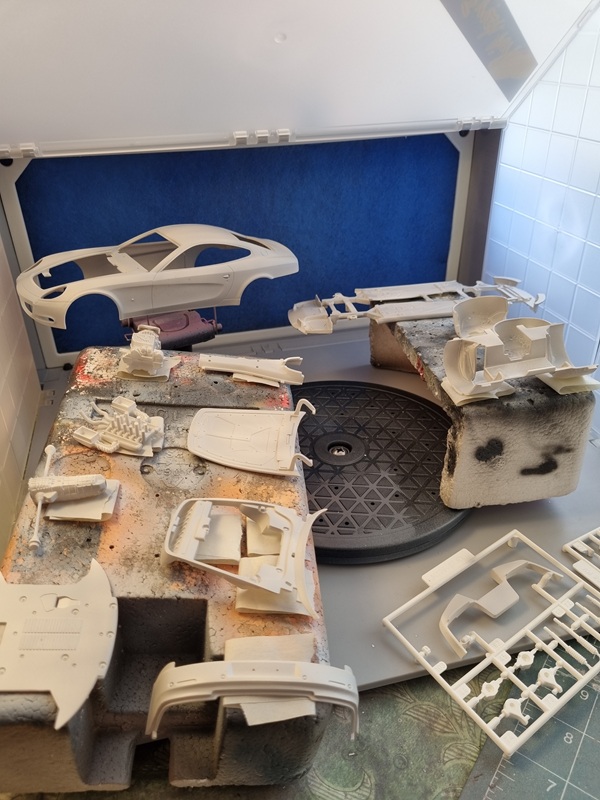
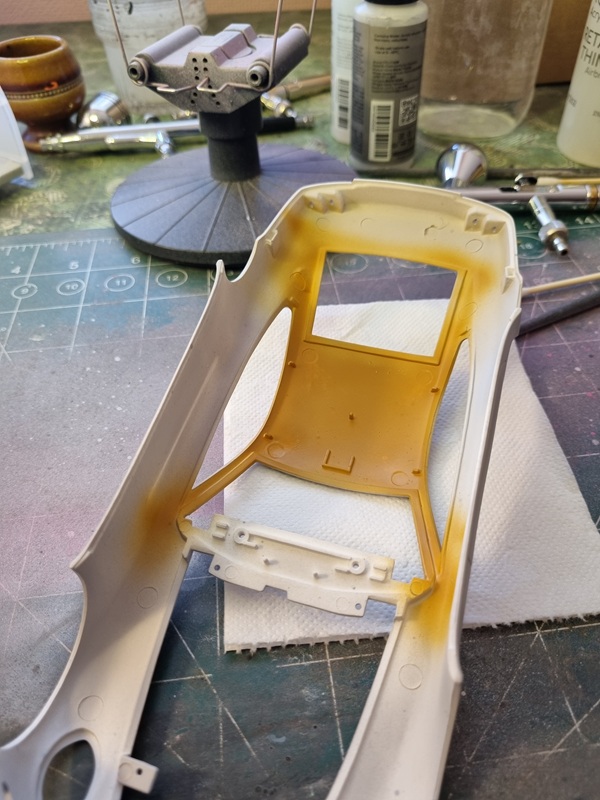
I primed quite a few parts and the body.
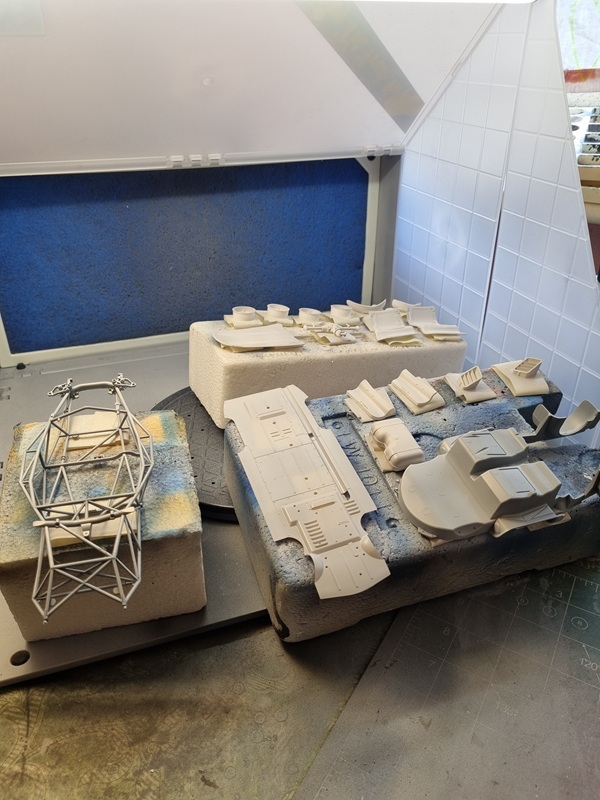
Some more parts needs to be prepped and primed but I didn’t have more places to put them.
Yesterday I added the steering column and the top radiator hose.
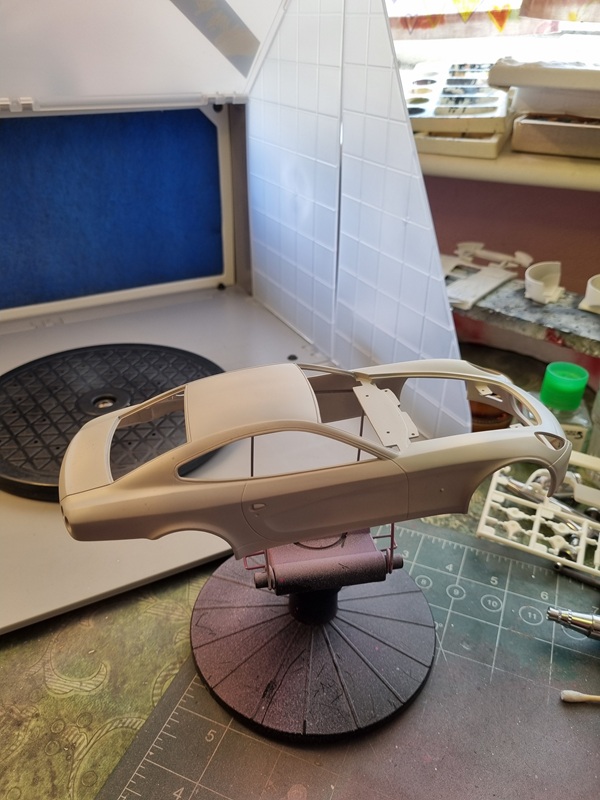
Then I checked so I could fit the body before sliding in the interior tub.
Most of the things in the final assembly is glued with super glue.

The hood and sides are just put in place.Looks like they fit good enough to just sit there.
Next I glued the seats and steering wheel. Front and rear lamps was glued in place and also the front window.
The rear window was glued in place in the cabriolet roof, and put in place.
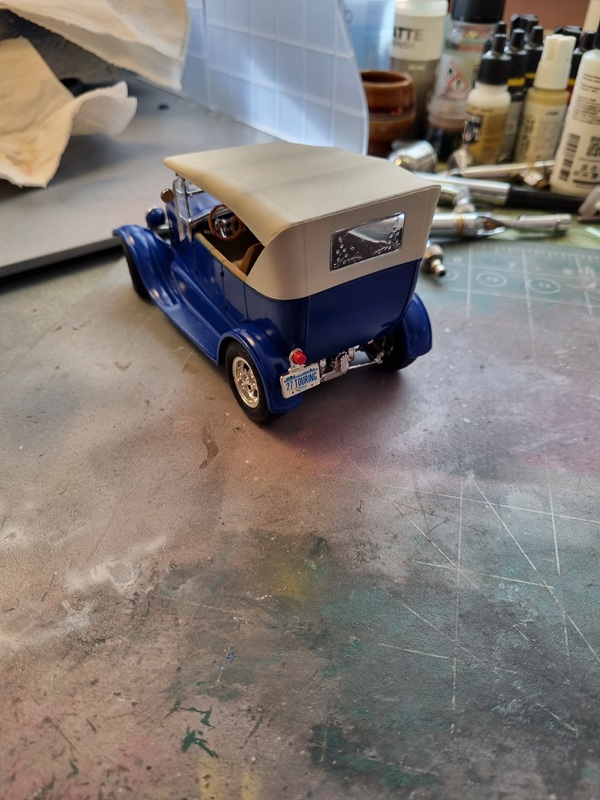
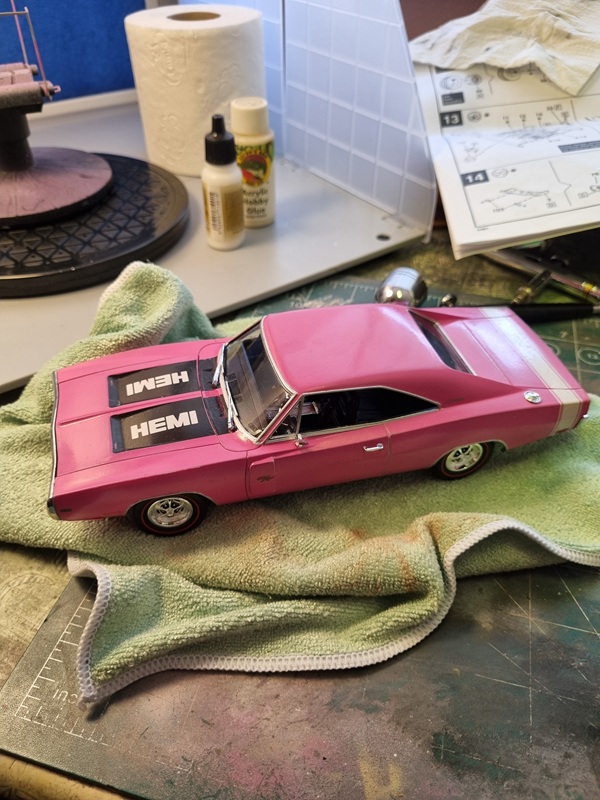
And with that the car is more or less finished.
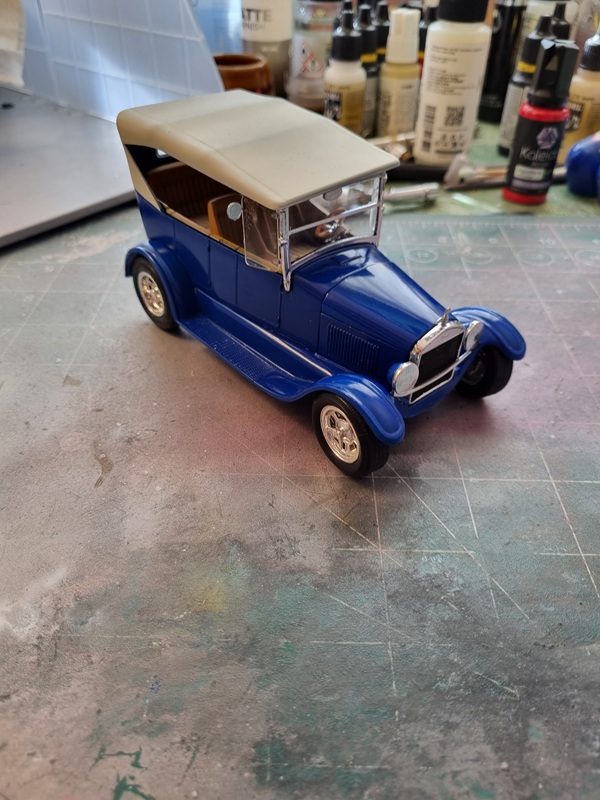
The only thing left is to touch up some chrome spots and do a wash or something over the head lights to distinguish them from the chrome.
I’m quite happy with how it turned out and how well and easy my new colours worked.
I gave the body parts a clear cote but forgot that the decals should have been added.

I think the clear cote looks very nice! Sadly the decals didn’t even come off the sheet, so I had to skip them.
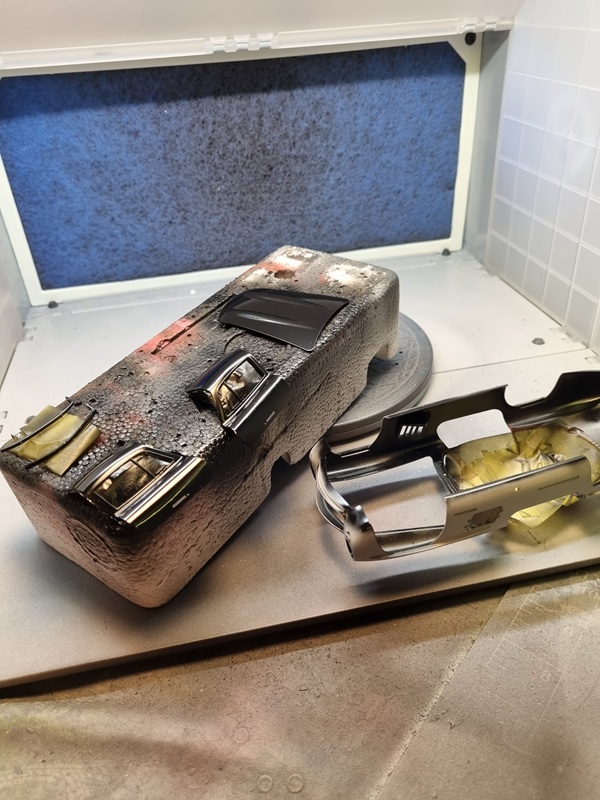
I started with the interior, painted the gas tanks with chrome and a few parts on the other side.
I polished some flaws and gave it one more clear cote.

Nice and shiny! Still some dust and other small flaws which I sorted later.
The interior got the second colour. I opted to go for the same colour I’d used on the Ferrari.
After painting I noticed a few small ejection marks that I filled with sprue glue.
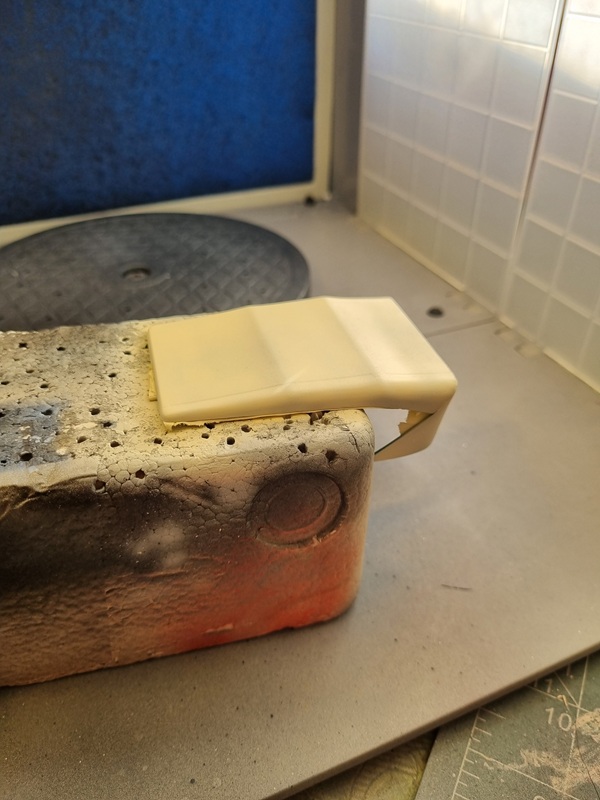
The cabriolet roof was painted in a kind of beige colour.
Some details was painted black and then some in aluminium, and I also painted the bottom of the tub blue to match the rest of the car as parts are visible underneath.

The rear ends of the exhausts and the air filter was painted with chrome.

Just to see how it would look, I polished the hood.

I had already started the frame, and now I finished it. I had to change the order a bit to make it work.

I then polished the rest of the car.
I’m quite happy with how nice it turned out!
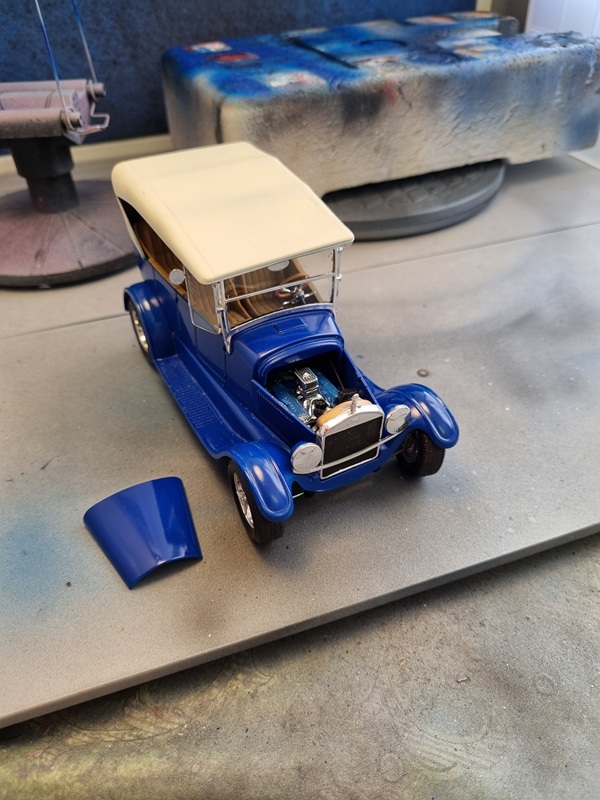
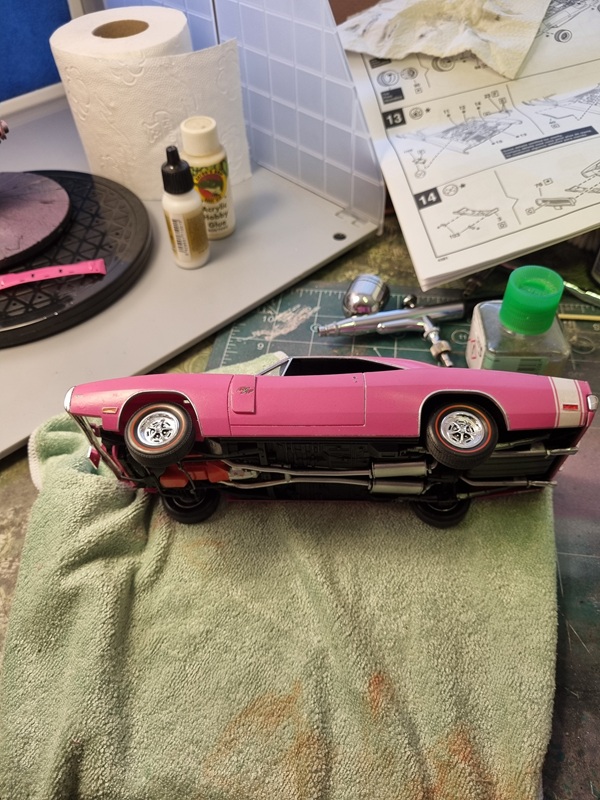
Time to start the rest of the assembly. Wheels went on and then the frame and lower body was mated. I also assembled the rest of the engine and then the radiator.

Just a few details missing, then it’s time to put interior and the rest of the body in place.
I started this build many years ago. I used Humbrol to paint the body, but wasn’t entirely happy with the result, so I put it aside.
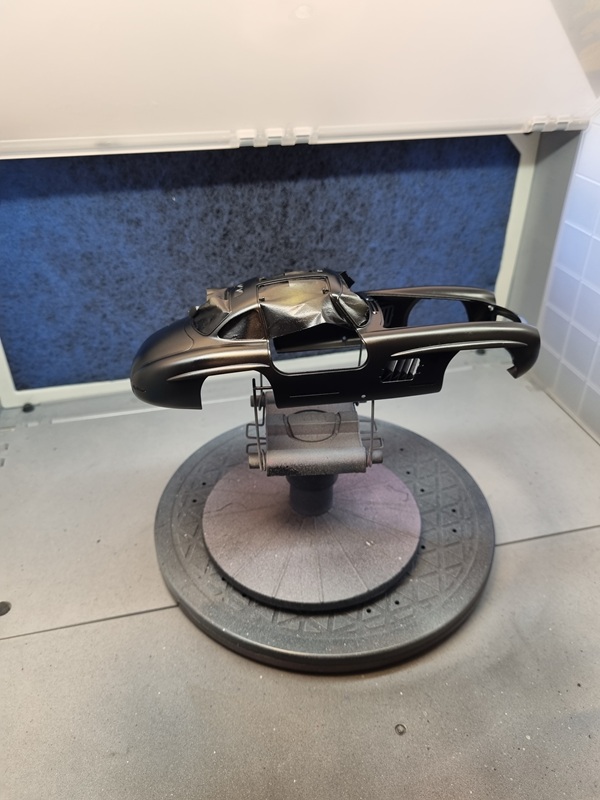
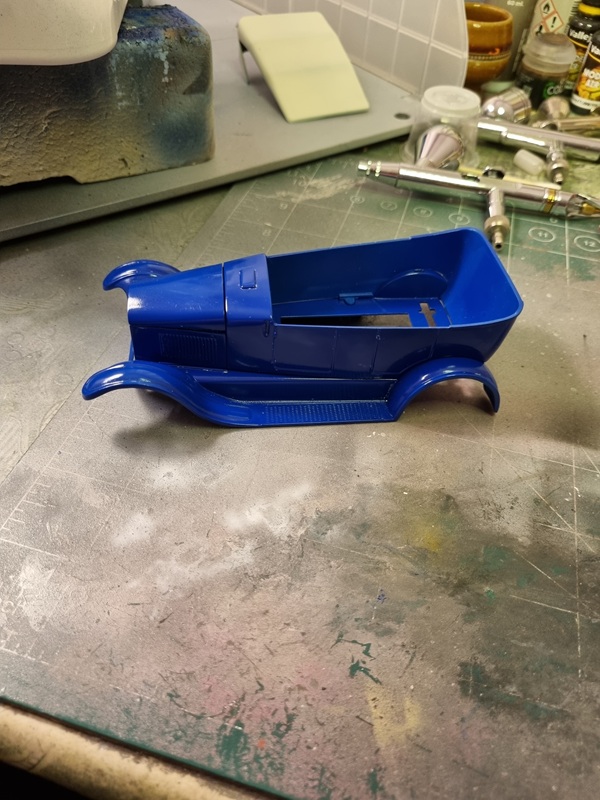
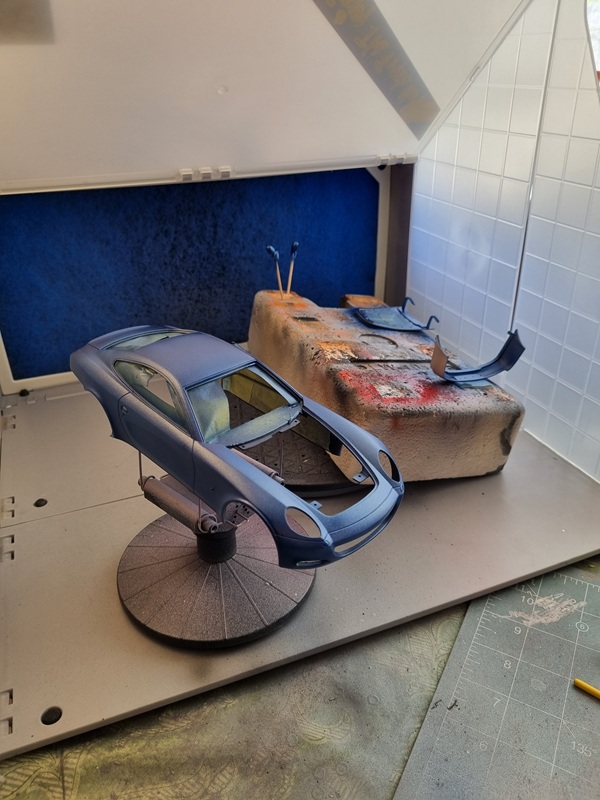
Since i got my new Kaleido colours, I wanted to try painting one of them on a whole car instead of just some small parts. I decided to go with the mid blue colour.
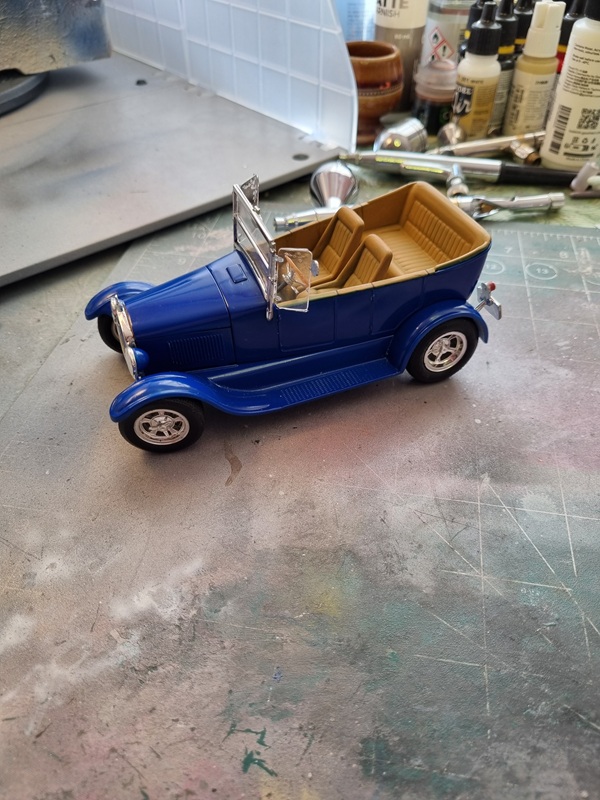
Here’s hoe it looked before I painted it.
Then I used the new paint.

I think it turned out looking quite nice, considering that I’m a newbie when it comes to painting cars. I wasn’t happy with the side covers, so I’ll sand them smooth and re-paint them.
Hopefully I can try the gloss varnish in a few days.
Also I hope I can find the box with the rest of the parts so I can finish it later.
I did some detail painting and then assembled most of the interior. I painted 2 stripes of tape black and put them on the back seat as belts. I also cut 2 pieces of plastic that was added to the belts and painted.

Almost done with the interior. For some reason I’ve lost a small part that goes between the steering wheel and the column. I might need to try and scratch build that part.
The decals are also missing. The kit have been opened and then been laying around for at least 15 years. Possibly I could find another kit and copy the decals.
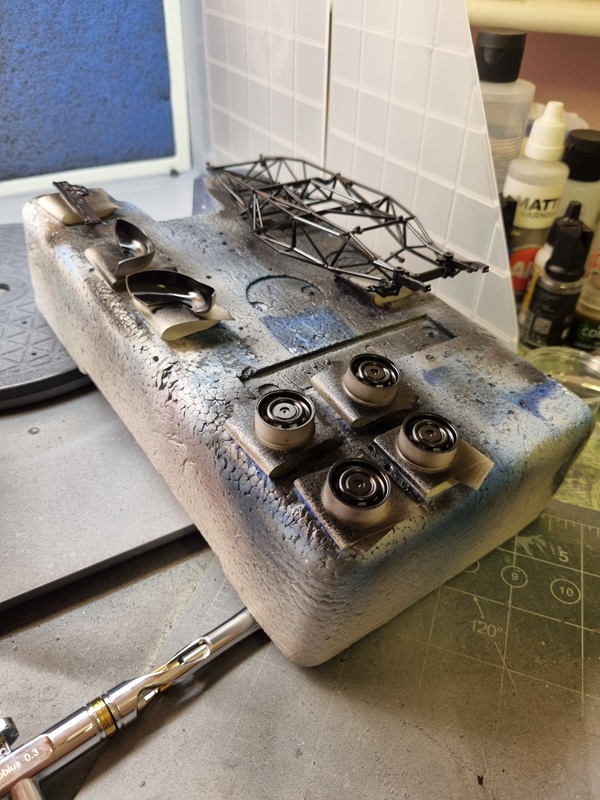
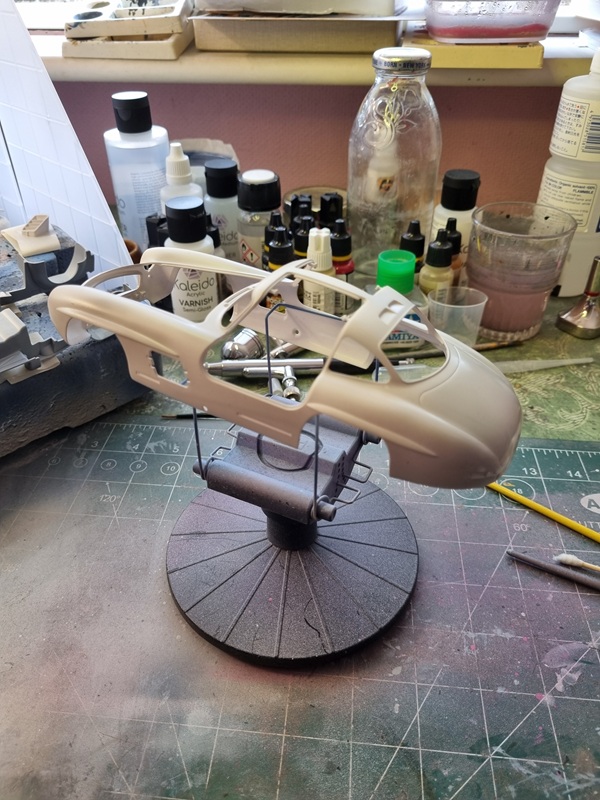
Some time ago I ordered the new Kaleido colours from Gaahleri. A whole set for automotive painting. The first colour I tested was the grey primer. I had a few problems at first as the primer probably is a little thick for a 0.3 mm nozzle, and I had to thin it down a bit.
First layer looked like this.
I sanded down a few splotches and other mistakes and applied new primer.
The next colour I tried was the aluminium paint.
Maybe hard to see but it actually looks very nice!
Then the inner roof got leather colour.
Once that was dry I masked it off and painted the mix of black and dark grey.
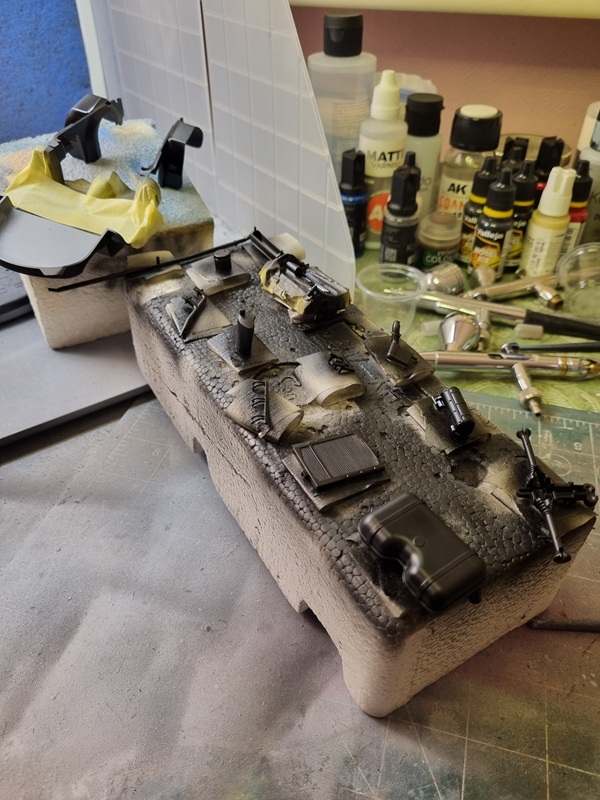
Some of the engine parts was painted with stainless steel from the new set, and the valve covers was painted with Italian racing red. To me it sure looked very nice. Some more parts was painted with different tones of grey and black.
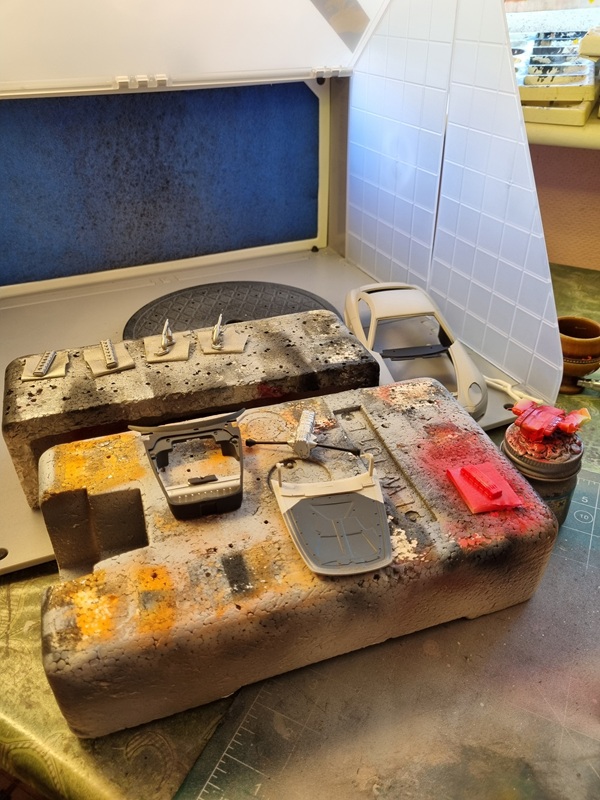
Close up on the valve covers.
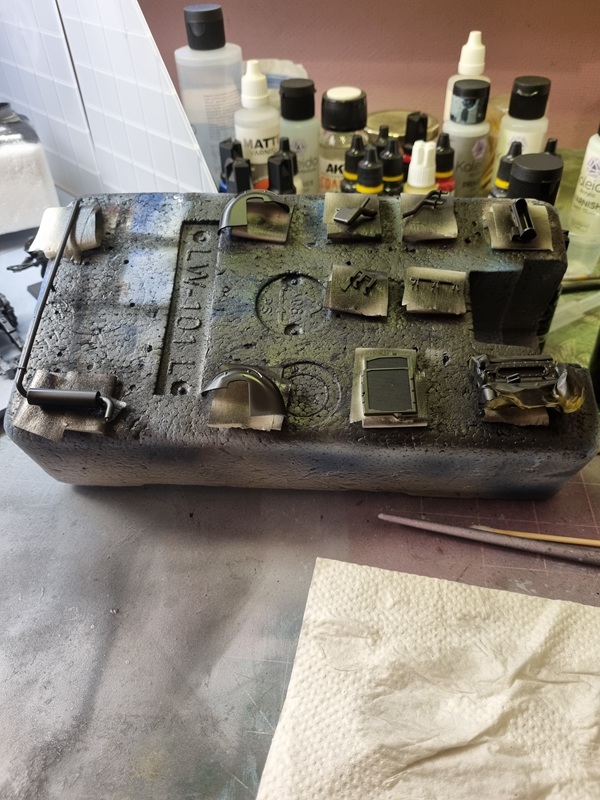
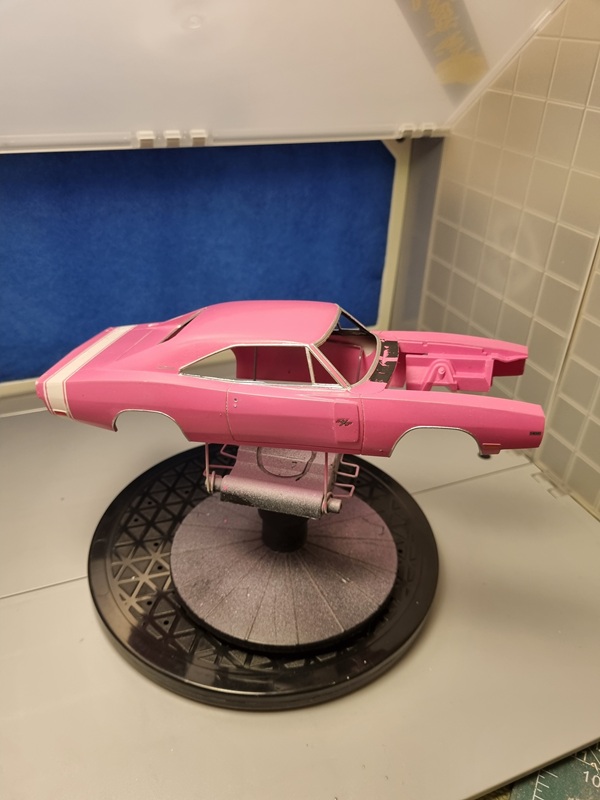
Lastly I masked the interior and painted all parts that I know should have body colour.
Turns out the colour that I bought at the store wasn’t acrylic as I thought, but instead some kind of emeral or laquer that needed stronger thinner. Gunzes Mr Thinner worked well for this.
On the pic it looks quite nice, but at a closer inspection some sections was a bit lighter and will need another layer to get even cover. That is something I need to practice. I’ll probably need an airbrush with a larger needle and nozzle to get a wider spread when I paint.
The hood and rear bumper also needs to be painted on the other side. Once that is done, I’ll let it dry for a few days before I try to lay down the 2k clear cote. That’s something I’ve never done before. I just hope that I can get a nice even and hopefully glossy looking cote.
Perhaps I shoul find something to practice on first!
This will be the last update before the final reveal pics.
I think this is as good as it gets.
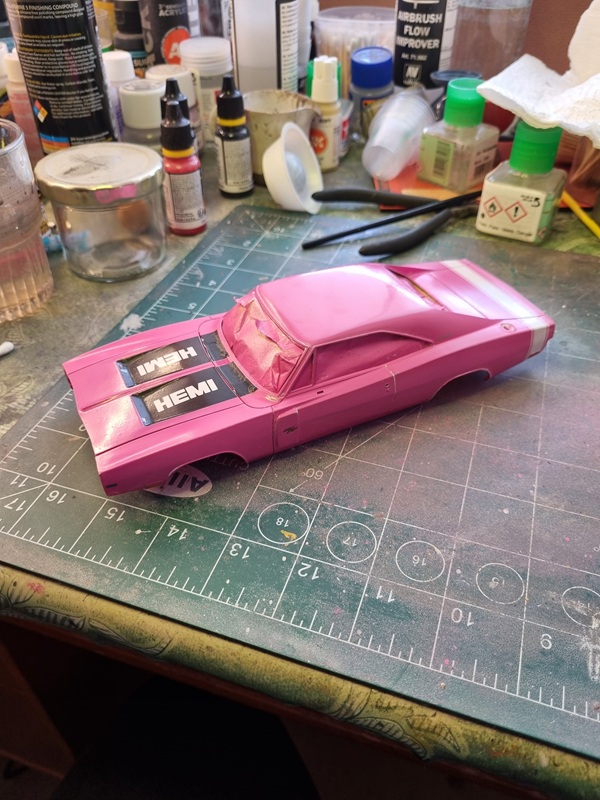
I masked the entire car in preparation for painting the chrome trim. After paint it looked like this!

There’s alway a risk that paint seeps through, but it was successful.
Not quite as successful was that part of the black decals got ripped off and the clear cote on the rear stripe got damaged.

I should have known and I should have protected the decals, but kinda forgot.
I painted black on the front and filled in the damage, and used some clear cote to fill in the damage on the rear end.
With the tape gone it was time to progress with the build. After sorting a few spots on the inside roof, I painted chrome where the light should sit and added the main rear mirror.
Then I glued all the windows in place.

Once that was dry, I mounted the chassie with the body. Not entirely easy as the firewall needed to fit in its slot at the same time as I tried to spread the body to fit over the chassie.

With that done I could proceed with the underside.
I decided to mount the wheels first, which turned out to be a good idea as the metal rods had a hard time to fit and I had to drill the holes out a bit. That would have been harder to do with the front and rear end in place.
The exhaust system also caused a bit of a problem as it wasn’t entirely straight. So I had to glue one end first, let dry and then push one side down while glueing the rear end.

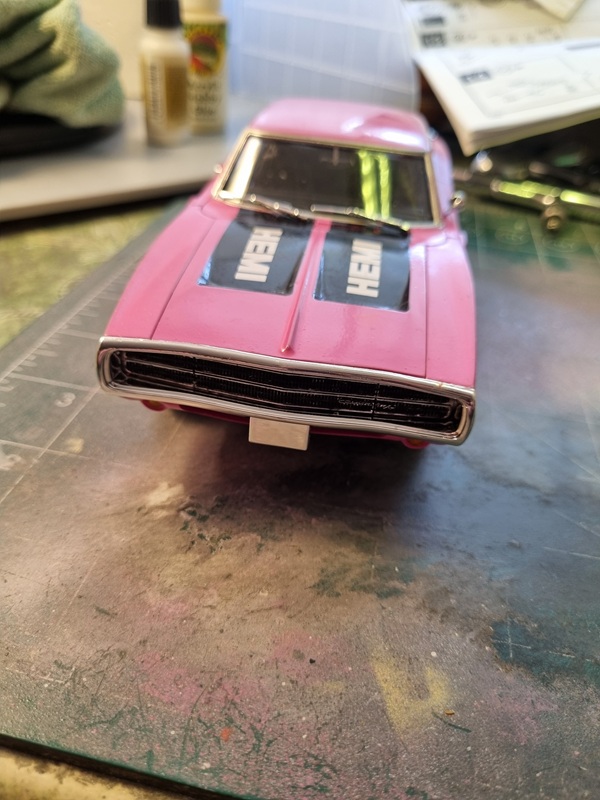
Next thing to mess up was the cooler and the wall it sits on. It needs to be pushed in from the front and then the fan pressed against the cooler. With some tlc and slight violence it finally got in place. Once that was in place I could glue the rear end and the grille in the front. Here it’s laying on the side as I had to paint one of the reflexes red.
Windshield wipers, battery and some other parts was glued in place.

All parts in place! 🙂
At this point the only thing missing was a few decals and the license plates.Which I sorted a little later in the evening.
I’ll go over it and try to correct a few spots where the colour have been scuffed off. Then it’s time for the final reveal pics.
