Spitfire Mk1a – part 5

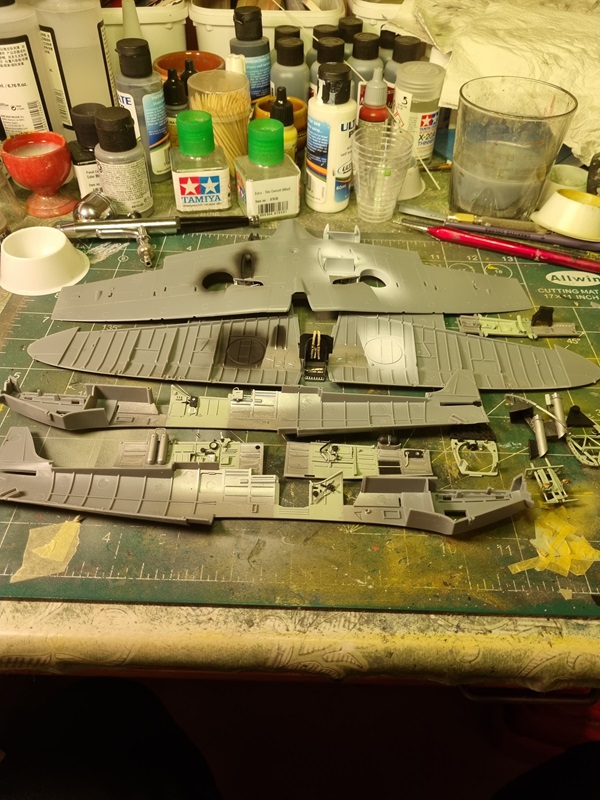
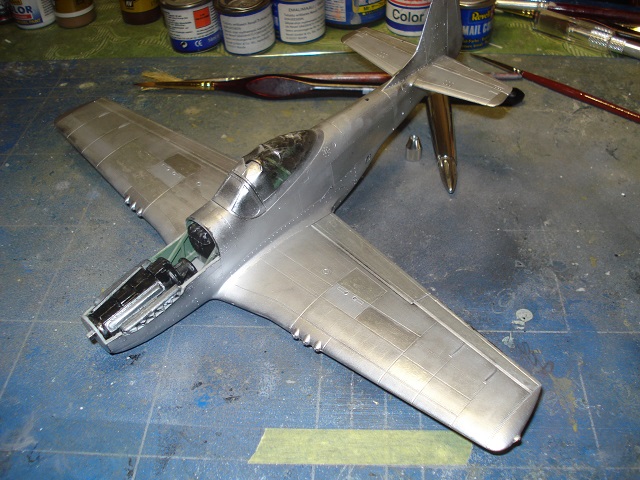
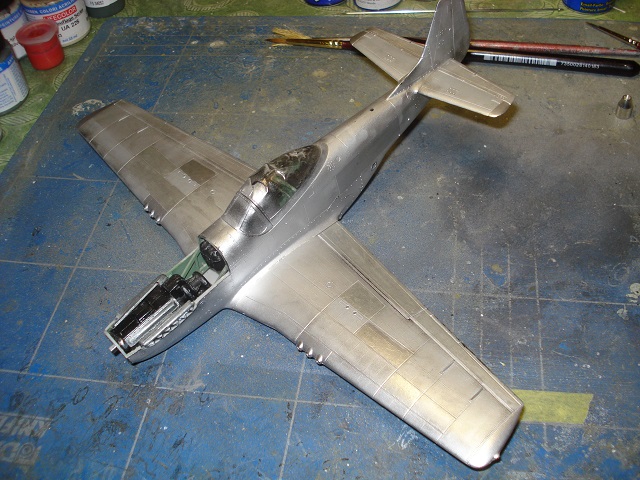
Some aluminium got painted.

I later added the glass to the spine and painted the bulb, but forgot to take a pic.

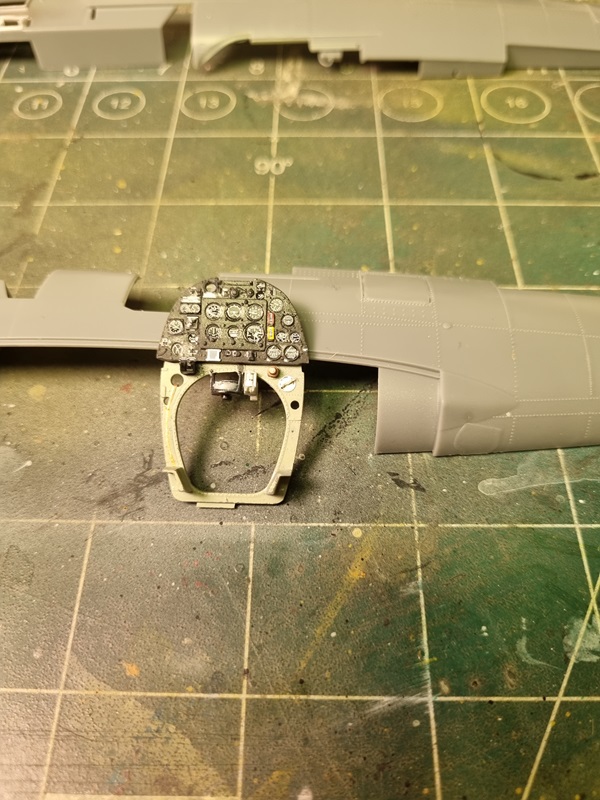
The instrument got a bit of kristal klear, but it hardly shows.

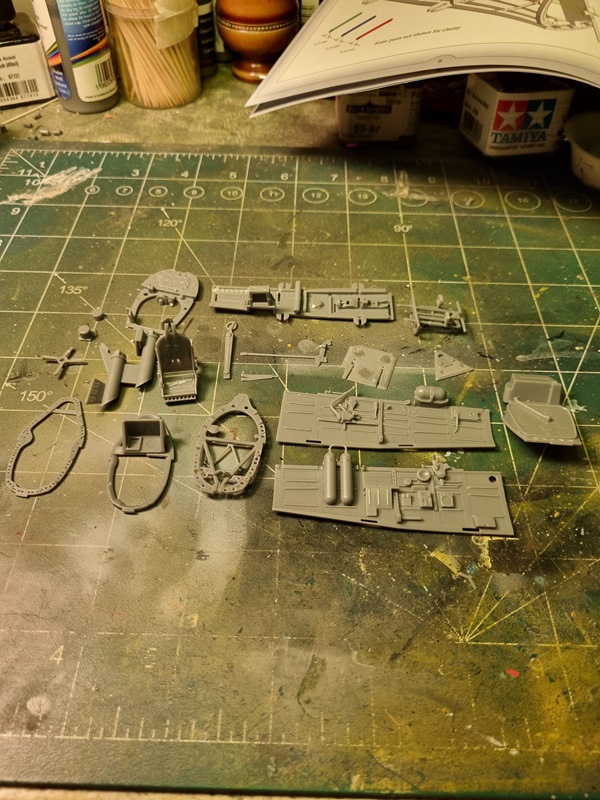
Then I started to assemble the cockpit.

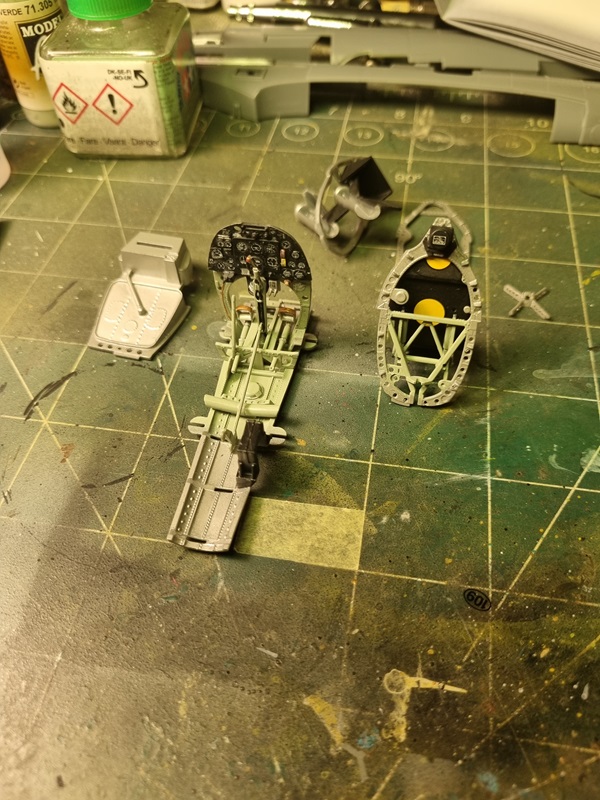
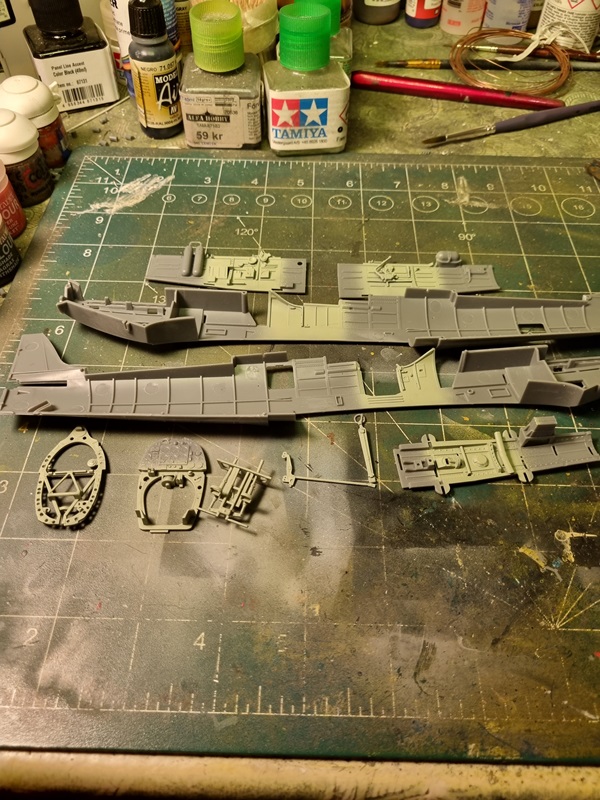
I started with the rigging. Using wire from a broken cable.

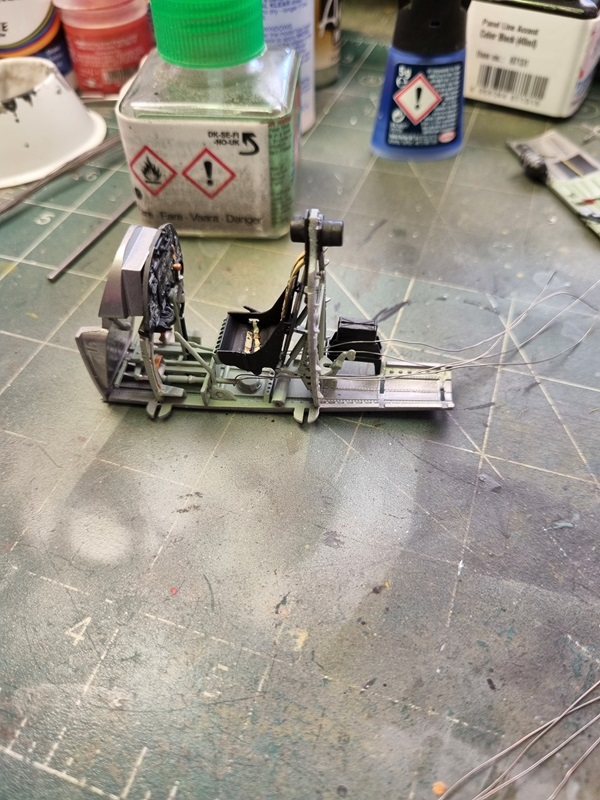
Adding bulkheads as I worked my way backwards. So far it looked alright.

While drying, I glued the upper wing halves.

I sorted the radiator and glued it in place.

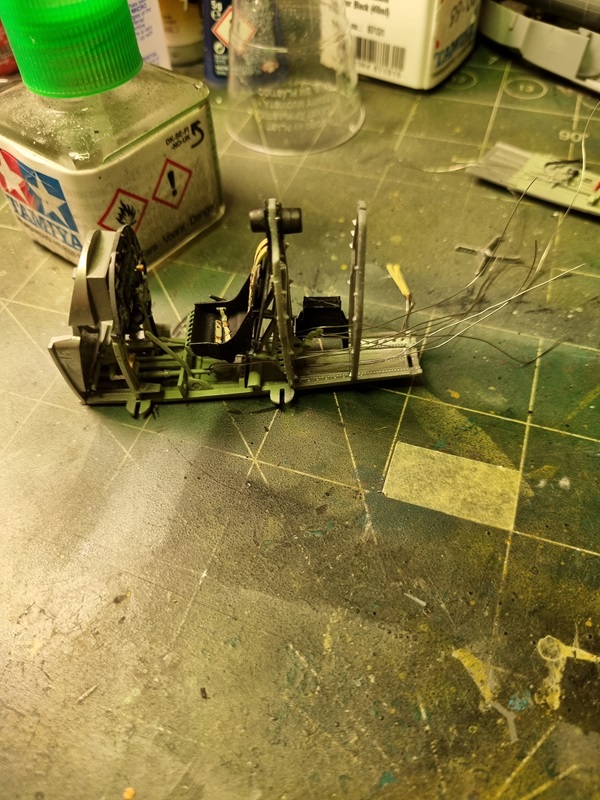
The rigging was quite messy, as it was hard to keep the wires straight.
I gave a few spots a little black wash, and if I’m not re-doing the rigging or something, I’ll start to put things together.

Not sure what else to use, unless I get some stretchable tread, but I guess it have something I’ll try on the next kit with internal rigging.

Spitfire Mk1a – part 4

The instrument panel got decals (most of them anyway).

Then the side panels.

It’s very nice decals with hardly no surrounding film at all. The problem is that some are very small, and some of them failed. The main most visible decals are there anyway.

Now I need to let them dry properly and the lay a protective cote of varnish over them. I’ll probably use kristal klear on the instruments to make it look like glass.

Spitfire Mk.1a – Part 3

Detail painting seems to take “forever”, but I’m getting there.
Even though the instructions are very nice, I had to check reference pics on the internet.
I’ve also started working with the wings, and painting the visible areas.

I need to find the proper colour for the tubes and a few other details, and I also need to add quite a bit of decals to both the instrument panel and side panel details.

Spitfire Mk.1a – Kotare 1/32

I started this as my probably last project this year. Not sure I will be able to finish this year though.
As usual it starts with the cockpit. There’s a lot of parts to the cockpit and cleaning them up took a while, even if the parts are very nicely cast.
I’ve also glued a few parts together, but the rest have to wait until after they’re painted.

There are a few more parts to sort and the side walls should also have a few parts glued to them. I had to sort a few ejection pin marks as they will be visible and I think one decal goes on the back of the fire wall.

Not sure how much will be visible after the cockpit is inserted into the fusalage.
This is how far I got the first evening.

P-51D Mustang, 1/48, part 4

Time for some decals. Adding the flash stripes took some work. I had to put the ensignia first, and then cut and place the stripe, trying to make it look as it passed under the star.

p-51d_mustang_bbd_48th_decals_1

Star and flash stripe added to one side. It took a while to get the flash right. I also added the stripe with the exclamation mark on the fin.

p-51d_mustang_bbd_48th_decals_2

Still more decals to do, but starting to look pretty good already.

Håkan


P-51D Mustang, 1/48, part 3

The wings and stabilzers needed some black stripes, but first some olive green on the top of the engine hood.

Olive green painted and unmasked

Olive green painted and unmasked

p-51d_mustang_bbd_48th_black_bands_1 p-51d_mustang_bbd_48th_clear_cote_2

It maybe doesn’t show in the pics, but the stripes needed som extra attention as the tape ripped off some of the black paint. It turned out to be somewhat of a problem, and I ended up filling in the missing spots by hand. It just have to do as it is.

Next will be decals.

Håkan


P-51D Mustang, 1/48, part 2

I added the engine hood, painted it silver and started masking off areas around.

Engine hood added

Engine hood added

Then I masked for the olive green on top of the hood and front of canopy. Here it is painted and unmasked.

Olive green painted and unmasked

Olive green painted and unmasked

After that I clear coted the entire plane with future/pledge floor polish.

clear cote

clear cote

The main reason is to secure the paint and prepare for decals and further painting.

Next step will be painting stripes and start adding decals.

Håkan


P-51D Mustang 1/48 WIP

This is an old build that I picked up, mainly to test metal paint for another build.

The plane is a P-51D Mustang and originally intended to be Big Beatiful Doll, but I changed my mind, and will use the BBD decals for another build.

The plane was already painted with Humbrol 11 Silver, which gives a nice look, but the color has a tedency not to harden as it should, and becomes soft, leaving fingerprints after holding it a while. The remedy for this is to paint a clear cote over the silver color, which in this case also makes an excellent base for the special metal colors I’m about to use.

The colors I’ll use are AK interactives True Metal, which comes in tubes like those for oil or acrylic artist colors. As I understand it it’s kind of vax with metal pigments, and the colors can be polished once they’re applied.

I started out by masking areas of my choice.

Masked and ready for paint

Masked and ready for paint

True Metal can be applied with whatever means you like, brush, fingers, q-tip, or be diluted with white spirit and air-brushed. In this case I’ve chosen the latter option.

Actually I’ve already tried appling with brush ie hairy stick on some panels.

Panels painted with different nuances of metal color

Panels painted with different nuances of metal color

Colors polished.

Polished panels

Polished panels

In the pic above I’ve already unmasked and polished both the hand brushed and the air brushed panels. In my opinion, the air brushed panels are smoother, but both works and I think I managed to get a used look.

Next step will be adding engine hood and some more painting. I will also seal the metal with a clear cote.

Håkan