Sea Harrier FRS1. Hobbycraft 1/48 – part 1

I’ve started this build as a part of a group or buddy build, dedicated to the Harrier 50 year anniversary. I have both the Tamiya and Hobbycraft boxings of the same model, and choose the HC one to build, as the decals to the Tamiya kit had a yellow tone to the white areas. Having no replacement decals made it an easy choice. In retrospect I should have choosen differently, for reason that will be explained later in the build.

Anyway, as I had a deadline to follow, I had to get cracking with the build. As there was a bit of competition, with prizes included, pictures of the box and contents with some sort of time/date stamp was required.


Those pics were taken with my android, and not so good, but they filled their purpose.

The first things to be done is the cockpit and the engine. I choosed to not show the engine, but it still needs to sit there in order to hold the exhaust vents.

harrier_fsr_1_48th_engine_1

The engine was a pretty quick assembly.

harrier_fsr_1_48th_engine_2

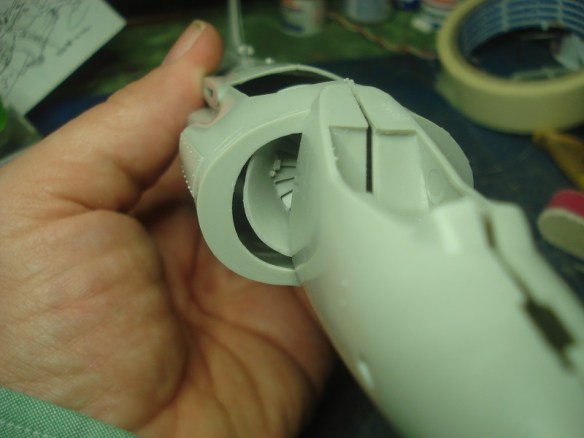
Sadly the fit in the fuselage, mainly to the intakes, wasn’t very good.
harrier_fsr_1_48th_engine_3

So I decided to do something to sort that. i started by cutting the location tabs, and cleaning up the intake cone. I also removed the tabs from the fan and cleaned that up too.


The alignment of the engine and fan cone wasn’t good, so I cut away the fan, so I could get that part sit right. I also glued the cone parts to the fuselage to get them to sit right.

harrier_fsr_1_48th_engine_8

harrier_fsr_1_48th_engine_9

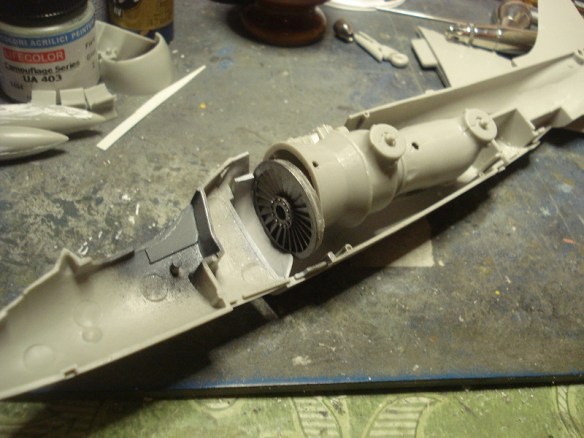
I painted the fan too, even of much of it won’t be seen once assembled.
harrier_fsr_1_48th_engine_10

It looks kinda crazy with the engine tilted that way, but it actually aligns with the openings for the exhausts. I don’t know if HC have made some error when copying Tamiyas kit, but in my point of view, it’s pretty possible.

Next up is the cockpit and fuselage assembly.

Cheers,

Håkan


Spitfire Mk XVIe, Airfix 1/48, part 2

Once the cockpit was done I could start assembly and join the fuselage halves.

Fuselage joined

Fuselage joined

Not entirely perfect fit, but not the worst I’ve seen either. Will require some putty, and eventually some CA glues to seal the seams.

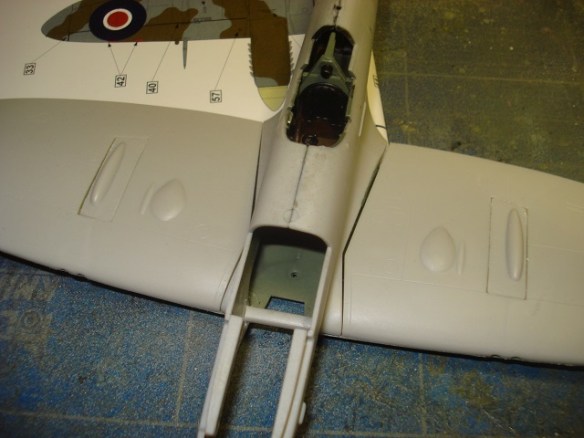
I’ve also glued the top and bottom wing parts, and in order to make them fit to the fuselage, I had to widen the body some with a sprue.

Sprue inserted

Sprue inserted

That helped some.

evident "gap" at root.

evident “gap” at root.

Some pushing slightly upwards, when gluing the wings, will help lessen the gap, quite a lot.

Håkan


Spitfire Mk XVIe, Airfix 1/48, start

As I decided to participate in a Spitfire groupbuild, I got this one going.

Snygg boxart

Nice boxart

Inside the box it looked like this:

opened box, pic 1

opened box, pic 1

pic 2

pic 2

It contains quite a lot of parts. Two sets of wings, wheels and propeller. Probably to make different versions, but only one set of wings is needed for the supplied decal options. The choices are either one of two Mk IX or one Mk XVI with clipped wingtips.

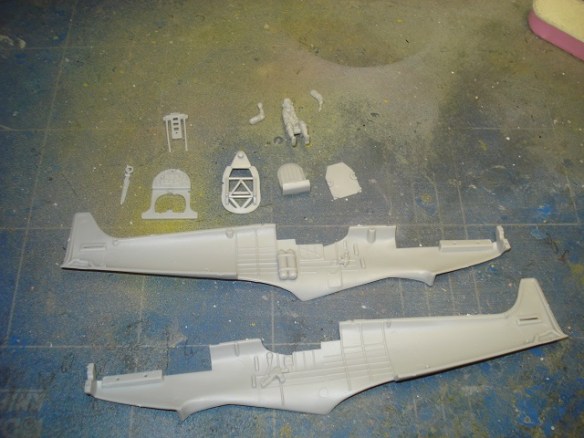
The first thing I did was cutting away all cockpit parts and both fuselage halves.

Cockpit and fuselage parts

Cockpit and fuselage parts

All parts cleaned up and ready for paint.

Håkan


P-51D Mustang, 1/48, part 4

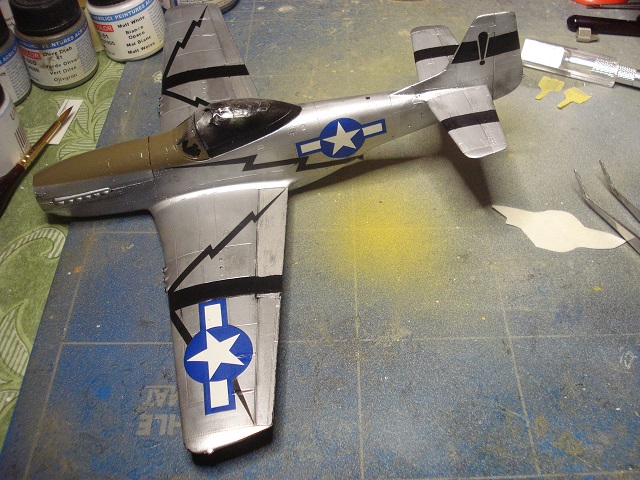
Time for some decals. Adding the flash stripes took some work. I had to put the ensignia first, and then cut and place the stripe, trying to make it look as it passed under the star.

p-51d_mustang_bbd_48th_decals_1

Star and flash stripe added to one side. It took a while to get the flash right. I also added the stripe with the exclamation mark on the fin.

p-51d_mustang_bbd_48th_decals_2

Still more decals to do, but starting to look pretty good already.

Håkan


P-51D Mustang, 1/48, part 3

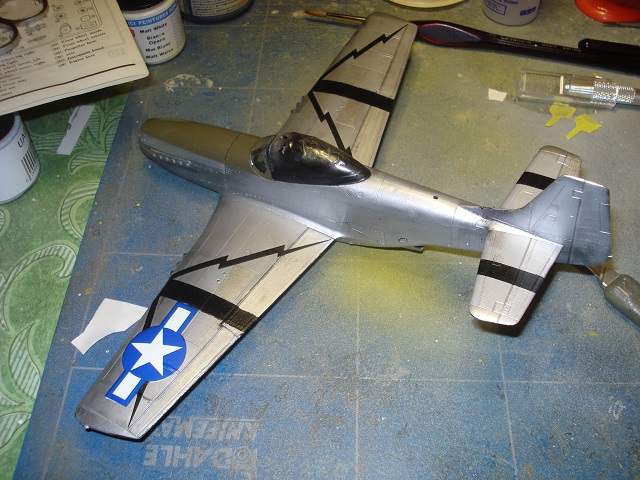
The wings and stabilzers needed some black stripes, but first some olive green on the top of the engine hood.

Olive green painted and unmasked

Olive green painted and unmasked

p-51d_mustang_bbd_48th_black_bands_1 p-51d_mustang_bbd_48th_clear_cote_2

It maybe doesn’t show in the pics, but the stripes needed som extra attention as the tape ripped off some of the black paint. It turned out to be somewhat of a problem, and I ended up filling in the missing spots by hand. It just have to do as it is.

Next will be decals.

Håkan


P-51D Mustang, 1/48, part 2

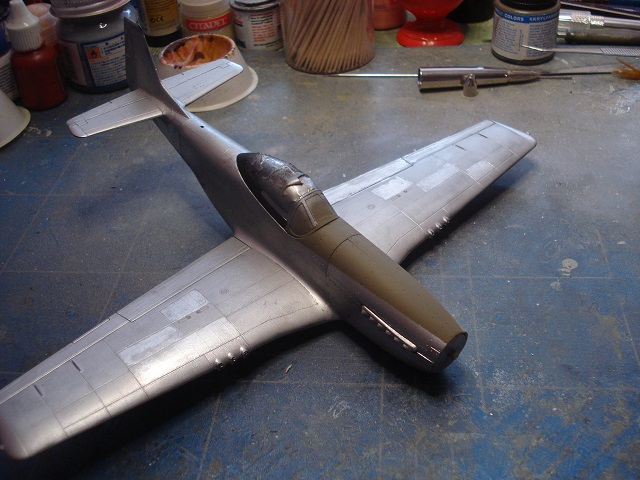
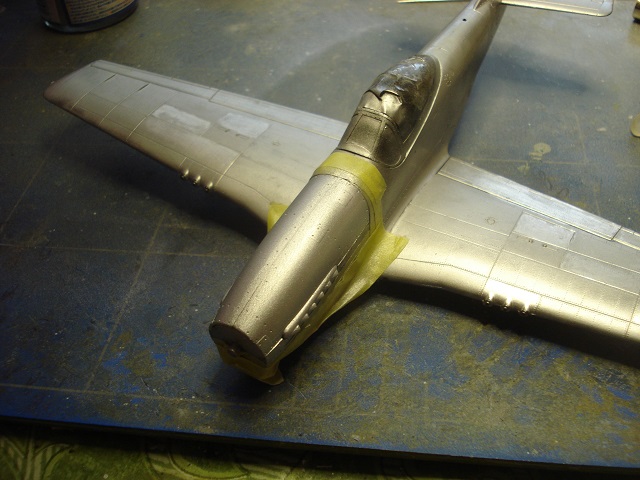
I added the engine hood, painted it silver and started masking off areas around.

Engine hood added

Engine hood added

Then I masked for the olive green on top of the hood and front of canopy. Here it is painted and unmasked.

Olive green painted and unmasked

Olive green painted and unmasked

After that I clear coted the entire plane with future/pledge floor polish.

clear cote

clear cote

The main reason is to secure the paint and prepare for decals and further painting.

Next step will be painting stripes and start adding decals.

Håkan


P-51D Mustang 1/48 WIP

This is an old build that I picked up, mainly to test metal paint for another build.

The plane is a P-51D Mustang and originally intended to be Big Beatiful Doll, but I changed my mind, and will use the BBD decals for another build.

The plane was already painted with Humbrol 11 Silver, which gives a nice look, but the color has a tedency not to harden as it should, and becomes soft, leaving fingerprints after holding it a while. The remedy for this is to paint a clear cote over the silver color, which in this case also makes an excellent base for the special metal colors I’m about to use.

The colors I’ll use are AK interactives True Metal, which comes in tubes like those for oil or acrylic artist colors. As I understand it it’s kind of vax with metal pigments, and the colors can be polished once they’re applied.

I started out by masking areas of my choice.

Masked and ready for paint

Masked and ready for paint

True Metal can be applied with whatever means you like, brush, fingers, q-tip, or be diluted with white spirit and air-brushed. In this case I’ve chosen the latter option.

Actually I’ve already tried appling with brush ie hairy stick on some panels.

Panels painted with different nuances of metal color

Panels painted with different nuances of metal color

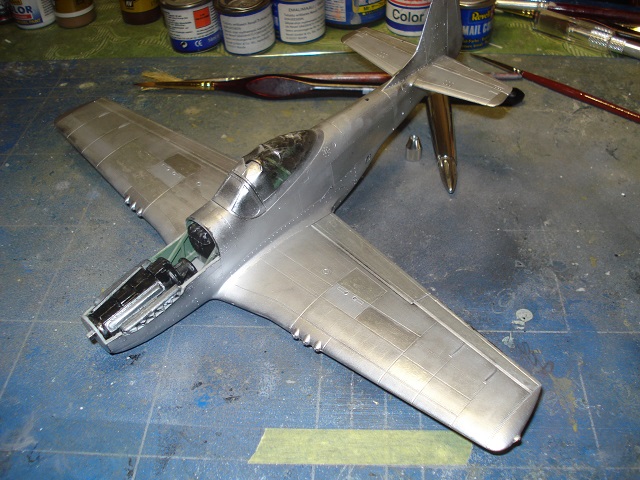
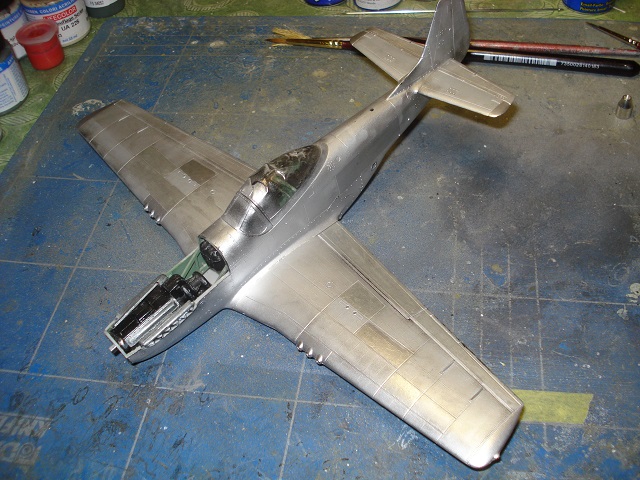
Colors polished.

Polished panels

Polished panels

In the pic above I’ve already unmasked and polished both the hand brushed and the air brushed panels. In my opinion, the air brushed panels are smoother, but both works and I think I managed to get a used look.

Next step will be adding engine hood and some more painting. I will also seal the metal with a clear cote.

Håkan