Spitfire Mk1a – part 5

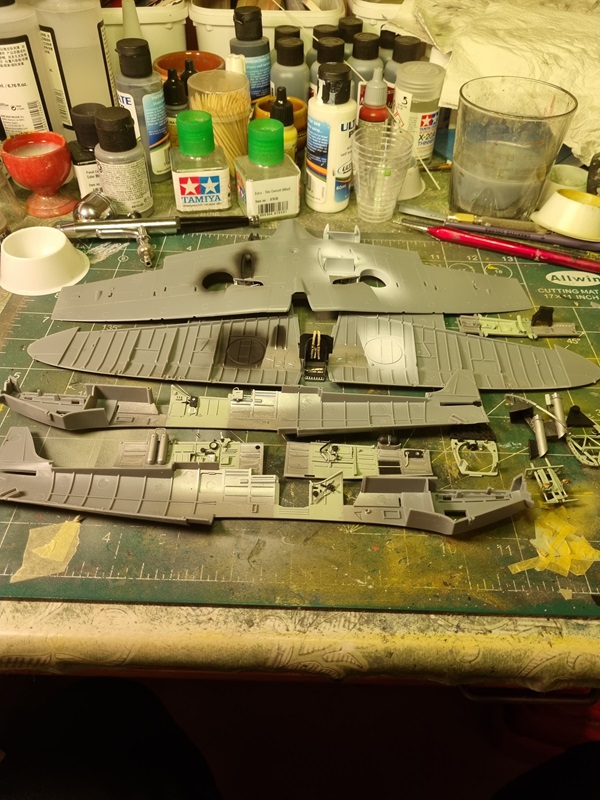
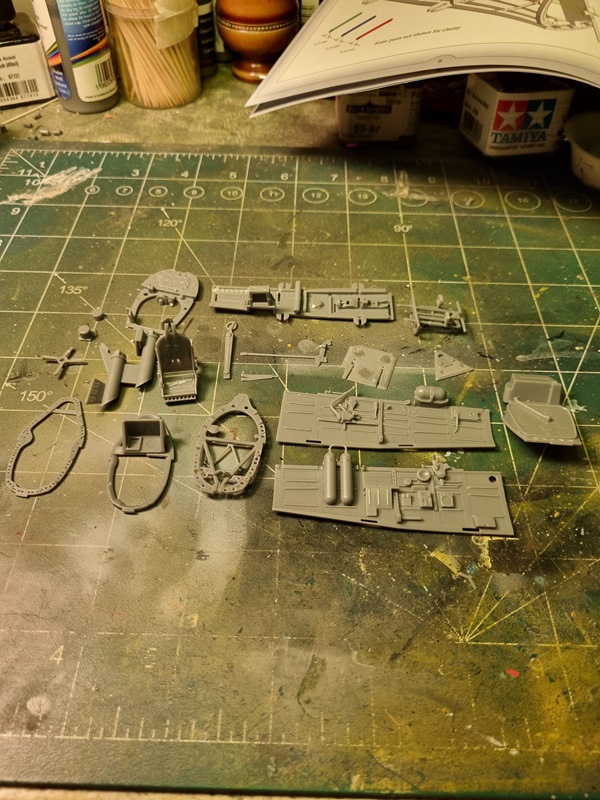
Some aluminium got painted.

I later added the glass to the spine and painted the bulb, but forgot to take a pic.

The instrument got a bit of kristal klear, but it hardly shows.
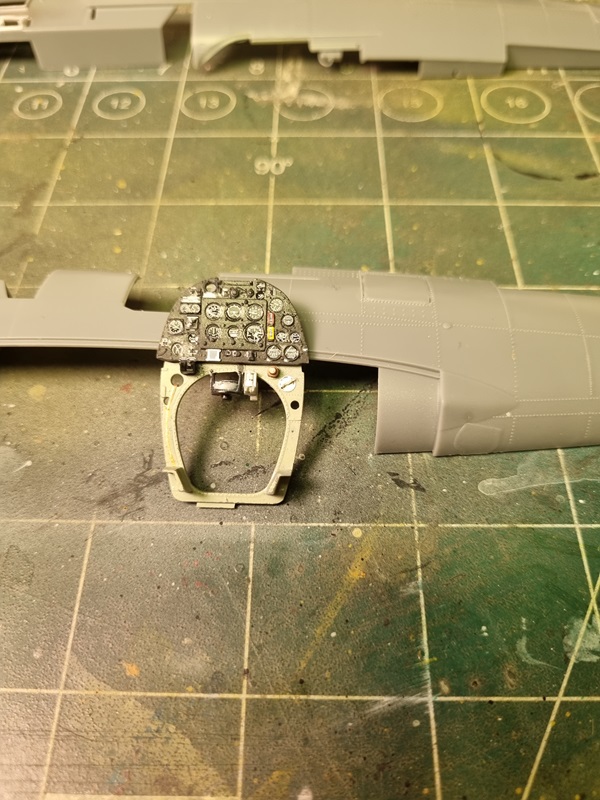
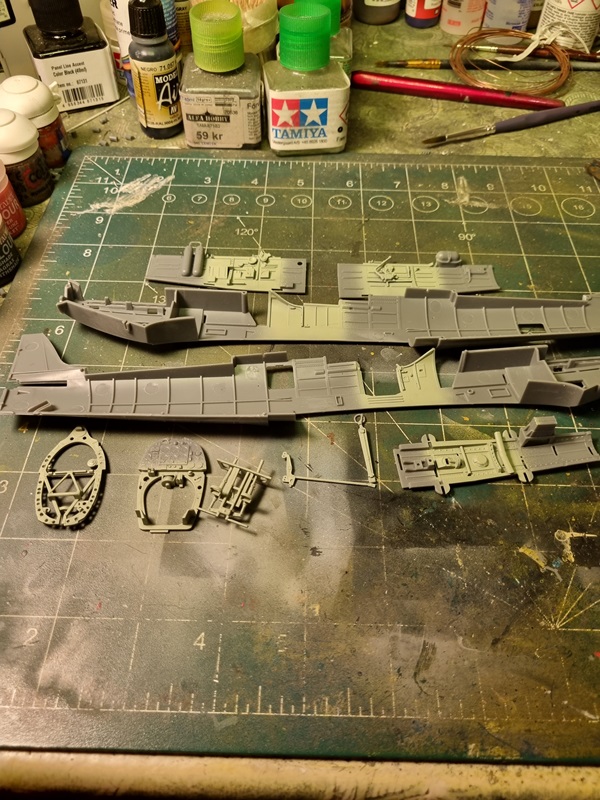
Then I started to assemble the cockpit.
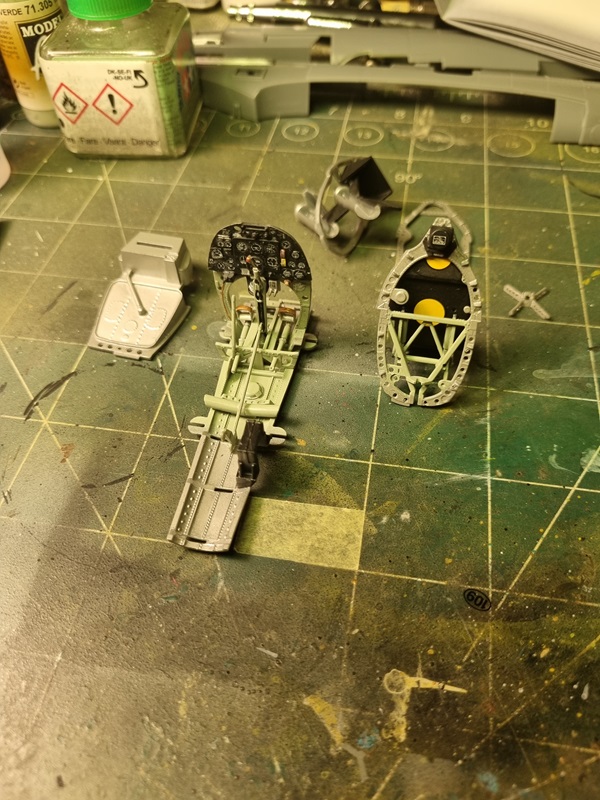
I started with the rigging. Using wire from a broken cable.
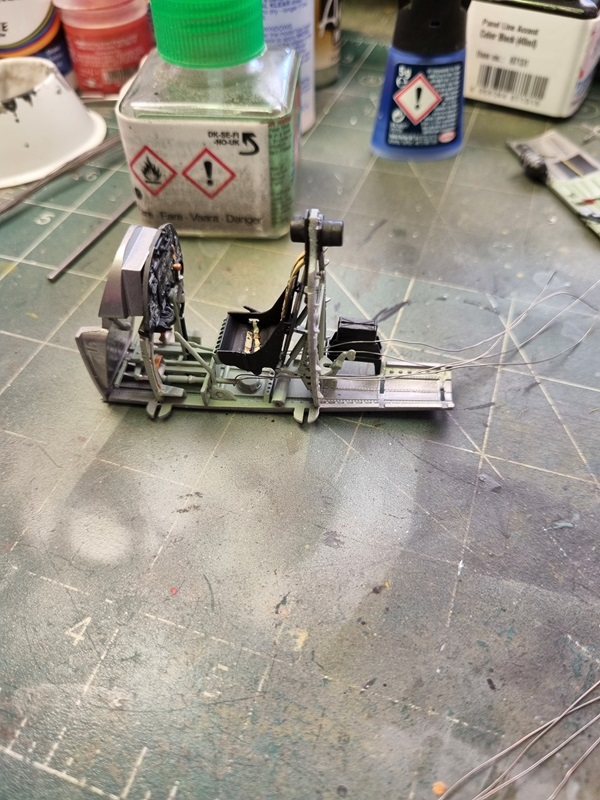
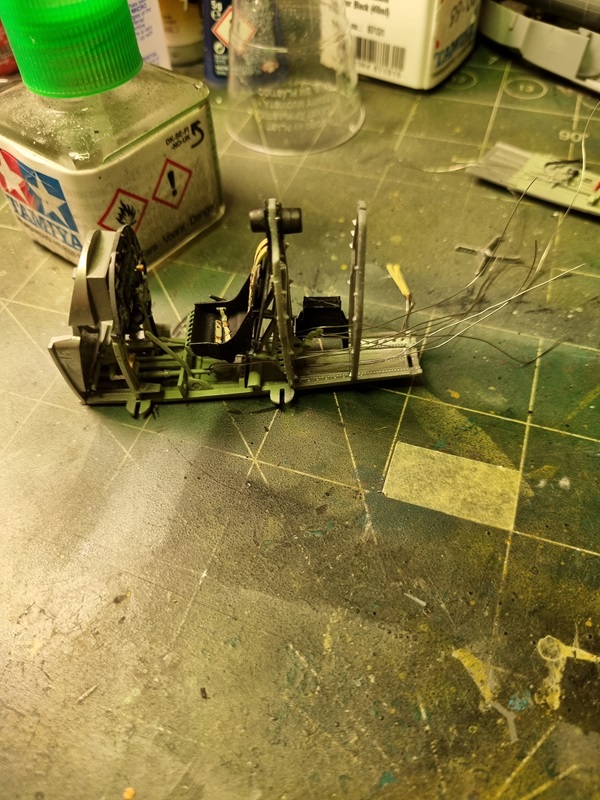
Adding bulkheads as I worked my way backwards. So far it looked alright.

While drying, I glued the upper wing halves.

I sorted the radiator and glued it in place.

The rigging was quite messy, as it was hard to keep the wires straight.
I gave a few spots a little black wash, and if I’m not re-doing the rigging or something, I’ll start to put things together.

Not sure what else to use, unless I get some stretchable tread, but I guess it have something I’ll try on the next kit with internal rigging.

Spitfire Mk1a – part 4

The instrument panel got decals (most of them anyway).

Then the side panels.

It’s very nice decals with hardly no surrounding film at all. The problem is that some are very small, and some of them failed. The main most visible decals are there anyway.

Now I need to let them dry properly and the lay a protective cote of varnish over them. I’ll probably use kristal klear on the instruments to make it look like glass.

Spitfire Mk.1a – Part 3

Detail painting seems to take “forever”, but I’m getting there.
Even though the instructions are very nice, I had to check reference pics on the internet.
I’ve also started working with the wings, and painting the visible areas.

I need to find the proper colour for the tubes and a few other details, and I also need to add quite a bit of decals to both the instrument panel and side panel details.

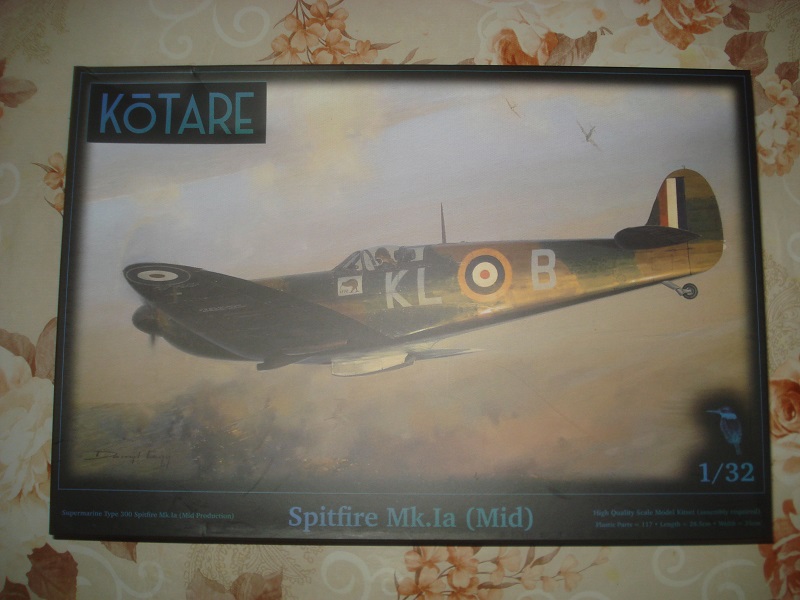
Spitfire Mk.1a – Kotare 1/32

I started this as my probably last project this year. Not sure I will be able to finish this year though.
As usual it starts with the cockpit. There’s a lot of parts to the cockpit and cleaning them up took a while, even if the parts are very nicely cast.
I’ve also glued a few parts together, but the rest have to wait until after they’re painted.

There are a few more parts to sort and the side walls should also have a few parts glued to them. I had to sort a few ejection pin marks as they will be visible and I think one decal goes on the back of the fire wall.

Not sure how much will be visible after the cockpit is inserted into the fusalage.
This is how far I got the first evening.
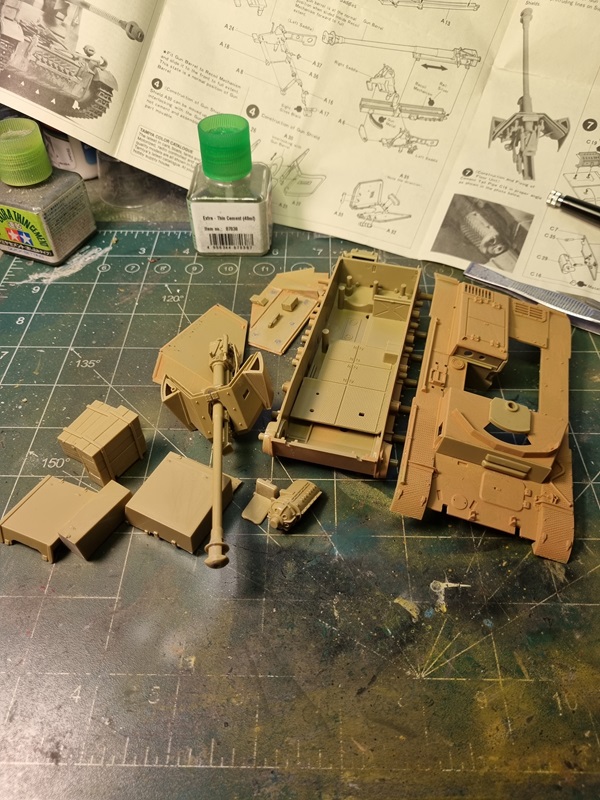
Marder II – the end, for now!

Buying 2nd hand kits can be a bit of a gamble. Hopefully everything is there.
As it turned out, the poly caps was missing, and I forgot to check before starting the build. I simply didn’t think of it.

This is how far I’ve got before shutting down the build for now.

If I can find 14 poly caps (short ones according to the instructions), I might get this build started again and perhaps even finished.

Marder II – Tamiya 1/35

I started this build for a weekend speed build on Flory’s forum.

I thought a Tamiya kit should be easy enough to finish within the time frame from thursday to sunday, Perhaps it should have if I had prepared better. It turned out there was more to sort like ejection marks, and I also spent more time with the family than I had anticipated.

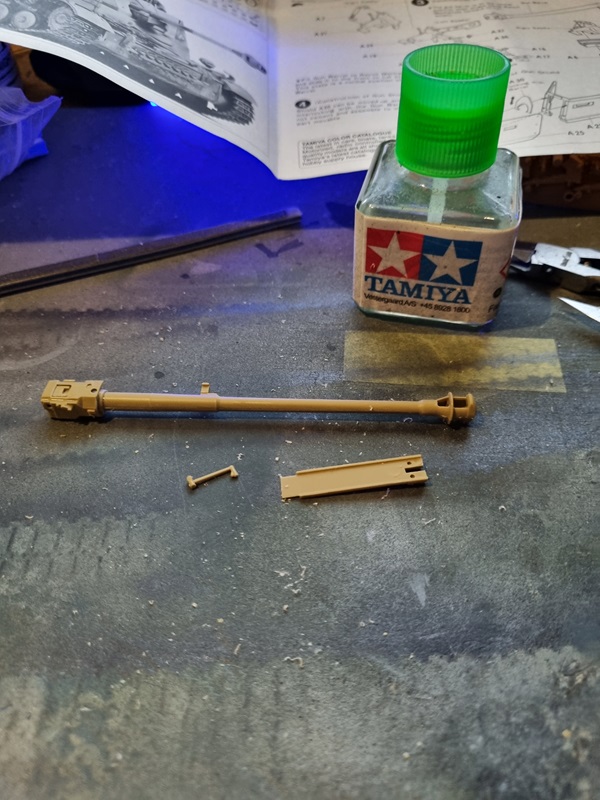
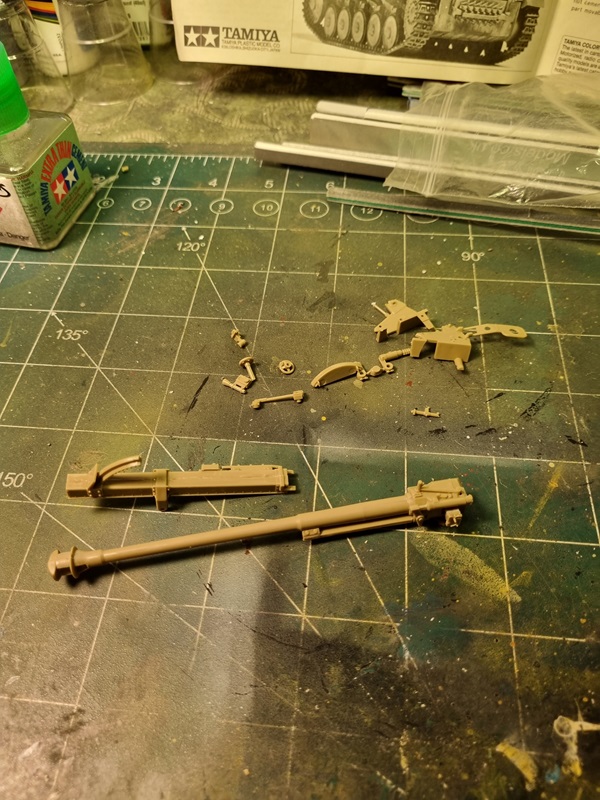
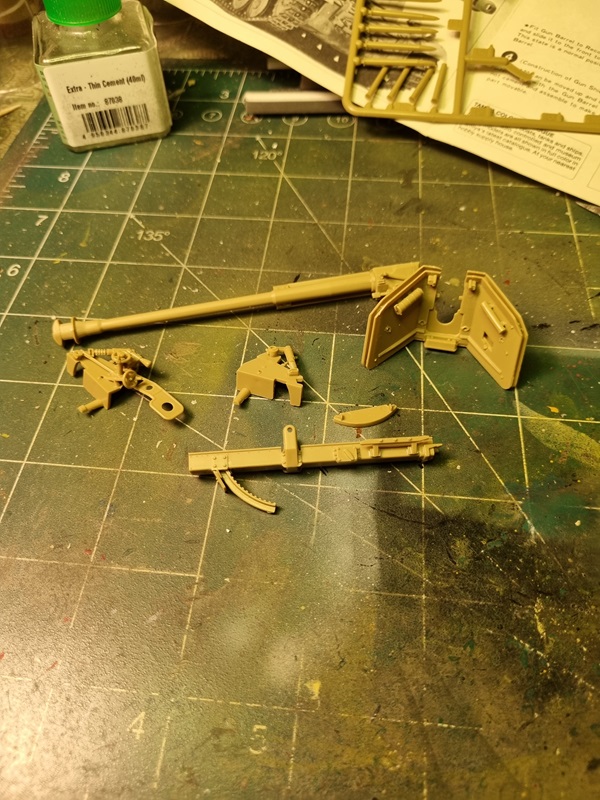
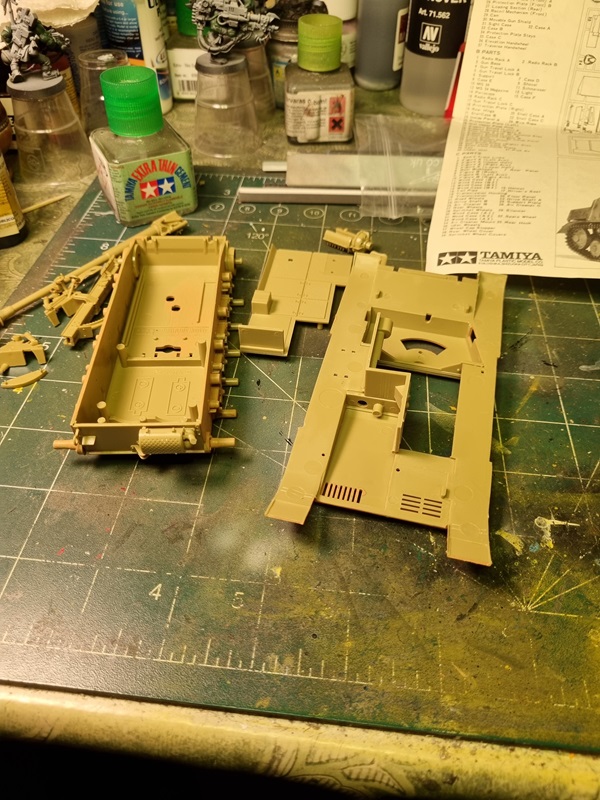
Anyway the build was started by building the main gun.

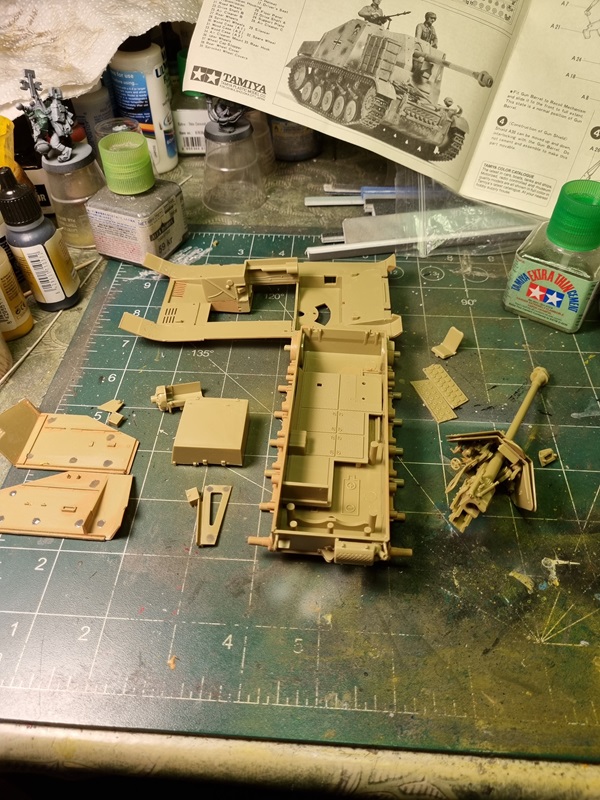
While some parts was left to dry properly, I started with the lower hull.

Things are coming together and getting ready to paint.

Just a little bit more to do before I can start painting.

Sea Harrier FRS1. – Part 4

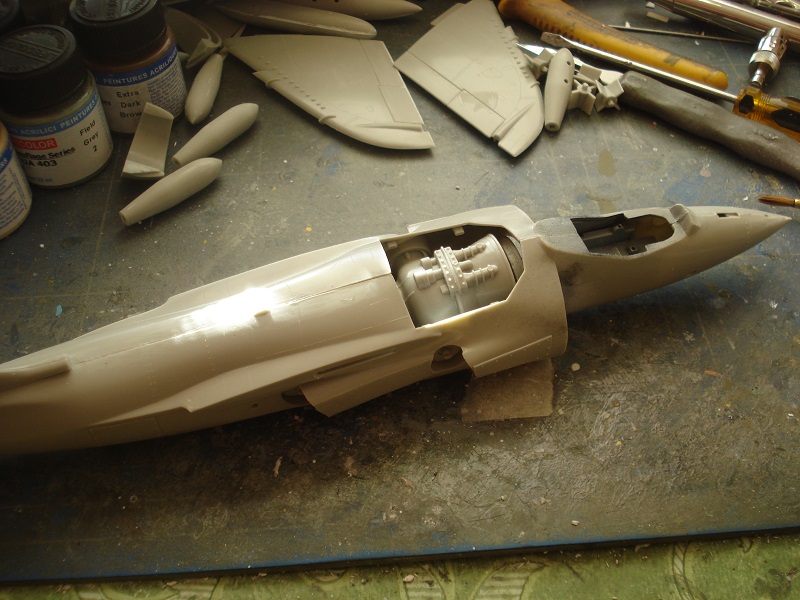
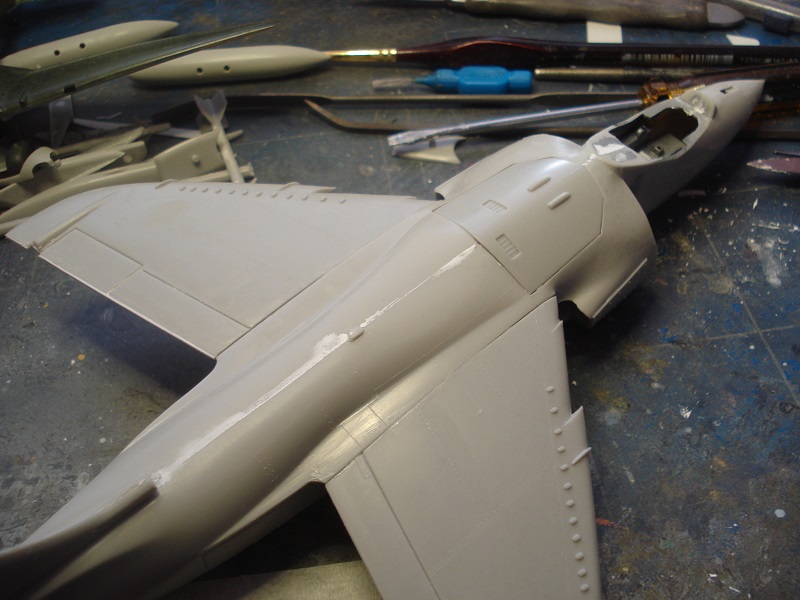
I modified the gun pods by drilling holes and adding a cylinder for the barrel opening, and also a small rod as barrel inside. I also glued the exhaust vents and added some putty to the seams.

harrier_fsr_1_48th_build_18

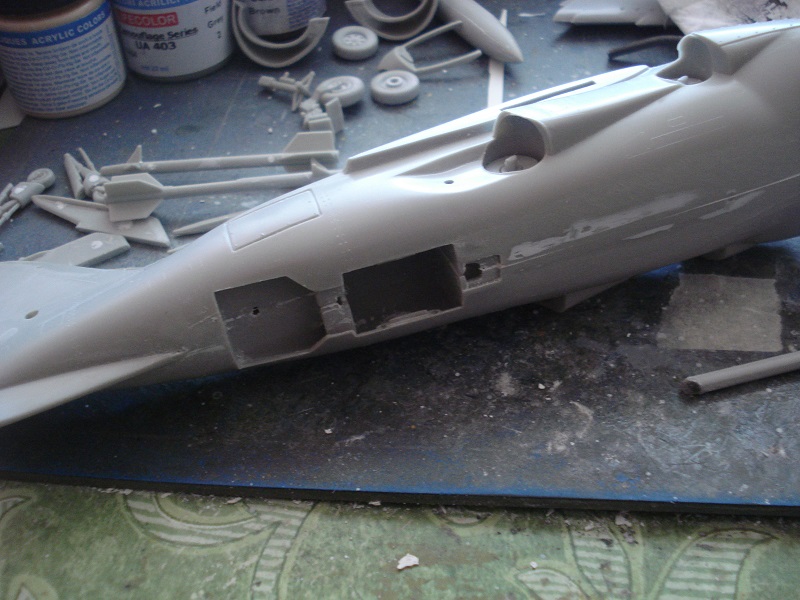
The front landing gear well is just an opening right into the rest of the plane, and does need some form of attention.

harrier_fsr_1_48th_build_19

While pondering that, many of the small parts ended up in a paint “forrest”.

harrier_fsr_1_48th_build_20

And the glass parts got a dip in Pledge/Future floor polish. The cast/copy is so bad that there’s no detail on the glass surfaces.

harrier_fsr_1_48th_canopy_1

More putty and sanding! 🙂


harrier_fsr_1_48th_build_21

Masked the canopy and front glass, making up for the missing frame.

I made a HUD display and put the pilot in place.

More in next part.

Håkan


Sea Harrier FRS1. – part 3

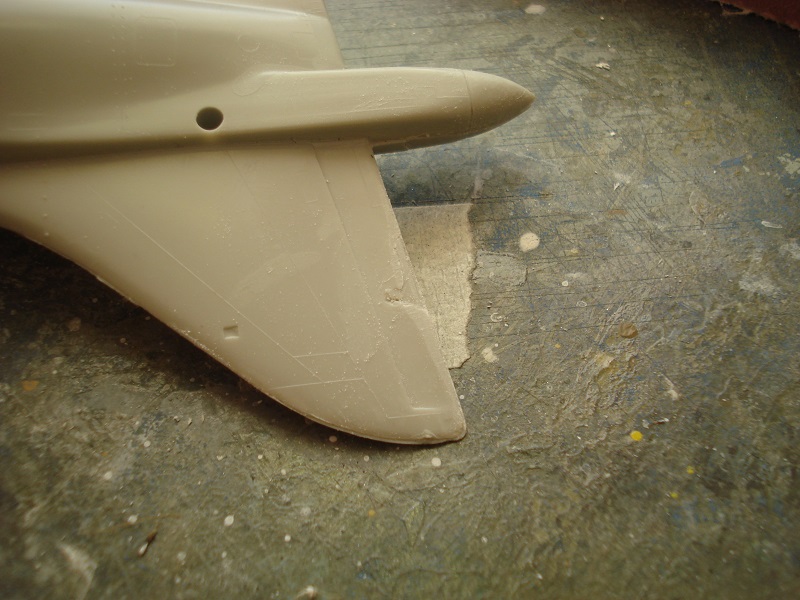
I had to break up the tail a bit as it didn’t align right. managed to damage the rudder some. Easy to fix with some putty though.

harrier_fsr_1_48th_build_5

Putty was also needed along the fuselage seam.

Putty was also used to cover some ejection pin marks.

harrier_fsr_1_48th_build_12

After some sanding, the seam looked pretty okey. Usually have to put on a cote of primer to check if more work is needed.

harrier_fsr_1_48th_build_9

The hardest area to clean up was in the wheel bays and air brake. Sorted that with a tool made from a piece of sprue, sanded slightly in an angle and with a small piece of sanding paper on top.

harrier_fsr_1_48th_build_11

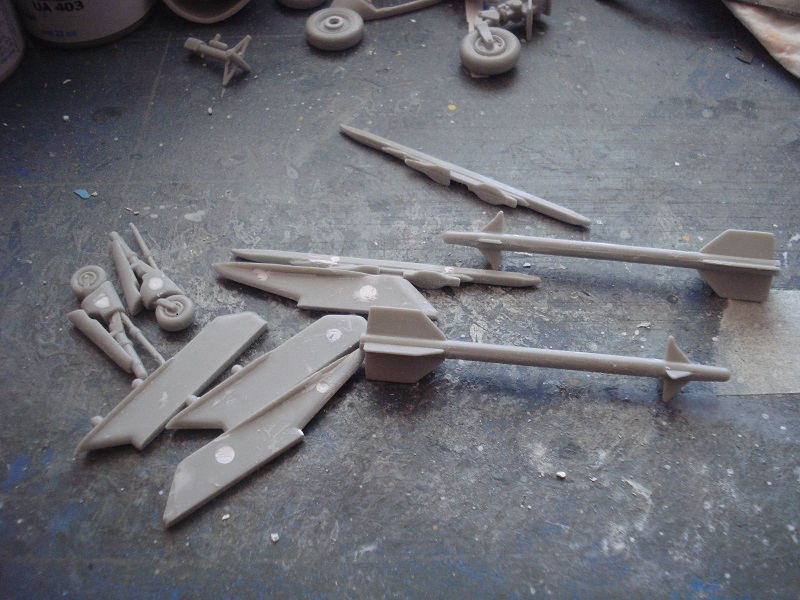
The cleaned up parts.

harrier_fsr_1_48th_build_12

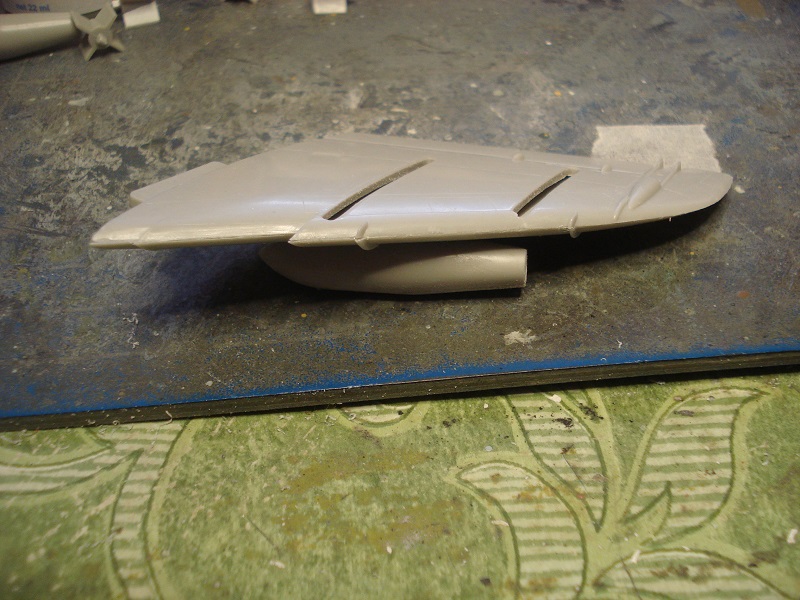
The wings built and test fitted against the fuselage.

A fit that wasn’t very good, and had to be adjusted some by taking of a bit from the tabs. After some work, the fit was acceptable.

harrier_fsr_1_48th_build_15

Some putty and cleaning up on the wing joints.

harrier_fsr_1_48th_build_17

Next, more putty and sanding.

Håkan


Sea Harrier FRS1. – part 2

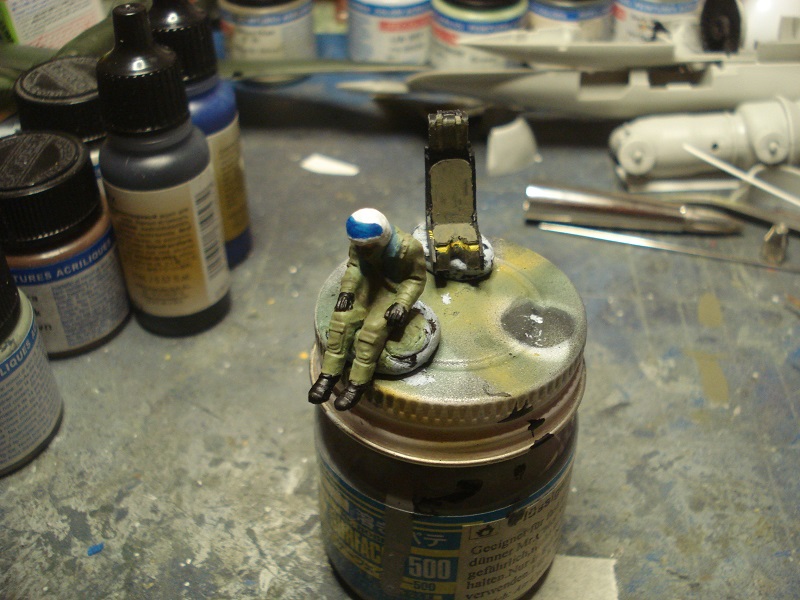
First I added detail to the seat, as it was a tad too simple. As I’ve decided to use the pilot I didn’t need to do any belts.

The pilot got some color on the uniform, and the cockpit and fan got a cote of black.

harrier_fsr_1_48th_cockpit_3

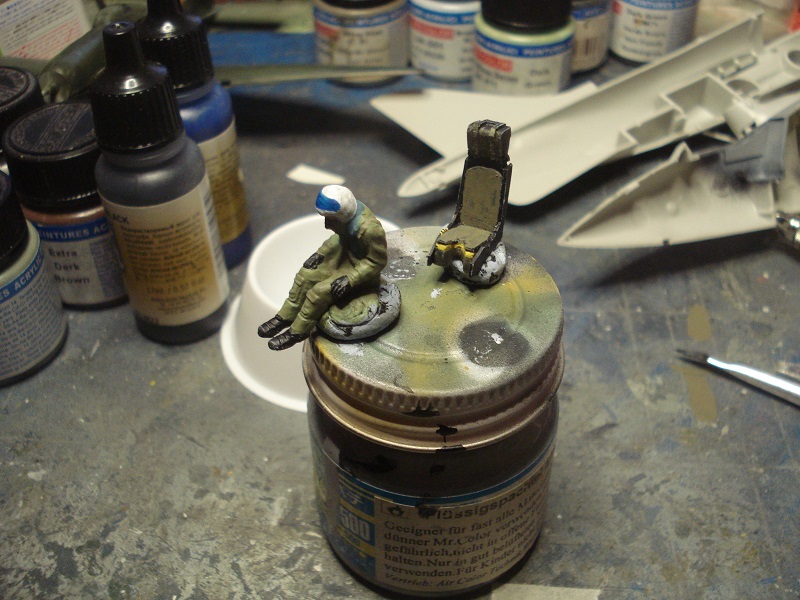
The pilot and seat got some more colors. I mostly worked with different tones of green/olive green. White helmet and black gloves and boots.

harrier_fsr_1_48th_cockpit_4

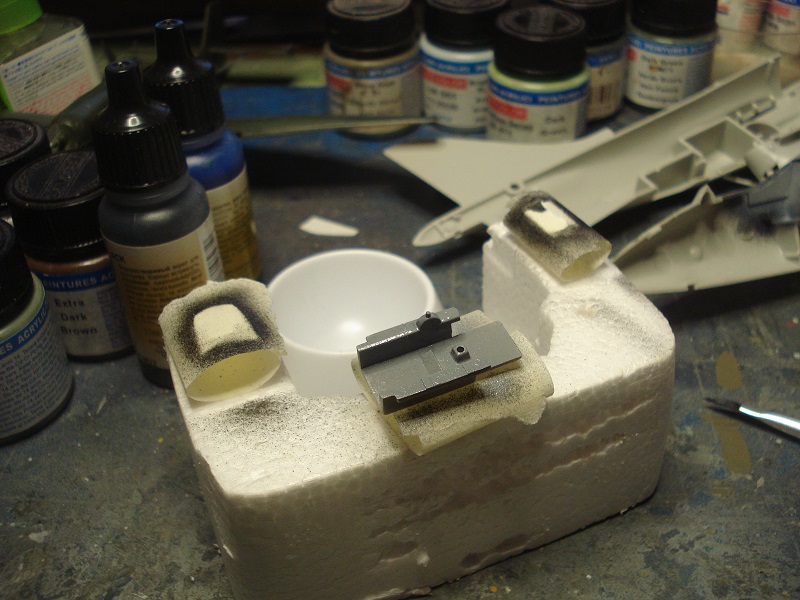
Silver (Hu11) was painted on the fan, and then masked off, and the cockpit side walls was painted a medium grey.

harrier_fsr_1_48th_cockpit_5

The pilot got some shadows and dry brushed highlights.

harrier_fsr_1_48th_cockpit_6

and the cockpit got some grey.

harrier_fsr_1_48th_cockpit_7

I test fitted the wings, and they don’t align. Part of the problem is the tab that prevents the upper wing half to align nicely to the fuselage. Also the wings halves doesn’t align, which needs to be sorted.

After removing the location tabs, the fit was a lot better.

harrier_fsr_1_48th_wings_4

Once that was sorted, I glued the fuselage halves.

harrier_fsr_1_48th_build_3

This concludes this part.

Next, puttying, sanding and assembly of small parts.

Cheers,

Håkan