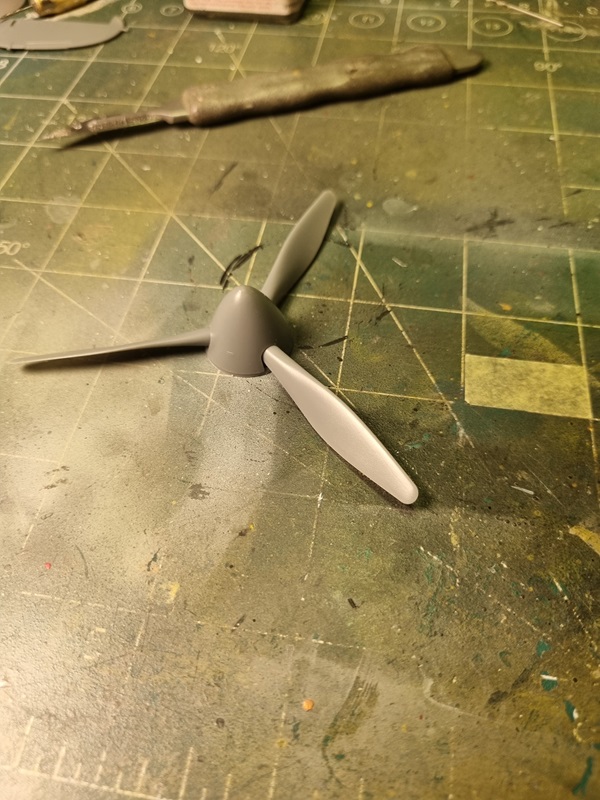
P-47D Thunderbolt – part 2

As ususal the build starts with the cockpit. I cleaned up the parts and then painted some of them black and the rest in dull dark green.
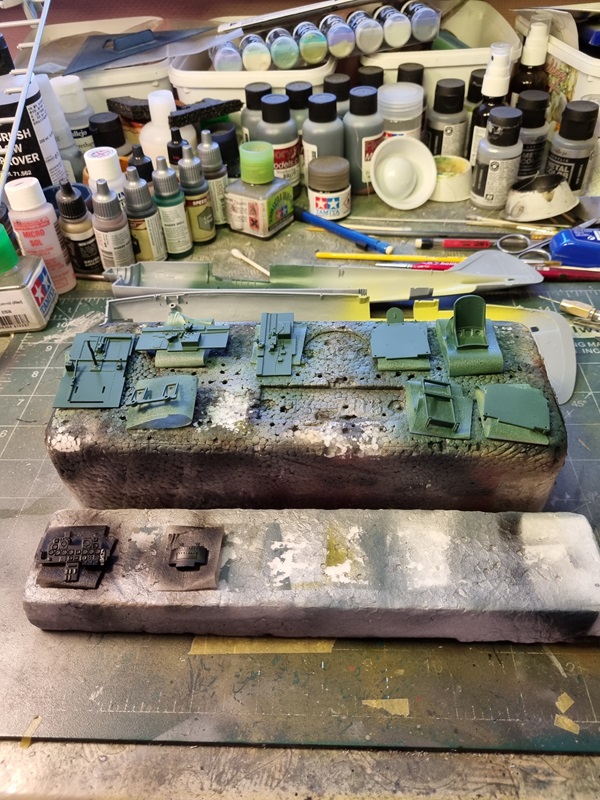
After painting the backside of some parts, I started painting details.
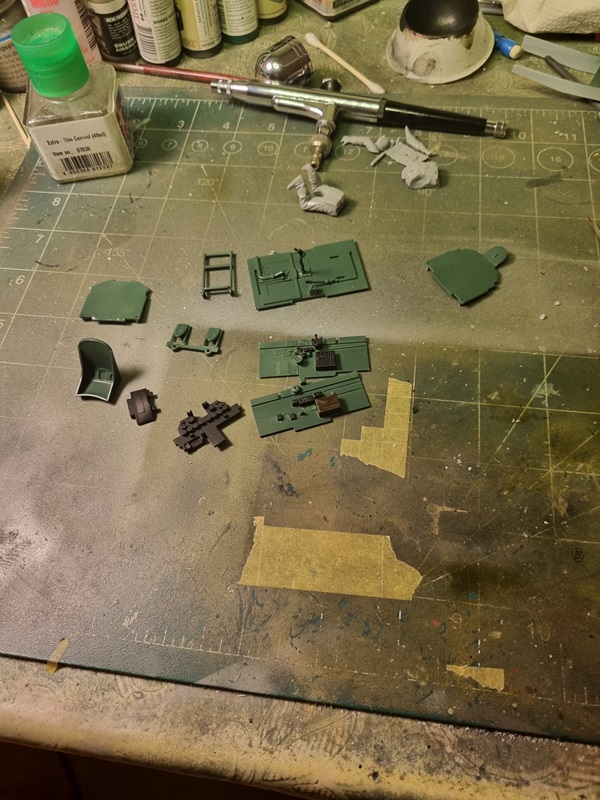
As can be seen I’ve also started assembling the pilot. I decided to have him sitting in the plane and will omitt the pedals as per instructions. A few more details was painted.
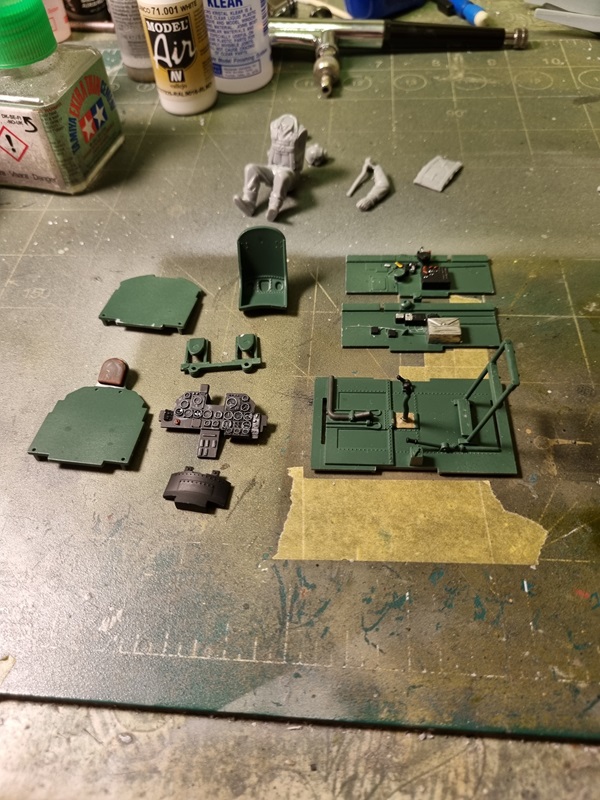
After that I could assembly the cockpit.
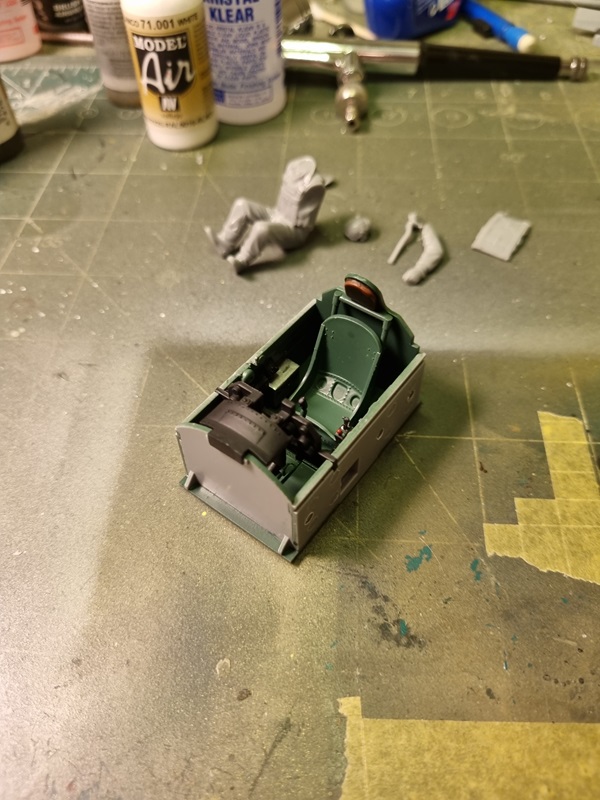
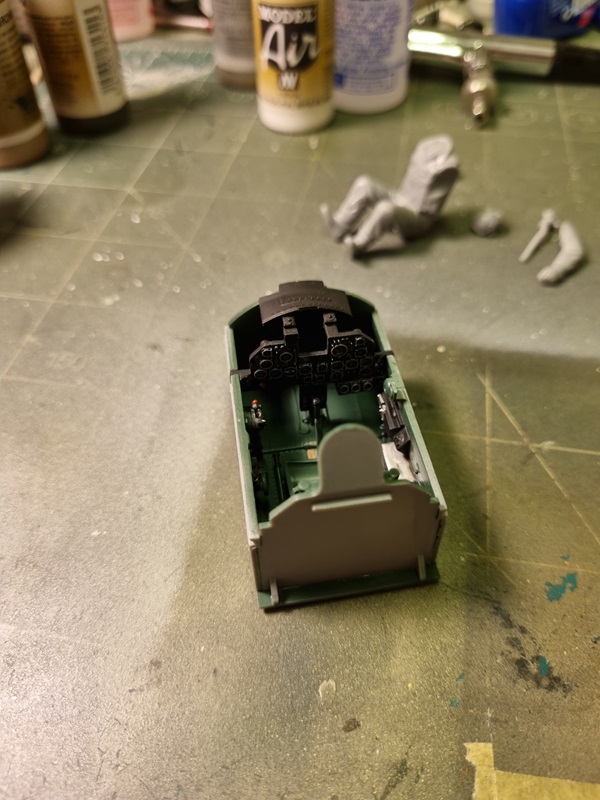
Next will be some minor weathering and then I’ll put the cockpit where it belongs and will close the fuselage.

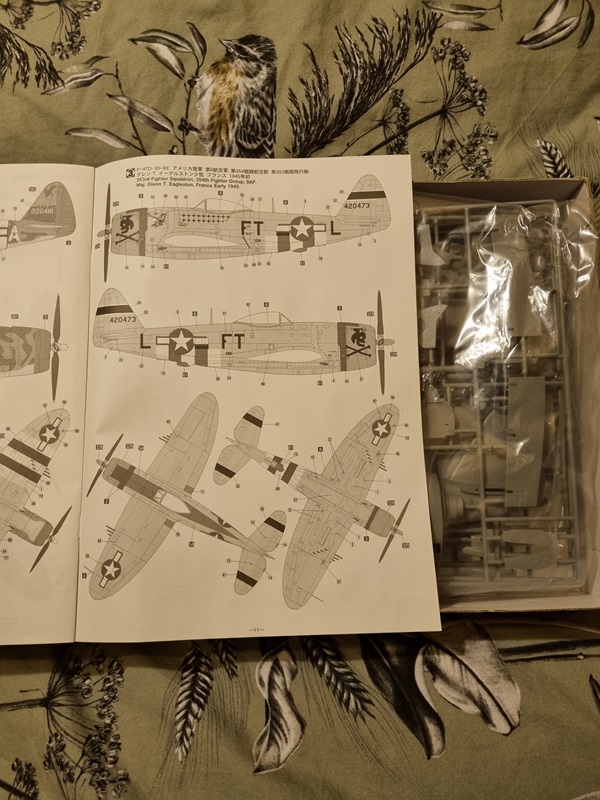
P-47D Thunderbolt – Hasegawa 1/32

I’m going to build this for the Large Scale Planes 25th anniversary, in the group build Silver Jubilee.

The kit is intended for Gabreski’s plane as can be seen on the box, but I’m going to build this version instead.

Just to fit the theme with any plane silver or the number 25.

I will start the build as soon as possible.

EE Lightning F6 – part 2

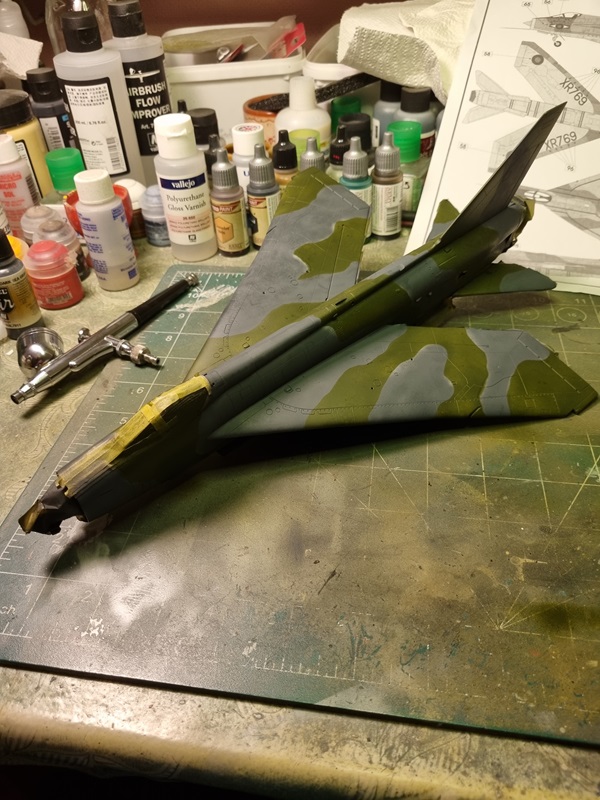
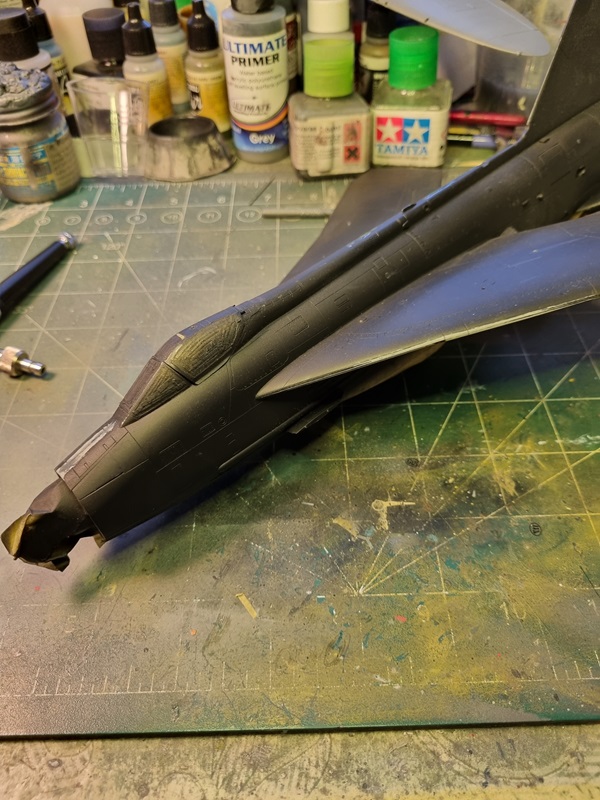
First I painted to the best of my ability all the dark sea grey areas.

Then the grey areas was masked off with black goo.

Dark green was painted.

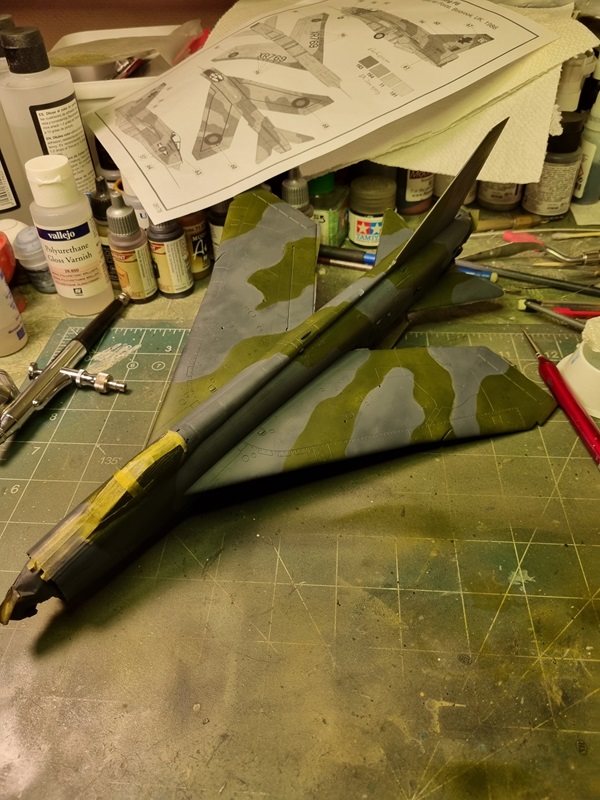
Turns out I had a few missed spots that needed to be taken care of.

Not perfect, but a lot better!

So how did it go with the 2 or 3 years old tape and the paint that was under?

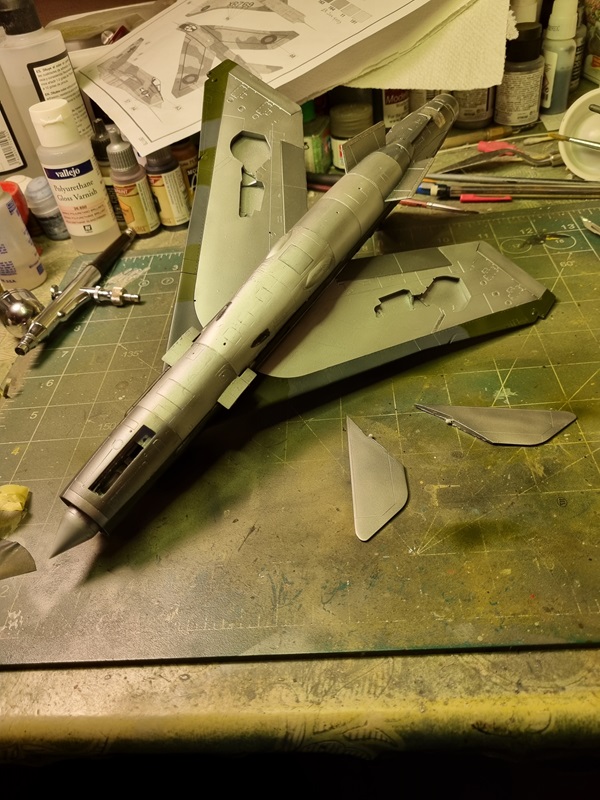
Actually bloody perfect! The stabilizers broke off but that’s really no problem at all.

Next will be to paint everything else that isn’t painted, and to give the plane a clear cote.

Spitfire Mk1 – part 11

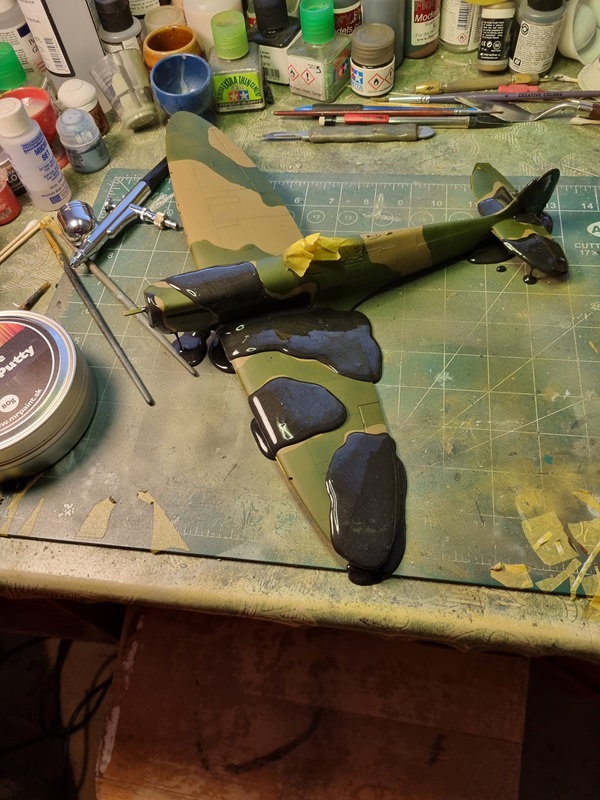
The work with the camo contiues. First of all, don’t leave the black goo too long! 🙂

Then this happens! No bigger problem to fix though.

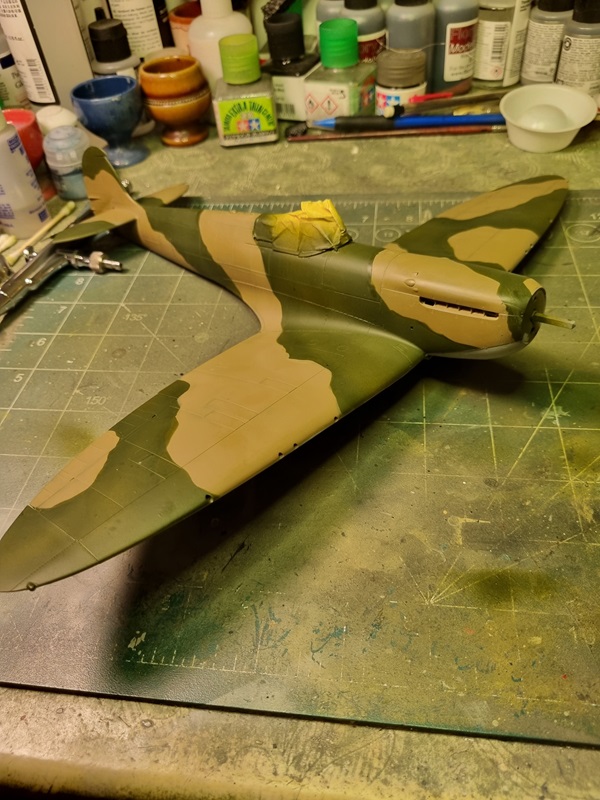
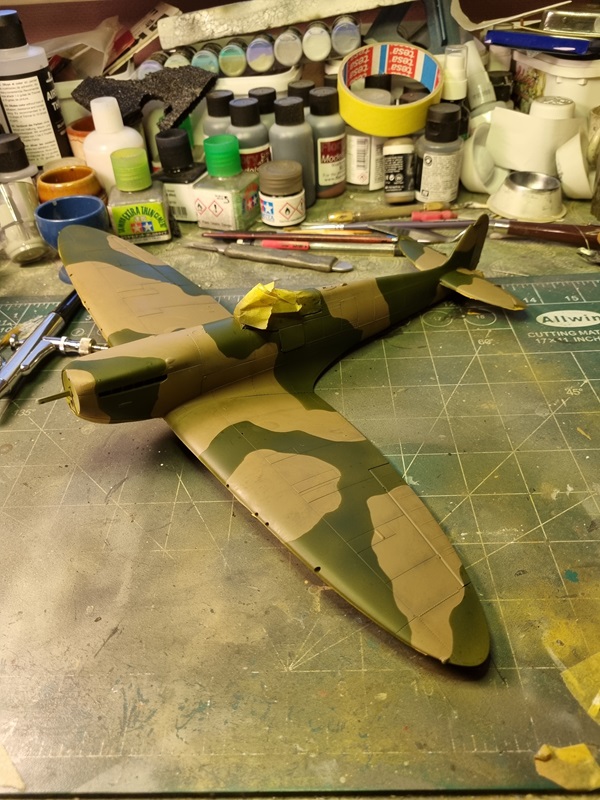
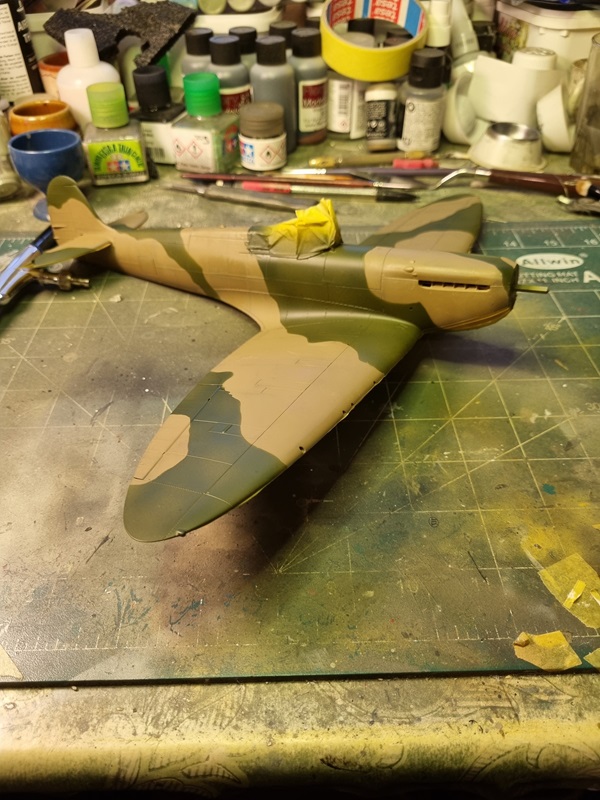
After some back and forth with the camo colours and masking, it looks like this.

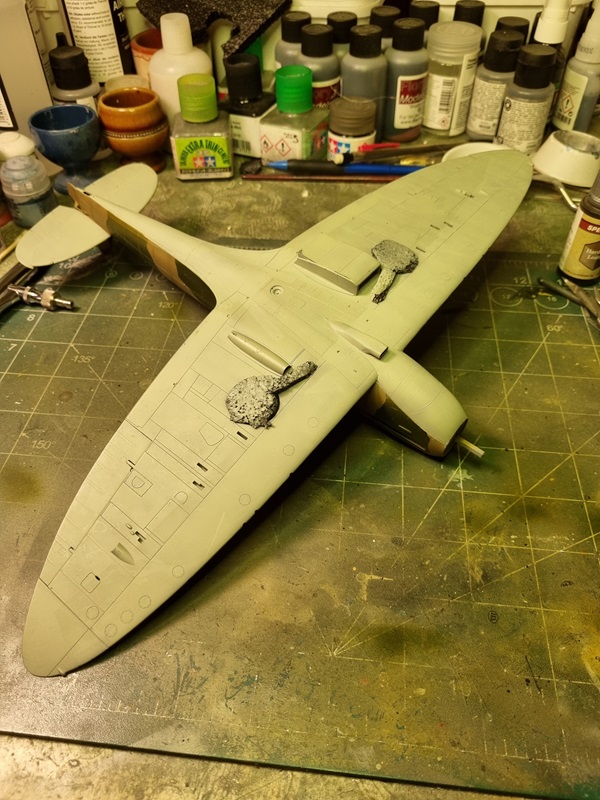
I had a bit of overspray on the underside.

Easily sorted though.

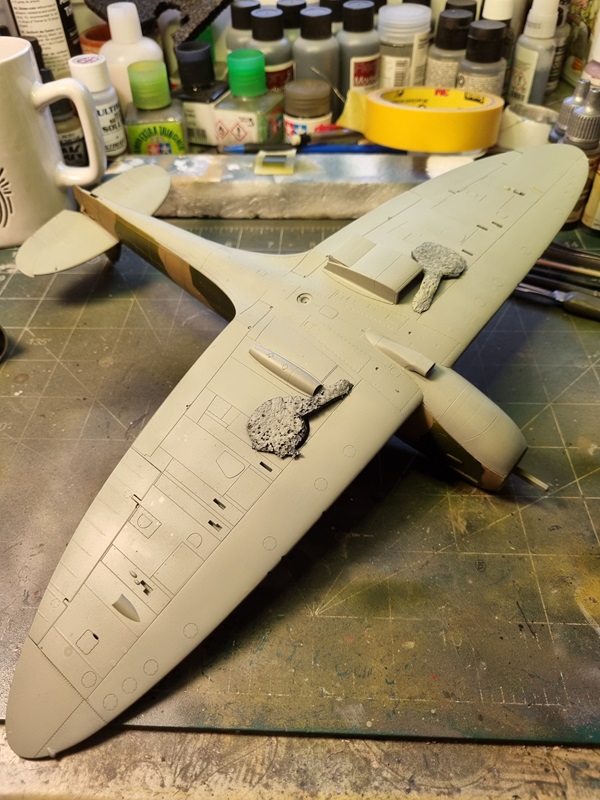
Now it’s ready for clear cote and later decals.

Spitfire Mk1a – part 10

The underside was masked and then the topside was given a preshade in black.

Then dark earth was painted over that.

Then I used some black symbiote goo was used to cover parts that shouldn’t be painted.

After that I painted dark green.

Turns out that I got some of the fields all wrong. Something I have sort before proceeding.
Other than that I’m quite happy with the colours.

EE Lightning F6 – Airfix 1/48 – continued build

I got a hunch to pick up this build that I started a few years ago.
I had already started painting it and had masked in preparation for the topside camo. So the tape have been sitting there for quite some time. I just have to hope for the best.

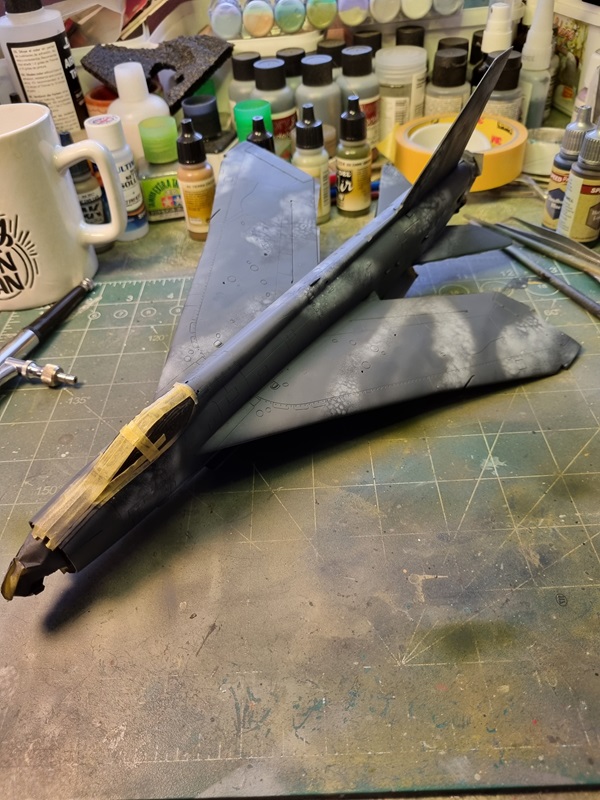
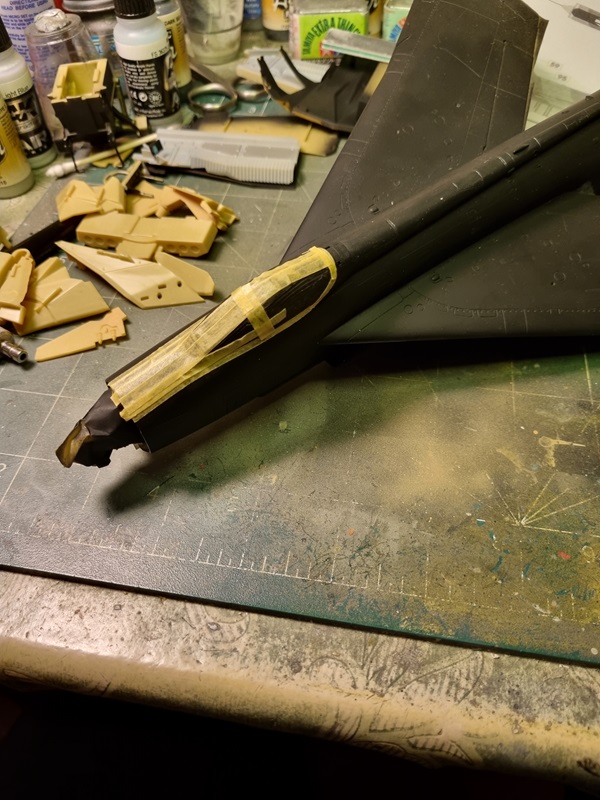
First I had to address a few spots with ghost seams.

After that was done, I repainted with black and masked the canopy and front area which should be black.

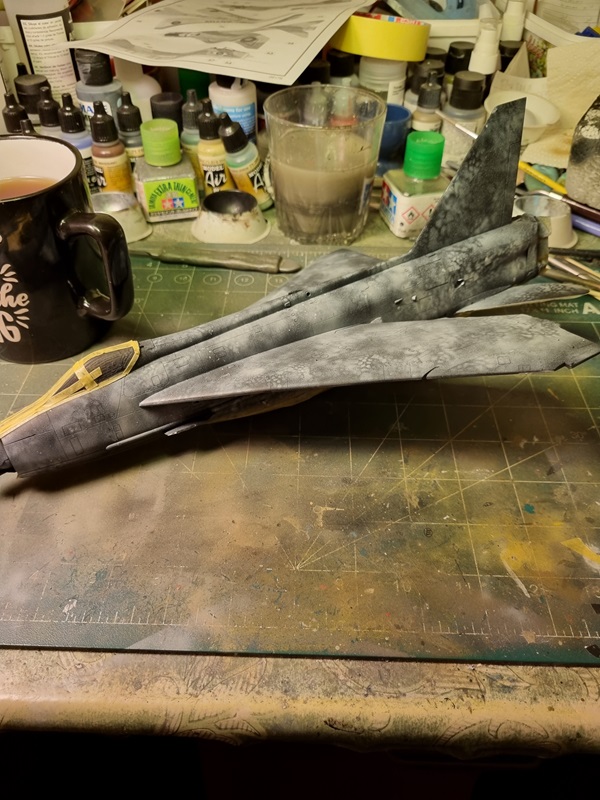
Then I used a mask for irregular patterns to paint with light ghost grey over the black. This was the first time I used this kind of template, so it didn’t go very well, but I think it’ll do for the purpose of the paint.

Next I’ll start painting the camo, starting with dk sea grey.

Spitfire Mk1a – part 8

The tires was painted with a mix of tire black and black. The exhaust stacks was given a dry brush with gun metal and a slight layer of rust. Also in the pic is the canopy parts with mirror and handle in place, as it should.

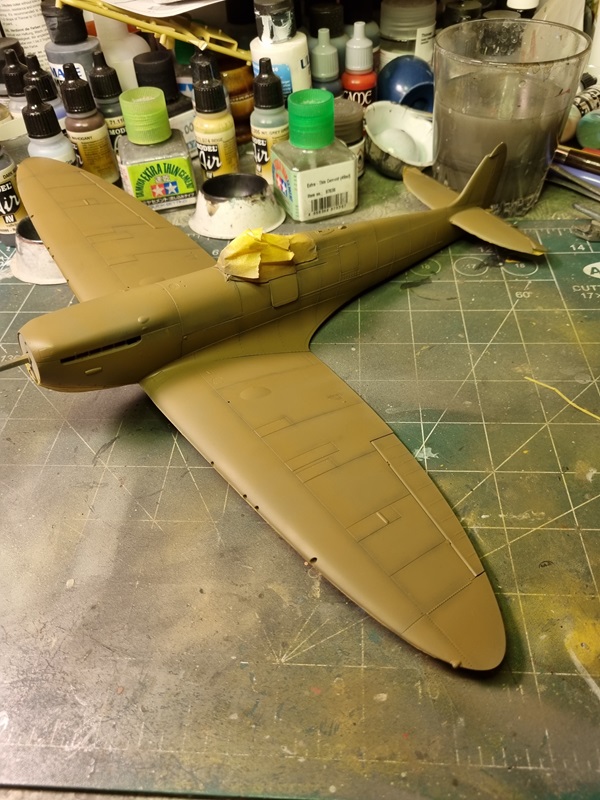
Then the plane got some primer.

As the primer says it needs a 0.4 needle I used my Evo. Super speed painting that sadly sputtered a bit. I shifted to my cheap 0.3 airbrush and diluted the primer a bit before painting the topside. I think that went a lot better even if it took a minute to cover instead of 10 seconds with the Evo.
Now I’ll let it dry for 24 hours before I can sand it and take care of a few problem areas that I spotted.

Spitfire Mk1a – part 7

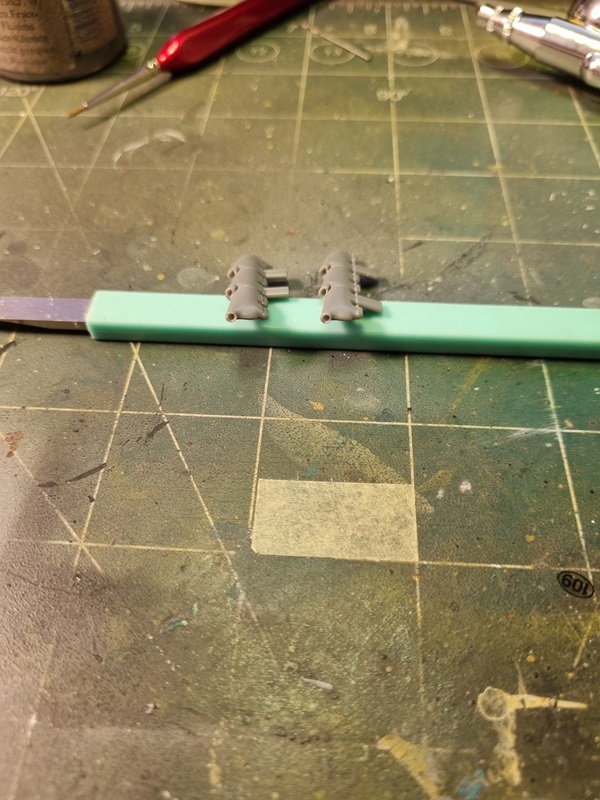
I assembled the exhaust stacks and drilled the holes a bit.

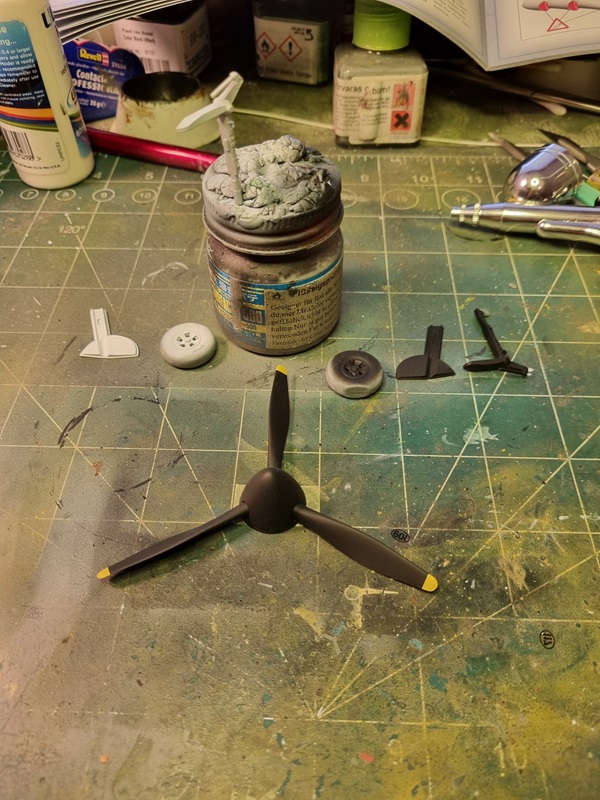
Landing gear parts and propeller was painted.

I used the closed canopy and closed door to close up the cockpit.

Lastly the exhaust pipes, tail gear and door was painted.

The tires will be painted with a mix of black and tire black, and the exhausts will be dry brushed with gun metal and maybe also some rust will be added.

Not much left to build, but still quite a bit more to do. Masking the open canopy parts, painting the plane with primer to check for flaws, and hopefully I actually have the colours needed.

Spitfire Mk1a – part 6

The side panels was glued in place. It’s a very tight fit.

The wing filets was glued in place.

The cockpit was glued to the fuselage and then the fuselage was glued together. The stabilizer was glued in place and the sight was assembled and painted. The front cover with the sight was then glued to the fuselage as well as engine covers on both sides.

The wings was glued in place, and I must say that the fit is very tight. Checking that all sprue nubs are sanded flush and removing paint from areas where glue is supposed to go is a good idea.

Lastly I’ve glued the propeller and spinner.

Next will be sorting the landing gear and exhaust pipes and a few more parts that needs to be done. I also need to check a few spots that might need a bit of sprue glue and sanding to look good.