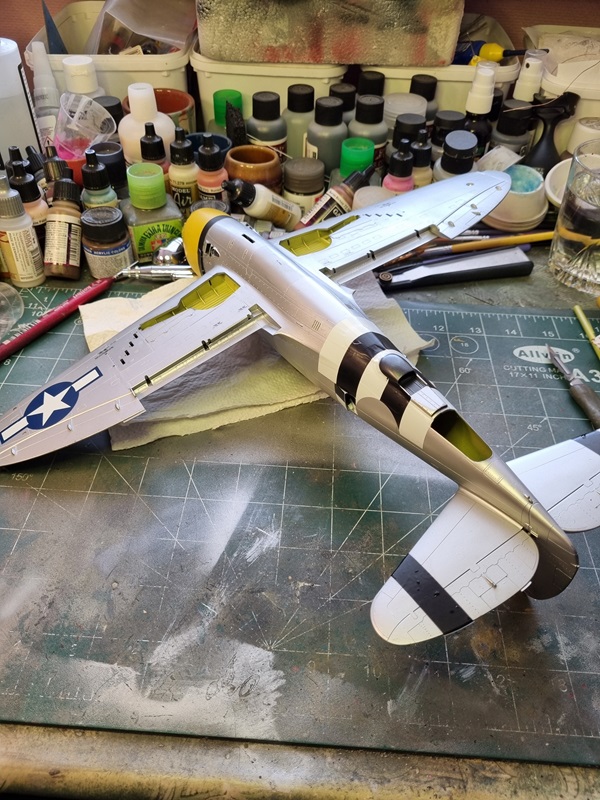
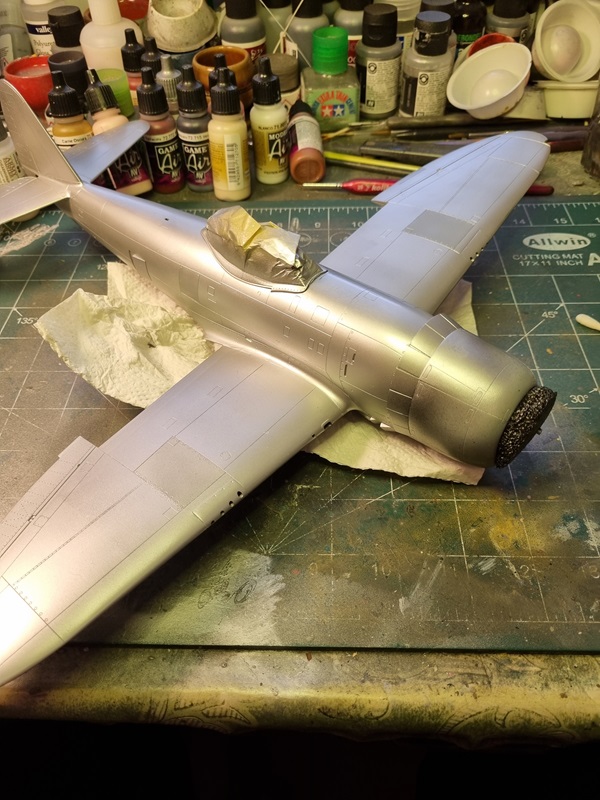
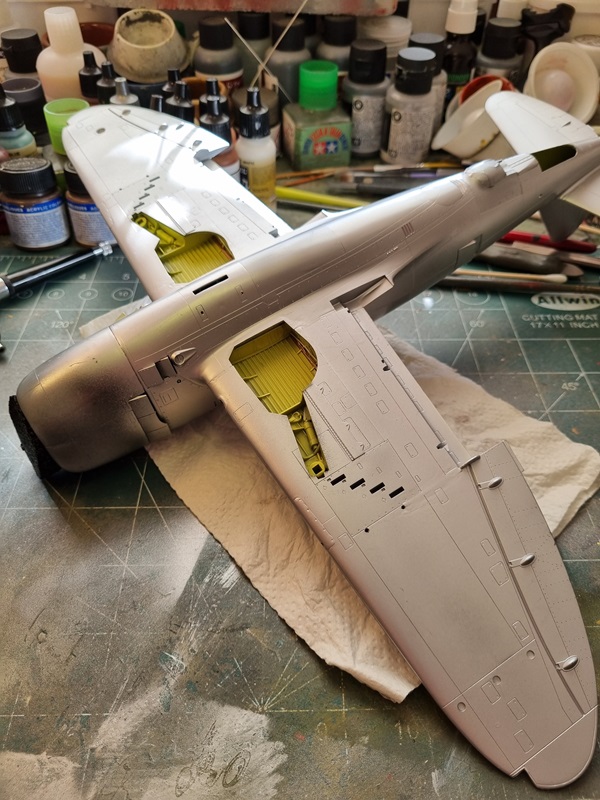
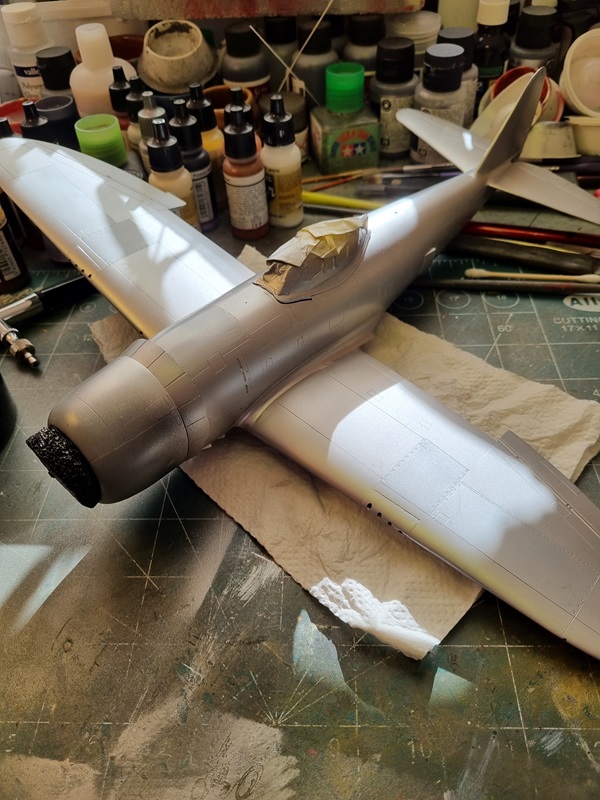
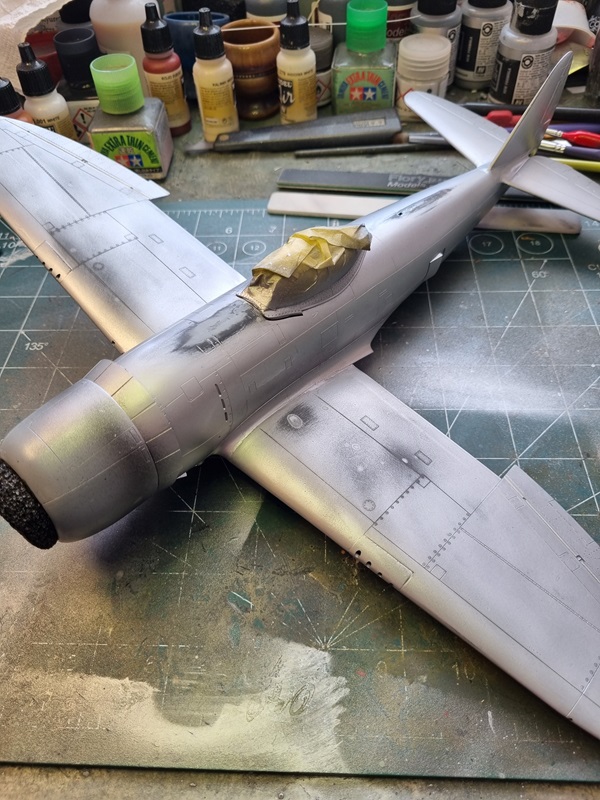
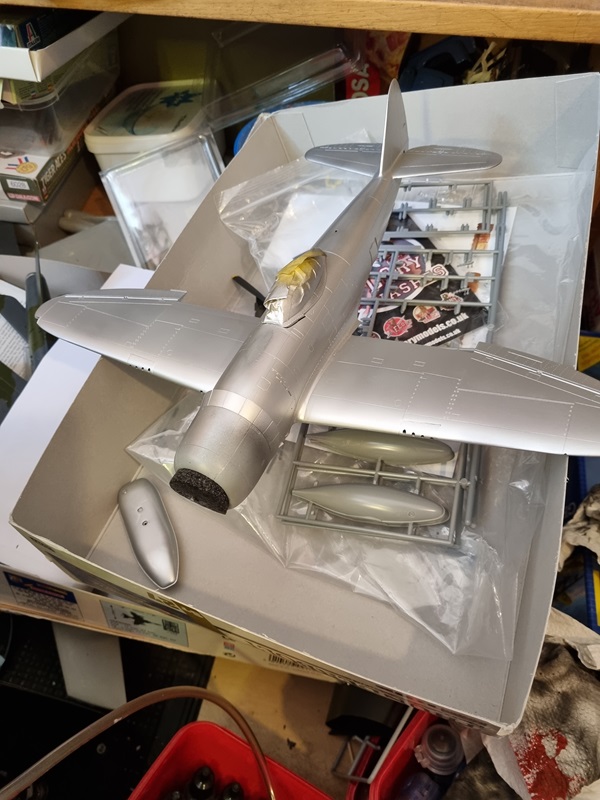
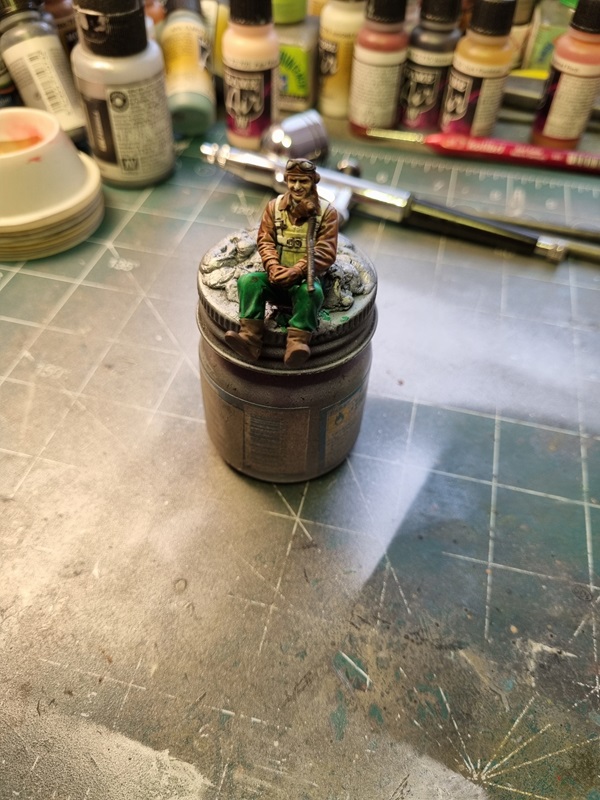
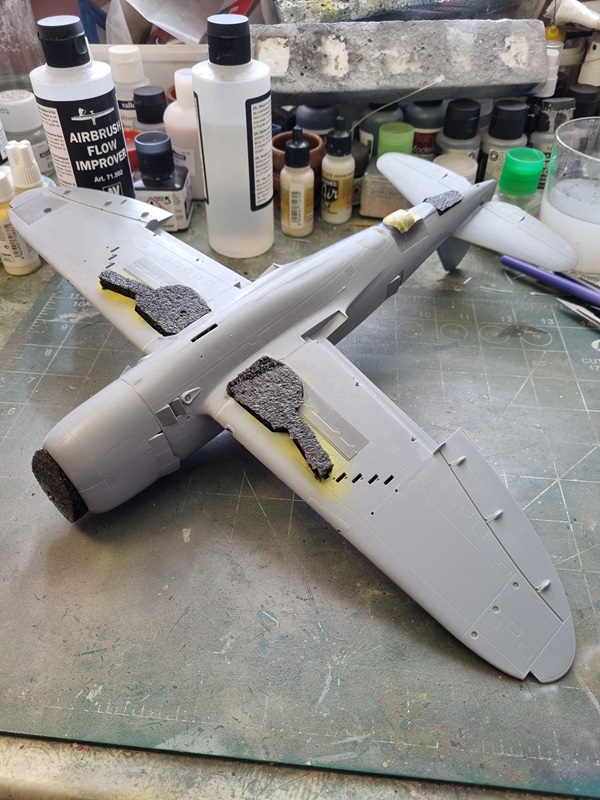
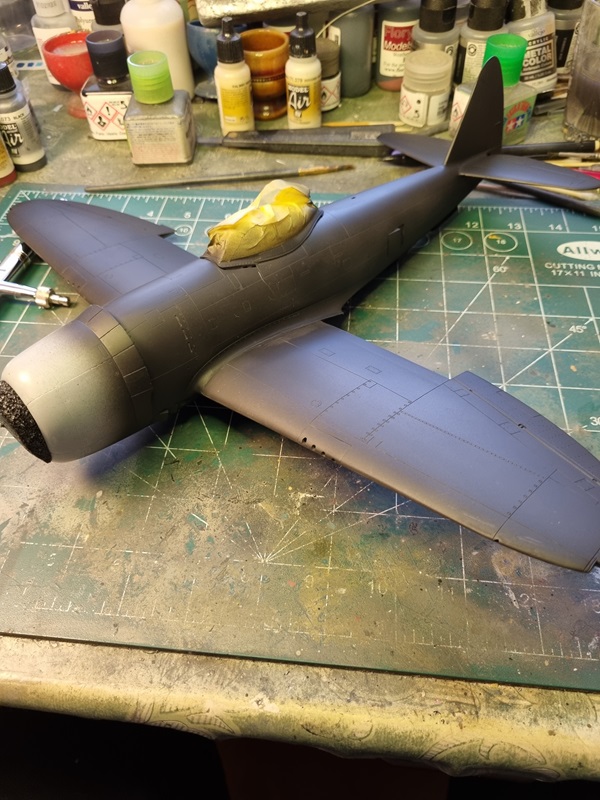
I’ve started adding the decals and the underside is done!
I had a little problem with the invasion stripes. I need to touch up with a bit of colour later. I’m still happy with how it looks. Now I’ll let these decals dry a while, before adding more decals.
And then the other canopy was “glued” with kristal klear.
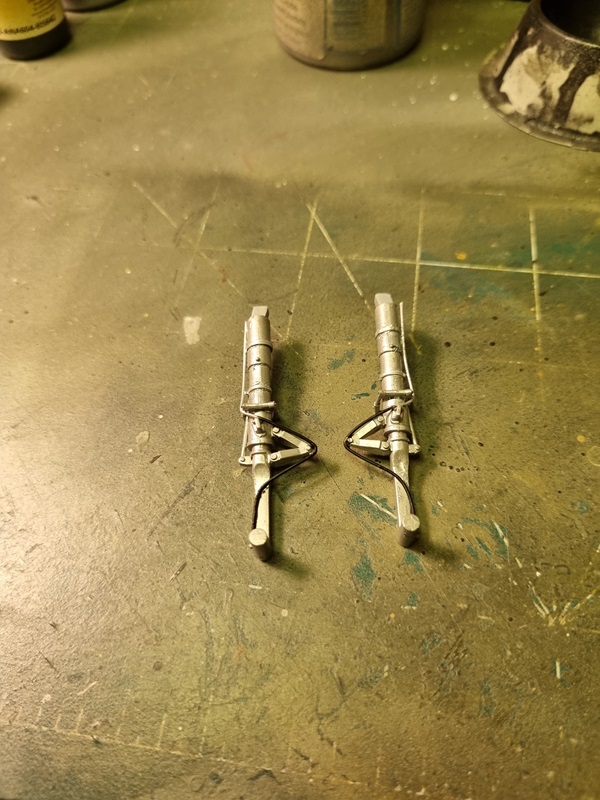
Sorting the wiring on the landing gears took a while longer than I had anticipated, and adding cable after alrady having painted the legs, made it a bit messier.
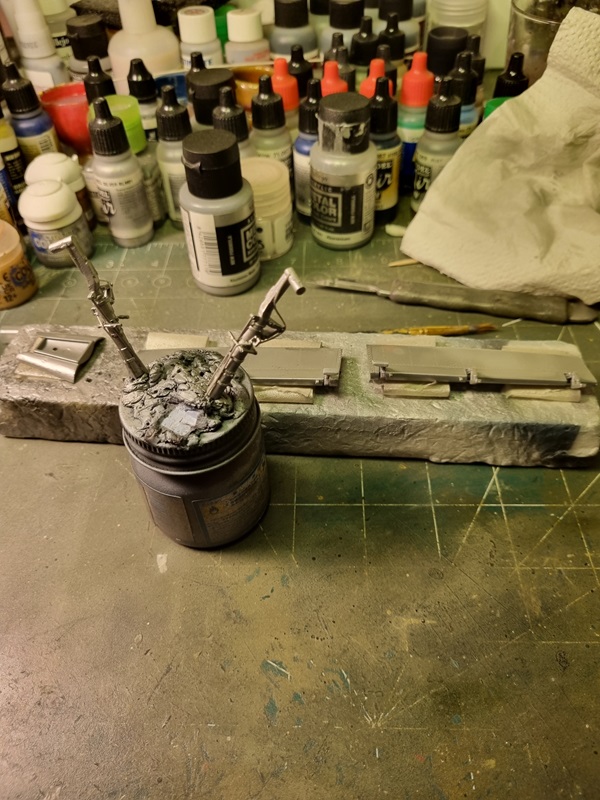
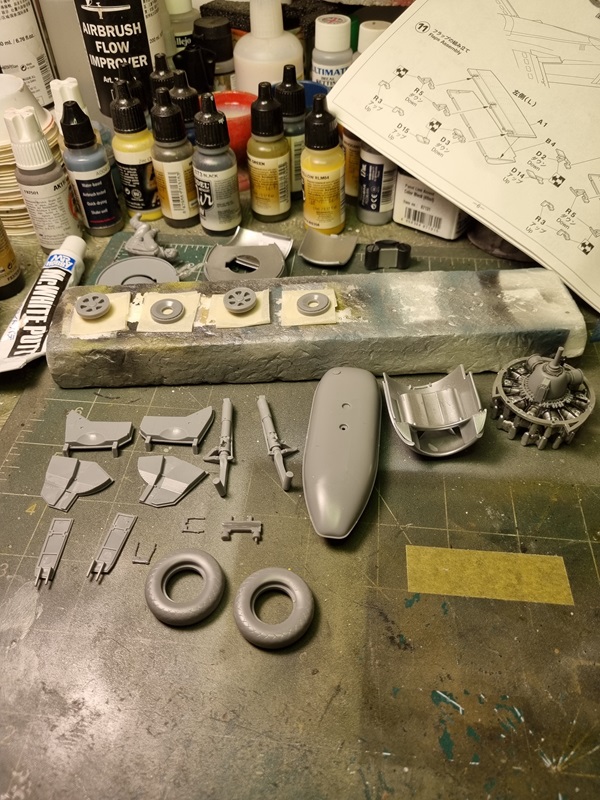
The landing gears got some fresh paint as did the flaps and rear landing gear cover.
I did some detail painting on the cables.
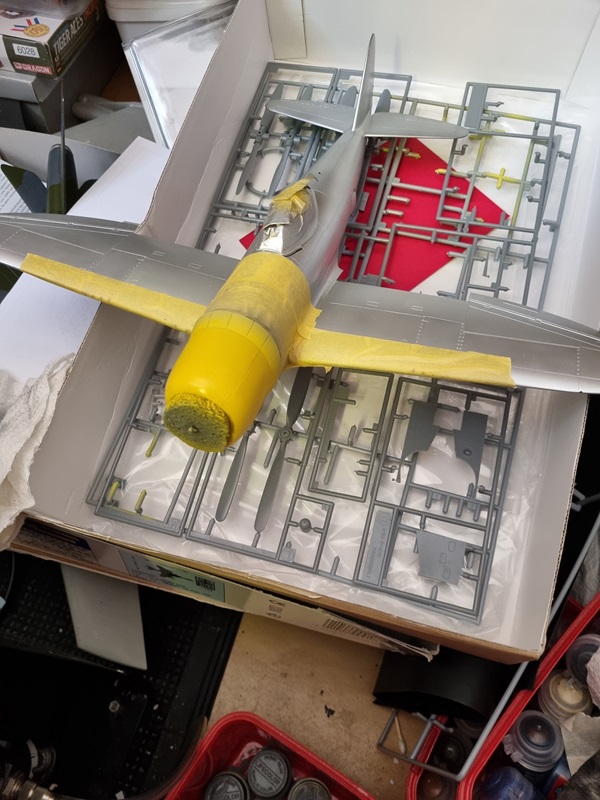
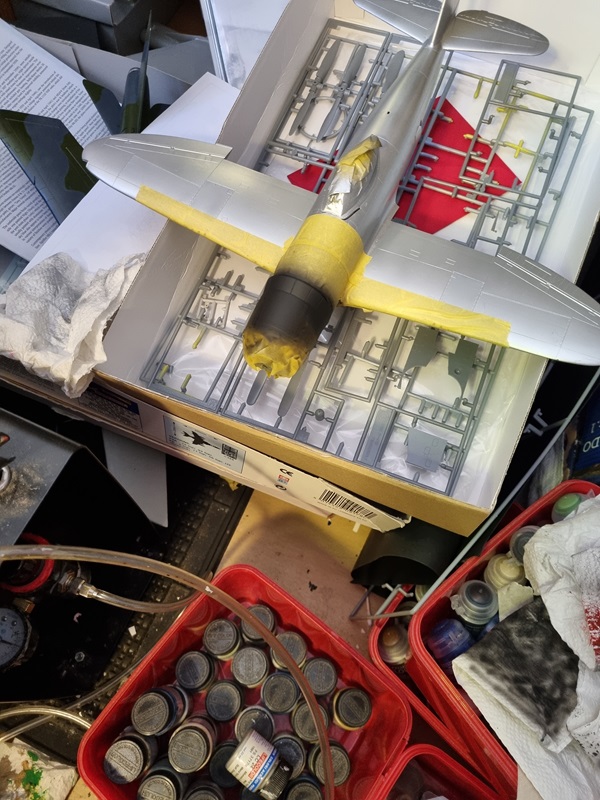
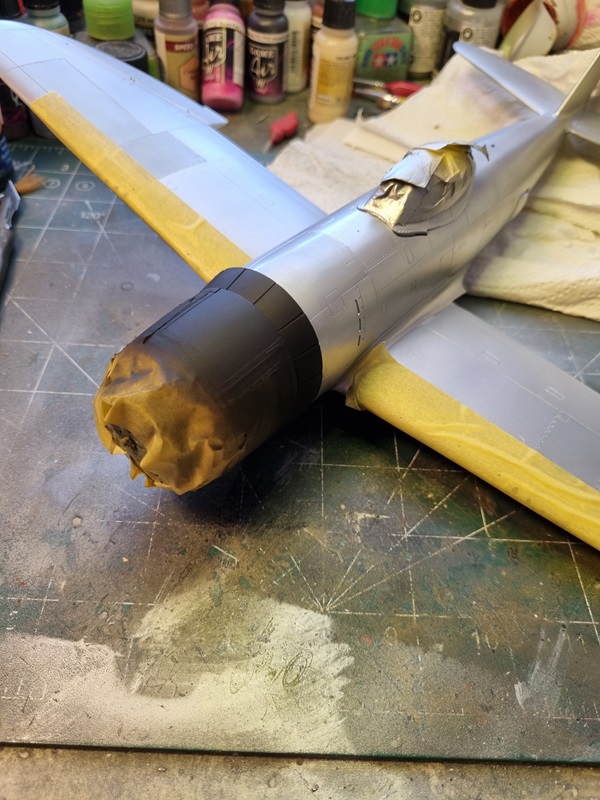
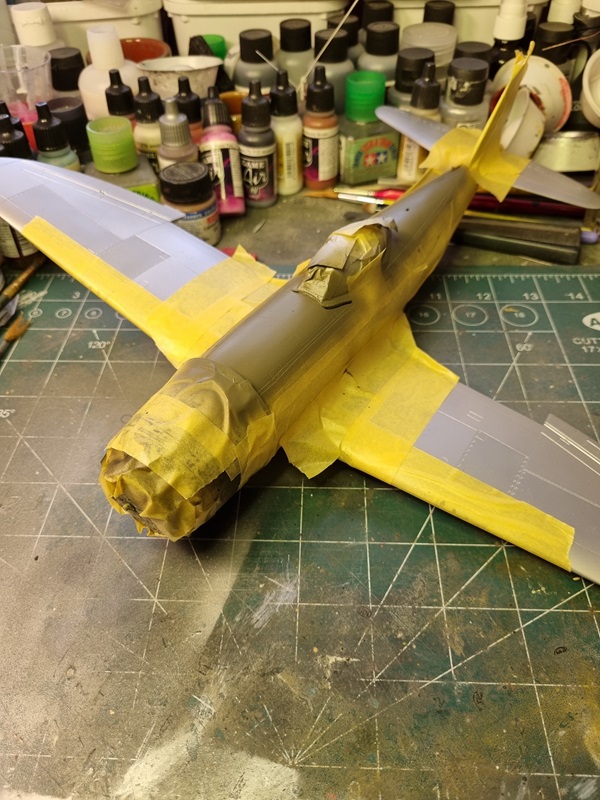
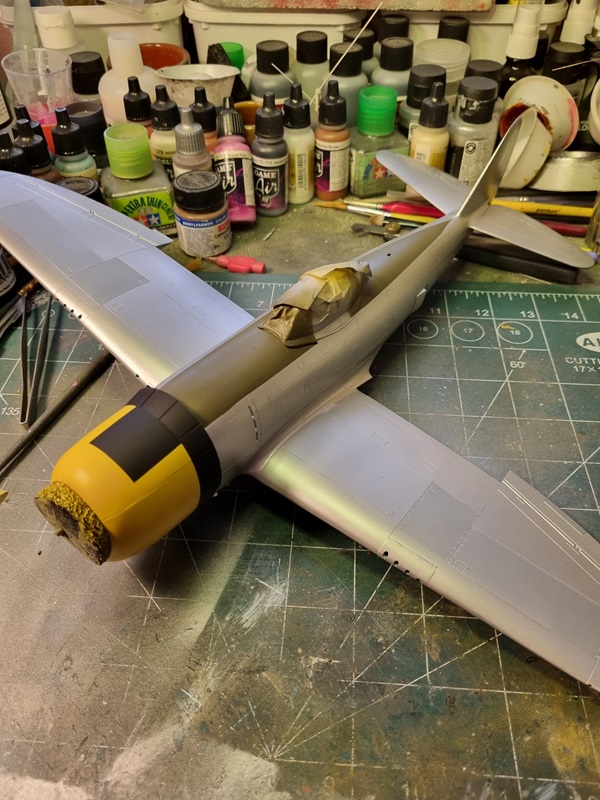
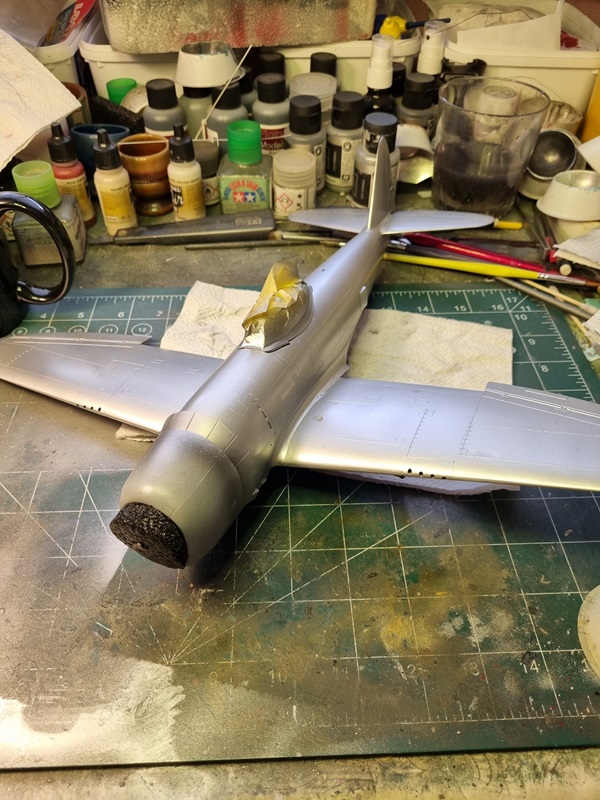
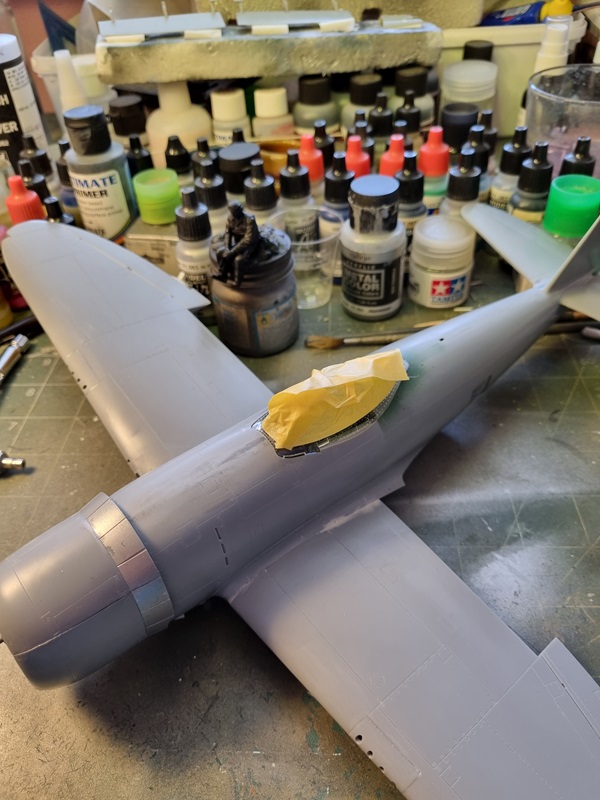
I’ll mask to protect the engine, and then start giving the plane a primer before painting it with aluminium.
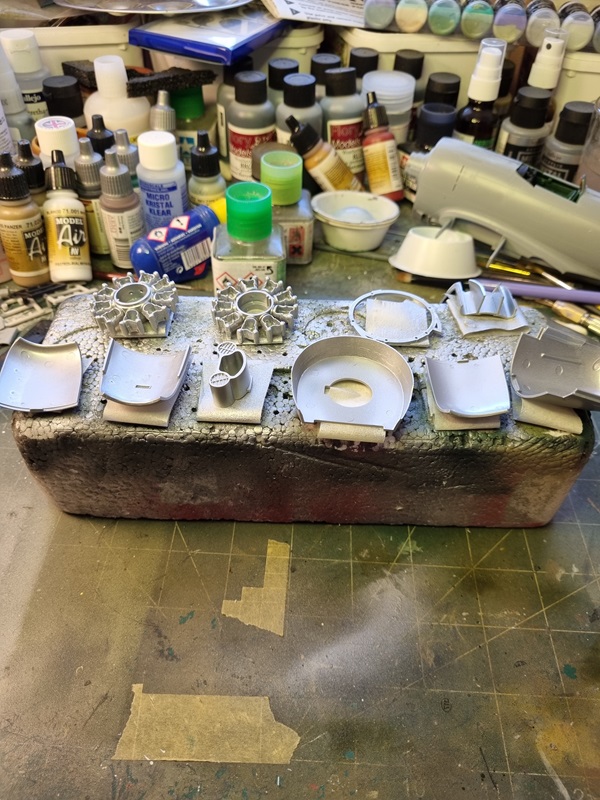
First covers, rims and the tank was painted with aluminium.
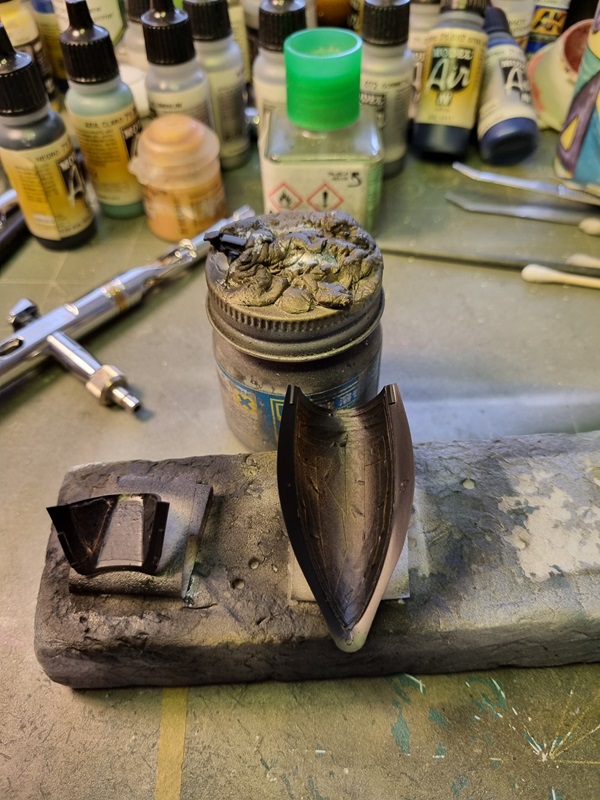
Then the covers was turned over and painted with zinc chromate yellow.
I almost forgot to put a decal on the engine, before it was to late. Now it’s done! 🙂
The tires was painted in a mix of tire black and black.
I added a bit of plastic to the inside of the open cowlings. Just to create a bit of interest. Inspired by a guy on LSP.
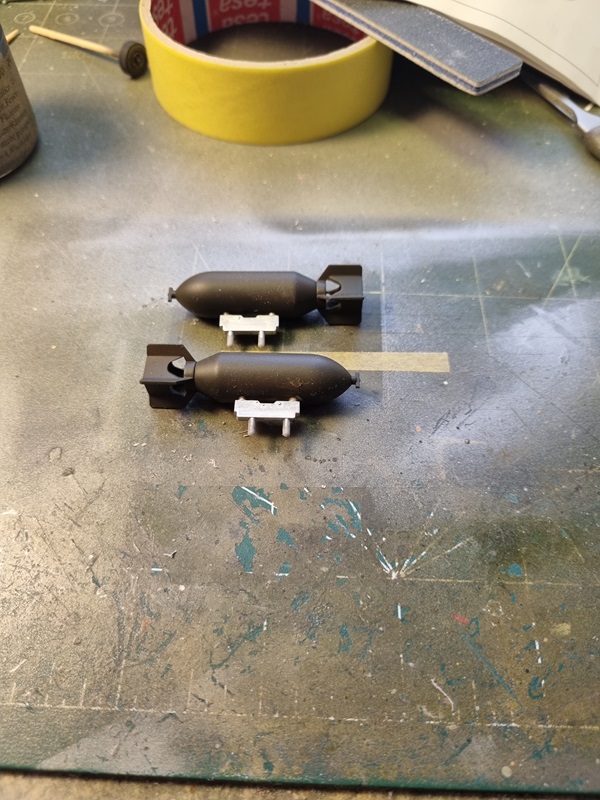
After trying a few OD colours on the bombs, I settled for this one, which I think look dark enough.
I need to touch up a bit and then put on the decals. Unless I paint it, of course!
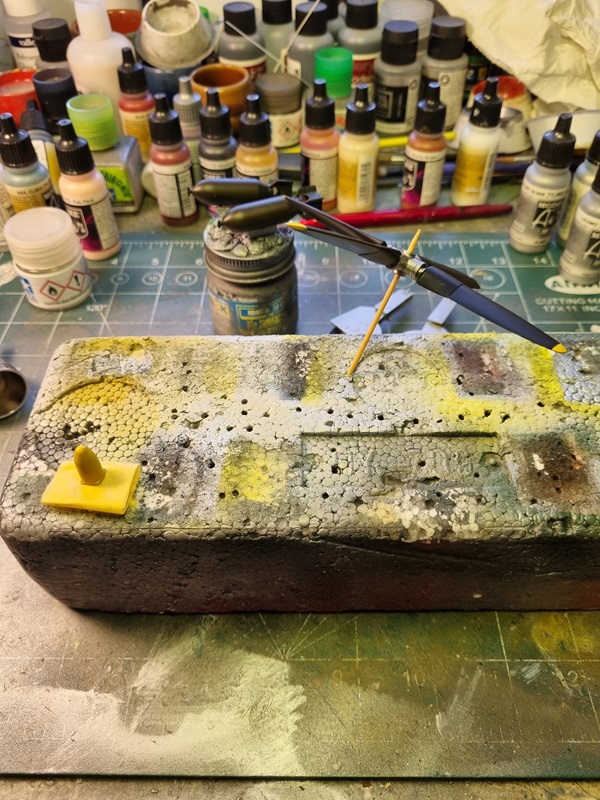
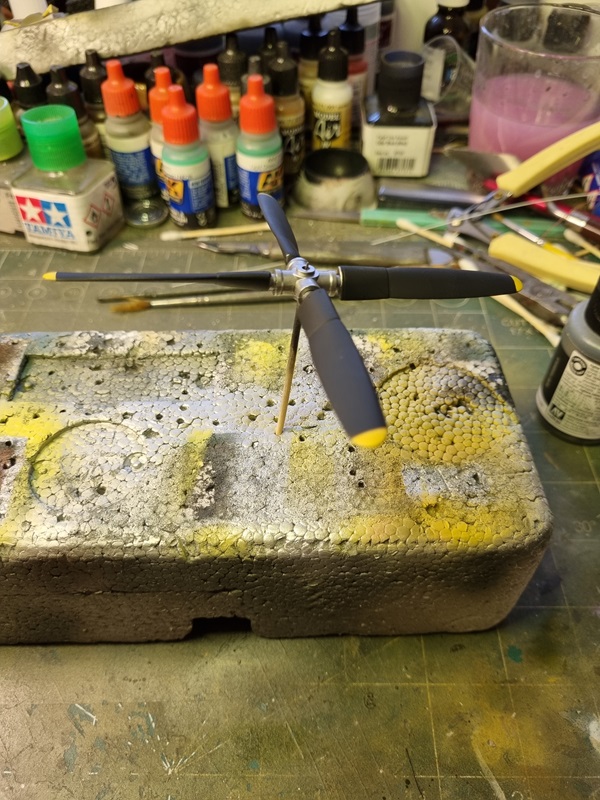
The propeller tips and spinner got yellow paint.
I first glued the cowlings in place and then the bottom with the engine, and lastly I fitted the other covers one by one. I must say that the fit is very nice and all flaws are probably my own fault.
The sight needs to be sorted and the canopy masked. There are a whole canopy for closed position that I can use, if I like to cover the cockpit while painting the rest of the plane.
The gear legs needs some additional wiring, and the prop some more paint. Soon it’s time for primer and paint.
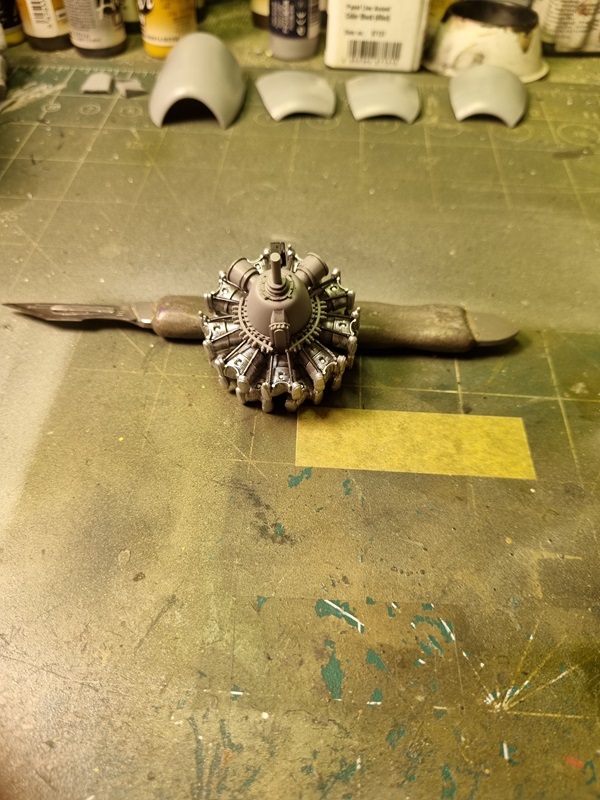
I guess more could have been done to the engine, but not much will be seen and I won’t show it off by opening covers.
On LSP I heard of a few modifications that is “needed”, or at least will improve the looks somewhat. One of them is lowering the engine and covers 1-1.5 mm and i order to do that I cut off the engine mount and glued a piece of plastic to have somewhere to put the mount.
This is an pretty easy and quick fix. The other one is the mount for the drop tank, that also needs some cutting. The reason is that the tank ends up touching the ground, and needs to come up a bit higher. I cut the mount in half and sanded a bit before I glued the parts back together again. Hopefully that will be enough!
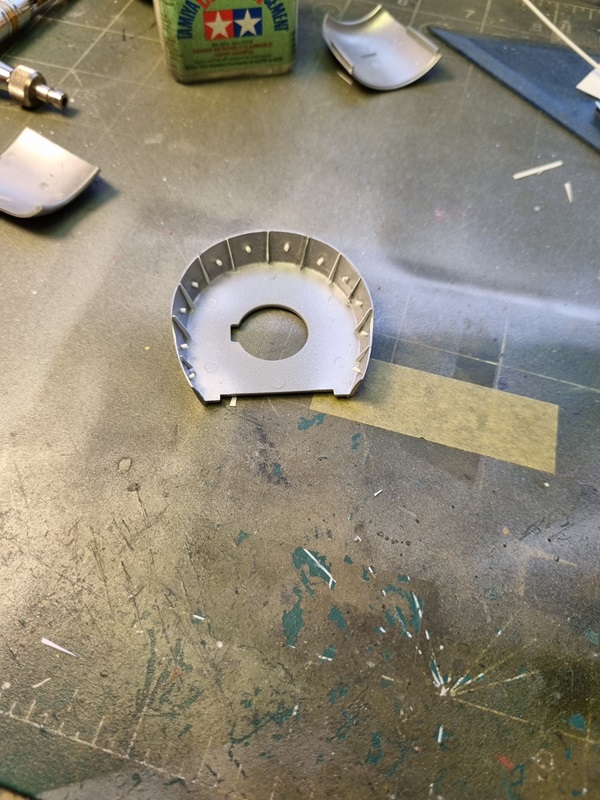
Lastly I’ve built and prepared some parts like landing gears and covers for paint, and also started assembling the front engine mount and the intake.
All the landing gear parts will be painted and assembled and also the engine and the covers.
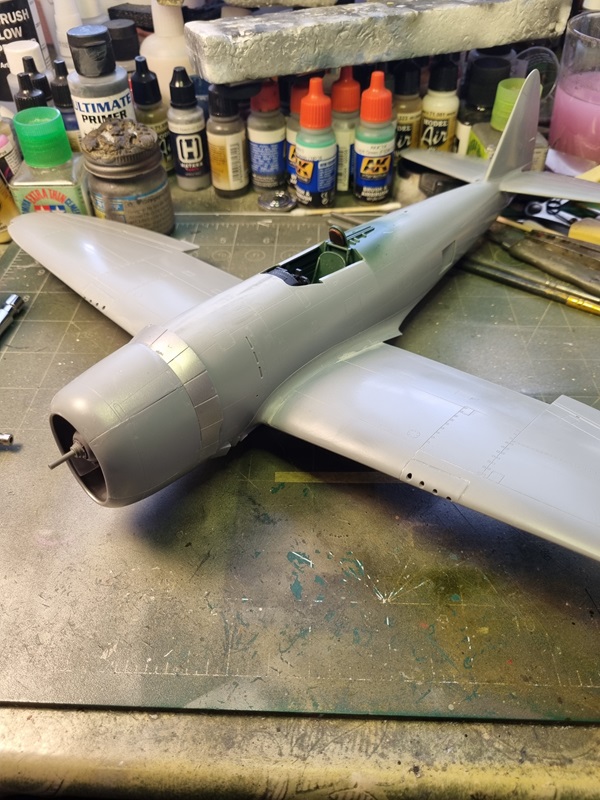
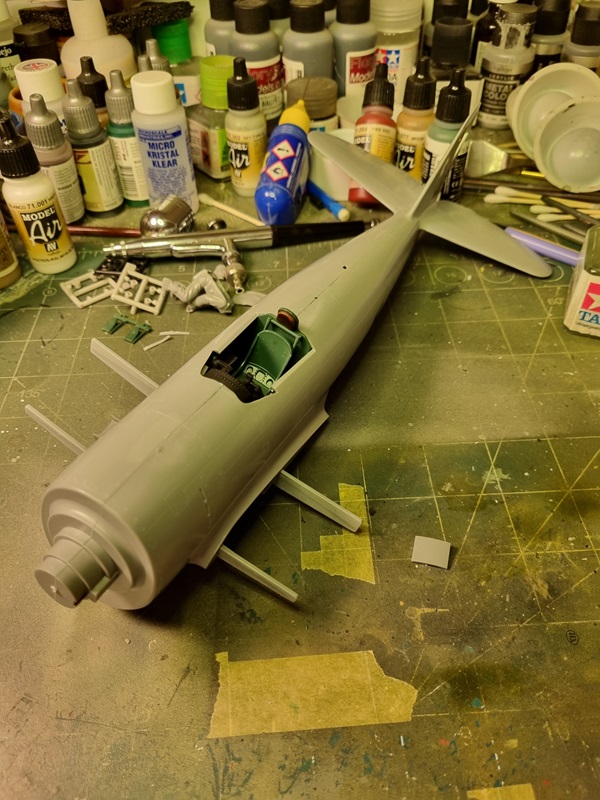
With the cockpit done, assembling the fuselage wasn’t far away. It goes together very well, but there are a few things to beware of. Check that the holes are drilled and cut up for the drop tank holder. It is also easier to glue the cockpit to the bottom piece first and the take care that everything aligns properly when joining the fuselage halves.
Even if the fuselage went together very nice, I still had to sort the seams, which might have been my own doing. No mayor work, just a little sprue glue, and then some scraping and sanding.
While the glue was drying, I painted covers and engine parts.
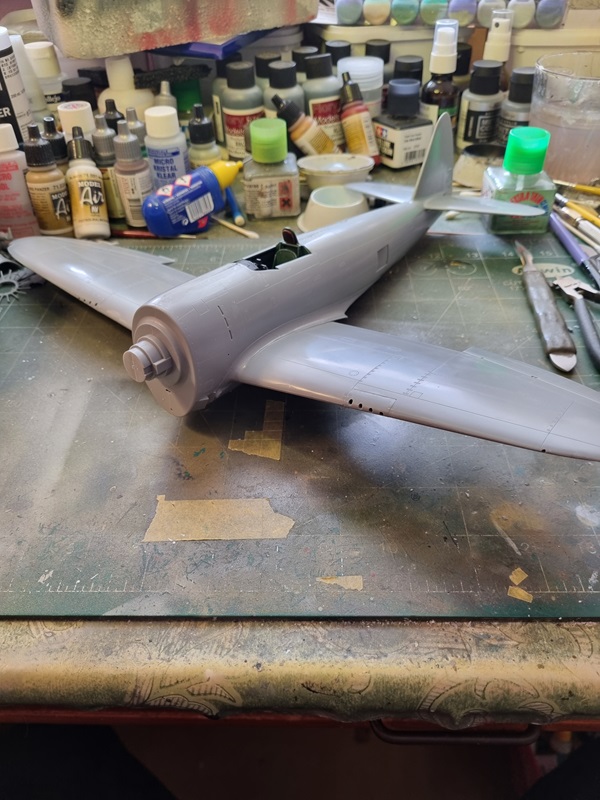
The wings was assembled.
And then the wings was glued to the body.
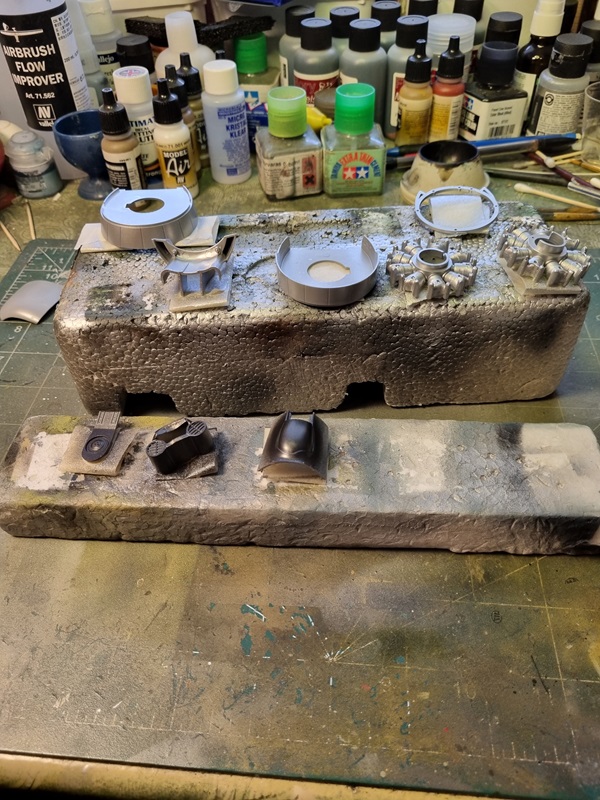
I painted the other side of some parts like the engine, and then black metal was painted on some parts.
Next I have some masking and painting to do on the engine parts, and hopefully I’ll be able to sort the landing gears and other small stuff.