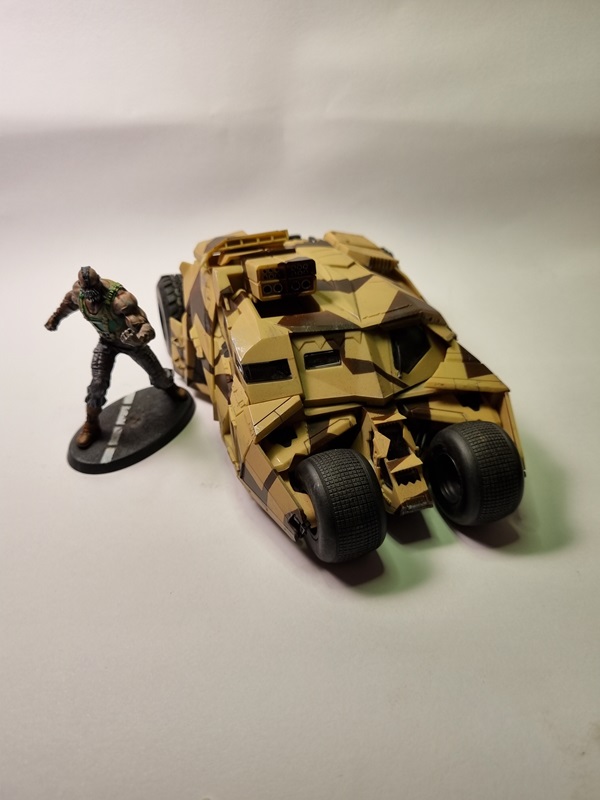
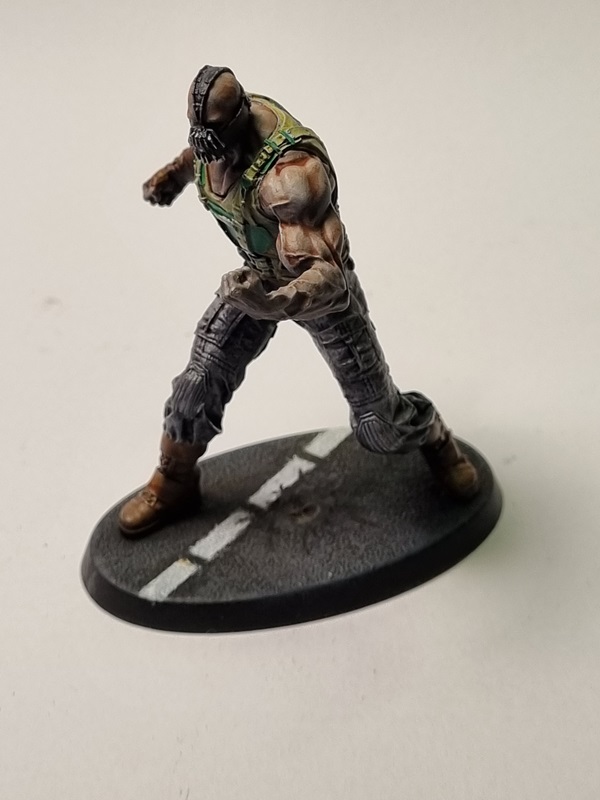
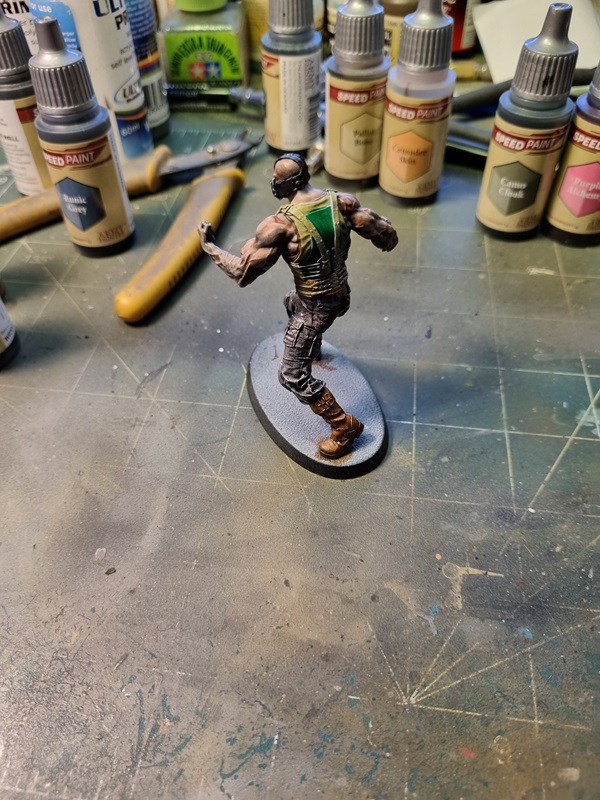
After checking pics on the net, I started painting Bane.
Almost all painting is done with Speed Paint colours. I used Vallejo gunmetal to metal parts on his face mask and some other metal parts. I’ll check pics again to see if there are other details I need to paint.
His base also need to be sorted and I’ve put a bit of putty in the middle. I’m not sure what colours I want to have his base. Dirt or tarmac perphaps.
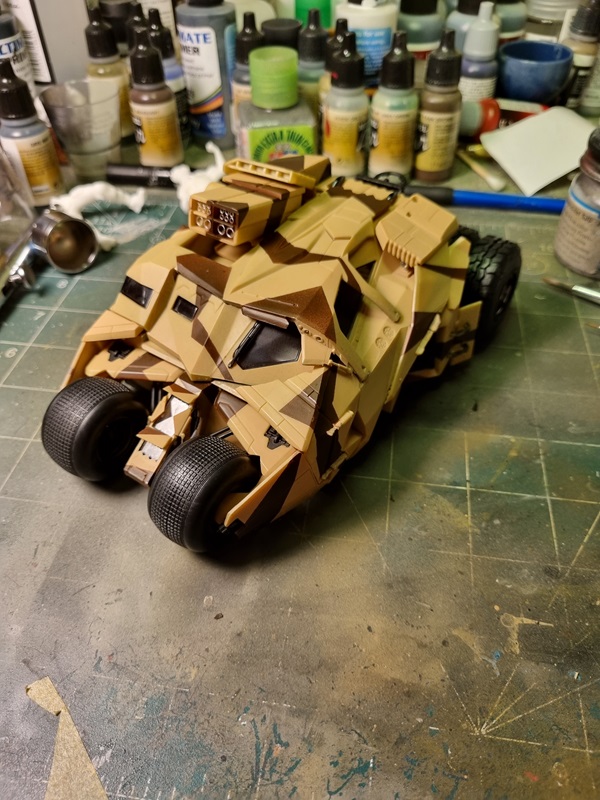
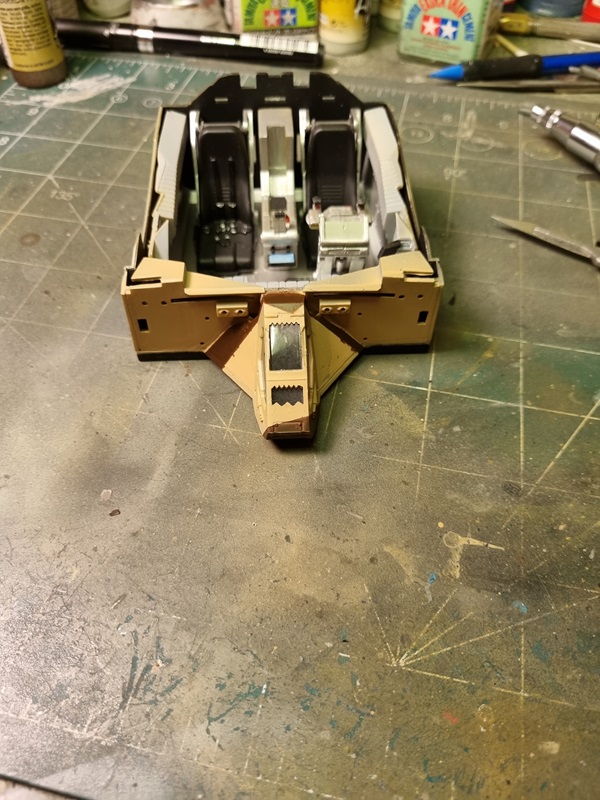
With the panels painted, it’s time to glue some panels.
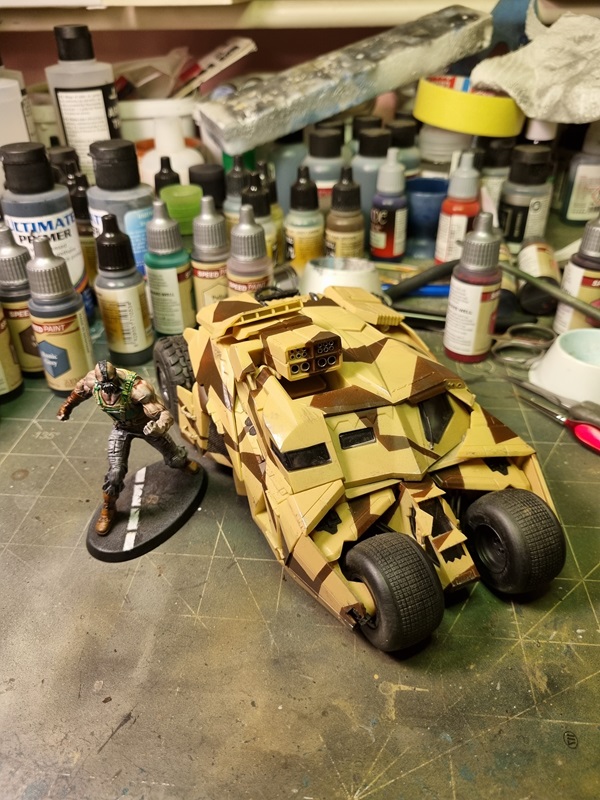
The roof took a while to get in place correctly as it’s many points that need to fit and lock. Left to do is sorting some details and touch ups. After that I’ll do some weathering and also Bane need some paint.
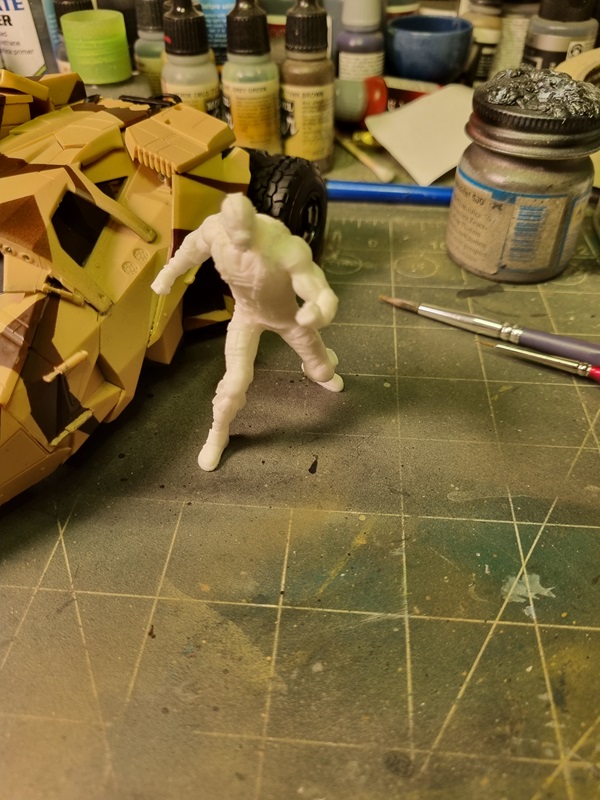
Bane is a resin printed figure by the looks of it. Quite nice though. I used one of my spare warhammer bases and glued him on it and painted him black.
Next I’ll do some zenithal primer and dry brushing and I’ll also check pics of him before I start painting him.
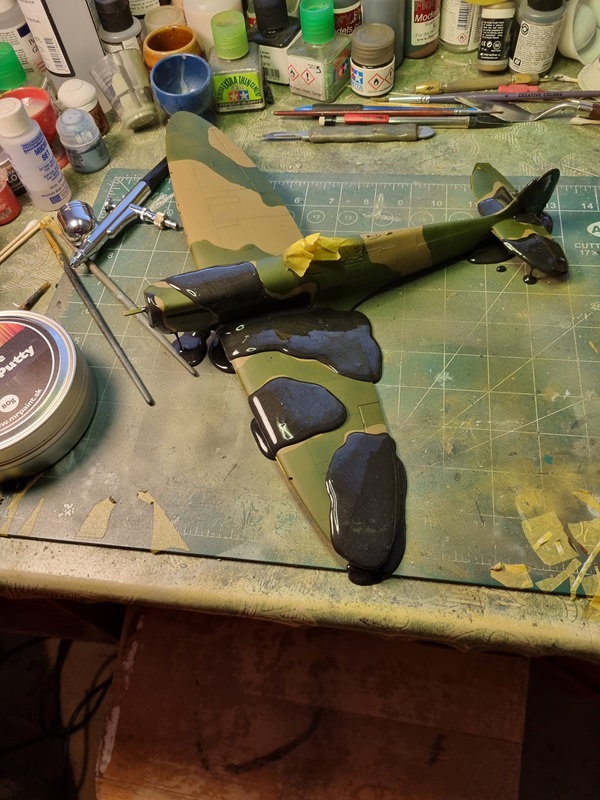
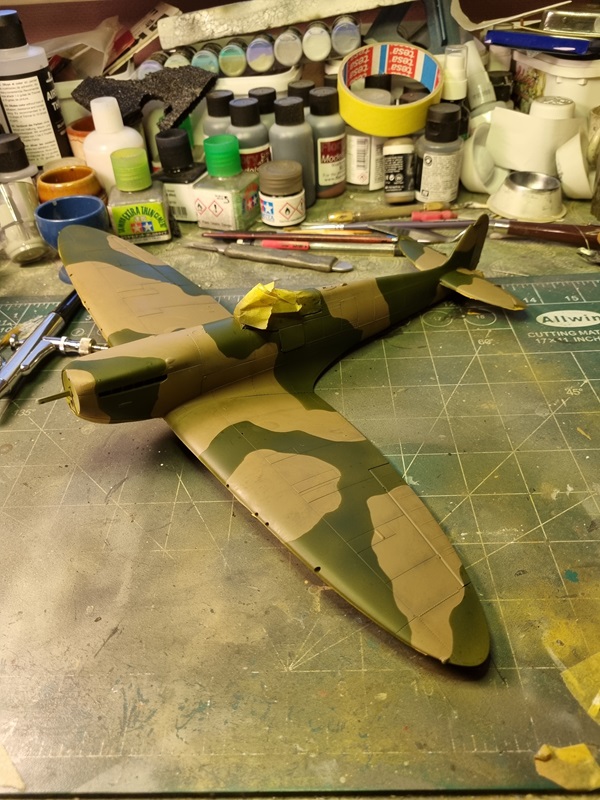
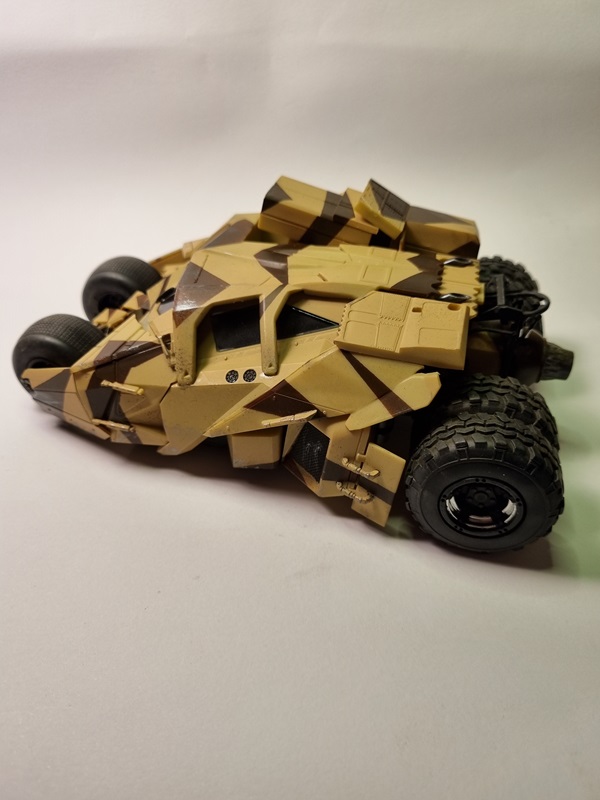
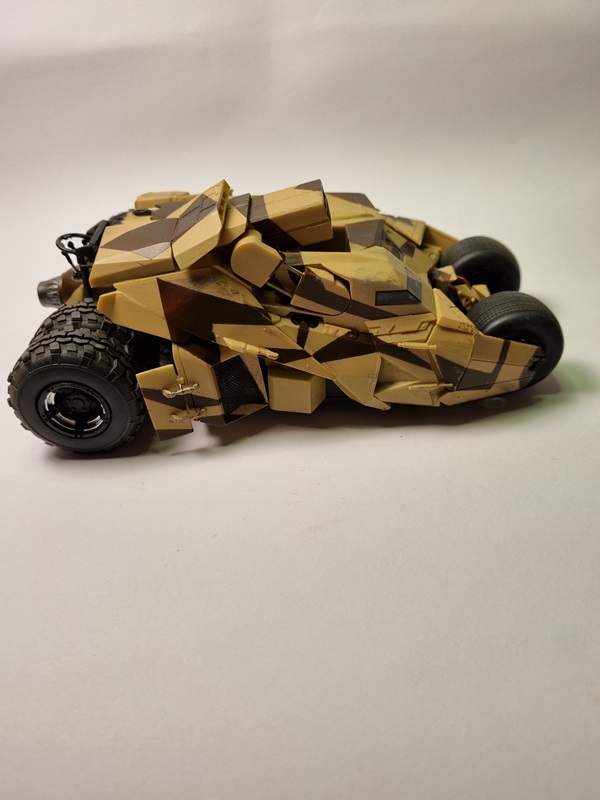
I had to assemble the rocket launcher i order to get the camo right, and I also had to check some of the other panels that had patterns that continued from one to the other.
Once the masking was done, I could lay down some paint.
I also had to paint a few parts that I’ve missed earlier.
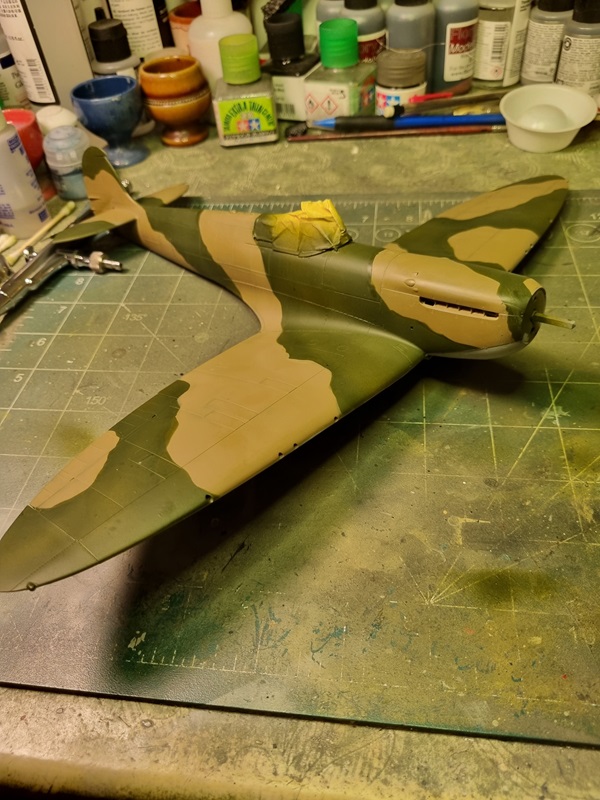
After removing the tape the panels looked like this!
I almost forgot to paint the front.
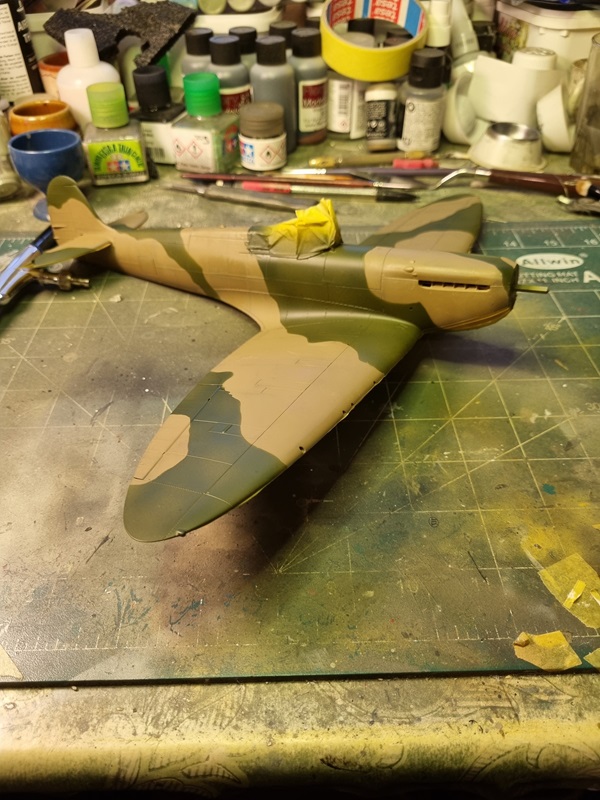
After checking, there was a few spots to touch up. Once that was done I could finally start assembling things again.
Next will be some detail painting and adding more panels and stuff.
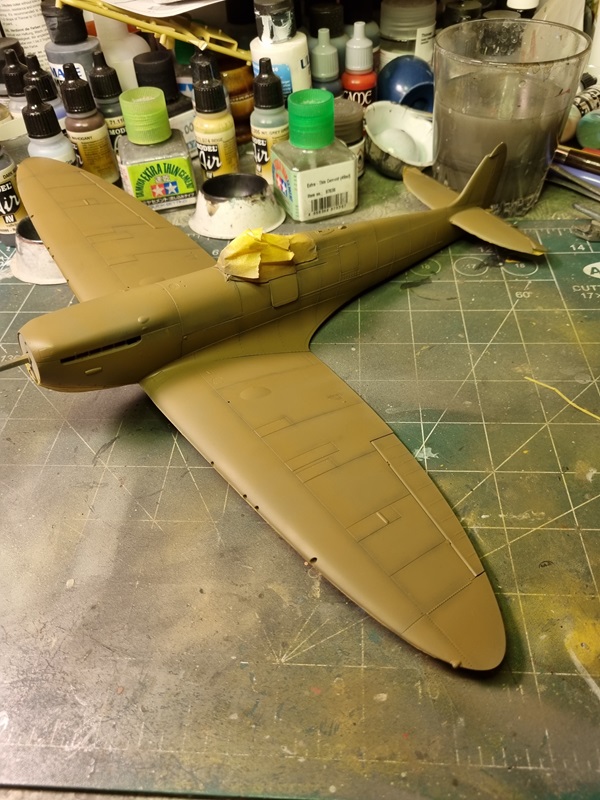
I got a hunch to pick up this build that I started a few years ago. I had already started painting it and had masked in preparation for the topside camo. So the tape have been sitting there for quite some time. I just have to hope for the best.
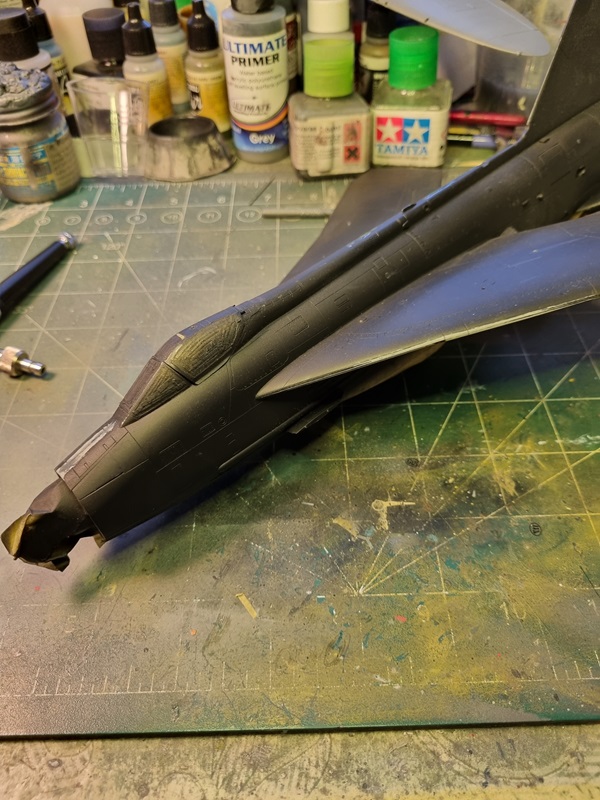
First I had to address a few spots with ghost seams.
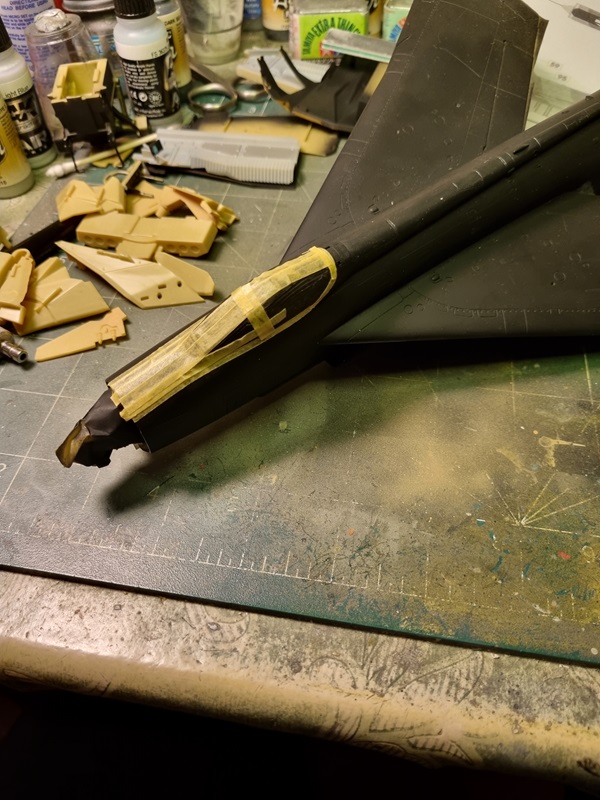
After that was done, I repainted with black and masked the canopy and front area which should be black.
Then I used a mask for irregular patterns to paint with light ghost grey over the black. This was the first time I used this kind of template, so it didn’t go very well, but I think it’ll do for the purpose of the paint.
Next I’ll start painting the camo, starting with dk sea grey.
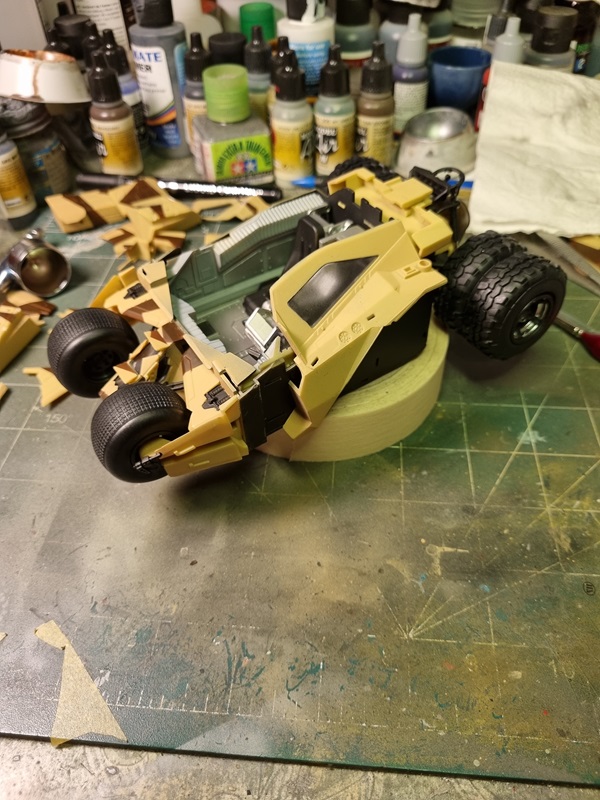
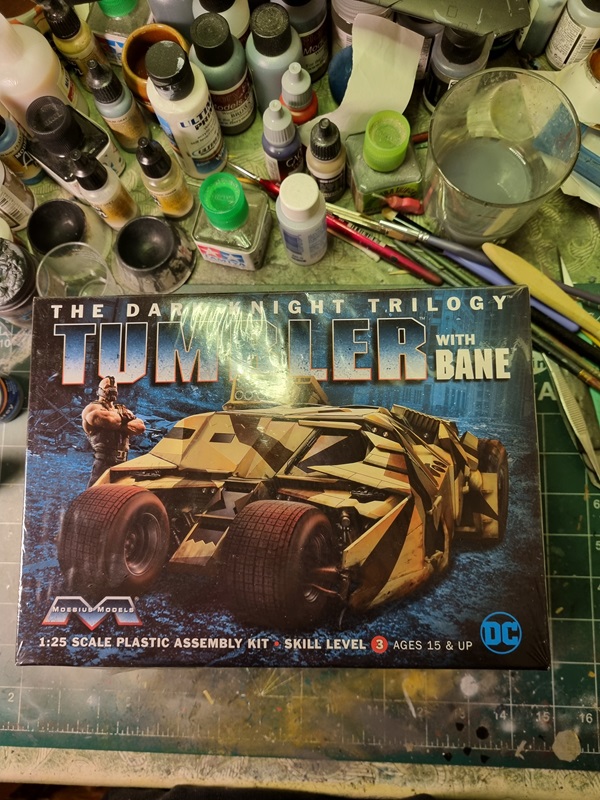
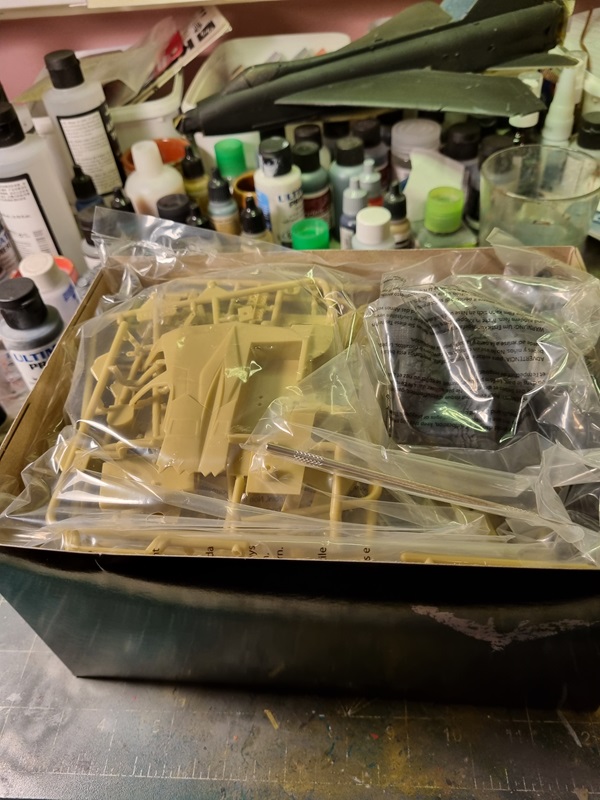
I got this kit as a gift from Secret Santa on an international forum.
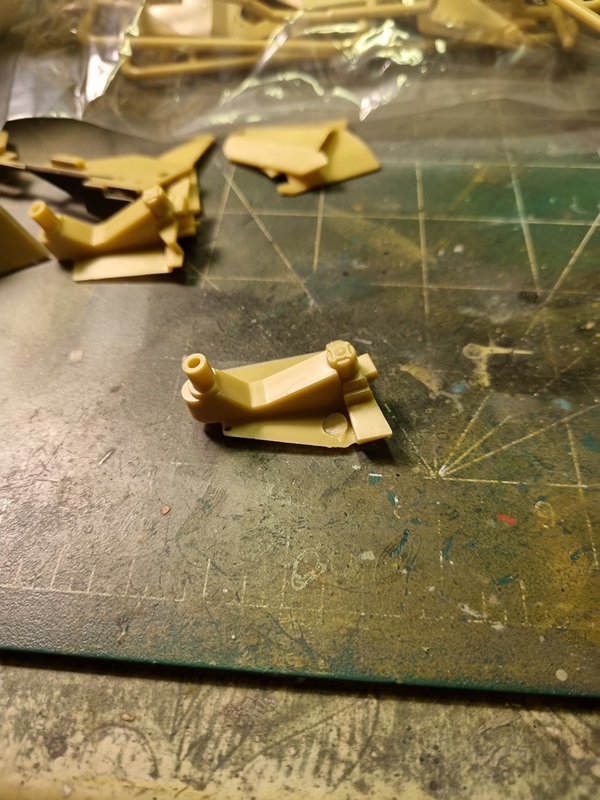
It’s filled to the brim with parts, and I’m not sure if I could get them all back after removing them. No matter as I’m starting to build the kit, using both bottom and lid as trays for the parts/sprues.
The kit can be build either as the one Bane is using or Batman’s black one. But as there’s a Bane figure and extra parts for rockets and stuff, it seems like a waste of parts not building it like Bane’s Tumbler. Besides if I’m not wrong there should be a separate kit for Batman.
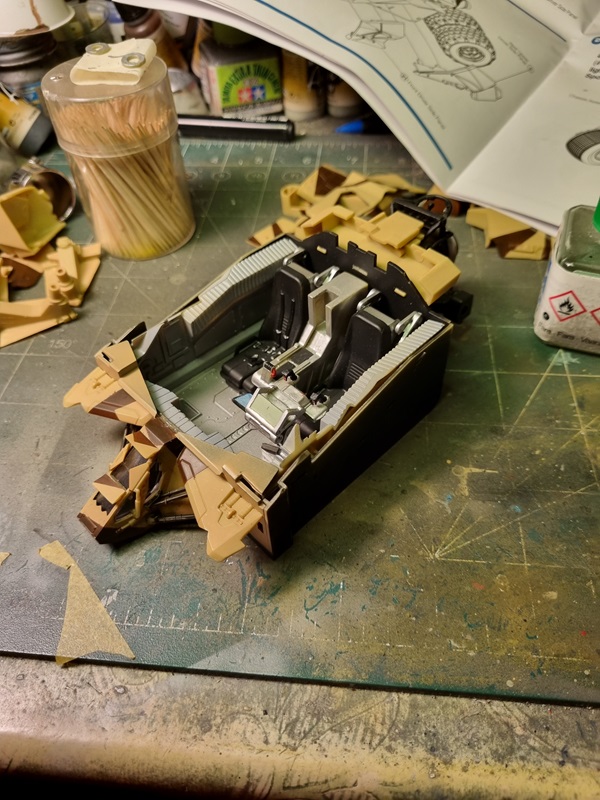
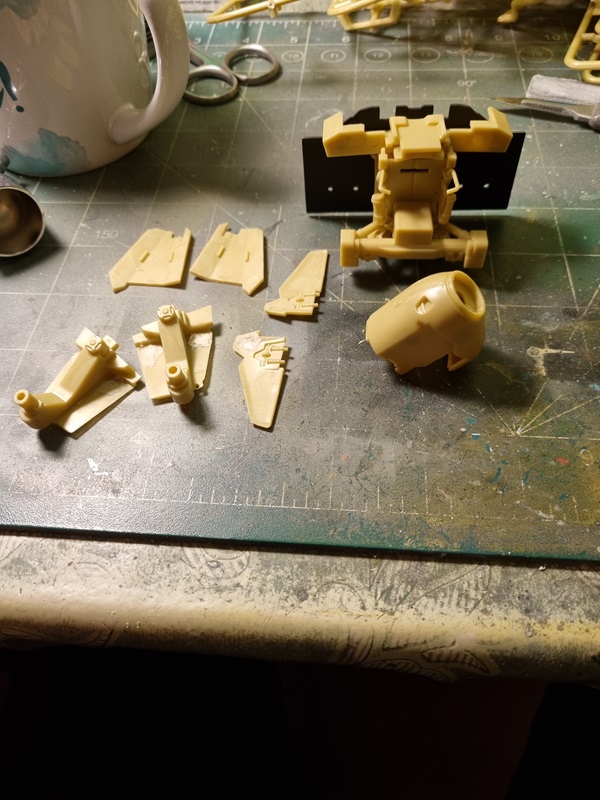
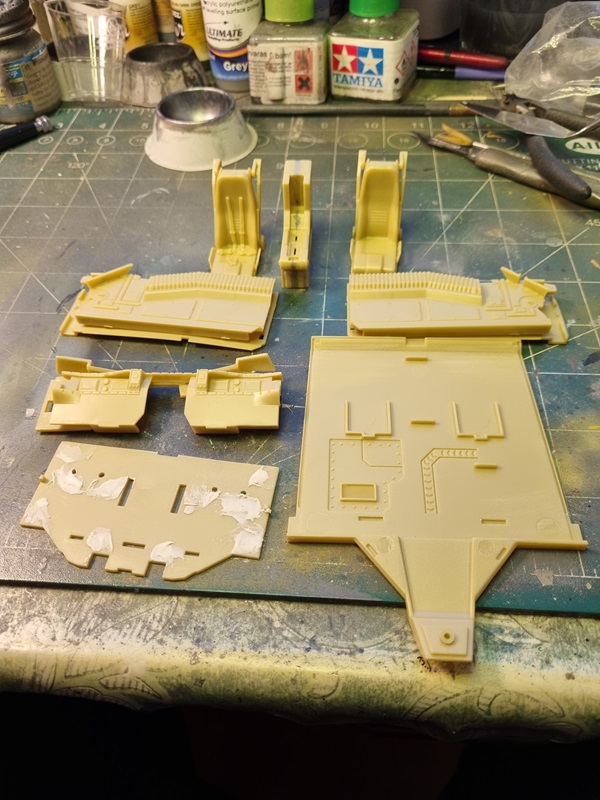
The build starts with the cockpit.
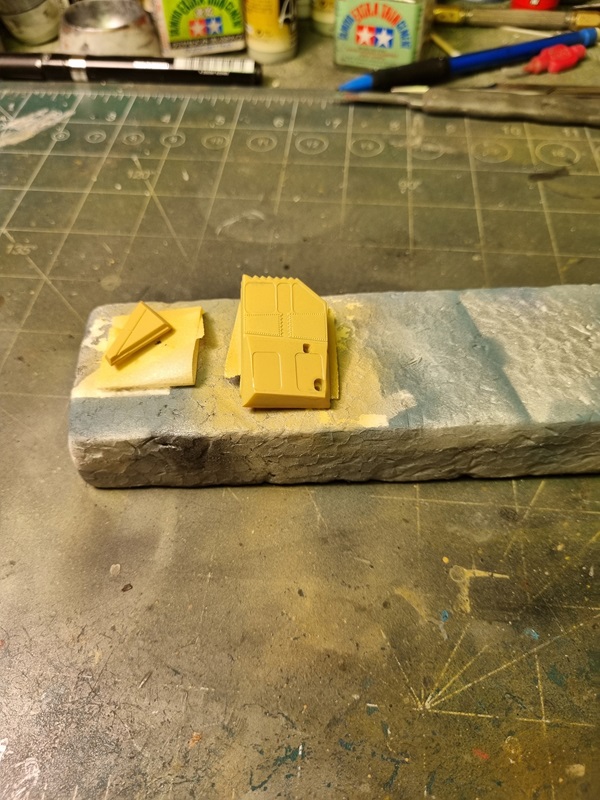
There’s some ejection pin marks that needs to be taken care of. Some had to be filled and some could just be sanded down.
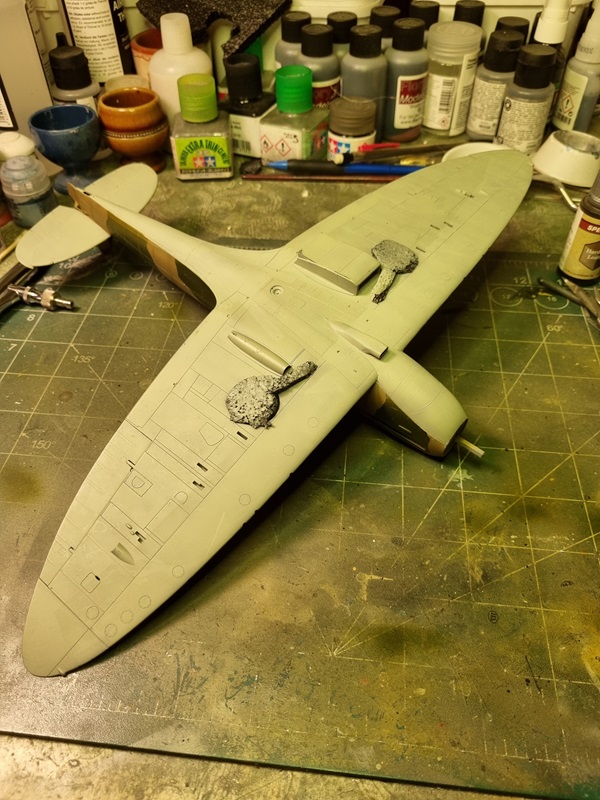
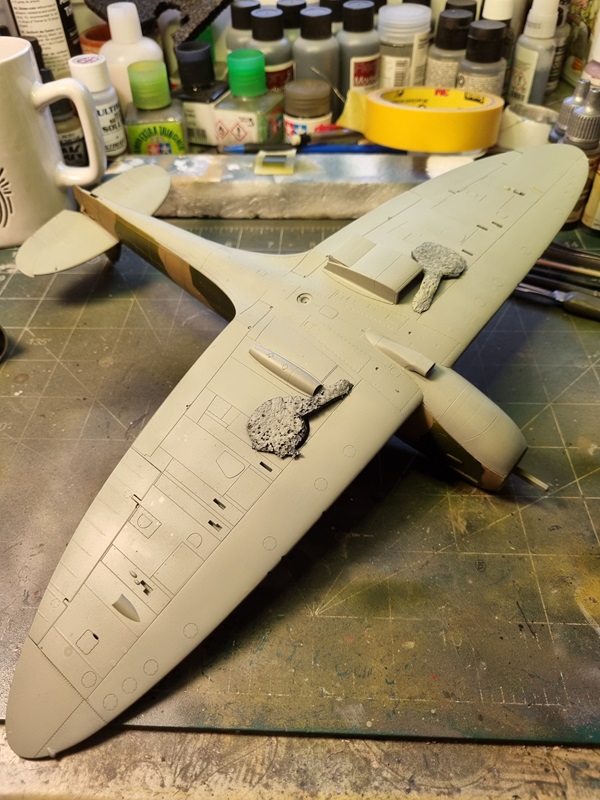
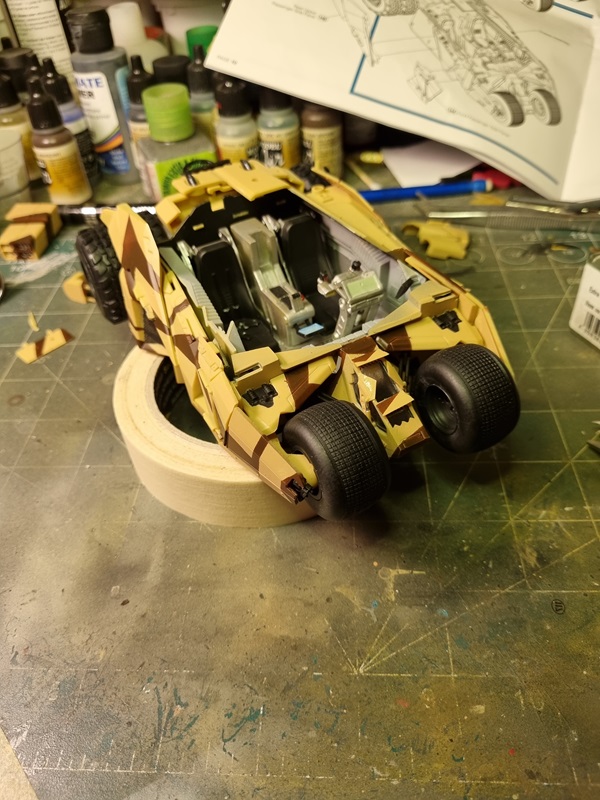
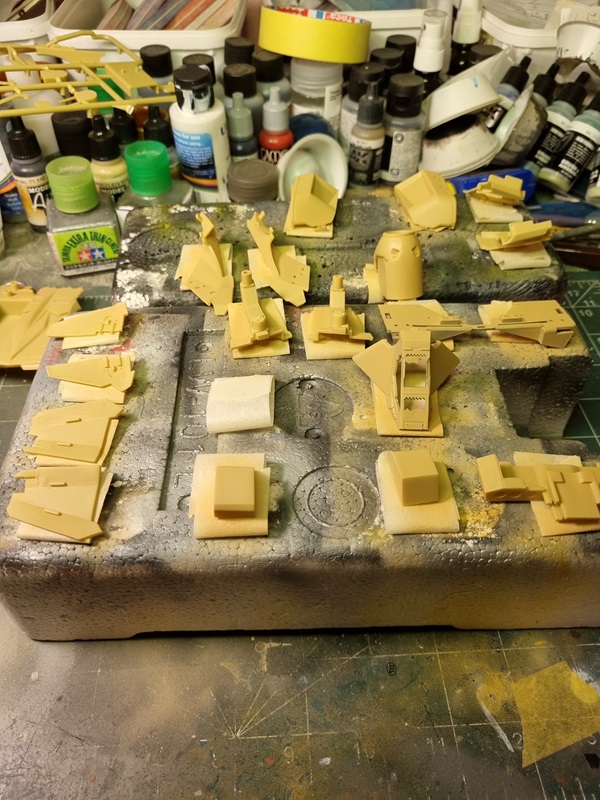
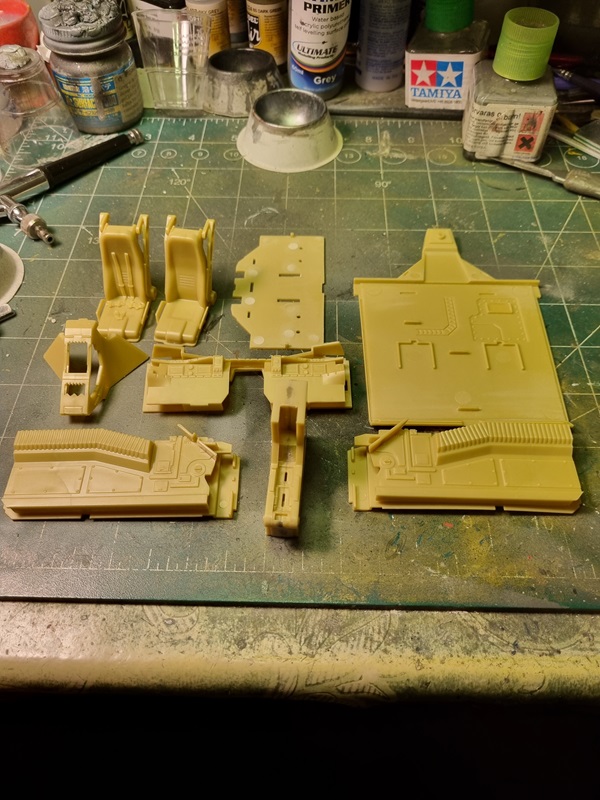
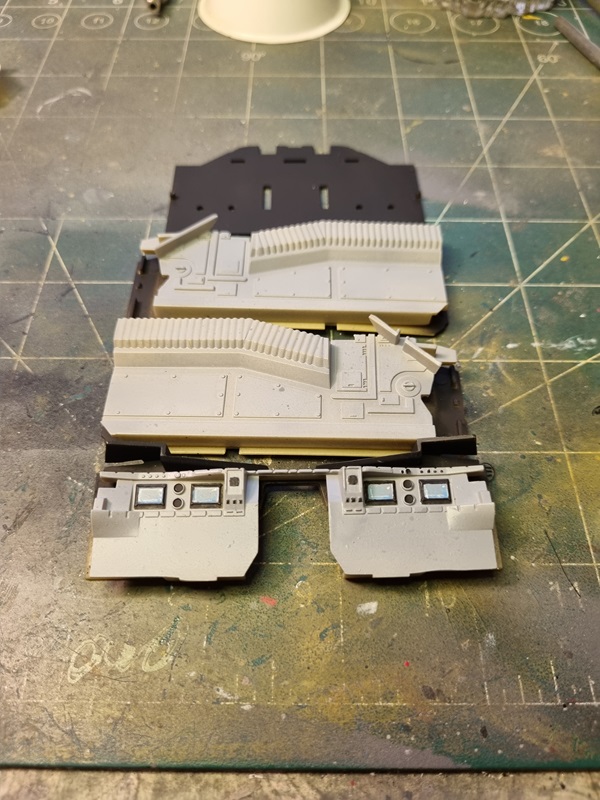
Some of the panels was painted light grey.
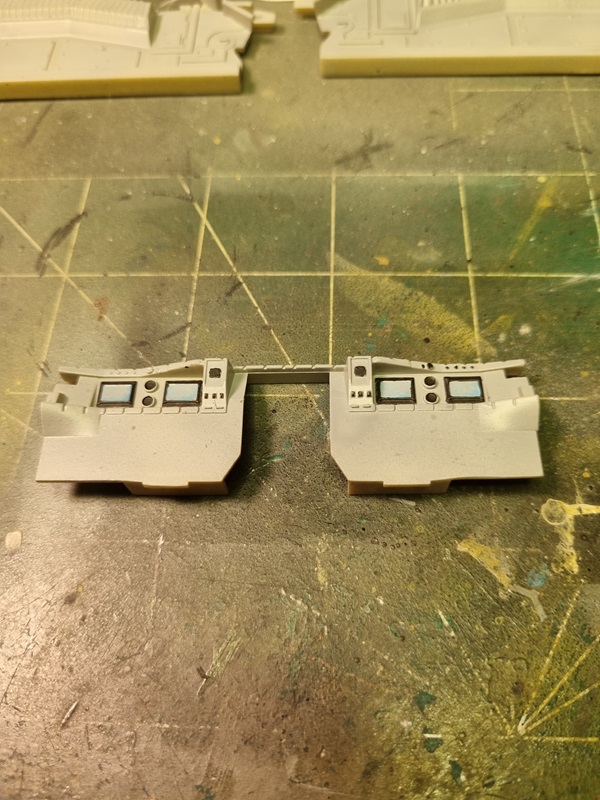
I painted the screens and some details on main panel.
The walls was painted black and I did a bit of dry fitting.
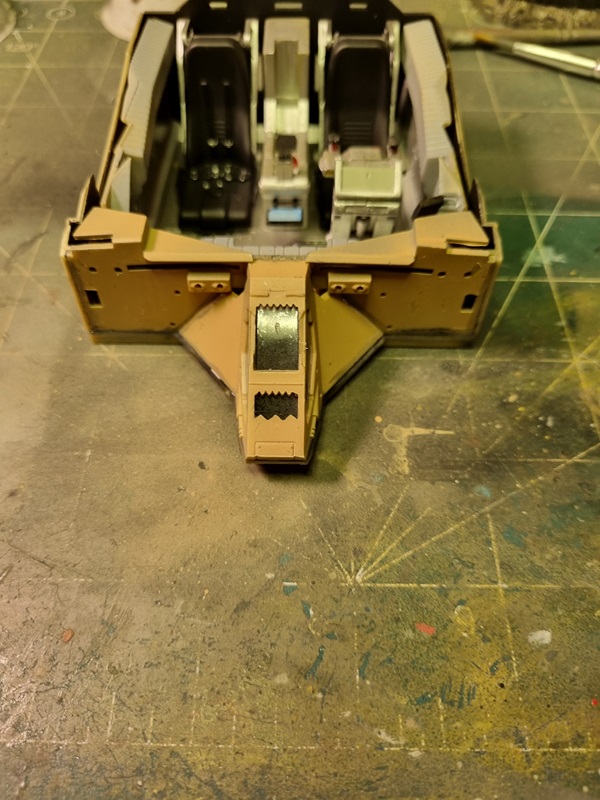
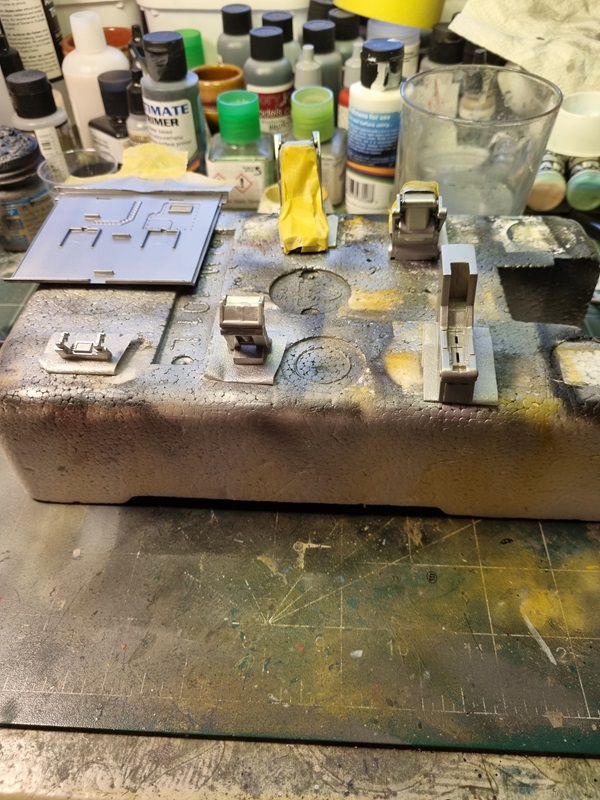
Removing some of the seams wasn’t easy as some are hard to reach. After getting rid of most of them I painted the floor and consoles in aluminium.
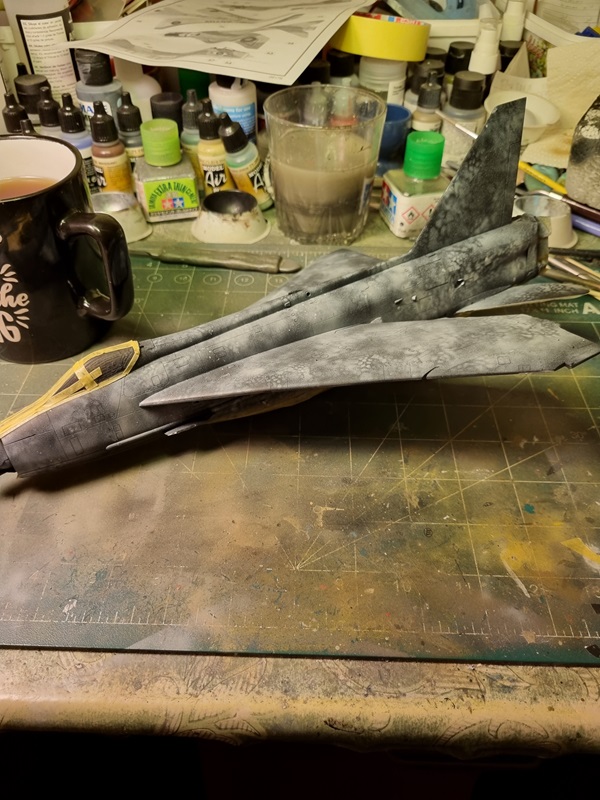
After removing the tape, it looked like this.
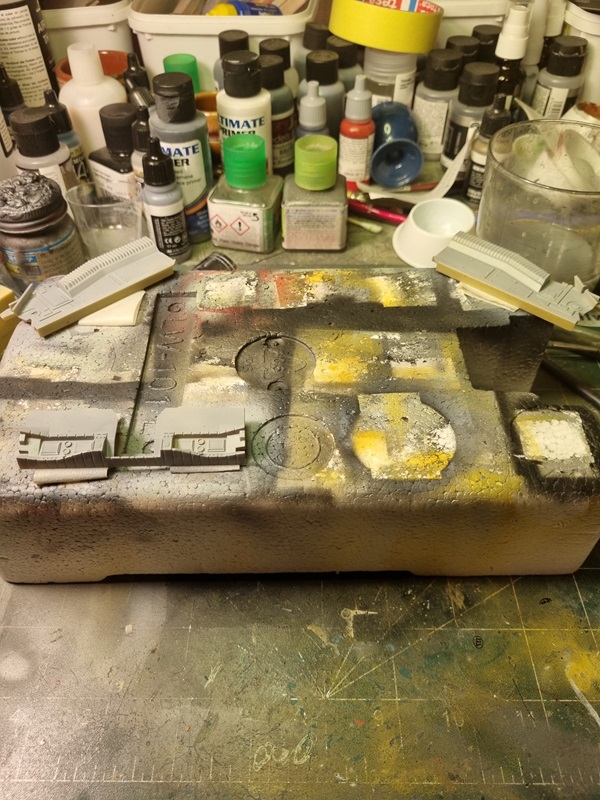
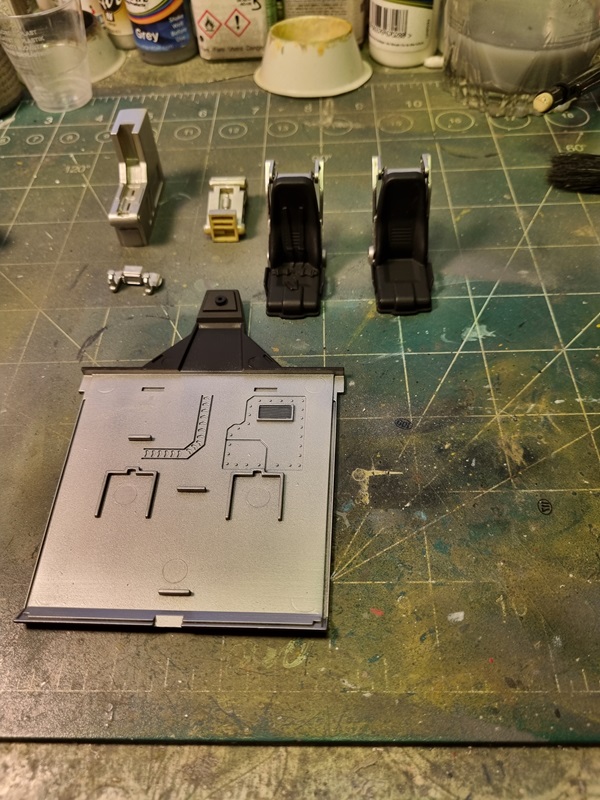
Some of the smaller panels and screens needed to be taken care of as well.
After some additional painting of seat belts and other details, I could do some assembly.
Next I’ll assemble some exterior parts prior to painting them.
One thing I’ve noticed with this kit, is that you need to check a lot in advance to get things to fit right.