I got a package from Games Workshop with stuff for my Bretonnian army.
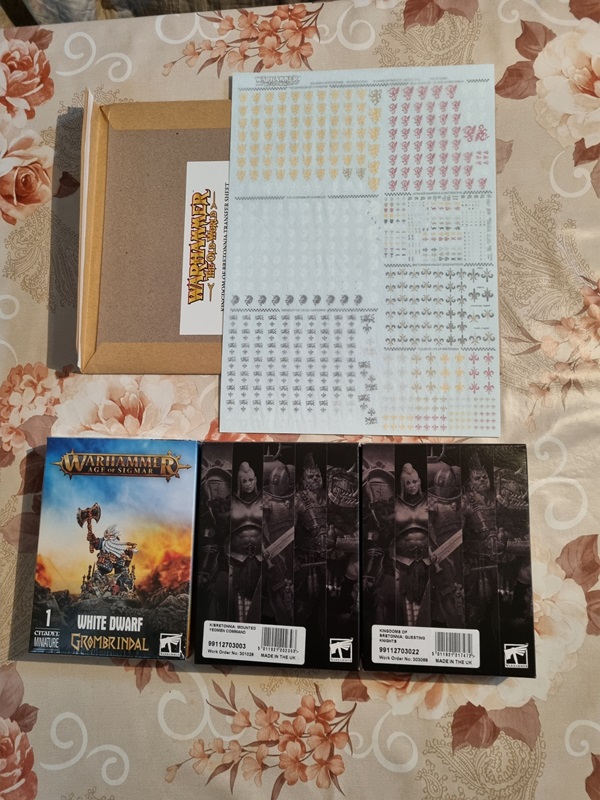
The decals looks very nice, which is more than one can say about the boring standard boxes they send some of the stuff in.

I got a package from Games Workshop with stuff for my Bretonnian army.
The decals looks very nice, which is more than one can say about the boring standard boxes they send some of the stuff in.
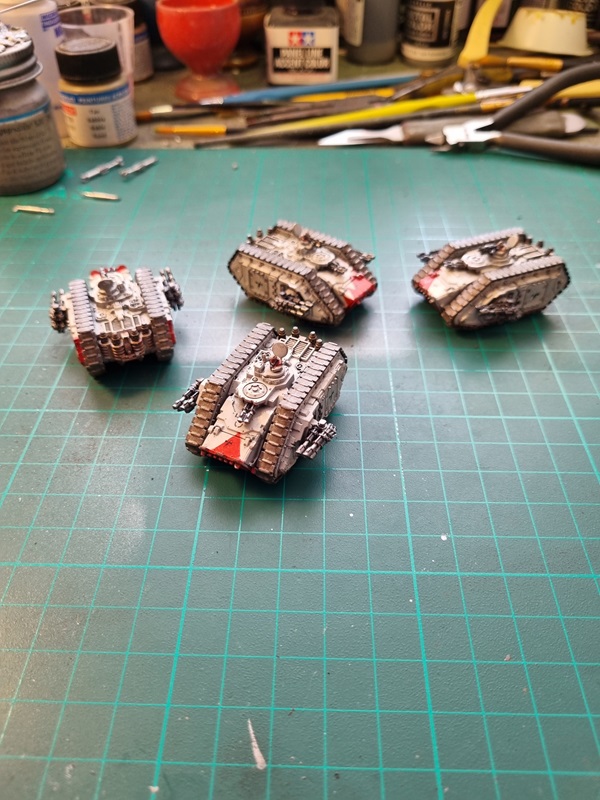
I did some weathering with mud, sooth, black oil and chipping.
I think I’ll consider them done and will take final reveal pics asap.
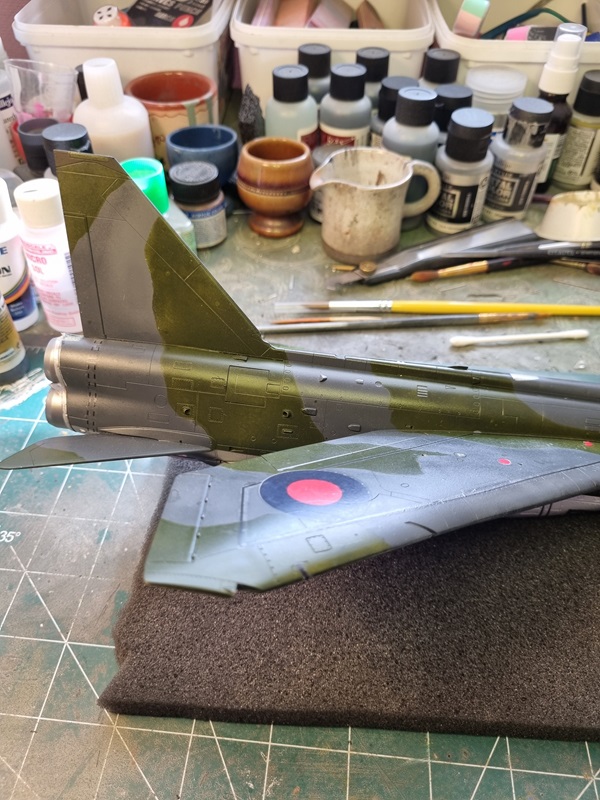
After a clear cote, I removed the canopy and glued what I guess is part of the opening mechanism on the inside. Then some actuators got both aluminium and chrome paint.
The tires was touched up as well.

The pylons was painted grey, but I’m not sure that is correct. According to the tab and corresponding hole on the rocket the pylon will sit like this.

I hope that is correct, as it’s hard to see exactly how it sits on the pics I’ve seen.
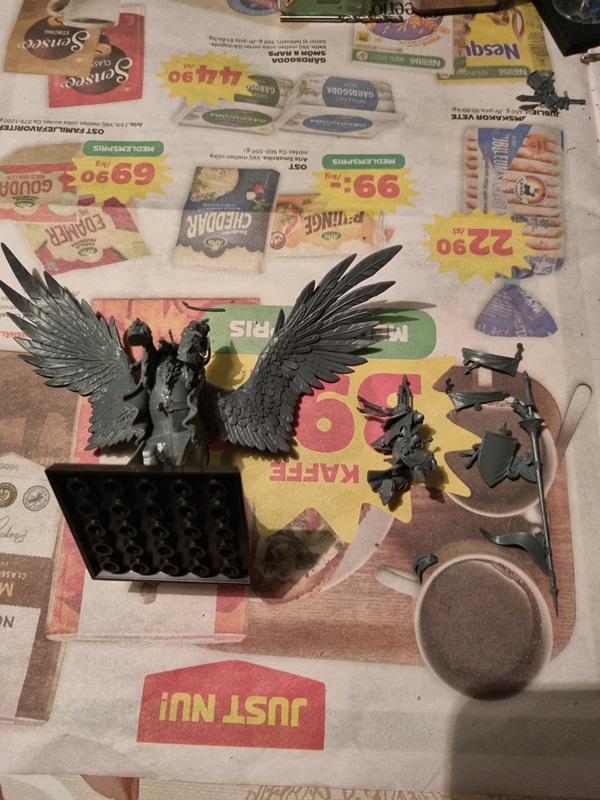
My questing knights arrived today from GW. Sadly in a standard no descript box.
I opened it and cut lose the parts. The horses and bases are plastic and the knights are white metall, as can be seen in the pic.
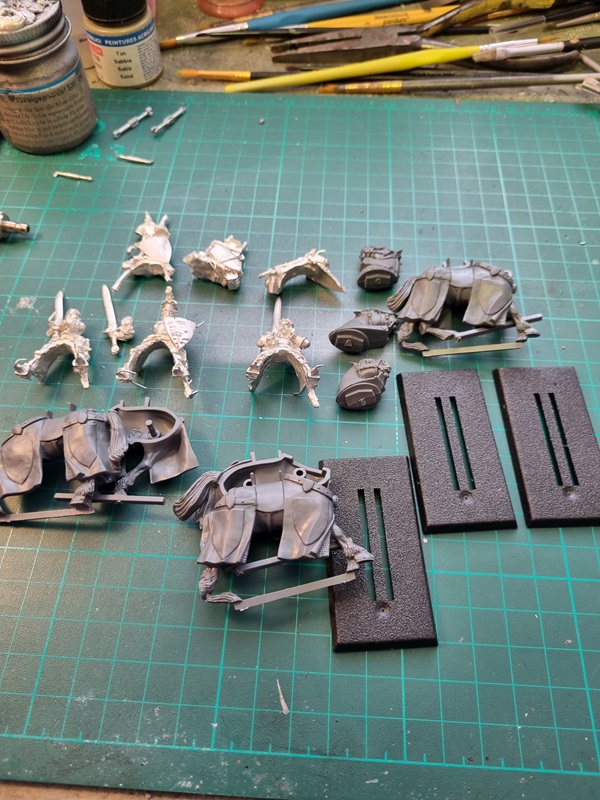
No instructions what so ever! Not many parts so not so very hard I guess. I think I need to pin the arm on the knight in the middle.
One strange thing is that the army builder says 5 and there don’t seem to be any option to lower it. That means I should need 2 more, and I’m not sure I want another box of these!
I noticed that I had missed painting a few spots like the black on the fin and one antenna (I think it is)
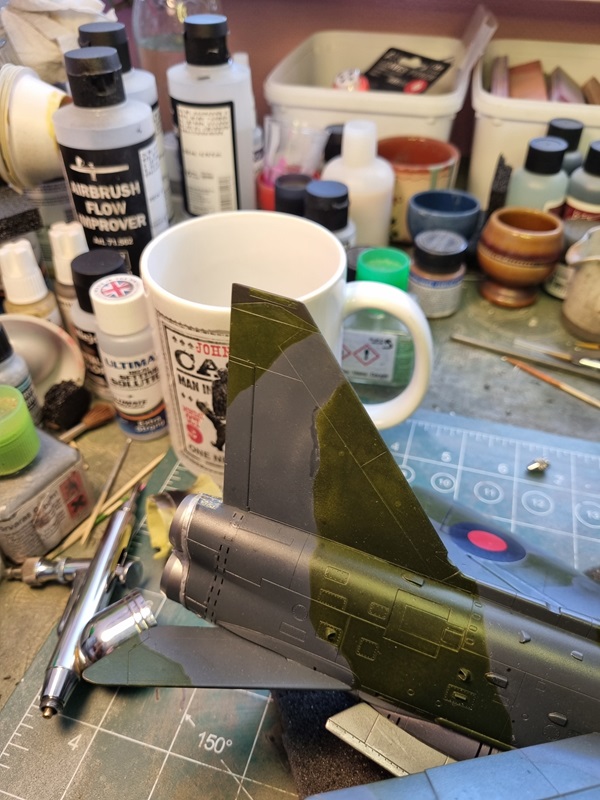
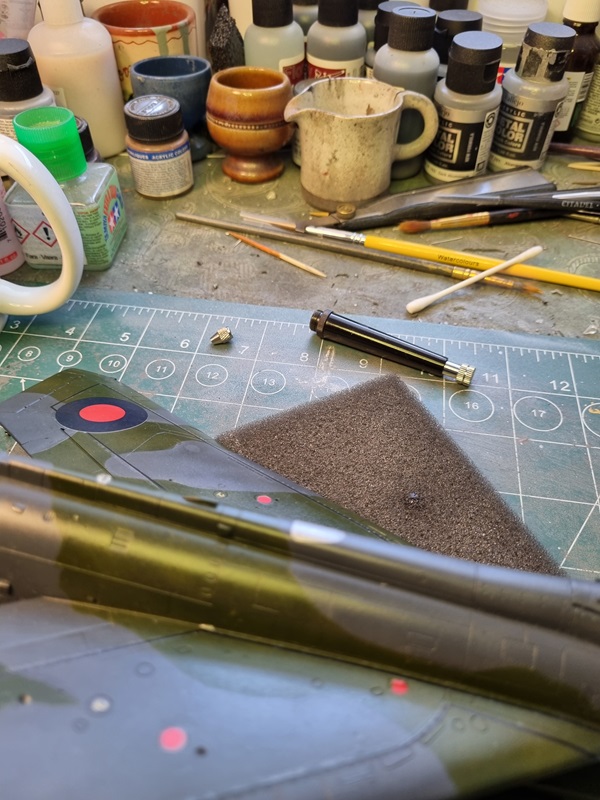
Then i repainted the grey a bit on the fin.
It looks a little bright, but with clear cote on it turned out quite okey.
Then on to the decals. They go down quite nicely, but the print is a bit off, at least the white background.

I still need to do the other side and some stencils are still missing. I’ll let this dry a bit and then do the other side.
I got the advice to buy new decals, but for some reason didn’t follow that advice.
Maybe if I get hold of this kit again, I’ll get some better decals, as there are quite a few nice paint schemes available.
I worked a bit with the Baron and here he’s almost done.
It wasn’t entirely straightforward assembling him and the pegasus.
Here’s a pic of the entire army.

I either had to glue the baron in the saddle or keep the backrest off while painting, and I choose the latter.
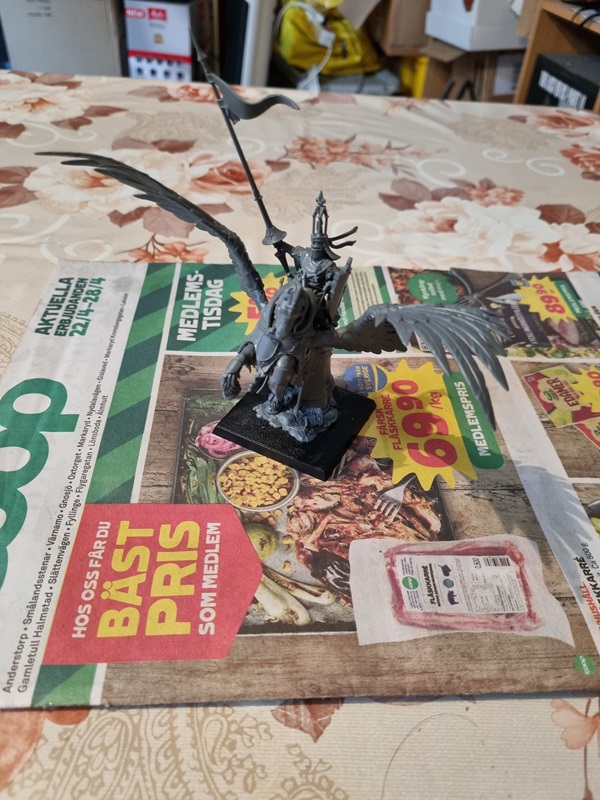
The reins wasn’t easy to get right, and I’m not sure I did, but this will do.
Time for some decals. I’m doing a bit at the time. Those lines under the belly was a bit of a pain in the …

I still have a lot of stencils to do on the underside. Just letting these dry first.
Somehow I seem to have forgotten to take pics of the assembled archers.
I had done almost everything except their heads.
Instead I started with the men at arms.
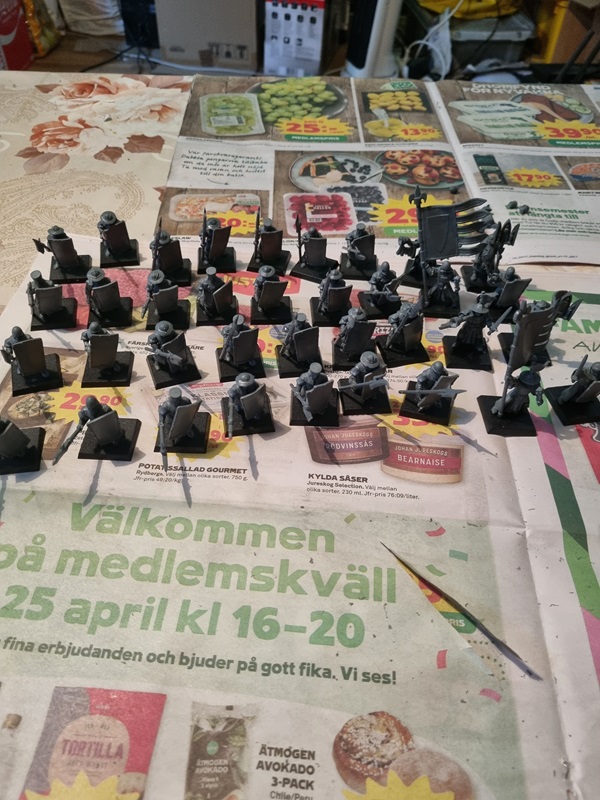
One of the reasons was to figure what available heads I had to both them and the archers.
After sorting the heads, the archers got finished too.
Except for a few details like bags and stuff, the only thing left to build is the boss on the large pegasus.
This “little” beauty just arrived to my DHL sevice point.
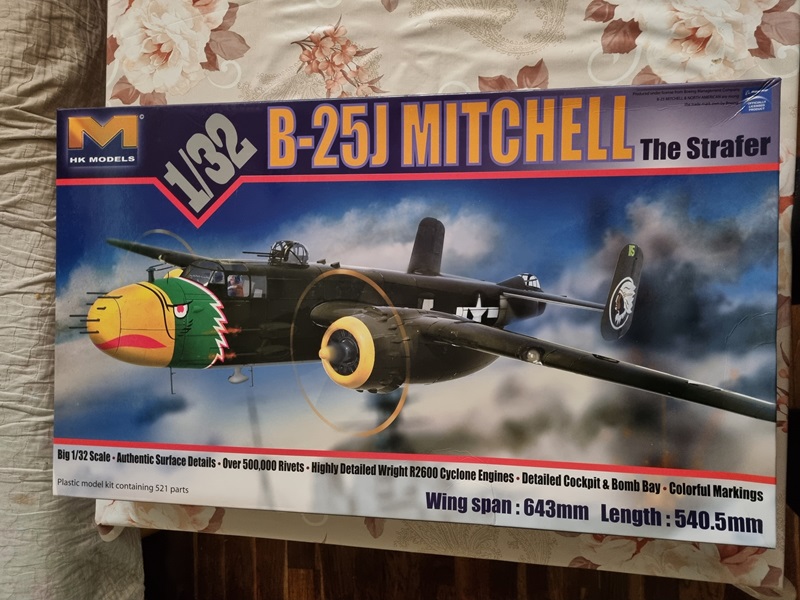
My intention is to build it for LSP’s 25 anniversary.
So far I’ve mostly built WH40k stuff, but when TOW arrived, it intrigued me a bit, and I just had to get a box and try it out. I thought the Bretonnians looked more fun and since Ivanhoe and other films like that I’ve always liked that genre.


I started with the knights. All horses was made with two halves and a head. I figured out that by combining the halves I could get four different poses.


I had to check with a friend i the other two poses was valid, which they was, so I continued.

There was a few things I needed to sort when working with the knights as they could be built as either knights of the realm or knight errants. Both are showed in the instructions but the army list only speaks of knights of the realm. So I decided to go with that.

Each unit consists of one champion, one standard bearer, one musician and three knights.
I had a hard time trying to figure which head should go on which one. The only simple one was the musicians as I think it would be hard to blow the horn with a helmet on.

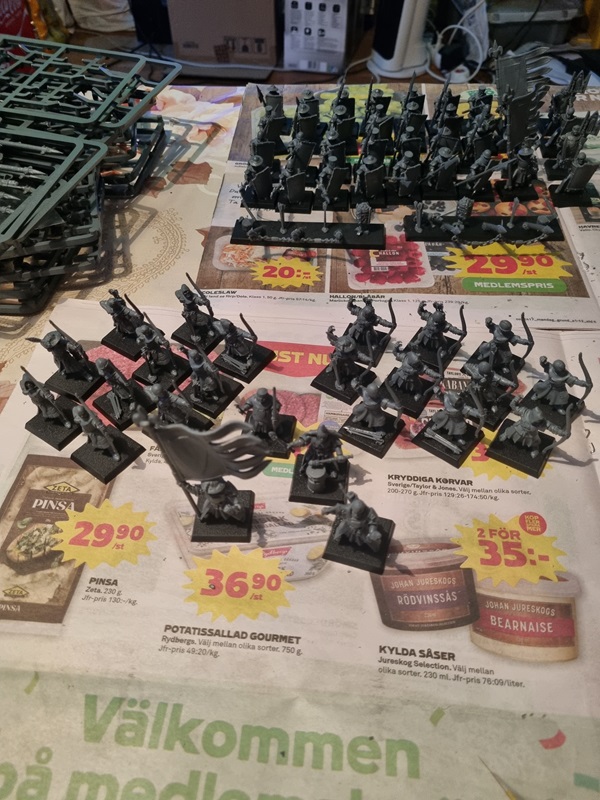
I also built the three pegasus knights.

As can be seen I’ve also started on the archers.
