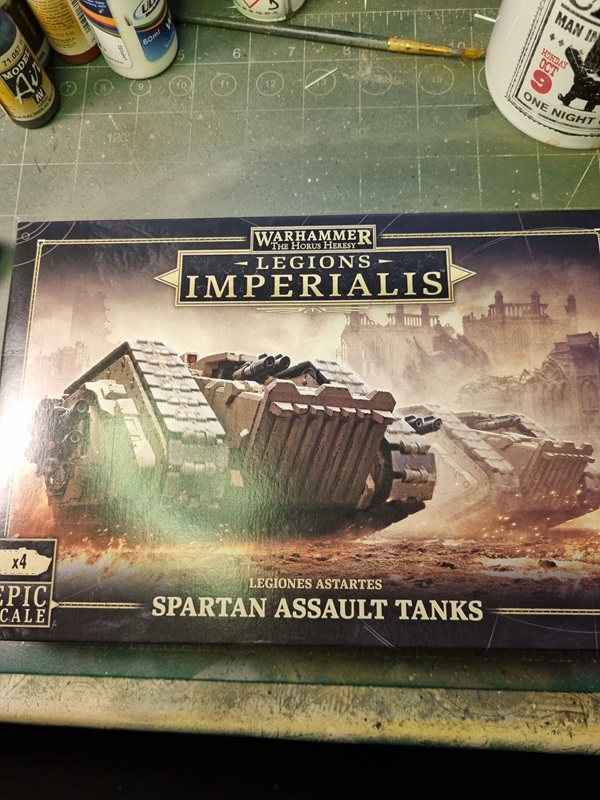
Spartan assault tanks – Legiones Astartes – Games Workshop

I bought this box together with a few other Legions Imperialis boxes. After doing my 2nd Thunderhawk build, I decided to do a few more troops/units in White Scars’s paint scheme.
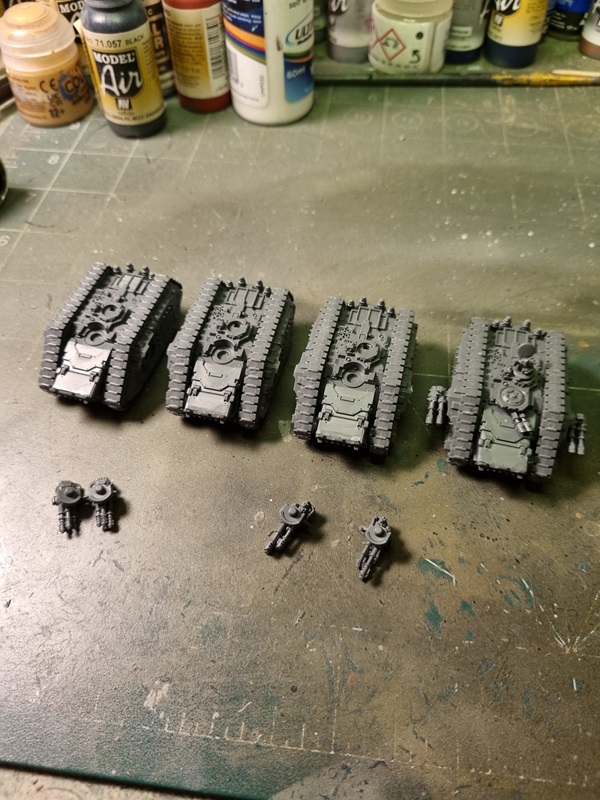
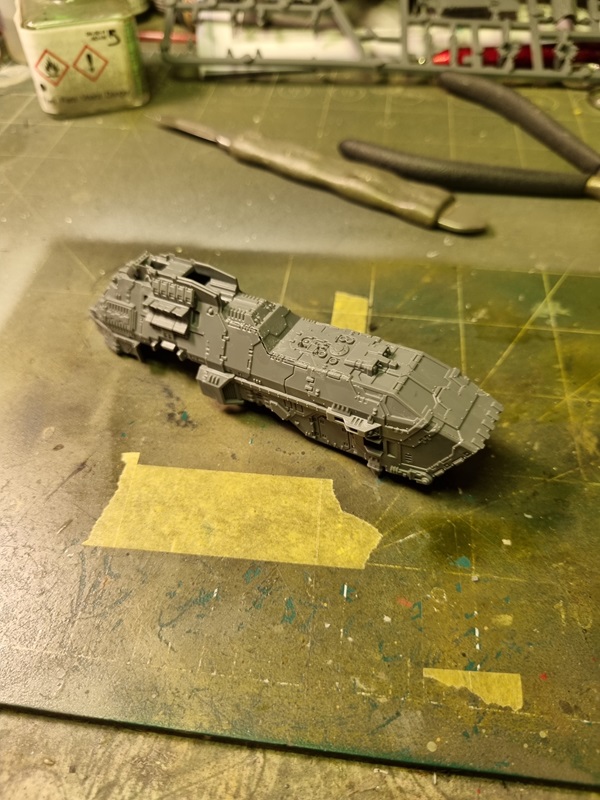
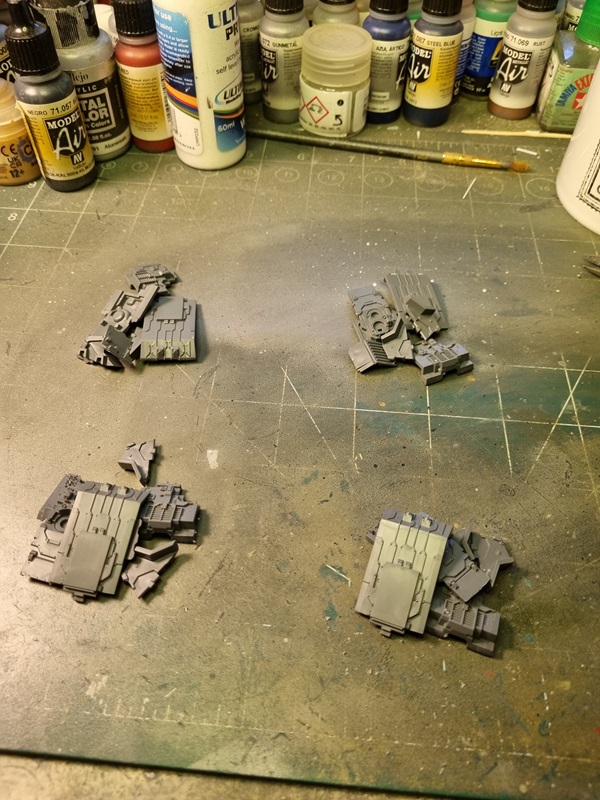
I removed and cleaned up the parts for all four tanks.
As with many of GW’s newer kits, they are very easy to build, and everything goes together very smoothly, with barely no visible seams at all.
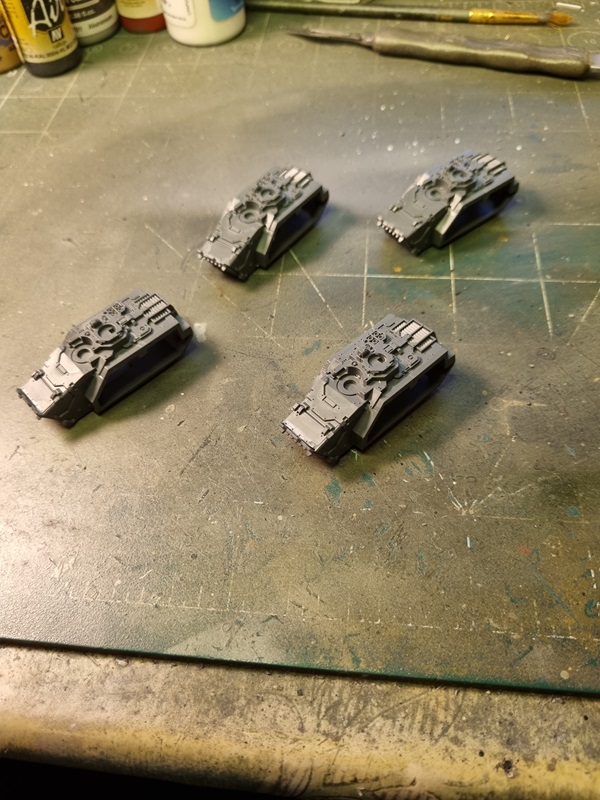
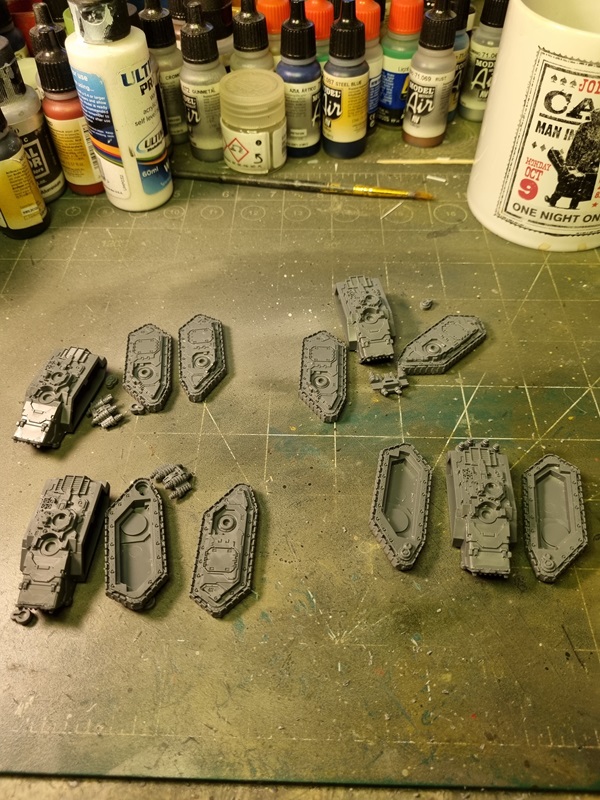
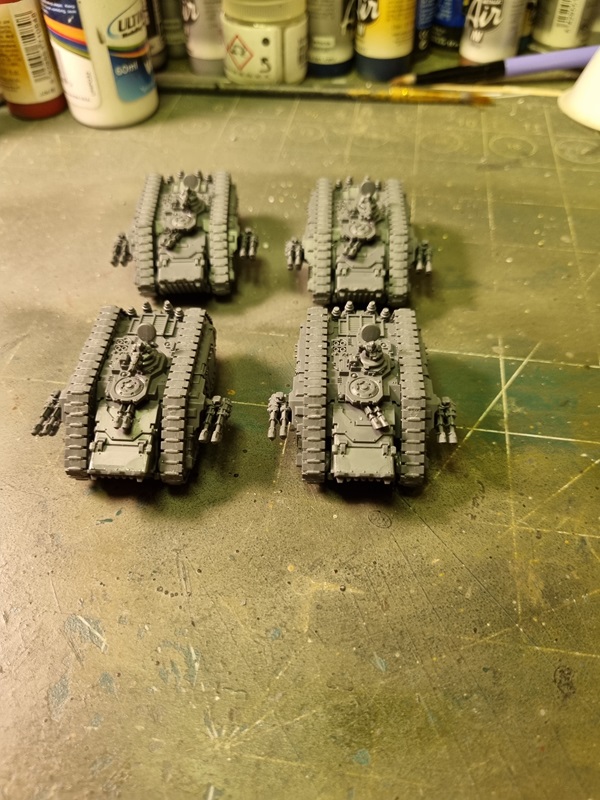
There was options for 2 different side guns and 2 main guns, as well a few otions for the command turret. I choose to have one commander and 3 gunners.

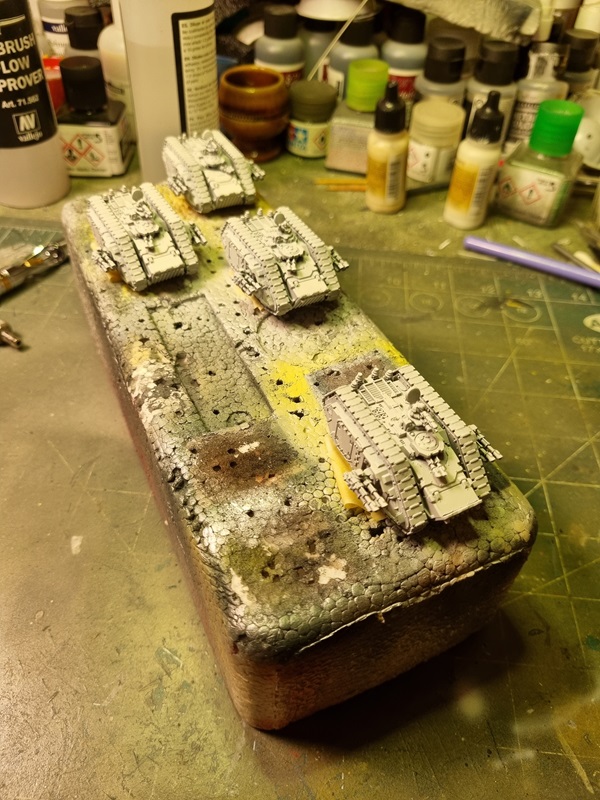
Then it was time for some primer and later some paint. Using more or less the same colours I used on the Thunderhawk.
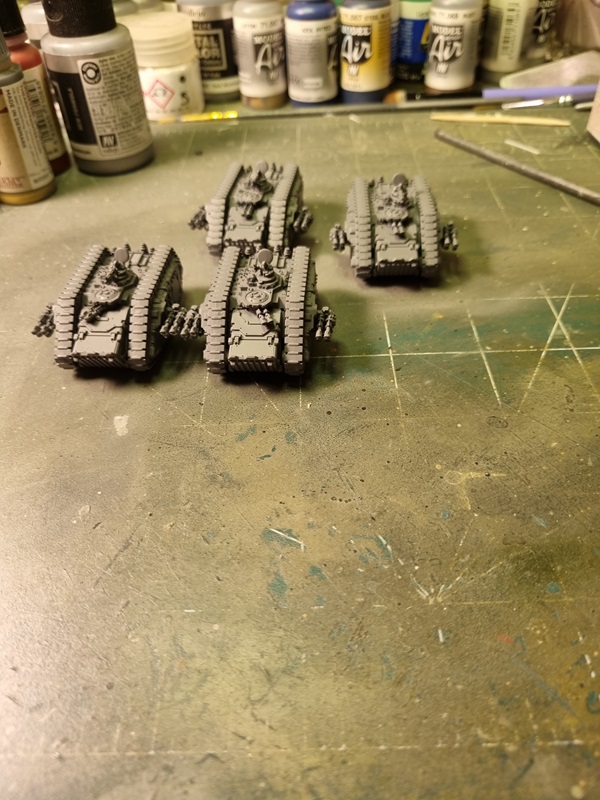
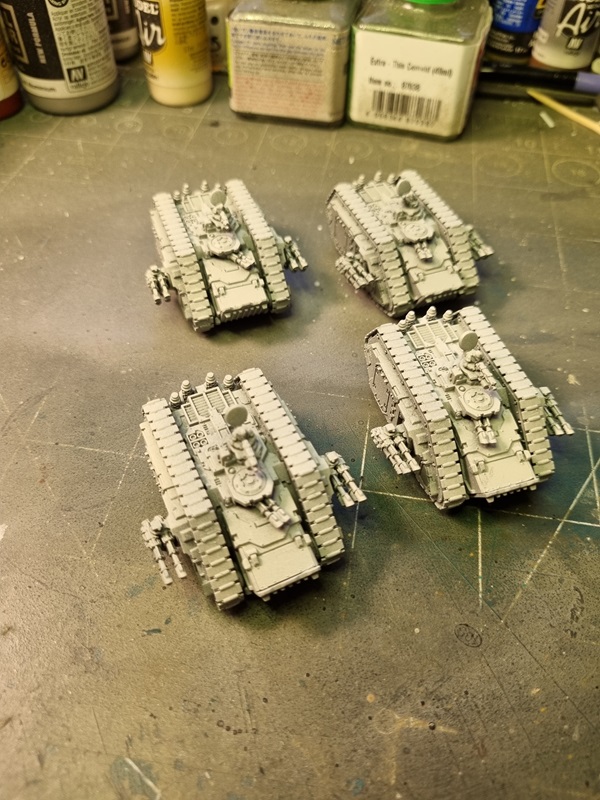
I haven’t decided how I will paint the red pattern on these vehicles yet. I’ll think about it a while.
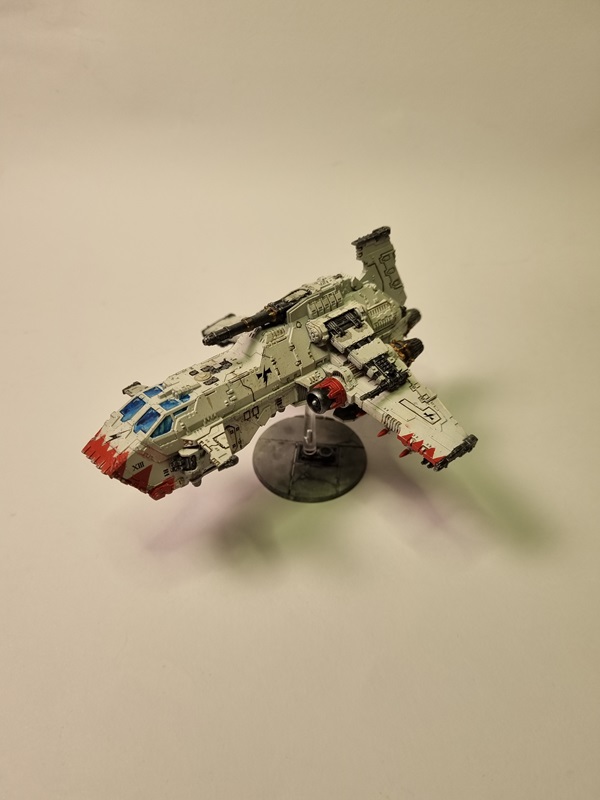
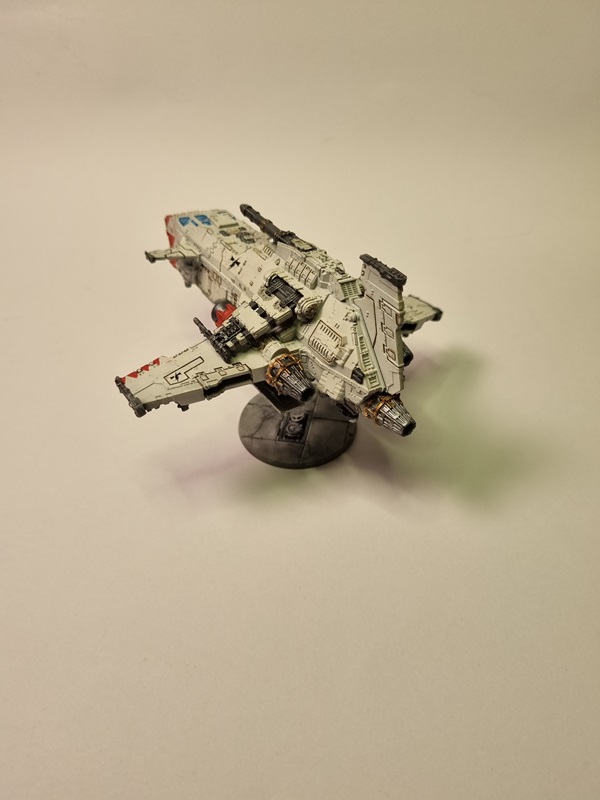
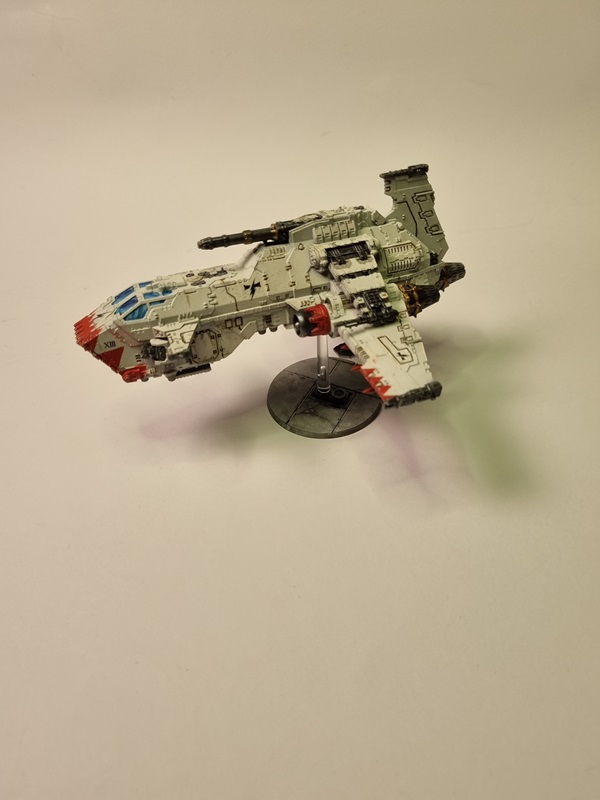
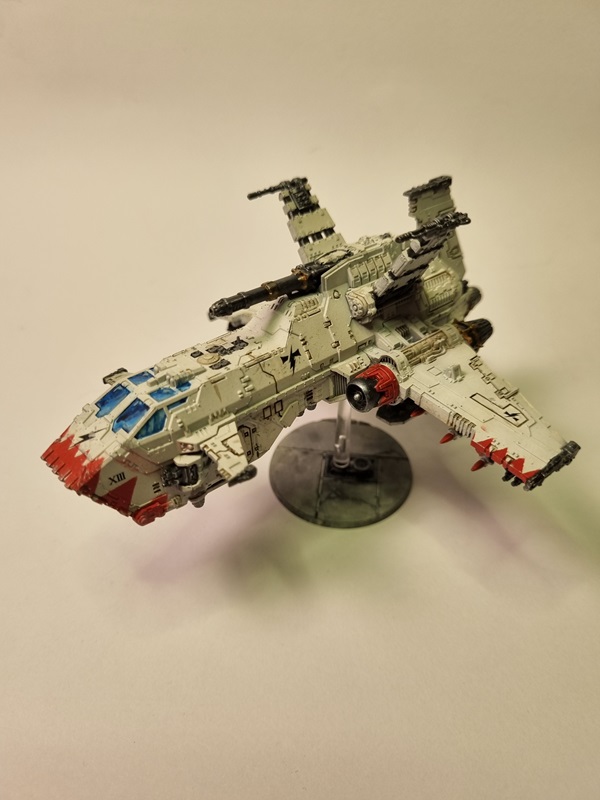
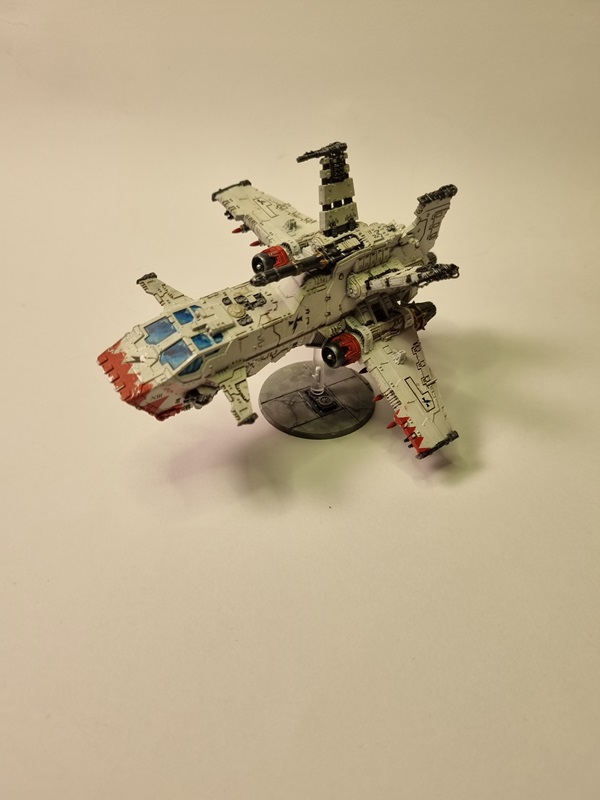
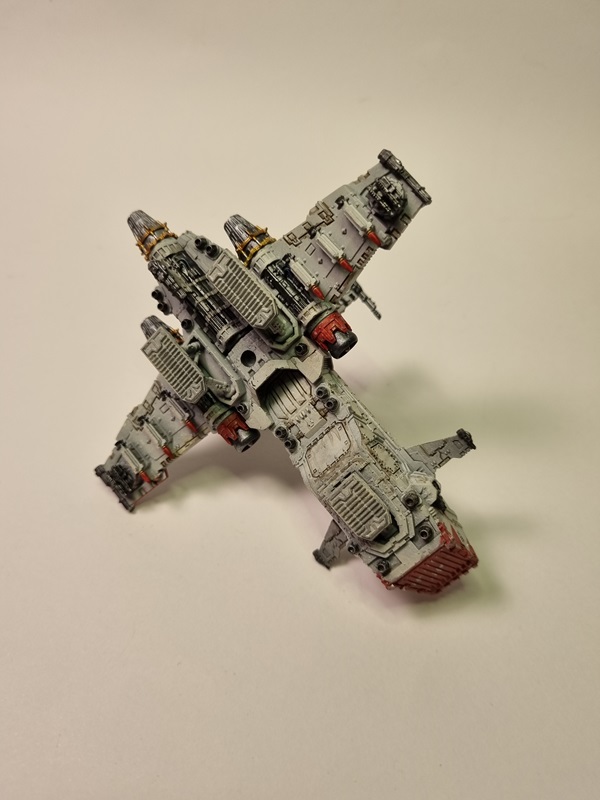
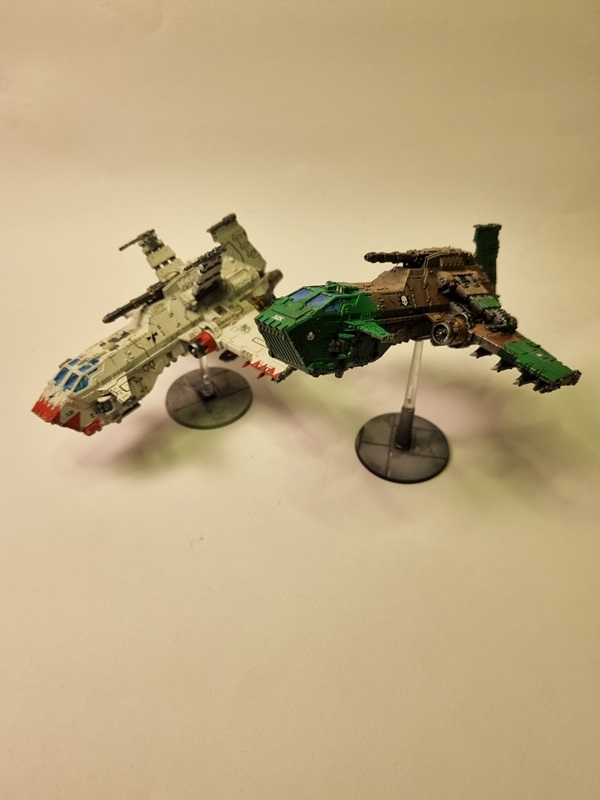
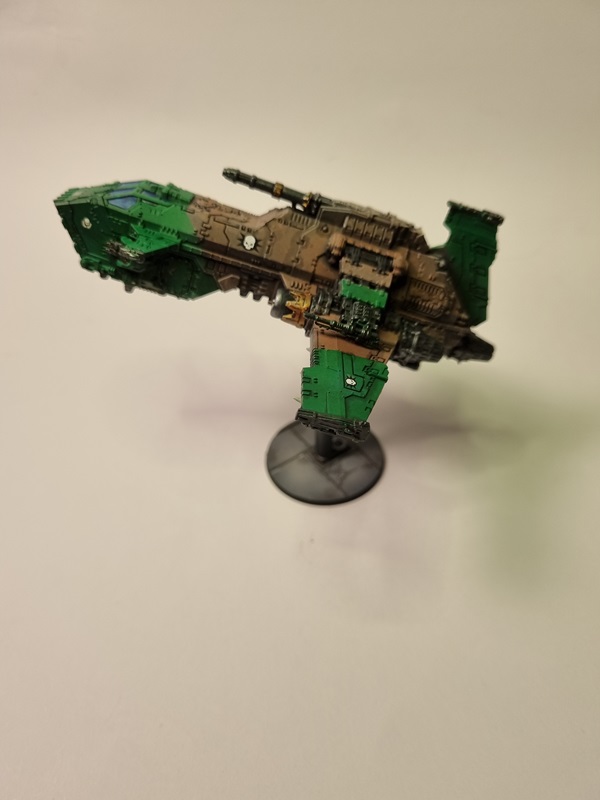
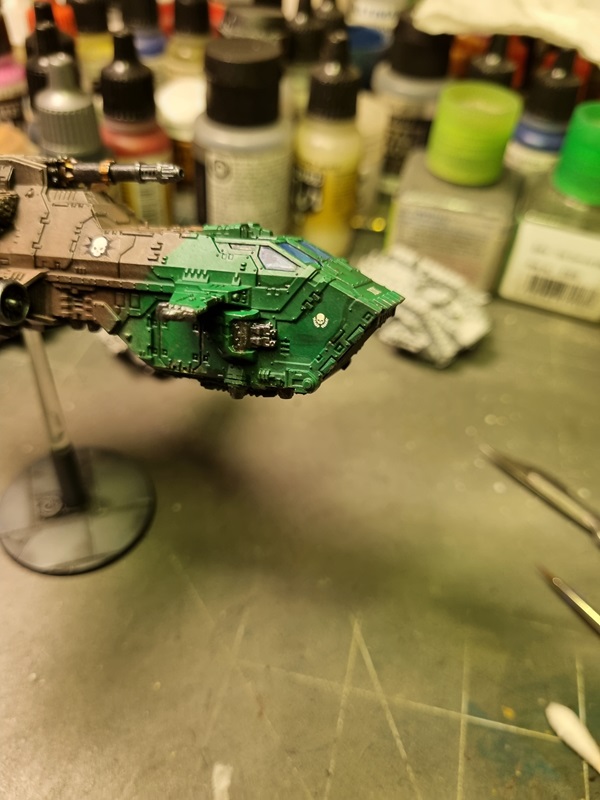
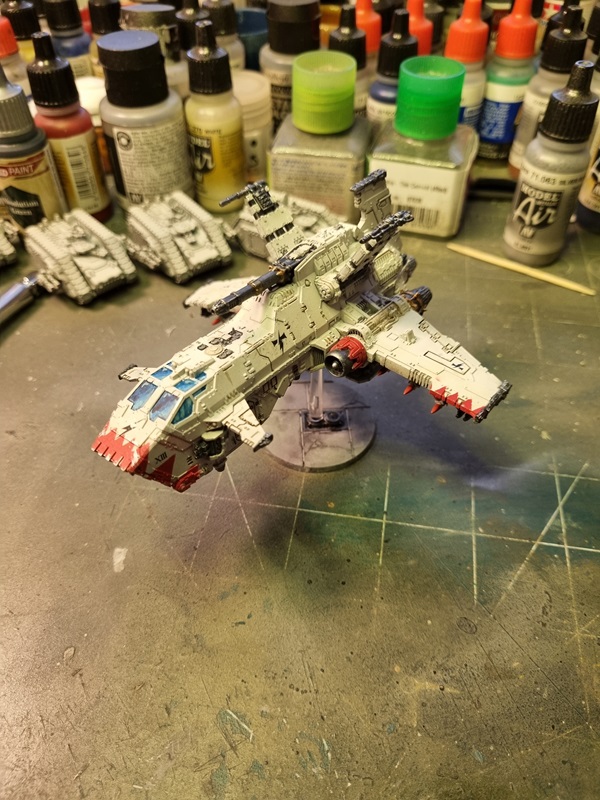
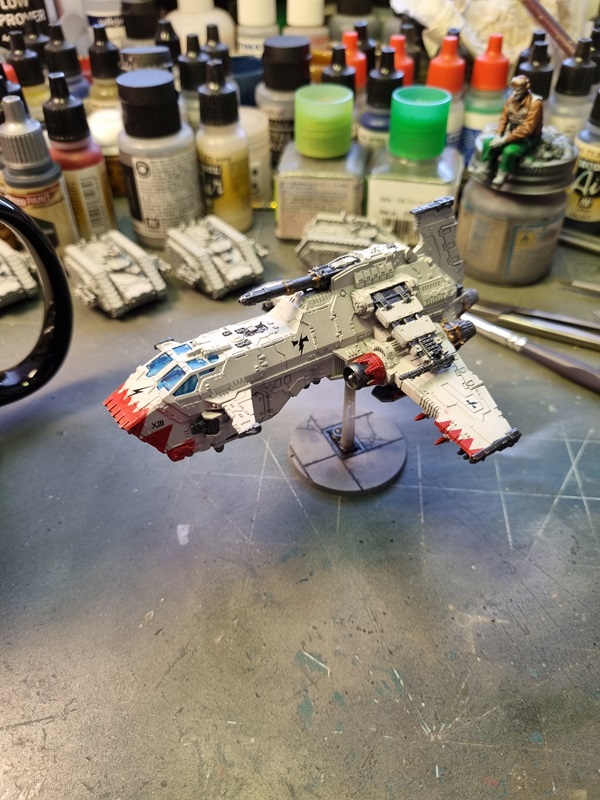
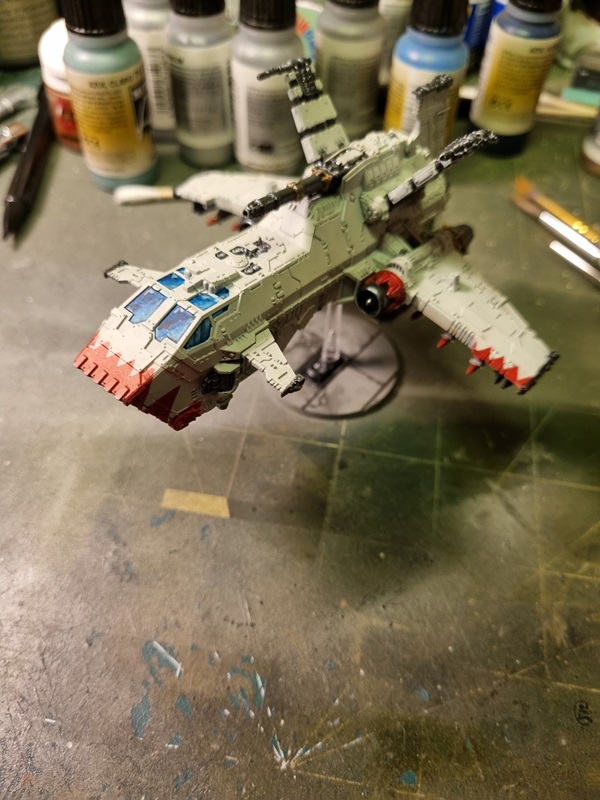
Thunderhawk Gunship build #2 – final reveal

Like the first one this was an easy fun build. I’m alos showing pics of the first one with decals.

So now I have one for each side of the conflict. I have to check how many there usually are in an army. Perhaps sometime I’ll get 2 more and paint them in other colour schemes.

Thunderbolt build #2 – part 6

As I now got decals for the first ship, I showing them here too.

Then a pic of both ships.

I did some weathering with Tamiyas panel line wash, Agrax earthshade, silver and diluted pale sand.

I’ll consider both builds done and will post final reveal pics as soon as possible.

P-47D Thunderbolt – part 6

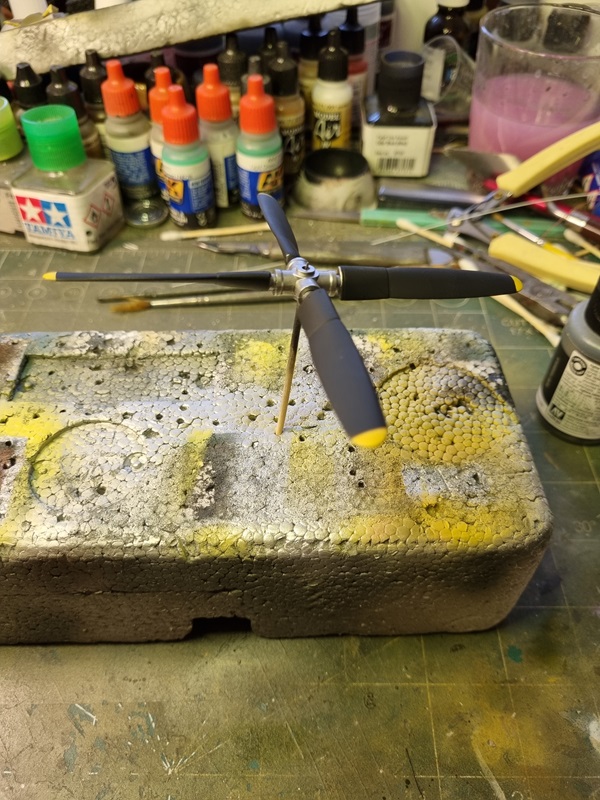
I finished painting the propeller.

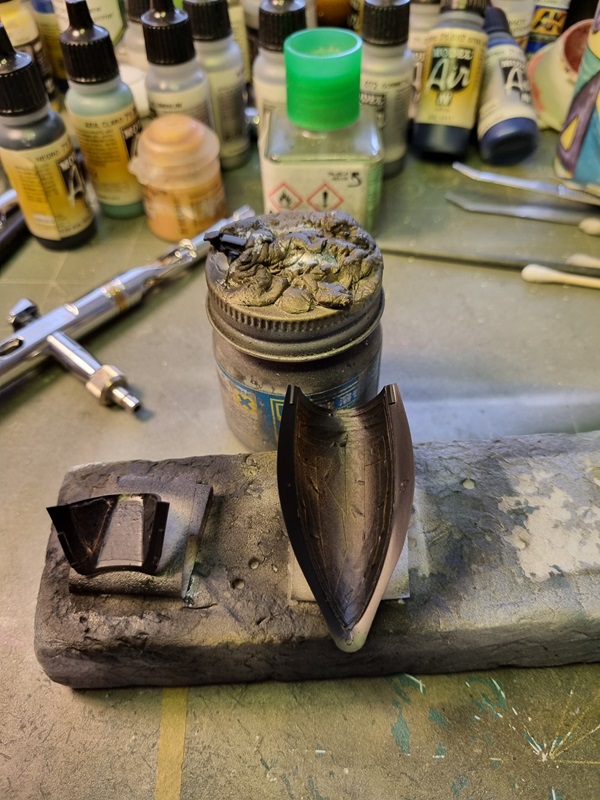
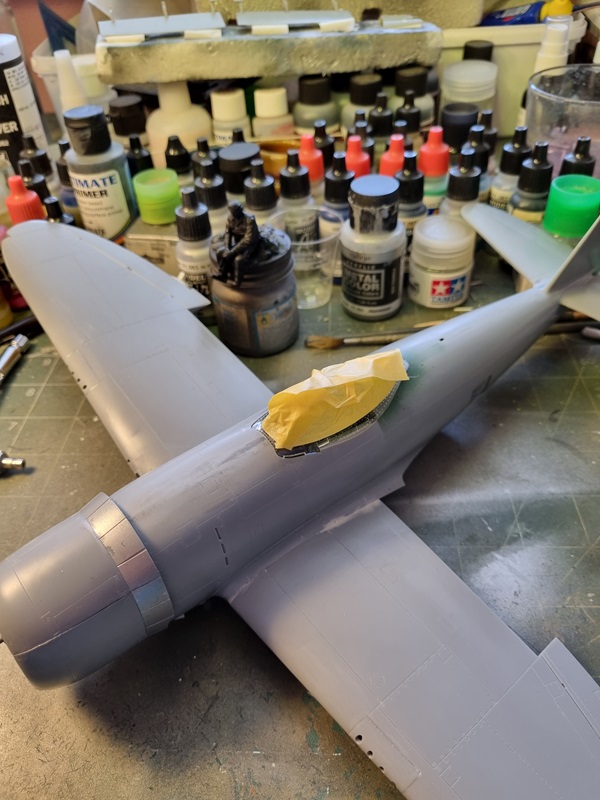
Then the canopy was masked.

Then it and the sight was painted black.

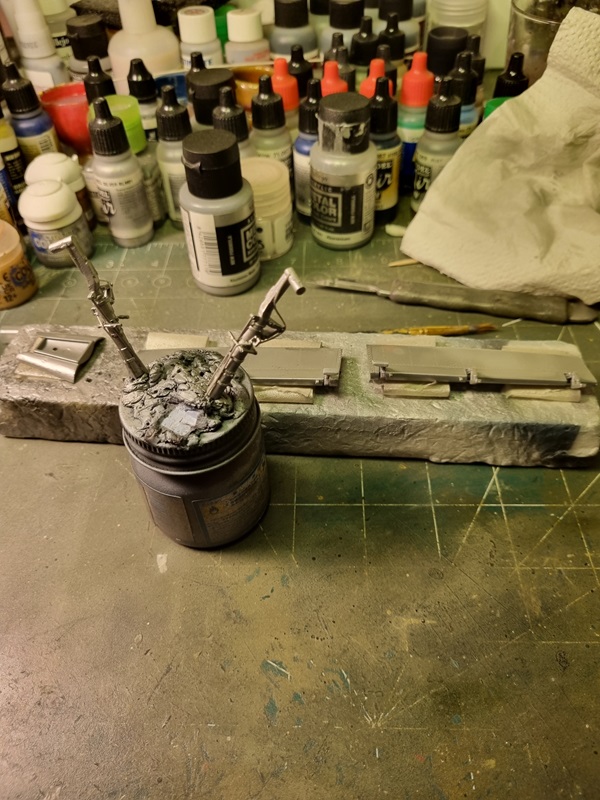
The gun barrels was painted with black metal.

The gun sight was assembled and glued in place.

And then the other canopy was “glued” with kristal klear.

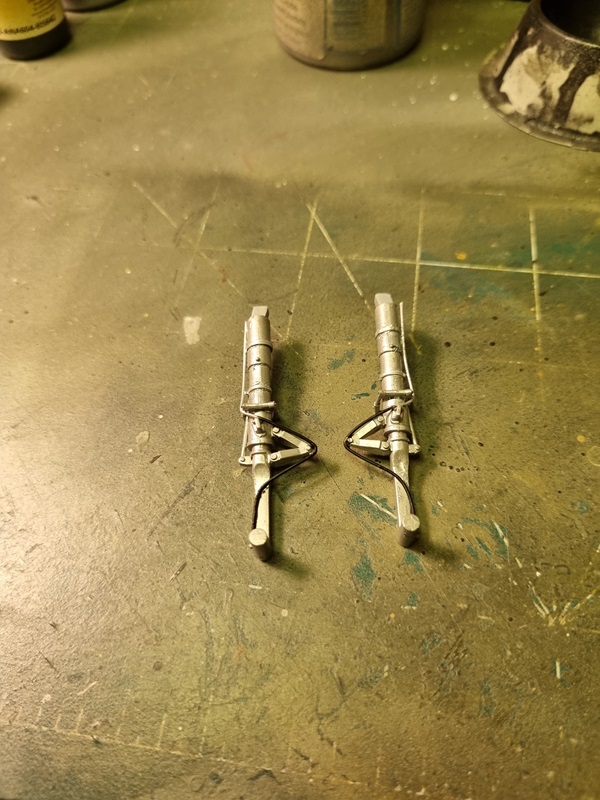
Sorting the wiring on the landing gears took a while longer than I had anticipated, and adding cable after alrady having painted the legs, made it a bit messier.

The landing gears got some fresh paint as did the flaps and rear landing gear cover.

I did some detail painting on the cables.

I’ll mask to protect the engine, and then start giving the plane a primer before painting it with aluminium.

Thunderhawk Gunship build #2 – part 2

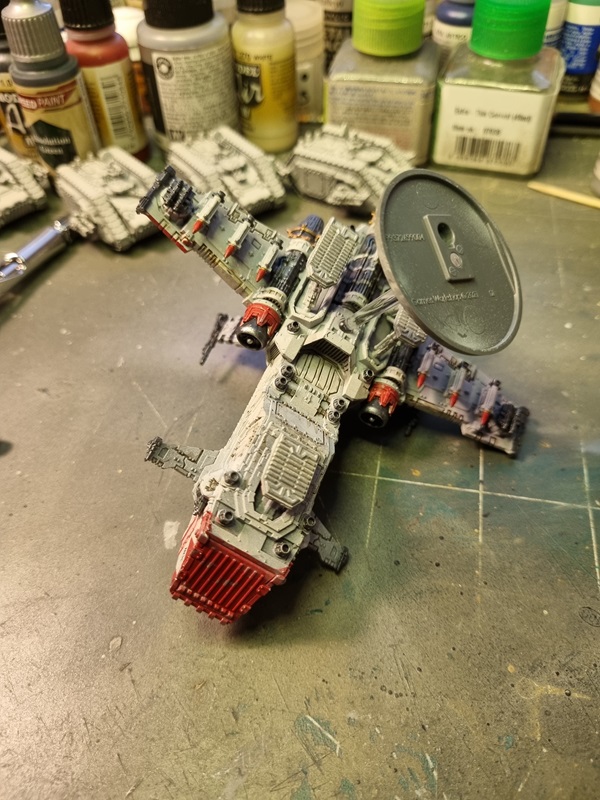
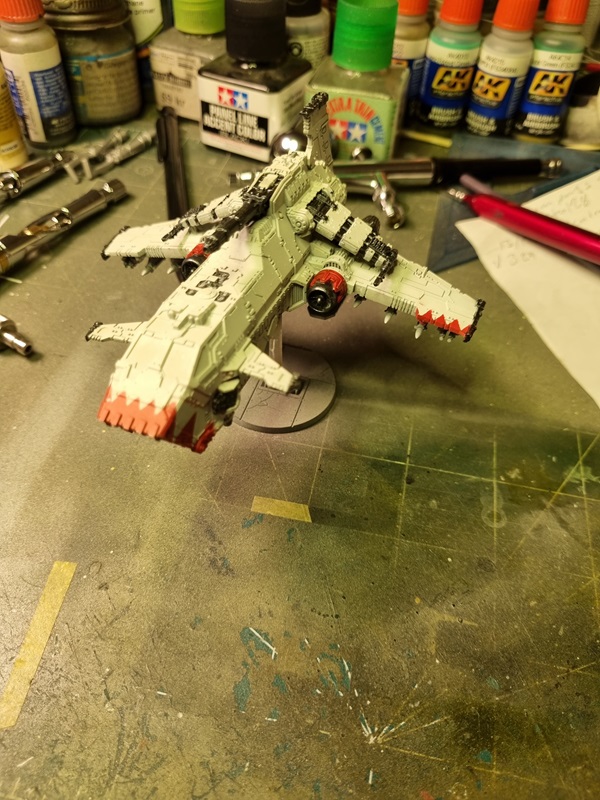
I masked and painted red chevron markings, that is common for White scars.

Part of the engine nacelles was painted red and then the engines, guns and some other details was painted with black metal.

Then gold was painted on some details.

The windows was painted.

Next I’ll clear cote it and add markings.

Thunderhawk Gunship – build #2 – Games Workshop Epic scale

As the decals for the first Gunship was missing, I got a new one and decided to build that one too. At least there is decals enough for several ships on the sheet.
The first one I built was for the traitors as it turned out, so now I’m building one in a loyal scheme.

Building it is quite easy and everything fits very well.

Right before I started painting, I decided to glue the canon as well.
Instead of starting with black primer as usual, I went for grey instead.

I then used beige and ivory as zenithal colours.

On top of that I painted a off white/ivory colour.

Next I’ll ask for the chevron pattern on the nose and probably on the wings.

P-47D Thunderbolt! – part 5

First covers, rims and the tank was painted with aluminium.

Then the covers was turned over and painted with zinc chromate yellow.

I almost forgot to put a decal on the engine, before it was to late. Now it’s done! 🙂

The tires was painted in a mix of tire black and black.

I added a bit of plastic to the inside of the open cowlings. Just to create a bit of interest. Inspired by a guy on LSP.

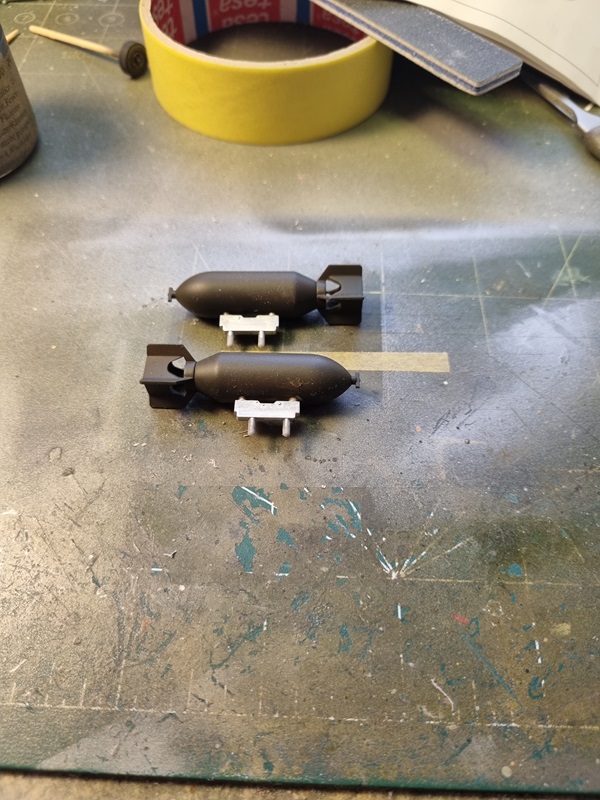
After trying a few OD colours on the bombs, I settled for this one, which I think look dark enough.

I need to touch up a bit and then put on the decals. Unless I paint it, of course!

The propeller tips and spinner got yellow paint.

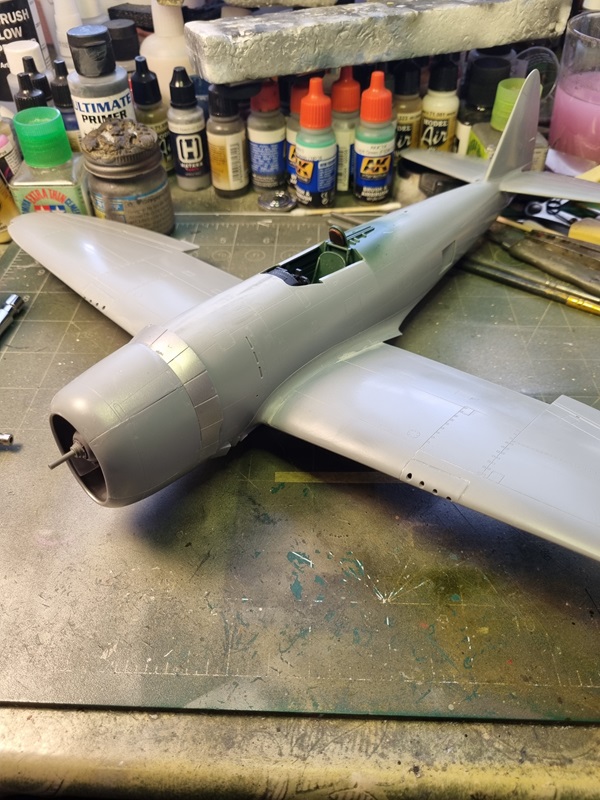
I first glued the cowlings in place and then the bottom with the engine, and lastly I fitted the other covers one by one. I must say that the fit is very nice and all flaws are probably my own fault.

The sight needs to be sorted and the canopy masked. There are a whole canopy for closed position that I can use, if I like to cover the cockpit while painting the rest of the plane.

The gear legs needs some additional wiring, and the prop some more paint. Soon it’s time for primer and paint.