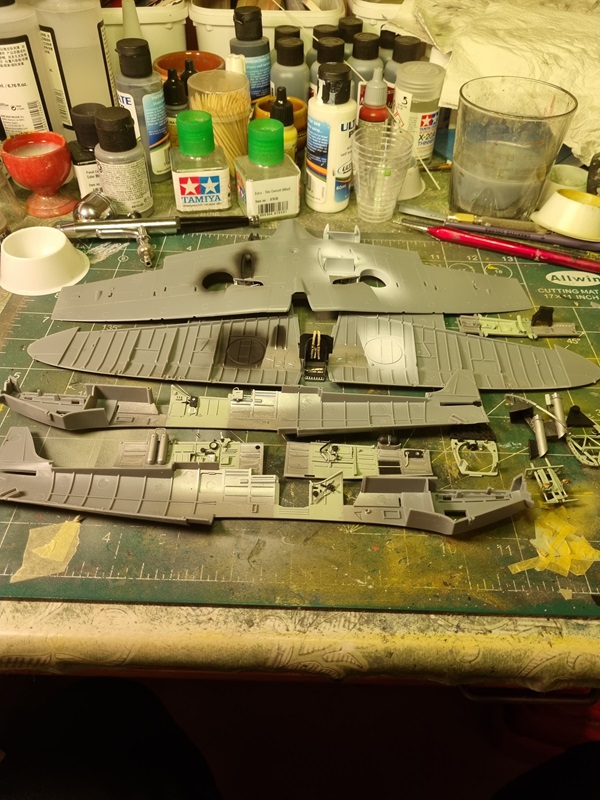
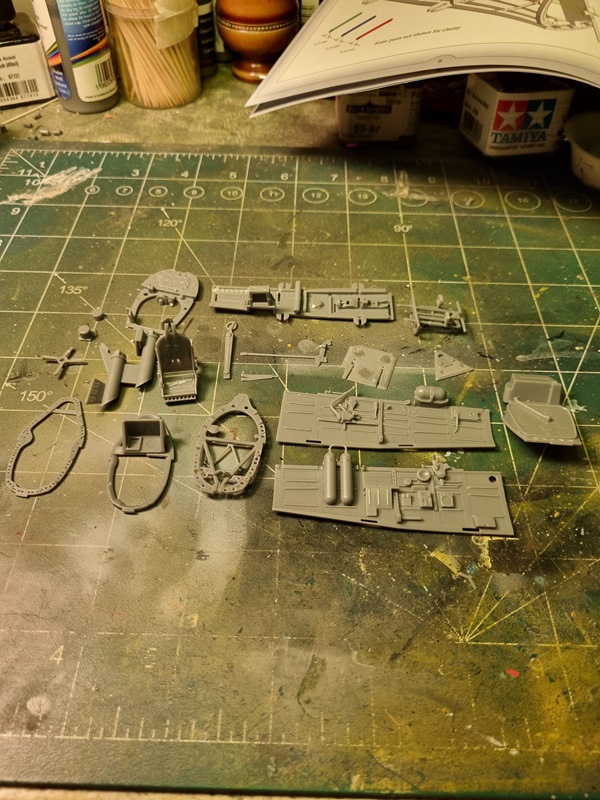
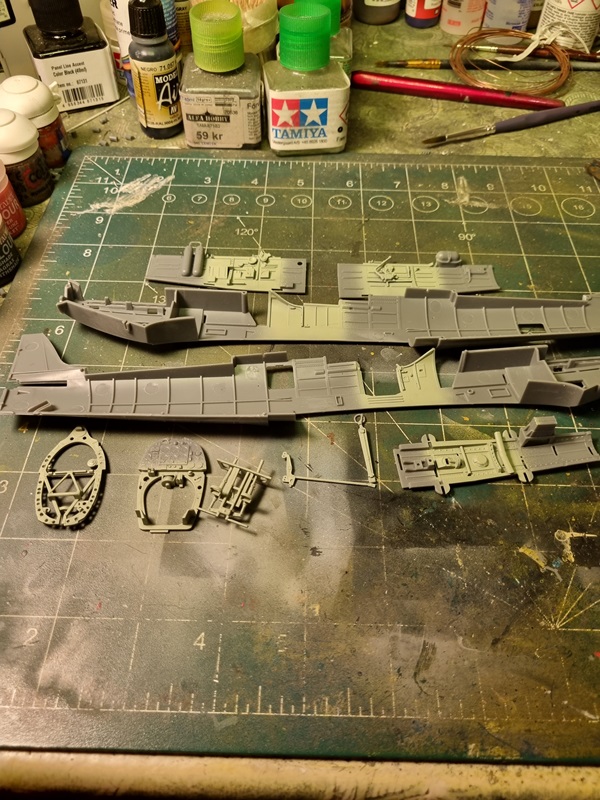
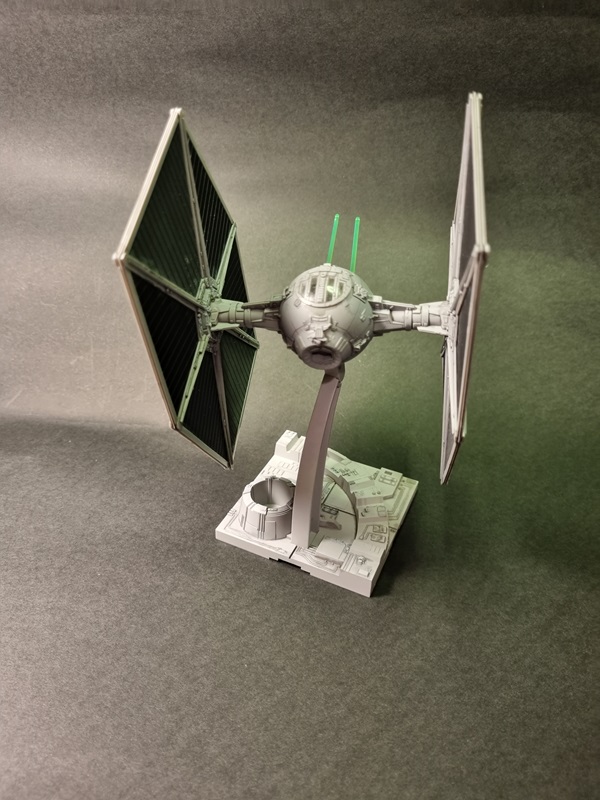
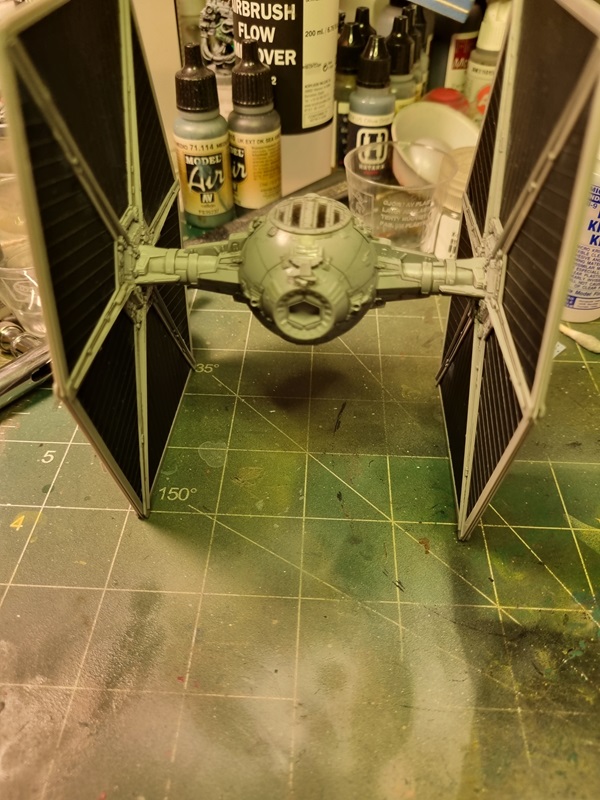
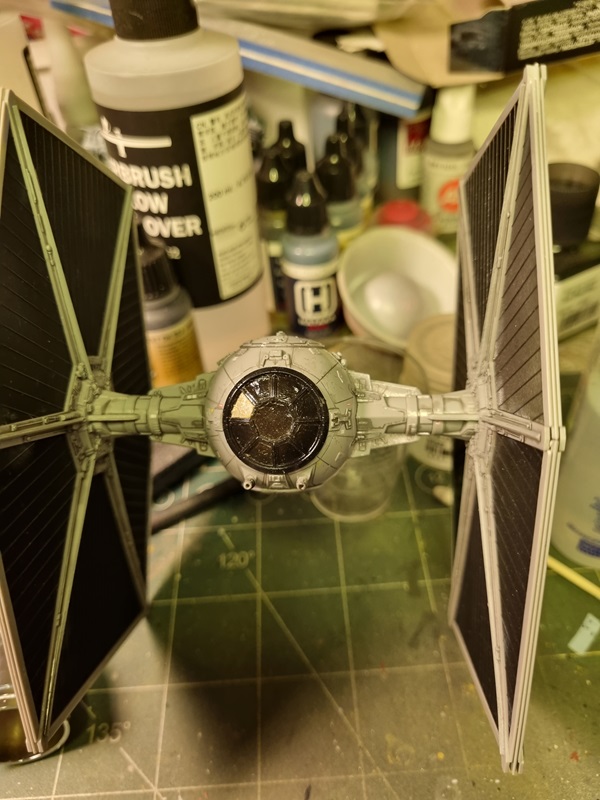
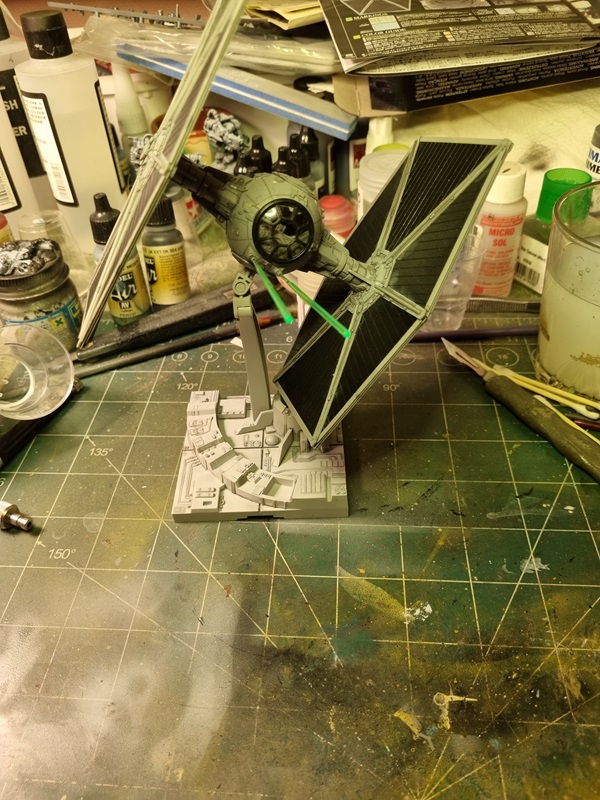
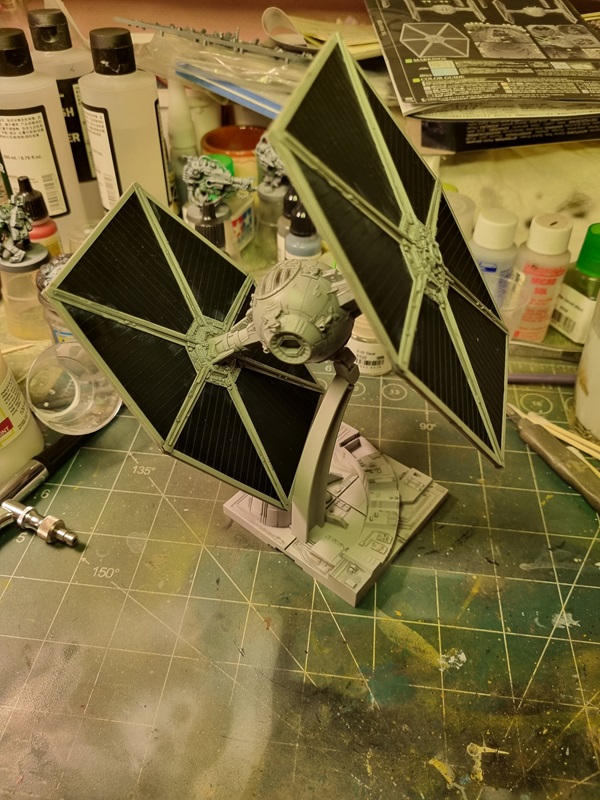
Detail painting seems to take “forever”, but I’m getting there. Even though the instructions are very nice, I had to check reference pics on the internet. I’ve also started working with the wings, and painting the visible areas.
I need to find the proper colour for the tubes and a few other details, and I also need to add quite a bit of decals to both the instrument panel and side panel details.
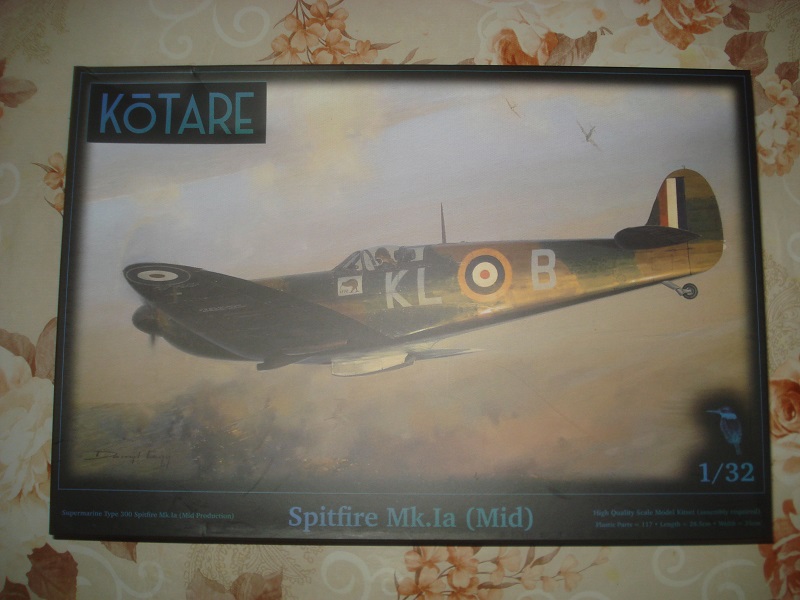
I started this as my probably last project this year. Not sure I will be able to finish this year though. As usual it starts with the cockpit. There’s a lot of parts to the cockpit and cleaning them up took a while, even if the parts are very nicely cast. I’ve also glued a few parts together, but the rest have to wait until after they’re painted.
There are a few more parts to sort and the side walls should also have a few parts glued to them. I had to sort a few ejection pin marks as they will be visible and I think one decal goes on the back of the fire wall.
Not sure how much will be visible after the cockpit is inserted into the fusalage. This is how far I got the first evening.
Seems like I’ve forgot to show my newly arrived kits!
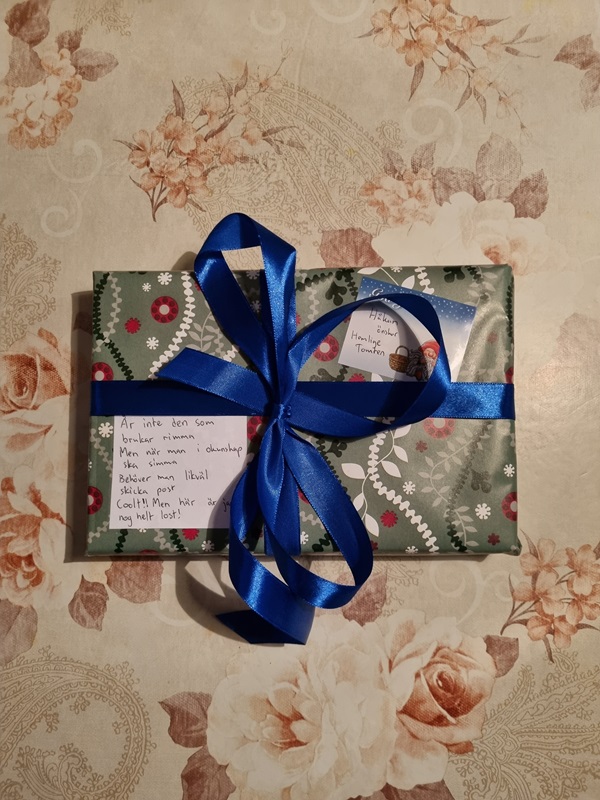
First is the small parcel I got from my Swedish Secret Santa.
Nice little package with rime and everything!
Next is a bunch of kits that I’ve ordered from the Swedish auction site Tradera.
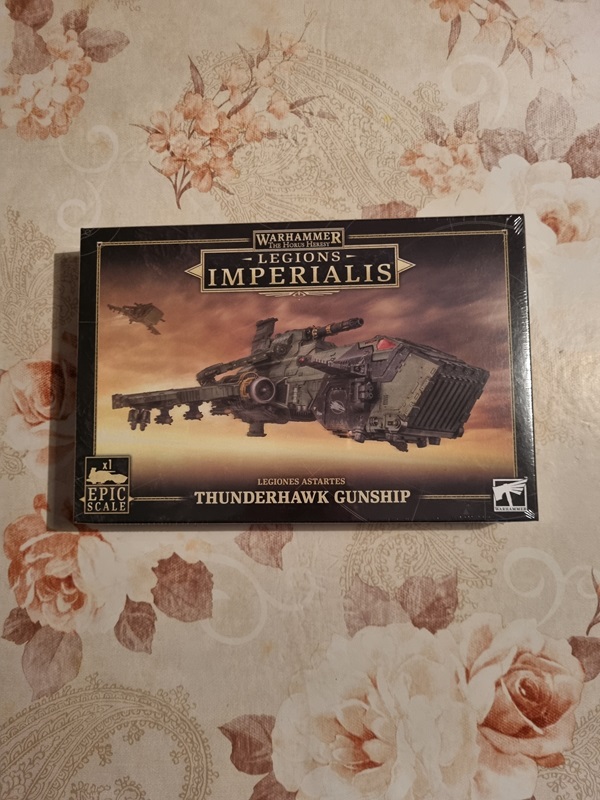
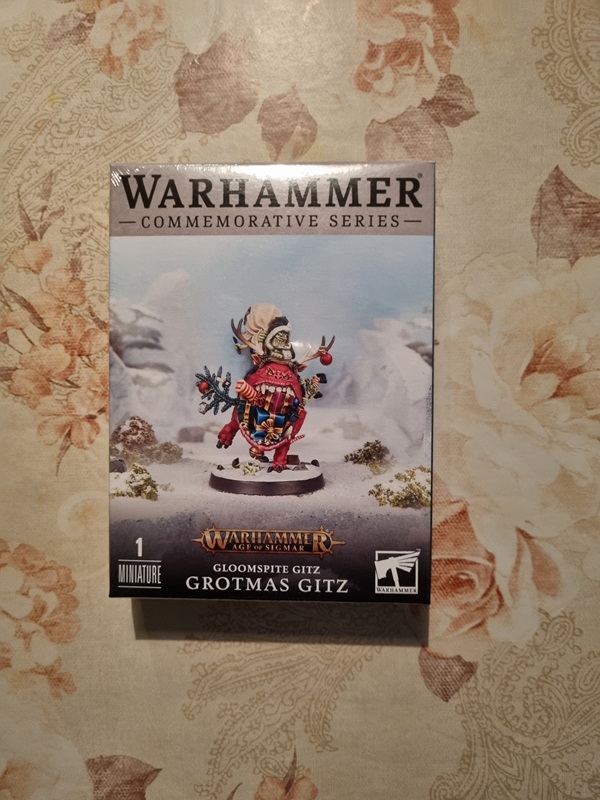
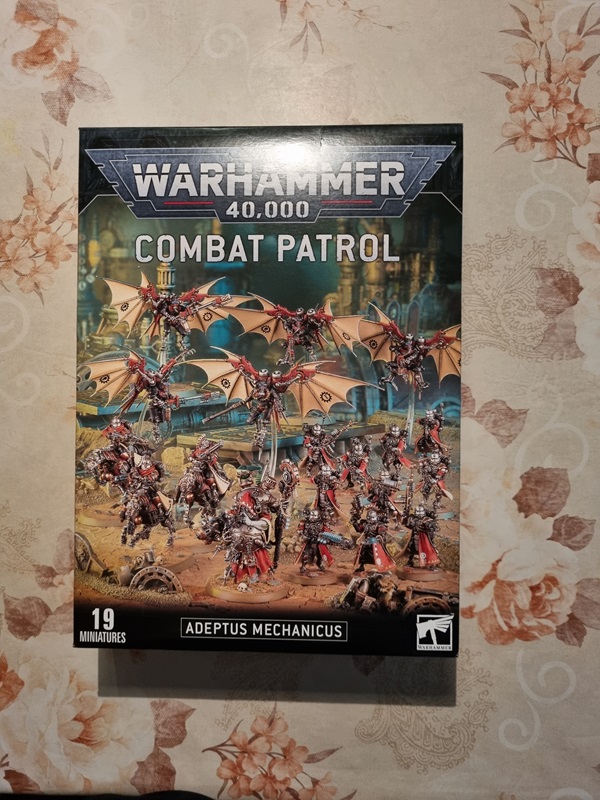
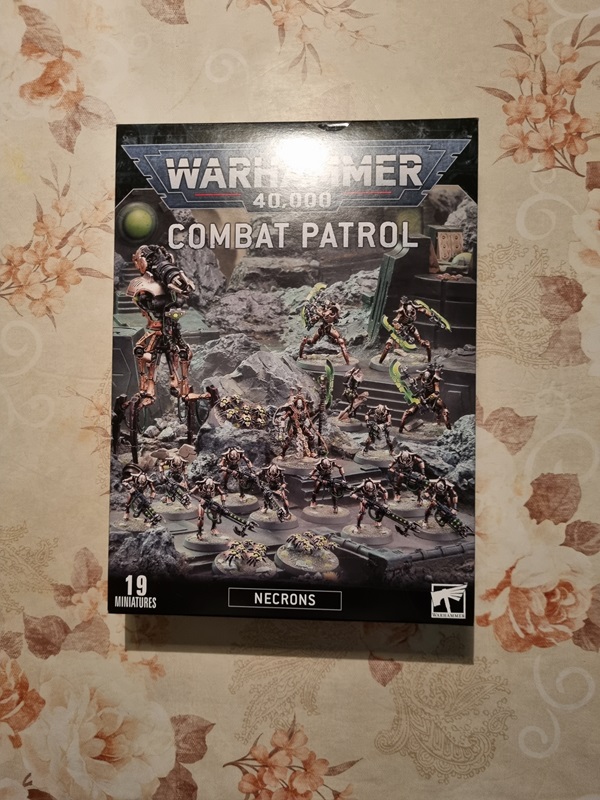
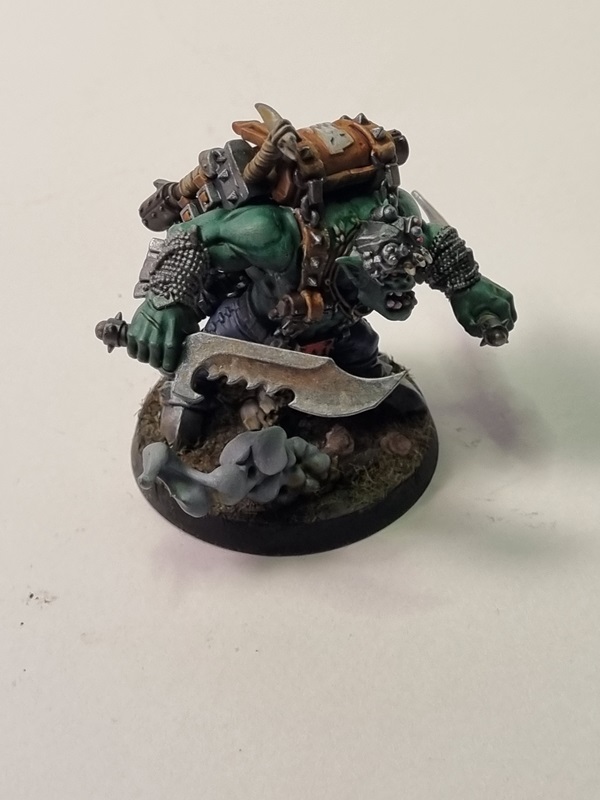
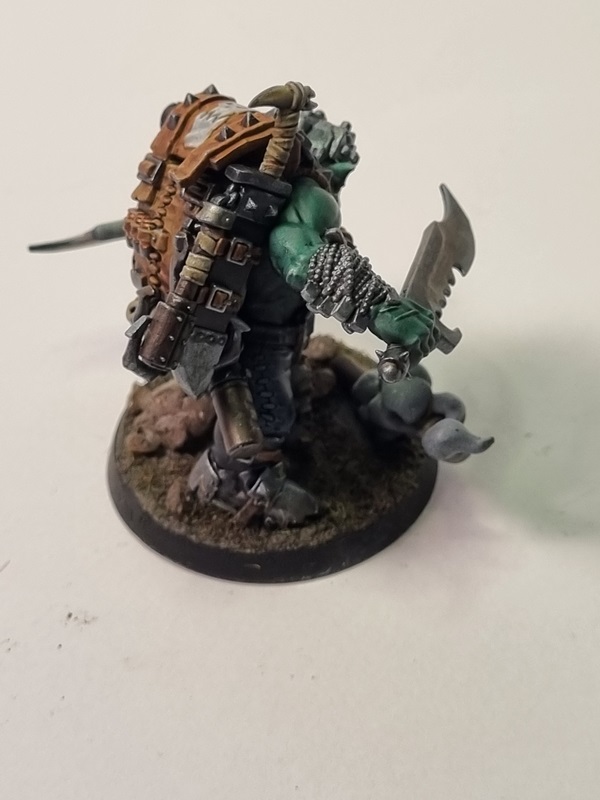
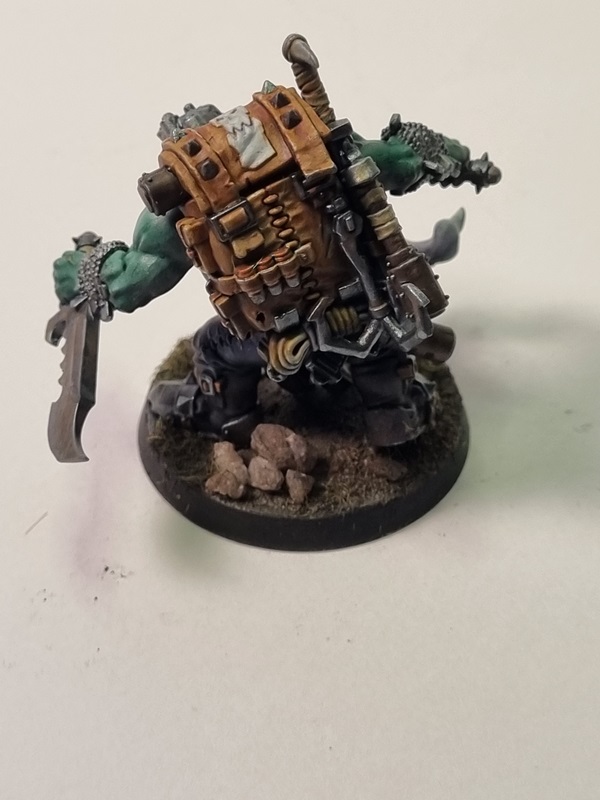
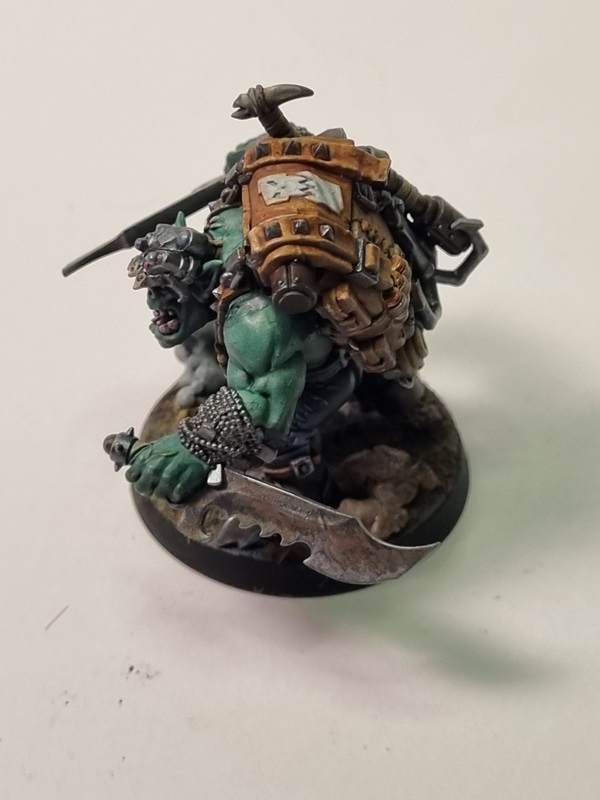
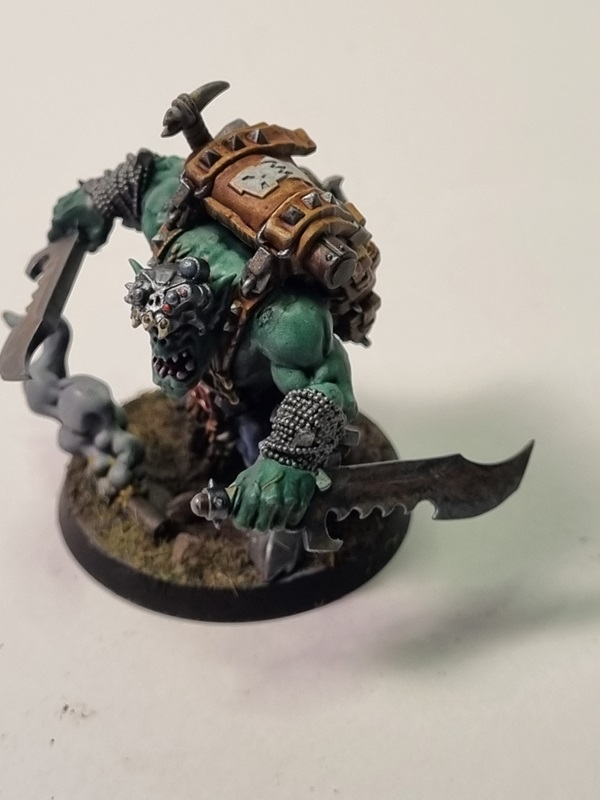
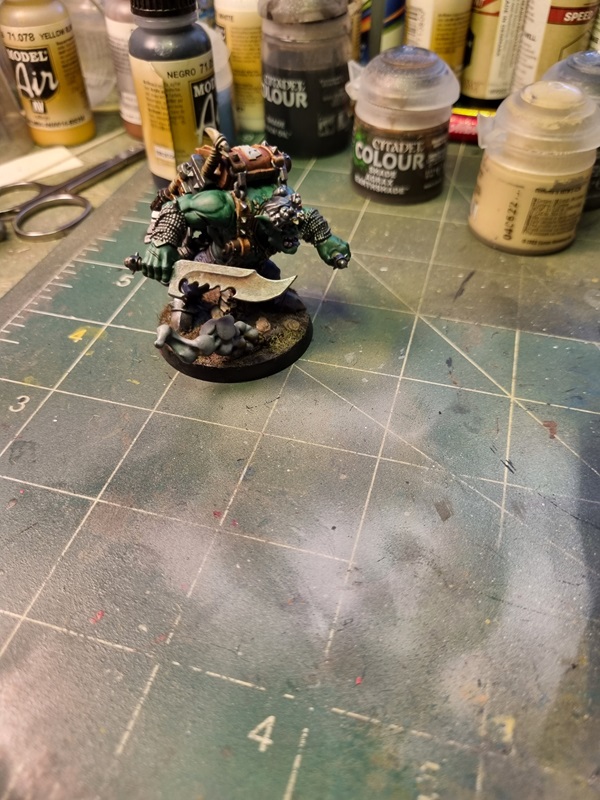
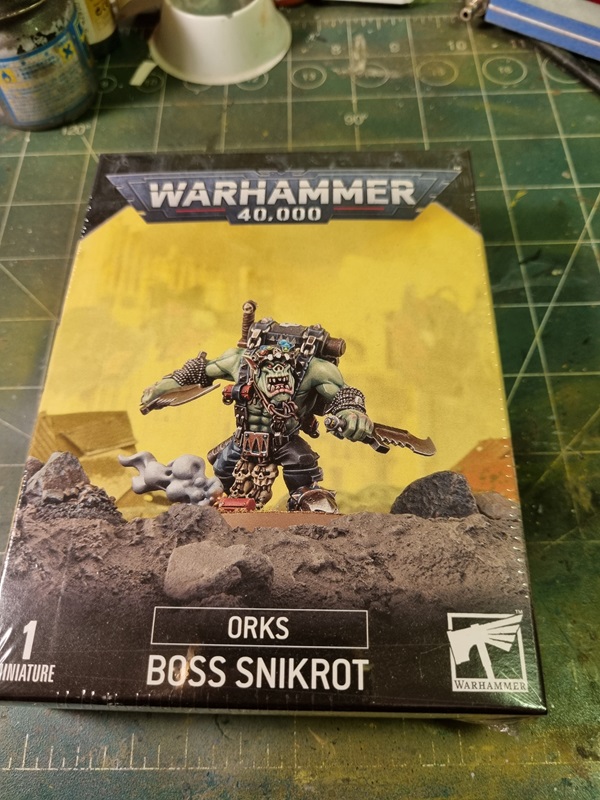
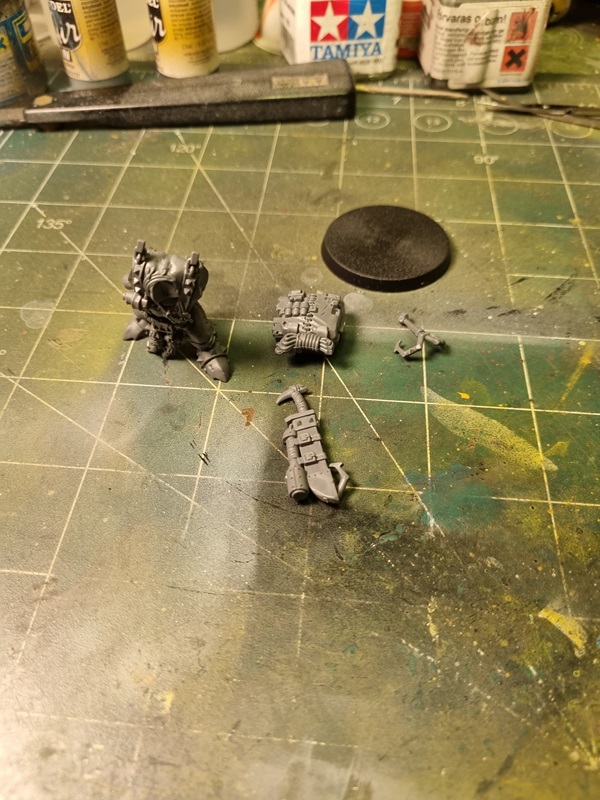
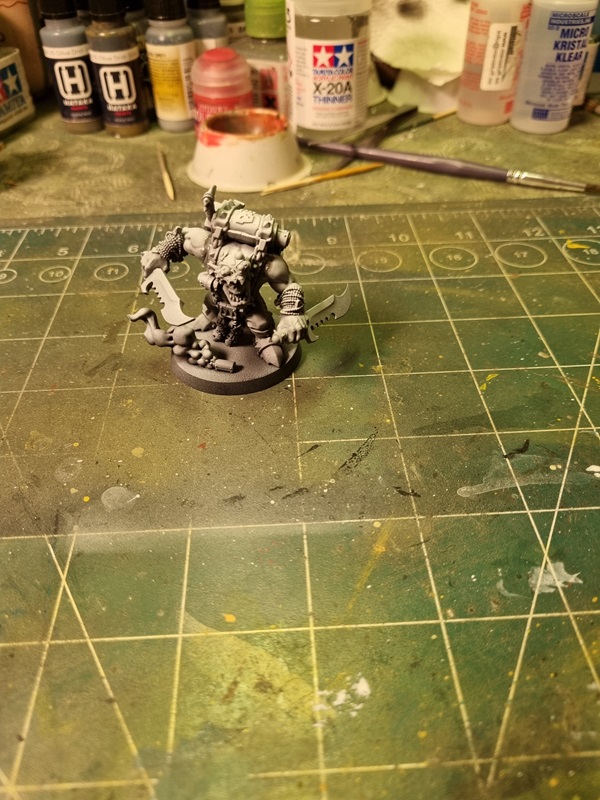
And last but not least a bunch of kits from Games Workshop with orks for my army! 🙂
Cheap non descript boxes for some of the kits, which is typical when you order directly from them. Now I have to re-calculate my ork army! 🙂 Of course I have to build it too!
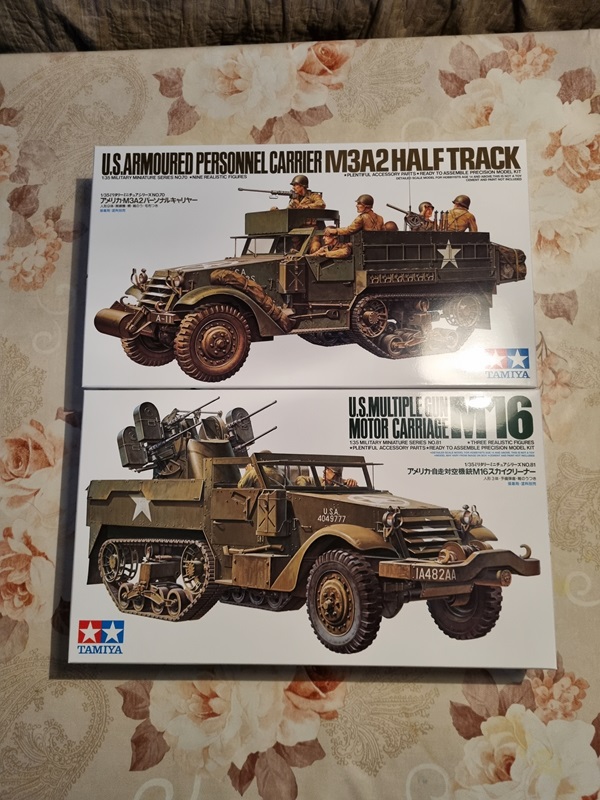
I just realized that I forgot 2 kits that arrived last week.
This is Tamiya re-release of those kits! Nostalgic! 🙂
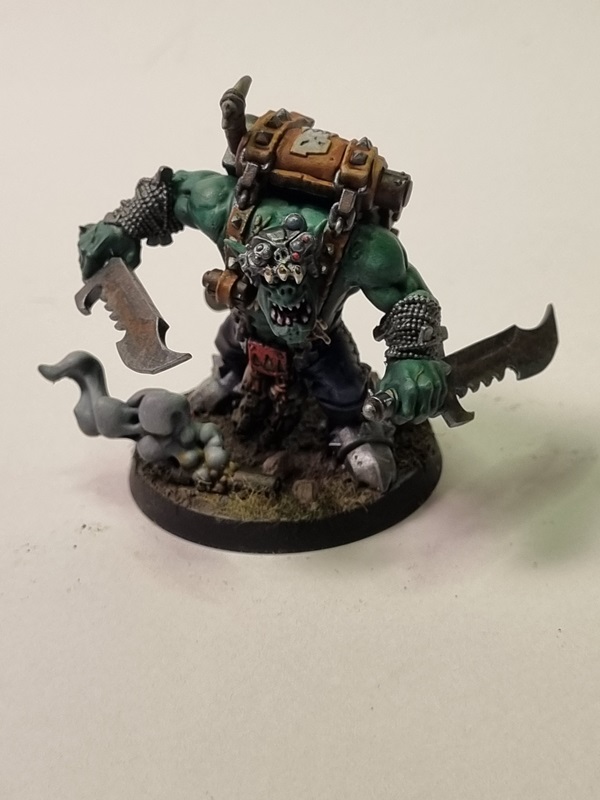
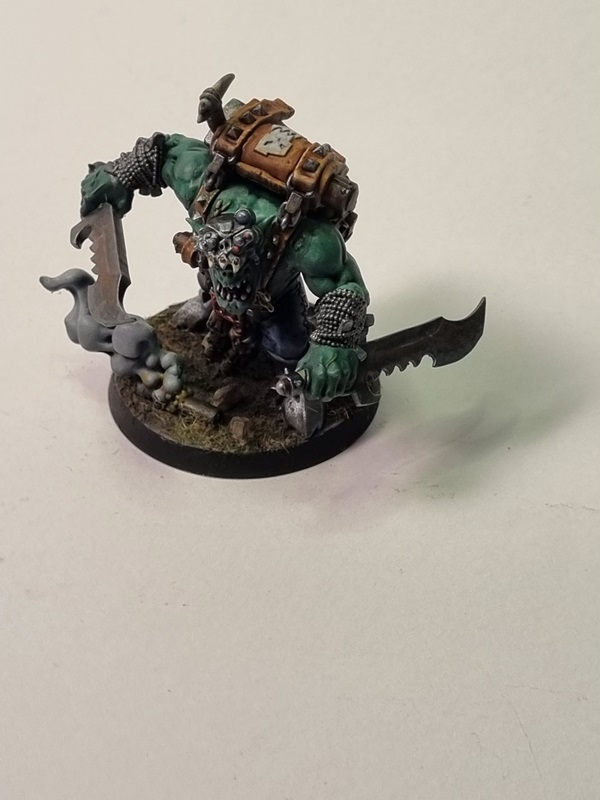
I started this build for a sci-fi group build on Facebook. Probably the last one I build for that gb. I choose a figure just to get a fairly easy build.
I thought he looked pretty cool so the choice was pretty easy. Starting with assembly which was pretty straightforward.
I choose to have his mask on his forehead, so bot the mask and face would be visible.
I gave him a zenithal primer, which means I first painted him black, then grey in about 60 degree motion all around, and finally I painted white more or less from the top almost straight down. Lastly I dry brushed white with a soft make up brush, picking up a little more of the details.
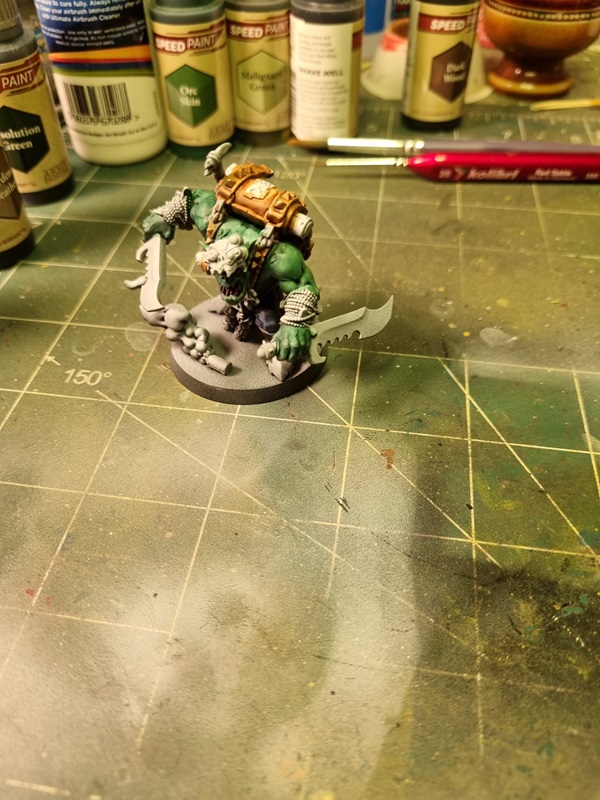
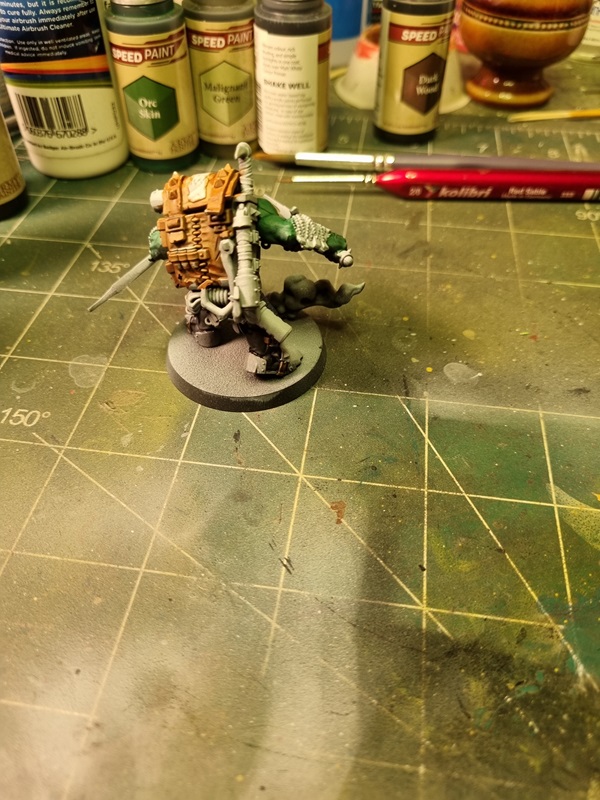
I decided to mainly use Army Painters Speed Paint.
I then painted all the metal with Vallejo’s black metal, and also added a few other details. Trying to use speed paint as much as possible.
The metal parts was highlighted with a brighter metal colour, and then I used rust and orange rust to add some rust on weapons and other spots. After that I used AK’s mud on the base.
I’ll add some grass and a few stones to the base, and do some additional painting before it’s done.