EE Lightning – part 4

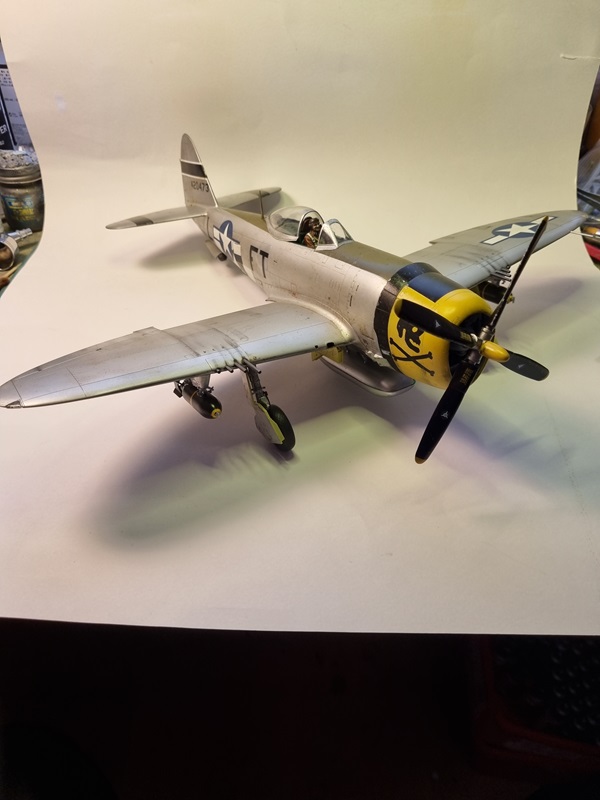
After a clear cote, I removed the canopy and glued what I guess is part of the opening mechanism on the inside. Then some actuators got both aluminium and chrome paint.
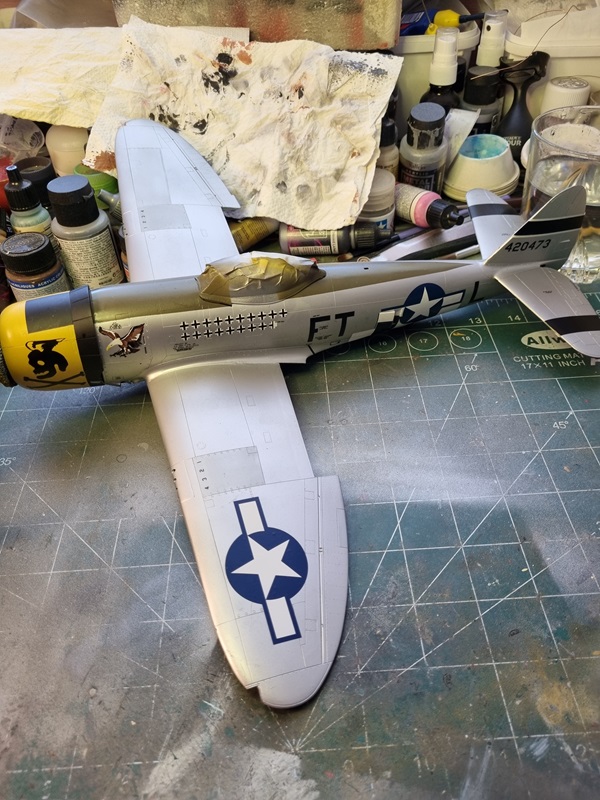
The tires was touched up as well.

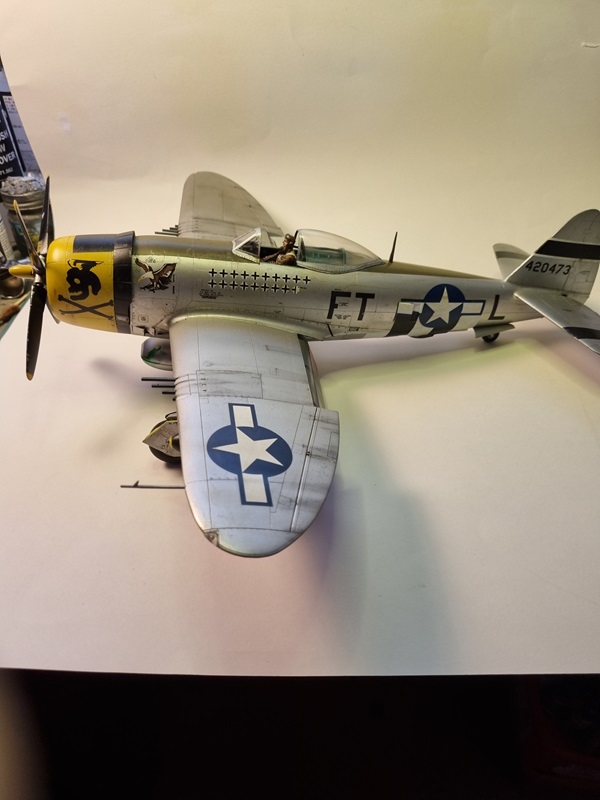
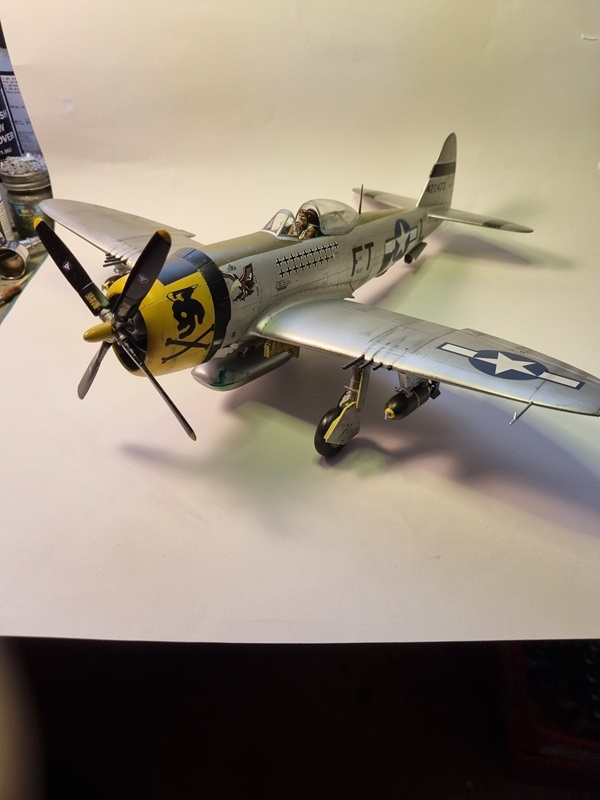
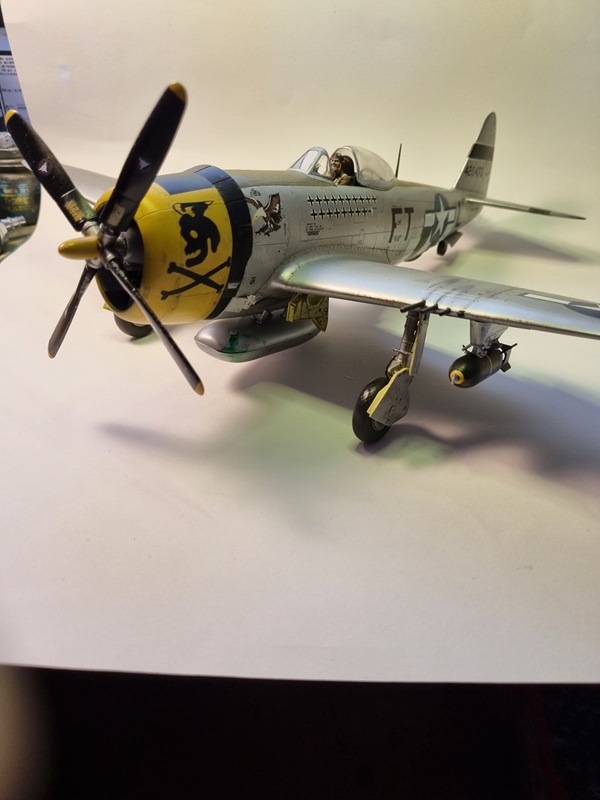
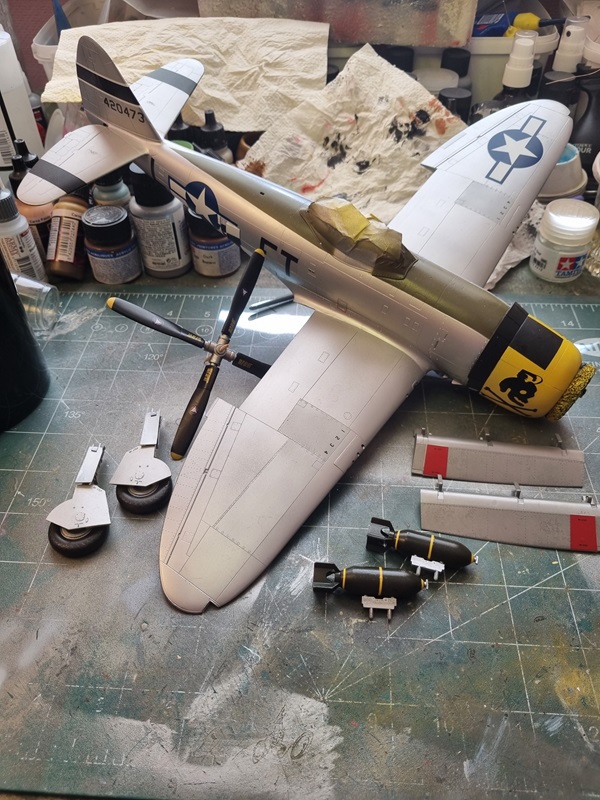
The pylons was painted grey, but I’m not sure that is correct. According to the tab and corresponding hole on the rocket the pylon will sit like this.

I hope that is correct, as it’s hard to see exactly how it sits on the pics I’ve seen.

P-47D Thunderbolt – Part 15

Time for some weathering. First I used Flory’s grime wash on the entire plane.

Then a good part of it was viped off.

Next step was to use oils, in this case black, to create some streaks.

I’m no specialist at weathering, and I’m still learning, by looking at pick and other builds.
I’ll do some wear on the propeller and a few other places. Other than that I’m not sure what more to do. Other colours perhaps?

P-47D Thunderbolt – part 14

After assembling the landing gears, I left the plane to rest.

The day after, I assembled more or less everything else. The closed canopy was removed, and parts of the paint was touched up. The front glass was glued and the pilot put in place.

Lastly the glass on the bottom of the wing was glued and also the drop tank.

Except for some weathering, there’s only one thing left to do. The glass pieces on the wing tips needs to be glued in place, but first I need to sort their colours.
After checking the net it seems like the left is red and the right green.

P-47D thunderbolt – part 13

This is just a quick update on the decals.
Where is it easiest to hide something black? On something black!
I thought the black area on the nose looked a bit strange, and on closer examination, I realized that it was the missing part of the skull decal.
After using Microset on the decal, letting it soak, I could move the missing piece in place.
There was just a little bit missing that I sorted with a little black paint later.

Happy for having that problem solved.

P-47D Thunderbolt – part 12

I’ve been doing the decals one side at a time, more or less.

And the other side!

Here it is with all the other decalled parts.
I’m not sure what have happened with the skull decal. Part of it is missing and I can’t seem to figure out where it has gone. I even tried lifting the decal a bit so see if it had folded under, but no, not what I could determine.
The only missing decals are those for the lights under the wing. I’ll sort them once all those dried properly.
I’ll also try to sort the missing decal part, by painting by hand.

Soon time for clear cote and final assembly and then some weathering.

P-47D Thunderbolt – part 10

After masking I painted the nose yellow.

Then I did some more masking and painted black.

Part of the masking tape was removed.

Then I masked again and painted olive drab.

So how did it turn out with the masking tape removed? I say it turned out bloody nice! 🙂

Now on to the next steps that probably will be clear coting and then decals.