I got this kit from my Swedish Secret Santa last year.
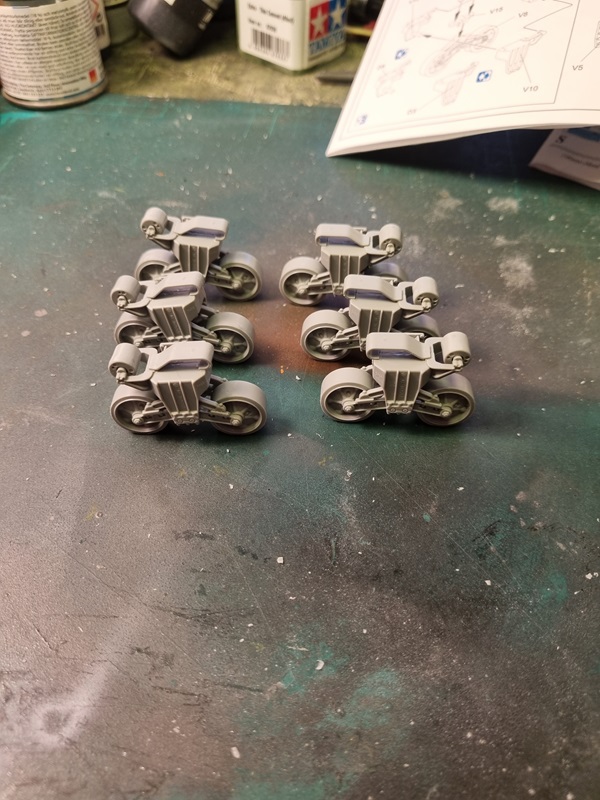
As I decided to finish the Coach first, it took a while to get this build started. Anyway, now it’s started and first things to be assembled was the boogies.
After a clear cote, I removed the canopy and glued what I guess is part of the opening mechanism on the inside. Then some actuators got both aluminium and chrome paint. The tires was touched up as well.
The pylons was painted grey, but I’m not sure that is correct. According to the tab and corresponding hole on the rocket the pylon will sit like this.
I hope that is correct, as it’s hard to see exactly how it sits on the pics I’ve seen.
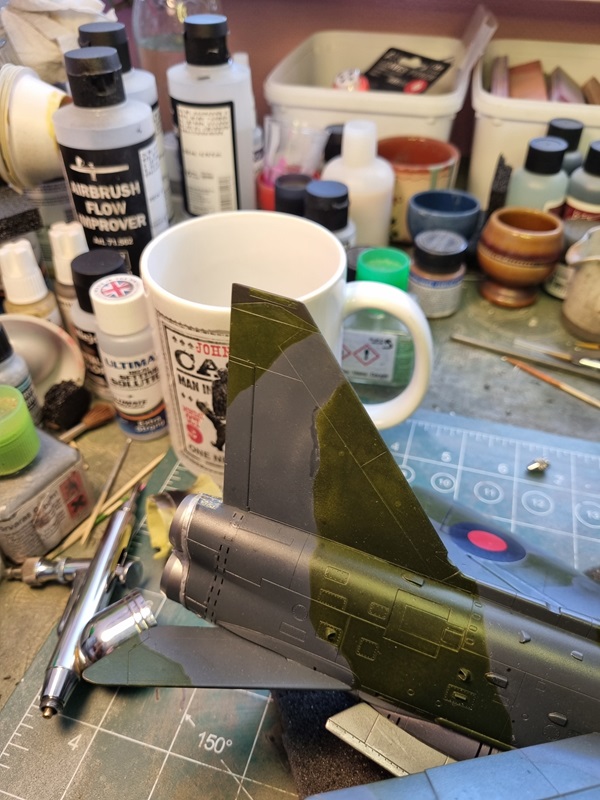
I noticed that I had missed painting a few spots like the black on the fin and one antenna (I think it is)
Then i repainted the grey a bit on the fin.
It looks a little bright, but with clear cote on it turned out quite okey.
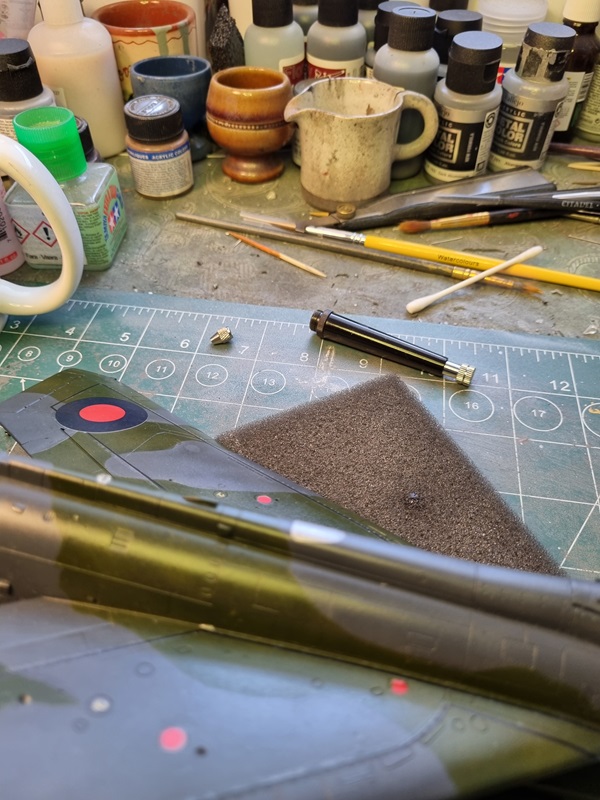
Then on to the decals. They go down quite nicely, but the print is a bit off, at least the white background.
I still need to do the other side and some stencils are still missing. I’ll let this dry a bit and then do the other side.
I got the advice to buy new decals, but for some reason didn’t follow that advice. Maybe if I get hold of this kit again, I’ll get some better decals, as there are quite a few nice paint schemes available.
This is my first Wingnut Wings kit ever. I usually don’t build biplanes due to the rigging, but these kits are supposed to be very nice, so I’ll give it a try.
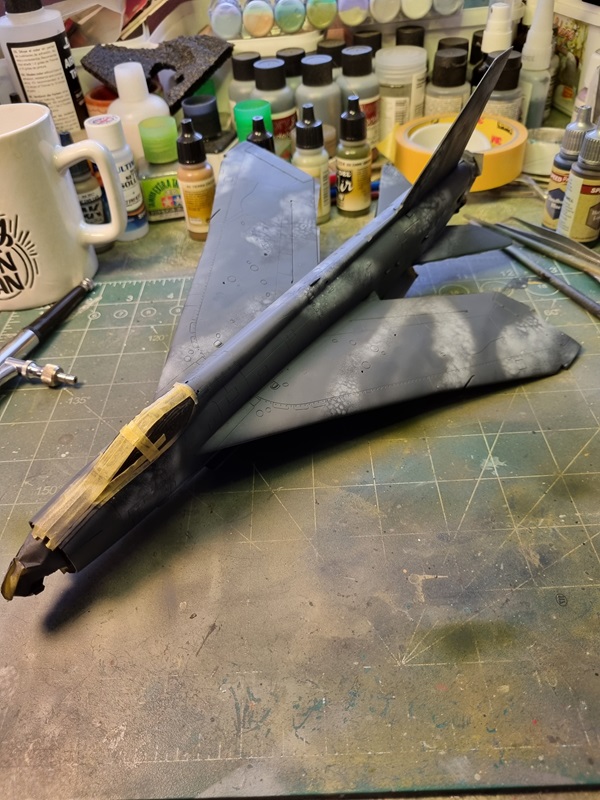
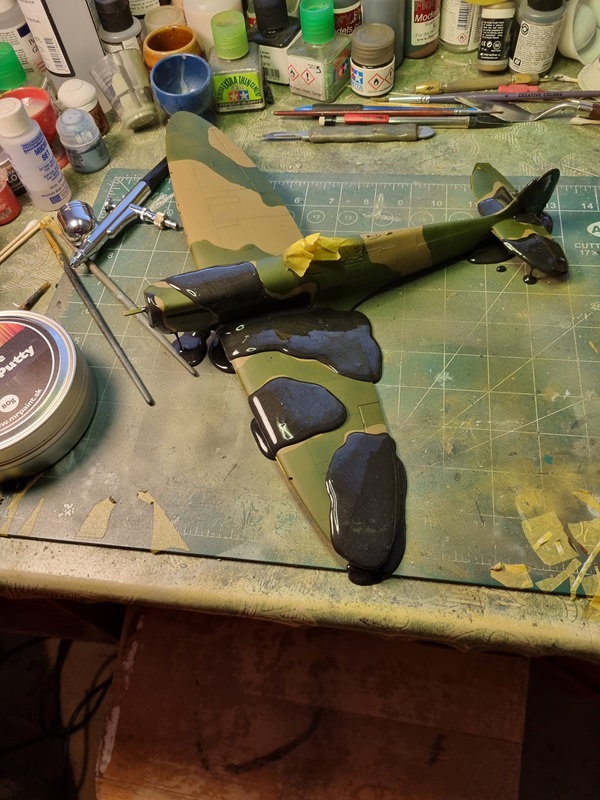
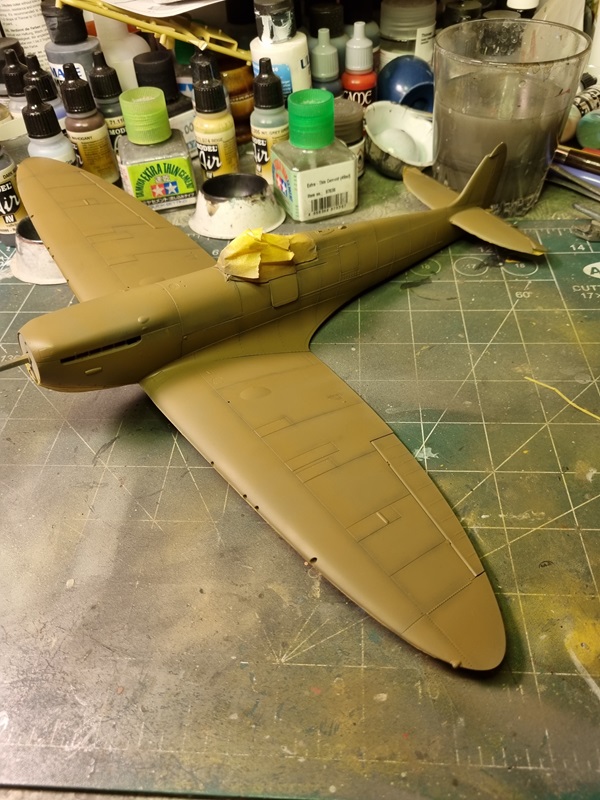
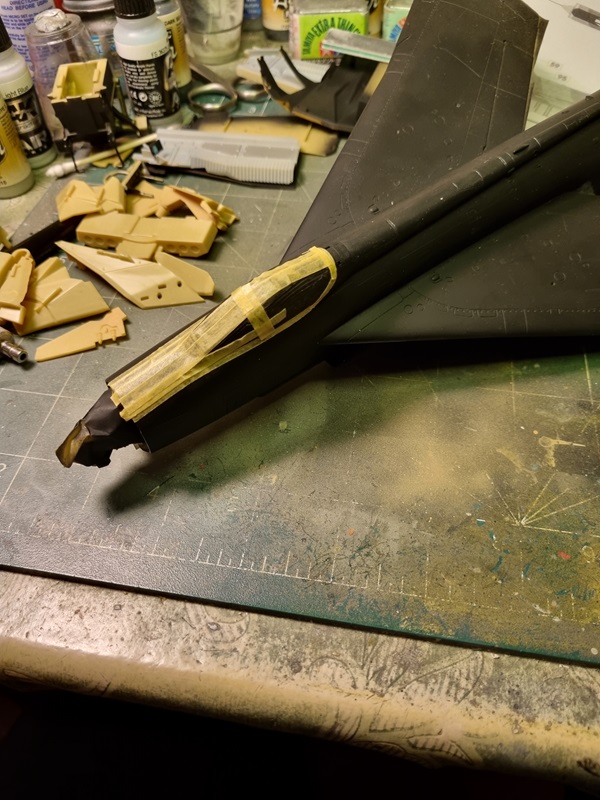
I got a hunch to pick up this build that I started a few years ago. I had already started painting it and had masked in preparation for the topside camo. So the tape have been sitting there for quite some time. I just have to hope for the best.
First I had to address a few spots with ghost seams.
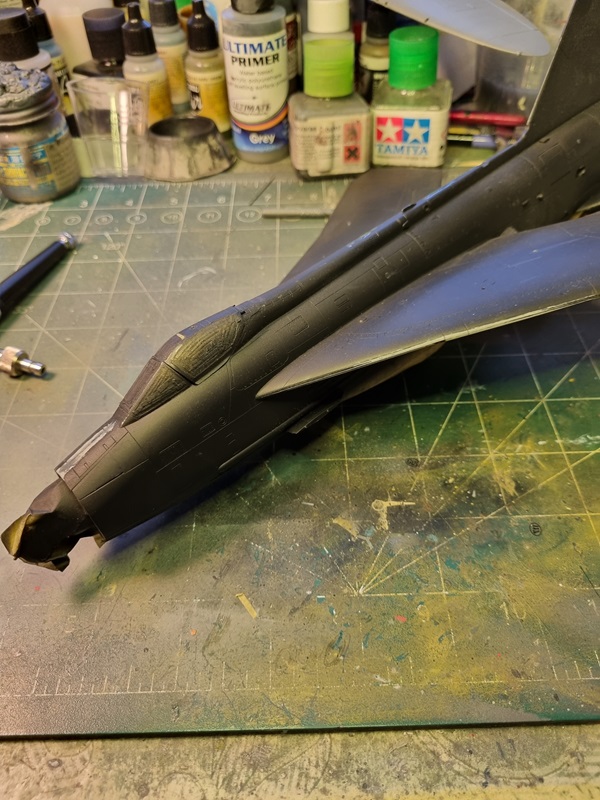
After that was done, I repainted with black and masked the canopy and front area which should be black.
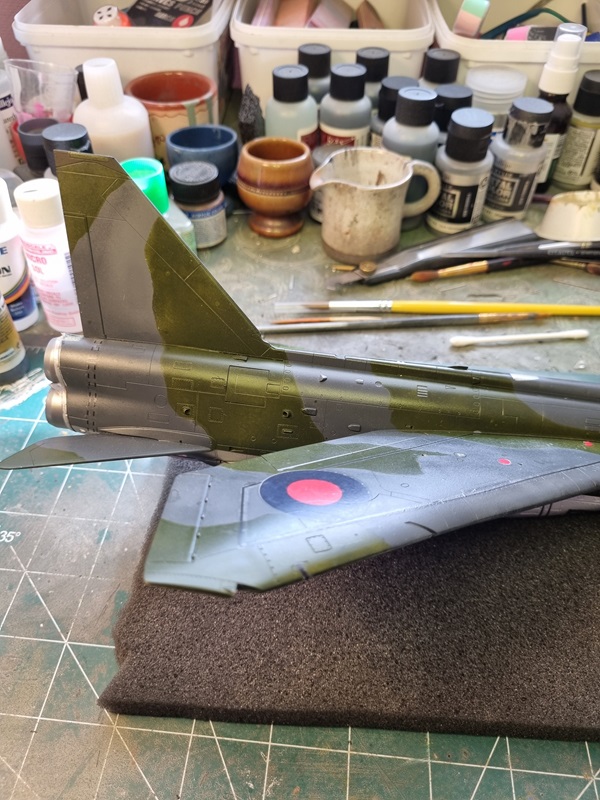
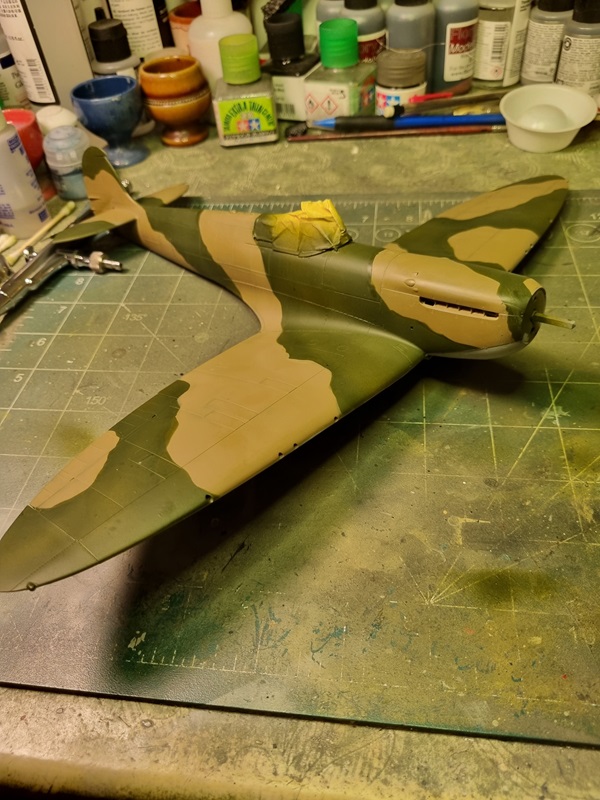
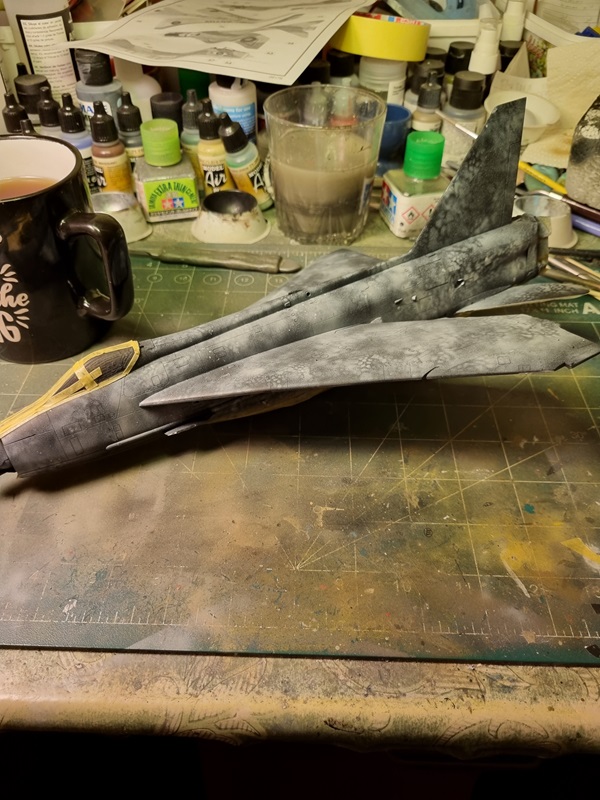
Then I used a mask for irregular patterns to paint with light ghost grey over the black. This was the first time I used this kind of template, so it didn’t go very well, but I think it’ll do for the purpose of the paint.
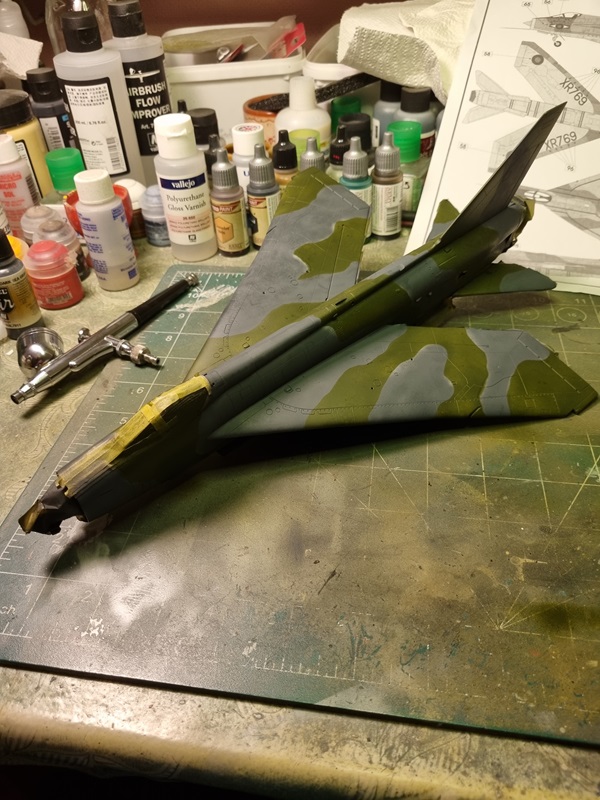
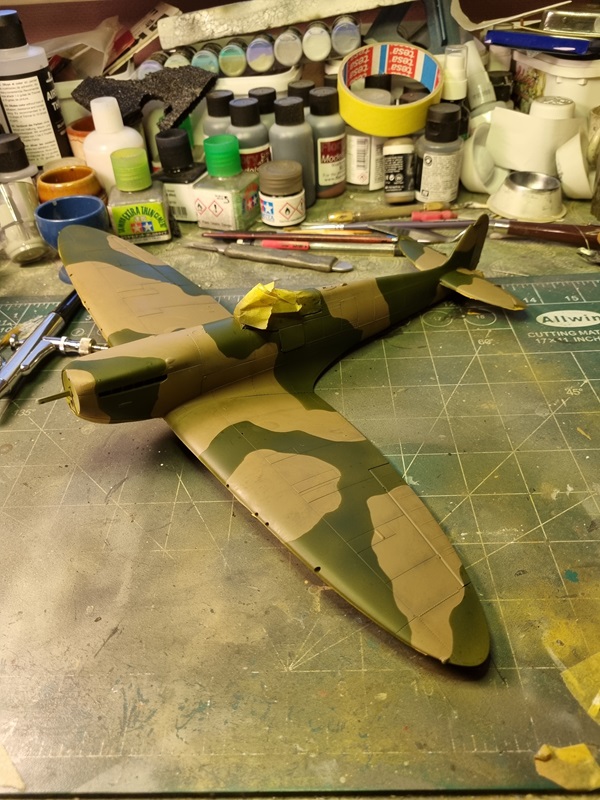
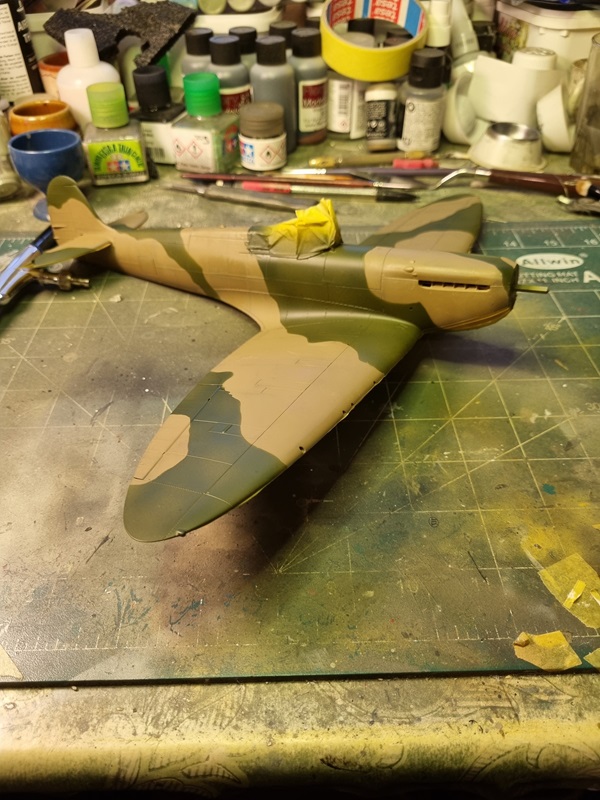
Next I’ll start painting the camo, starting with dk sea grey.