1970 Dodge Charger – part 4

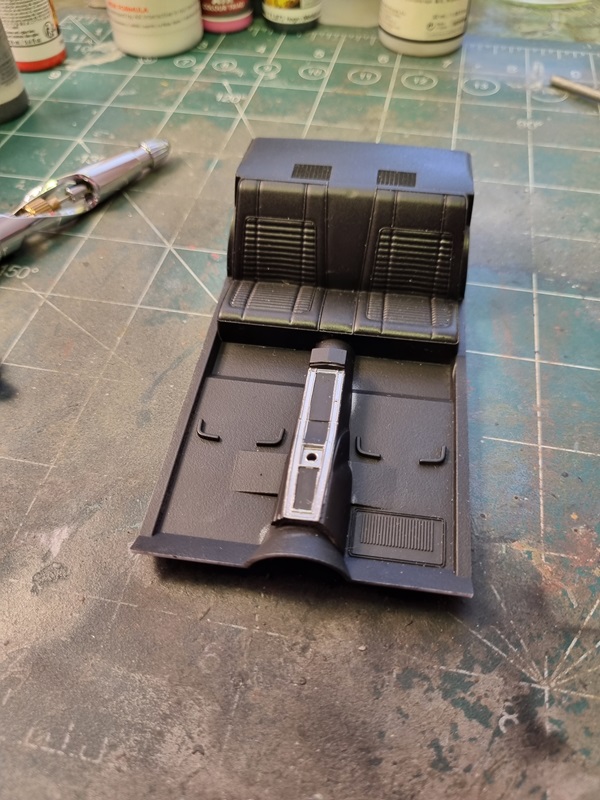
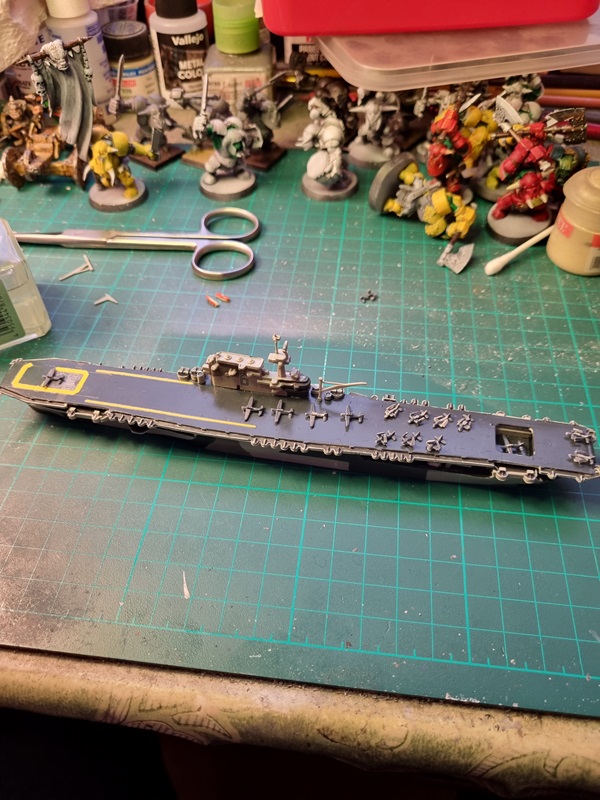
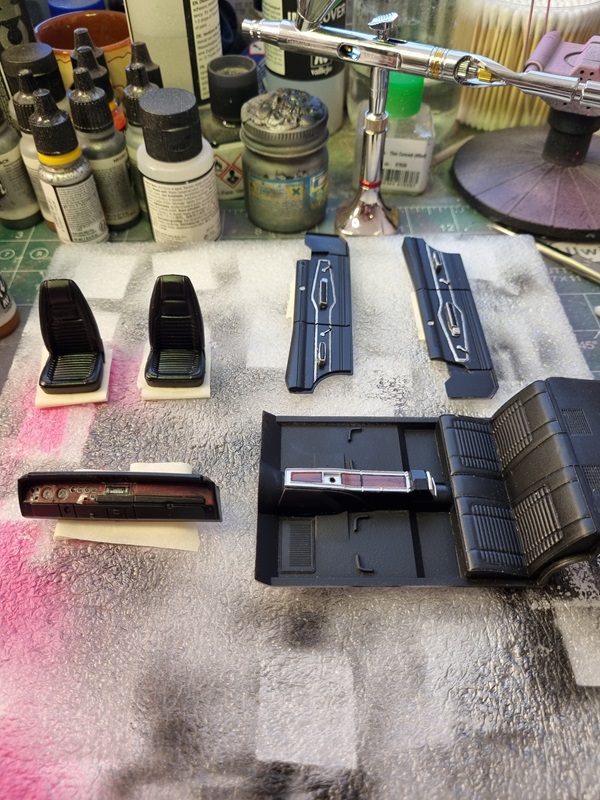
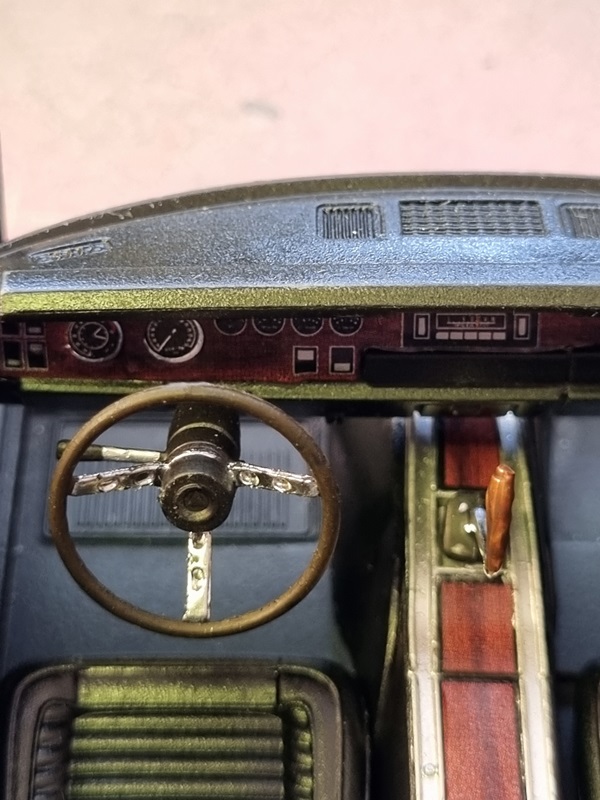
I used the decals for the wood panels and instruments.

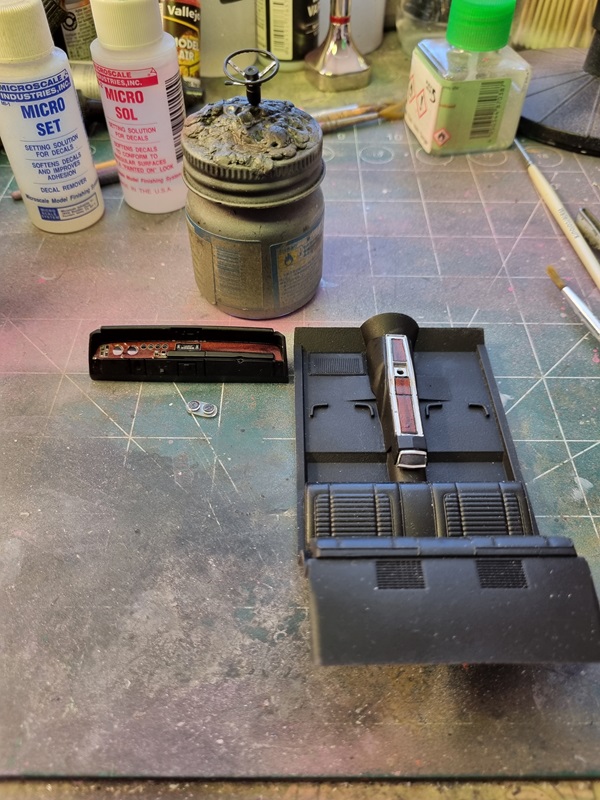
I think it turned out pretty nice!

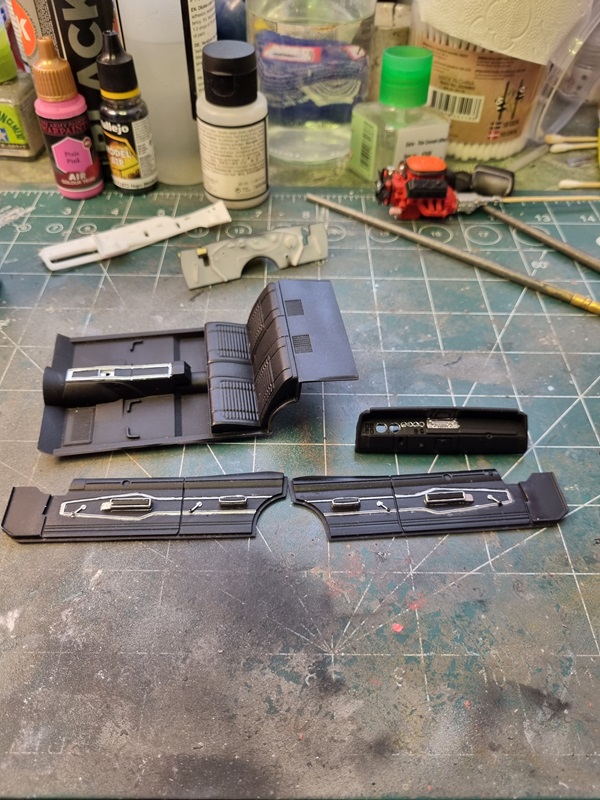
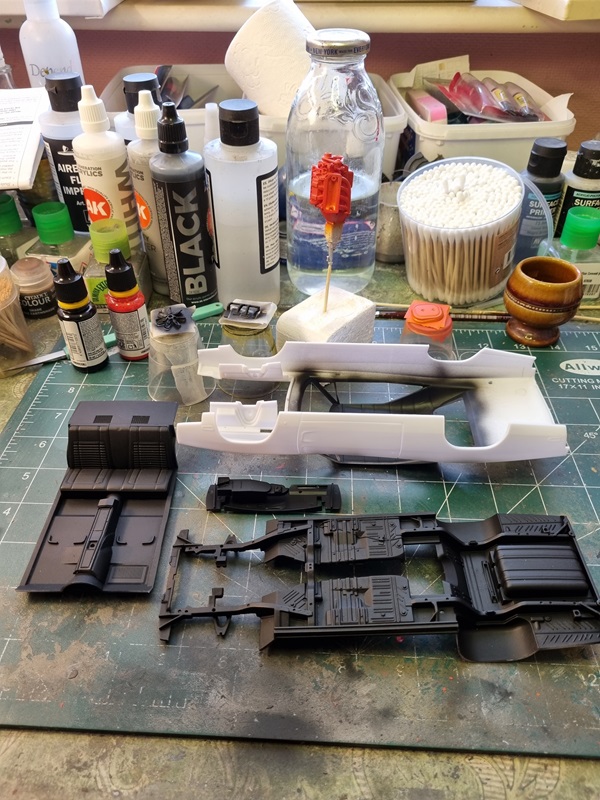
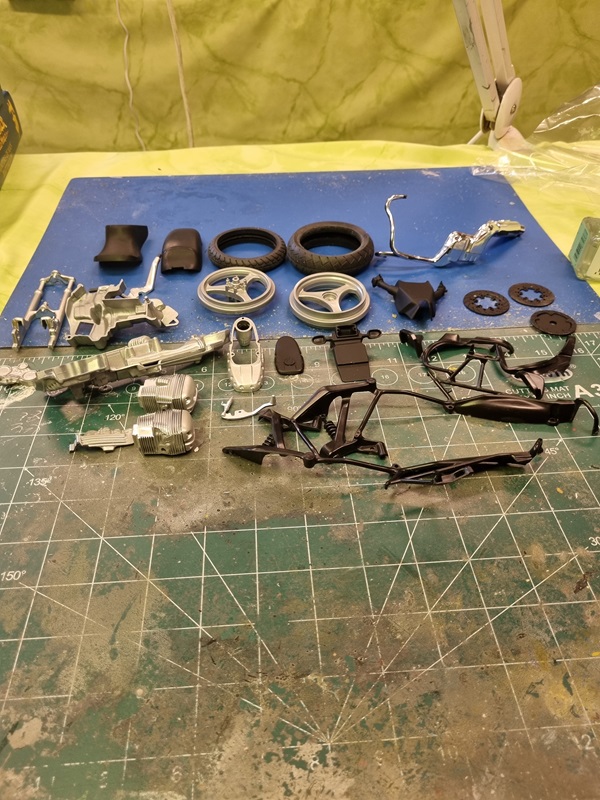
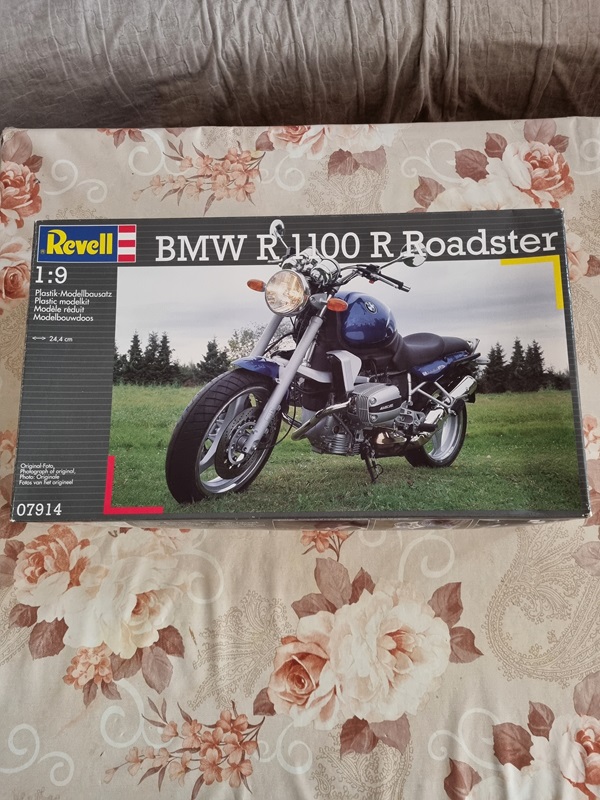
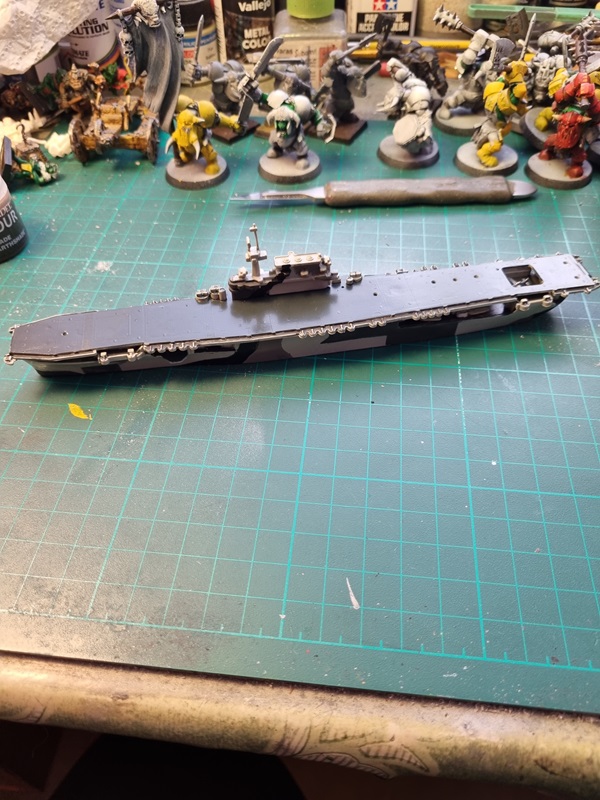
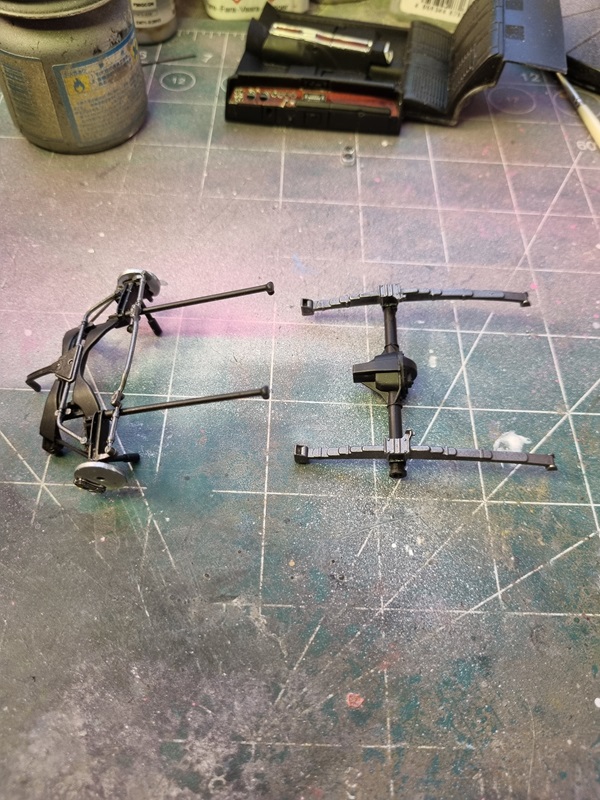
While the decals was drying I assembled the front and rear assemblies.

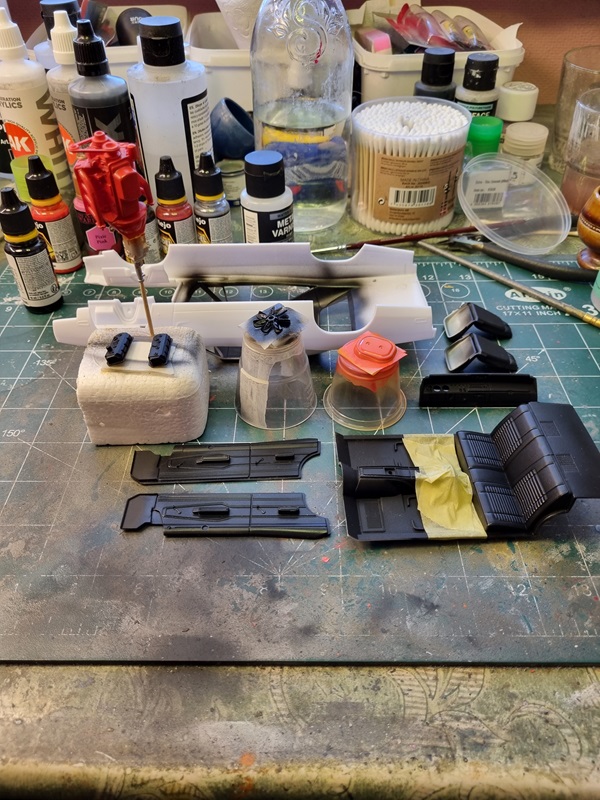
After touching up and giving the seats a bit of clear varnish the interior parts looked like this.

Then the interior was assembled.

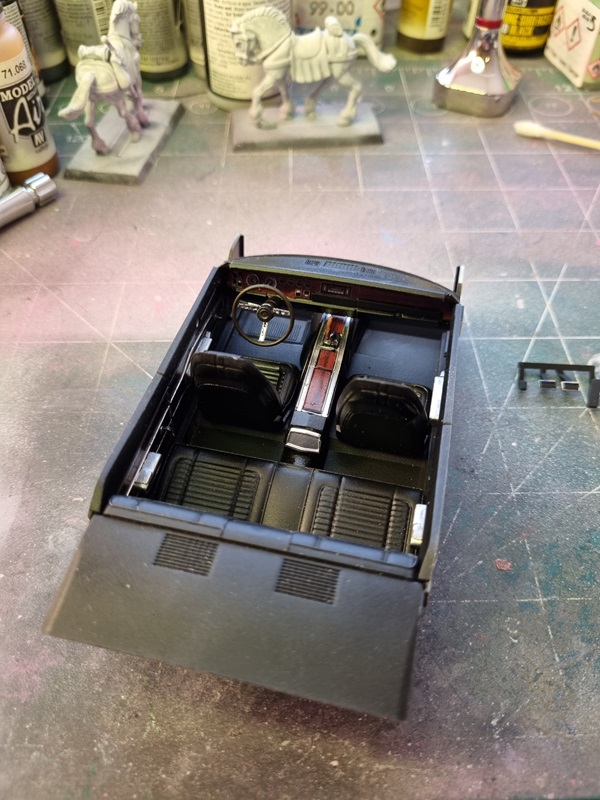
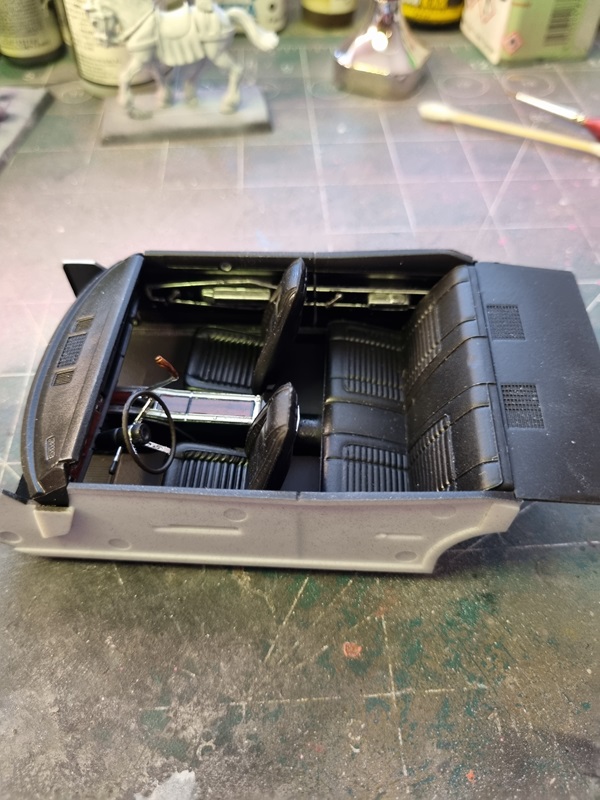
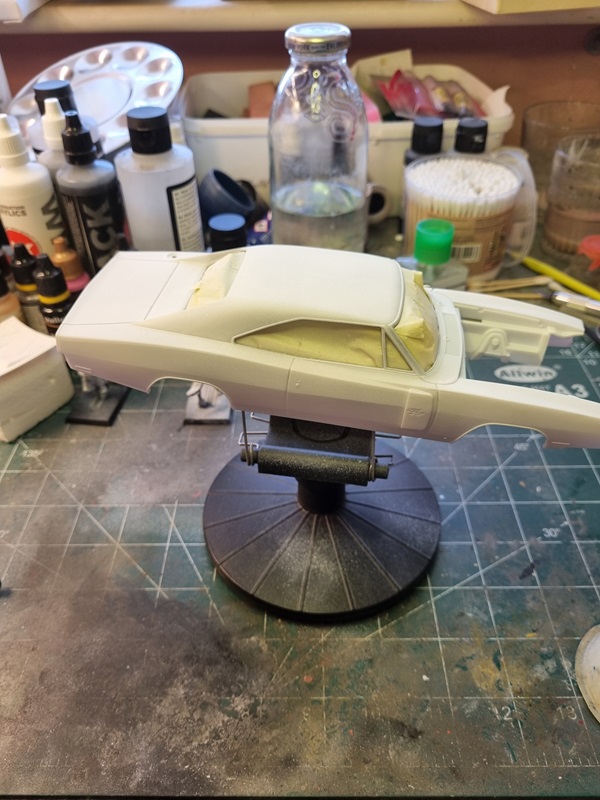
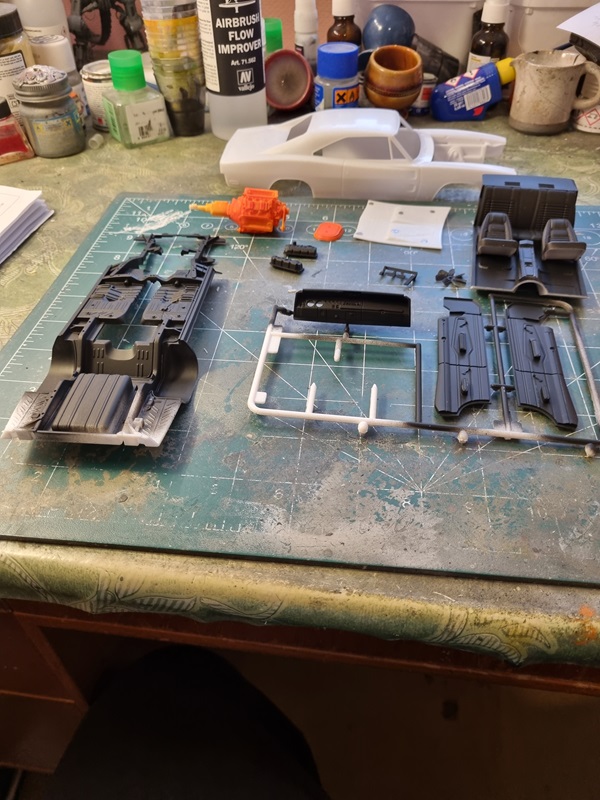
I glued the firewall and did a test fit of the interior and engine on the chassie.

By the looks of it, it seems to fit very well.

I realised that I had missed painting clear varnish on the firewall, so I masked off the interior and varnished it with some of the other parts.

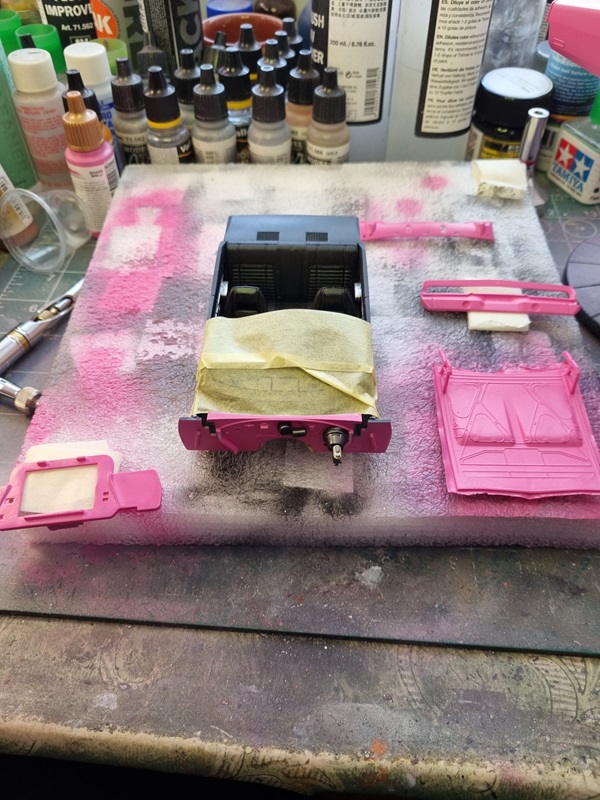
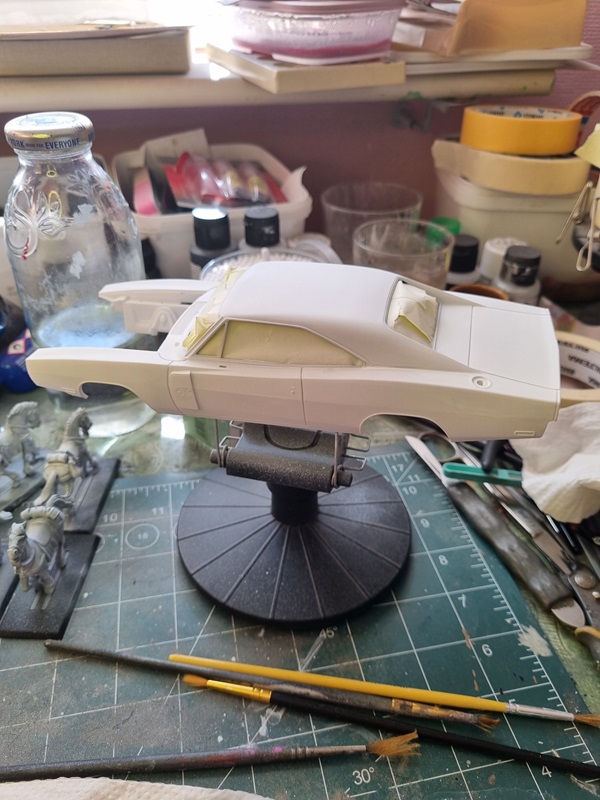
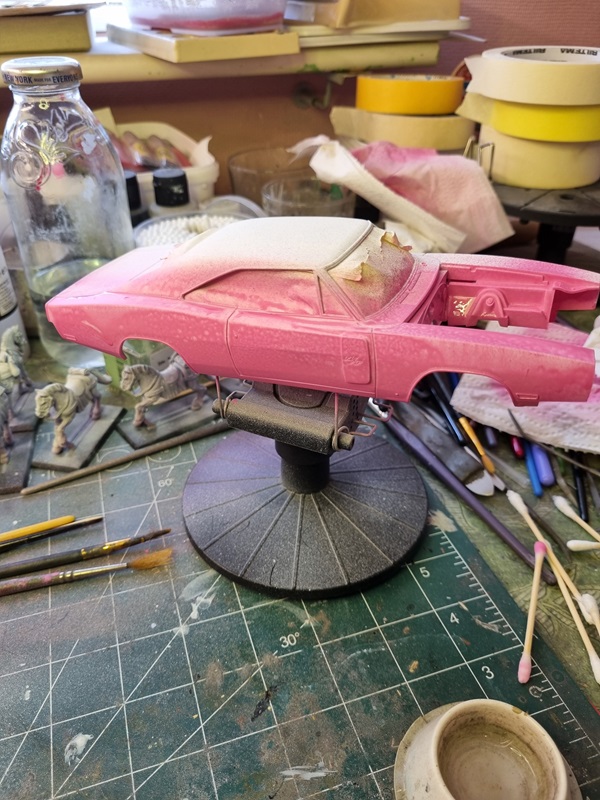
The body also got gloss varnish.

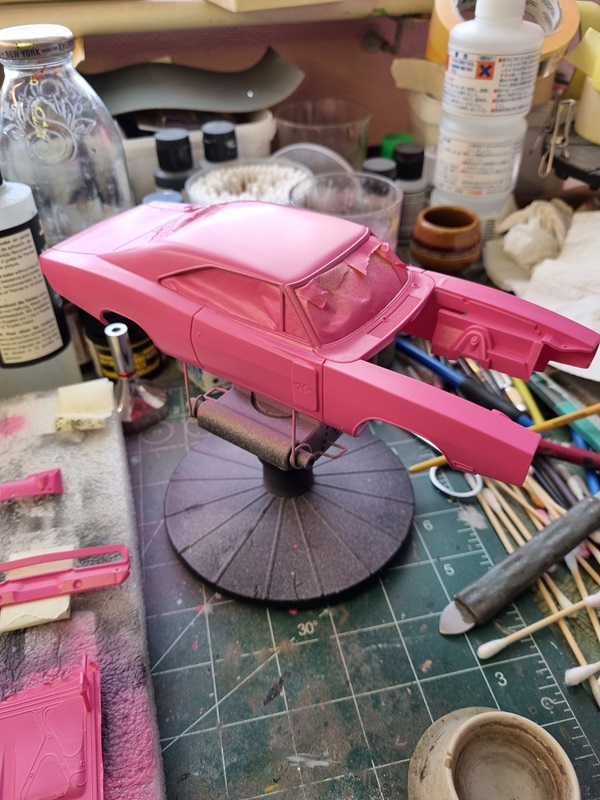
I actually gave the body another cote of varnish before starting to add the decals.

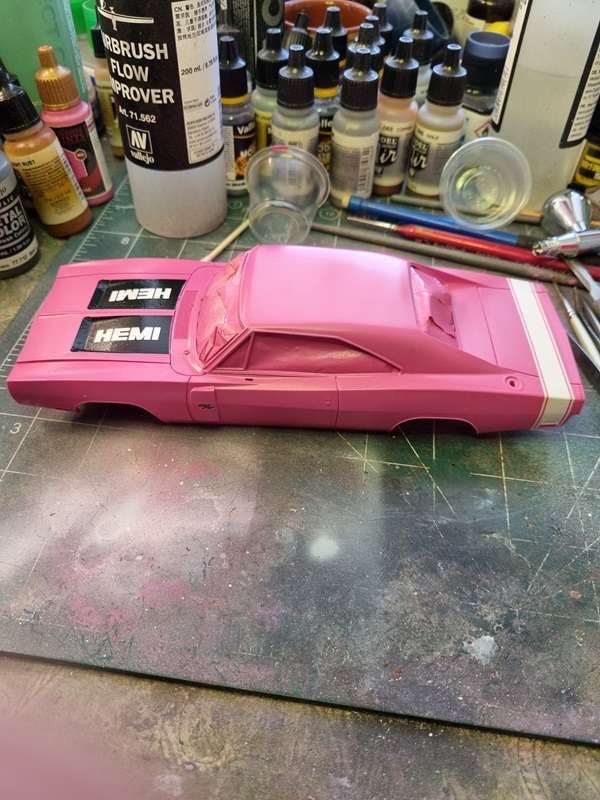
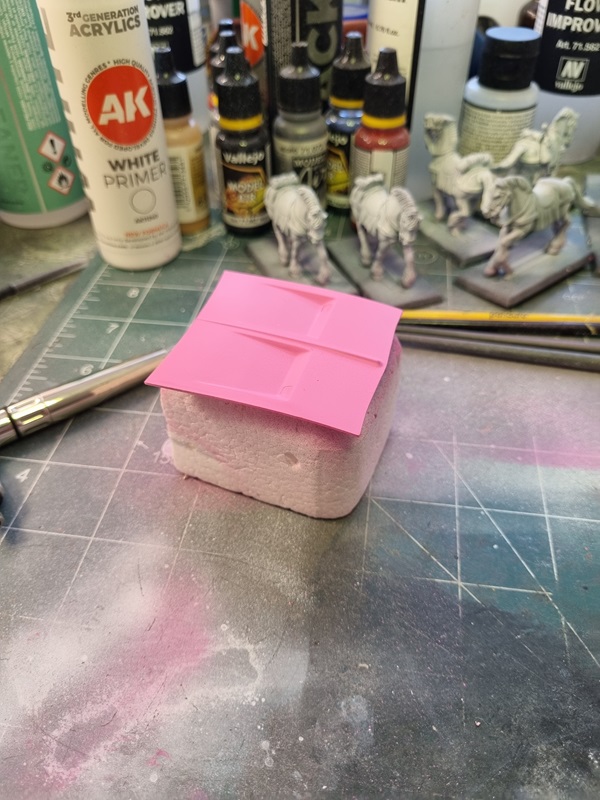
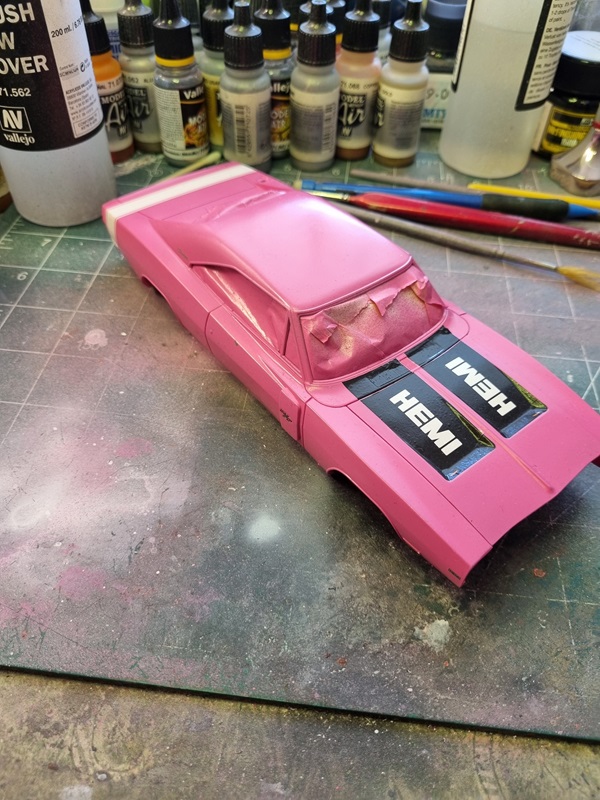
The decals on the hood was fairly easy and only required some slight poking and some microsol to look nice.
The stripe on the back was a whole other story. It went fairly well on the left side and on top of the trunk, but the other side didn’t fit with the opening for the reflex on the side.
After trying to get the decal look right it started falling apart so I didn’t dare work anymore with it.

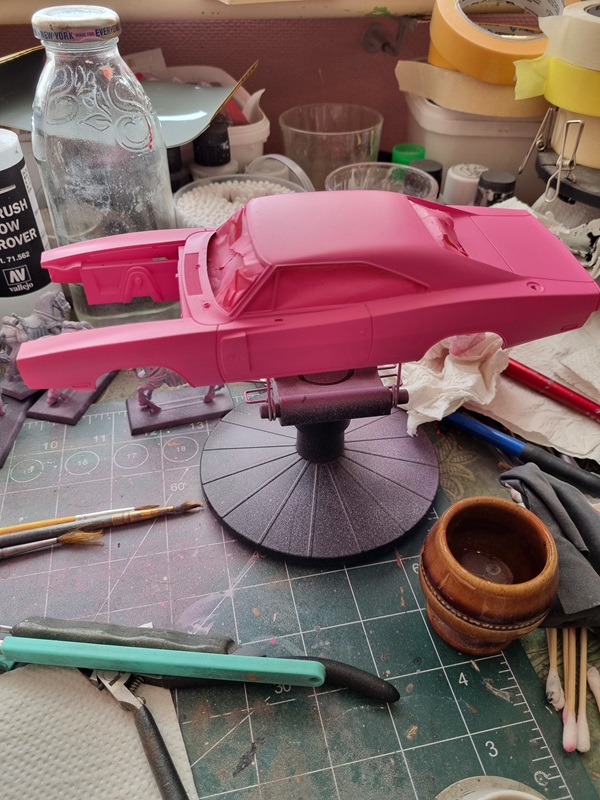
I put on the rest of the decals on the body and will let it dry properly before I continue.
My idea is to use white and pink to try and rectify the broken decals.

I’ll see how things work out.

1970 Dodge Charger – part 3

The engine was painted and assembled, and then I painted details.

I masked the center console and painted chrome.

I also painted chrome on the side panels.

There’s still a few spots that needs some touching up.

After priming the body I realised there was a few mould lines to take care of.

Some sanding later and also some more primer.

I then tried some pink on a few parts.

Looked quite good to me.

Hood and body ready for paint.

The hood went quite well.

But for some reason disaster struck while painting the body.

I actually went to the paint store and bought some wet sanding pads in 3000 and 6000 grit.
Then I used the 3000 grit to remove as much as needed.

After that it was time for a new cote of paint.

This time it looked a lot better.

The hinges for the hood was glued in place and next I’ll paint primer on the inside and also on one more part for the engine room.

Next I’ll hopefully can paint a gloss varnish on all the pink parts.
I’ll also start assembling all the parts for the chassie that I’ve been painting but forgot to take pics of.

1970 Dodge Charger – part 2

The colours I was missing arrived so I could continue with this build.
Several parts was painted black, and I also repainted the engine and air filter.

Some parts like the seats and other interior parts is supposed to have a semi-gloss look. It turns out I had no clear satin colour, so instead I used Vallejo’s gloss for metal finishes and painted a thin layer, thus achieving a satin look.

I gave the engine a little more paint to get a glossier look.

I need to mask the mid console and paint that semi gloss later as well.
Once everything is dry, I’ll mask the interior roof and paint white primer before painting it pink.
That way I can check for imperfections as well.

BMW R 1100 Roadster – Revell 1/9 – part 1

I started building this kit on the weekend build meeting. As I understand it, it’s an old Protar kit in Revell re-boxing.

There’s quite a lot to sort and paint before any assembly can be done.

Here’s a pic of most of the parts. It wasn’t until I got home I could take another pic of what I had done.

I had bought this kit 2nd hand, and as it turned out, one part was missing. Not sure what to do about that. I decided to continue a bit further, until that part is needed.It’s the holder for the head light and turn signals that’s missing, and I’m not sure if I can scratch build something like that.

1970 Dodge Charger – Revell 1/25 – part 1

On the weekend build meeting we had last weekend that we call plastkollo (plastic camp), I bought a kit from one of the members. I thought it could be a fun build.

The kit seems to be quite nice with good fit on the parts. As usual starting with the engine that should be mostly orange. I didn’t have any orange colour and my pink colour was messy with a big lump in the bottle. It ended up in the bin.

I borrowed orange colour from a friend and managed to paint it a little to wet. Then I decided to paint most of the interior and chassie parts black. Turns out there was very little black left in the bottle. I have to order new colours and a few other things that I need.
Anyway, this is how much I got done before it was time to wrap up the meeting and go home.

Pic taken at home though as I forgot to take a pic at the meeting!

USS Enterprise CV-6 – back from the grave

I started this build a long time ago, and have done a bit here and there during that time, but lately it’s just been sitting in a box on a shelf.
I had need for a box to put my orcs in so I decided to finish this build and thus emptying the box.

I glued the carrier deck to the hull.

Then I added the decals.

I then started to sort all the small detail like the planes and cranes.

Missing are the 2 life boats and the last plane whose wing was missing at the time I took the pic. The wing tip was in the box, I just had missed it.
I’ll sort the boats and the plane and then do some touching up and maybe a little weathering.
Then I’ll consider this build finished!