Tie Fighter – Star Wars – Bandai 1/72

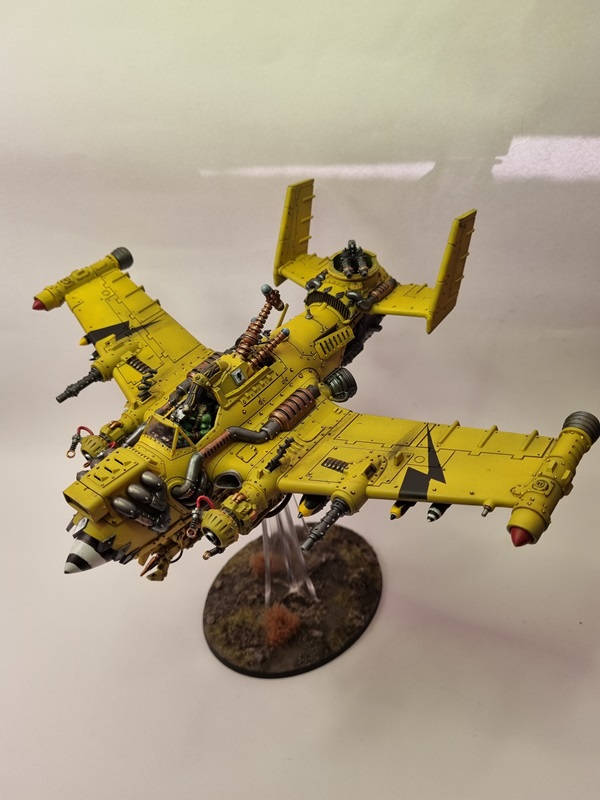
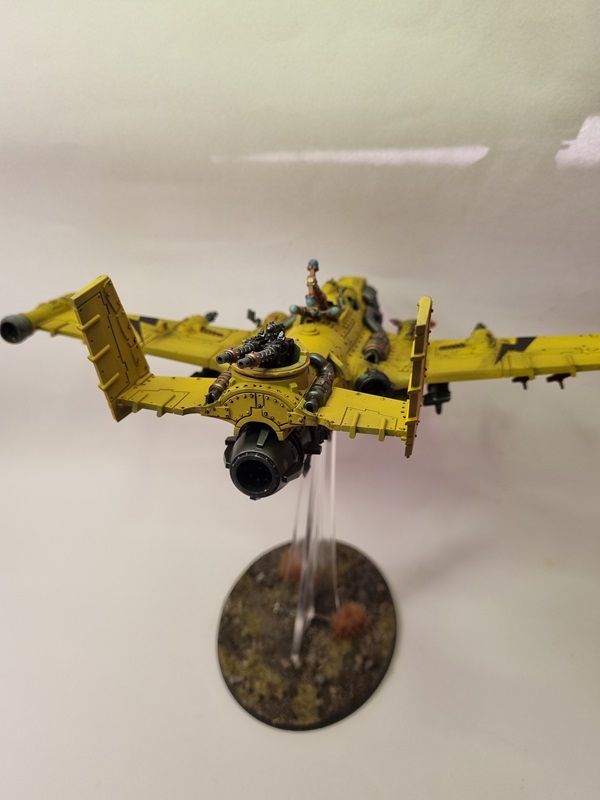
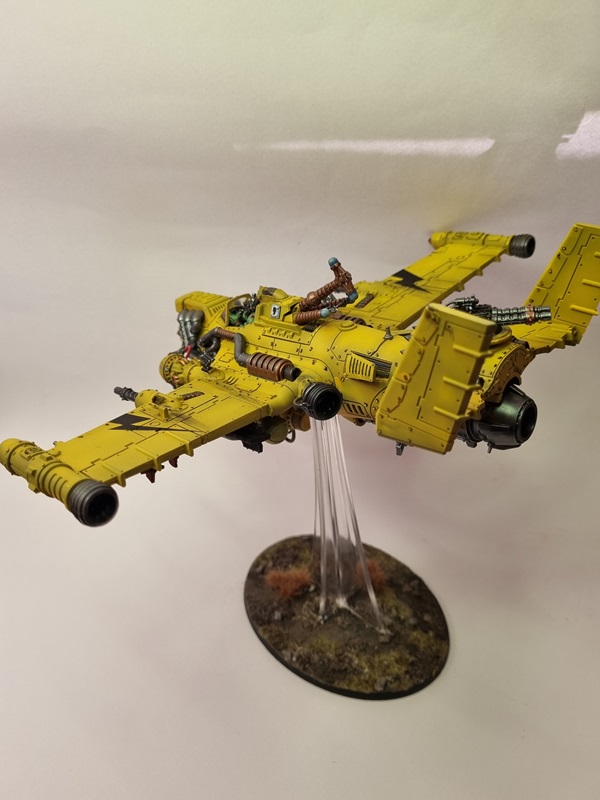
As I’m participating in a sci-fi group build where I recently have finished the Ork Dakkajet, I decided to try to finish one more kit before the end of the group build.
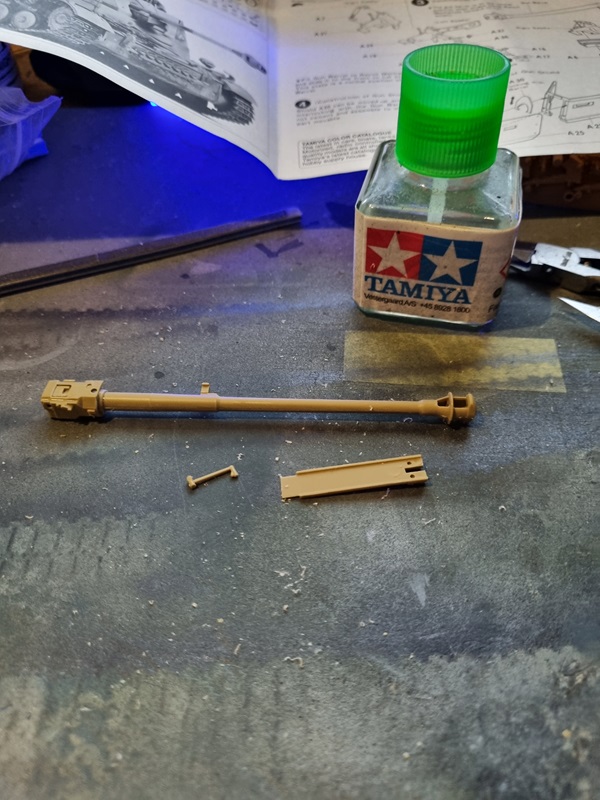
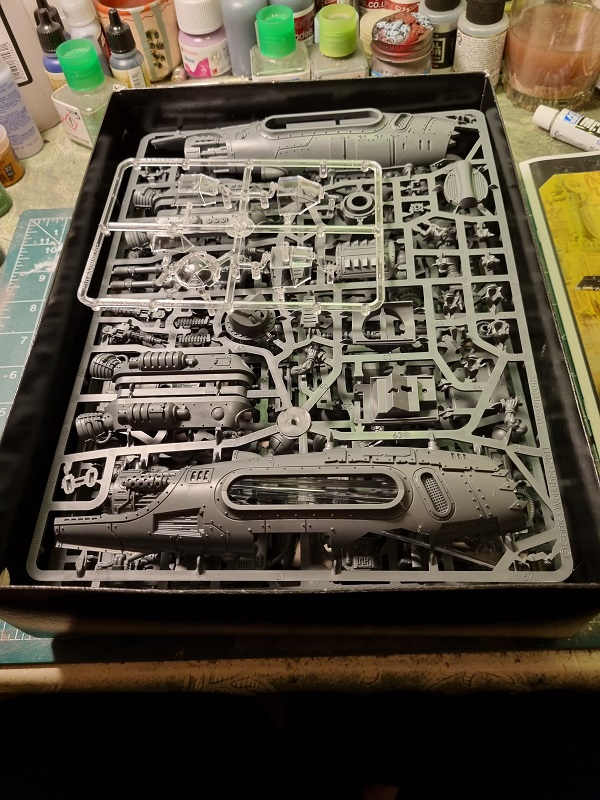
So in order to make it somewhat easy I decided to build a Bandai Tie Fighter,

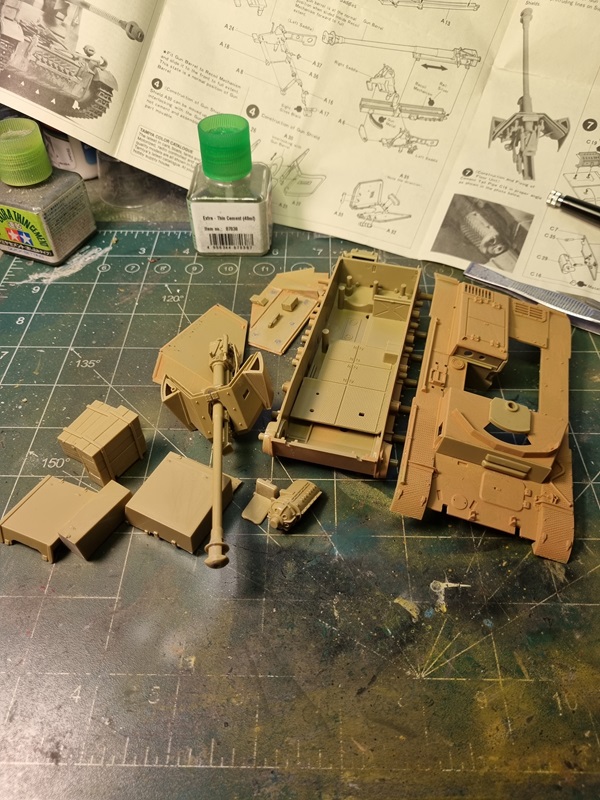
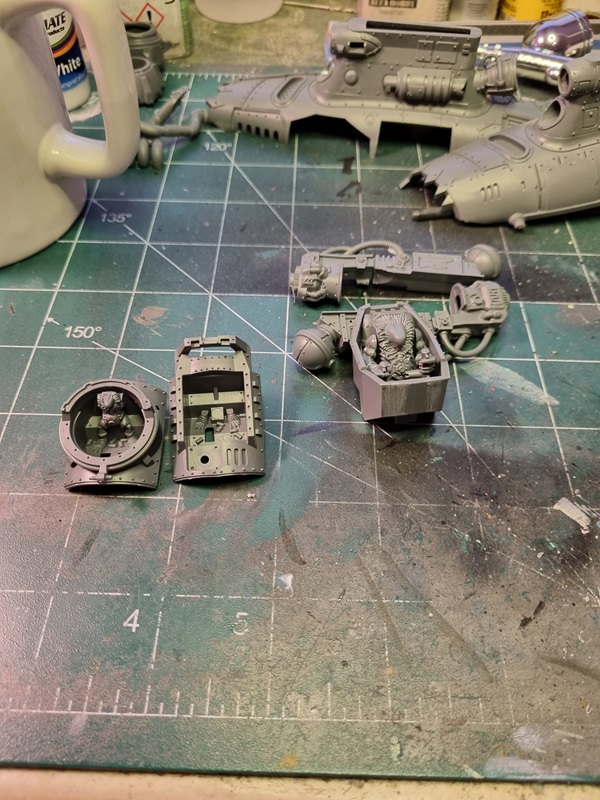
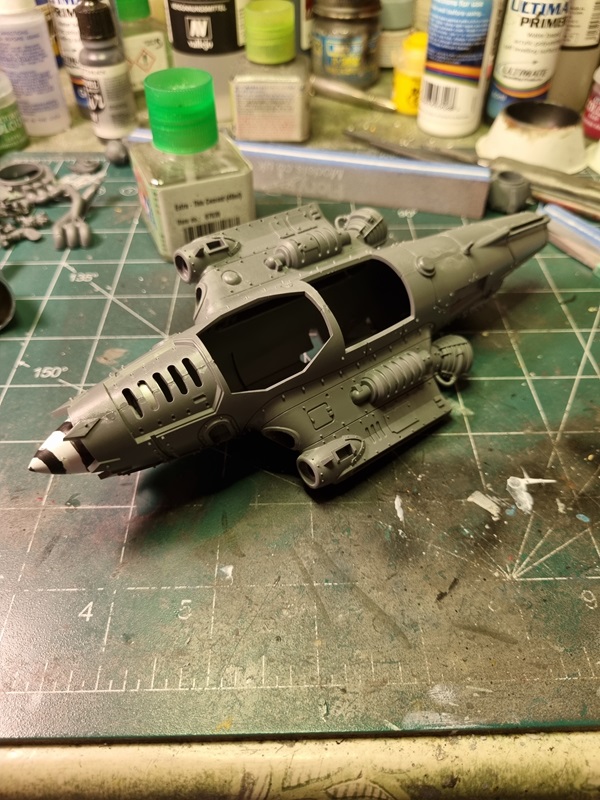
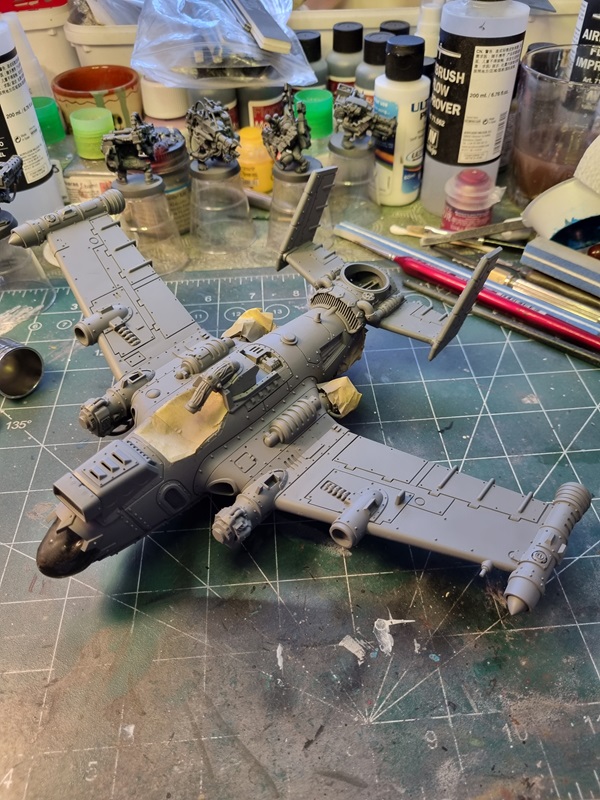
Starting with the cockpit and mid section.

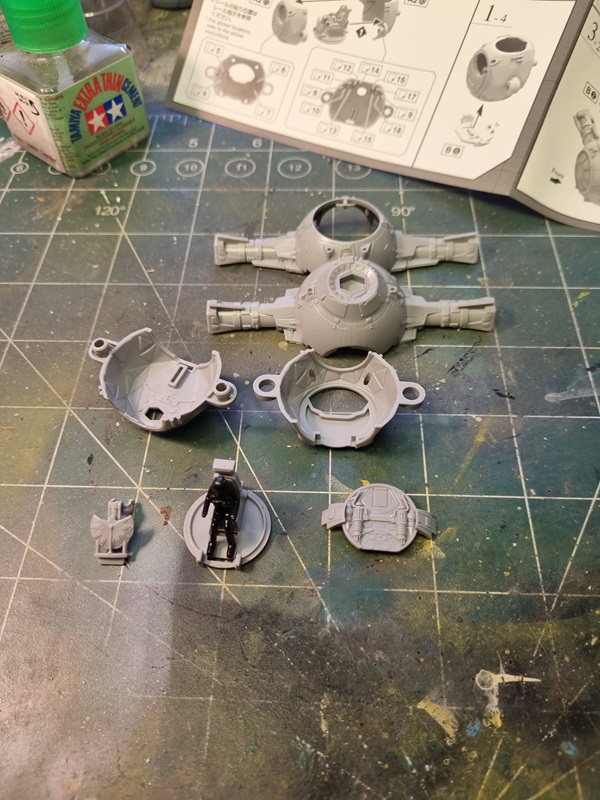
The instructions for what colours to use a pretty brief. I asked around a bit and got some advice.
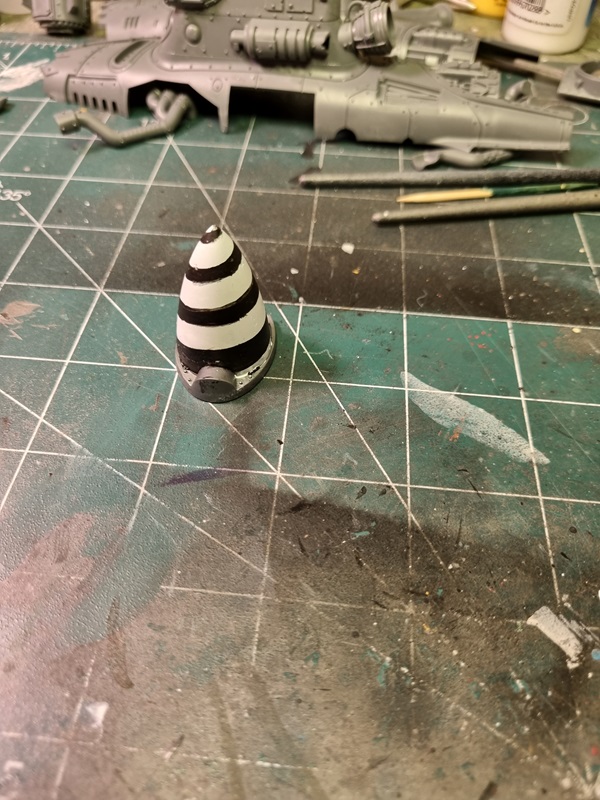
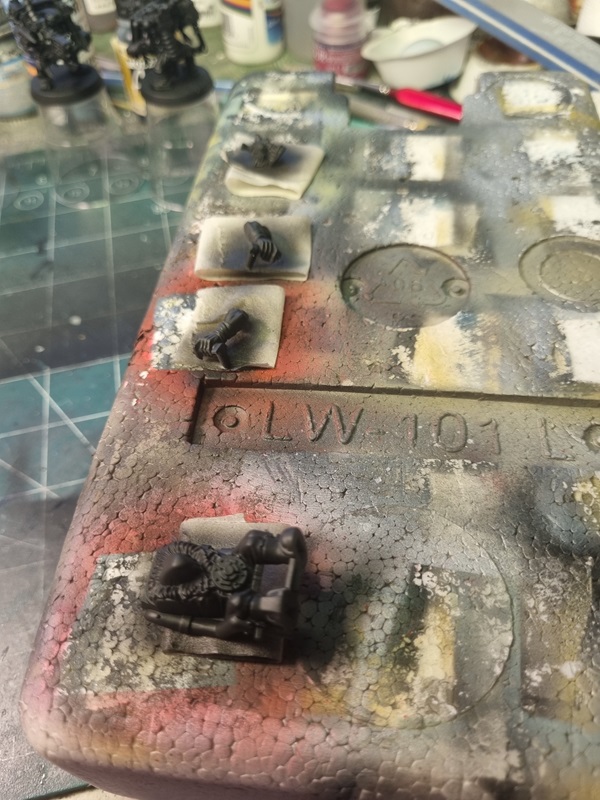
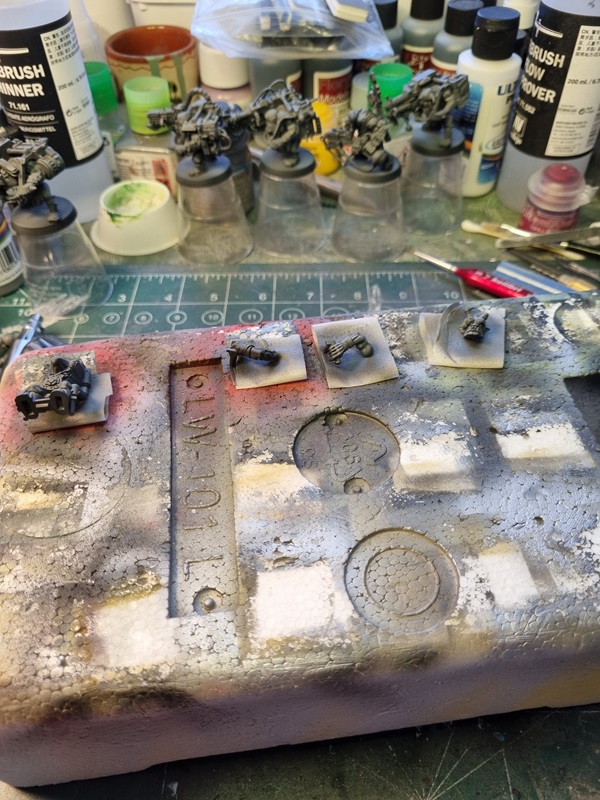
The solar panels was painted flat black.

Hard to tell perhaps, but the black plastic is a bit more shiny.

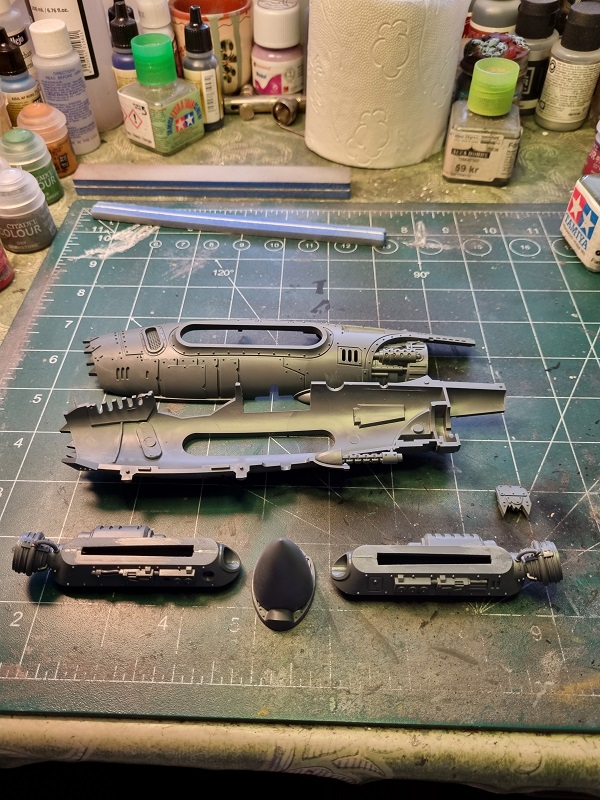
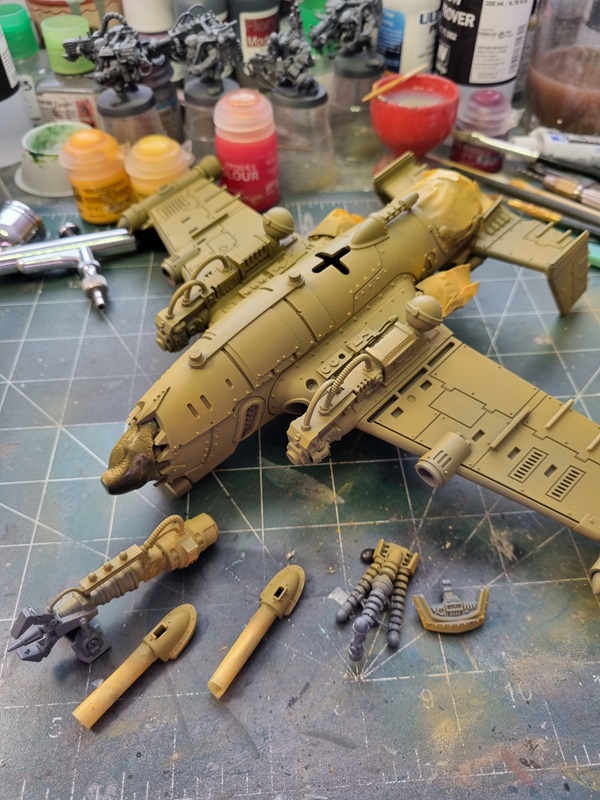
I painted the interior in neutral grey and then mixed a lighter colour for the exterior parts.
That colour was also used on the panels inside the cockpit.

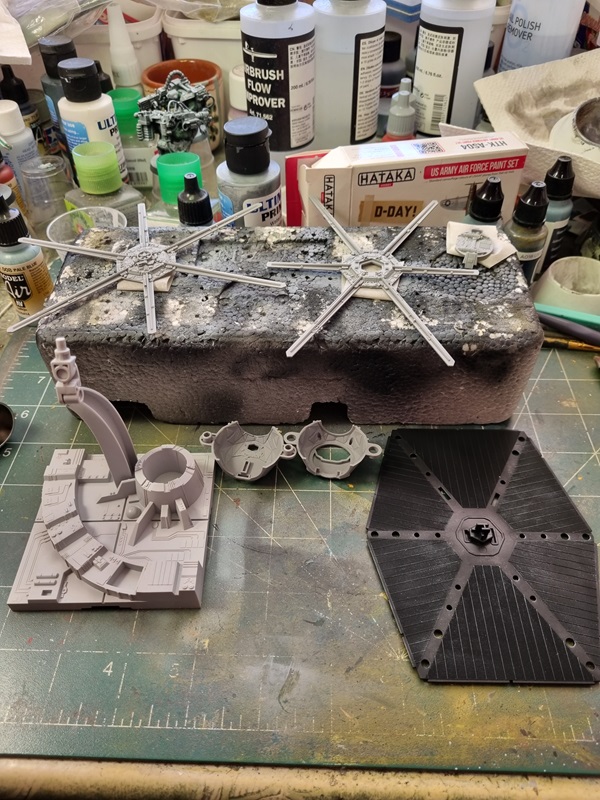
There are some details to paint in the cockpit and on the pilot. Then I can start assemble it.

Marder II – the end, for now!

Buying 2nd hand kits can be a bit of a gamble. Hopefully everything is there.
As it turned out, the poly caps was missing, and I forgot to check before starting the build. I simply didn’t think of it.

This is how far I’ve got before shutting down the build for now.

If I can find 14 poly caps (short ones according to the instructions), I might get this build started again and perhaps even finished.

Marder II – Tamiya 1/35

I started this build for a weekend speed build on Flory’s forum.

I thought a Tamiya kit should be easy enough to finish within the time frame from thursday to sunday, Perhaps it should have if I had prepared better. It turned out there was more to sort like ejection marks, and I also spent more time with the family than I had anticipated.

Anyway the build was started by building the main gun.

While some parts was left to dry properly, I started with the lower hull.

Things are coming together and getting ready to paint.

Just a little bit more to do before I can start painting.

Ork Dakkajet – part 2

Building up the yellow with brighter yellow colours.

The pilot got some paint.

Working a bit with the loadout and giving the rockets and bombs some colour.

Gradually adding even brighter yellow.

Unmasked with the pilot dry fitted.

I painted some details in metal and put the plane on the stand.

A little progress with the rockets and other small parts.

More details painted and some dry fitting.

The pilot got seated! 🙂

Next will be additional painting and touching up and adding the missing parts.

Orks Dakkajet – Warhammer 40k

I started this build a while ago and haven’t been able to make any post about it.

It all started with preparing and assembling parts.

I painted a spiral pattern on the nose cone.

The interior parts got some interior green.

With the nose cone painted, I could assemble the fuselage.

The wings went on and some parts was dry fitted.

There was three different hatches for the wing. I choose the one which gave the plane one extra gun on each side.

Then some parts got some metal paint.

The parts for the pilot was primed.

The nose and metal painted parts was masked.

Grey zenithal primer on the pilot.

Then finally some paint on the plane.

Next more paint!

Back again!

I haven’t been using this site for quite a while. Mainly due to I’ve been using another site.
Something happened and at the moment that site isn’t working, at least not on my computer.
As I need to share my work, I needed somewhere to be, and therefore I used WP’s offer to buy site and domain.

Maybe I’ll use both sites later for different purposes, but for now I’ll use this one.

Cheers,

Håkan