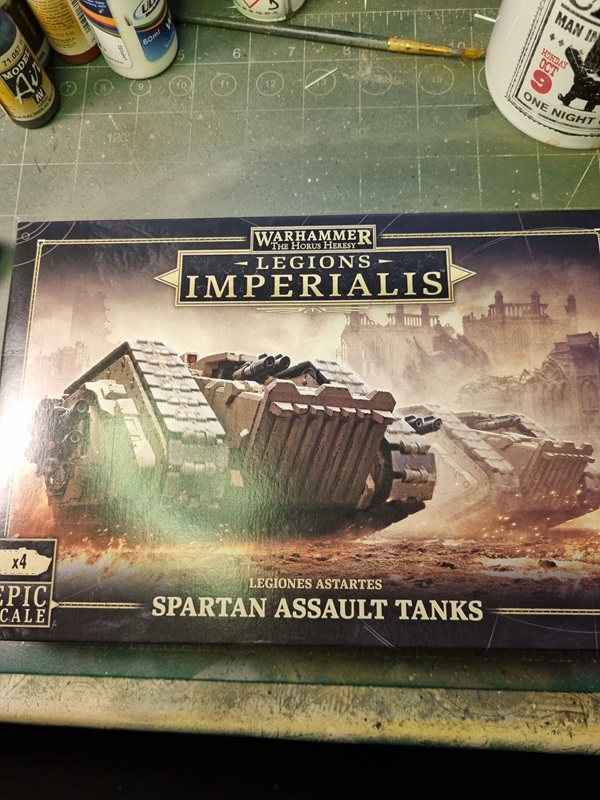
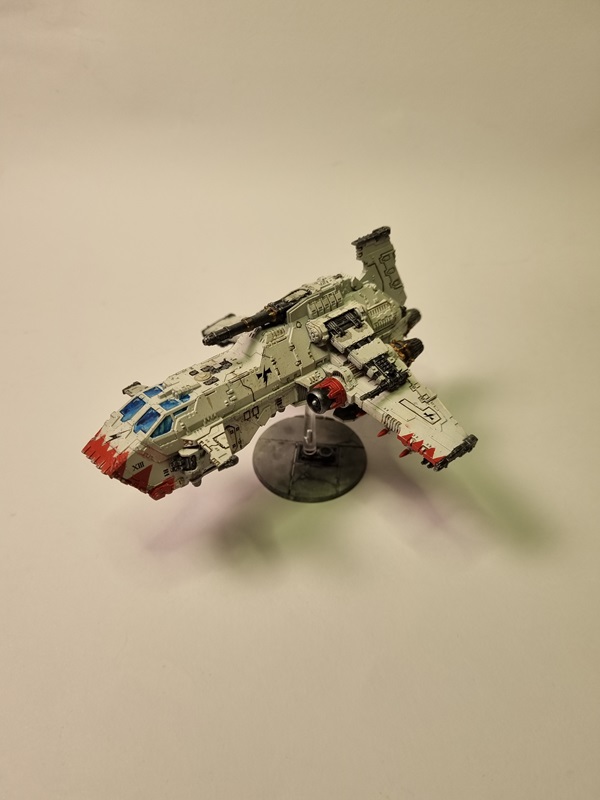
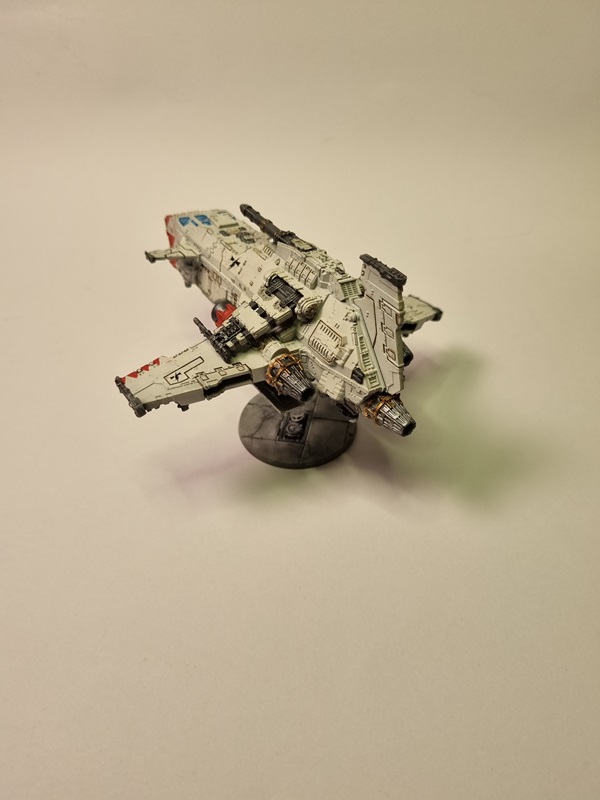
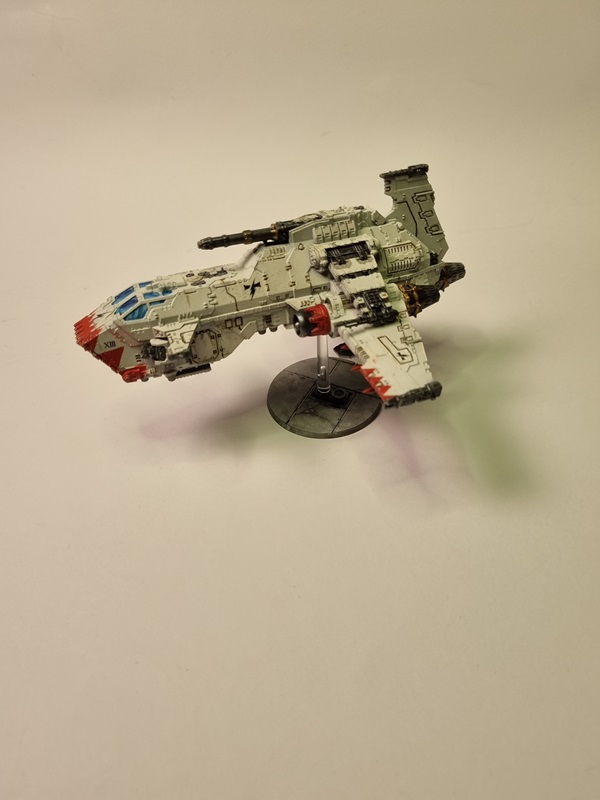
I bought this box together with a few other Legions Imperialis boxes. After doing my 2nd Thunderhawk build, I decided to do a few more troops/units in White Scars’s paint scheme.
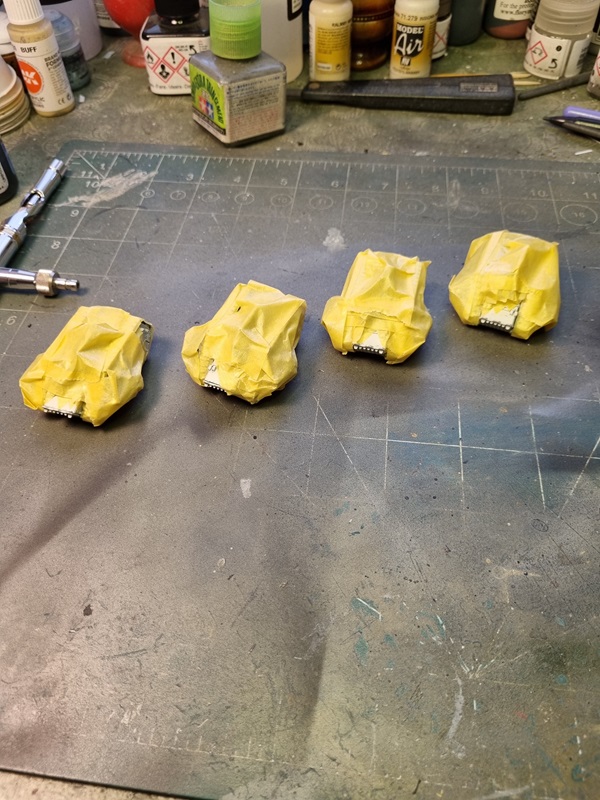
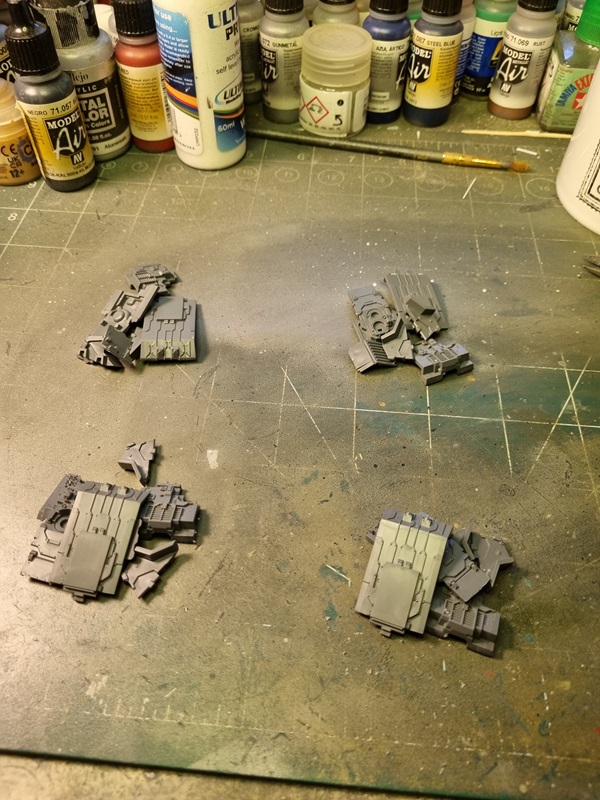
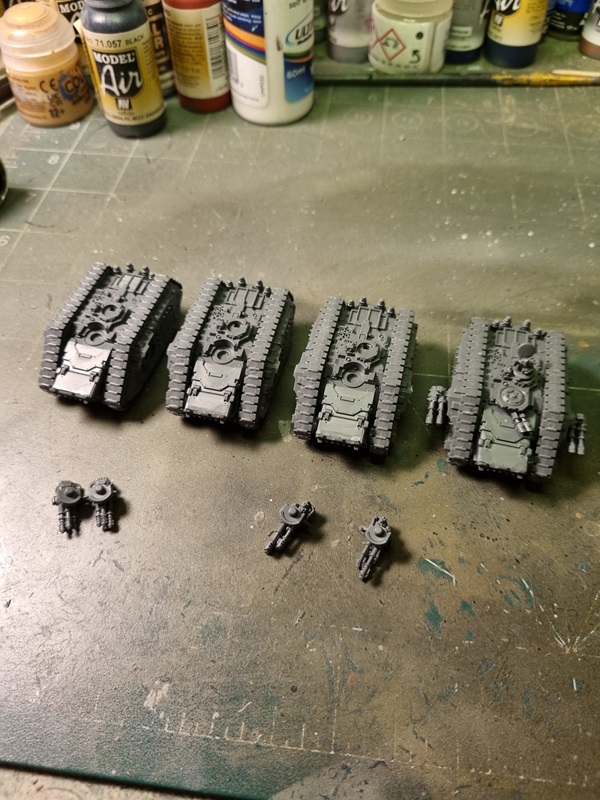
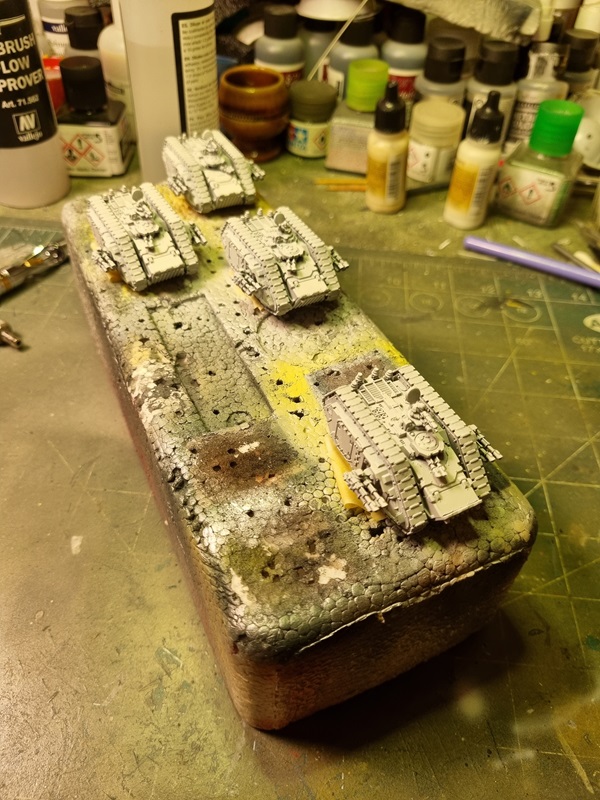
I removed and cleaned up the parts for all four tanks.
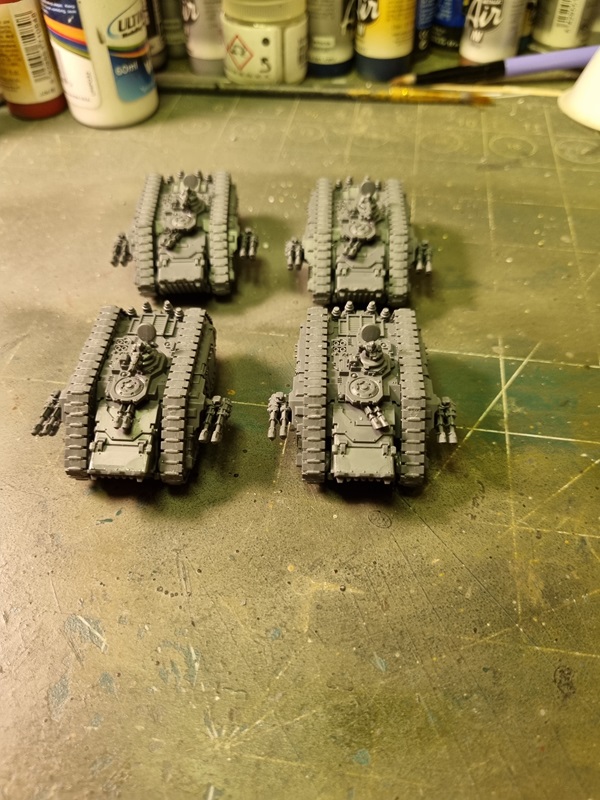
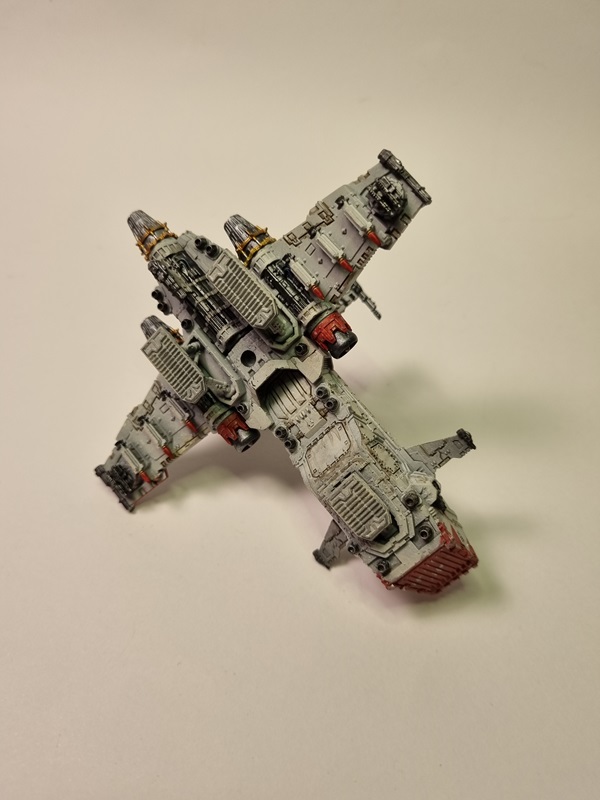
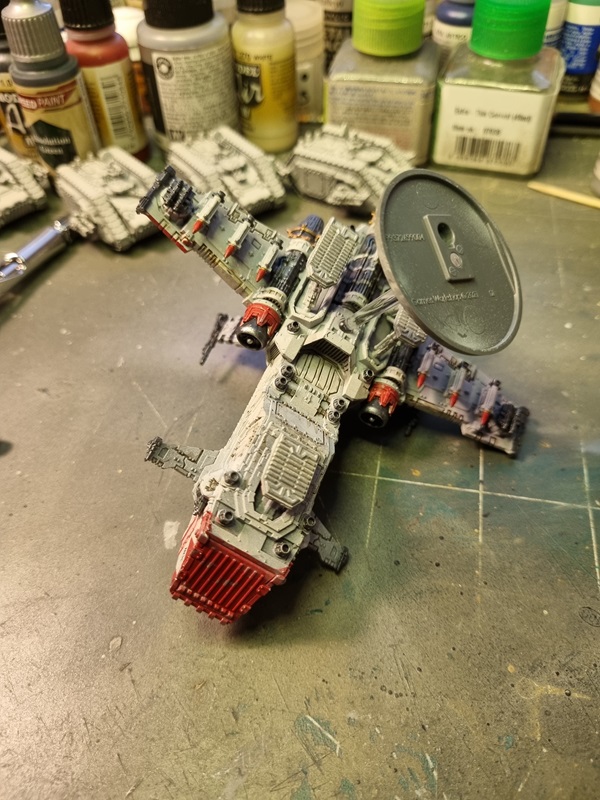
As with many of GW’s newer kits, they are very easy to build, and everything goes together very smoothly, with barely no visible seams at all.
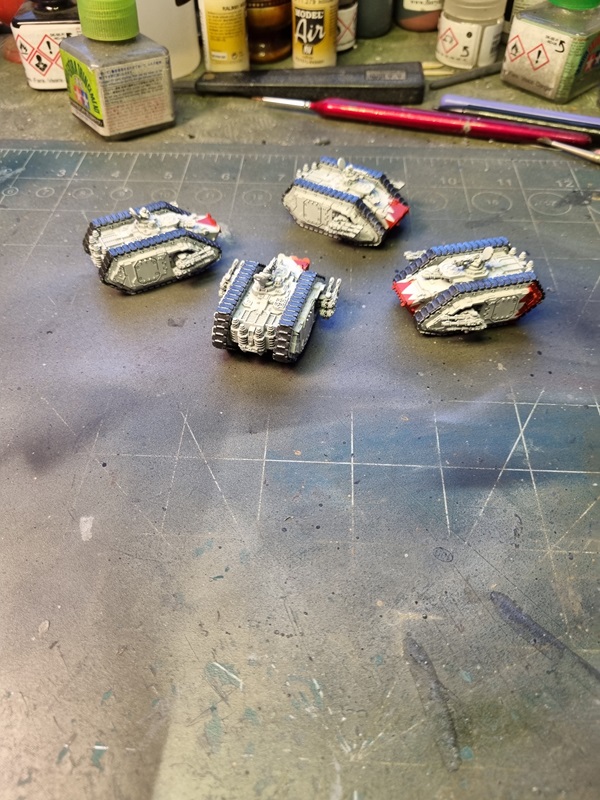
There was options for 2 different side guns and 2 main guns, as well a few otions for the command turret. I choose to have one commander and 3 gunners.
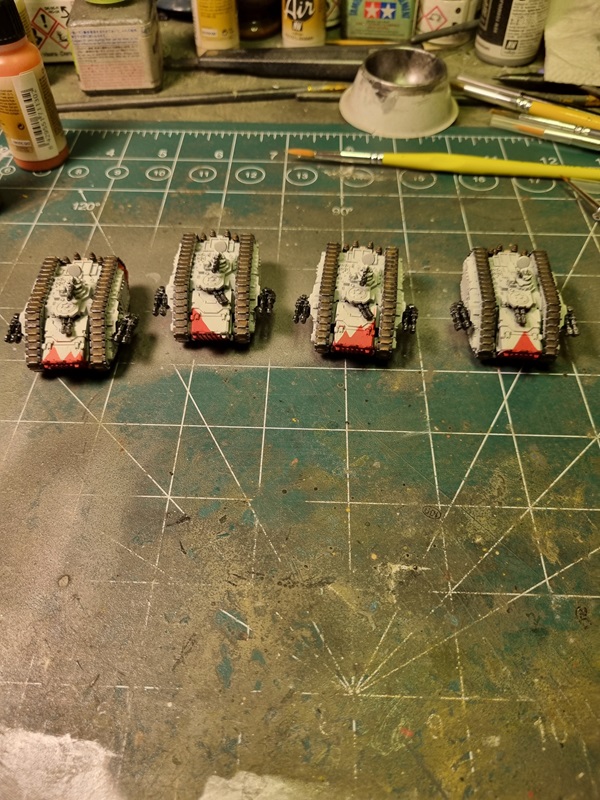
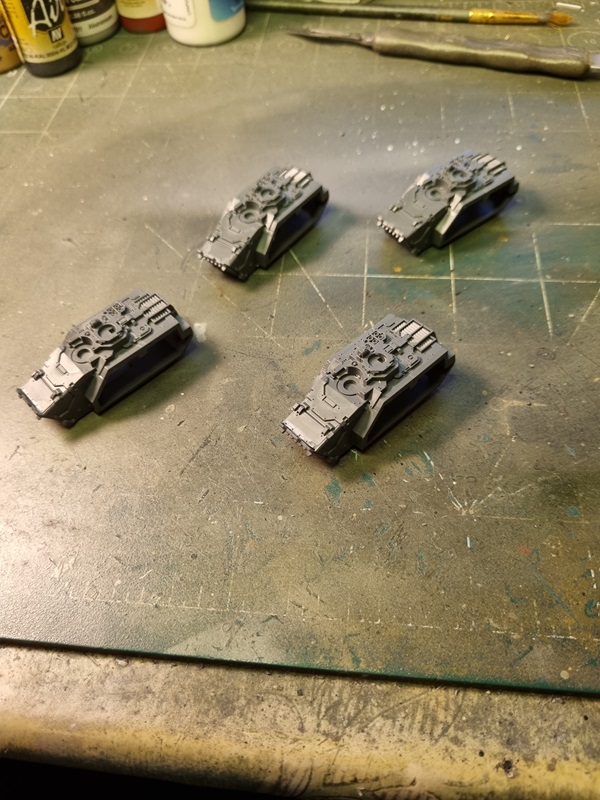
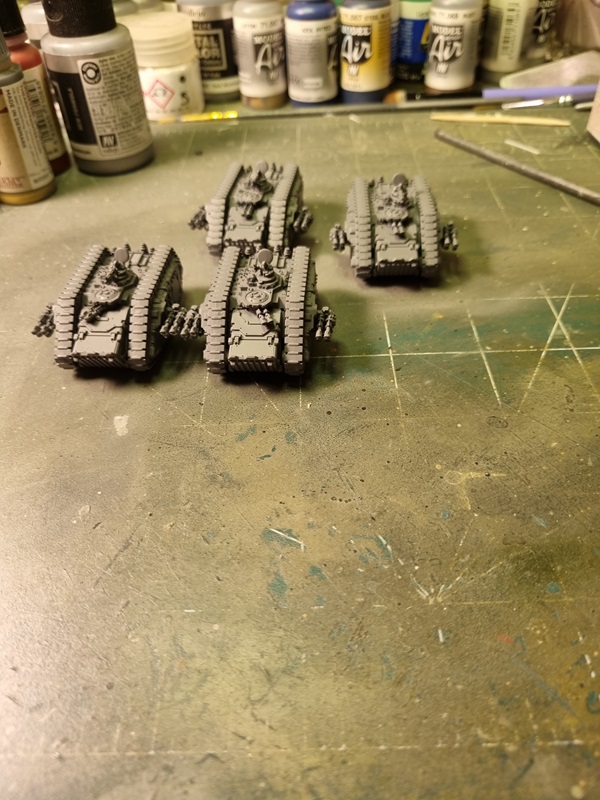
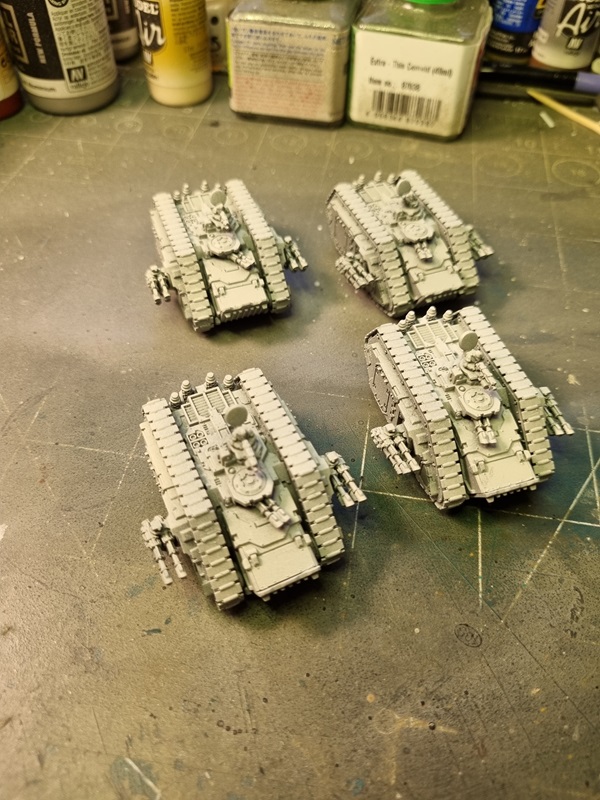
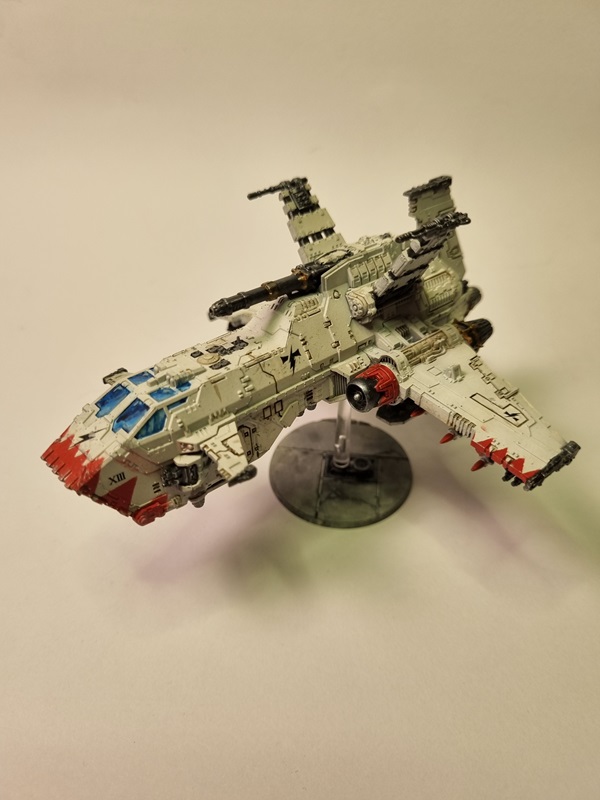
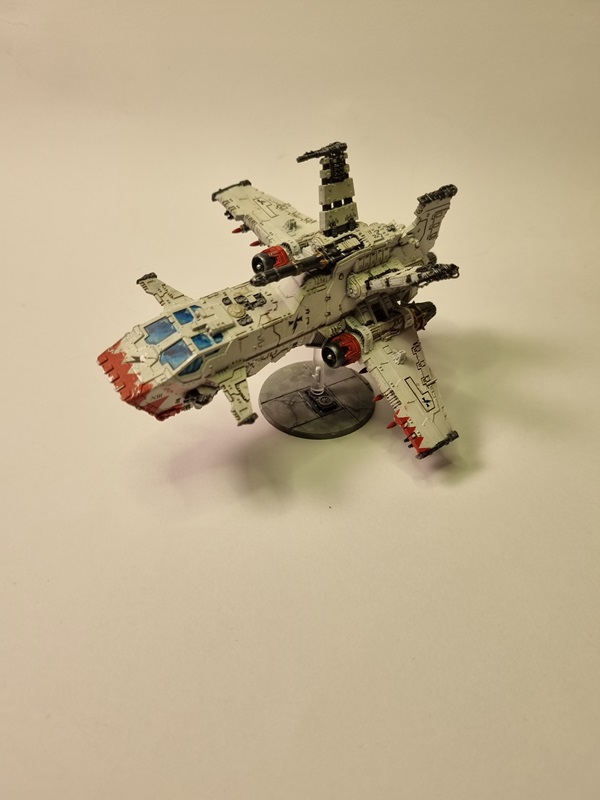
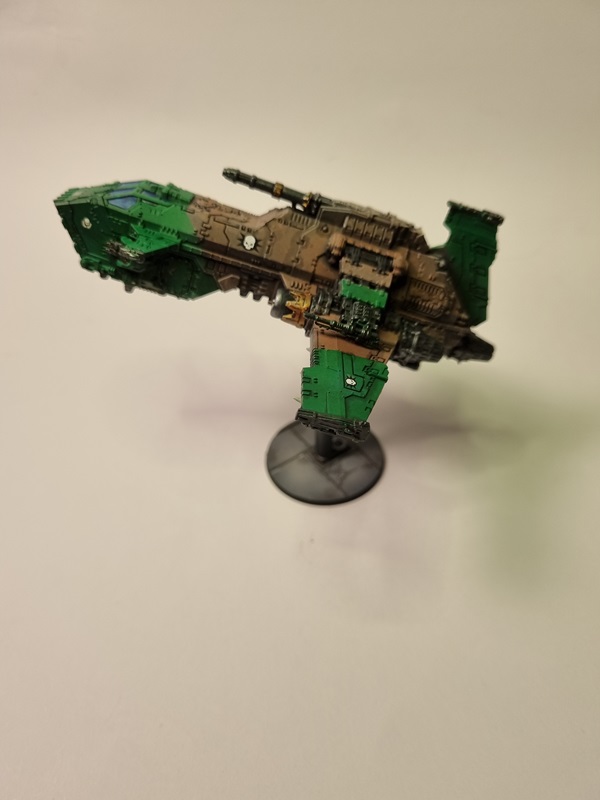
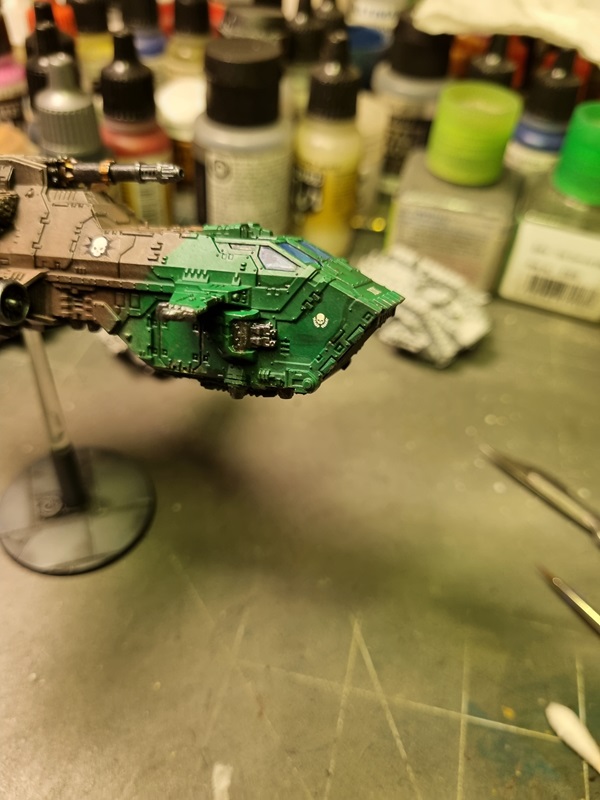
Then it was time for some primer and later some paint. Using more or less the same colours I used on the Thunderhawk.
I haven’t decided how I will paint the red pattern on these vehicles yet. I’ll think about it a while.
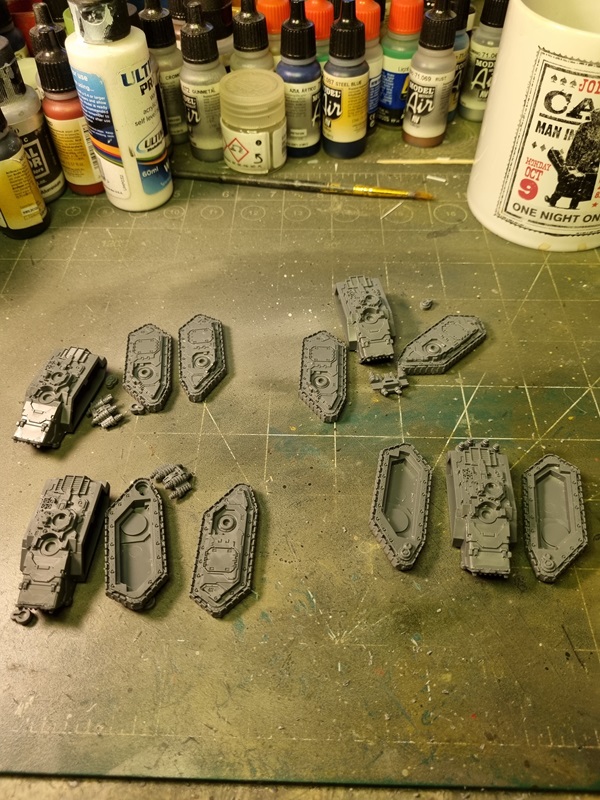
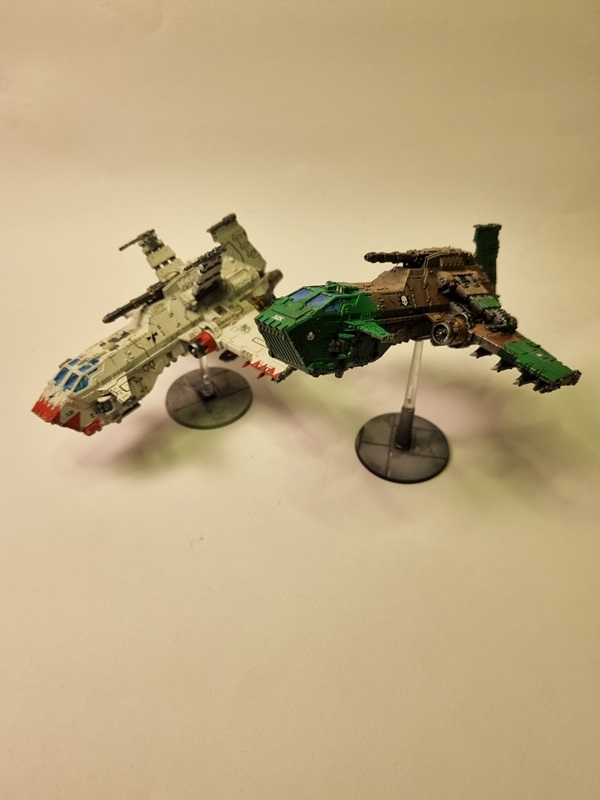
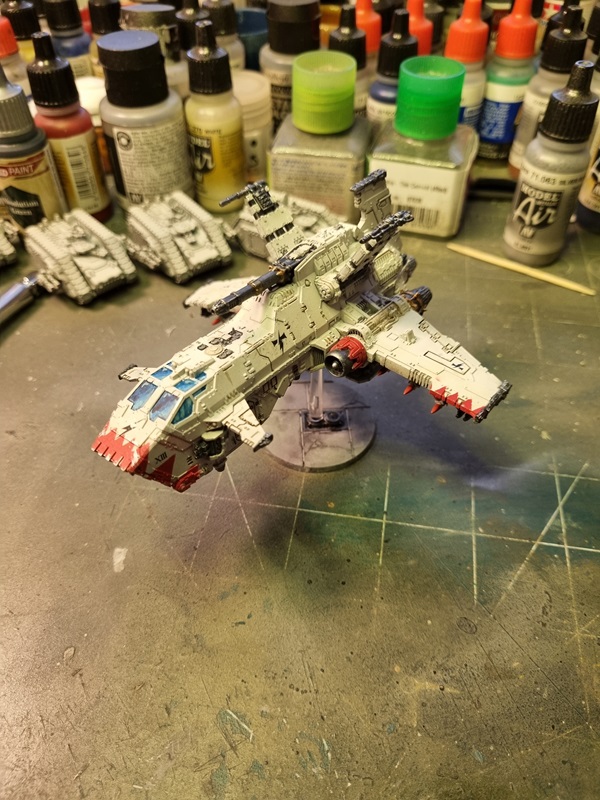
Like the first one this was an easy fun build. I’m alos showing pics of the first one with decals.
So now I have one for each side of the conflict. I have to check how many there usually are in an army. Perhaps sometime I’ll get 2 more and paint them in other colour schemes.