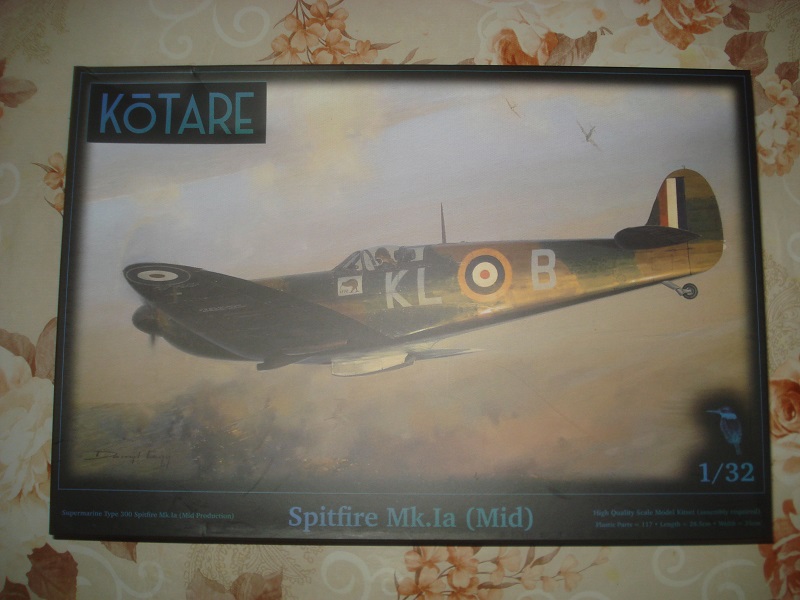
I started this as my probably last project this year. Not sure I will be able to finish this year though.
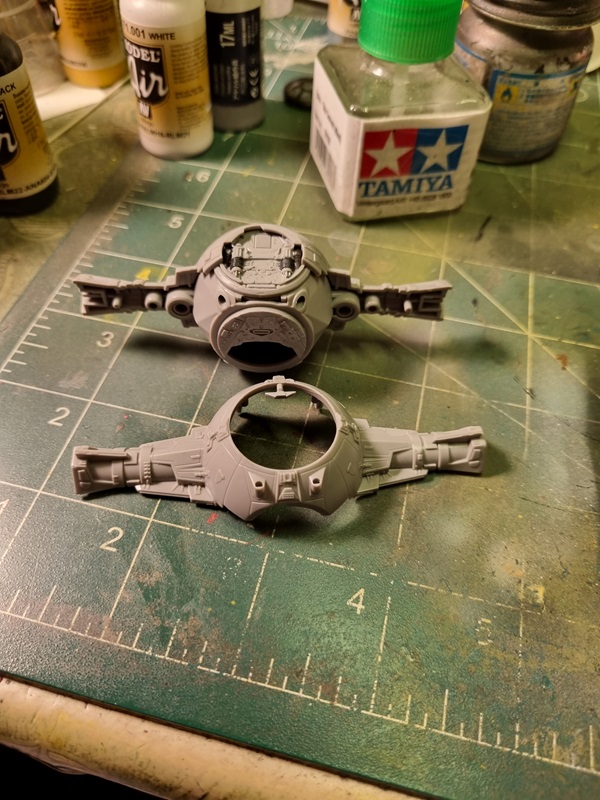
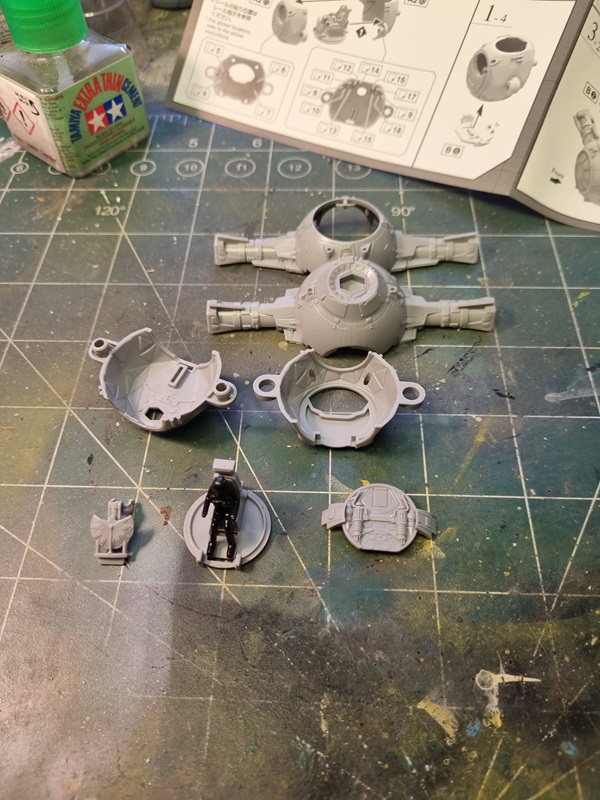
As usual it starts with the cockpit. There’s a lot of parts to the cockpit and cleaning them up took a while, even if the parts are very nicely cast.
I’ve also glued a few parts together, but the rest have to wait until after they’re painted.

There are a few more parts to sort and the side walls should also have a few parts glued to them. I had to sort a few ejection pin marks as they will be visible and I think one decal goes on the back of the fire wall.
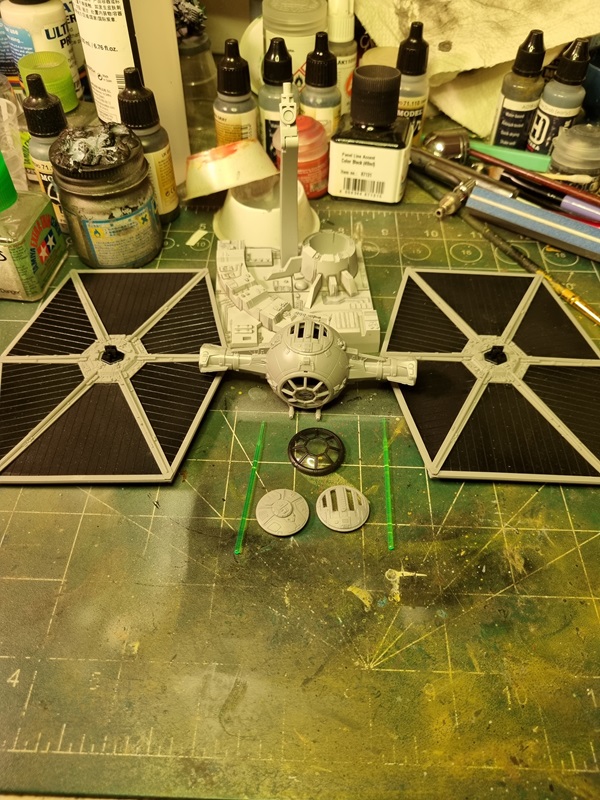
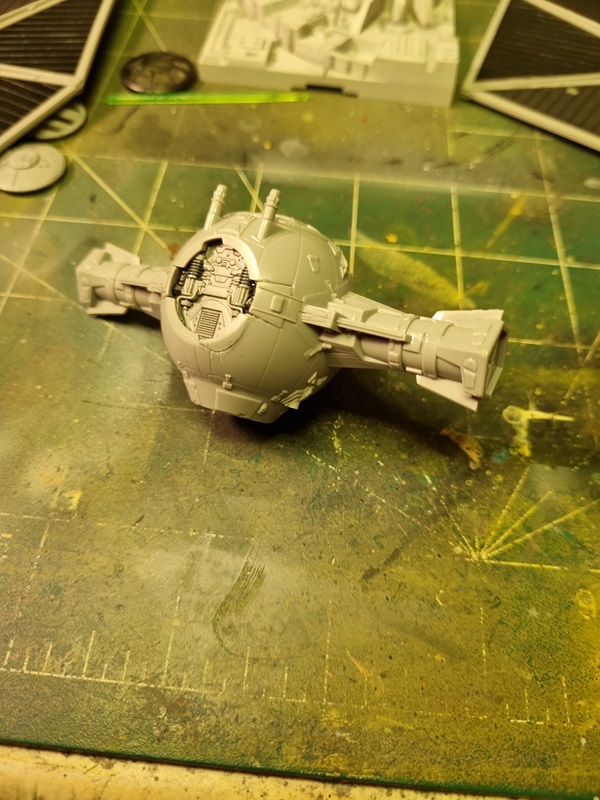
Not sure how much will be visible after the cockpit is inserted into the fusalage.
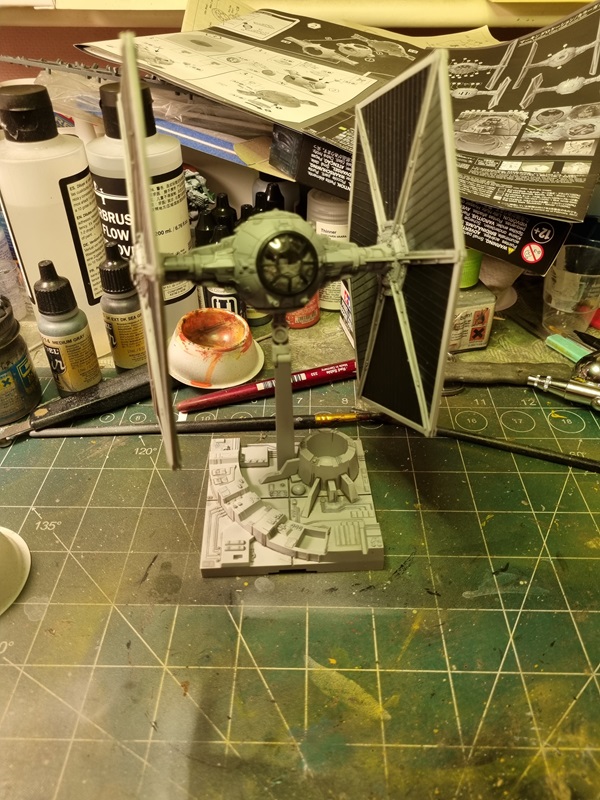
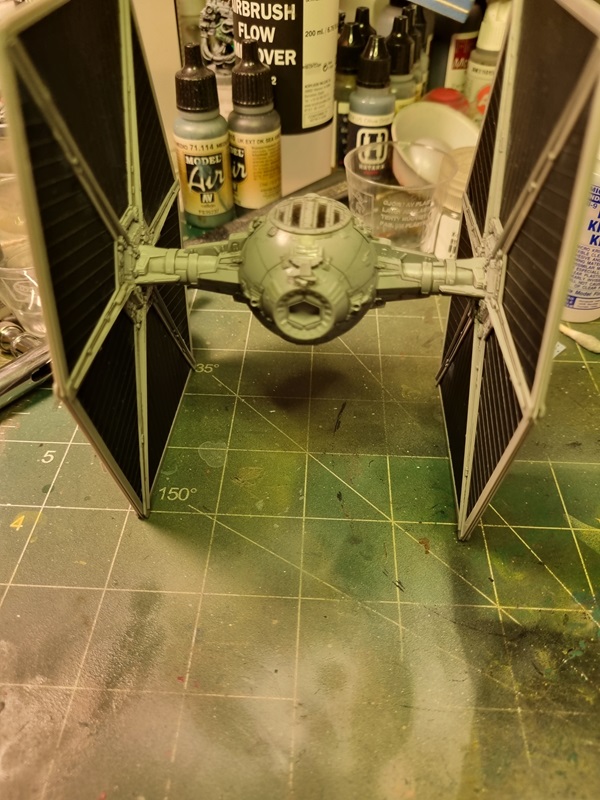
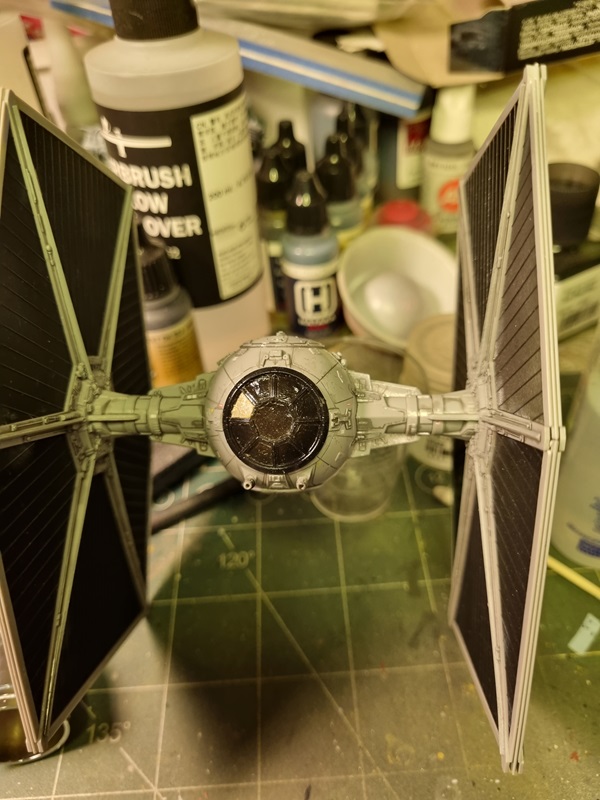
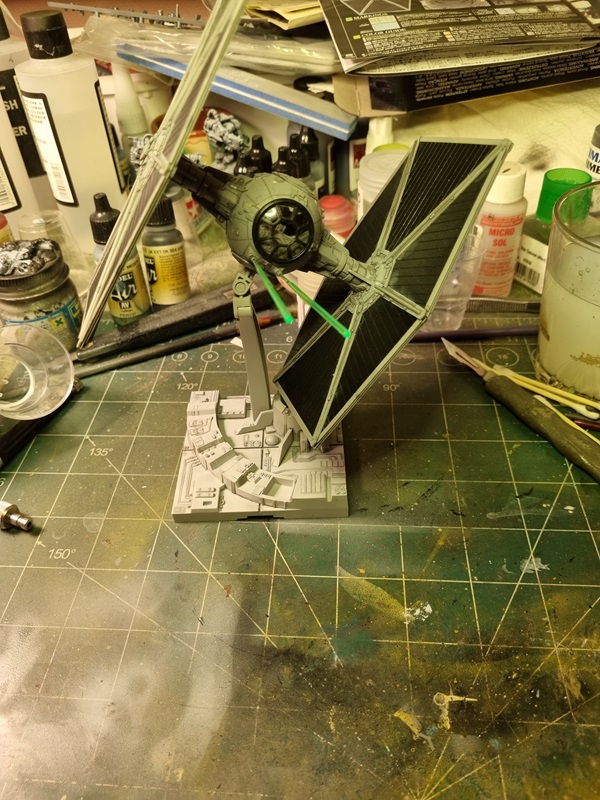
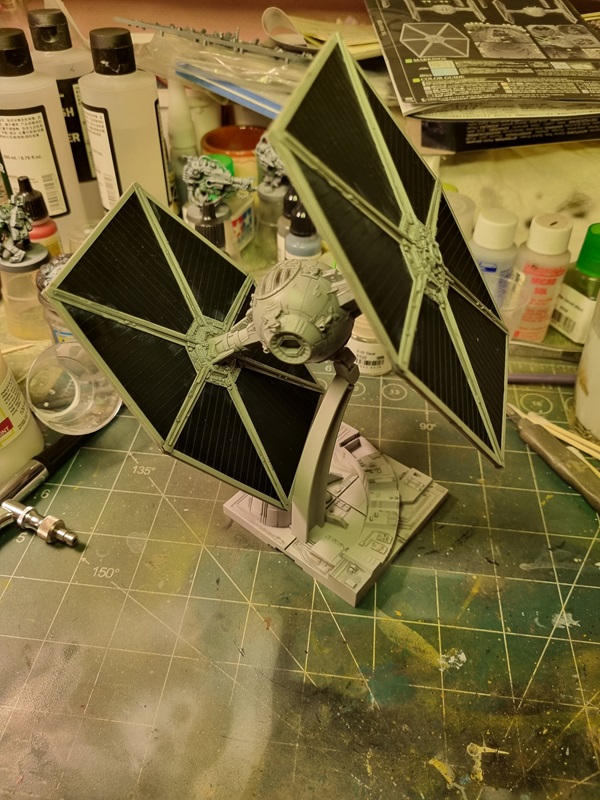
This is how far I got the first evening.