After pushing in the sides and glueing them a bit at a time, I managed to sort the gaps. I used glue goo to sort the rest.
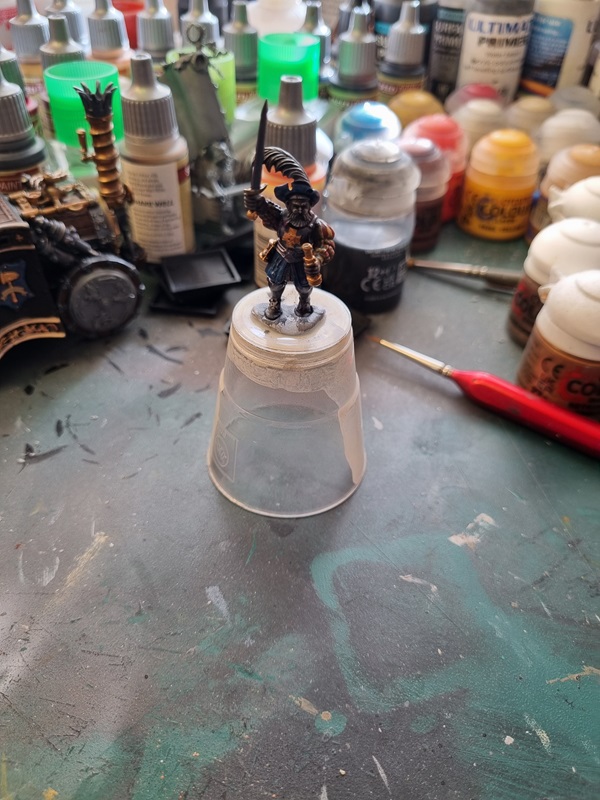
The engineer commander was drybrushed with grey and then white.
Then I started painting him with red, blue and yellow.
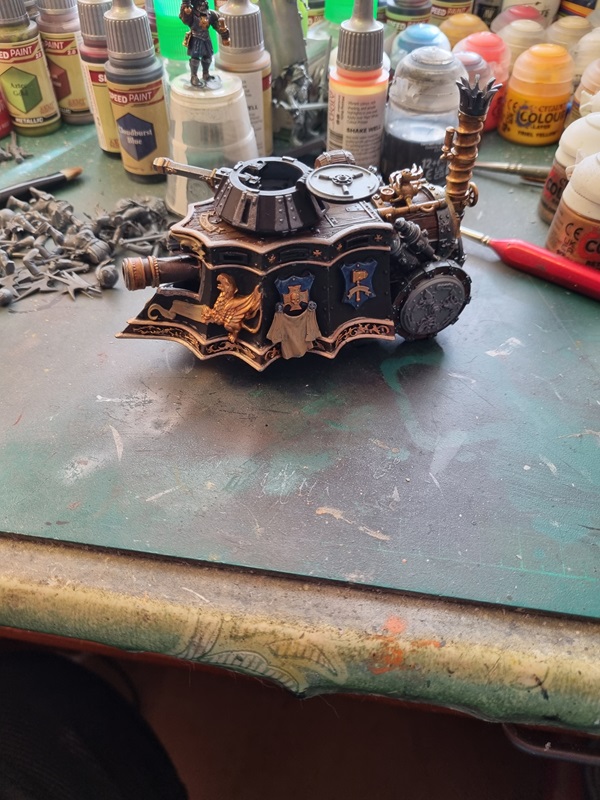
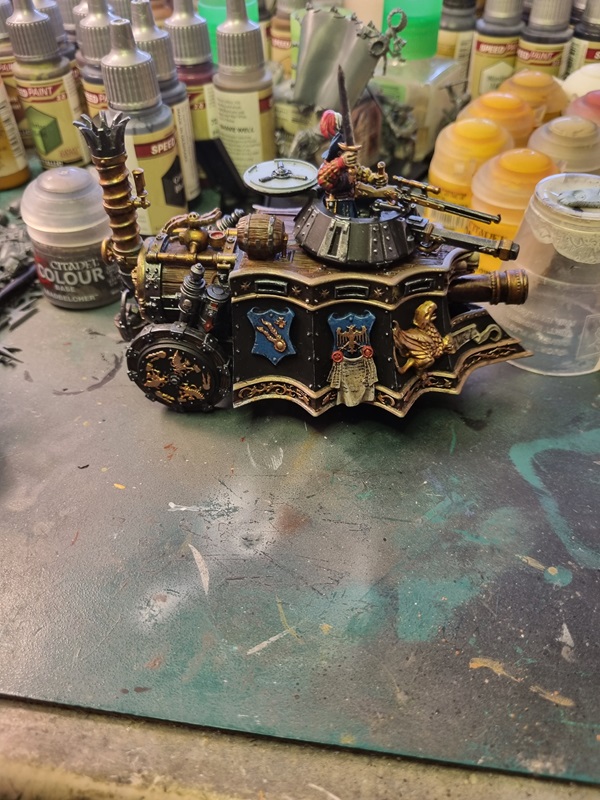
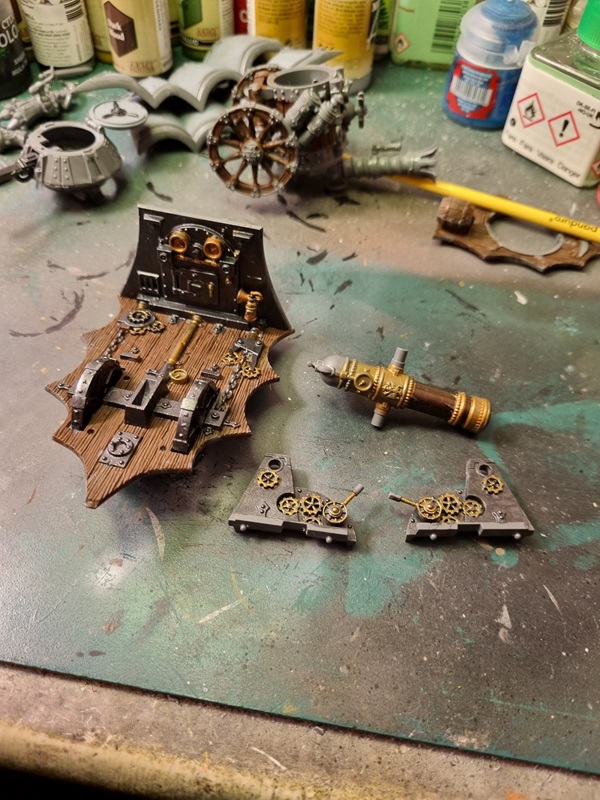
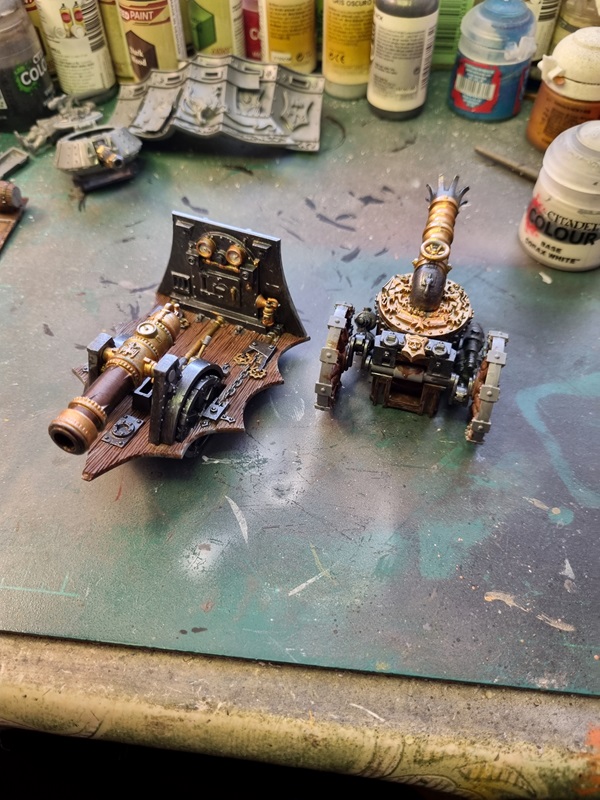
I painted the steam tank sides in black and the upper and lower parts in dark bronze. The shields was painted blue and then most of the ornaments was painted in gold.
More colour was added to the figure.
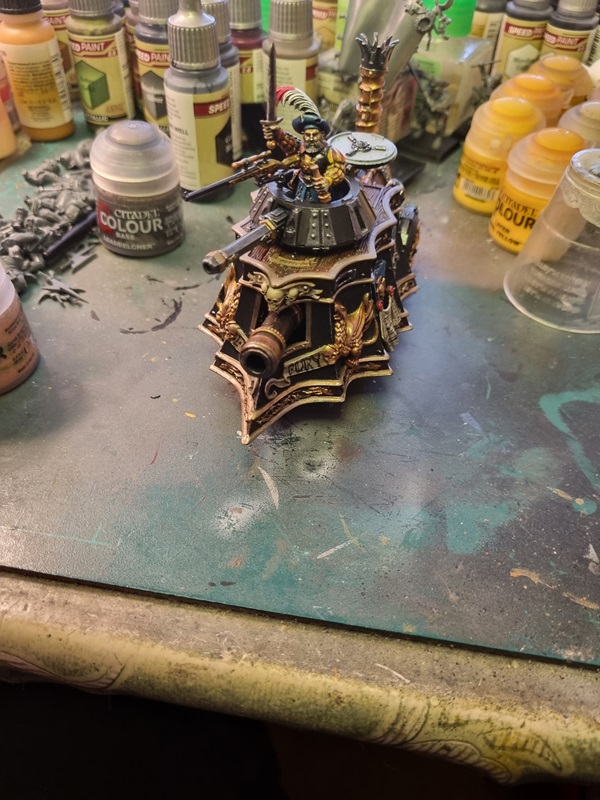
Painting details took quite a while and here it’s almost done.
Adding skin colours and some details to the tank I’ll consider it done.
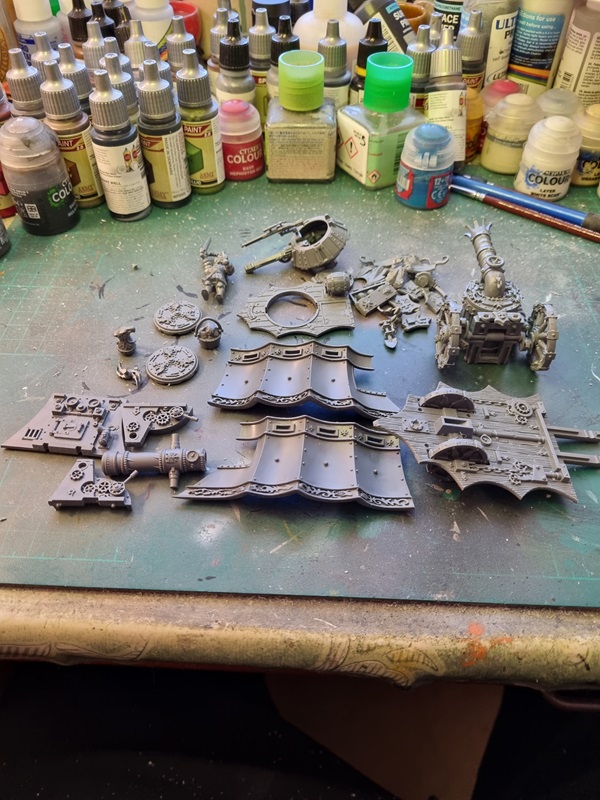
This tank is part of the Empire batallion box for TOW (the old world).
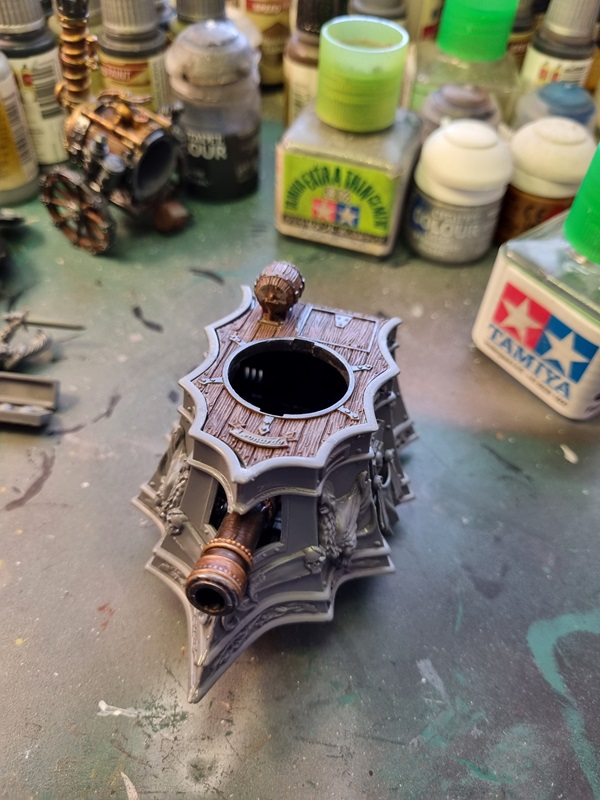
Here I’ve already assembled the turret, boiler and a few other parts.
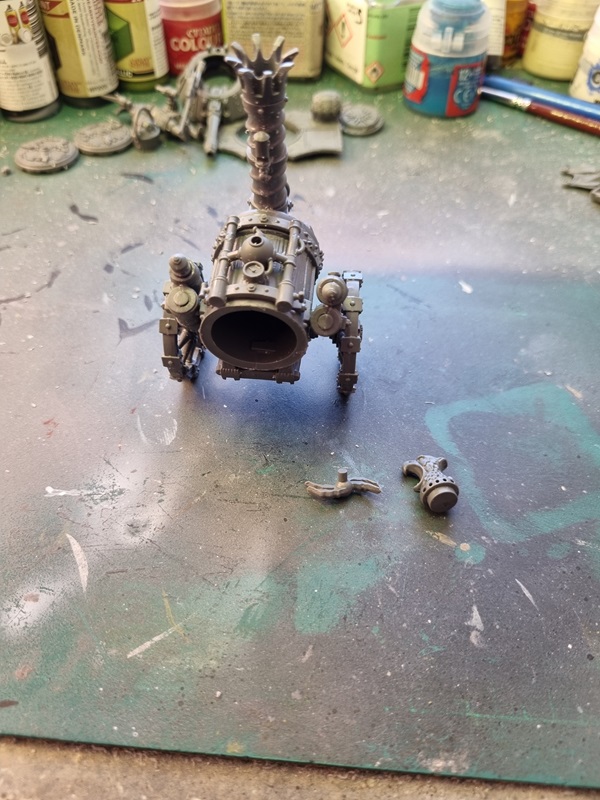
According to the intructions there’s an option between these two parts.
It wasn’t until after I watched a video where someone built the Age of Sigmar version that I realised the head was an option for the top of the chimney.
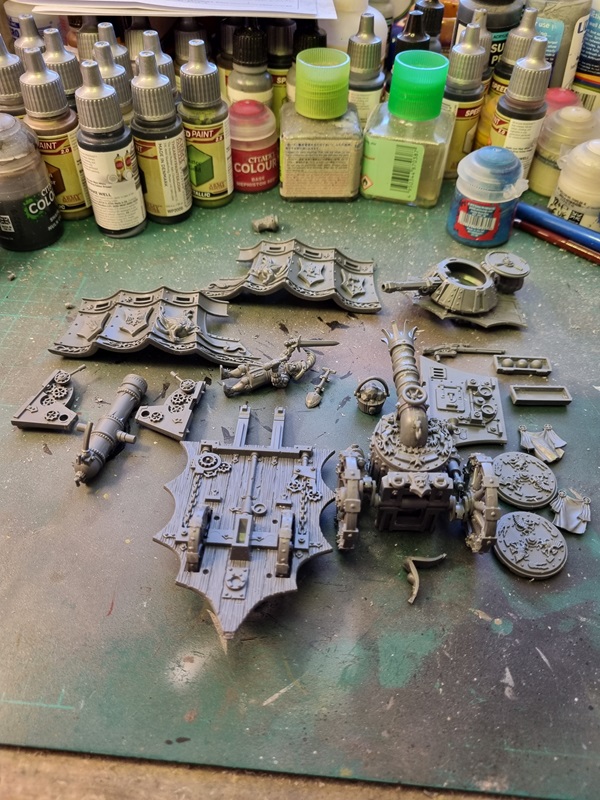
After some tim I had assembled enough to start painting.
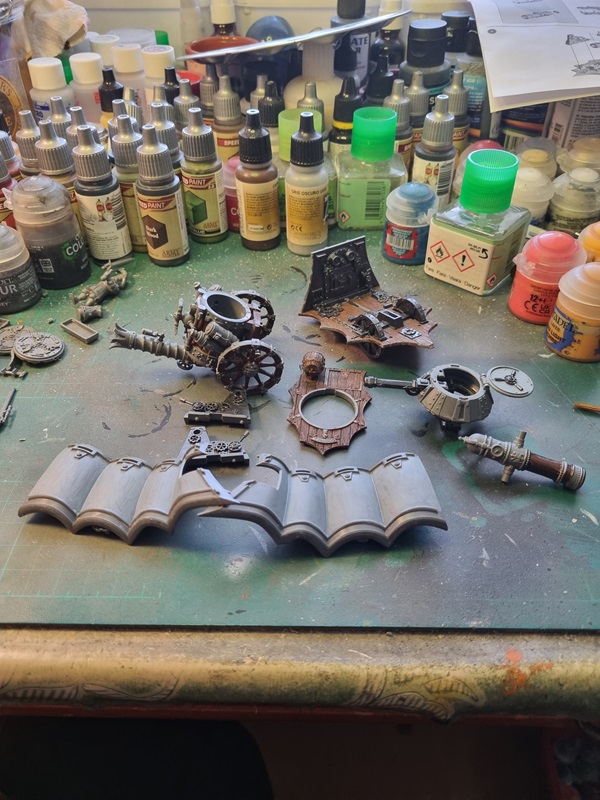
The wood, some of the metal parts and the inside of the side panels got paint.
Next I painted some Retributor Armor on the gun and other parts mainly on the interior.
The boiler and chimney also got metal colours, and the gun was glued in place.
The dials was painted white and also later got red to mark maximum pressure or whatever. The inside of the walls was given a wash of Nuln oil and then some dry brushing with grey. Here’s a test fit.
All the bronze parts got a wash with Agrax Earthshade and then I drybrushed with brons and silver. Here everything is ready for assembly.
Next I assembled the sides.
My idea was to have the top part removable but after dry fitting it looked like this.
As can be seen there’s small gaps in some places. In order to sort that it looks like I have to glue the sides to the top and hold in pressure until it dries. I think minimizing the gaps is to prefere.
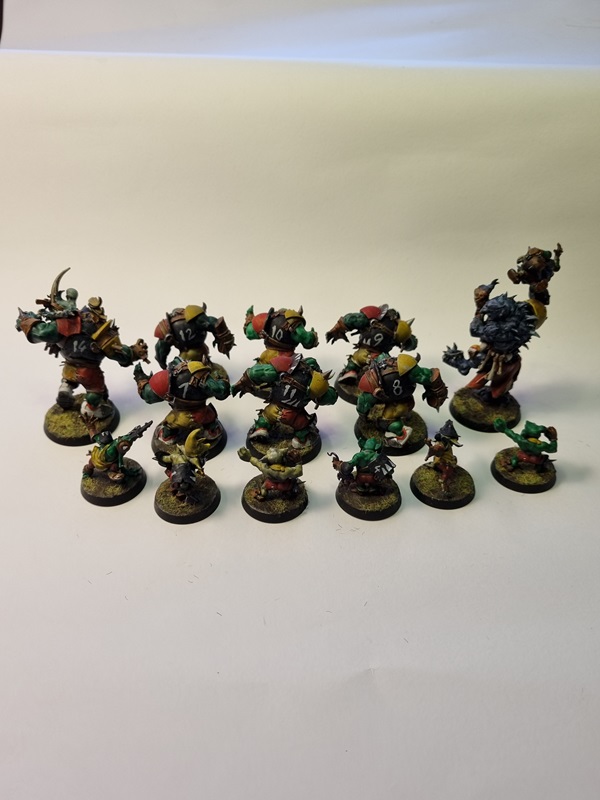
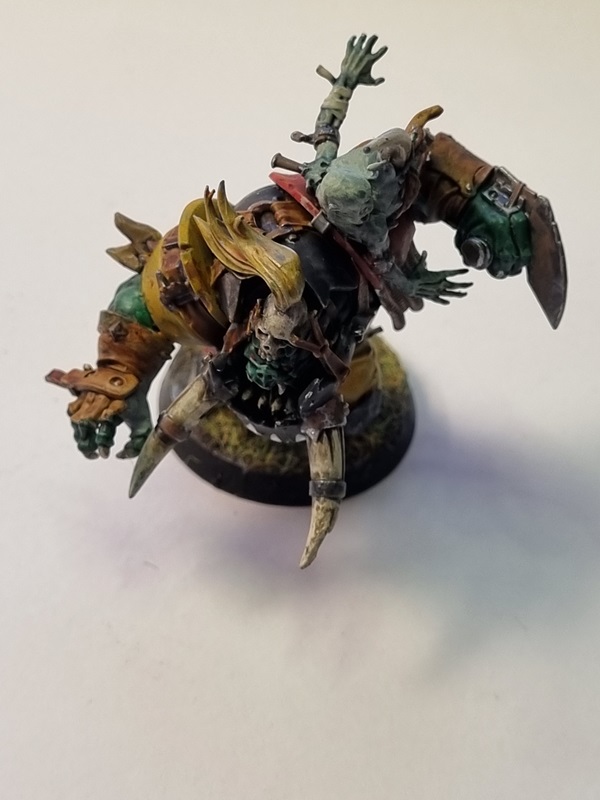
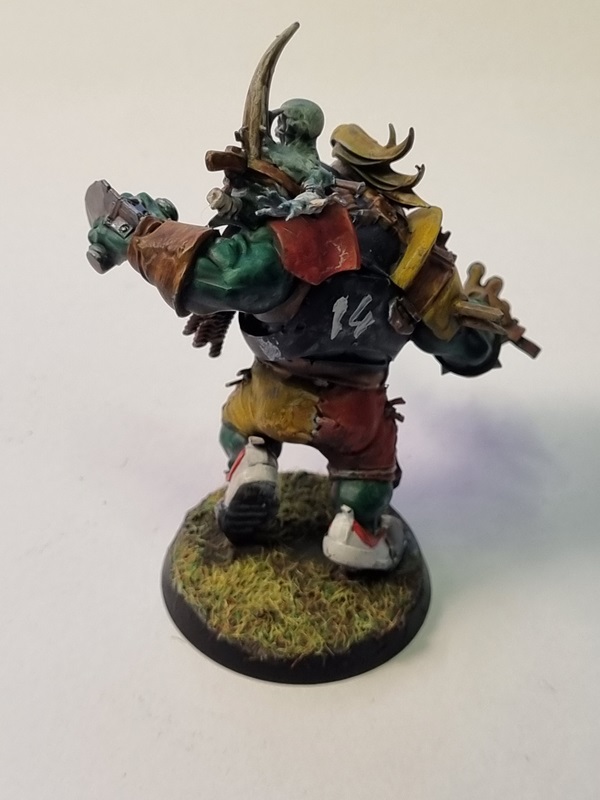
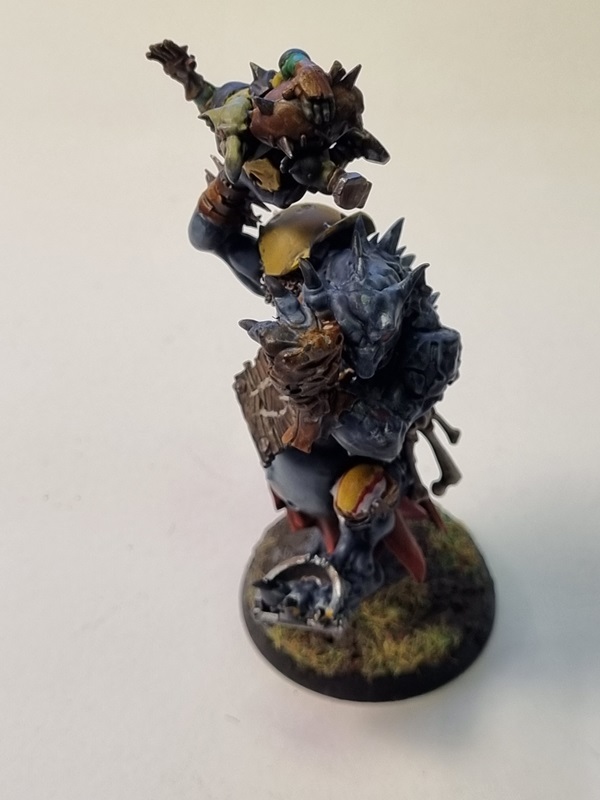
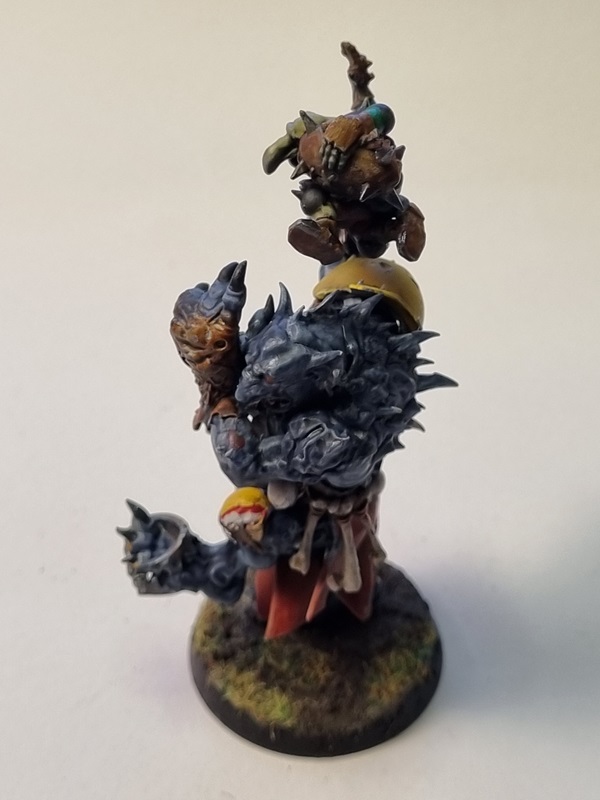
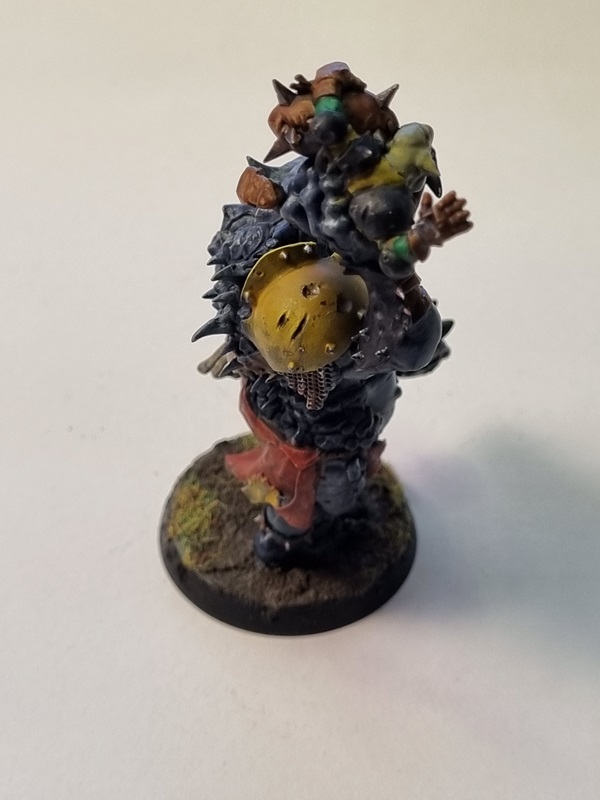
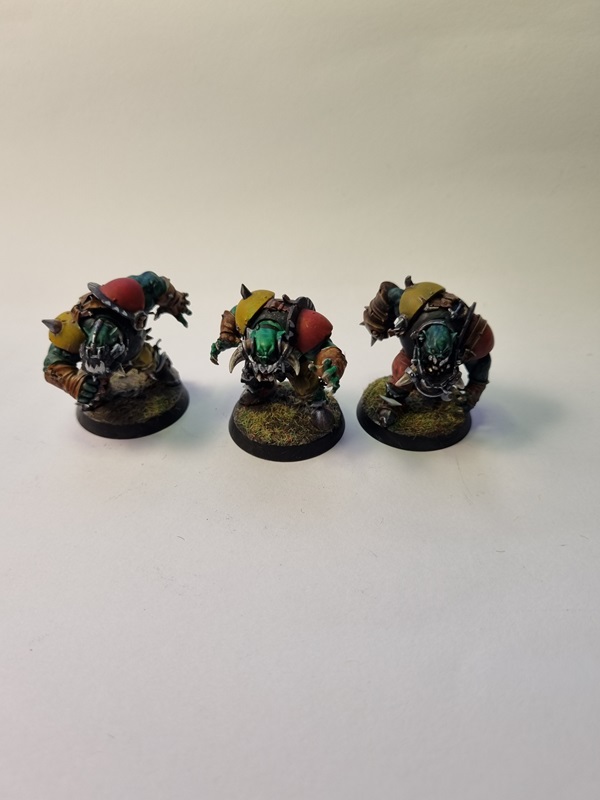
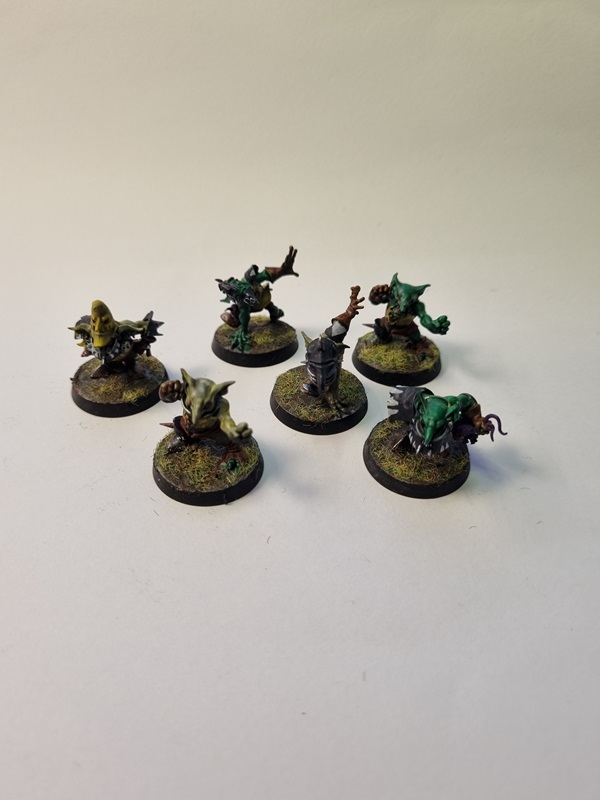
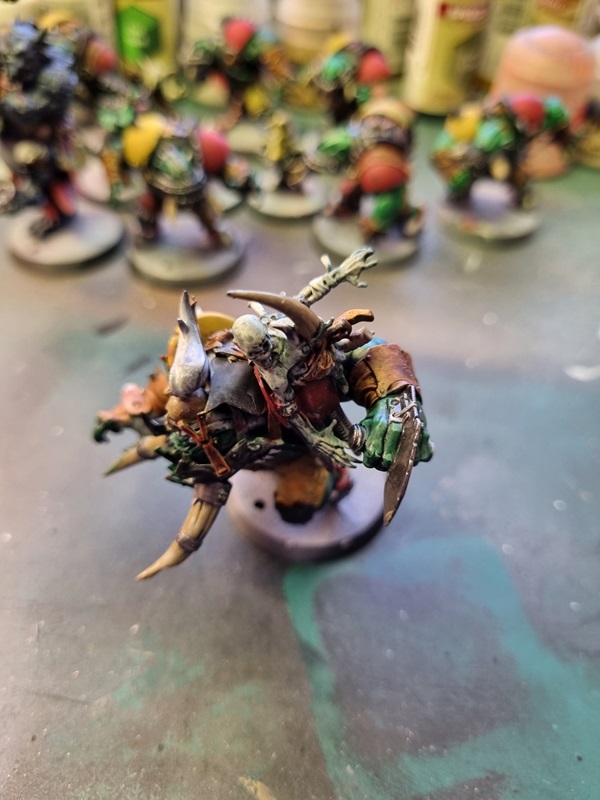
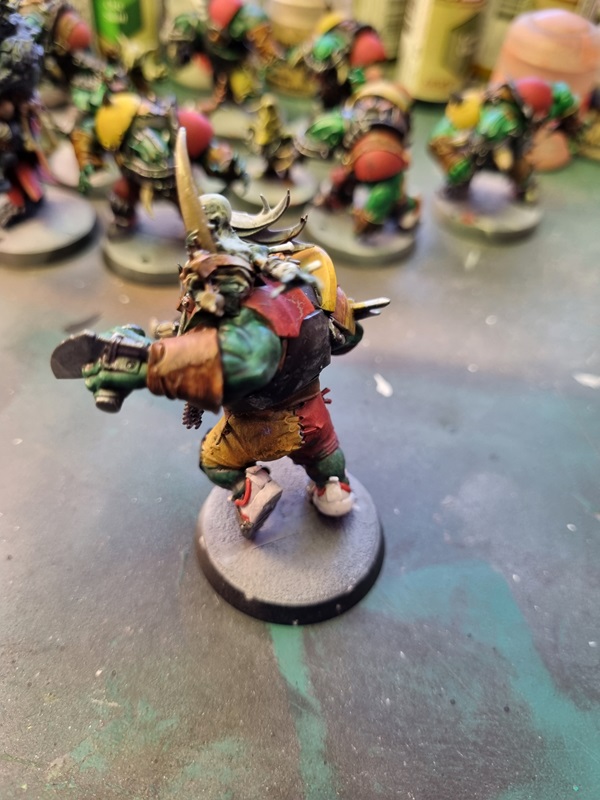
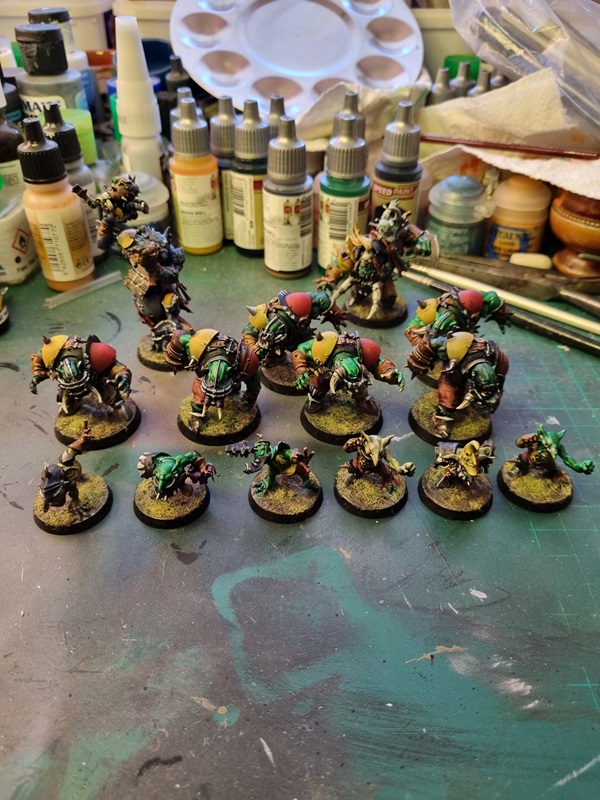
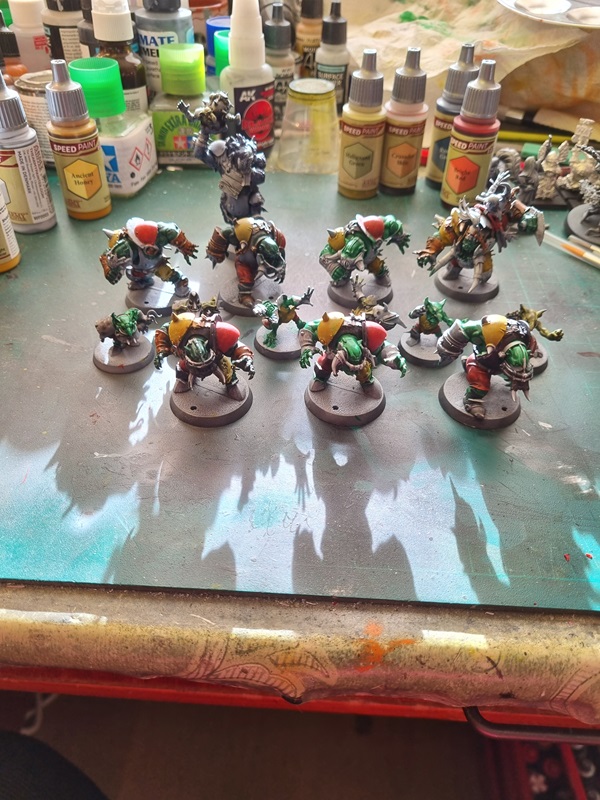
Sometime it’s just time to take a step back and decide that you’re finished with what you’re doing. At least that’s what I had to do with my Black Orc team. Here they are in all their glory!
Here they’re doing a bit of Phil Collins dance moves! 🙂
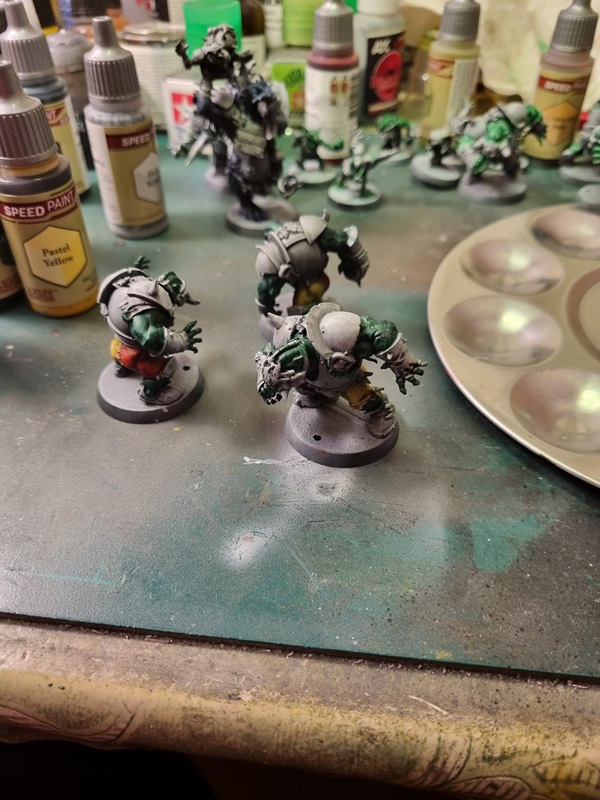
I decided to go with the red and yellow and painted their shoulder pads in those colours too. The Goblins just got red trousers and yellow shirts or armor.
The rest of the armor was painted black.
Vallejo black metal was used to paint their bucklers and toe protectors and some other metal details. A few more details was all I could manage to paint last friday before the tournament match I contended yesterday.
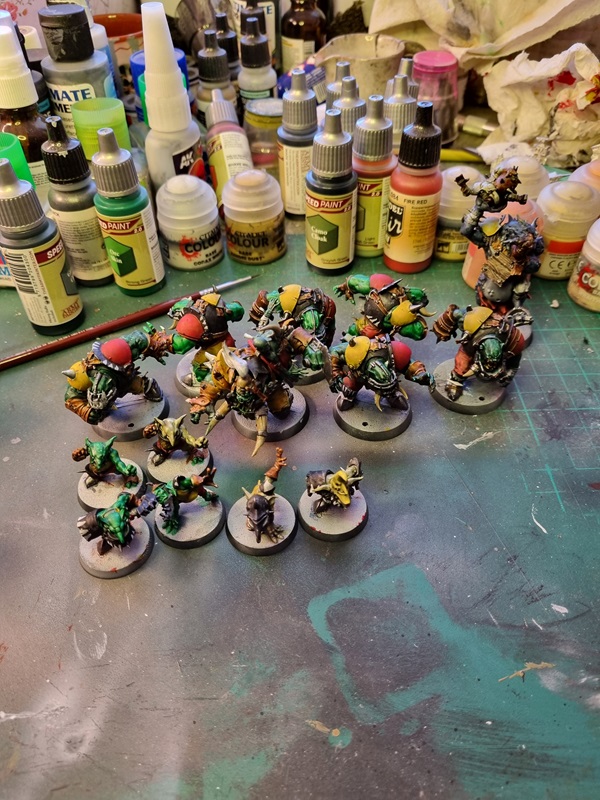
The tournamnet was held in Varberg a city about one hour ride from where I live. First time ever playing the game for real. The people there was very nice and helped understand the rules and what was possible to do. I lost all my three matches but managed to do a touch down with my goblin that successfully was thrown by my trained troll. For that to happen I had to succed with series of succesfull rolls with the dice. Happily everything went well and I scored one touchdown.
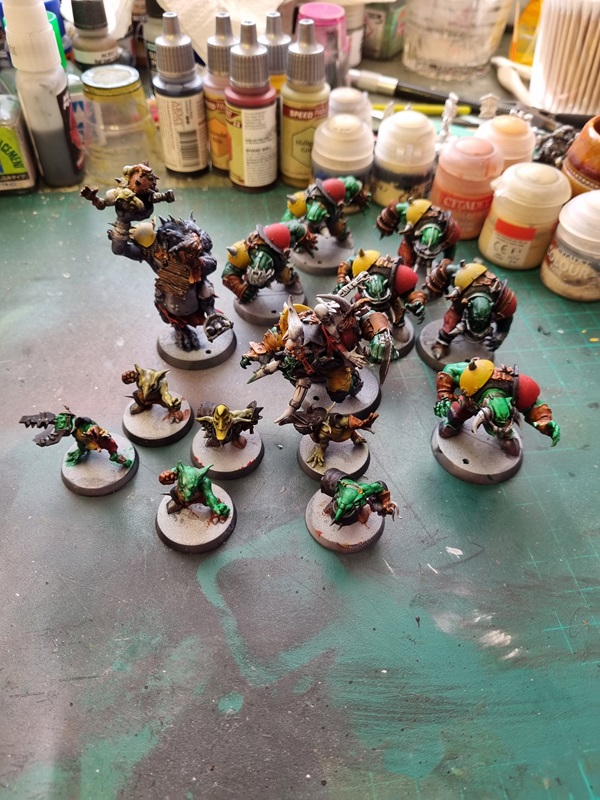
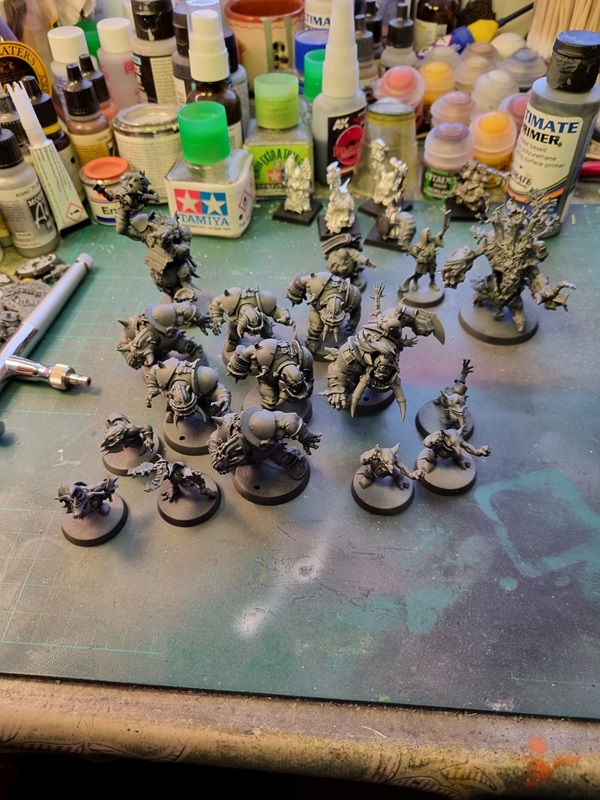
Recently I was invited to a small tournament of Blood Bowl in a nearby city. As I really never played except in the computer game, I had to paint a team that was somewhat easy to play with. I had already built and primed the figures for the 2nd season edition, and choosed to use the Black orcs including the Star Player figure and the troll.
As I only had done black primer before, I added a layer of grey and then white in a typical zenithal style.
I then gave them all a wash with Nuln oil and dry brushed them with white just to pick out details.
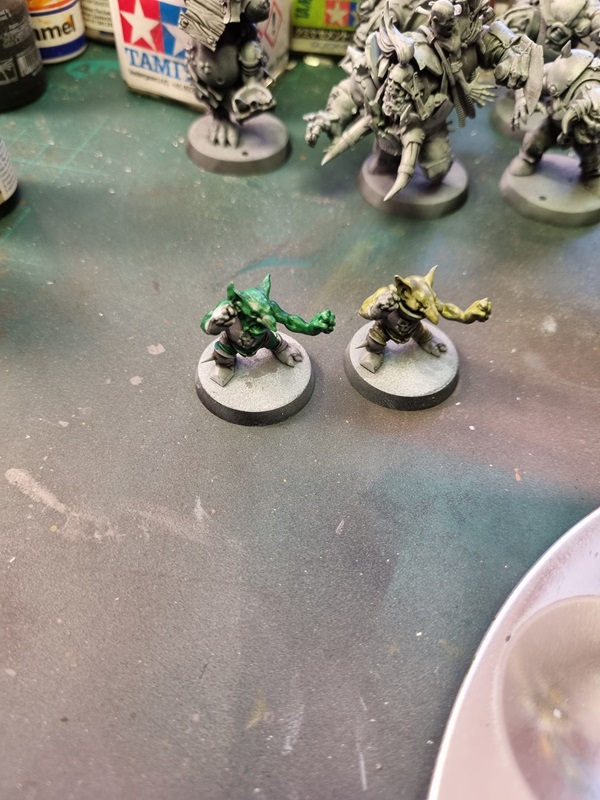
I tried different greens on the goblins.
Then both the orcs and goblins got different green colours.
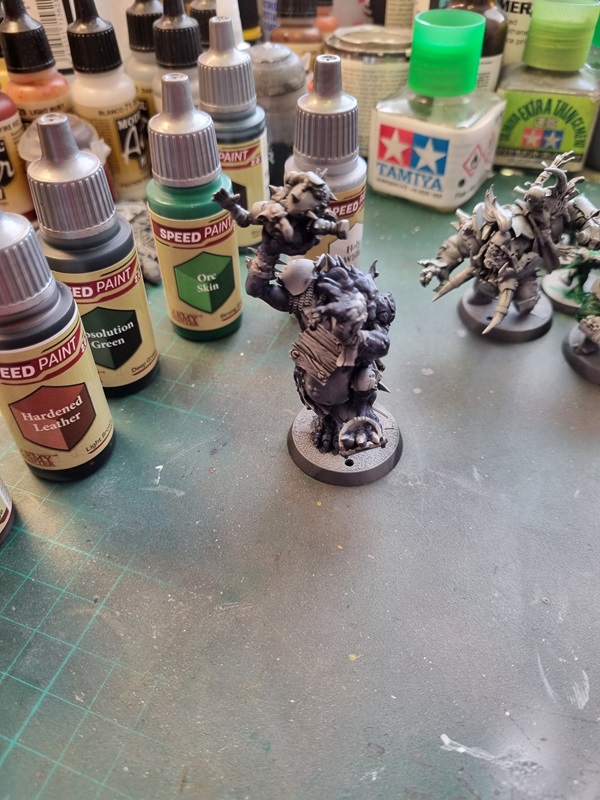
The troll got a blueish colour with a lighter colour on his tummy and arms and legs. I will dry brush with a slightly lighter colour later.
Just to see how it looked, I painted the trousers in red and yellow.
I painted three of them with leather colour on their straps and gloves. I will proceed doing the same on the other ones later.
I’m trying to keep the colour scheme simple and consistant within the team.
This is just a quick update to show my solution to some of my PE problems. I cut two plastic strips in the same length as the PE part and glued them in place. I also figured a solution for the other part and folded it as good as possible.
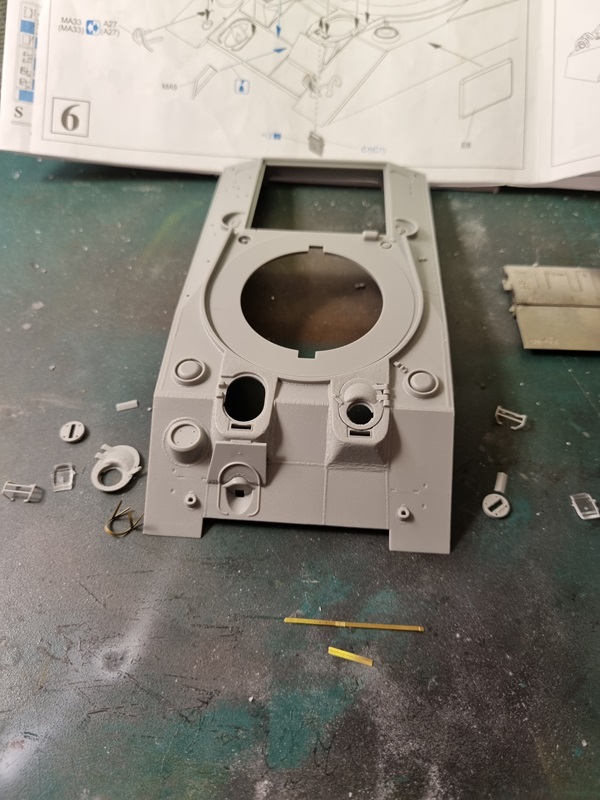
I glued the hatches and will paint the periscopes and add them later. Some more etch was added, but there’s more to do.
After some work all parts for the lower hull was assembled.
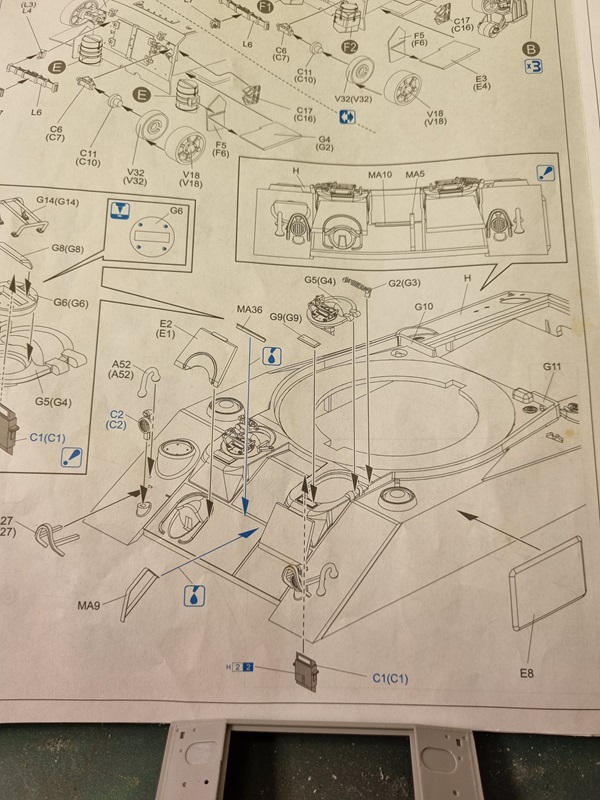
Then it was time for the upper hull. I removed and cleaned the parts for the hatches. Fairly esay but I need to figure how to do with paint and clear parts. Then there are some PE parts and they’re driving me crazy. There’s one small thin piece that is supposed to be folded in the middle and I can’t make that happen. Maybe I don’t have the proper tools. There’s also one piece that needs to be folded like in the MA9 part in the picture.
On the front view the parts are called MA10 and MA5 instead of MA36 and MA9. The only fairly easy part right now is the lamp guards.