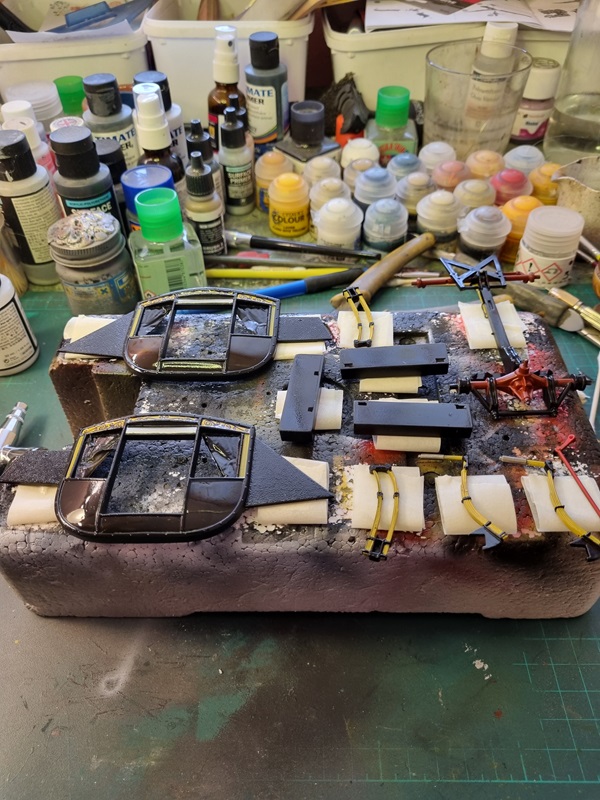
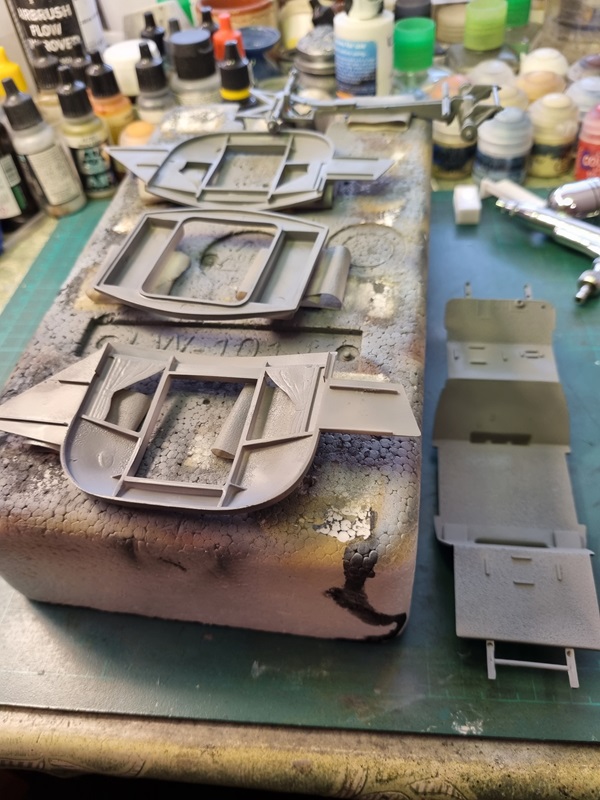
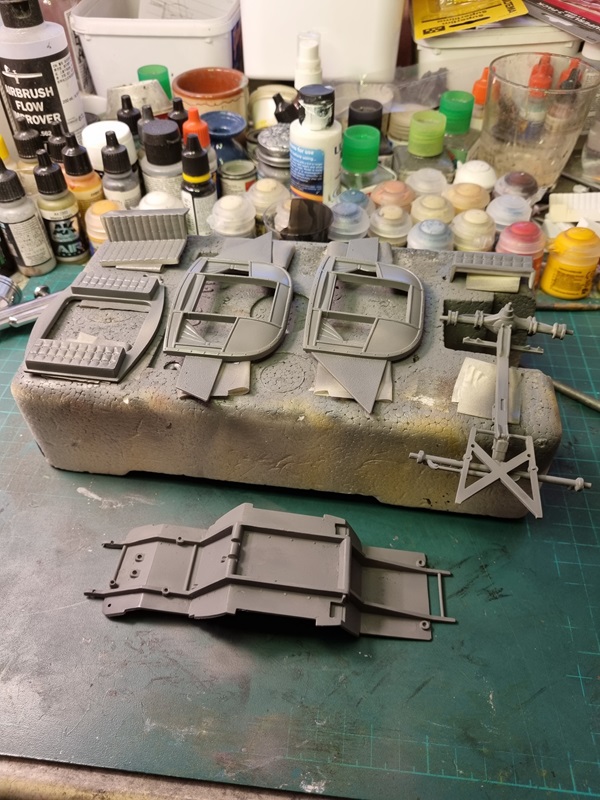
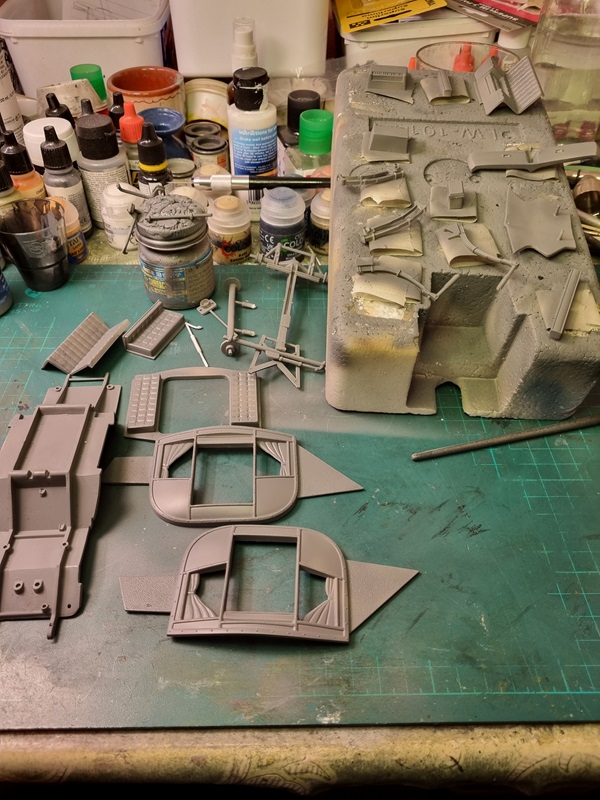
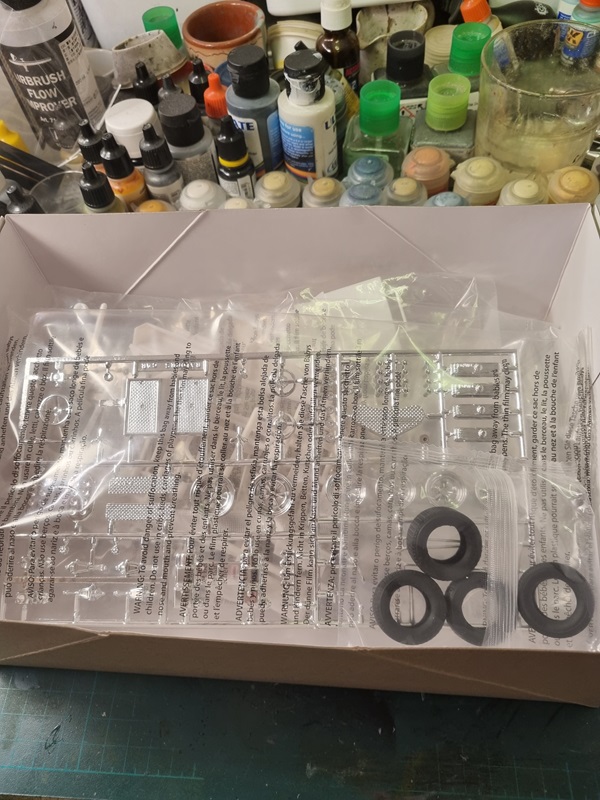
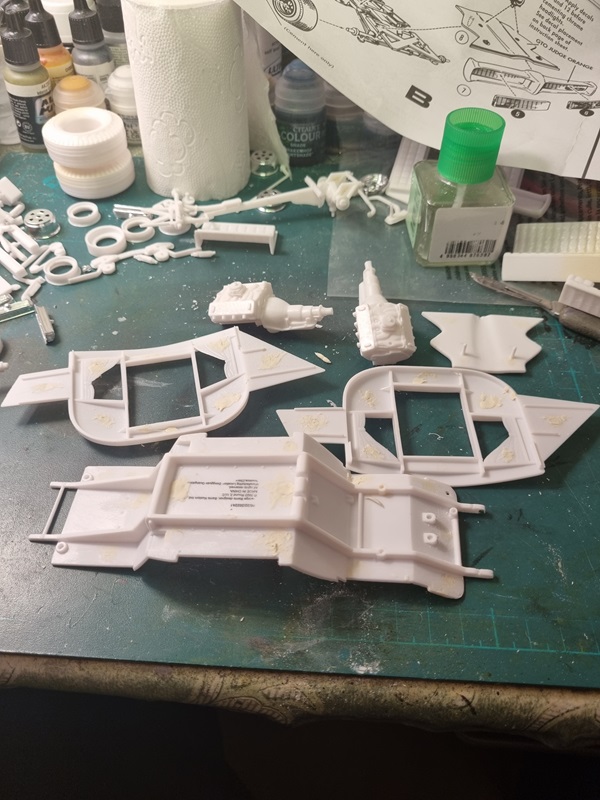
1970 Dodge Charger – part 3

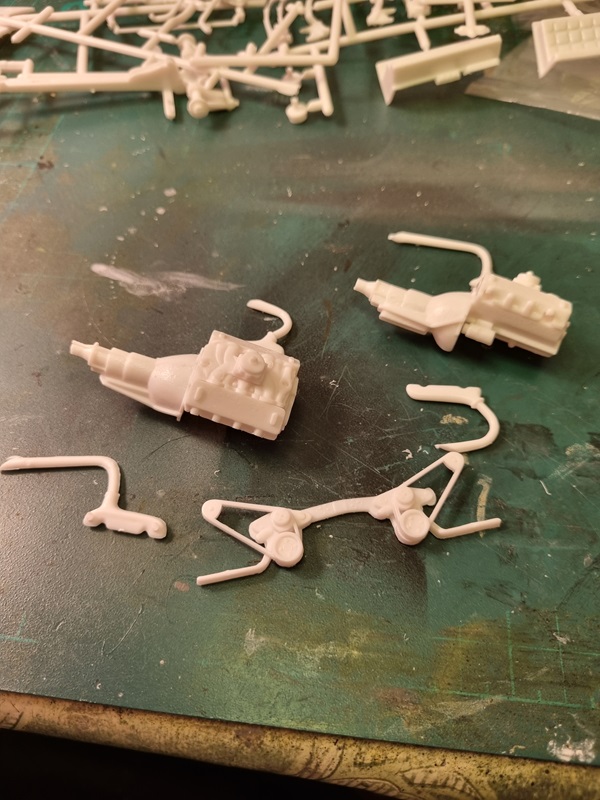
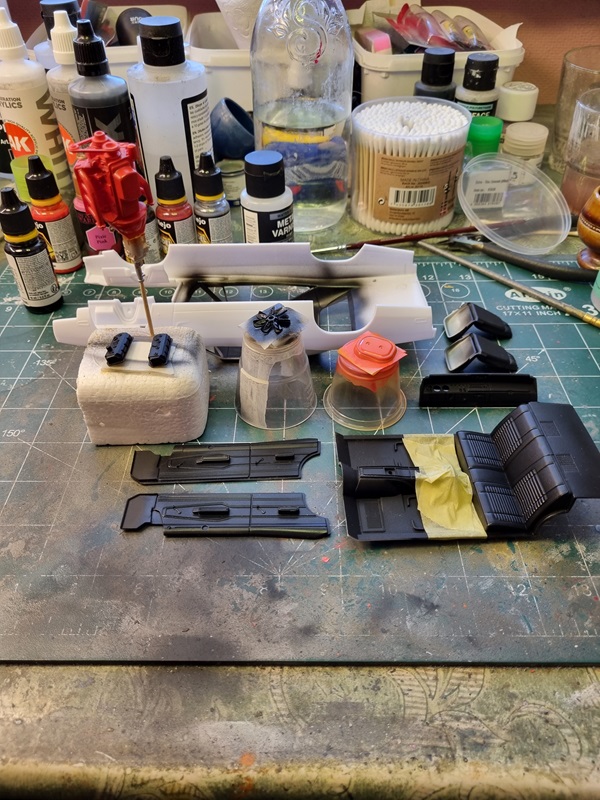
The engine was painted and assembled, and then I painted details.

I masked the center console and painted chrome.
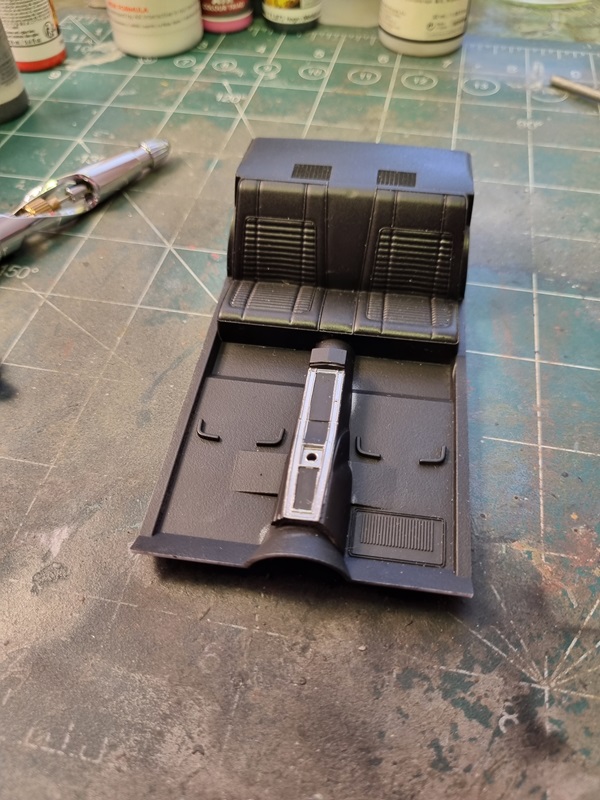
I also painted chrome on the side panels.
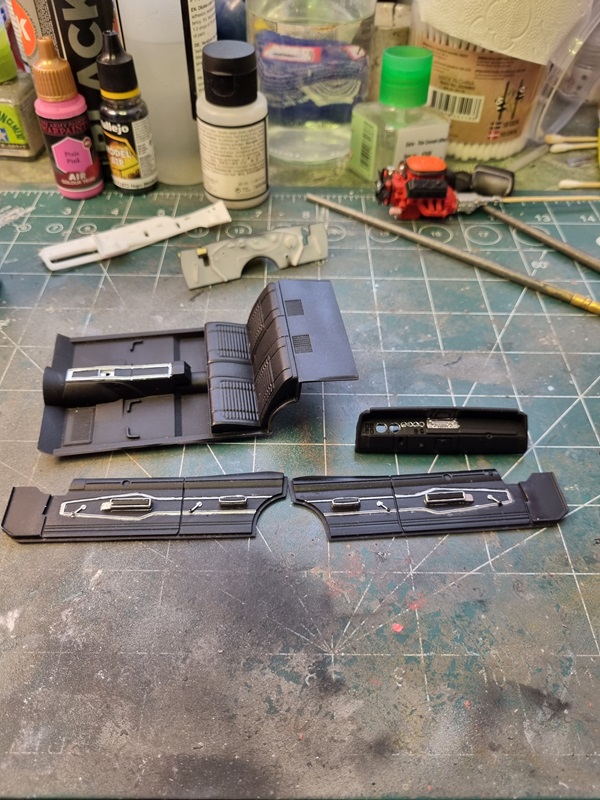
There’s still a few spots that needs some touching up.

After priming the body I realised there was a few mould lines to take care of.
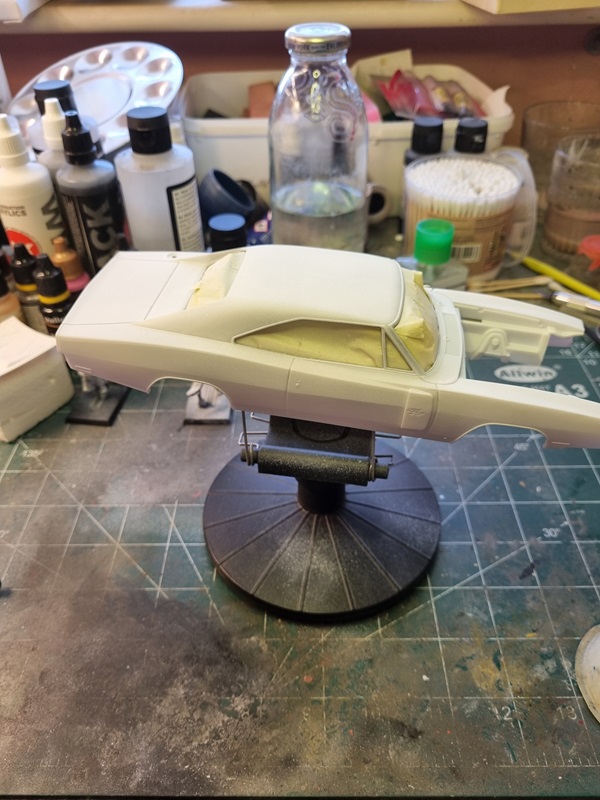
Some sanding later and also some more primer.
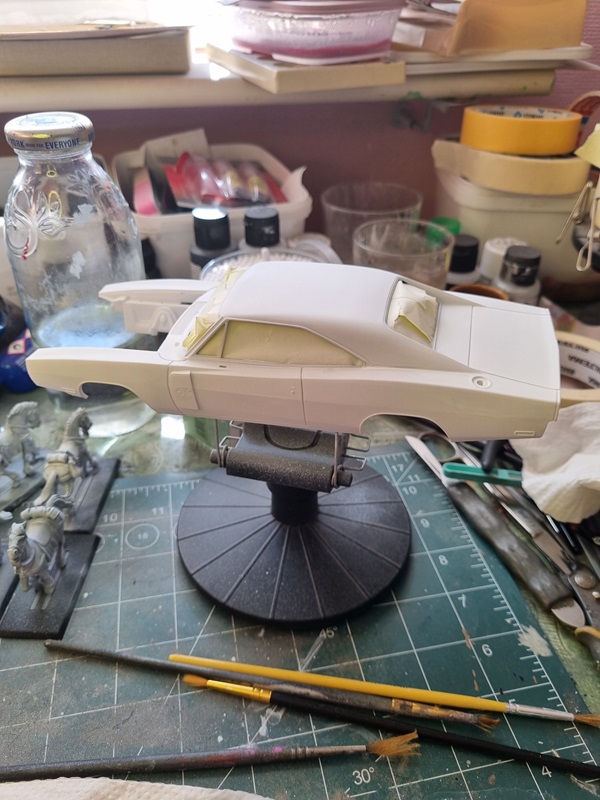
I then tried some pink on a few parts.

Looked quite good to me.

Hood and body ready for paint.

The hood went quite well.
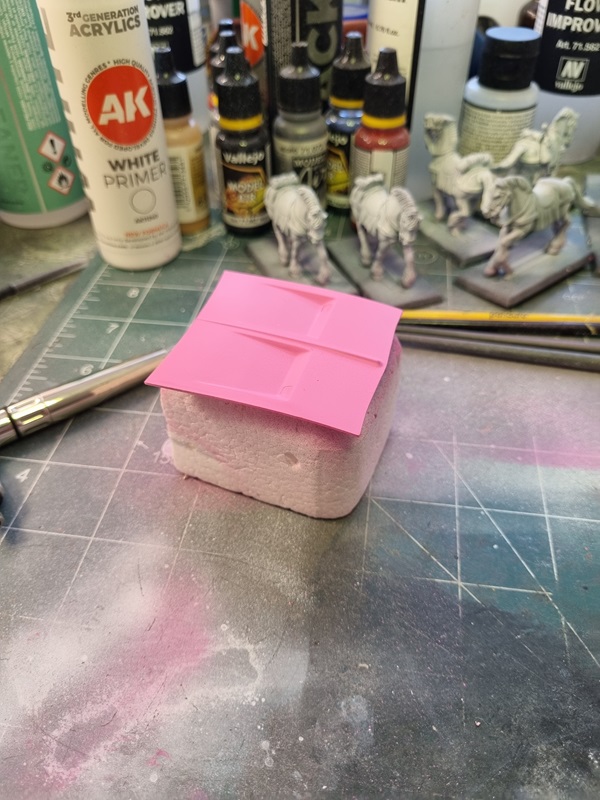
But for some reason disaster struck while painting the body.
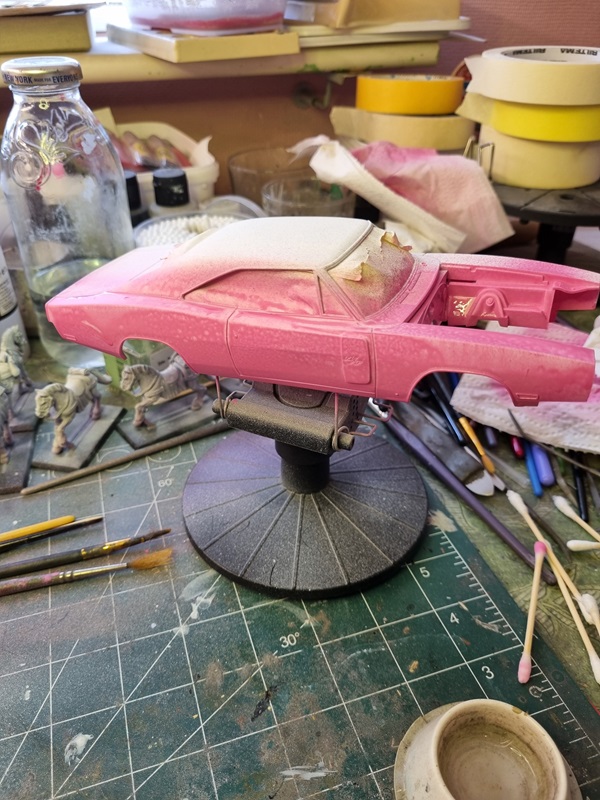
I actually went to the paint store and bought some wet sanding pads in 3000 and 6000 grit.
Then I used the 3000 grit to remove as much as needed.

After that it was time for a new cote of paint.
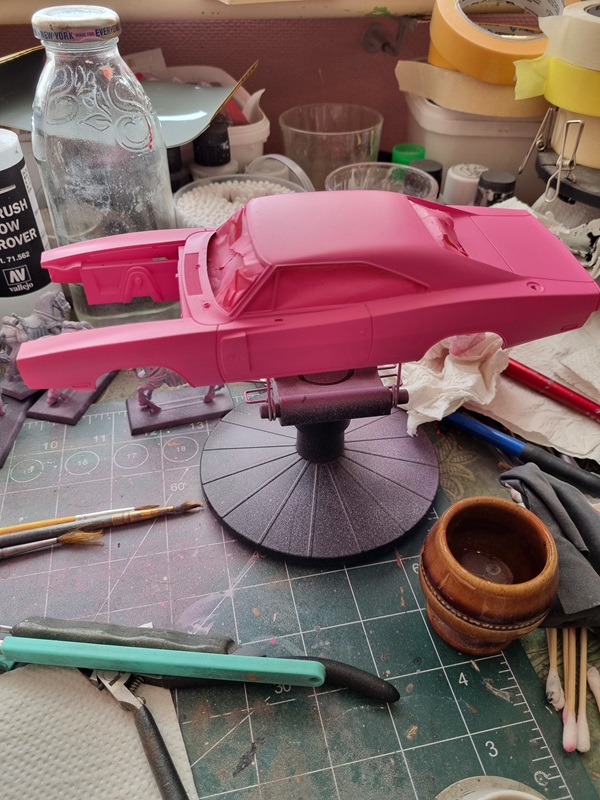
This time it looked a lot better.

The hinges for the hood was glued in place and next I’ll paint primer on the inside and also on one more part for the engine room.
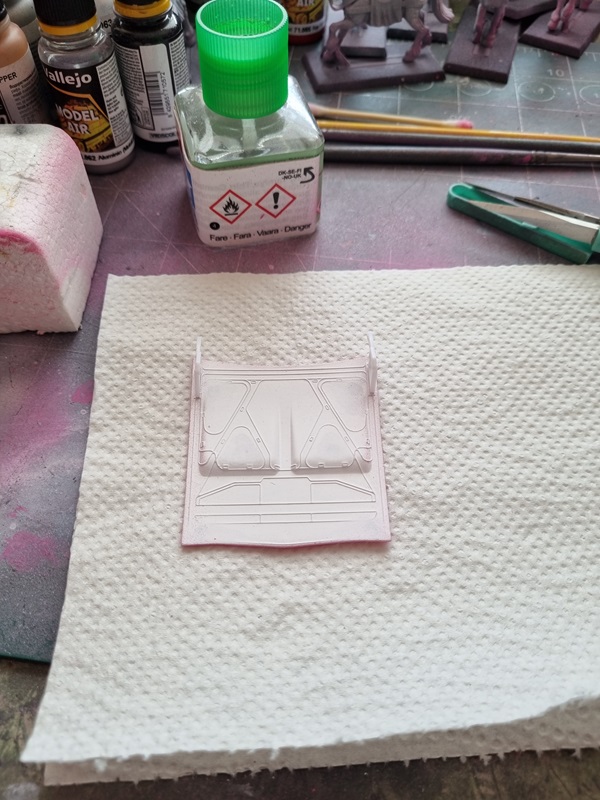
Next I’ll hopefully can paint a gloss varnish on all the pink parts.
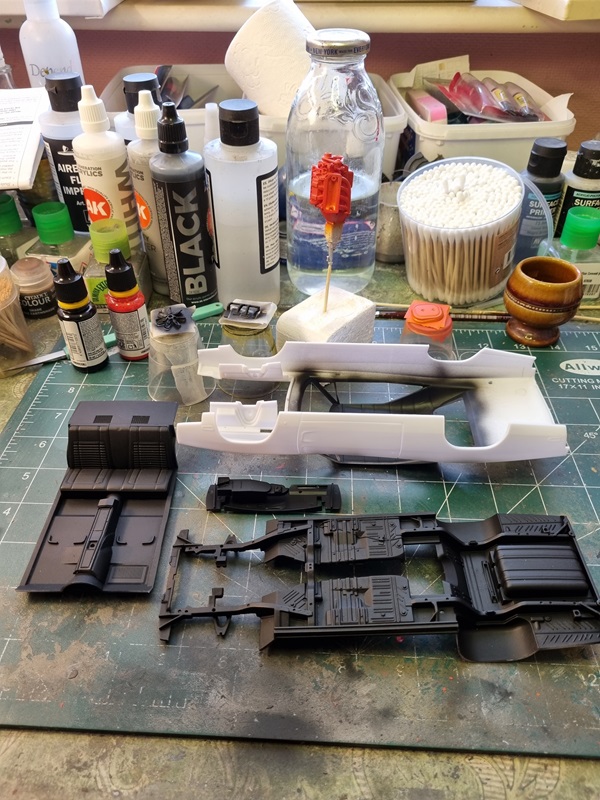
I’ll also start assembling all the parts for the chassie that I’ve been painting but forgot to take pics of.
1970 Dodge Charger – part 2

The colours I was missing arrived so I could continue with this build.
Several parts was painted black, and I also repainted the engine and air filter.

Some parts like the seats and other interior parts is supposed to have a semi-gloss look. It turns out I had no clear satin colour, so instead I used Vallejo’s gloss for metal finishes and painted a thin layer, thus achieving a satin look.

I gave the engine a little more paint to get a glossier look.

I need to mask the mid console and paint that semi gloss later as well.
Once everything is dry, I’ll mask the interior roof and paint white primer before painting it pink.
That way I can check for imperfections as well.

BMW R 1100 Roadster – Revell 1/9 – part 1

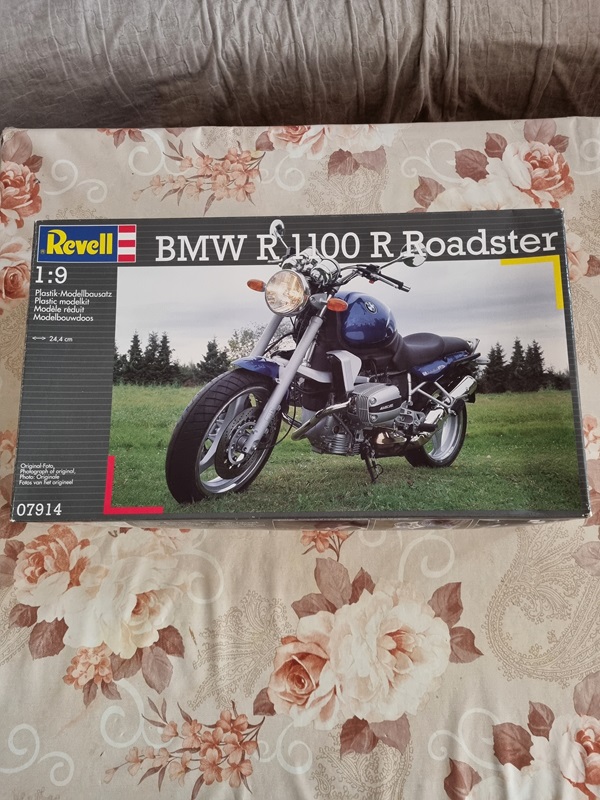
I started building this kit on the weekend build meeting. As I understand it, it’s an old Protar kit in Revell re-boxing.

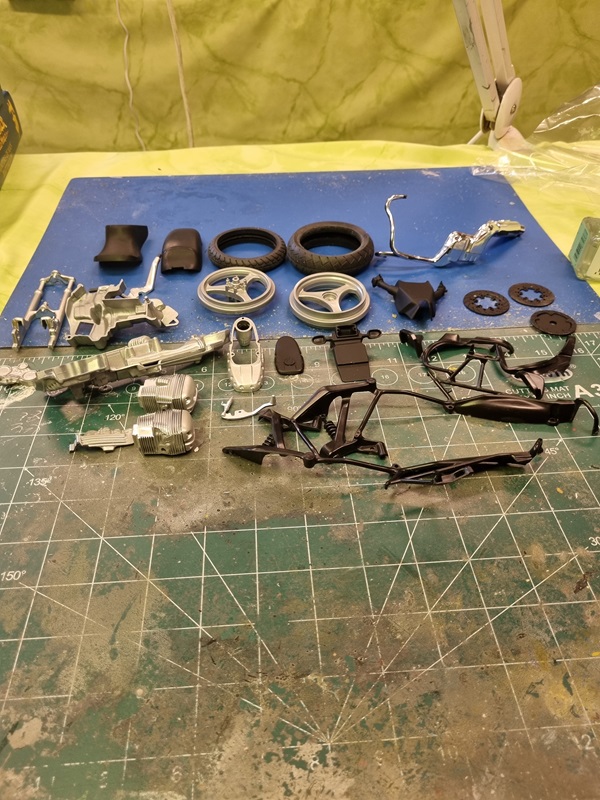
There’s quite a lot to sort and paint before any assembly can be done.

Here’s a pic of most of the parts. It wasn’t until I got home I could take another pic of what I had done.

I had bought this kit 2nd hand, and as it turned out, one part was missing. Not sure what to do about that. I decided to continue a bit further, until that part is needed.It’s the holder for the head light and turn signals that’s missing, and I’m not sure if I can scratch build something like that.

1970 Dodge Charger – Revell 1/25 – part 1

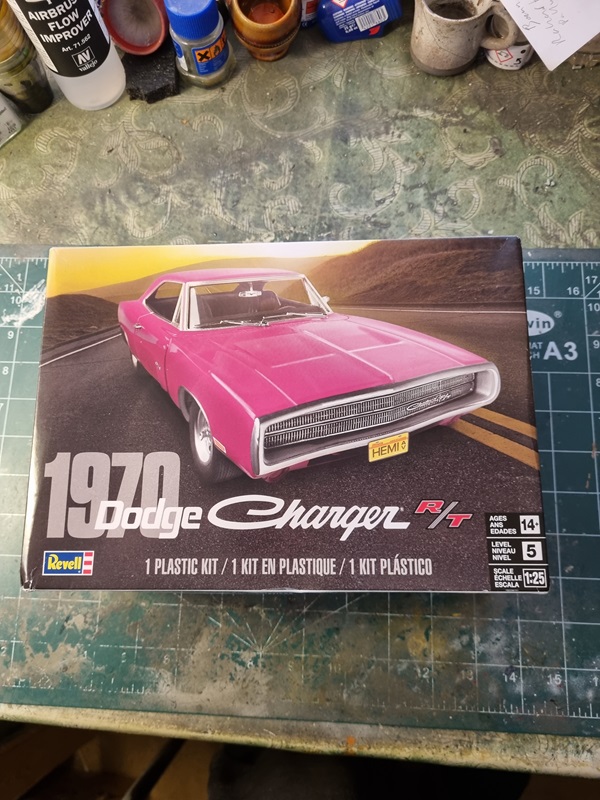
On the weekend build meeting we had last weekend that we call plastkollo (plastic camp), I bought a kit from one of the members. I thought it could be a fun build.

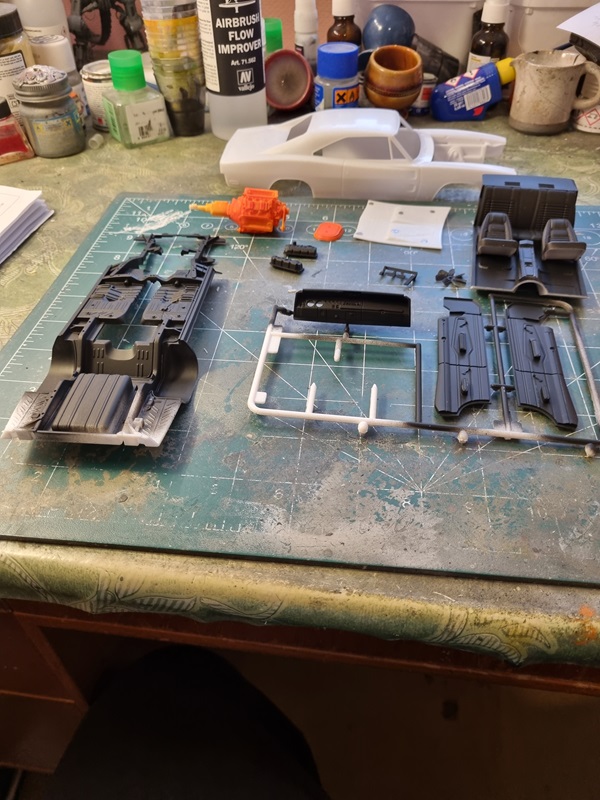
The kit seems to be quite nice with good fit on the parts. As usual starting with the engine that should be mostly orange. I didn’t have any orange colour and my pink colour was messy with a big lump in the bottle. It ended up in the bin.

I borrowed orange colour from a friend and managed to paint it a little to wet. Then I decided to paint most of the interior and chassie parts black. Turns out there was very little black left in the bottle. I have to order new colours and a few other things that I need.
Anyway, this is how much I got done before it was time to wrap up the meeting and go home.

Pic taken at home though as I forgot to take a pic at the meeting!

Raider’s Coach – part 5

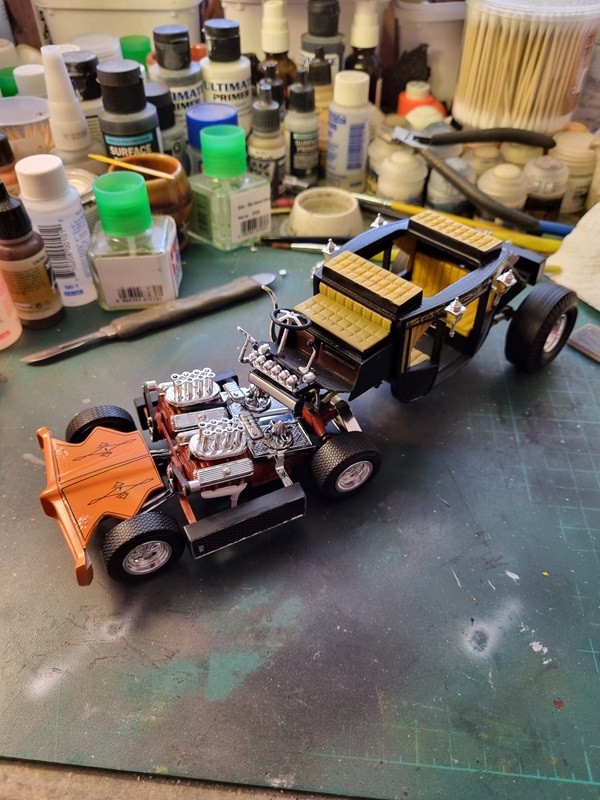
Most of the chromed parts are glued in place and the hood got decals. Not perfect, but after a while it wasn’t possible to move them at all. I also failed with the decals for the front. I was hard to make them wrap around in a nice way, so I gave up.
Not much left to do. I need to touch up some chrome parts and do a clear coat on the hood.

Next update will be for the final reveal.

Raider’s Coach – part 4

Amps and coach sides was glued in place.

The speakers/amps got some chrome details.

I did a test with orange rust to see if I could use it instead, but I thought it was a bit to dark.

Details on the underside was glued in place.

I had to do a simular thing with the backsides of the front seat and keyboard as I did with the interior seats, closing up the empty space with plastic sheets.

There’s a few spots that need some touching up.

The front frame with engines is alsmost done.

I still need to add a few parts to the engine and sort the hood and front.

I did a test fit of the coach and front.

Not much left to do. I gave the hood and front a cote of white, and hopefully I can paint orange on top without anymore mishaps.
I also have a few chrome parts to sort. Perhaps the best way would be to remove the chrome and paint them, but I’m unsure what to use to remove the chrome.
I’ll probably just use chrome colour to touch up the parts where I’ve removed chrome when cleaning up.

Raider’s Coach – part 3

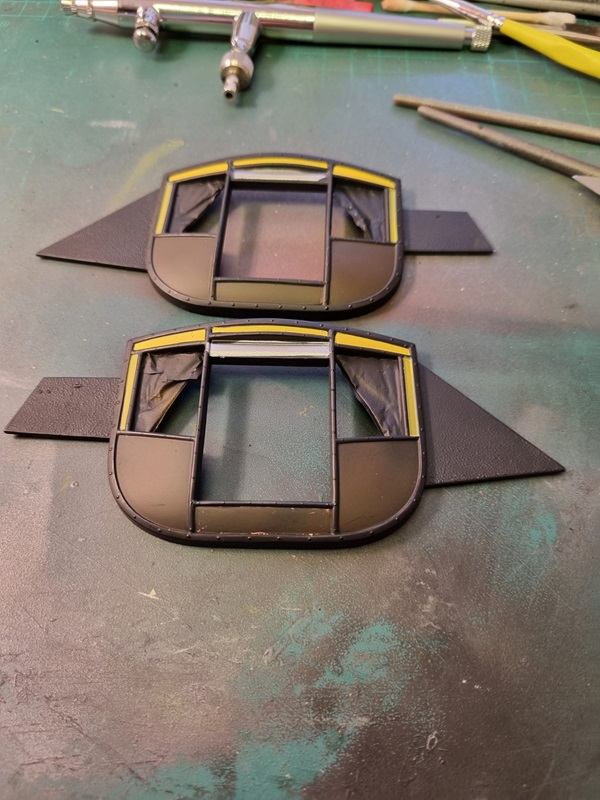
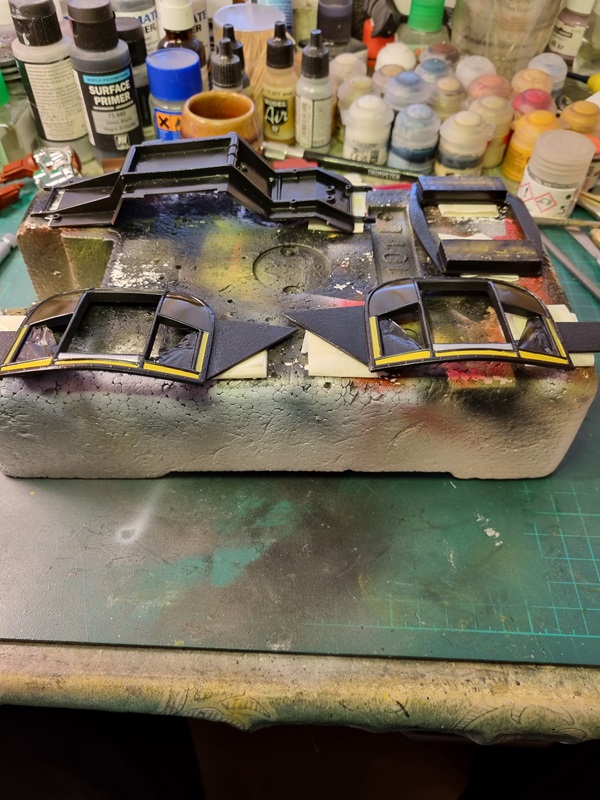
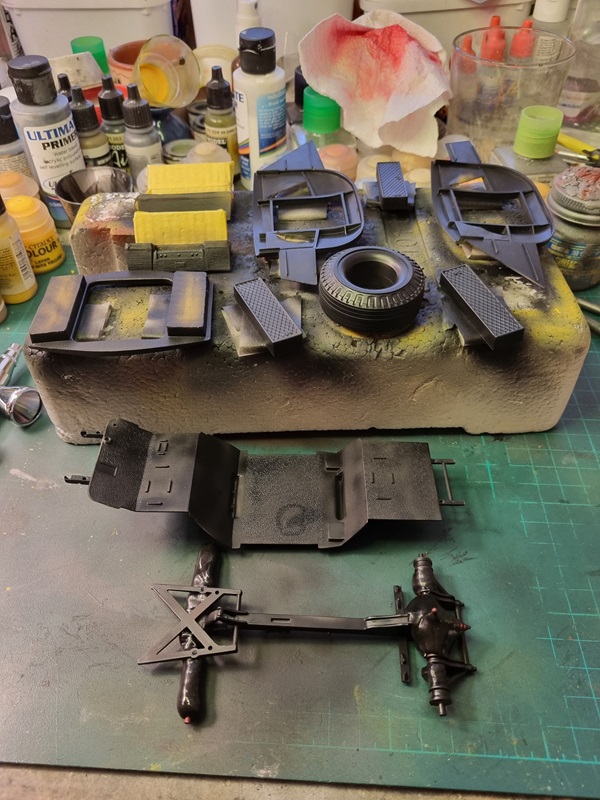
The coach sides was masked and then they and some other parts was painted with mahogany.

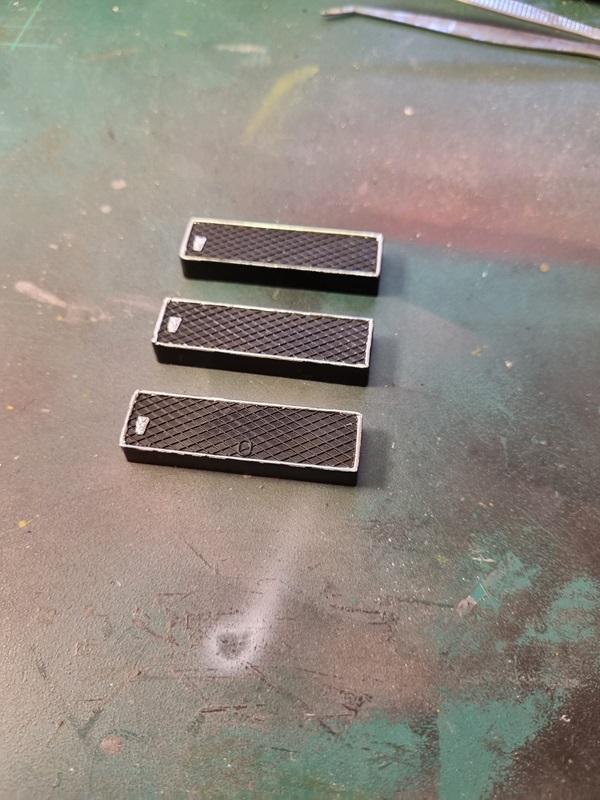
Mask removed from amps and keyboard.

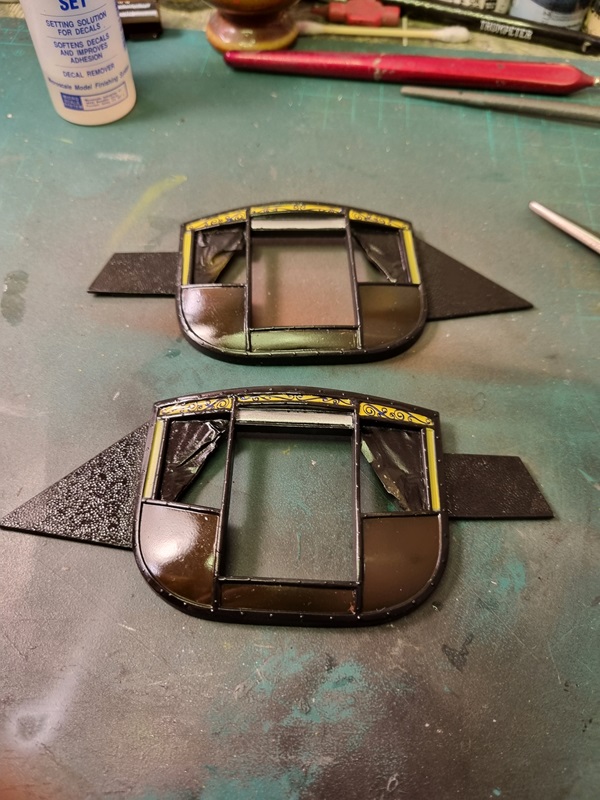
The unmasked coach sides.

Some details painted.

Time for some clear coat.

Once that was dry, I put on some decals.

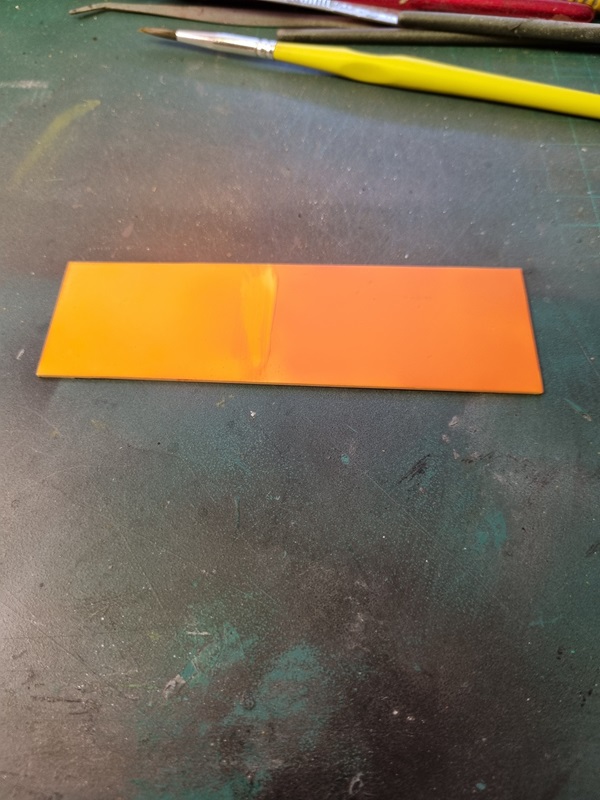
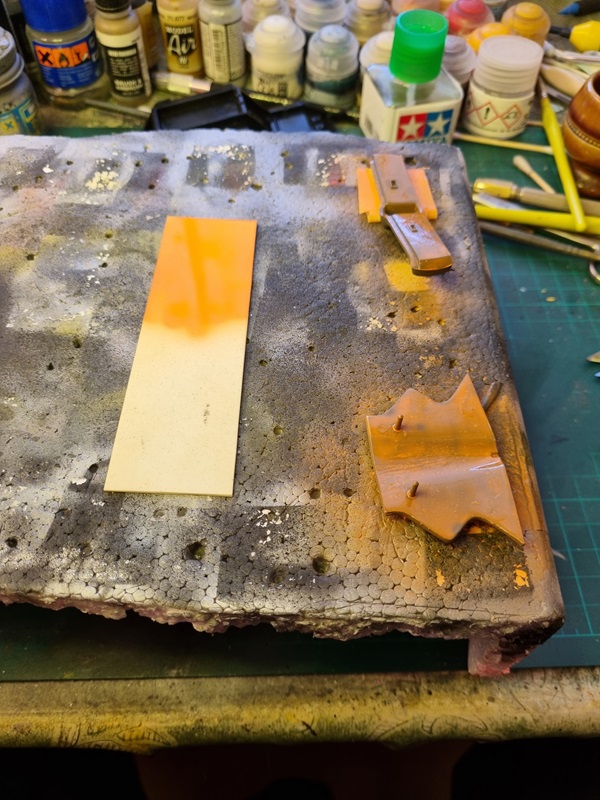
I first tried panting Humbrol gloss orange on a piece of plastic, which went well. So I painted the underside of the hood and back of the front. At first it looked ok but after a while it started to look awful. Perhaps the orange colour or thinner reacted with the acrylic primer.

I just need to redo that. Otherwise I think the orange colour will look alright.

It took some work to assemble both engines together and I had to re-glue some parts.
I also cut plastic and glued to the rear of the seats.

I gave the coach sides and some other parts a new coat of clear colour.

A few details to paint on some parts before I can start assembling, and I also need to sort the hood and the front.

Raiders Coach – part 2

Time for an update on this project.

Time for som primer!

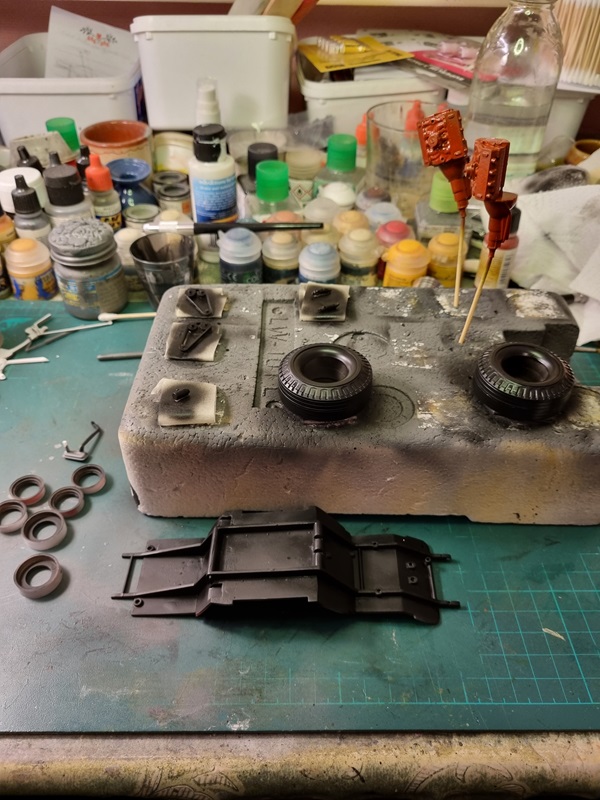
Some parts had to be turned over.

After some additional sanding and filling and sanding again, most parts actually got primer.

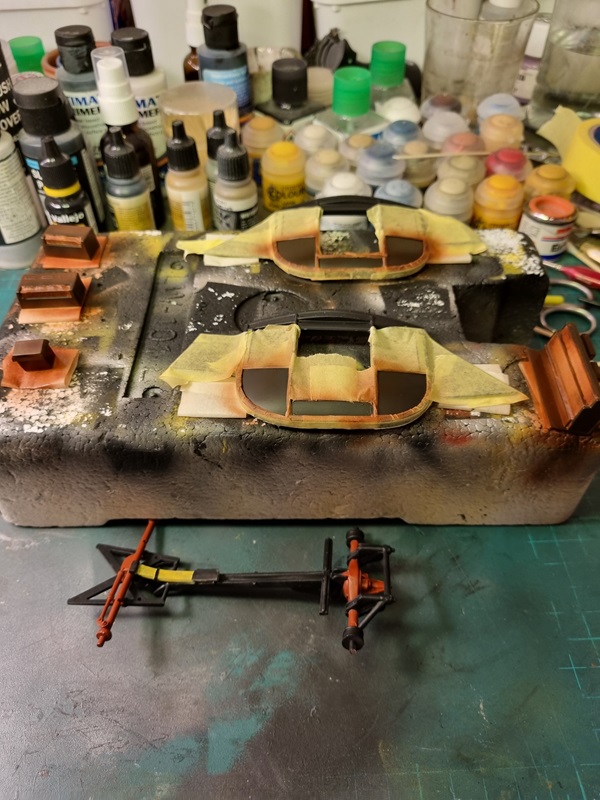
The seats and areas on the coach sides got some yellow paint.
Then the yellow was masked off and the parts was painted black. The engines and transmission was painted fire red.

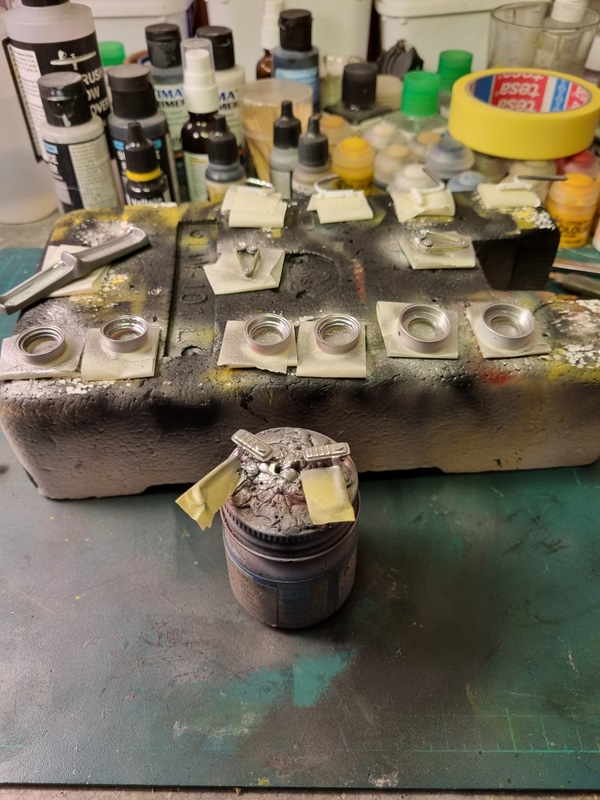
Then rims and some other parts got some Molotov chrome.

At the moment I’m working on the keyboard and amplifiers that sit in the compartment.
Quite a lot of masking and painting to do on them.

Sometimes the kit is a bit confusing as it doesn’t match the real thing. Just details, but still.
The exhaust pipes seems to meet up on the outside of each engine, but not on the kit. I just wonder how hard can it be?
Also they have added decals that doesn’t show on the real car. I’ll try to get it look as good as I can and then add some artistic license.

Raiders Coach – HLI Secret Santa build

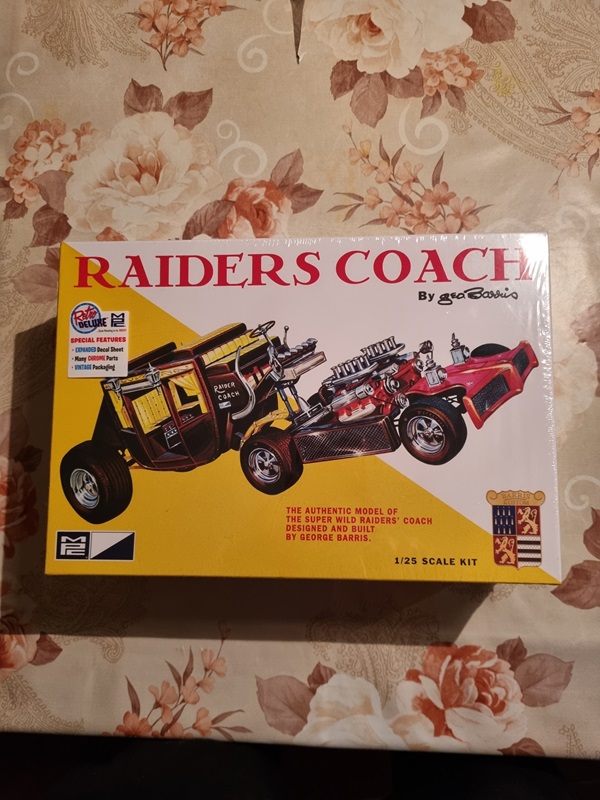
I got this kit from my Secret Santa on HLI (Hobbylink International).

Inside the box.

After som cleaning up, I started building the engines.

It’s an old kit and requires some work in the form of scraping and filling ejector pin holes.

I’ll sand and refill if neccessary.

It’s a fun car and I’ve tried to do some research. Many pics are in B/W or from the built kit.
As far as I can determine, the front should be orange even if it looks red on the box.
The engine and parts of the frame is red and the real one had striping done on the frame.