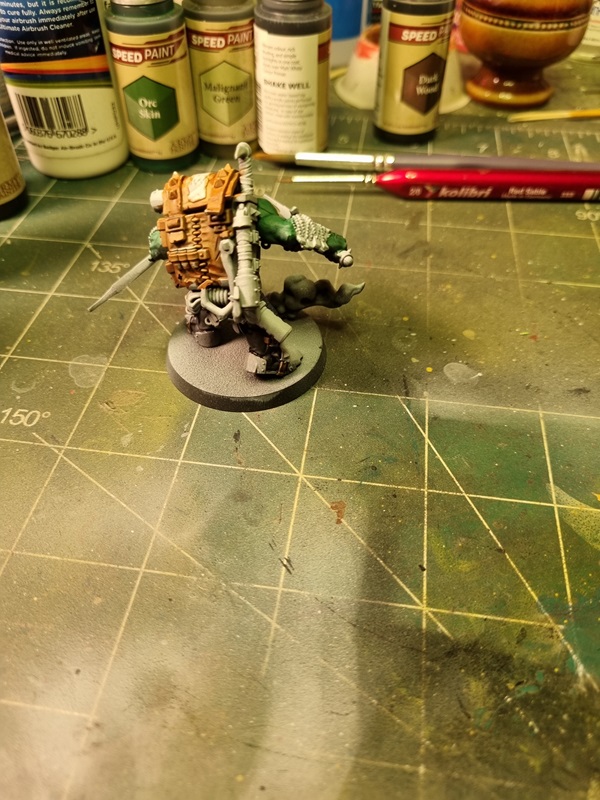
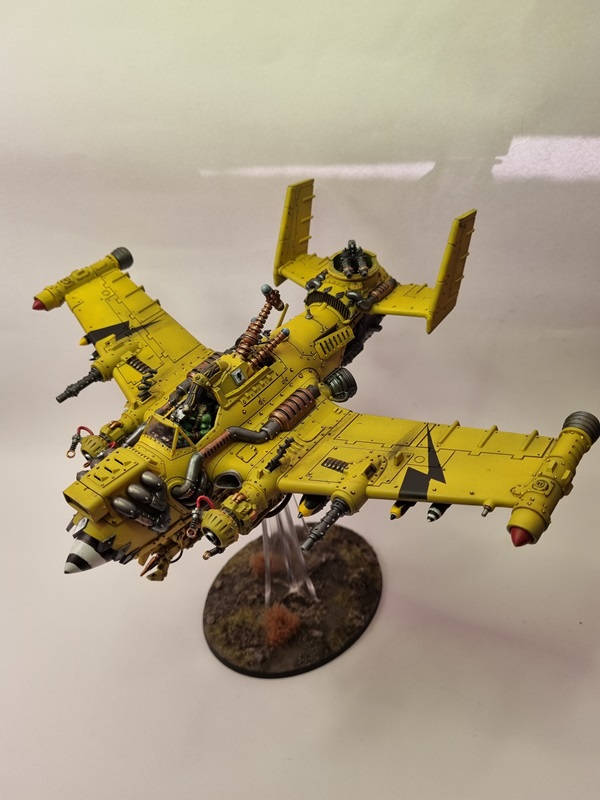
I started this build for a sci-fi group build on Facebook. Probably the last one I build for that gb. I choose a figure just to get a fairly easy build.
I thought he looked pretty cool so the choice was pretty easy. Starting with assembly which was pretty straightforward.
I choose to have his mask on his forehead, so bot the mask and face would be visible.
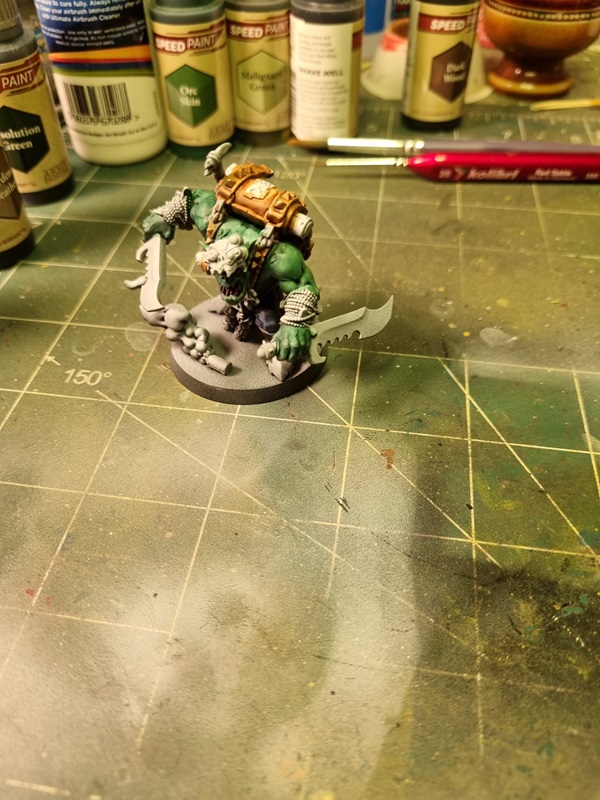
I gave him a zenithal primer, which means I first painted him black, then grey in about 60 degree motion all around, and finally I painted white more or less from the top almost straight down. Lastly I dry brushed white with a soft make up brush, picking up a little more of the details.
I decided to mainly use Army Painters Speed Paint.
I then painted all the metal with Vallejo’s black metal, and also added a few other details. Trying to use speed paint as much as possible.
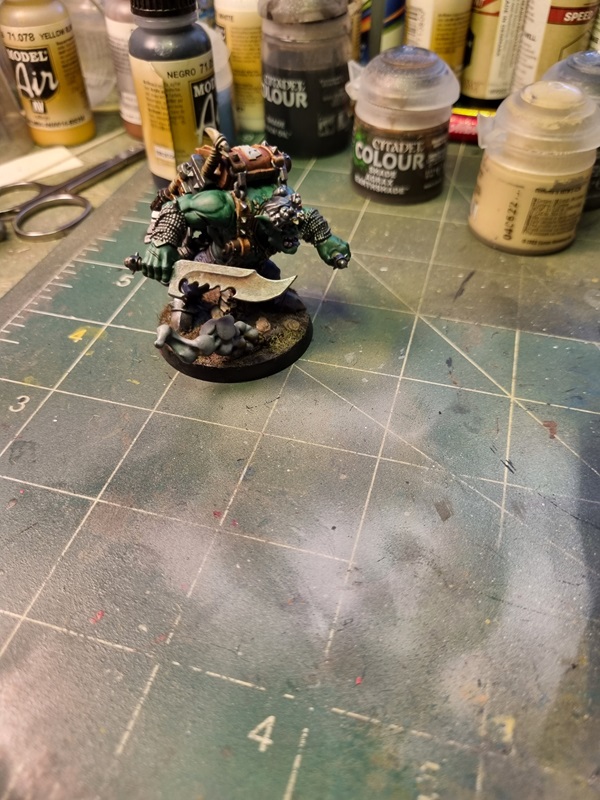
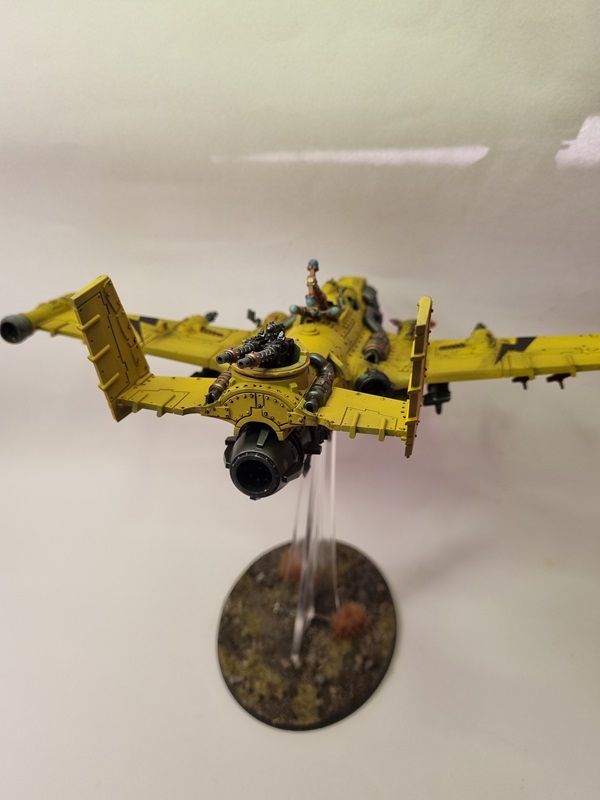
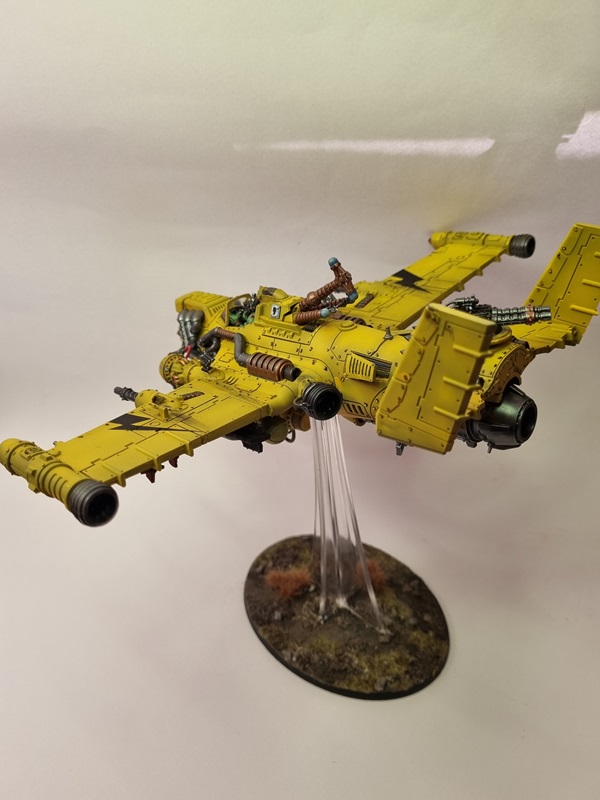
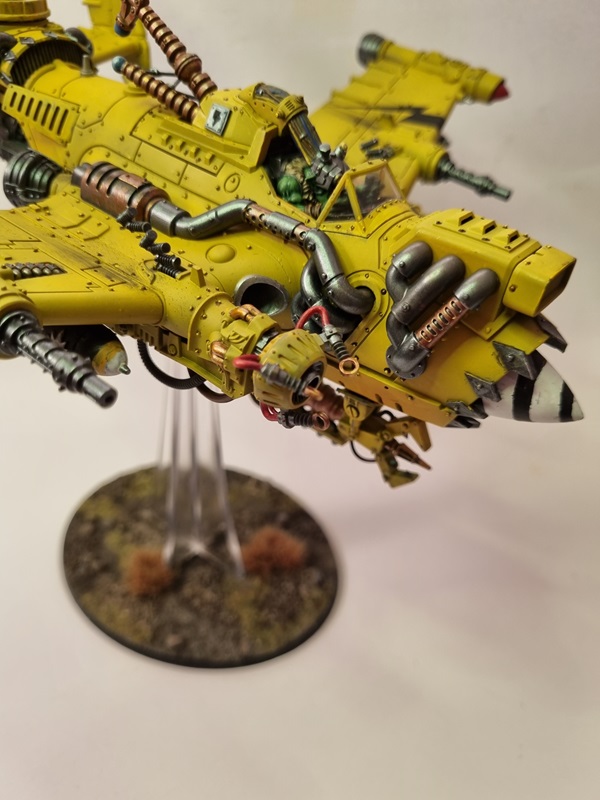
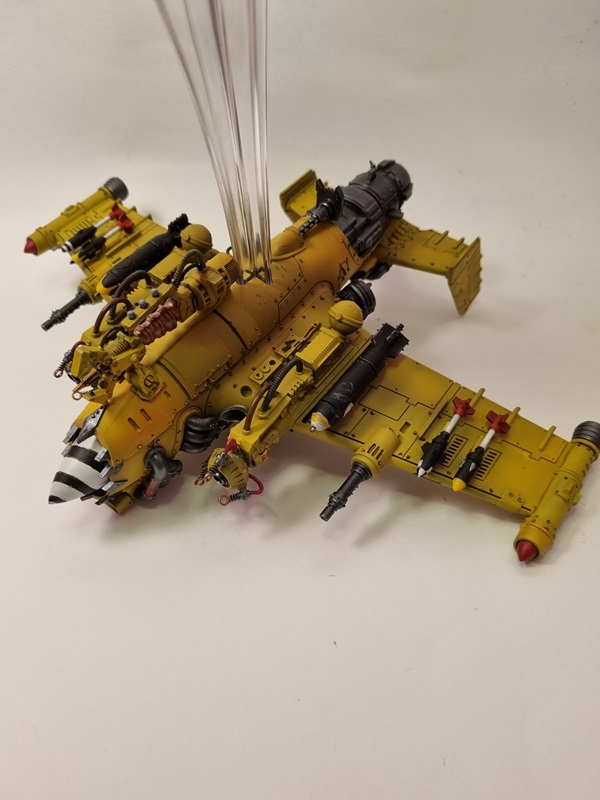
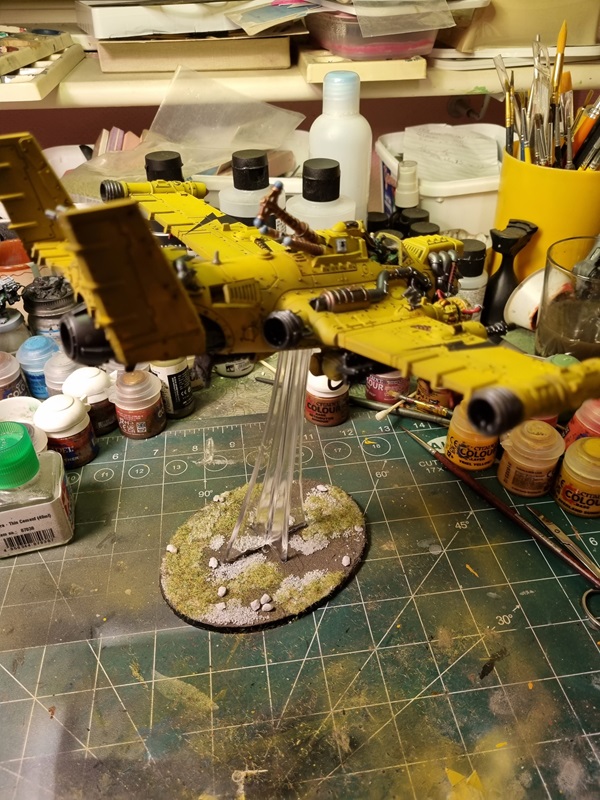
The metal parts was highlighted with a brighter metal colour, and then I used rust and orange rust to add some rust on weapons and other spots. After that I used AK’s mud on the base.
I’ll add some grass and a few stones to the base, and do some additional painting before it’s done.
The base got a pin wash and then I did some dry brushing with a slightly brighter colour than the base colour.
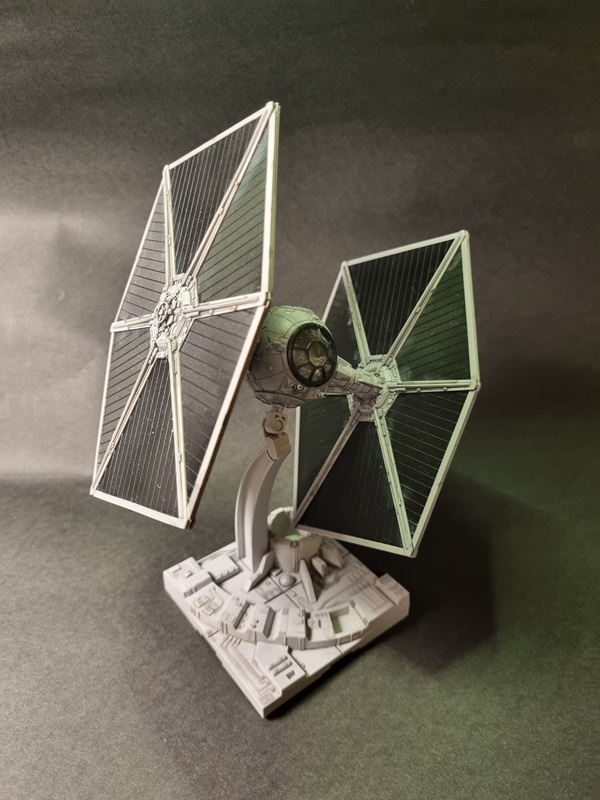
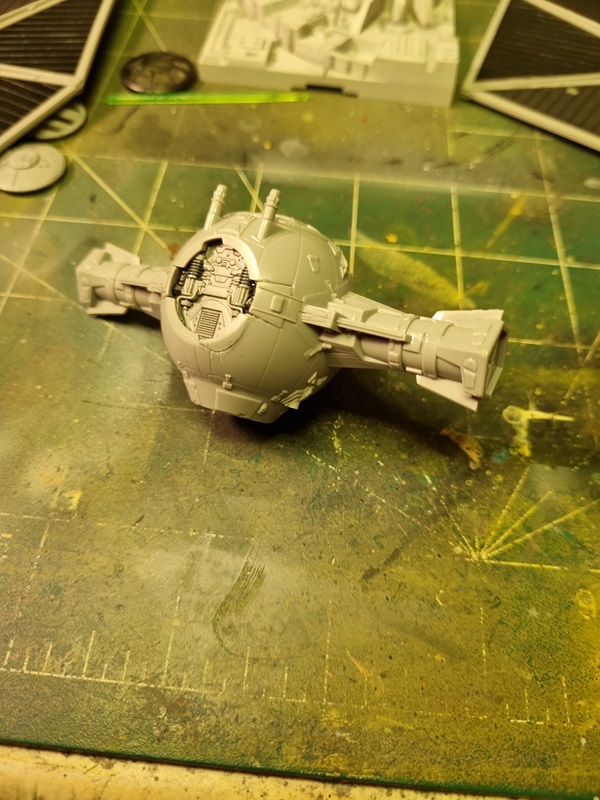
The pilot and cockpit got some decals.
Then the cockpit was closed and placed in the rear fuselage.
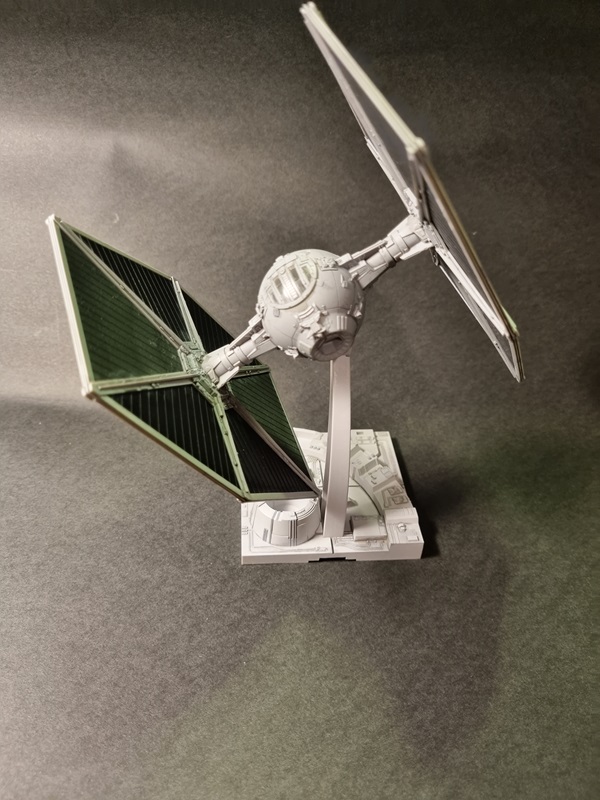
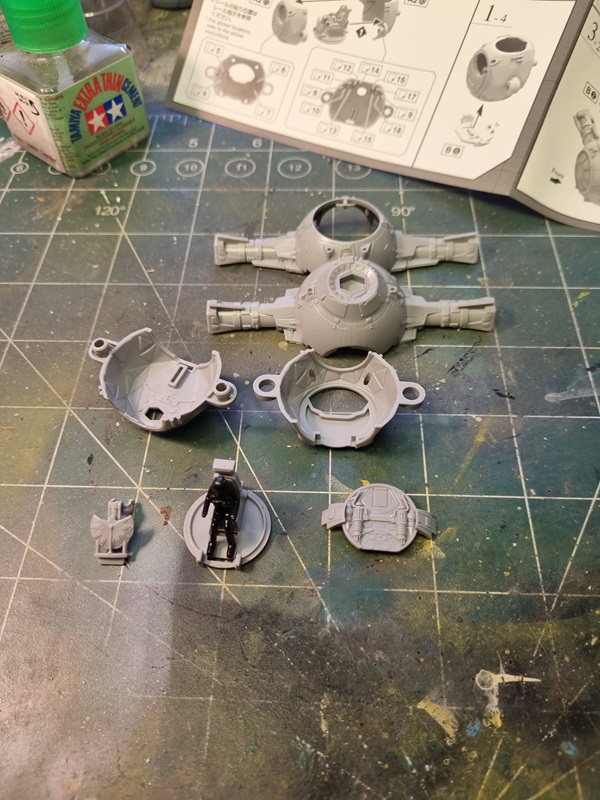
After some additional painting and pin wash, I could close the fuselage and start glueing small parts. I’ll use the optional windows as cover when I paint the fuselage. Here are all the parts that will be assembled later.
For some reason the bottom of the fuselage broke a bit while putting the bottom cover in place.
I’ll sort that as good as possible, and I guess the cover just have to be glued in place.
Other than that it’s mostly painting and decals left before assembly and finishing touches.
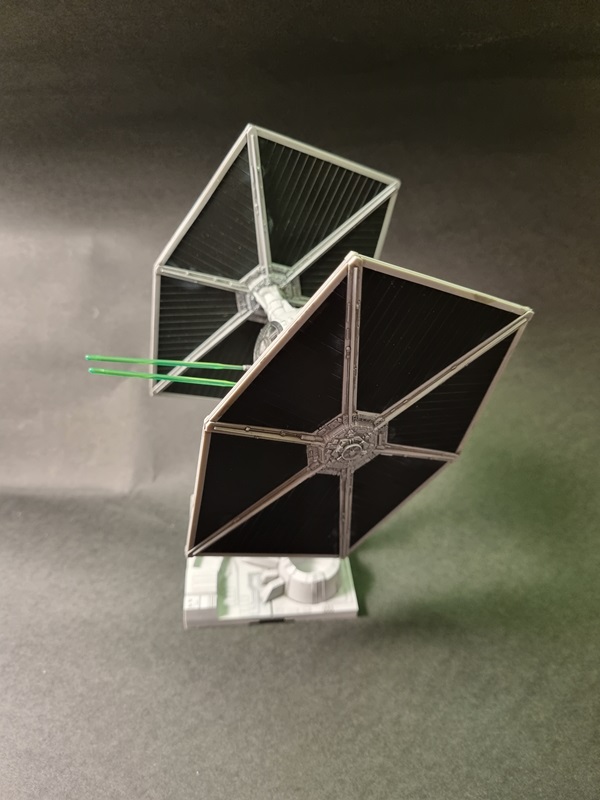
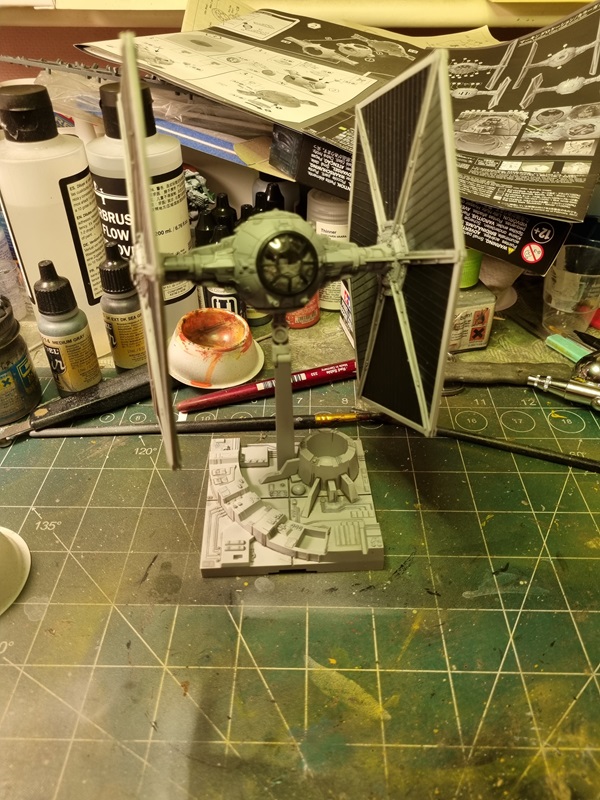
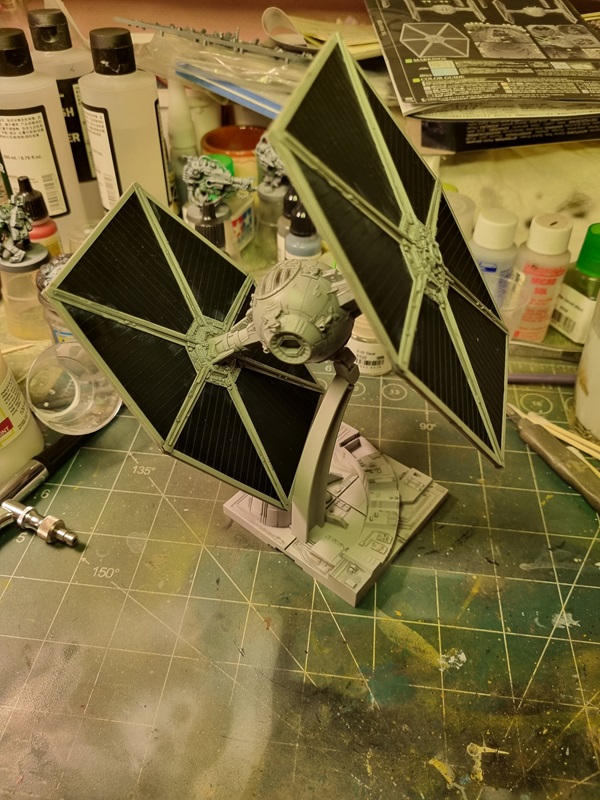
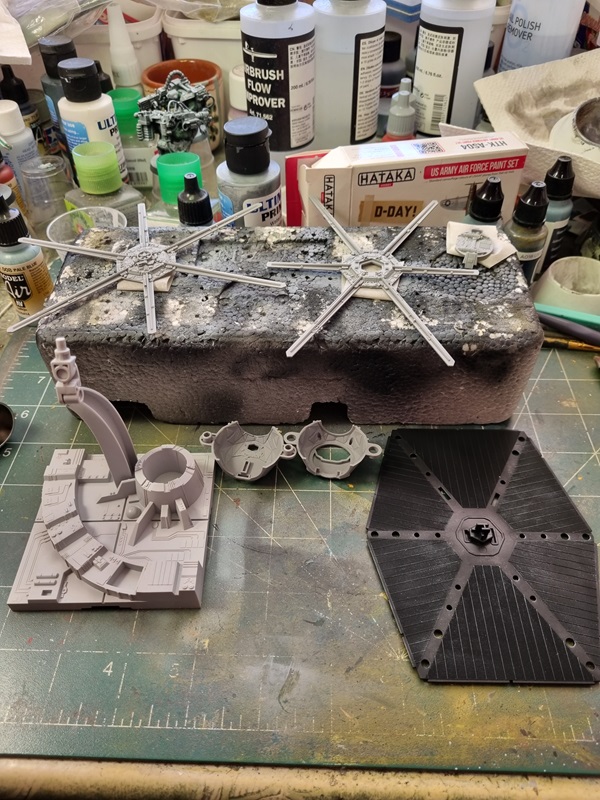
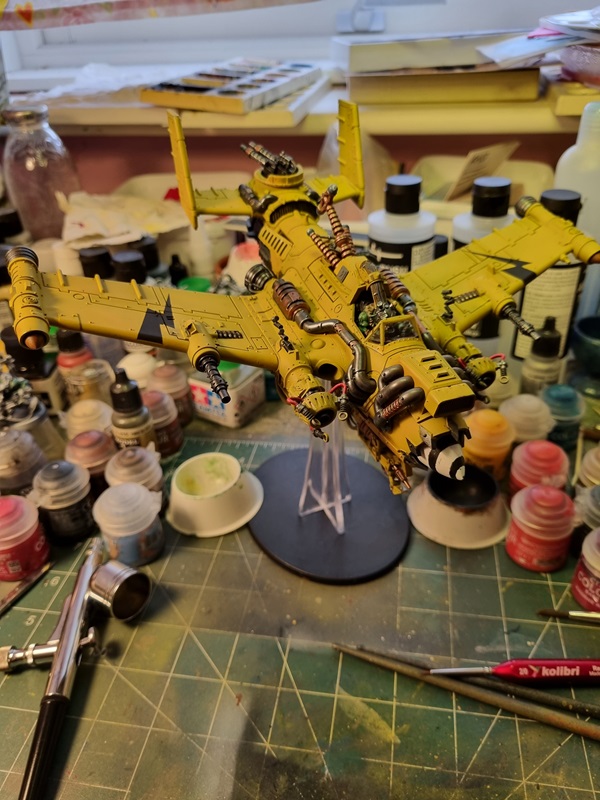
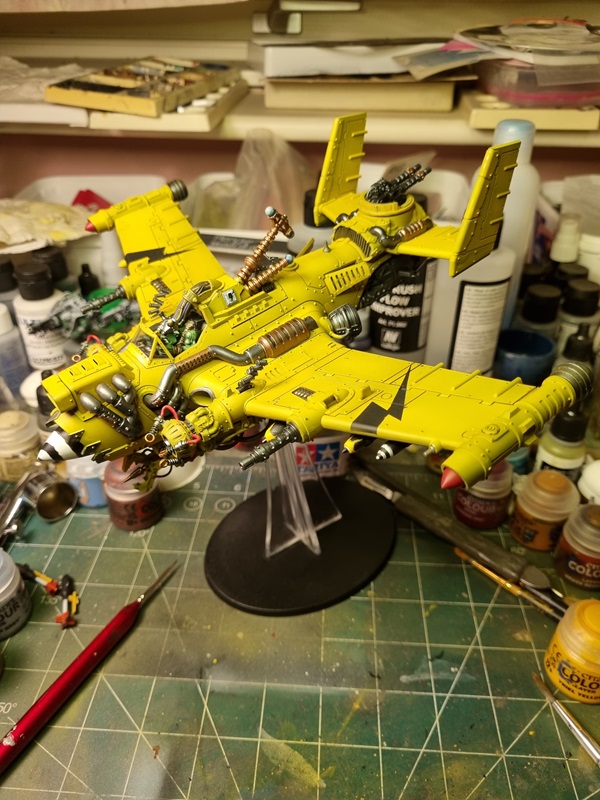
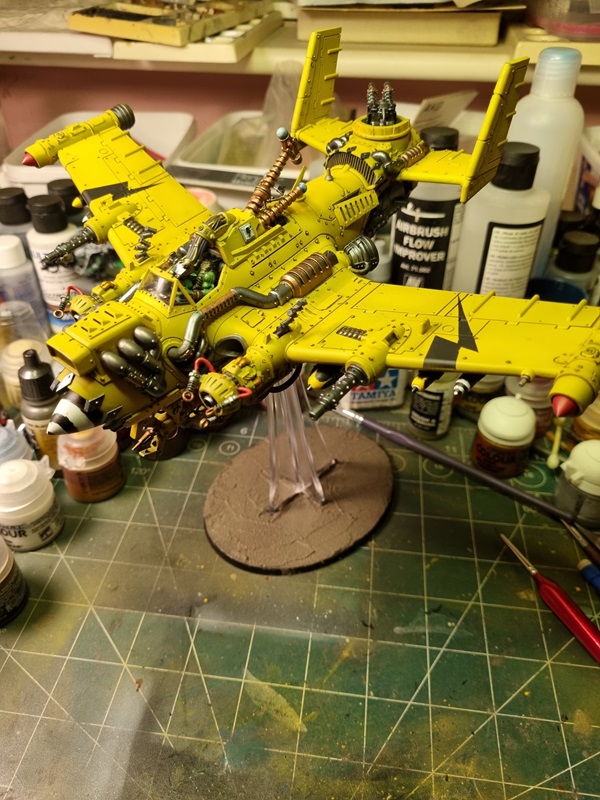
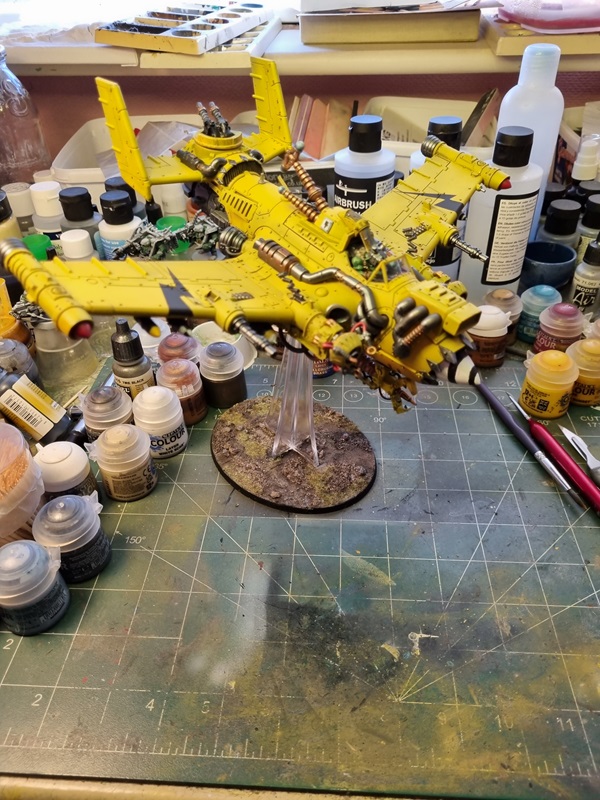
As I’m participating in a sci-fi group build where I recently have finished the Ork Dakkajet, I decided to try to finish one more kit before the end of the group build. So in order to make it somewhat easy I decided to build a Bandai Tie Fighter,
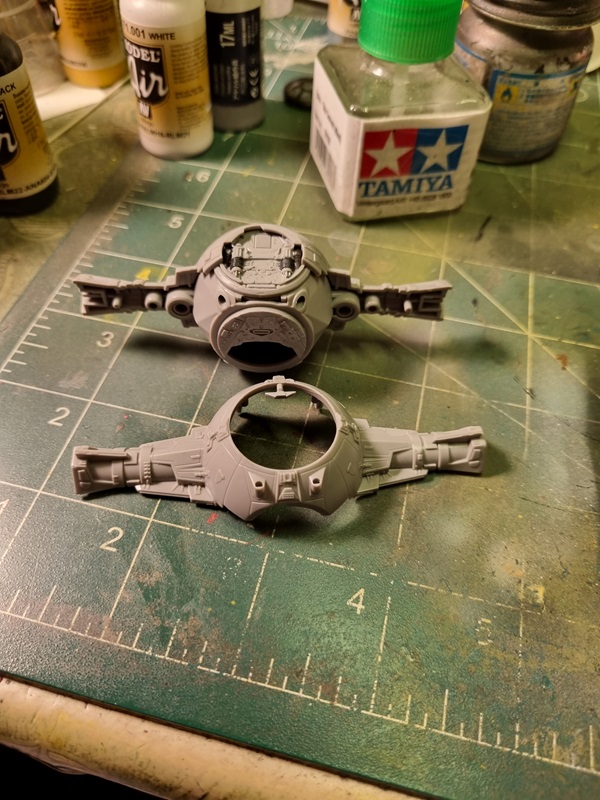
Starting with the cockpit and mid section.
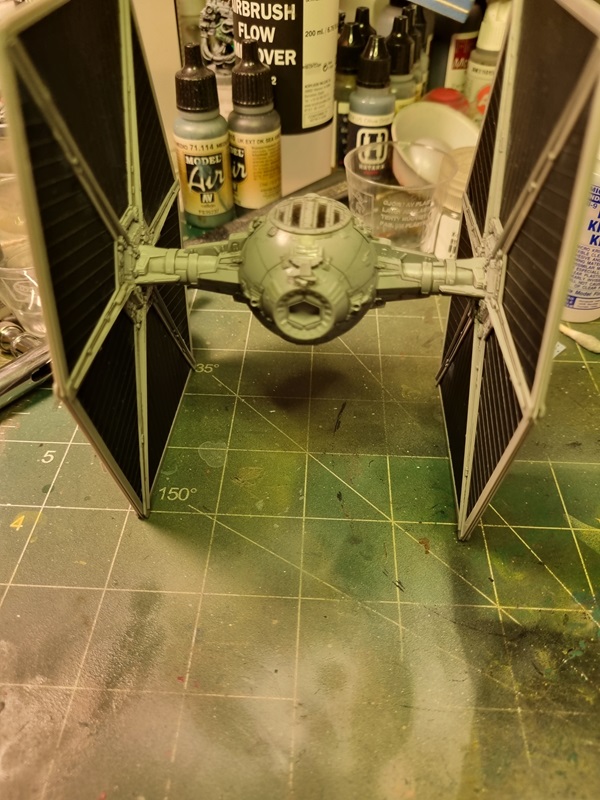
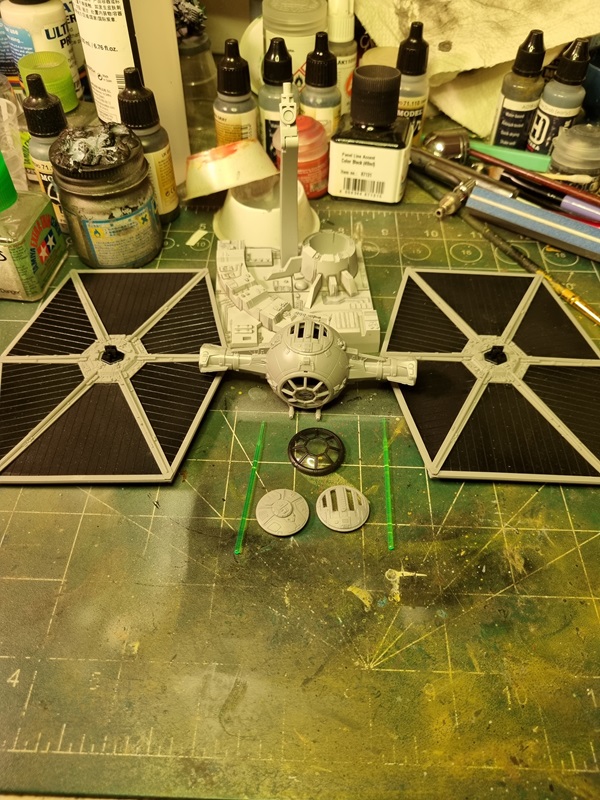
The instructions for what colours to use a pretty brief. I asked around a bit and got some advice. The solar panels was painted flat black.
Hard to tell perhaps, but the black plastic is a bit more shiny.
I painted the interior in neutral grey and then mixed a lighter colour for the exterior parts. That colour was also used on the panels inside the cockpit.
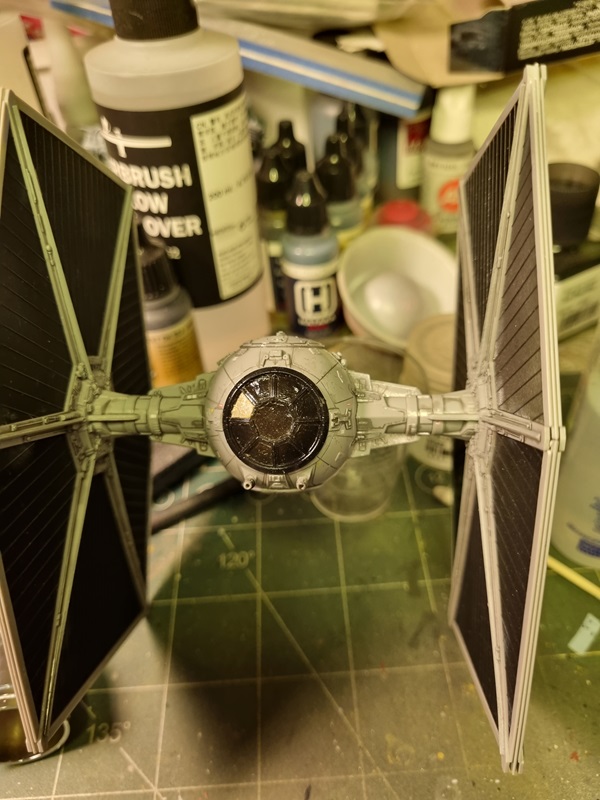
There are some details to paint in the cockpit and on the pilot. Then I can start assemble it.
Buying 2nd hand kits can be a bit of a gamble. Hopefully everything is there. As it turned out, the poly caps was missing, and I forgot to check before starting the build. I simply didn’t think of it.
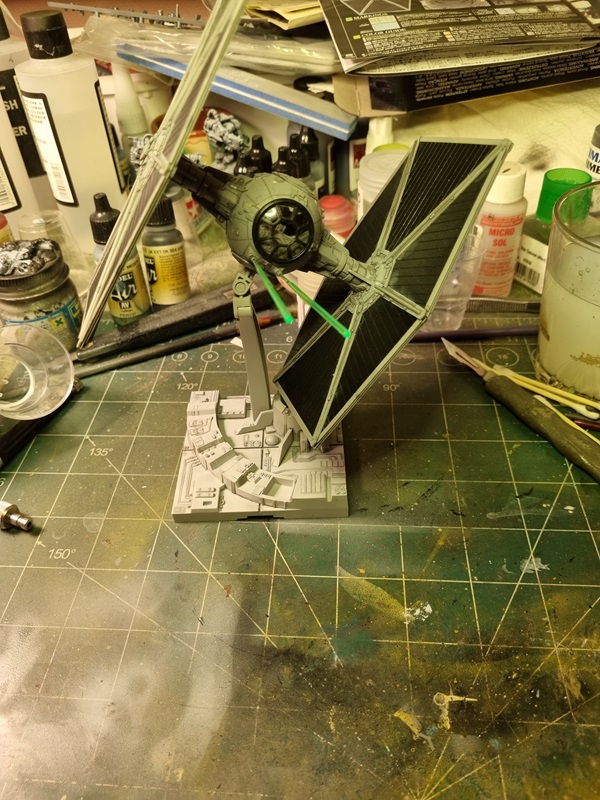
This is how far I’ve got before shutting down the build for now.
If I can find 14 poly caps (short ones according to the instructions), I might get this build started again and perhaps even finished.
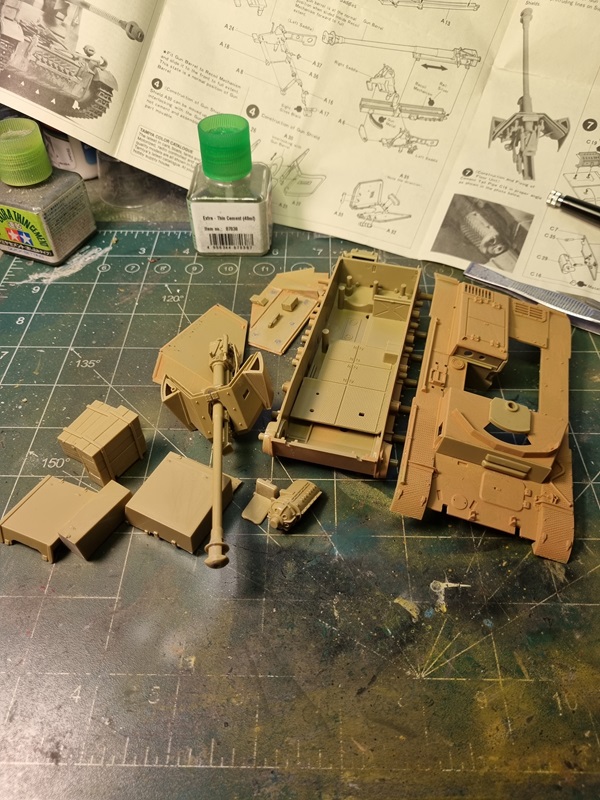
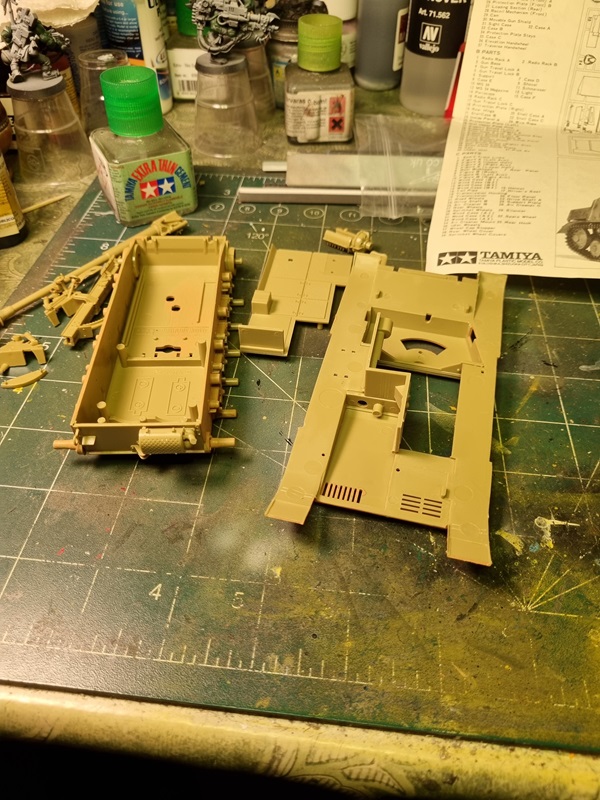
I started this build for a weekend speed build on Flory’s forum.
I thought a Tamiya kit should be easy enough to finish within the time frame from thursday to sunday, Perhaps it should have if I had prepared better. It turned out there was more to sort like ejection marks, and I also spent more time with the family than I had anticipated.
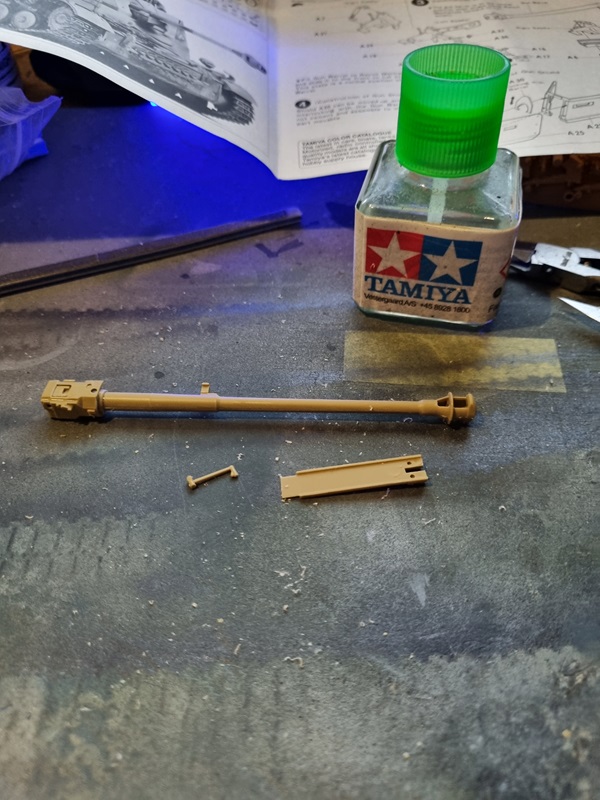
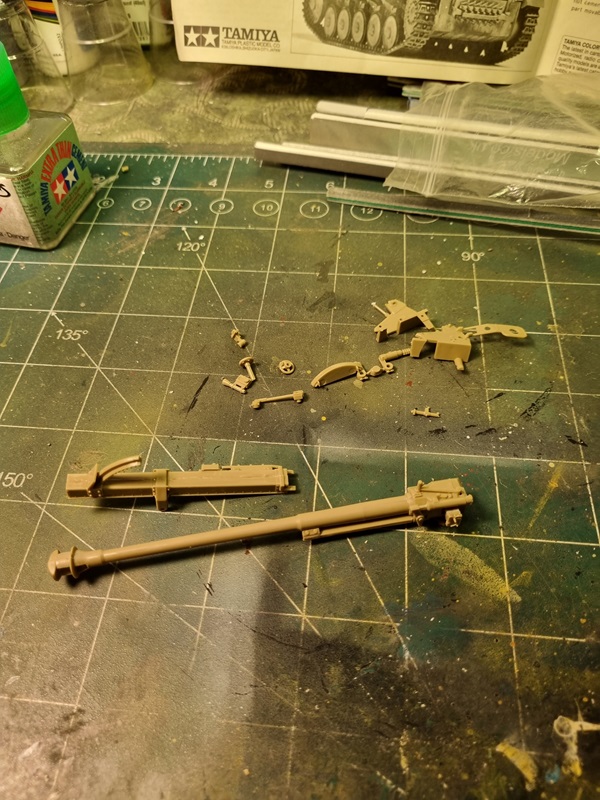
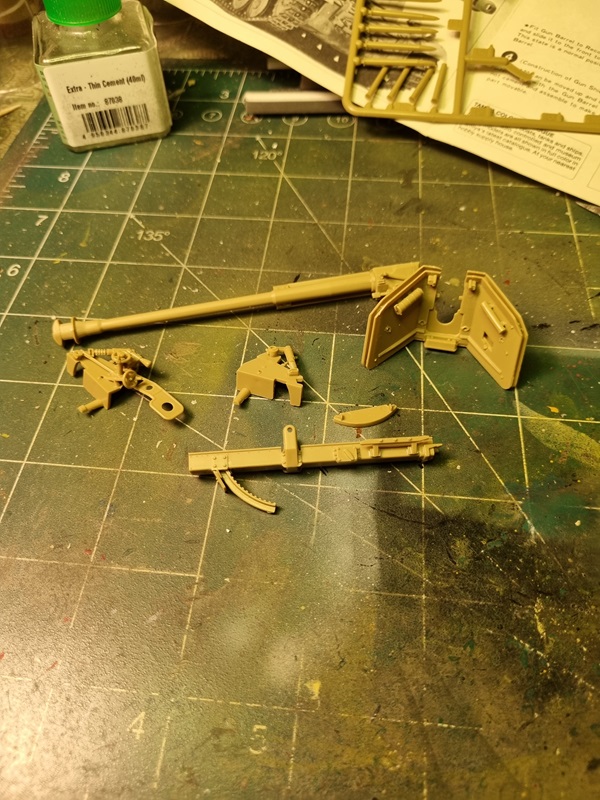
Anyway the build was started by building the main gun.
While some parts was left to dry properly, I started with the lower hull.
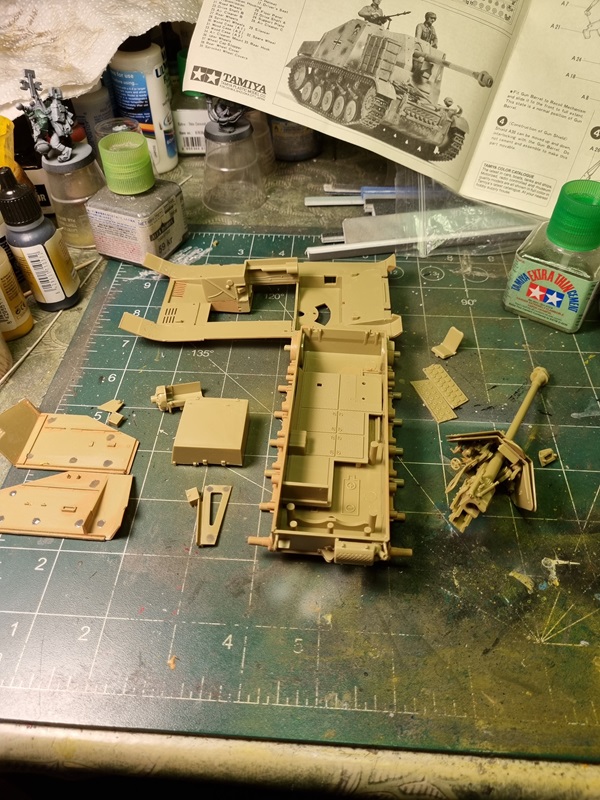
Things are coming together and getting ready to paint.
Just a little bit more to do before I can start painting.