Here’s a few pics of my finished Goff Rocker figure!

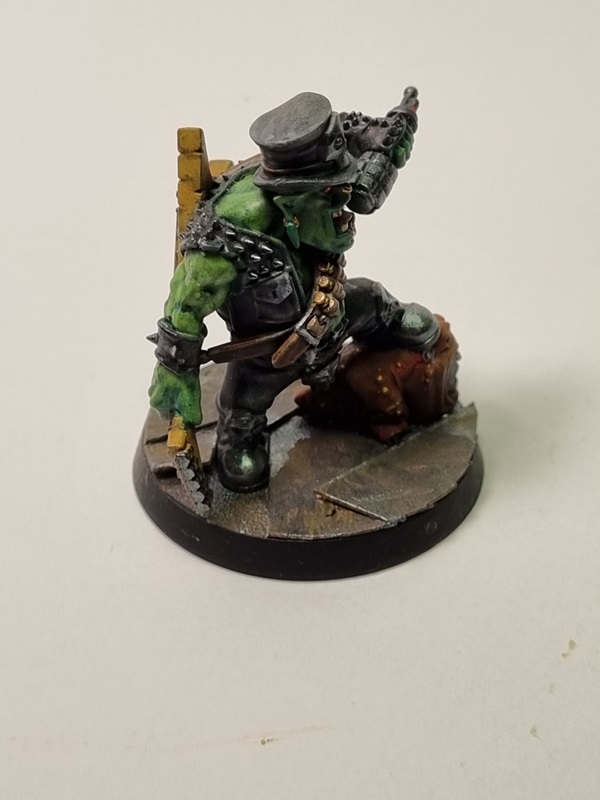


This was a fun figure to paint, even if it took a while before I got him finished.

Here’s a few pics of my finished Goff Rocker figure!
This was a fun figure to paint, even if it took a while before I got him finished.
First I gave it an overall cote of black primer.

Then a grey primer at about 45-60 degrees around from the top.
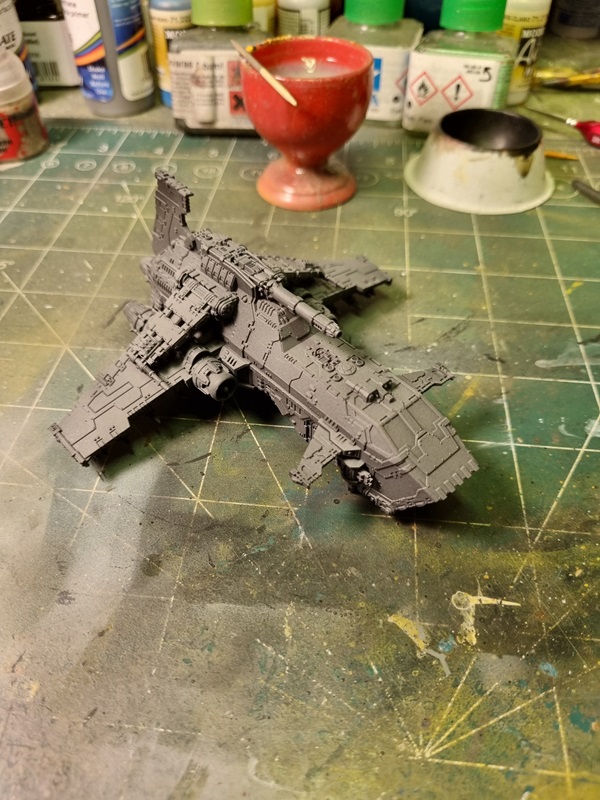
Then white primer was sprayed almost from above.
After that I did some dry brushing with white to pick up some details even on the underside.
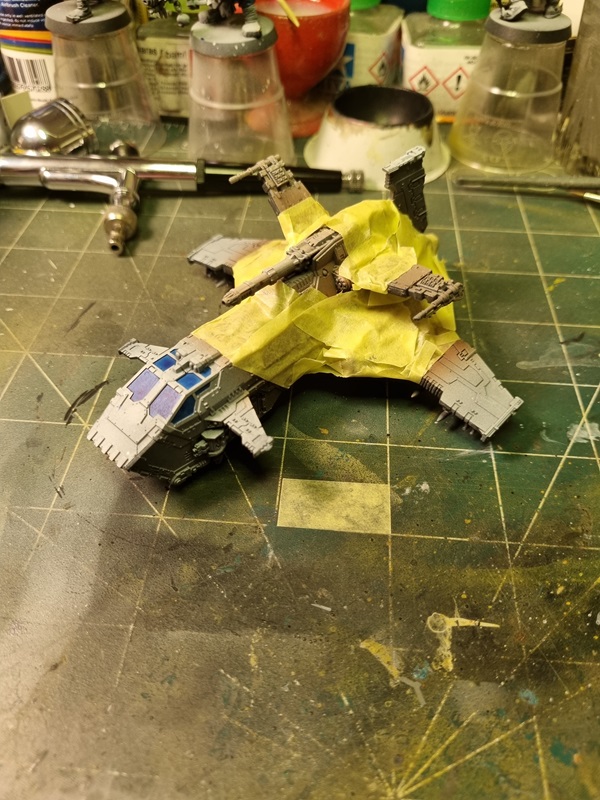
Then I used Speed paint on parts of the ship. This time I used airbrush instead of brushing it on by hand.

As can be seen the base was masked to allow for the metal colour.

I masked the ship for the next step and realized that perhaps it was best to paint the windows first.
After also masking the windows, i first painted white on the areas where the first colour was showing. Then Goblin green was painted on the rest of the ship.
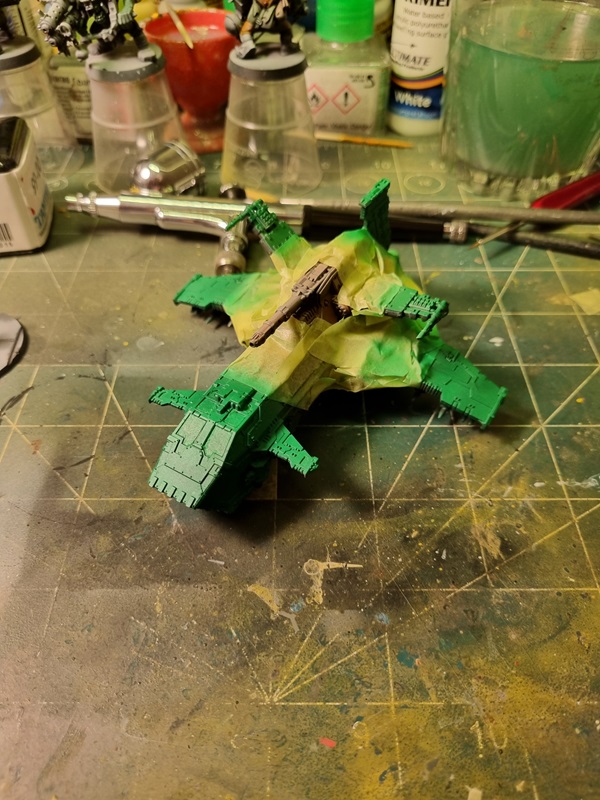
The tape was then removed.
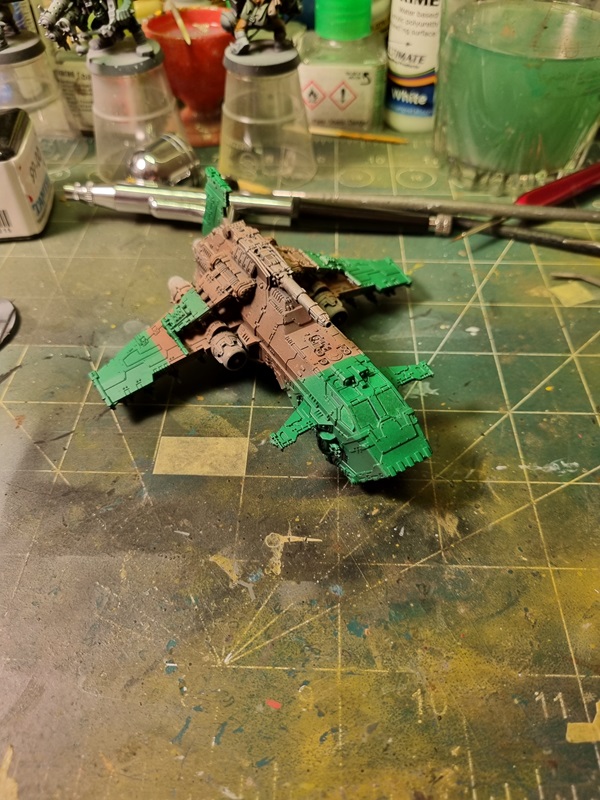
It turned out pretty good, but I wasn’t totally happy with the demarcations in some places.
But since this is a speed build, I’m not re-painting it.
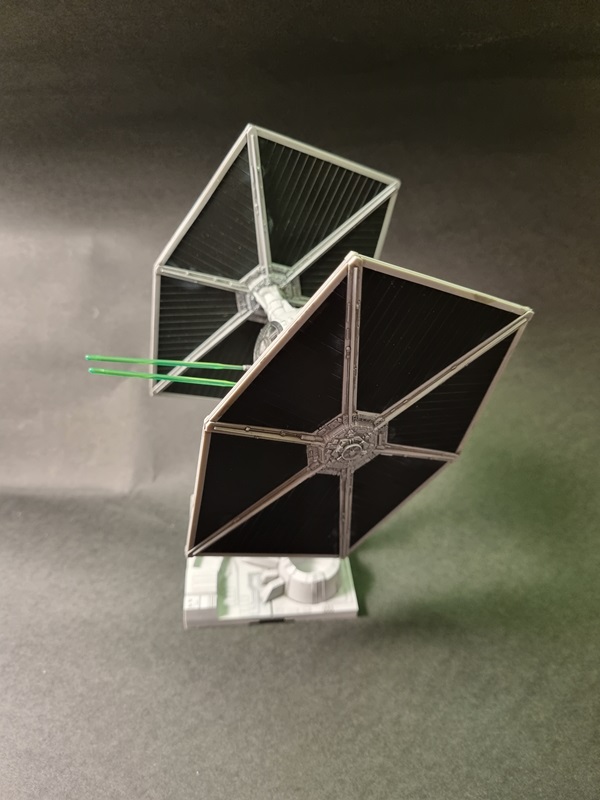
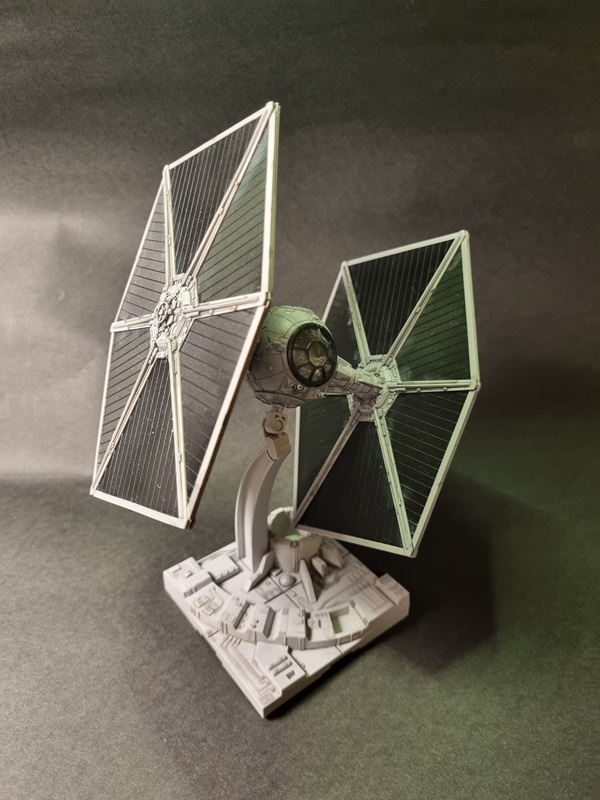
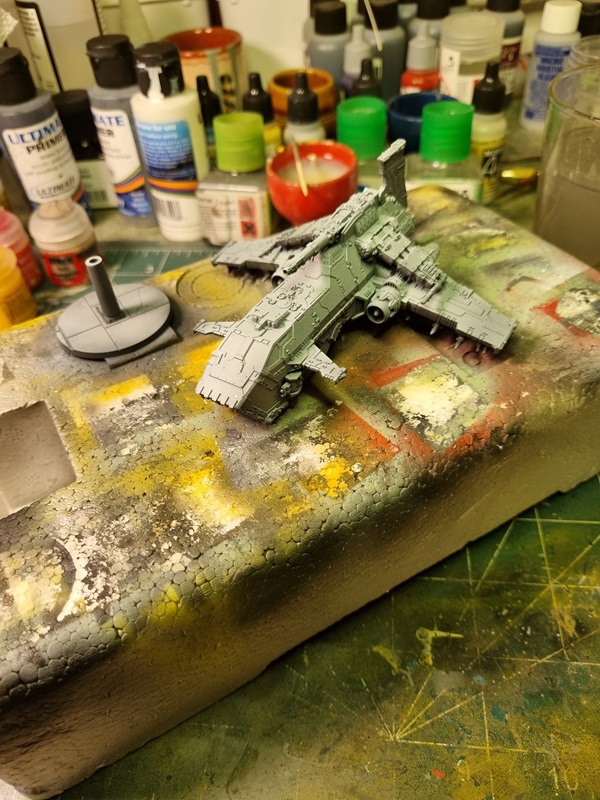
After removing the tape from the windows and placed it on its stand, it looked like this!
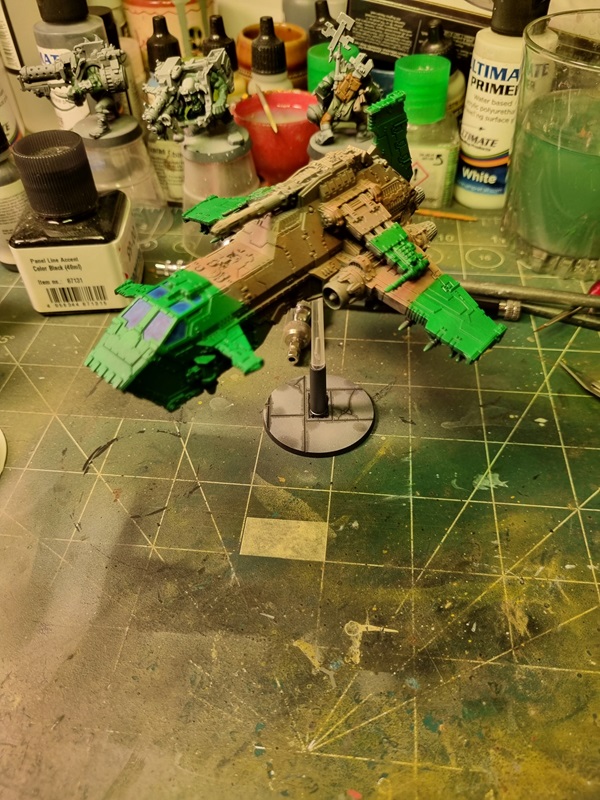
The windows got some shadows and highlight in an attempt to make them look like glass.

All the guns and engines got metal paint.
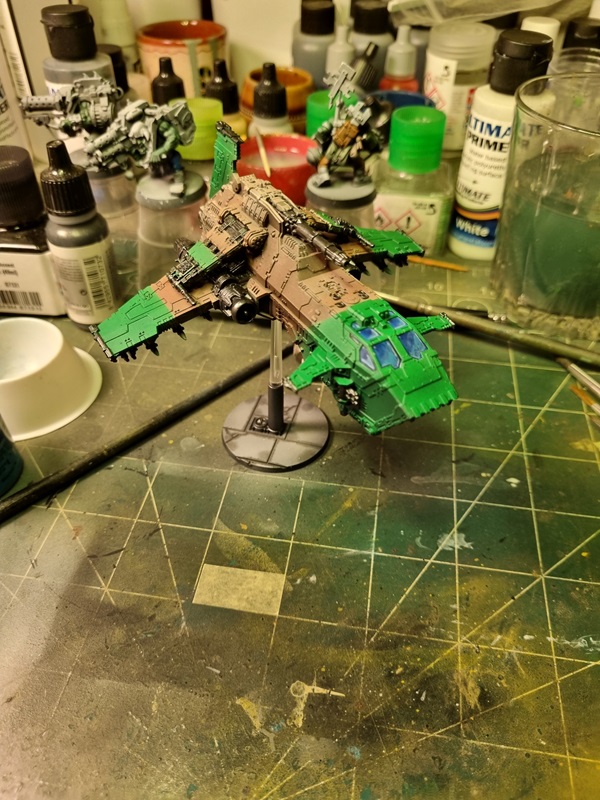
Next I’ll do some highlights, pin wash and general weathering.
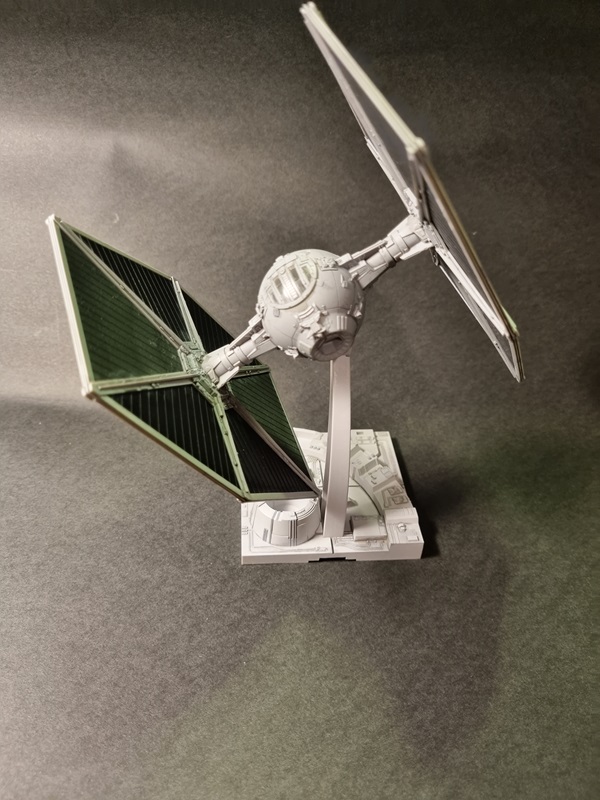
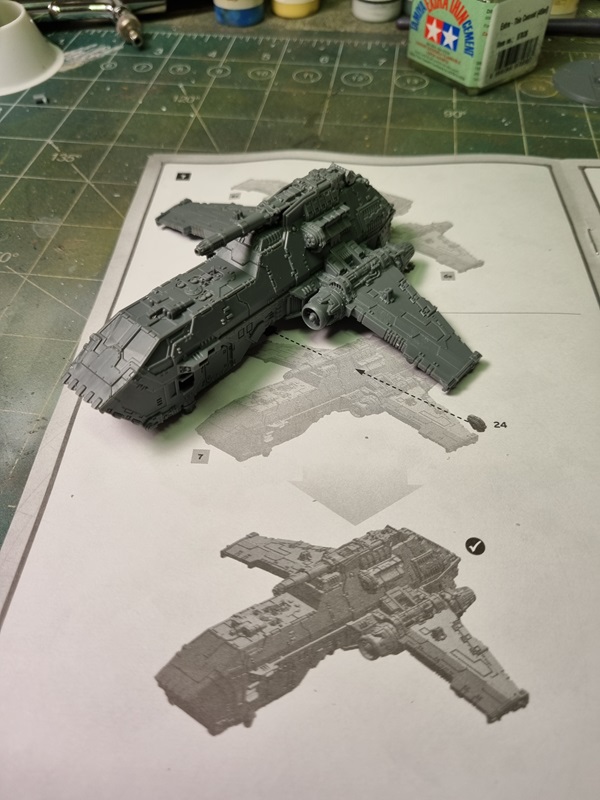
The remaining parts was assembled.

I opted to build it flying with the landing gear up.

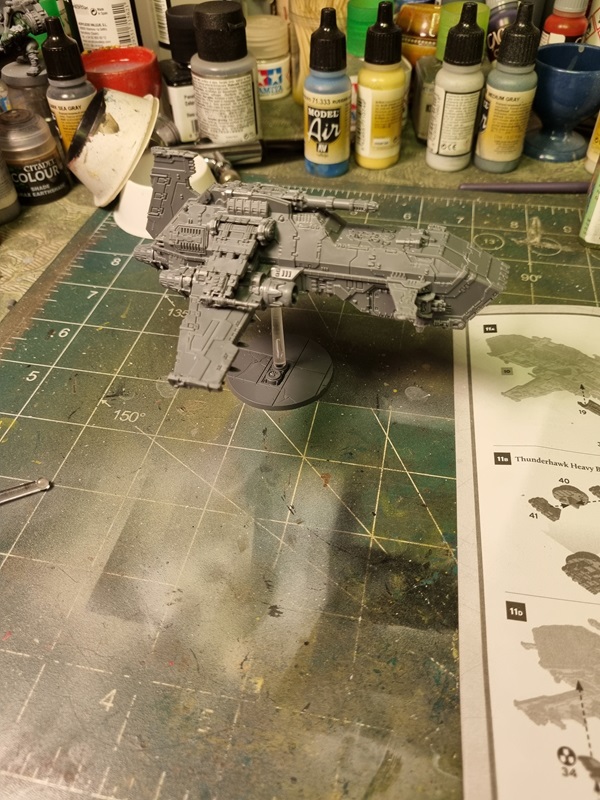
I’m not sure which part of the stand I’ll use yet, but perhaps I’ll use the bottom grey rod and the short clear one.
For some reason the decals are missing and this was a brand new sealed kit.
I’ll see if I can sort it somehow.
This is the gift I got from my Swedish Secret Santa that I started to build for a speed build group build on HLI.

It’s a fairly easy build and everything fits very nice. GW are also specialists on hiding seam lines and ejection pin marks are nowhere to be seen.
The only thing you need to do is remove nubs and mold lines before assembly.

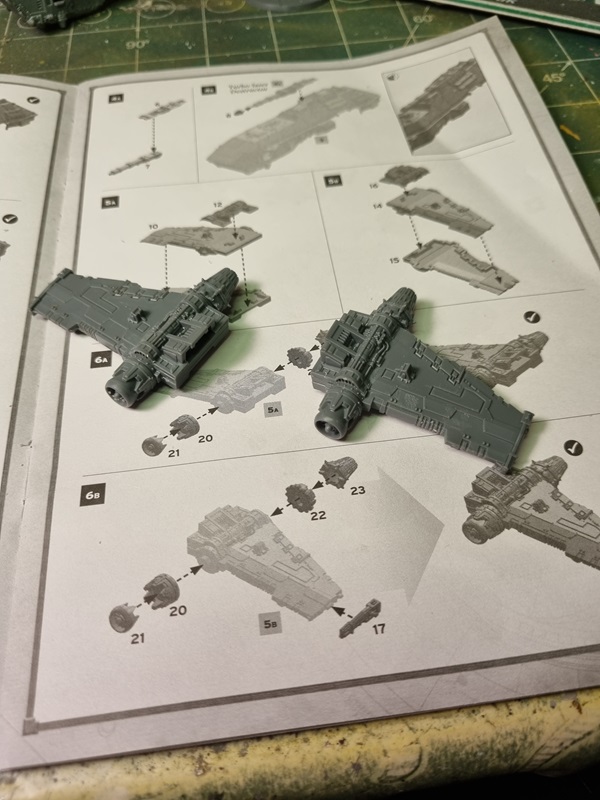
That was how far I got yesterday. There’s a few more parts to sort before it’s ready for primer and paint.
A few years now I’ve been participating in the Secret Santa gift exchange at Hobby Link International. It’s been great fun, even if I don’t always manage to build the gifts I get!
This year I got this cool kit.

This is my first Batman related kit, and hopefully I’ll get it built as well. I’ve thought of getting myself at least one of the Batmobiles, but it kinda never happens. Now it looks like I’ve got an excuse to start collecting!
First up is my Swedish Secret Santa gift, that I opened up today, as we usually exchange gifts on Christmas eve.
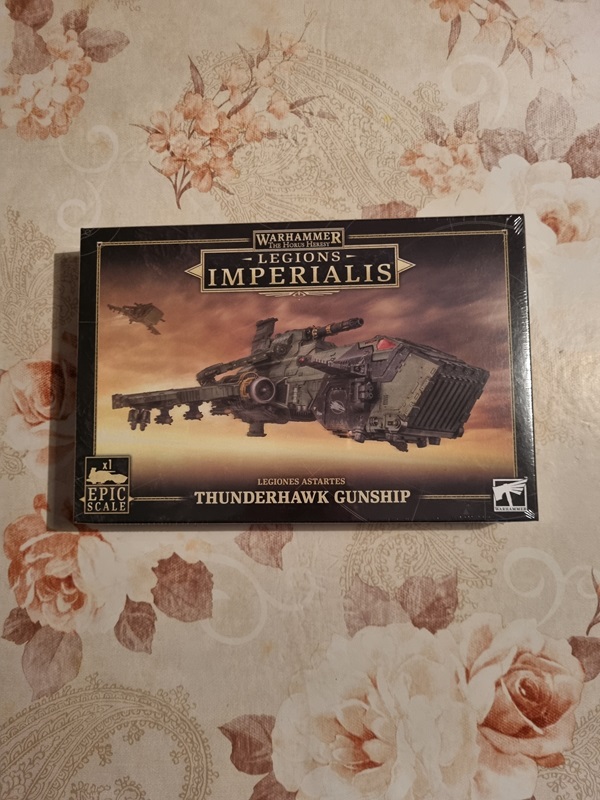
That was a nice gift, especially since I plan to get the game.
Also earlier today I collected a pair of parcels I’ve ordered from GW last month.
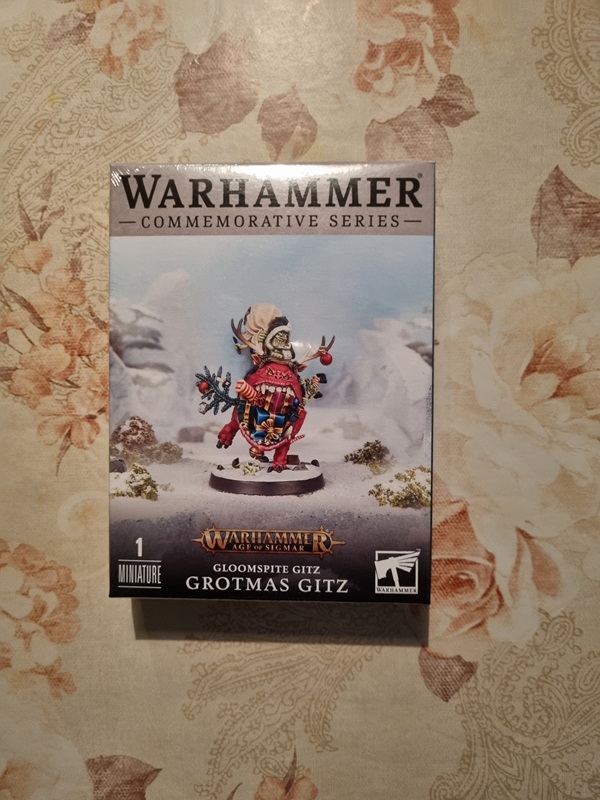
Love those special figures they do. I just had to have one.
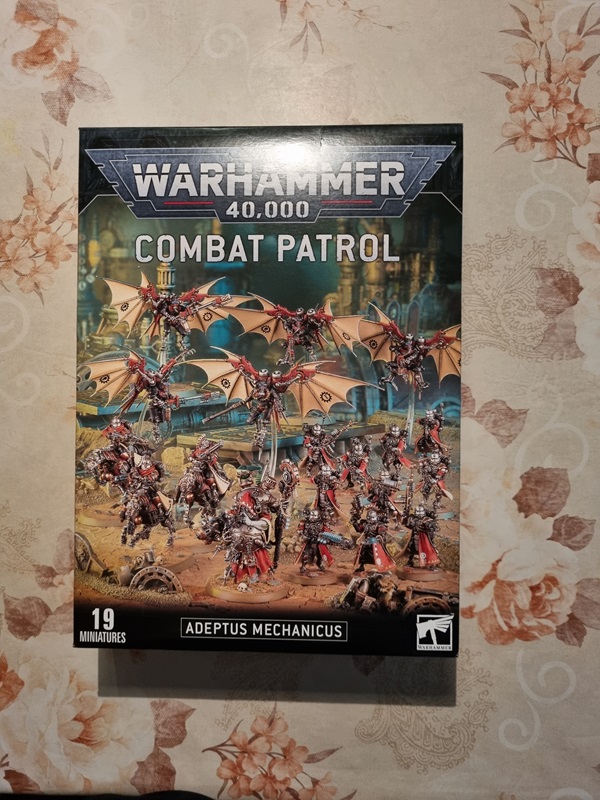
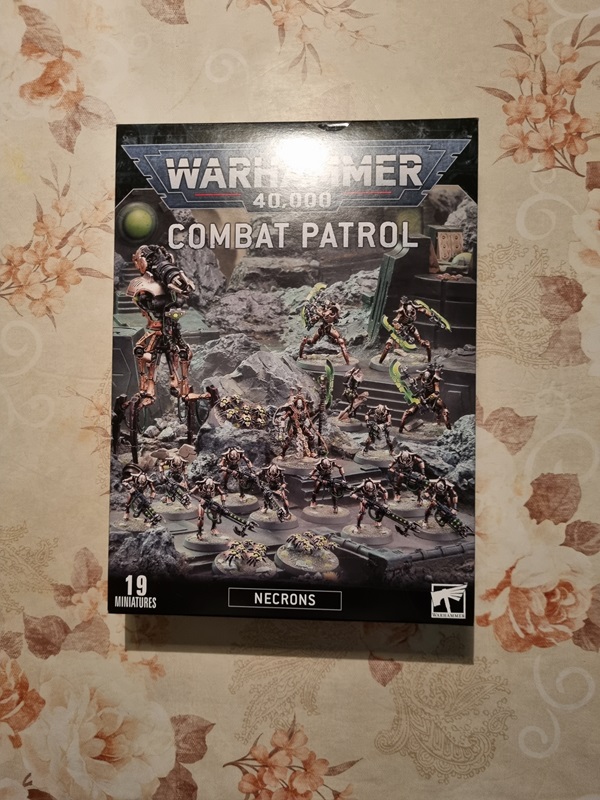
Both these boxes are new editions of earlier Combat Patrol boxes. I thought the differences was big enough to actually get them.
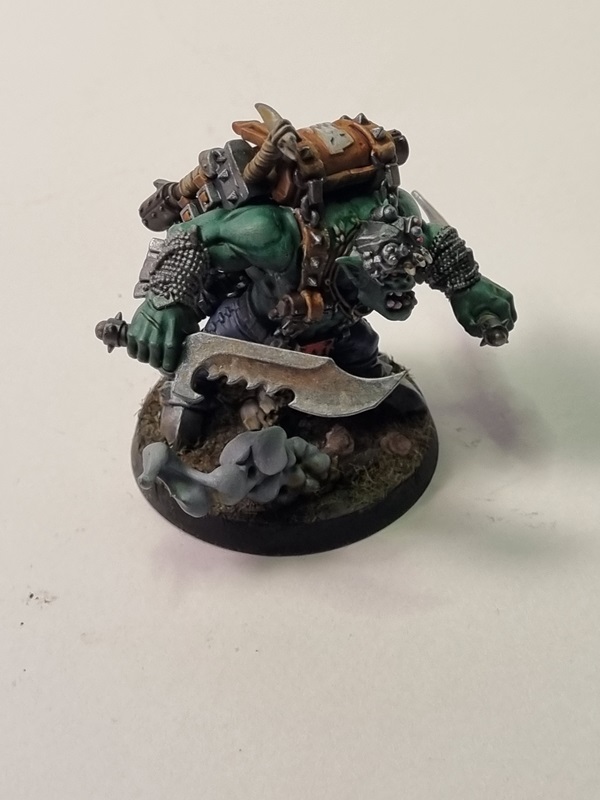
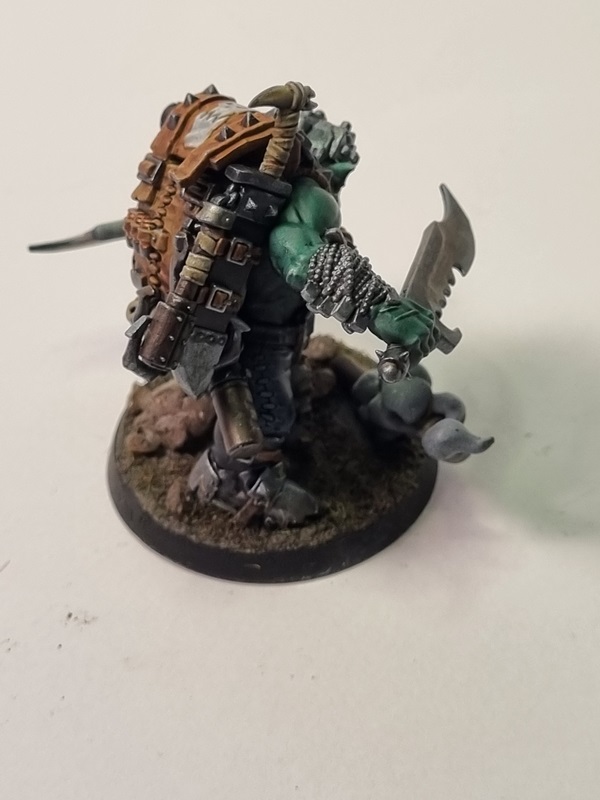
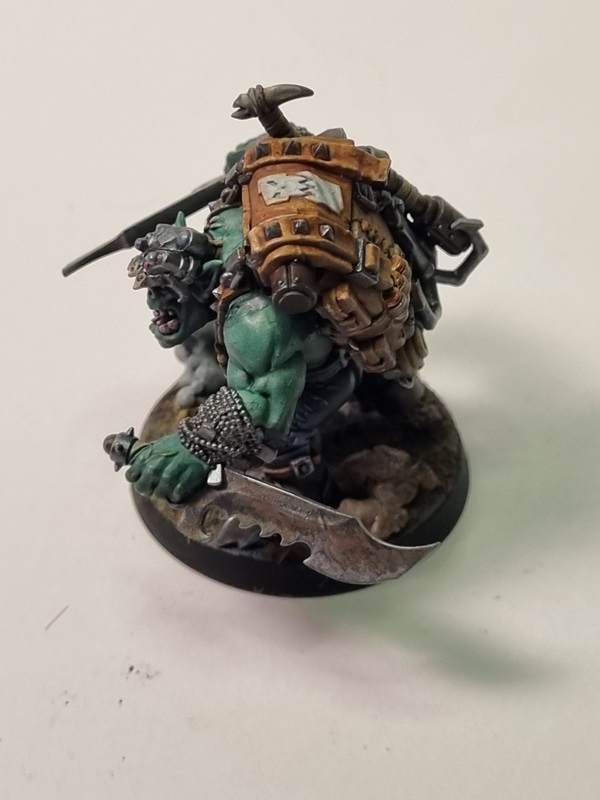
Here’s some pics of my finished ork boss, Boss Snikrot!
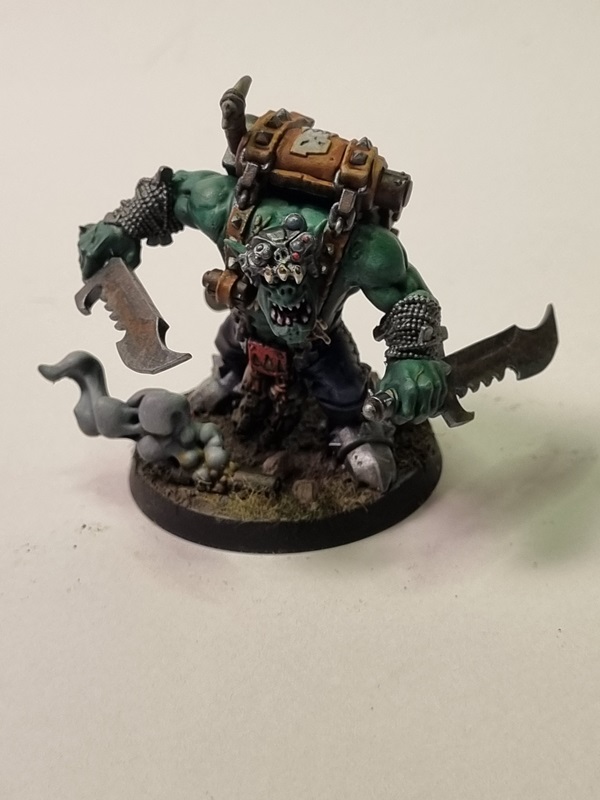
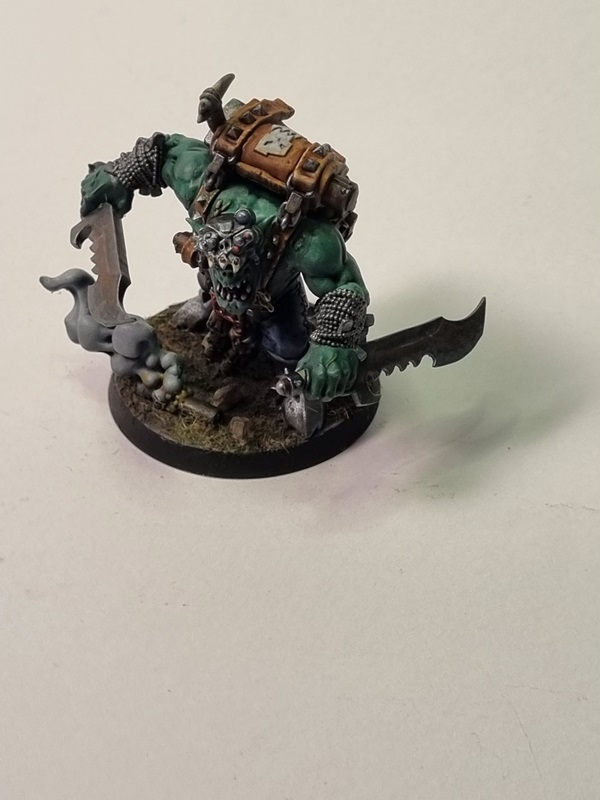


Last part before final reveal!
Grass and small pebbles was added to the base.

The base, stones and grass was painted with Agrax earthshade and then dry brushed with a light bone colour and the stones with a bit of grey.
With that and the rim painted black, I’ll consider him done!
I started this build for a sci-fi group build on Facebook. Probably the last one I build for that gb. I choose a figure just to get a fairly easy build.
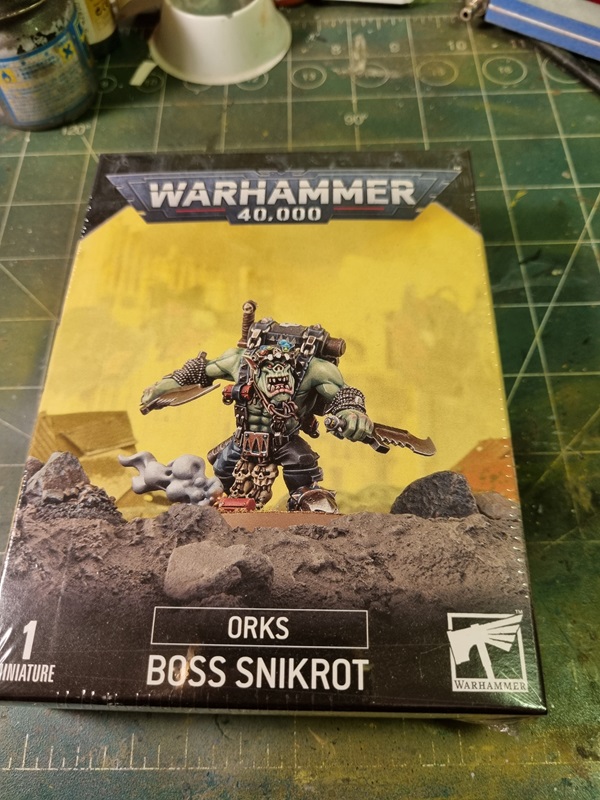
I thought he looked pretty cool so the choice was pretty easy.
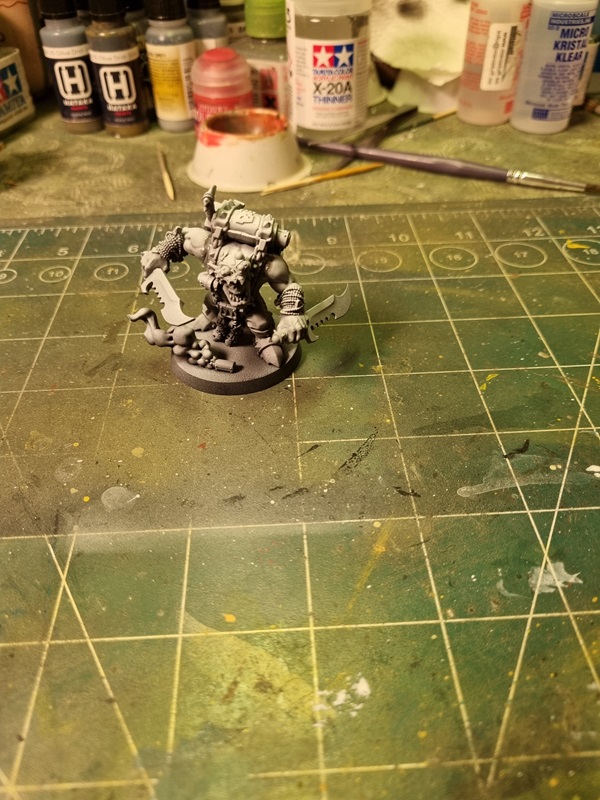
Starting with assembly which was pretty straightforward.


I choose to have his mask on his forehead, so bot the mask and face would be visible.

I gave him a zenithal primer, which means I first painted him black, then grey in about 60 degree motion all around, and finally I painted white more or less from the top almost straight down.
Lastly I dry brushed white with a soft make up brush, picking up a little more of the details.
I decided to mainly use Army Painters Speed Paint.
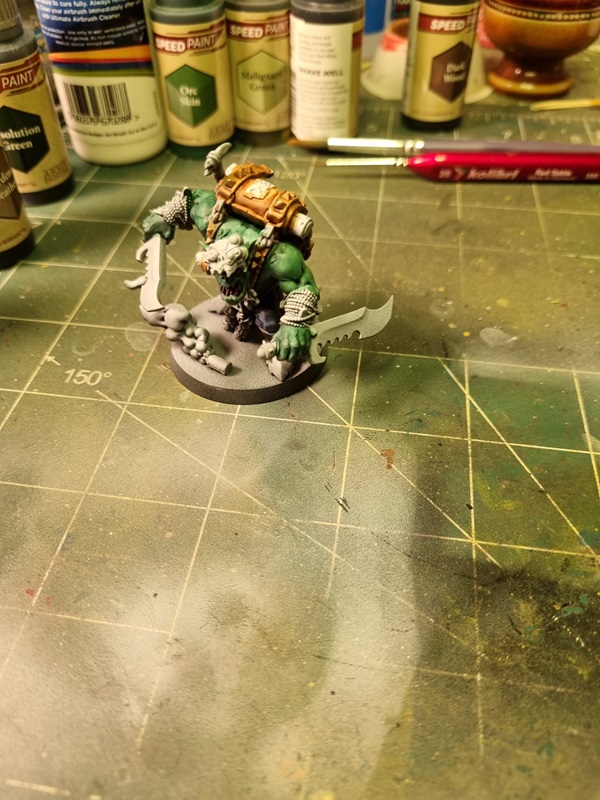
I then painted all the metal with Vallejo’s black metal, and also added a few other details. Trying to use speed paint as much as possible.


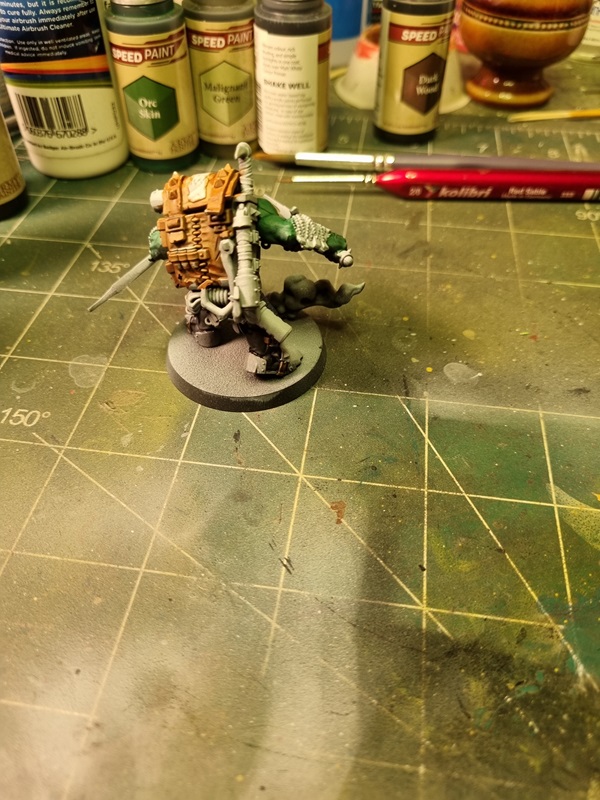
The metal parts was highlighted with a brighter metal colour, and then I used rust and orange rust to add some rust on weapons and other spots.
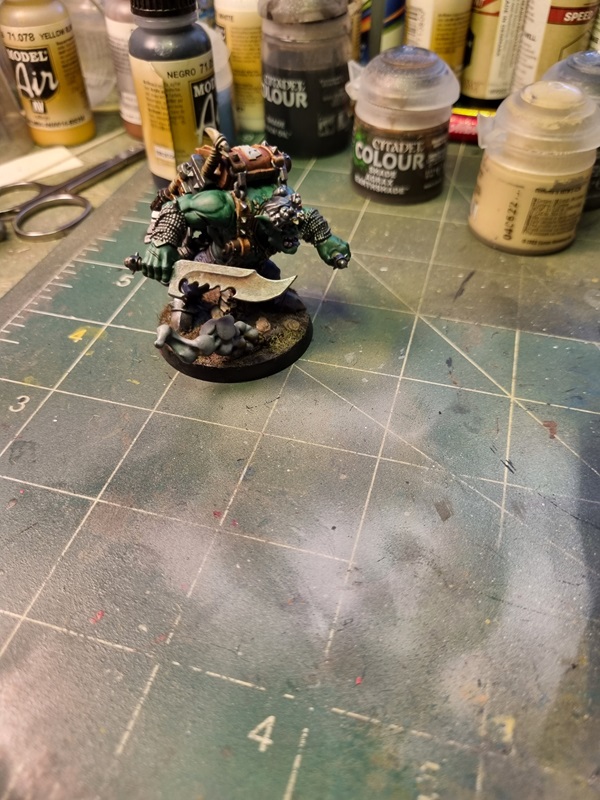
After that I used AK’s mud on the base.

I’ll add some grass and a few stones to the base, and do some additional painting before it’s done.
Here’s som pics of my finished build!