During the build weekend (plastkollo) I managed to bring home a few kits.
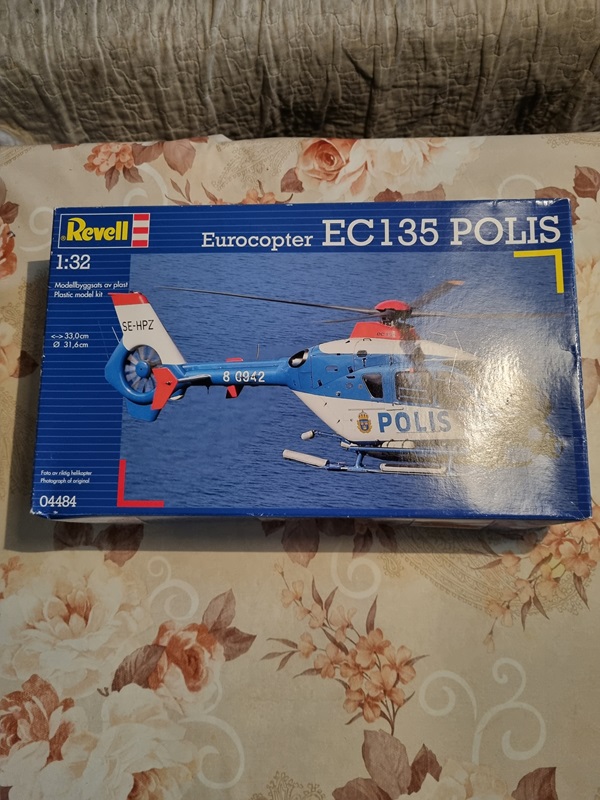
First this 32nd scale Police helicopter.
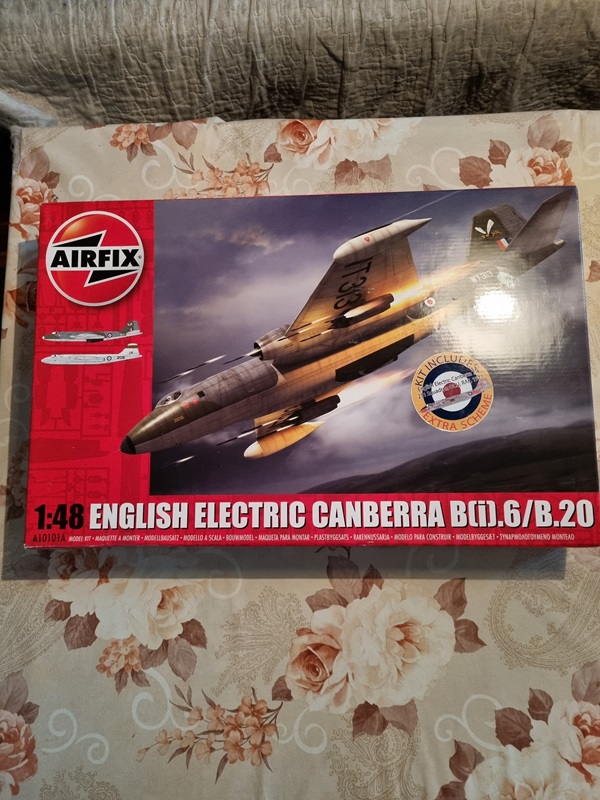
Then an Airfix Canberra.
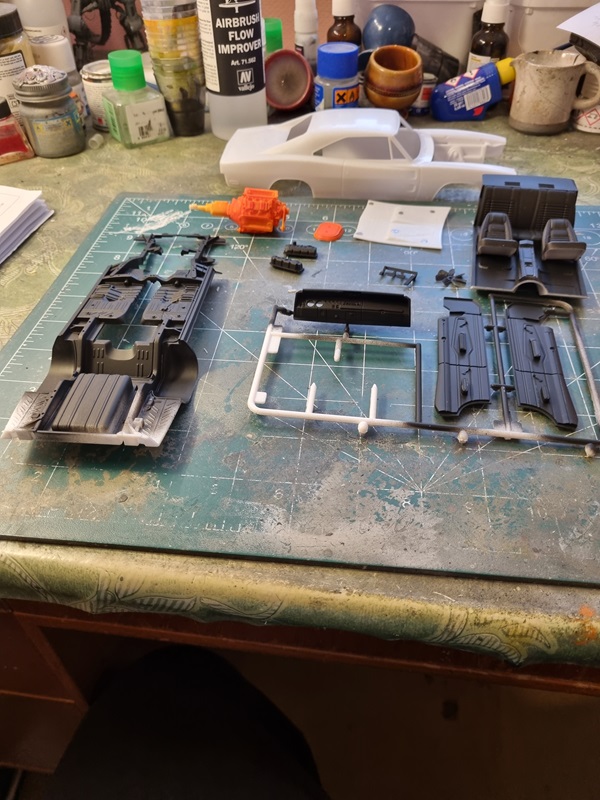
Then I found this Dodge Charger that just had to come with me as well.
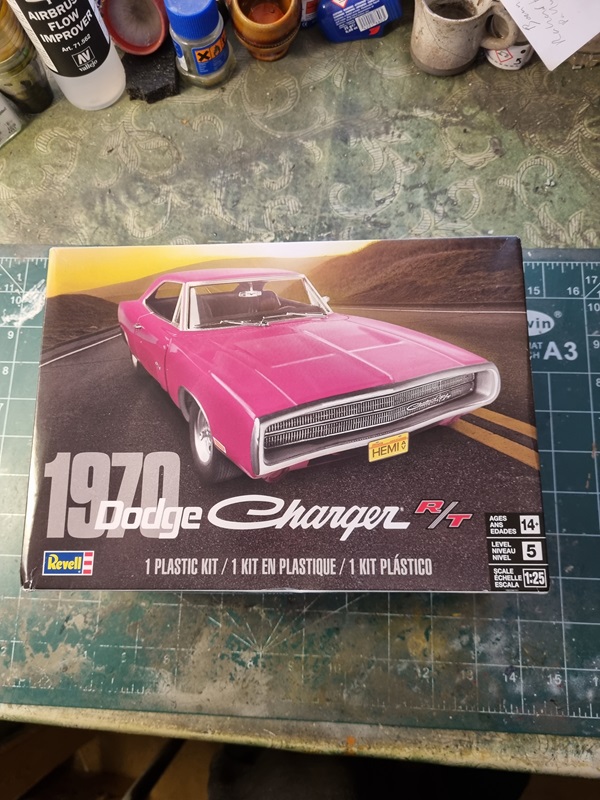
I also started building it during that weekend.
A friend of mine there had bought a Buccaneer kit and it turned out that a german store sold it at half the price. After asking about it, I ordered one as well. And yesterday I got it delivered to my door, by my friend who made the order. Very nice!

I also was with my son in a local toy and hobby shop and got myself a little late b-day gift from him.

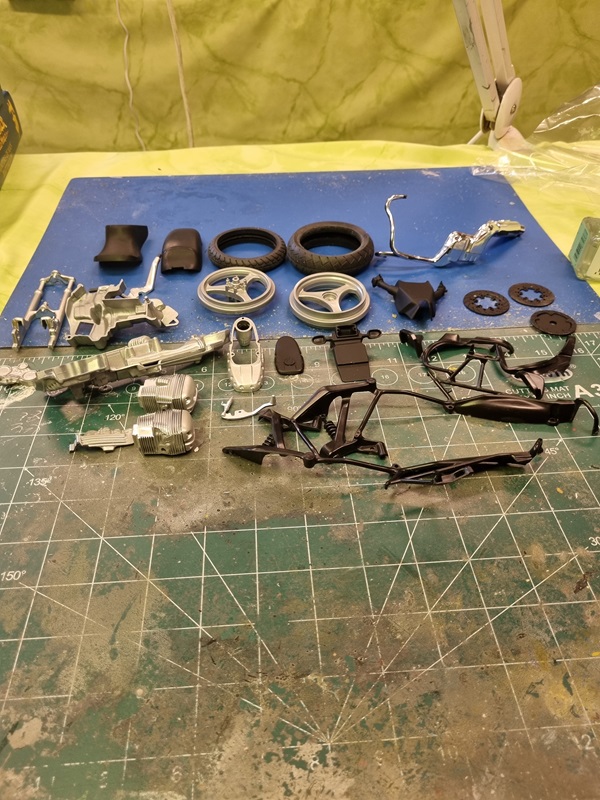
It looks like a very nice kit! Tamiya usally is! 🙂