B-25J Mitchell “the Strafer” – part 3

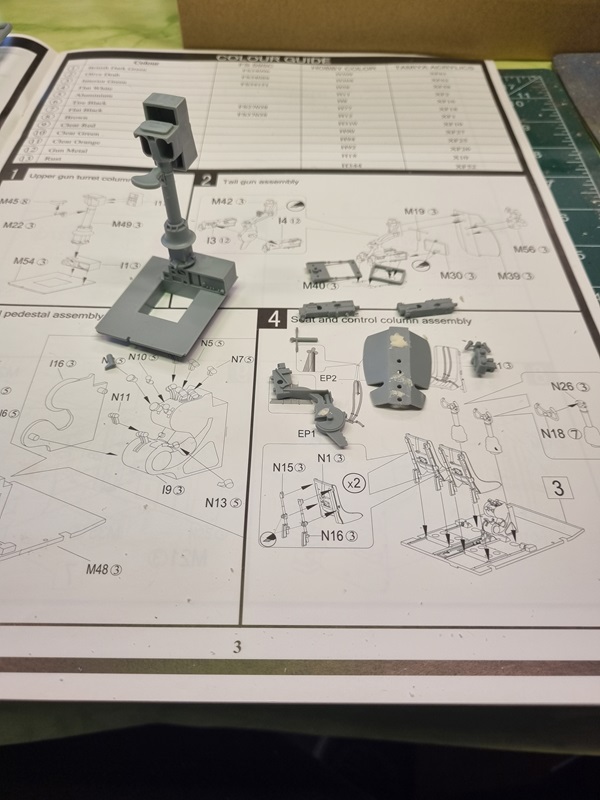
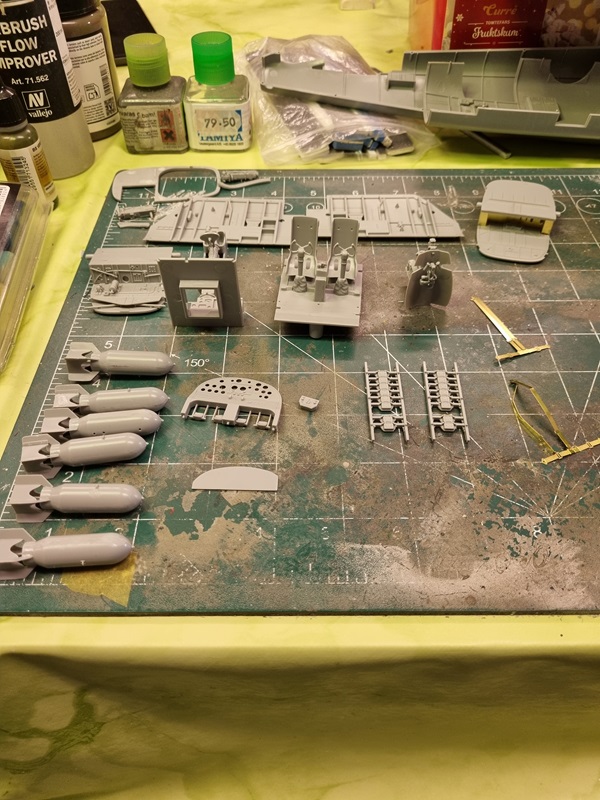
I did some work on the backsides of some of the panels for the bombbay, painted the instrument panel black and sorted a few ammo lanes.
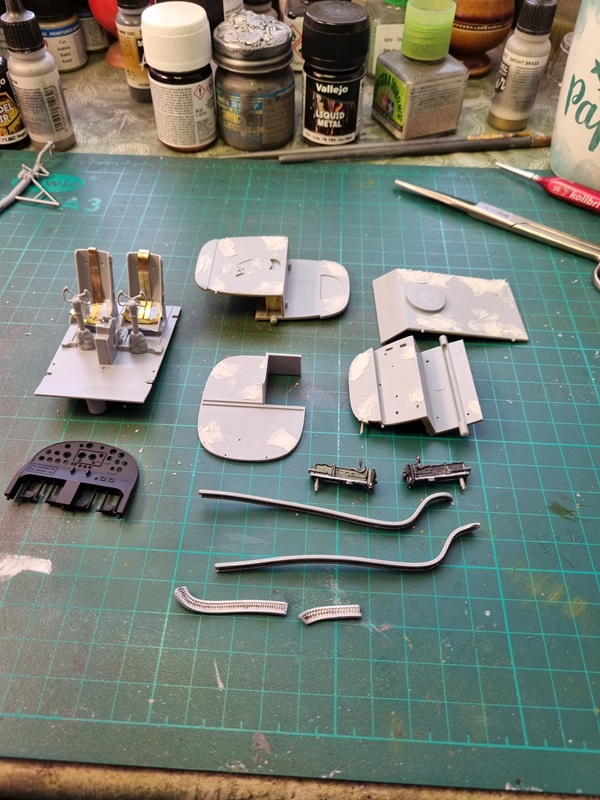
One strange thing is that the 1/48 scale version actually have a premade weight that goes with the kit! There’s none with this kit but I think there’s clear evidence that there was supposed to be one.

I measured 80g of bullets and put as many of them I could in the nose.
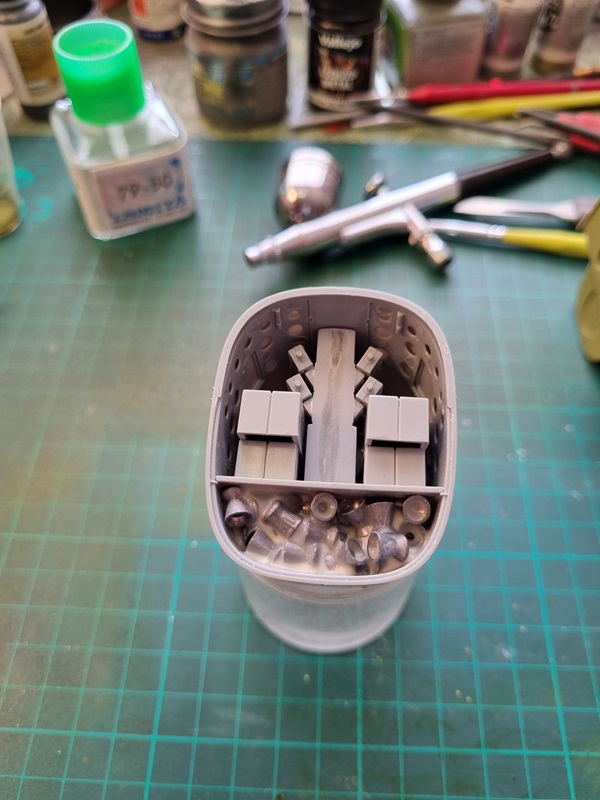
Then I used blue tack to hold the rest of the bullets that I put in the empty space behind the front landing gear well.

As can be seen I’ve also repainted the cockpit area with dull dark green.

I added the bombs to the side walls.
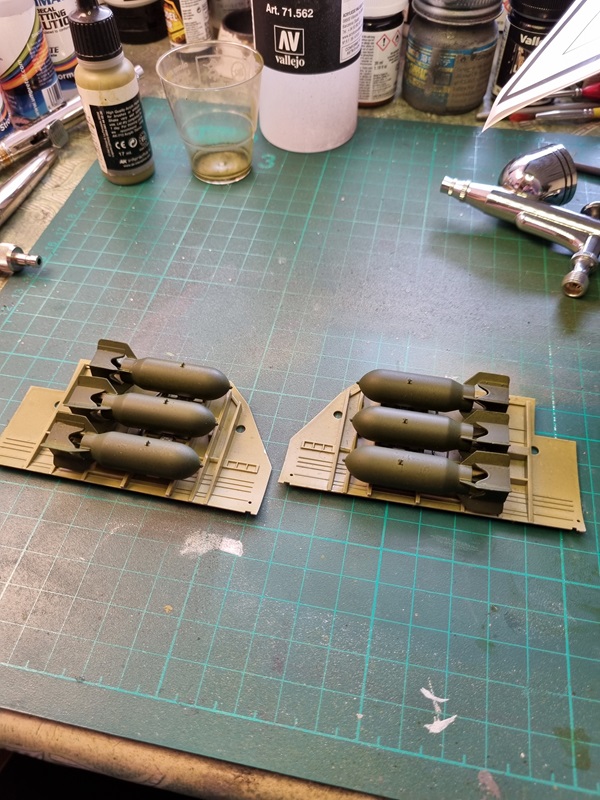
Then I assembled the bomb bay.

Lastly I added the ammo lanes to the rear gun.
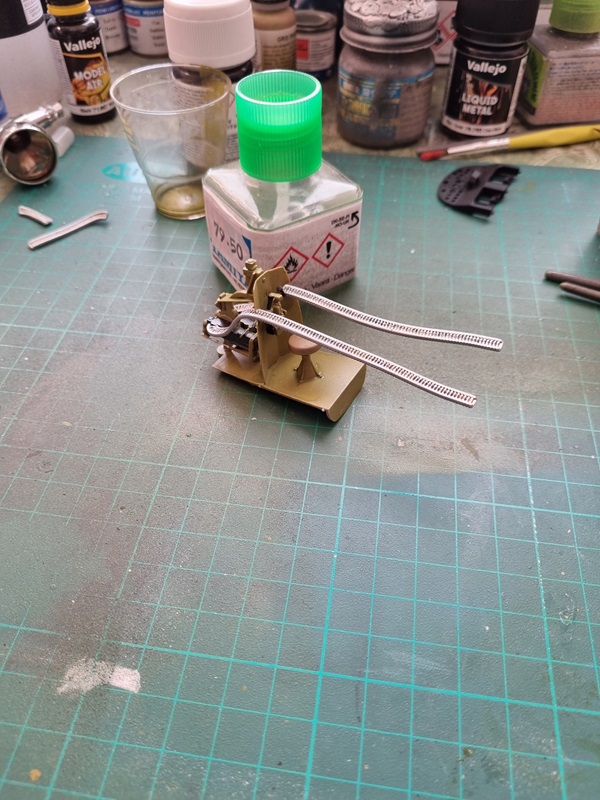
I still need to paint a few more details and sort the mid guns. I’ll probably add a few wires to the guns as they seems to have that.

Hopefully I can soon start to assembly the interior and then the fuselage halves.
B-25J Mitchell “the Strafer” – part 2

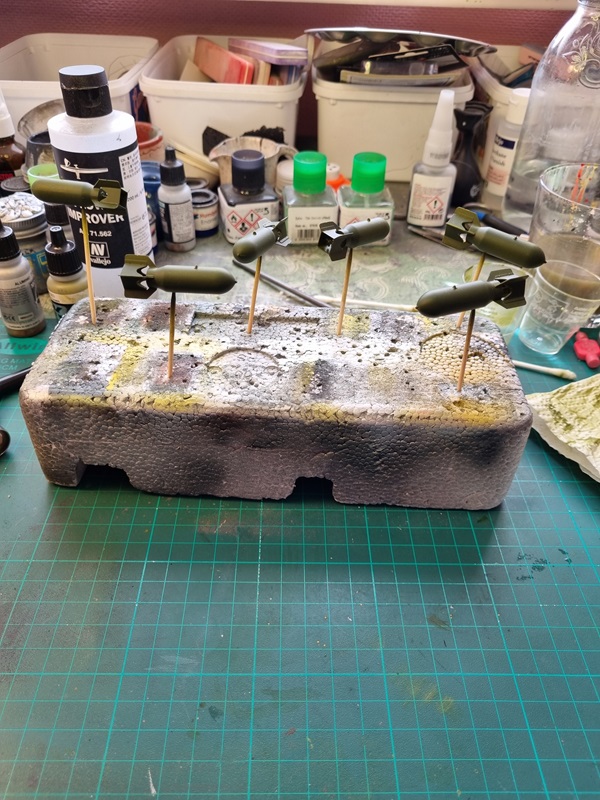
The bombs was painted dark green.

The interior was painted interior green, and I’ve also started painting a few details.

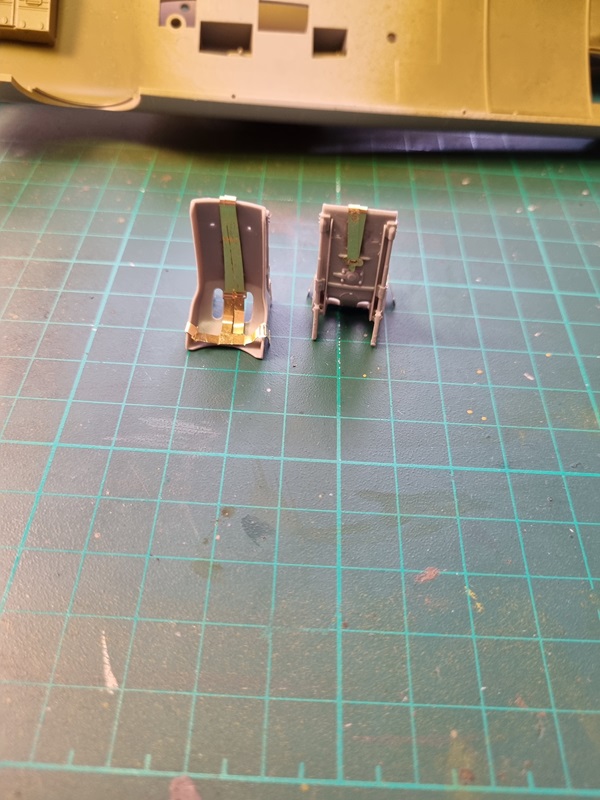
I’m not happy with the seat belts as they don’t sit as I would like them to do.

I’m thinking of moving them backwards into the seat, and just let the rear end where it ends when that is done. Otherwise perhaps a Quintas set would be the best solution, but that would take some time, and I don’t like delays.
It’s possible to work with the wings, engines and other stuff meanwhile. I’ll think about it.

B-25J Mitchell “the Strafer” – HK Models 1/32

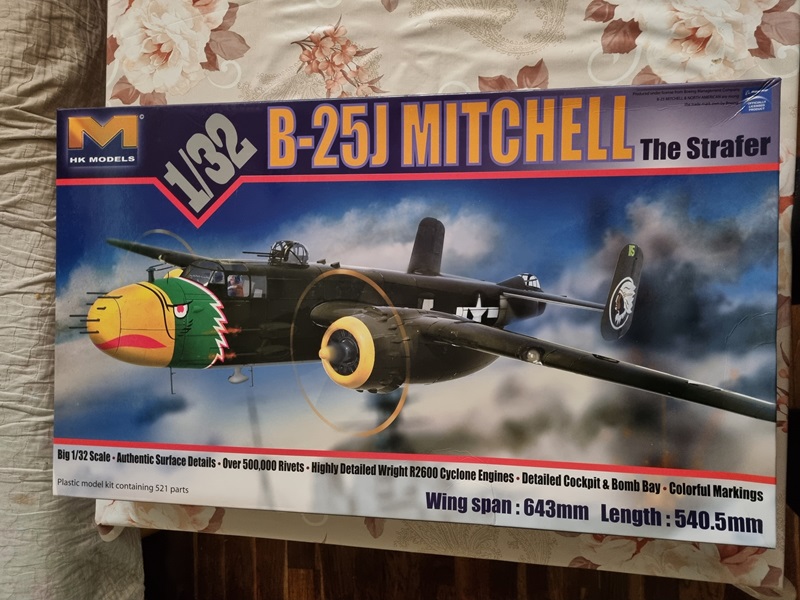
Yet another build for the LSP Silver jubilee group build. As I’ve already built a P-47D in “silver” I thought I had to find something “25” as well. So I got myself this kit.

I brought the kit with me to the build weekend I was attending last weekend.
I started building the interior as usual.

The instructions are a bit unclear, not telling exactly where the seats should go, and the parts doesn’t help much either. It’s a bit of guess work, but looks alright to me.
I also built the bombs as they’re part of the interior and needs to be in place before closing the fuselage.

More parts was assembled and I even started working with the PE belts.
PE isn’t my forte and the belts are driving me crazy. Besides it wasn’t easy to work with them with the seats in place, so I used some Tamiya glue and removed them.

I also started painting the interior parts, but messed up a bit, so I have to redo parts of it.
At that time it was time to break up the build meeting and travel home.

More pics later when I’ve sorted the paint and hopefully even the belts.

USS Enterprise CV-6 – back from the grave

I started this build a long time ago, and have done a bit here and there during that time, but lately it’s just been sitting in a box on a shelf.
I had need for a box to put my orcs in so I decided to finish this build and thus emptying the box.

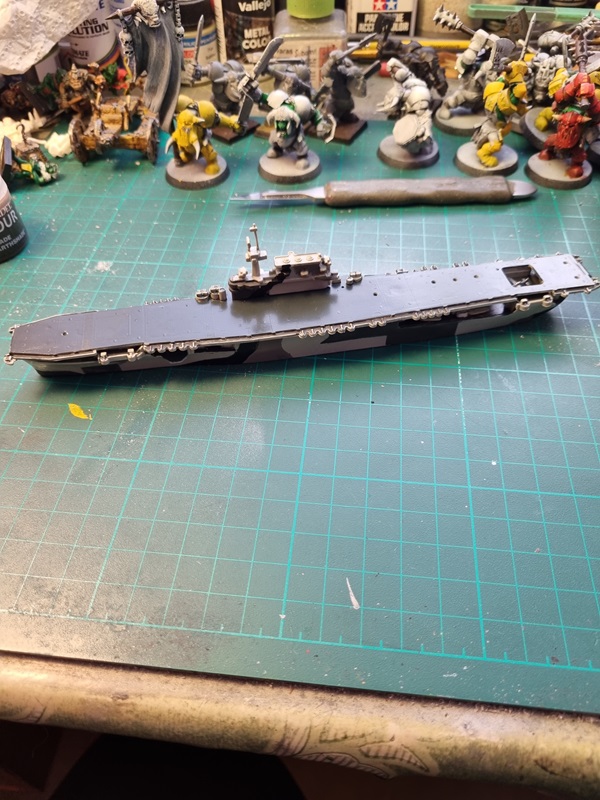
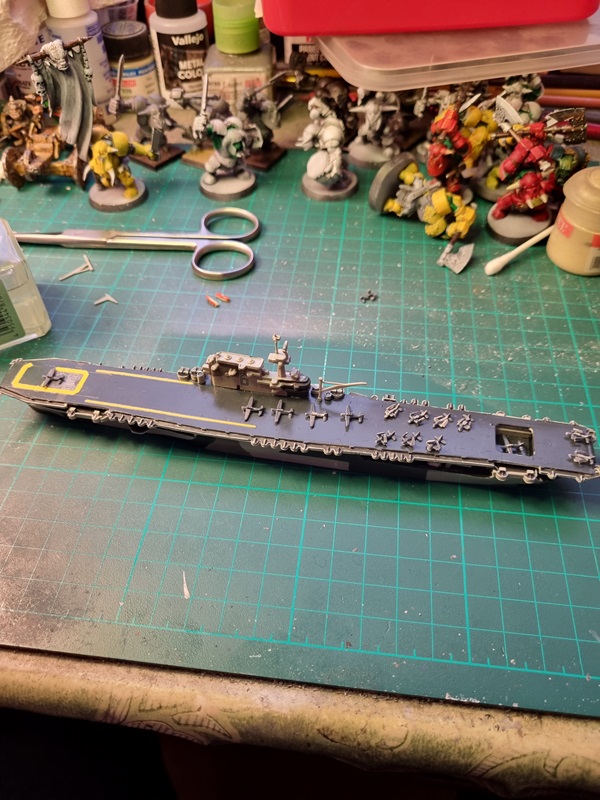
I glued the carrier deck to the hull.

Then I added the decals.

I then started to sort all the small detail like the planes and cranes.

Missing are the 2 life boats and the last plane whose wing was missing at the time I took the pic. The wing tip was in the box, I just had missed it.
I’ll sort the boats and the plane and then do some touching up and maybe a little weathering.
Then I’ll consider this build finished!

P-47D Thunderbolt – Part 15

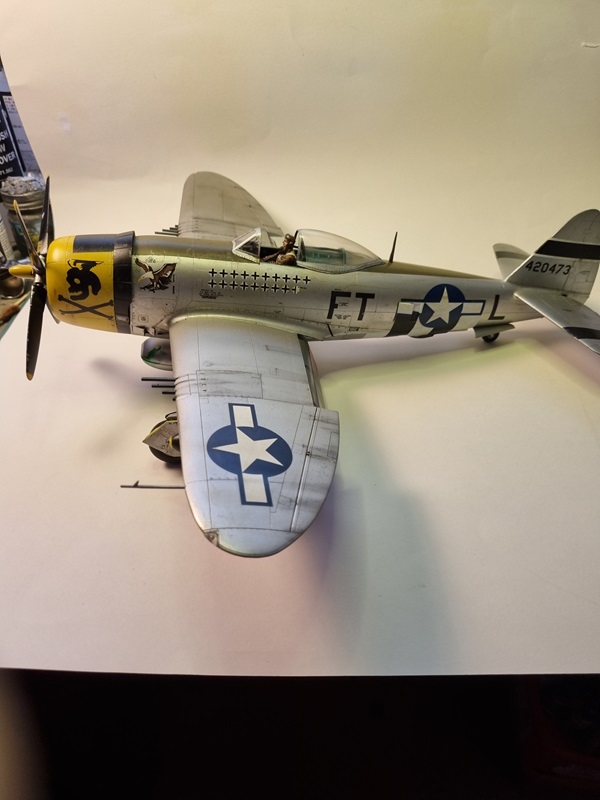
Time for some weathering. First I used Flory’s grime wash on the entire plane.

Then a good part of it was viped off.

Next step was to use oils, in this case black, to create some streaks.

I’m no specialist at weathering, and I’m still learning, by looking at pick and other builds.
I’ll do some wear on the propeller and a few other places. Other than that I’m not sure what more to do. Other colours perhaps?

P-47D Thunderbolt – part 14

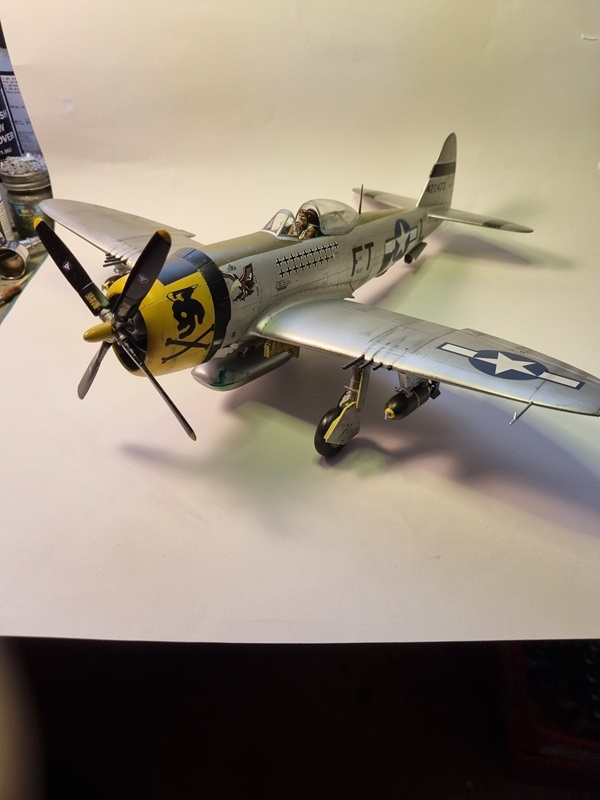
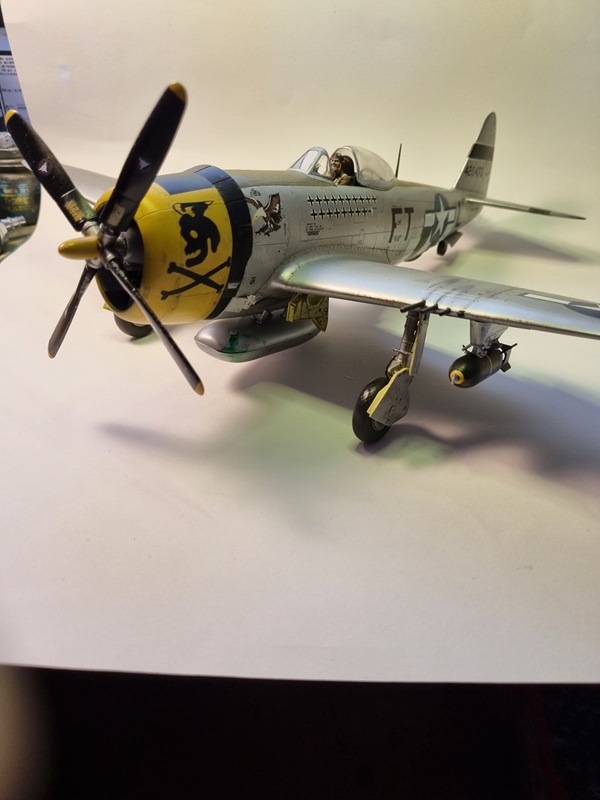
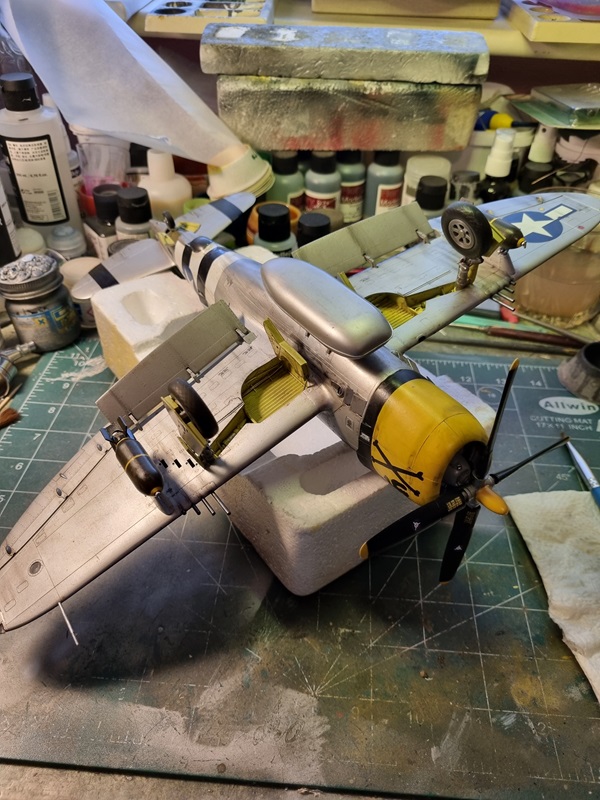
After assembling the landing gears, I left the plane to rest.

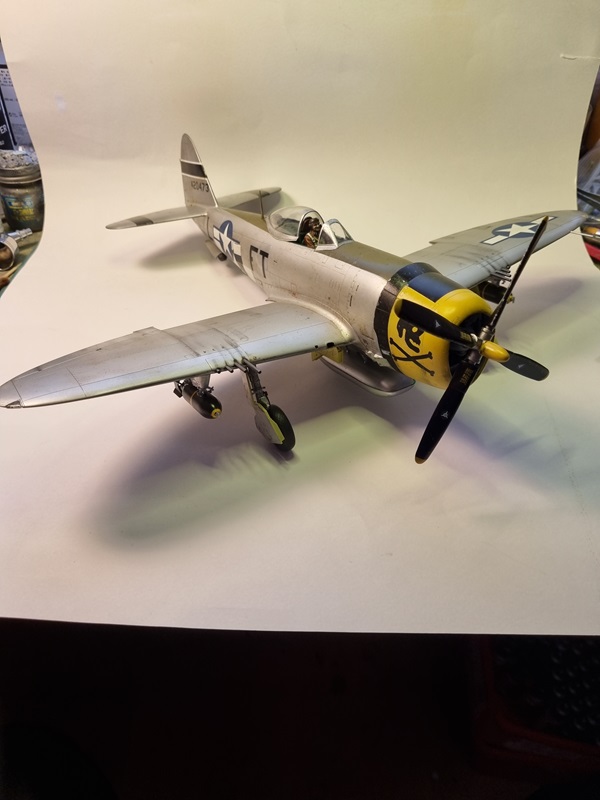
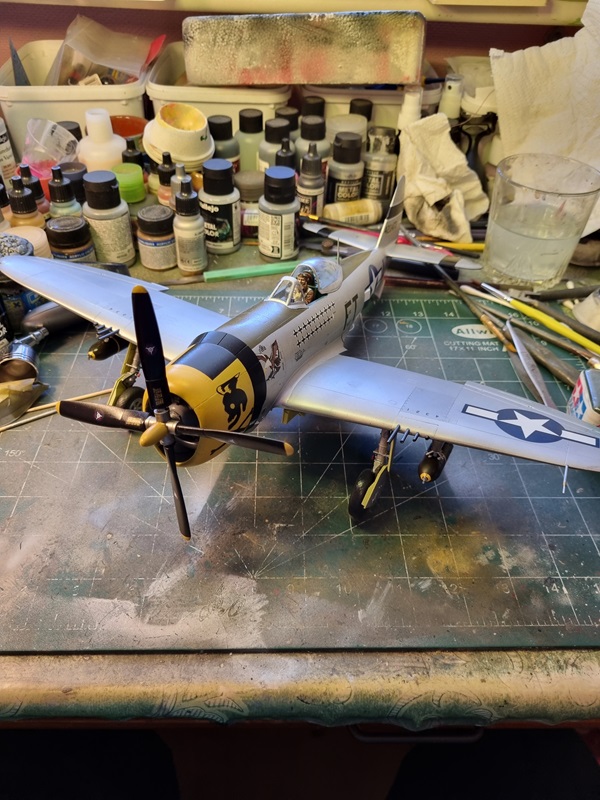
The day after, I assembled more or less everything else. The closed canopy was removed, and parts of the paint was touched up. The front glass was glued and the pilot put in place.

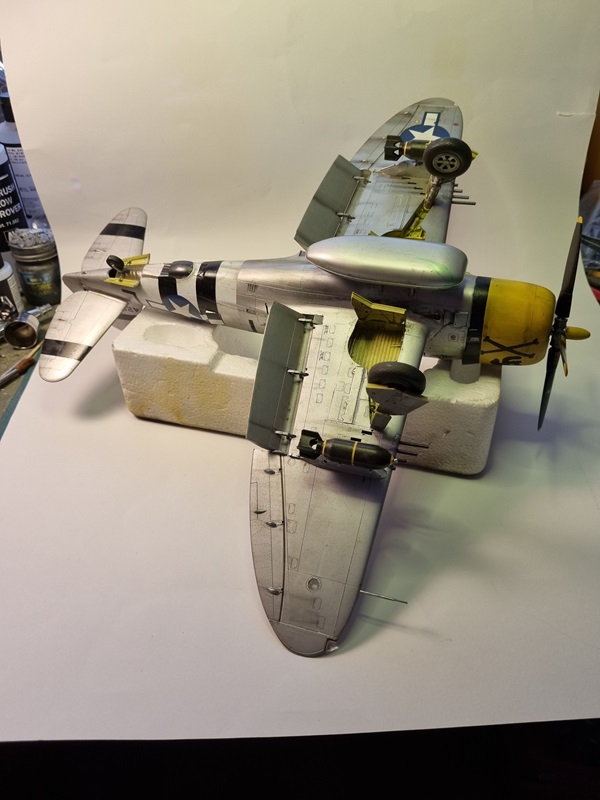
Lastly the glass on the bottom of the wing was glued and also the drop tank.

Except for some weathering, there’s only one thing left to do. The glass pieces on the wing tips needs to be glued in place, but first I need to sort their colours.
After checking the net it seems like the left is red and the right green.