
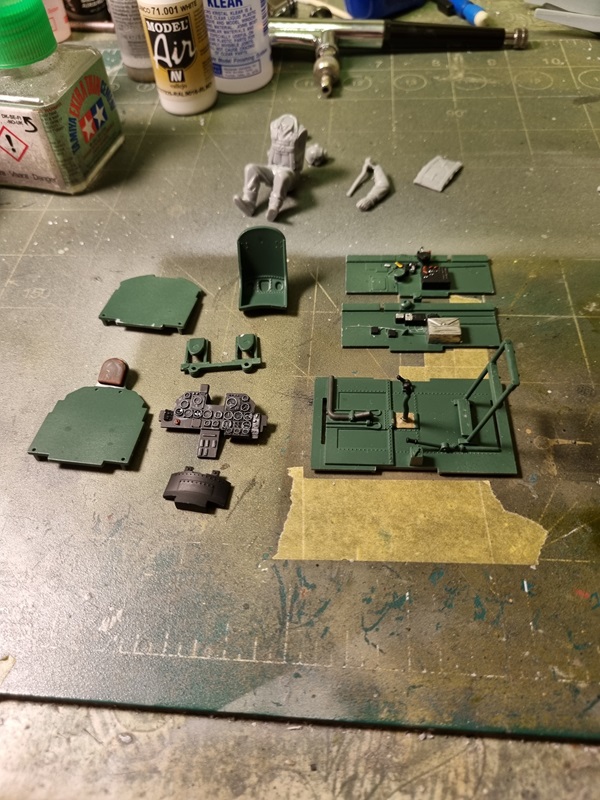
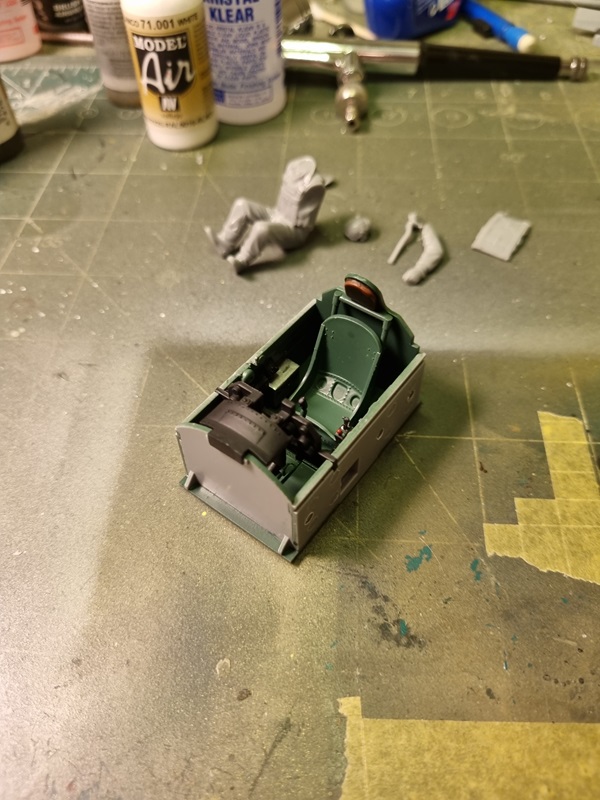
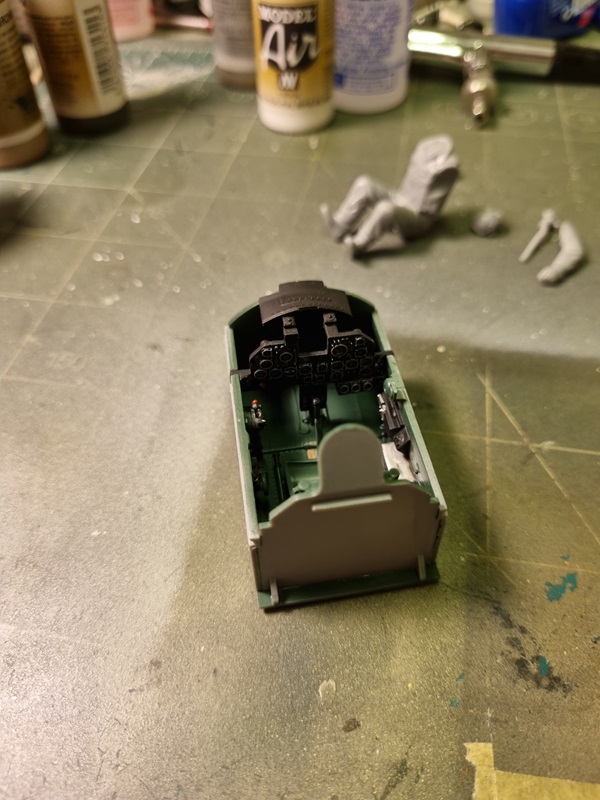
With the cockpit done, assembling the fuselage wasn’t far away. It goes together very well, but there are a few things to beware of. Check that the holes are drilled and cut up for the drop tank holder. It is also easier to glue the cockpit to the bottom piece first and the take care that everything aligns properly when joining the fuselage halves.
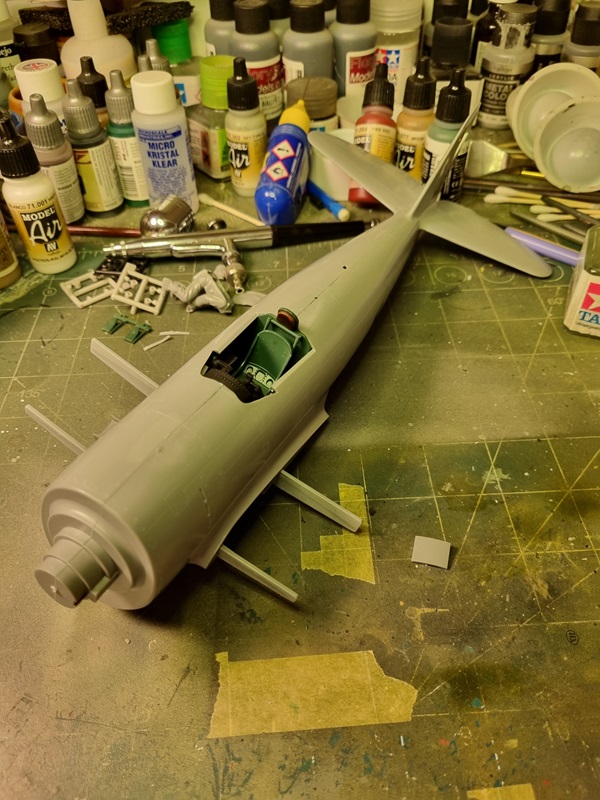
Even if the fuselage went together very nice, I still had to sort the seams, which might have been my own doing. No mayor work, just a little sprue glue, and then some scraping and sanding.
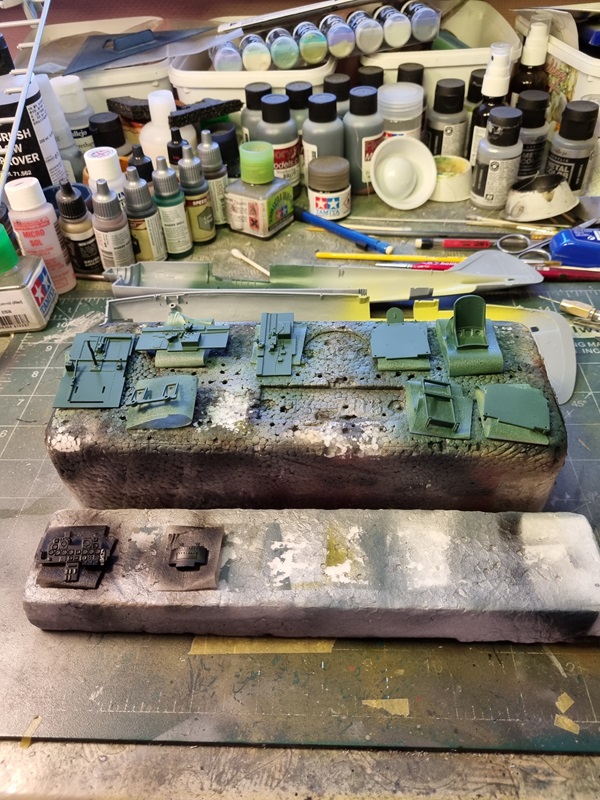
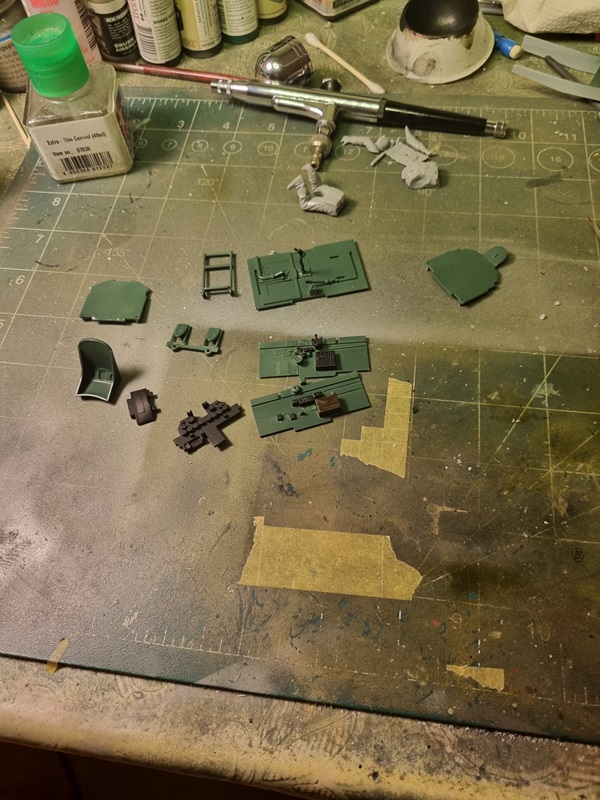
While the glue was drying, I painted covers and engine parts.
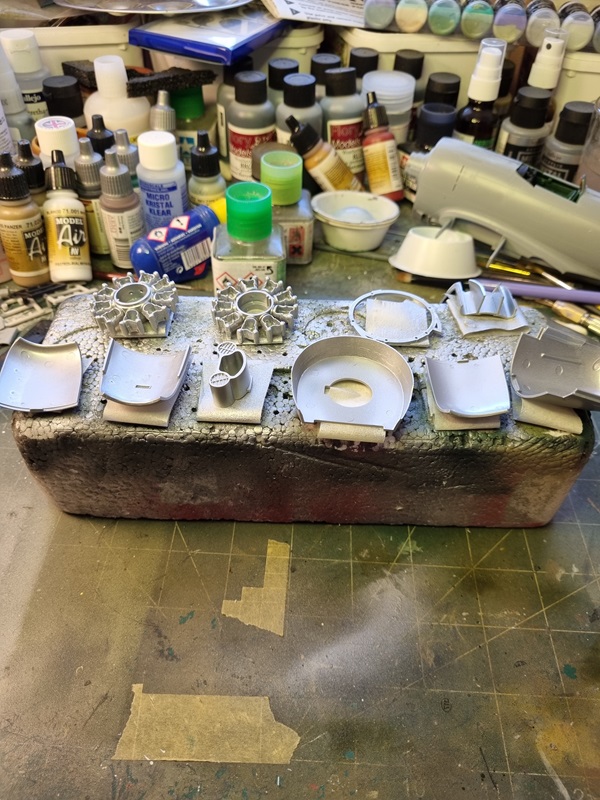
The wings was assembled.

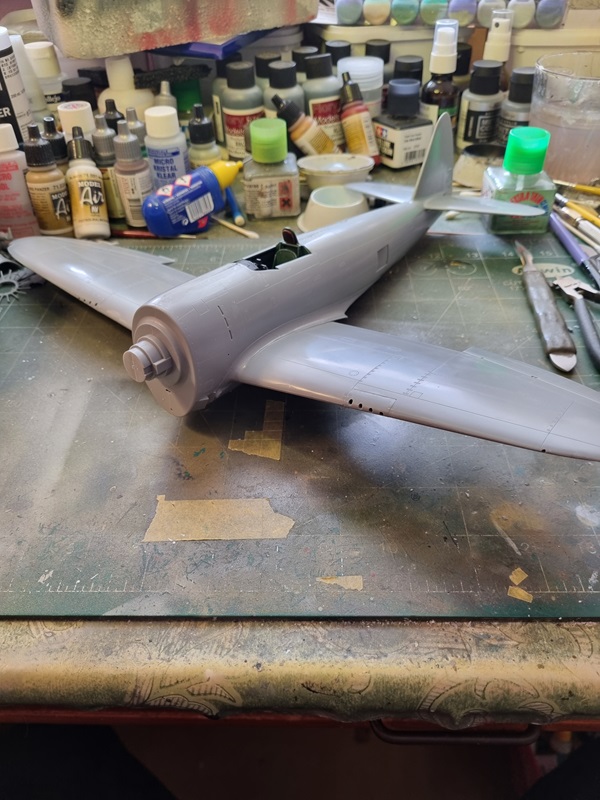
And then the wings was glued to the body.
I painted the other side of some parts like the engine, and then black metal was painted on some parts.
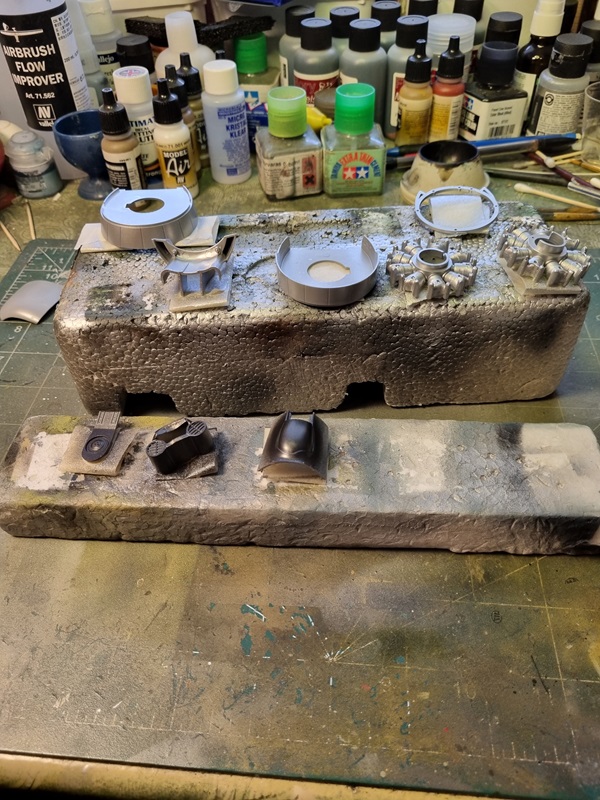
Next I have some masking and painting to do on the engine parts, and hopefully I’ll be able to sort the landing gears and other small stuff.

 Music and Model building