The tires was painted with a mix of tire black and black. The exhaust stacks was given a dry brush with gun metal and a slight layer of rust. Also in the pic is the canopy parts with mirror and handle in place, as it should.
Then the plane got some primer.
As the primer says it needs a 0.4 needle I used my Evo. Super speed painting that sadly sputtered a bit. I shifted to my cheap 0.3 airbrush and diluted the primer a bit before painting the topside. I think that went a lot better even if it took a minute to cover instead of 10 seconds with the Evo. Now I’ll let it dry for 24 hours before I can sand it and take care of a few problem areas that I spotted.
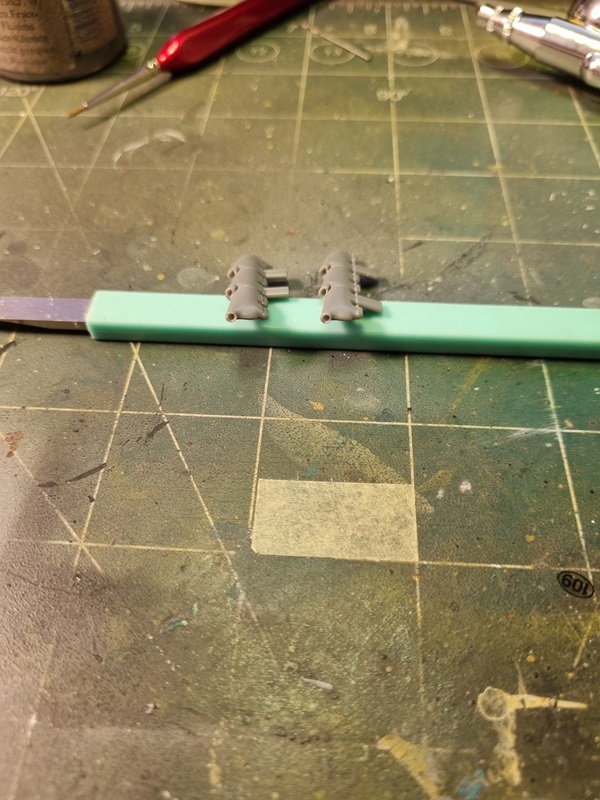
I assembled the exhaust stacks and drilled the holes a bit.
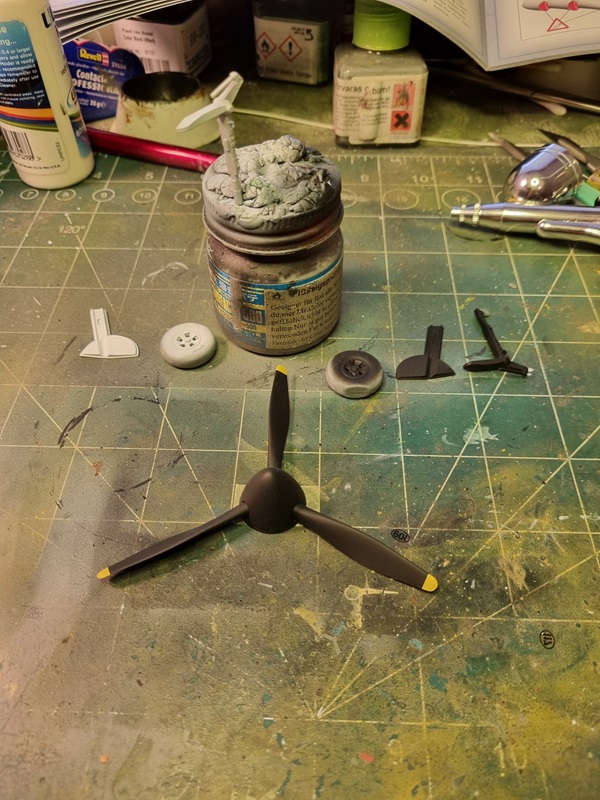
Landing gear parts and propeller was painted.
I used the closed canopy and closed door to close up the cockpit.
Lastly the exhaust pipes, tail gear and door was painted.
The tires will be painted with a mix of black and tire black, and the exhausts will be dry brushed with gun metal and maybe also some rust will be added.
Not much left to build, but still quite a bit more to do. Masking the open canopy parts, painting the plane with primer to check for flaws, and hopefully I actually have the colours needed.
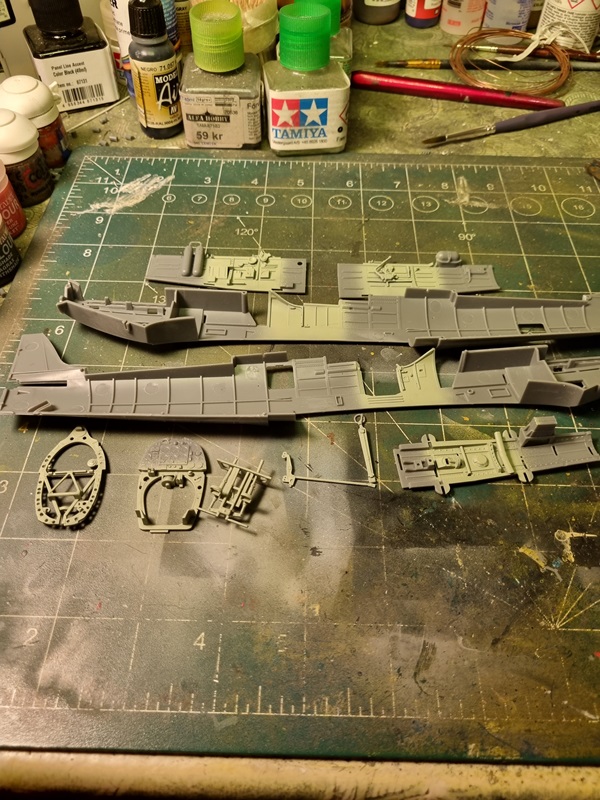
The side panels was glued in place. It’s a very tight fit.
The wing filets was glued in place.
The cockpit was glued to the fuselage and then the fuselage was glued together. The stabilizer was glued in place and the sight was assembled and painted. The front cover with the sight was then glued to the fuselage as well as engine covers on both sides.
The wings was glued in place, and I must say that the fit is very tight. Checking that all sprue nubs are sanded flush and removing paint from areas where glue is supposed to go is a good idea.
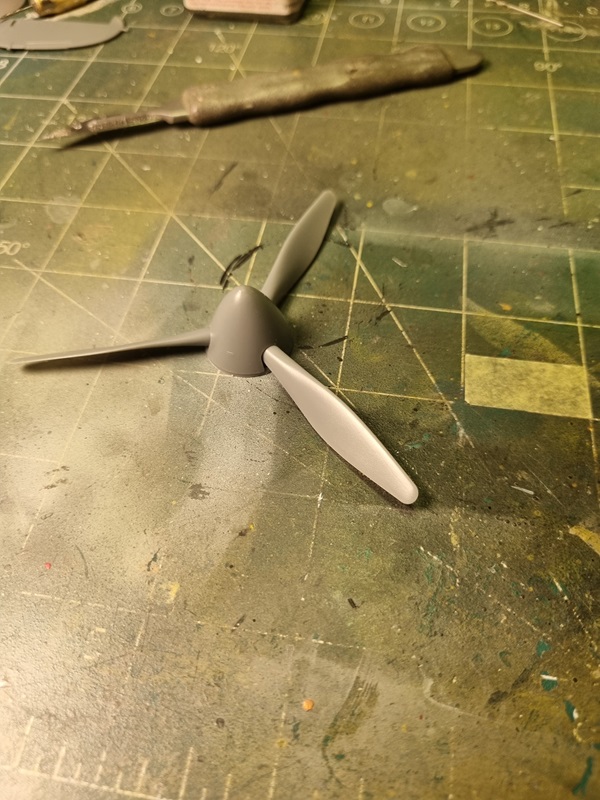
Lastly I’ve glued the propeller and spinner.
Next will be sorting the landing gear and exhaust pipes and a few more parts that needs to be done. I also need to check a few spots that might need a bit of sprue glue and sanding to look good.
I later added the glass to the spine and painted the bulb, but forgot to take a pic.
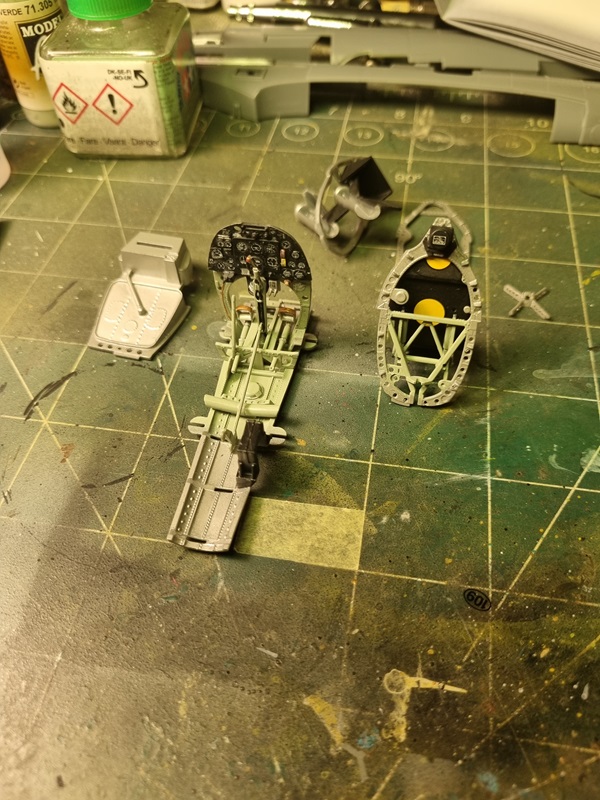
The instrument got a bit of kristal klear, but it hardly shows.
Then I started to assemble the cockpit.
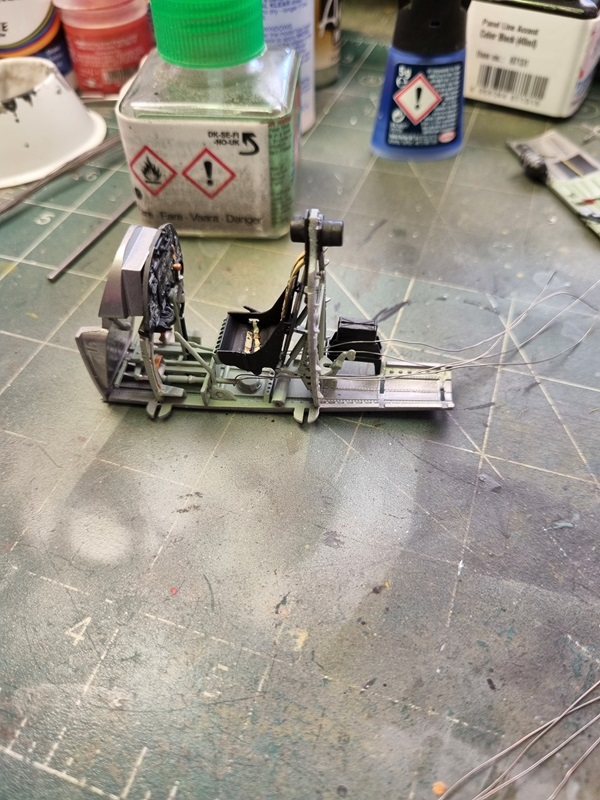
I started with the rigging. Using wire from a broken cable.
Adding bulkheads as I worked my way backwards. So far it looked alright.
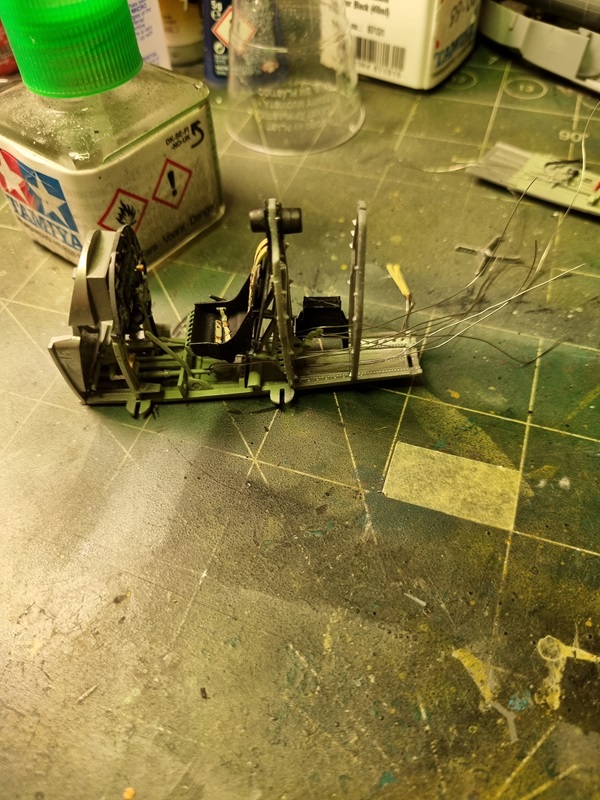
While drying, I glued the upper wing halves.
I sorted the radiator and glued it in place.
The rigging was quite messy, as it was hard to keep the wires straight. I gave a few spots a little black wash, and if I’m not re-doing the rigging or something, I’ll start to put things together.
Not sure what else to use, unless I get some stretchable tread, but I guess it have something I’ll try on the next kit with internal rigging.
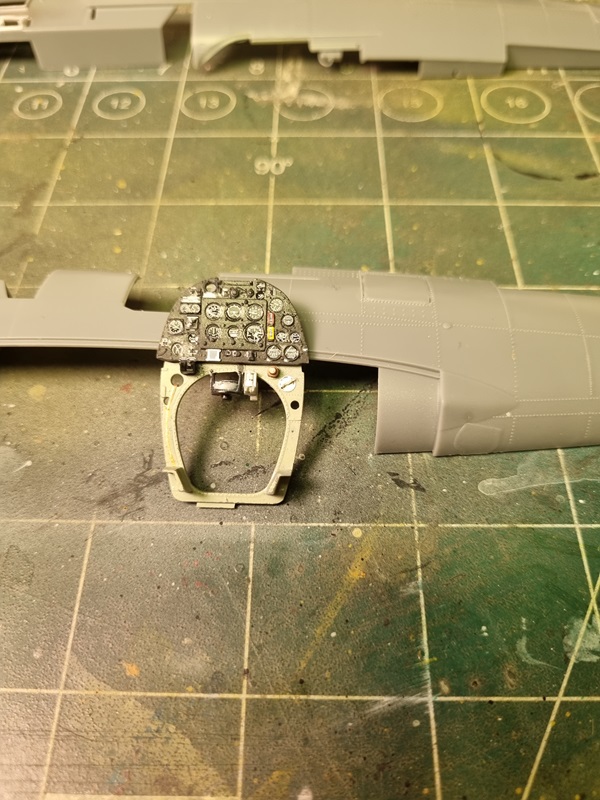
The instrument panel got decals (most of them anyway).
Then the side panels.
It’s very nice decals with hardly no surrounding film at all. The problem is that some are very small, and some of them failed. The main most visible decals are there anyway.
Now I need to let them dry properly and the lay a protective cote of varnish over them. I’ll probably use kristal klear on the instruments to make it look like glass.
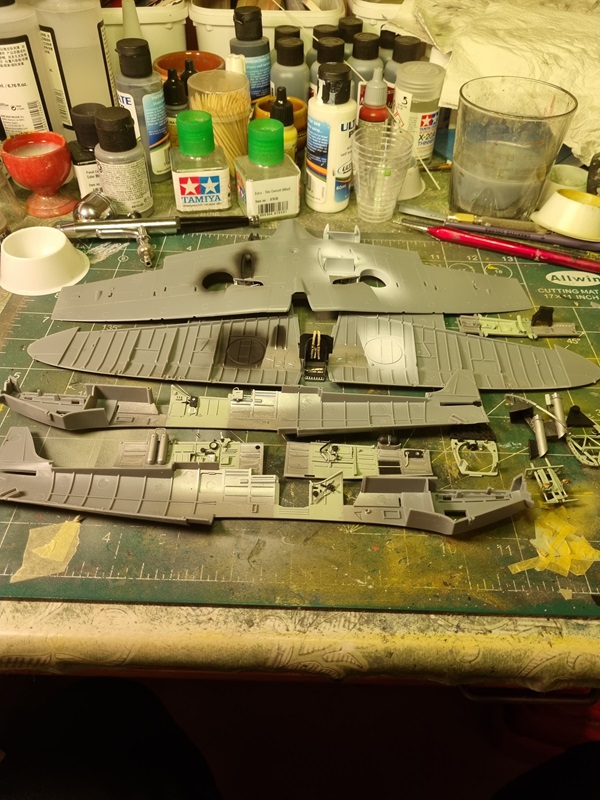
Detail painting seems to take “forever”, but I’m getting there. Even though the instructions are very nice, I had to check reference pics on the internet. I’ve also started working with the wings, and painting the visible areas.
I need to find the proper colour for the tubes and a few other details, and I also need to add quite a bit of decals to both the instrument panel and side panel details.
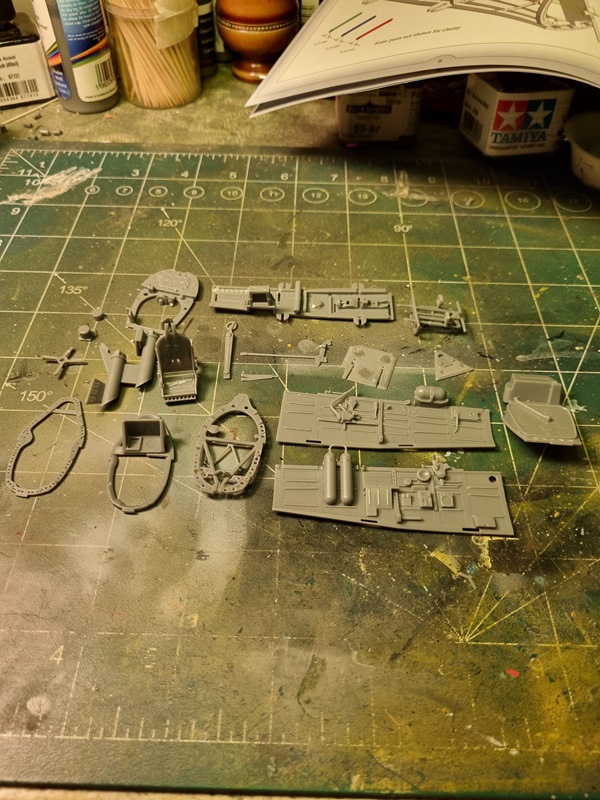
I started this as my probably last project this year. Not sure I will be able to finish this year though. As usual it starts with the cockpit. There’s a lot of parts to the cockpit and cleaning them up took a while, even if the parts are very nicely cast. I’ve also glued a few parts together, but the rest have to wait until after they’re painted.
There are a few more parts to sort and the side walls should also have a few parts glued to them. I had to sort a few ejection pin marks as they will be visible and I think one decal goes on the back of the fire wall.
Not sure how much will be visible after the cockpit is inserted into the fusalage. This is how far I got the first evening.
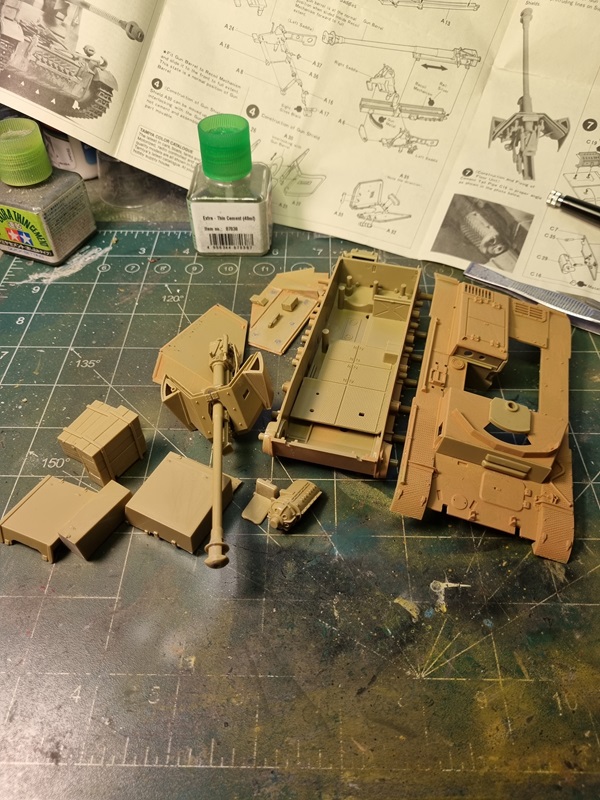
Buying 2nd hand kits can be a bit of a gamble. Hopefully everything is there. As it turned out, the poly caps was missing, and I forgot to check before starting the build. I simply didn’t think of it.
This is how far I’ve got before shutting down the build for now.
If I can find 14 poly caps (short ones according to the instructions), I might get this build started again and perhaps even finished.