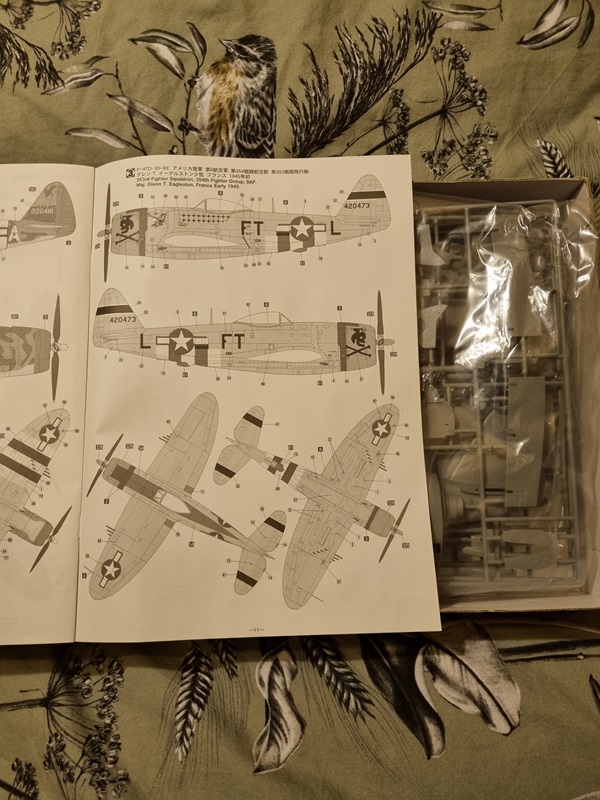
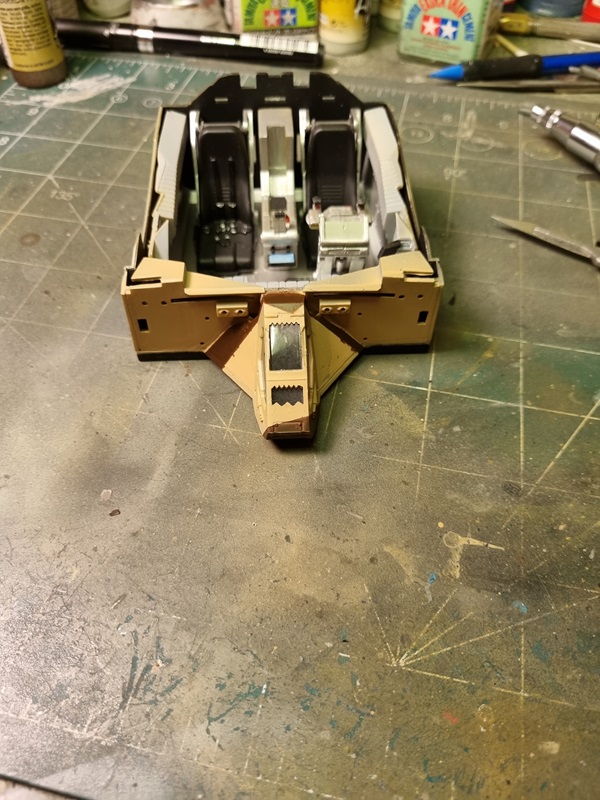
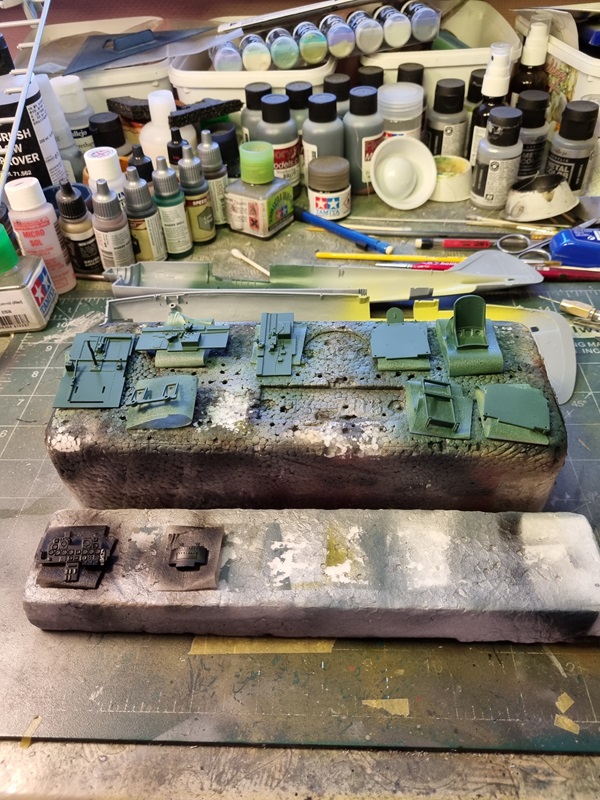
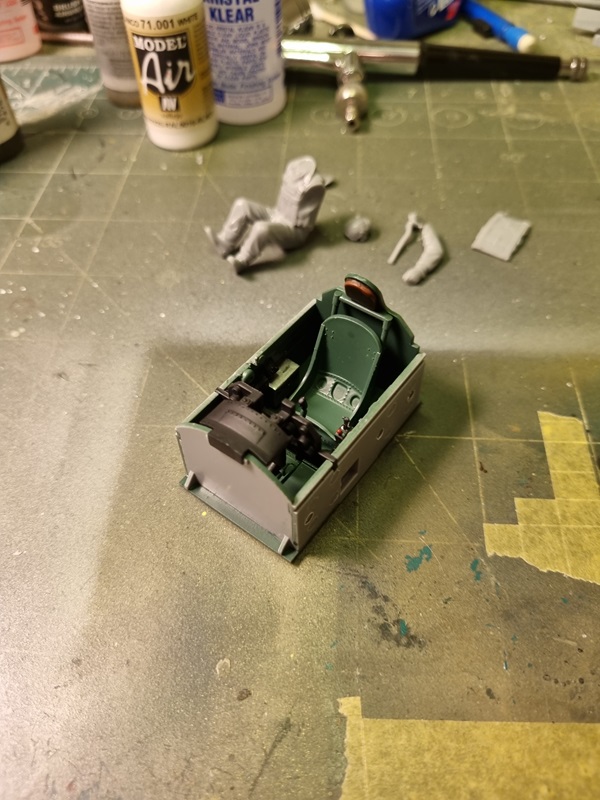
As ususal the build starts with the cockpit. I cleaned up the parts and then painted some of them black and the rest in dull dark green.
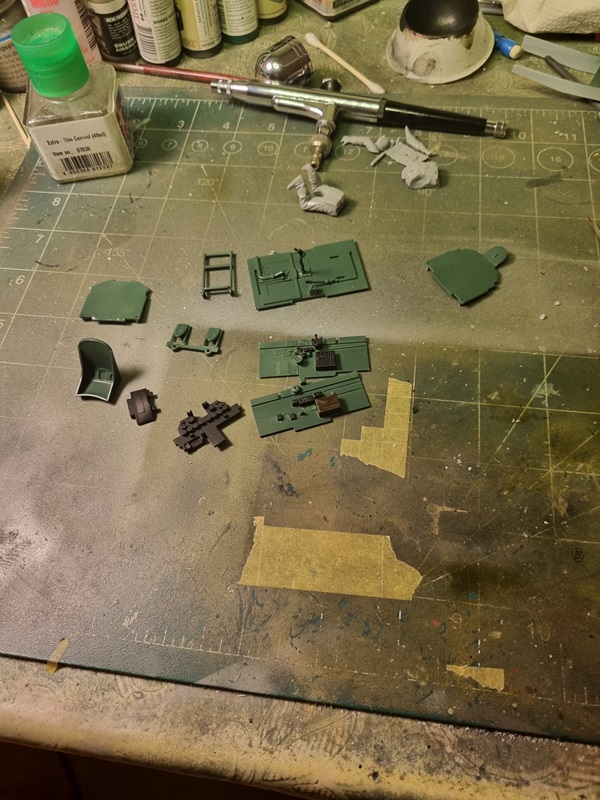
After painting the backside of some parts, I started painting details.
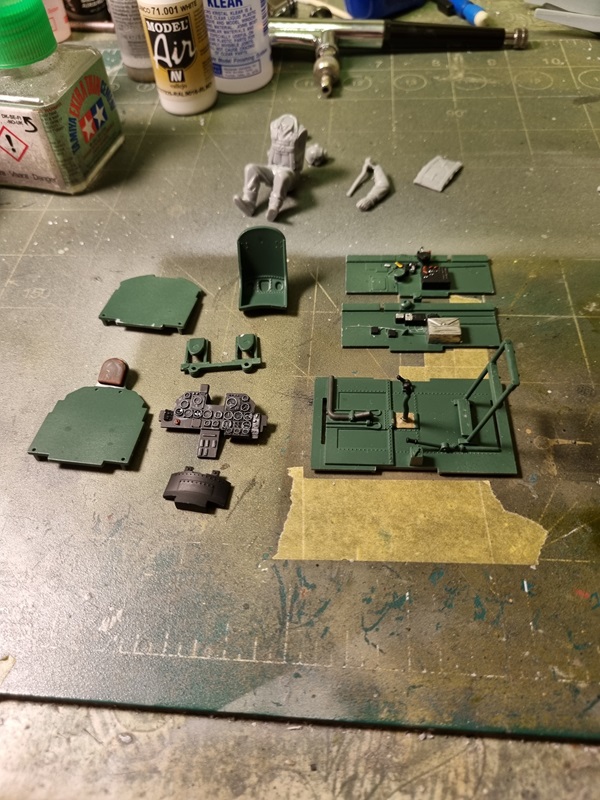
As can be seen I’ve also started assembling the pilot. I decided to have him sitting in the plane and will omitt the pedals as per instructions. A few more details was painted.
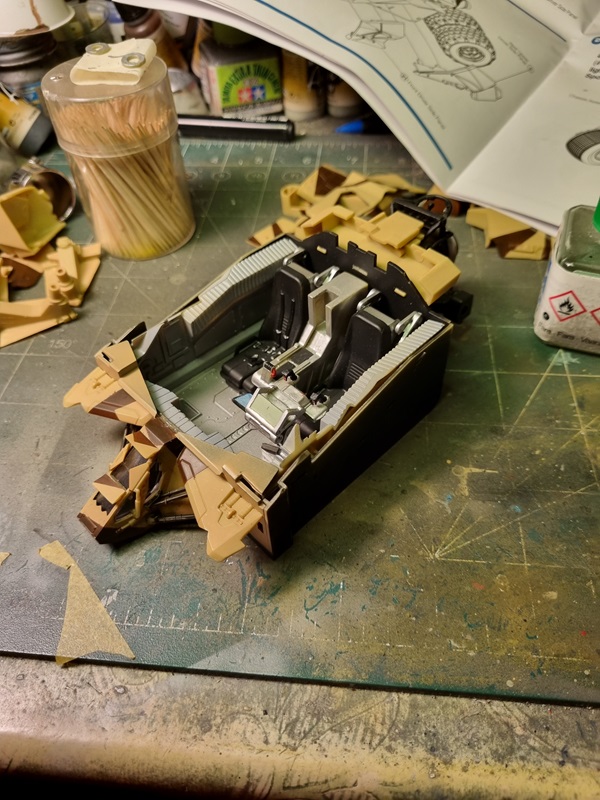
After that I could assembly the cockpit.
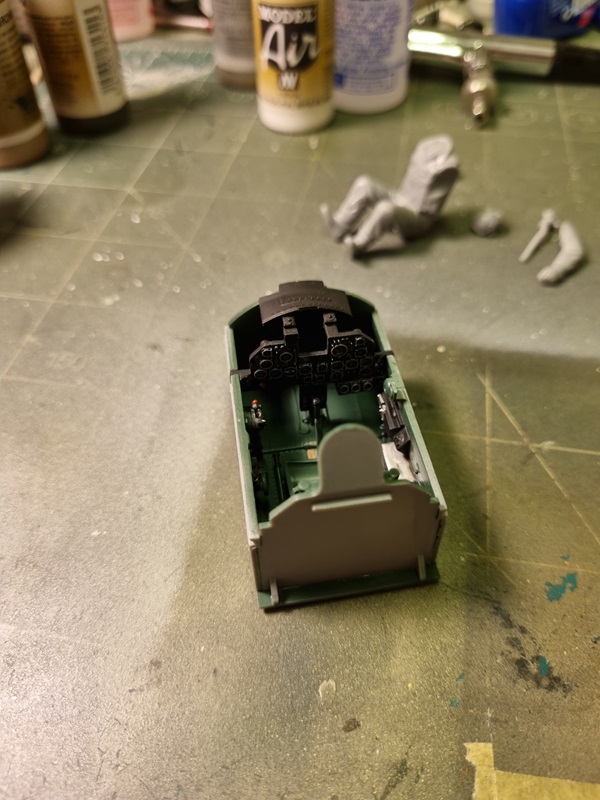
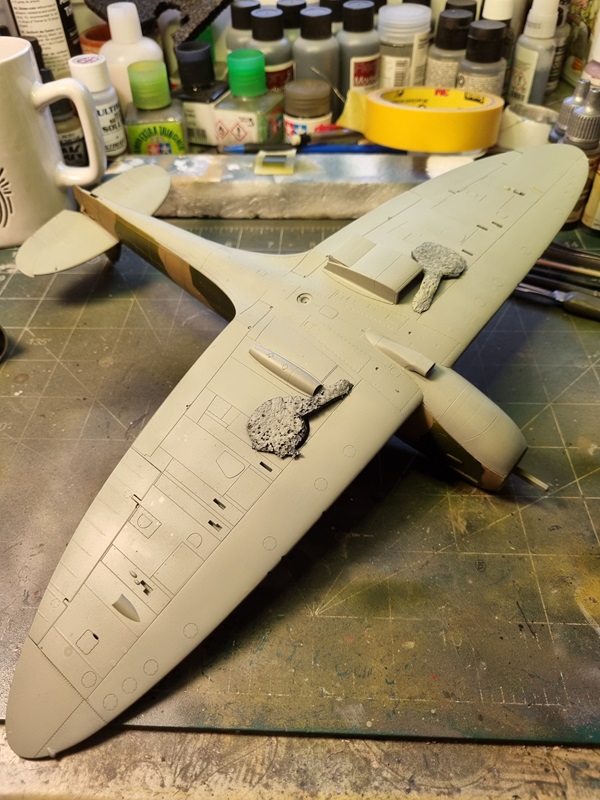
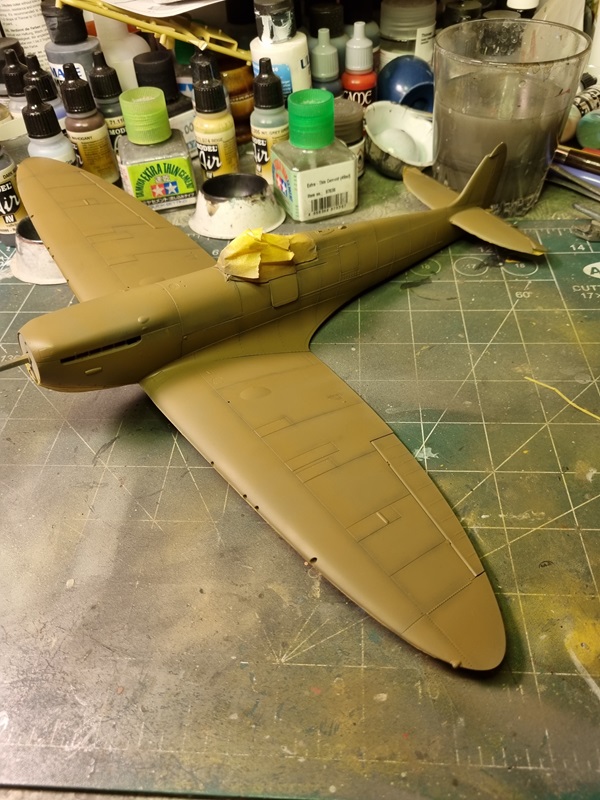
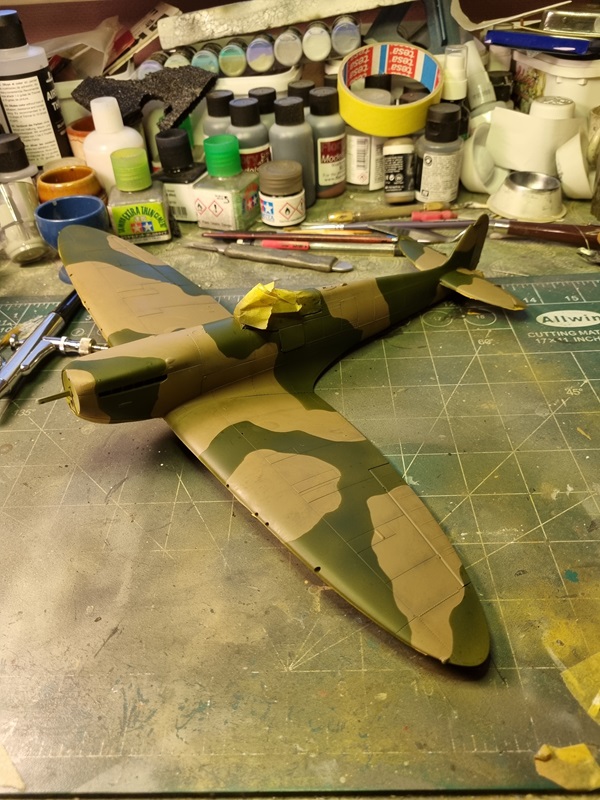
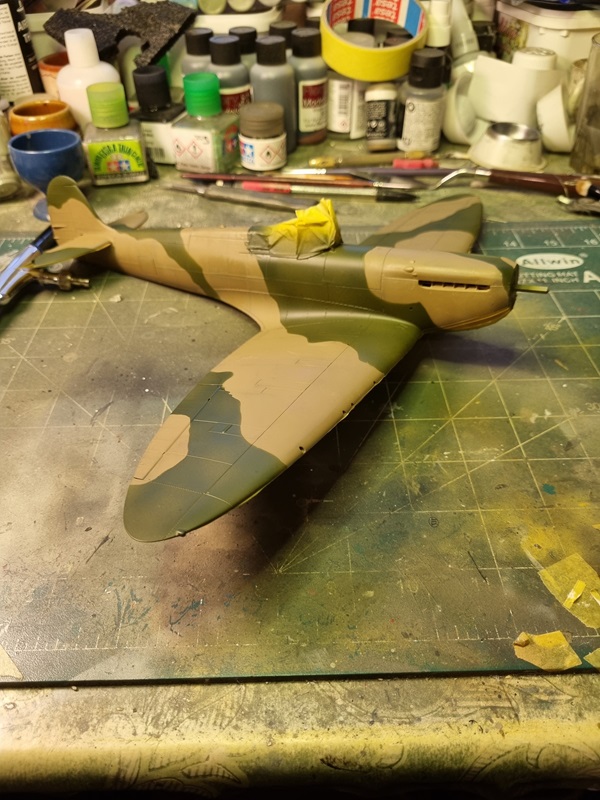
Next will be some minor weathering and then I’ll put the cockpit where it belongs and will close the fuselage.